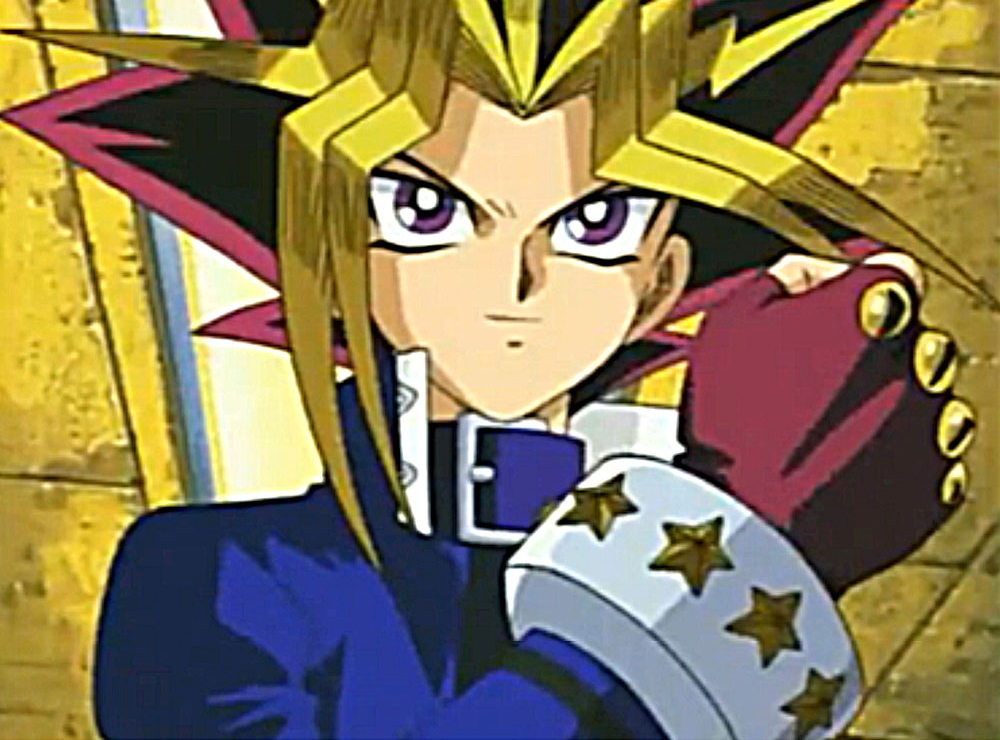
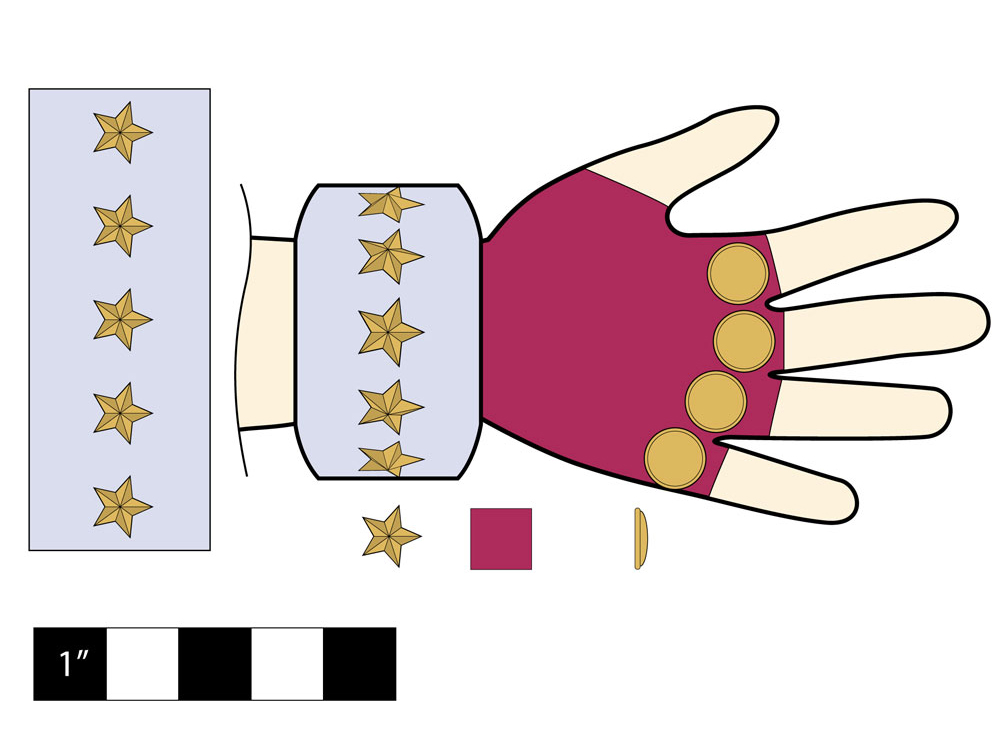
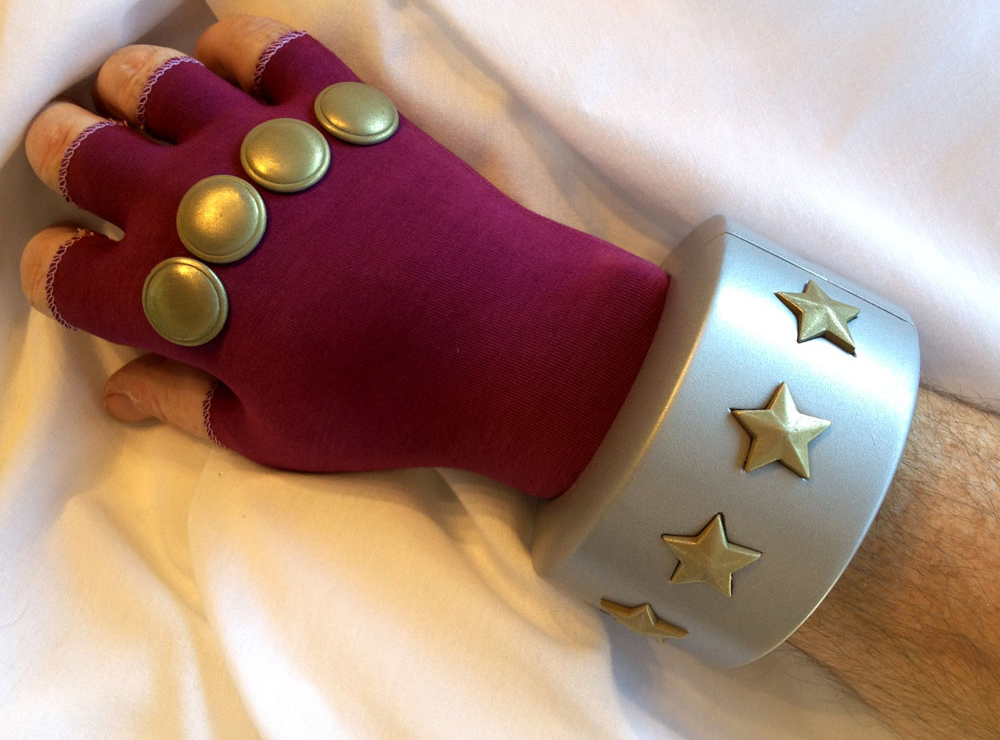
yu-gi-oh! dueling gauntlet
july 2012
Yu-Gi-Oh! ("Game King") is a Japanese manga series about gaming following the story of a boy named Yugi Mutou, who solves the ancient Millennium Puzzle and awakens a gambling alter-ego within his body that solves his conflicts using various games.
I was commissioned to make the Dueling Gauntlet from the anime Yu-Gi-Oh! This project presented a few tricky technical issues: The cuff needed to fit the arm tightly but needed to be removable. The client also requested that the stars be removable.
Planning was critical so it took some heavy figgerin’ to correctly size and space the stars around the cuff cylinder.
Another issue was to distort the stars so they would wrap around the cuff. To figure out the geometry, I built the cuff in Strata 3D. As flat stars the “arms” would poke out of the curved surface.
I built extra thickness to the stars so that I could move the arms back. The extra thickness would also help durability of the stars as they’re handled.
Once I was happy with the new configuration, I exported the star and ordered 3D printed copies from Shapeways. For a few dollars more, I can get them polished so all I’ll have to do it throw them in silicone.
To test the cuff, I framed it in thin MDF.
My math worked out and the prototype was, indeed, wearable.
With that out of the way, I could make the cuff master. I glued two piece of basswood together and lathed a cylinder with the right diameter.
After the ends were shaped, I slowed the lathe down and sanded it up to 1000 grit. Finally, I sprayed it with filler primer and buffed it to a shine with a paper towel.
I drilled out the center, and marked the halfway point with tape.
The cut cuff master. The theory was to make one half of the cuff that could be duplicated to make the whole.
A quick test fit to prove it was still wearable.
To eventually lock the cuff halves together, I made a key out of 1/4″ MDF.
To make the female end of the lock, I pressed the male end into a lump of clay.
I poured some resin into the mold to make a copy of the key, then carved a hole in the other end to make the female end of the lock.
After glopping some Bondo into the hole, I pressed the resin key into it, making sure the edges were aligned.
A few minutes later, the resin is removed and I have a perfect female end of the cuff lock!
A coat of primer and the body of the cuff is done.
I printed out the star placement from my plans and wrapped it on the cuff, marking each star’s location with small punctures of an Xacto knife.
About three weeks after I ordered them, the 3D printed stars arrived from Shapeways. I also had them print a stamp for the holes that was 1mm wider than the stars.
I drilled out holes in the cuff that were just big enough for the stamp to fit inside.
With the stamp in place, I marked where each point of the star should hit. The black mark designates which point of the star is “up”.
I mixed up a small quantity of Bondo, dropped it in the hole and then pressed the stamp into it.
When it was removed, I had a perfect hole for the star.
It’s always important to check your work. The star fit inside the hole perfectly.
Once all the holes were stamped, I sanded the Bondo flush with the surface of the cuff.
To make the inside of the hole cleaner, I glued in a piece of styrene.
Meanwhile, I also lathed a master for the knuckle plates from basswood. They are about the diameter of a nickel.
I drilled holes into each star recess to allow magnets.
With all the masters finished, I made silicone molds with Smooth-On MoldMax Stroke.
I mixed brass powder into resin to “cold cast” the knuckle plates and stars. These were polished to a metallic shine with 000 steel wool.
Each star had a hole drilled in the back so that a nail head could be glued in place.
This would allow the star to be held in its hole by a rare earth magnet.
Two resin copies were pulled from the molds and luckily, they fit together as planned!
During the cleanup process, I drilled holes for rare earth magnets at each key. These would hold the cuff together snugly while still allowing the wearer to easily remove it when needed. I also added Bondo at the seam to reduce its visibility when the cuff halves are together.
The cuff was painted with several light coats of Rustoleum Hammered Silver. The light coats give you a durable metallic finish without the hammered look. The final stars are in place but apparently not oriented in their holes correctly in this picture.
The client supplied some cotton/nylon gloves that would need to be dyed a burgundy color to match the anime. The Rit Dye website has handy formulas for mixing custom colors.
I heated some water on the stove to 115ºF and added the dyes.
The resulting color was very close to the reference. I ended up dying all four of the supplied gloves. The color turned out slightly different on each which gives the client final choice for his cosplay.
The final Yu-Gi-Oh! dueling gauntlet!