uruk-hai berserker helmet
september 2011
The Uruk-hai are the large soldier orcs of Isengard, as created by the wizard Saruman in the Lord of the Rings movies.
The Uruk-hai are the large soldier orcs of Isengard, as created by the wizard Saruman in the Lord of the Rings movies.
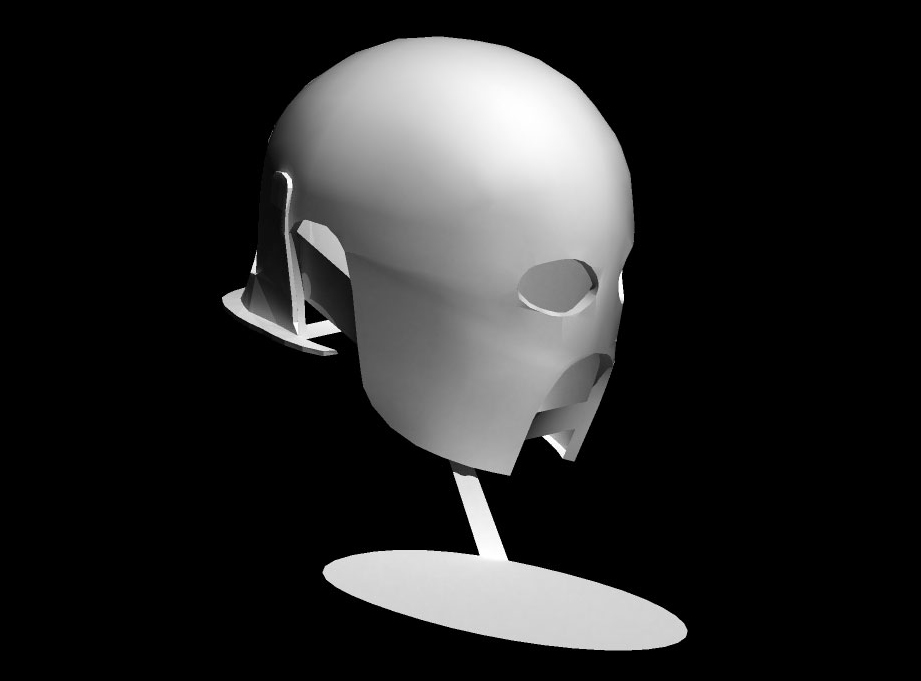
I had some free time to build something for myself so I decided to make the Uruk-Hai Berserker helmet from The Two Towers. I started by creating a 3D model in Strata3D.
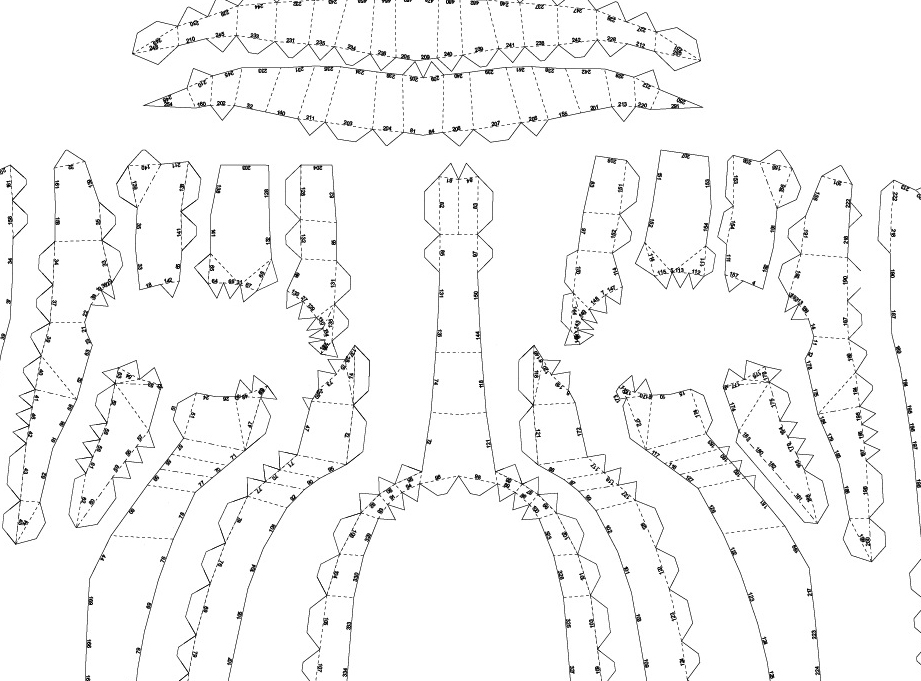
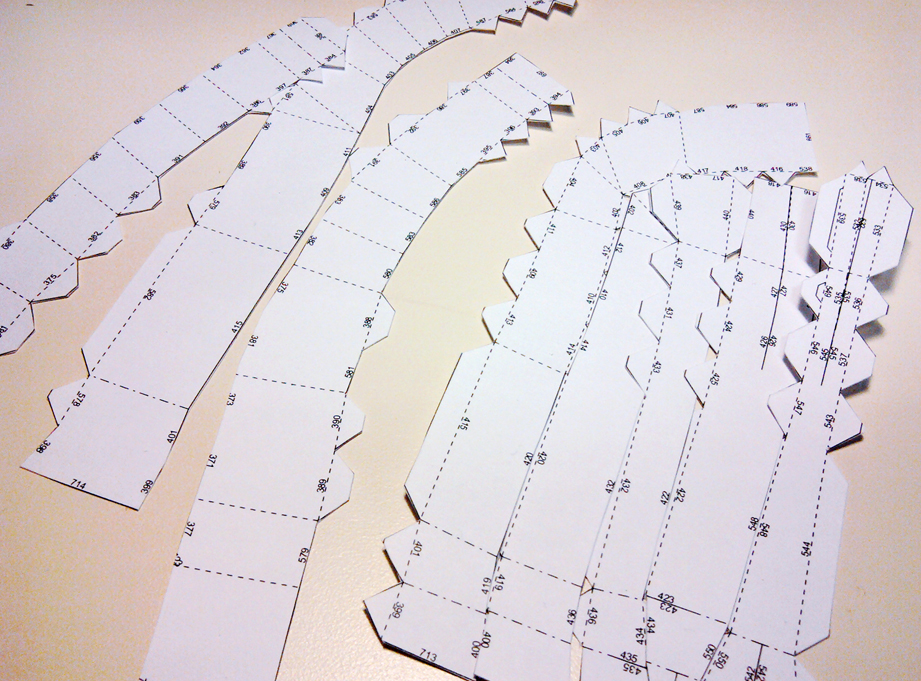
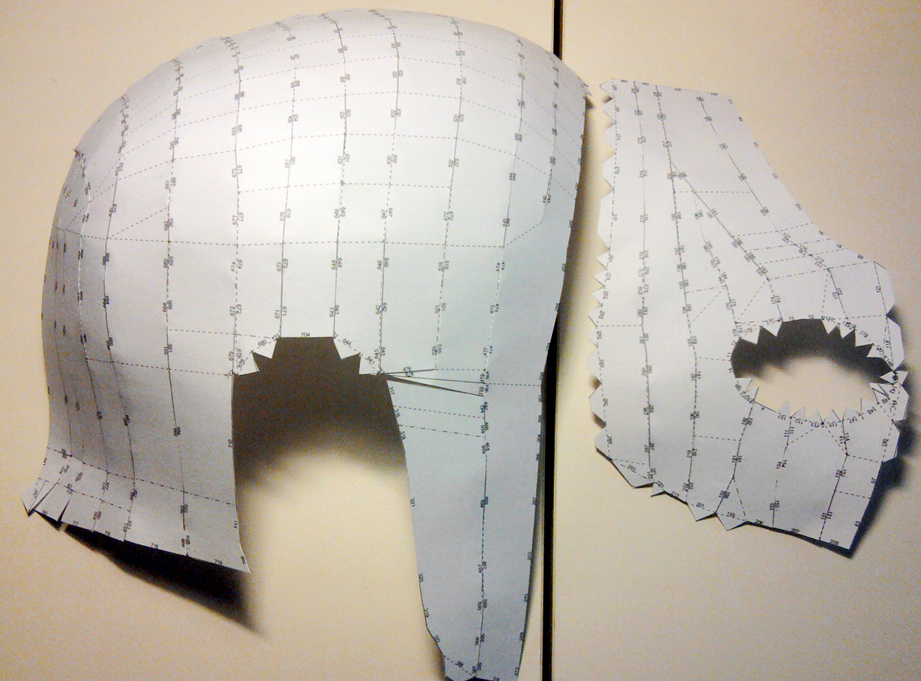
Pepakura is a Japanese program that converts 3D models into paper models. Once converted, you print it, trim out the pieces and glue them together.
I use cover stock paper for these models. It's not as stiff as card stock but stiffer than regular paper.
This was the first project where I used Pepakura. It's some extra work but a good alternative if you don't have a 3D printer (which I didn't at the time.)
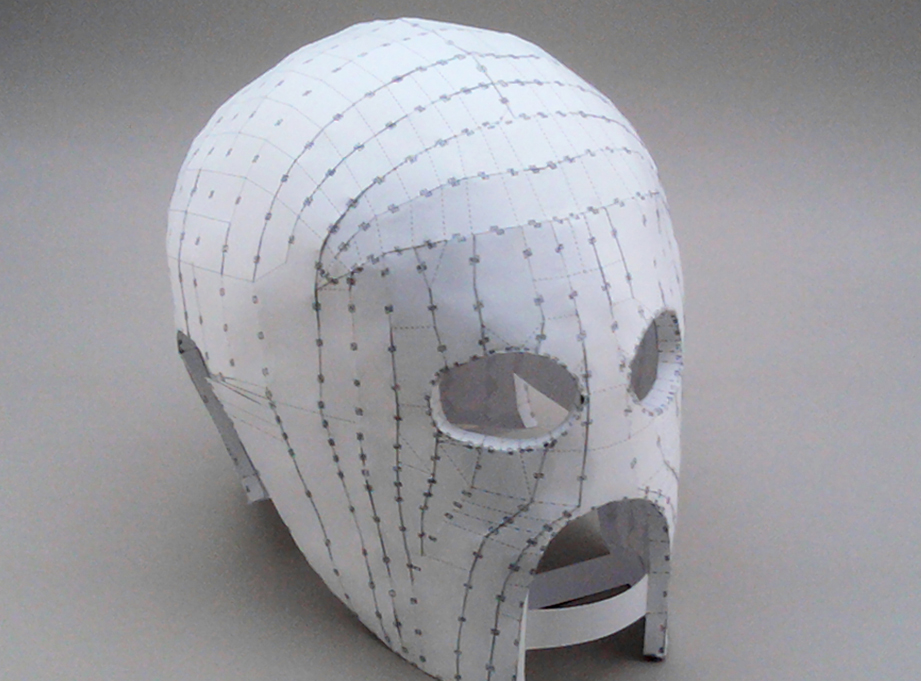
The completed model. I built spacers to try to preserve the size of the openings.
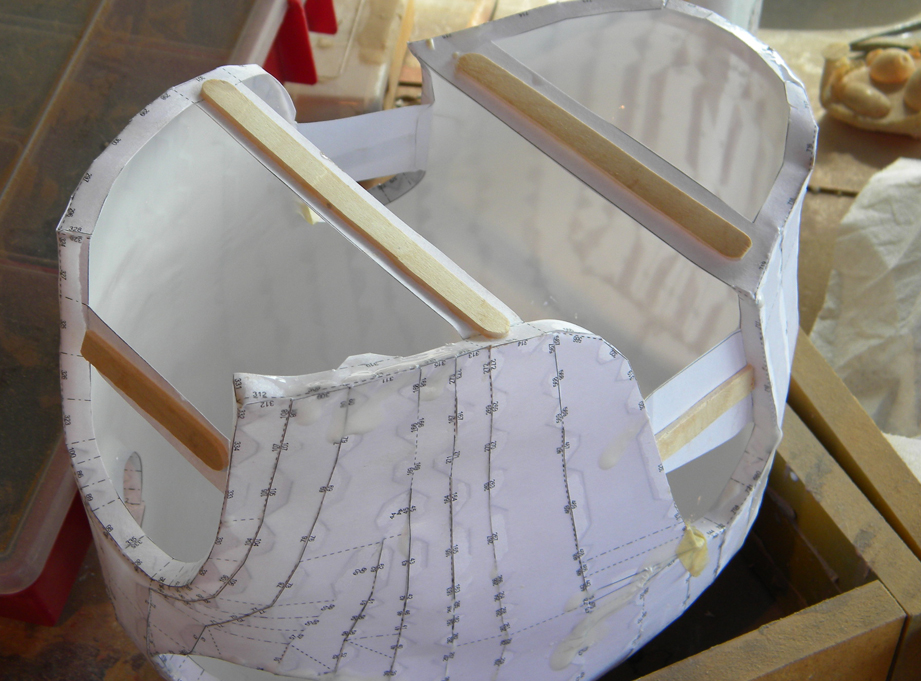
The paper spacers weren't holding the shape so I glued mixing sticks to them before slushing several coats of plastic resin inside.
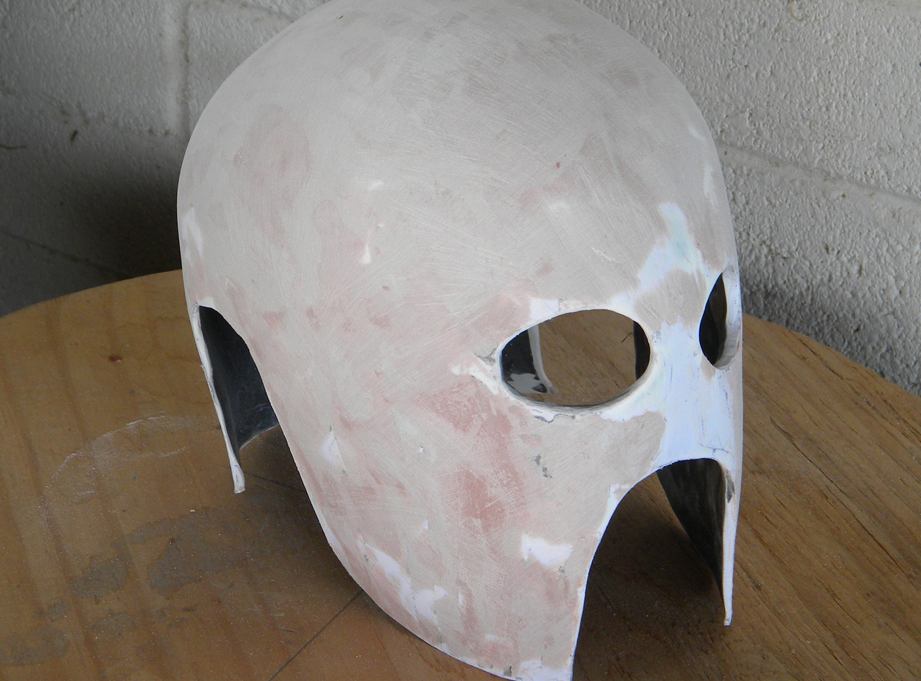
I sanded the ridges off the outside and used Bondo body filler to smooth out the surface.
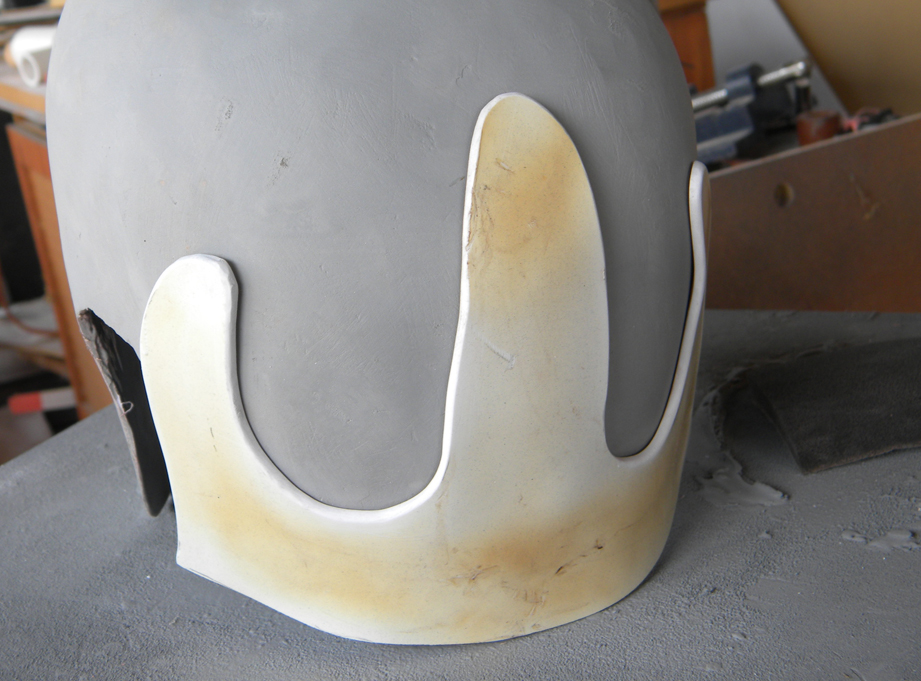
I heated up some thick styrene and shaped it to the back of the helmet to form this plate. Orcish craftsmanship means I don't have to worry about it being close to perfect!
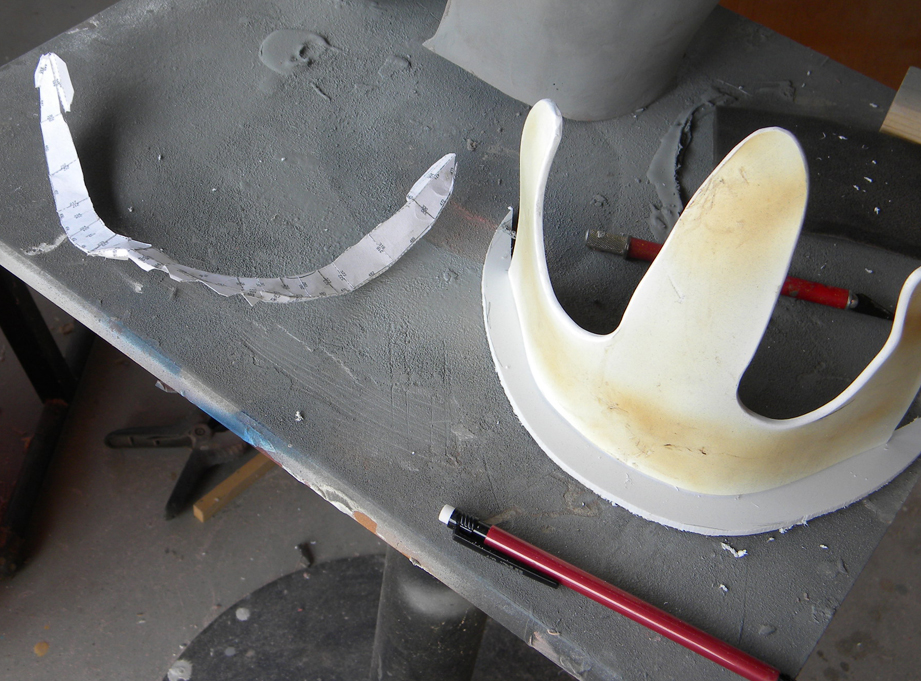
Using the paper model as a template, I cut out more thick styrene for the bottom plate.
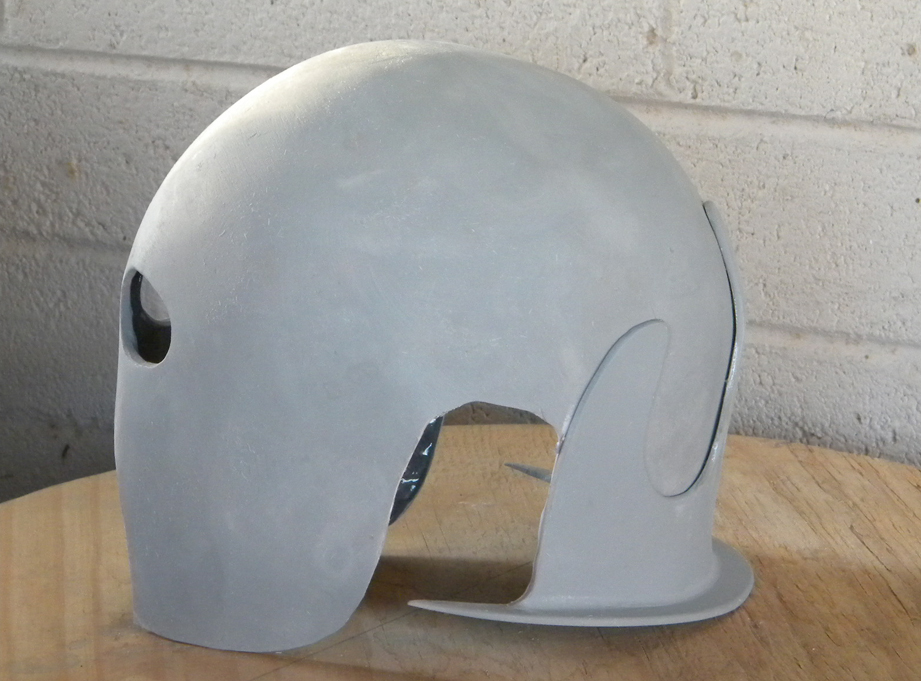
A coat of filler primer and a bit more sanding completed the main helmet.
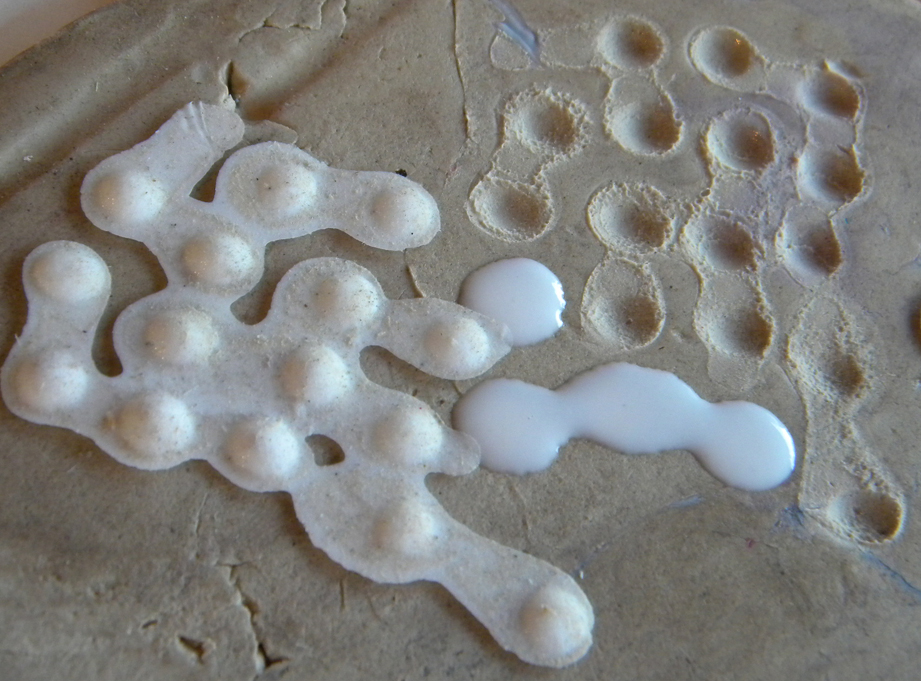
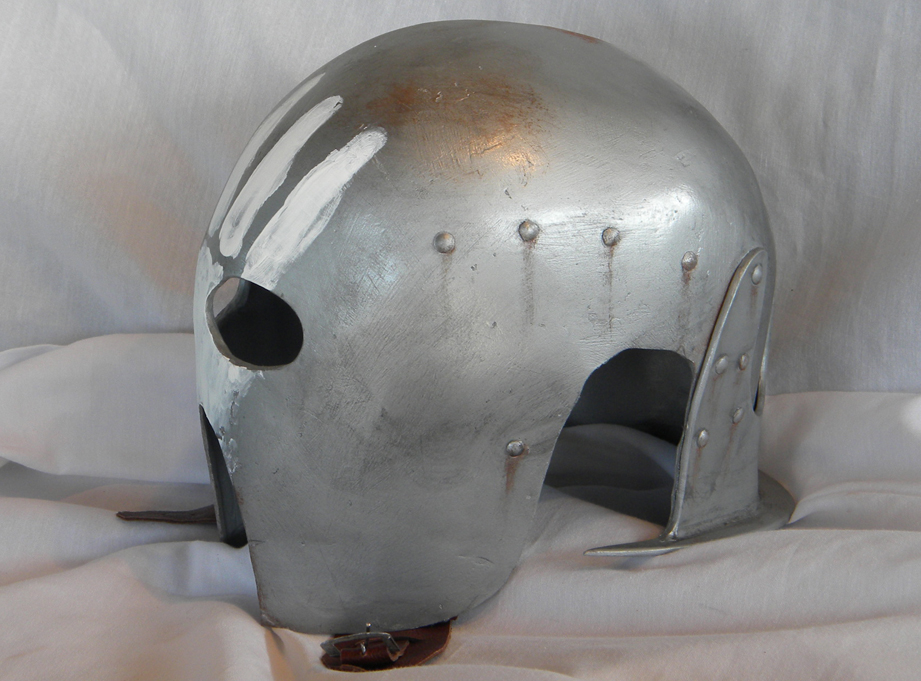
To make rivets, I used a pen cap to make dimples in some clay. I poured resin into the holes and got instant rivets!
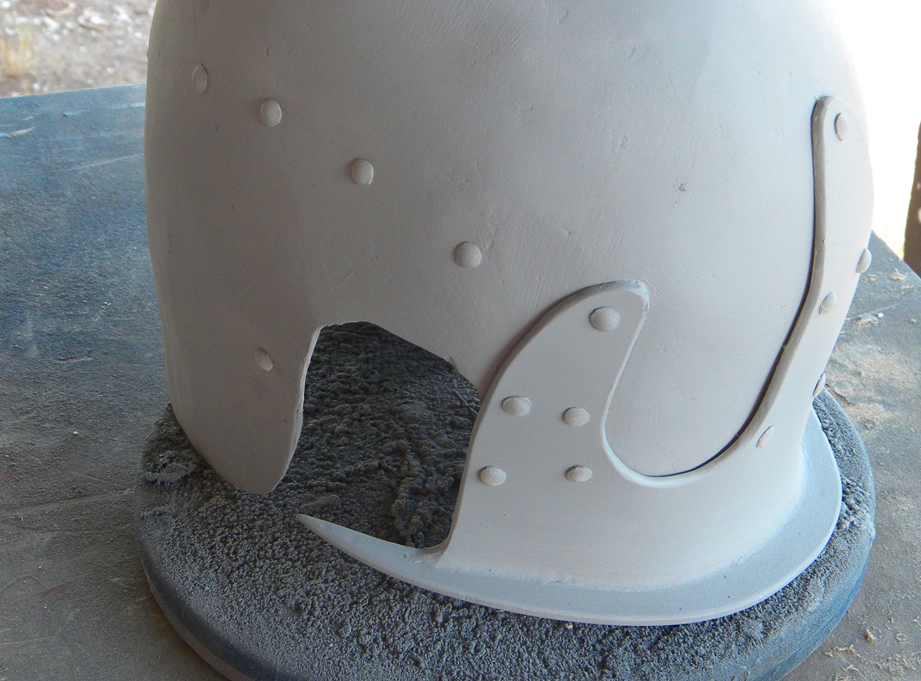
All the rivets glued on.
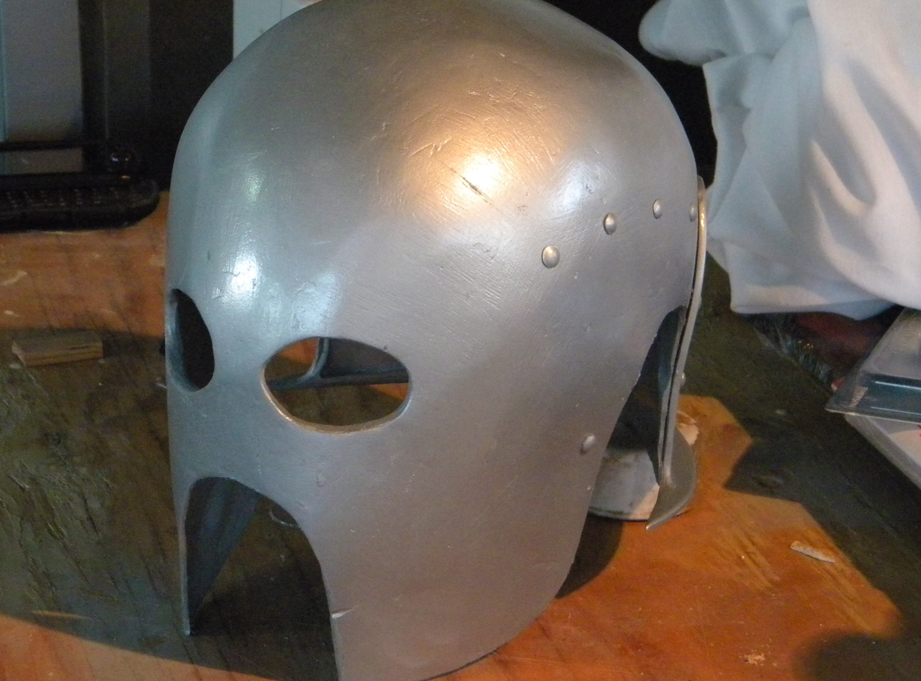
With the construction done, I applied a base coat of Hammered Silver, dusting it on to avoid the hammered finish. I used this paint for its durability.
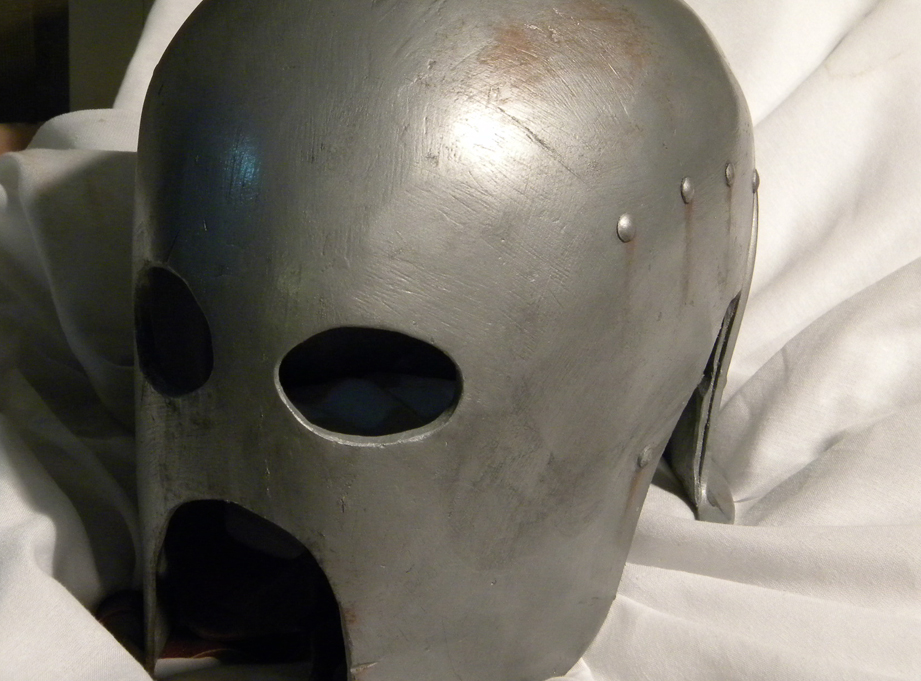
Next came a wash of black to knock down the shine and bring out the detail. I also added touches of rust.
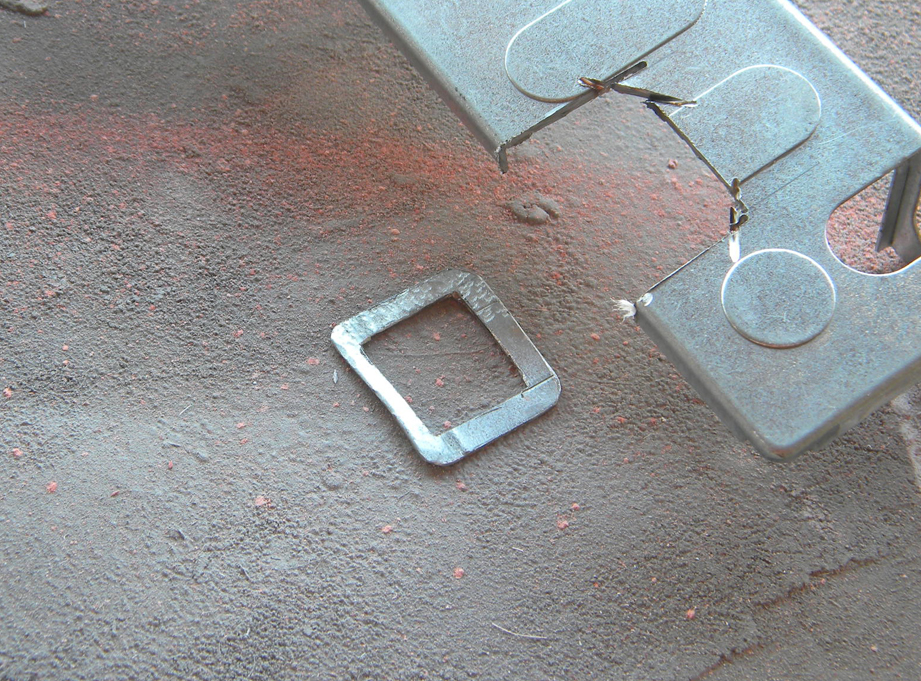
I cut a buckle from a scrap of steel.
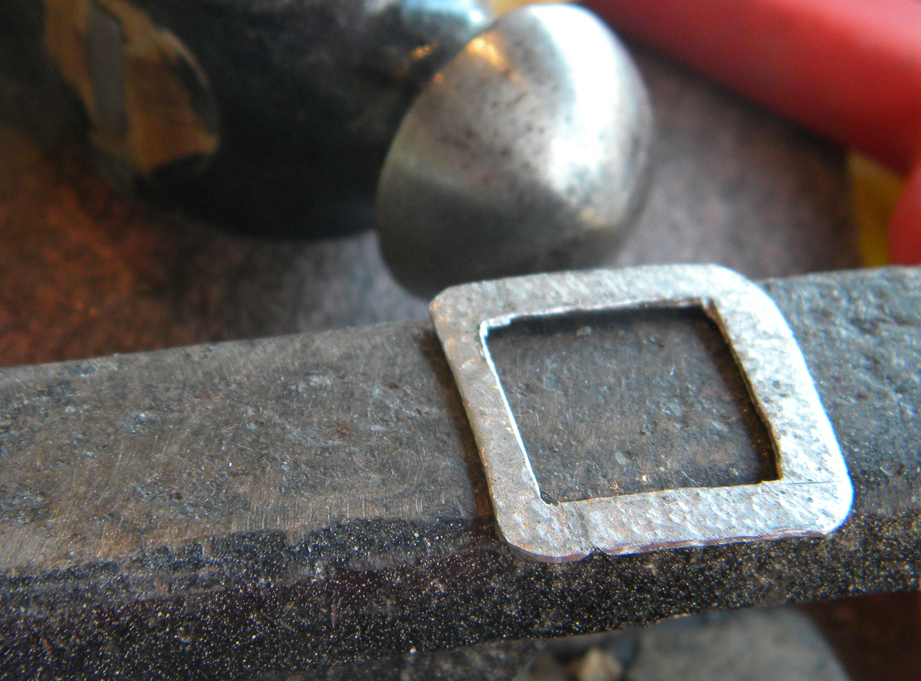
I gave the metal a rough hammered finish with a ballpeen hammer.
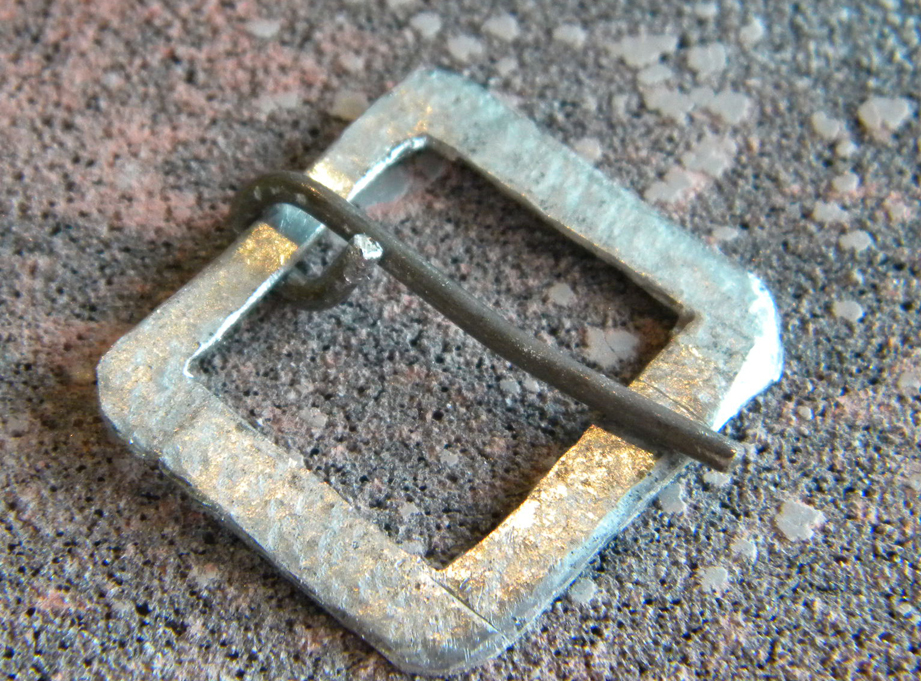
I cut some wire and bent it to form the tongue.
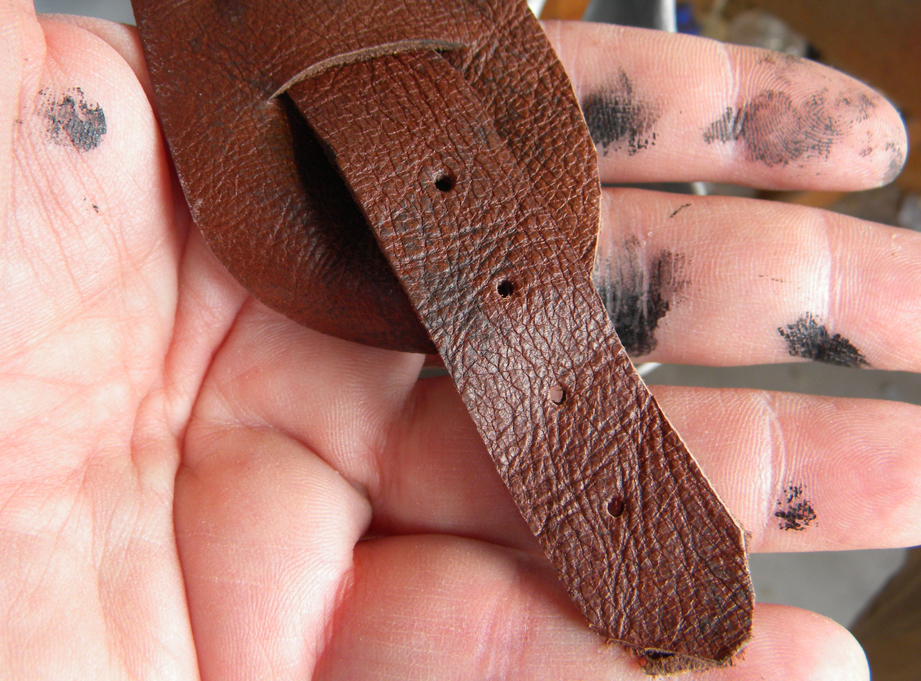
I punched holes in the other strap and gave the end a rough cut with dull scissors.
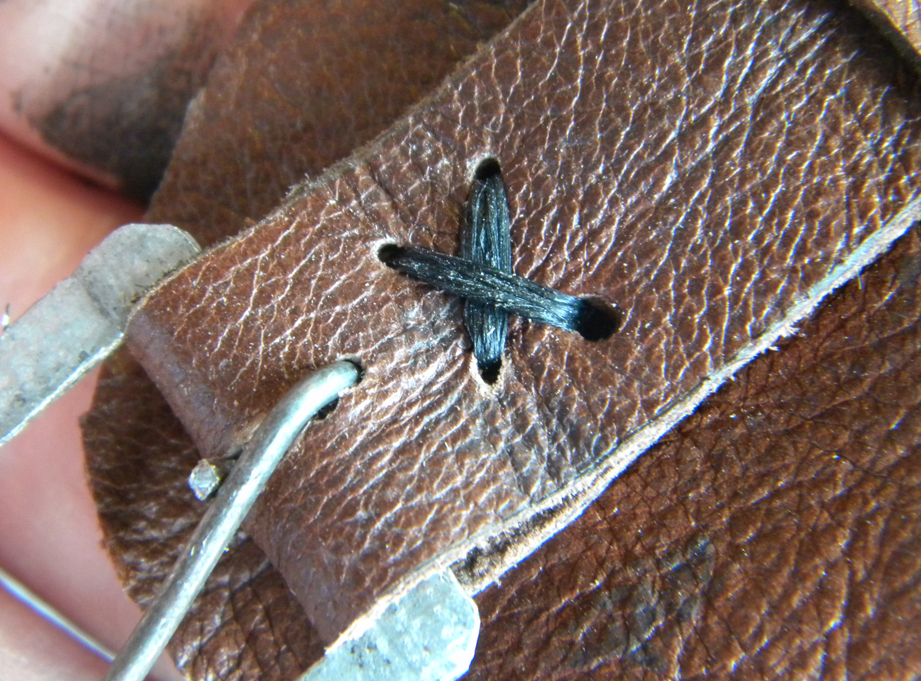
Once the buckle was in place, I glued the strap around it. To finish the look, I gave it a quick stitch with sinew.
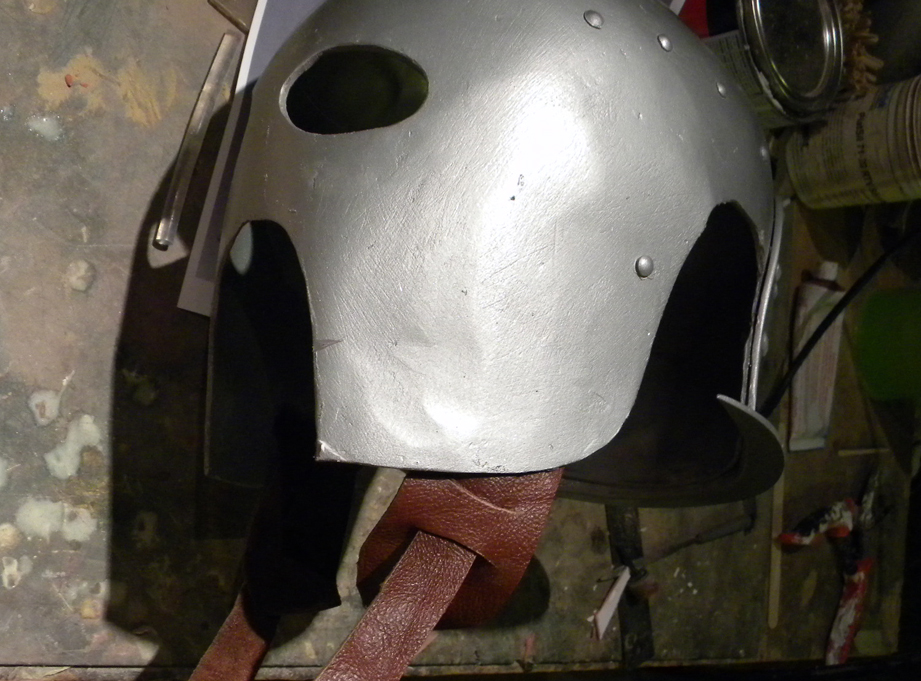
The chin strap glued in place.
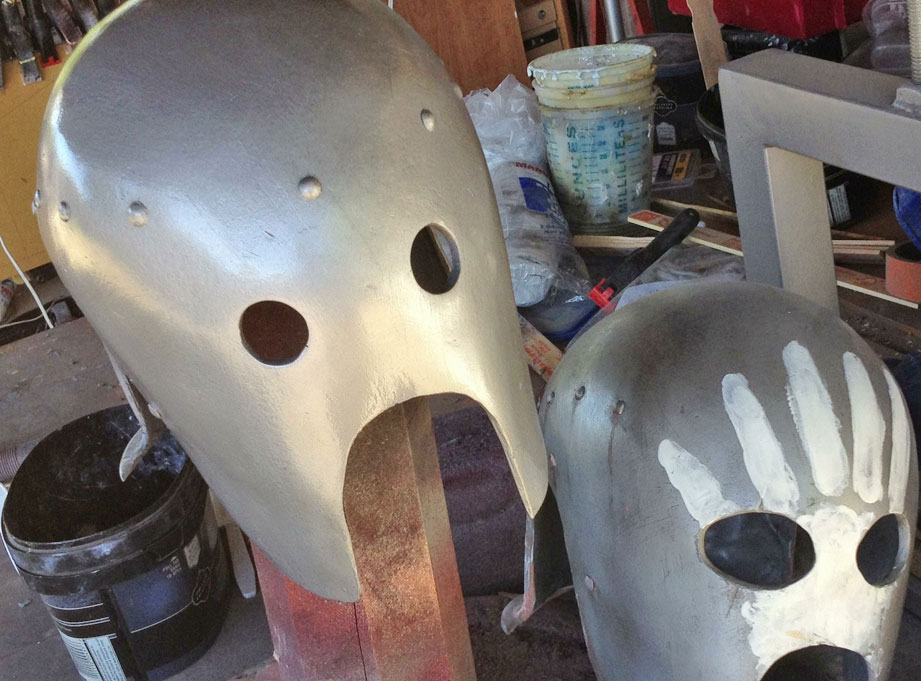
The final touch is a gentle application of the White Hand of Saruman.
The final helmet ready for war!
Front view.
Side view.

Back view.
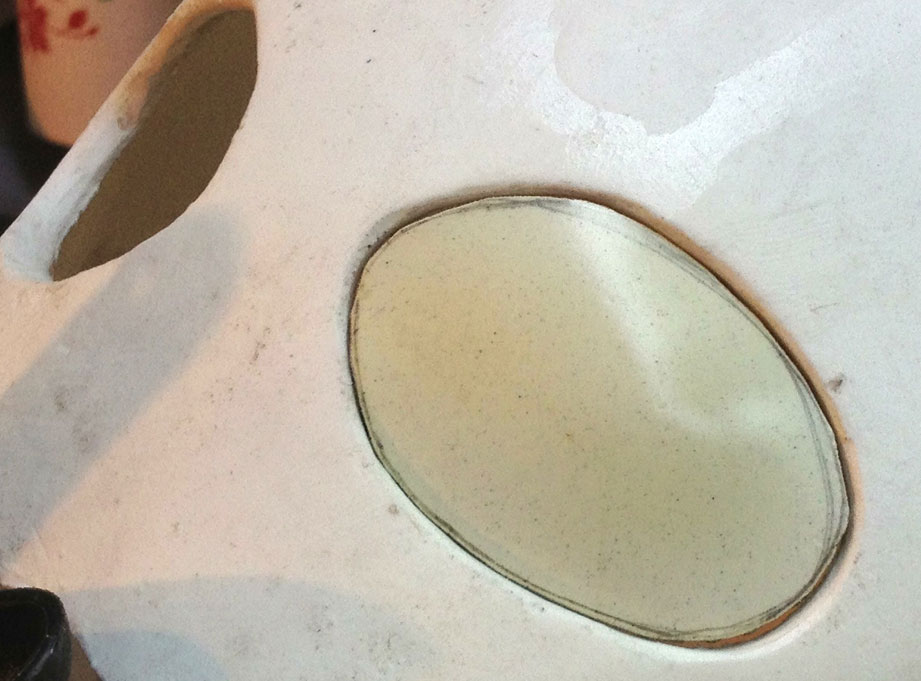
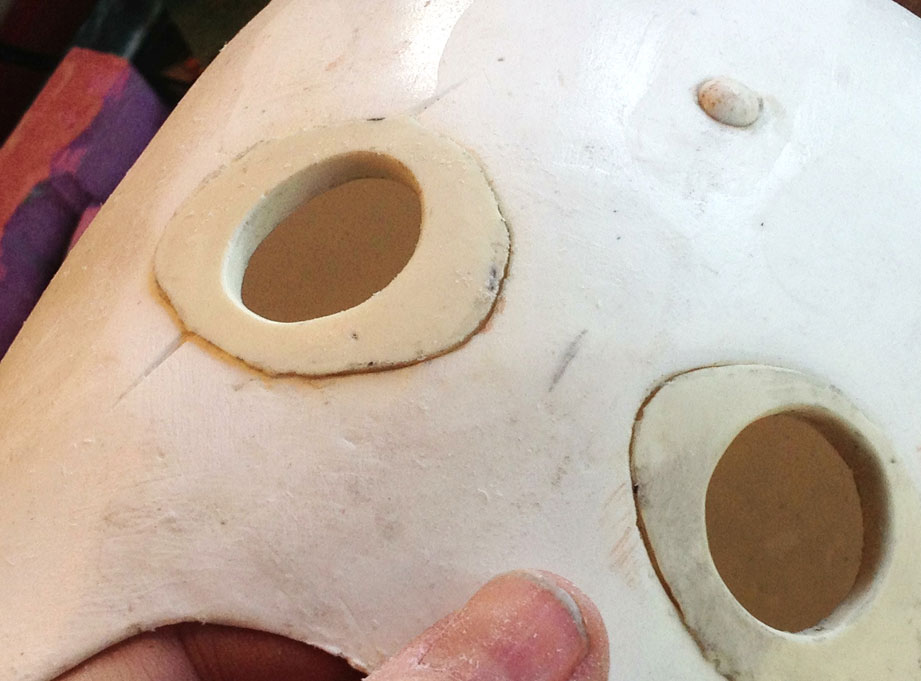
When I was building the General's variant, I realized the eye holes were the wrong size and shape. I cut styrene plugs and taped them in.
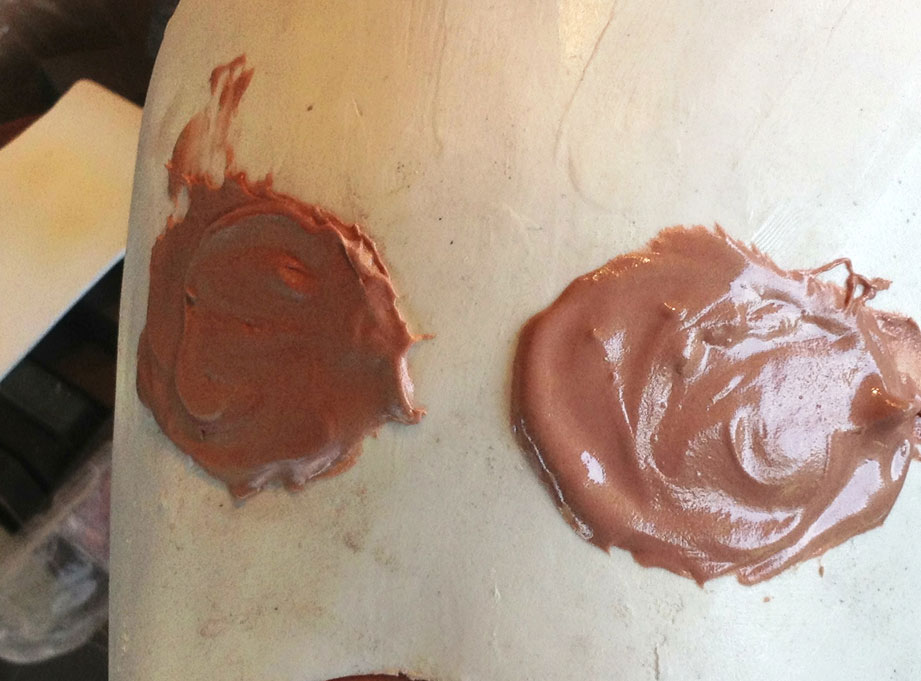
I glopped some Bondo on the plugs to get rid of the seams.
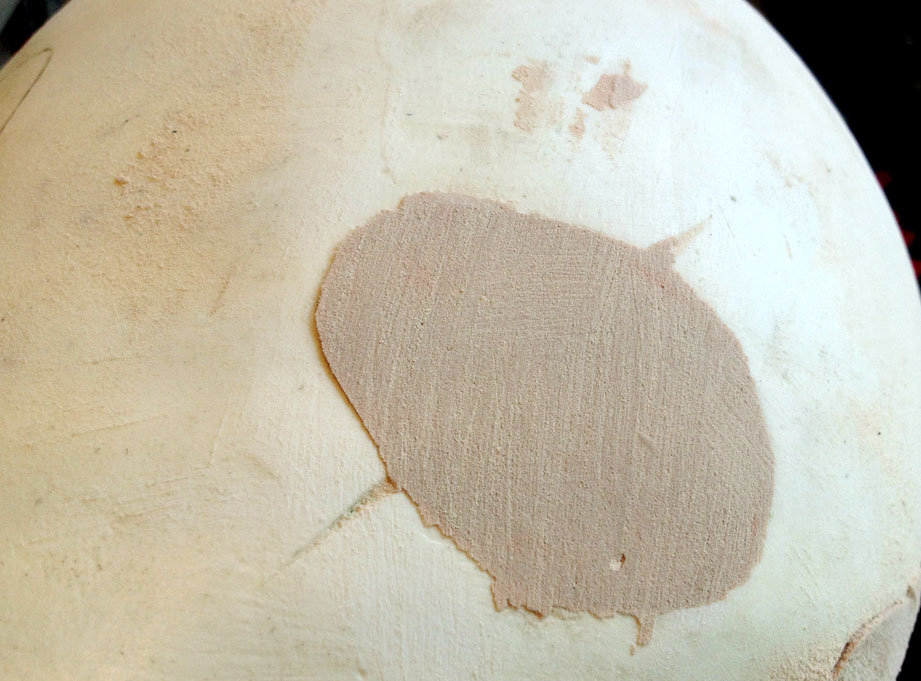
I sanded the Bondo to match the curve of the helmet.
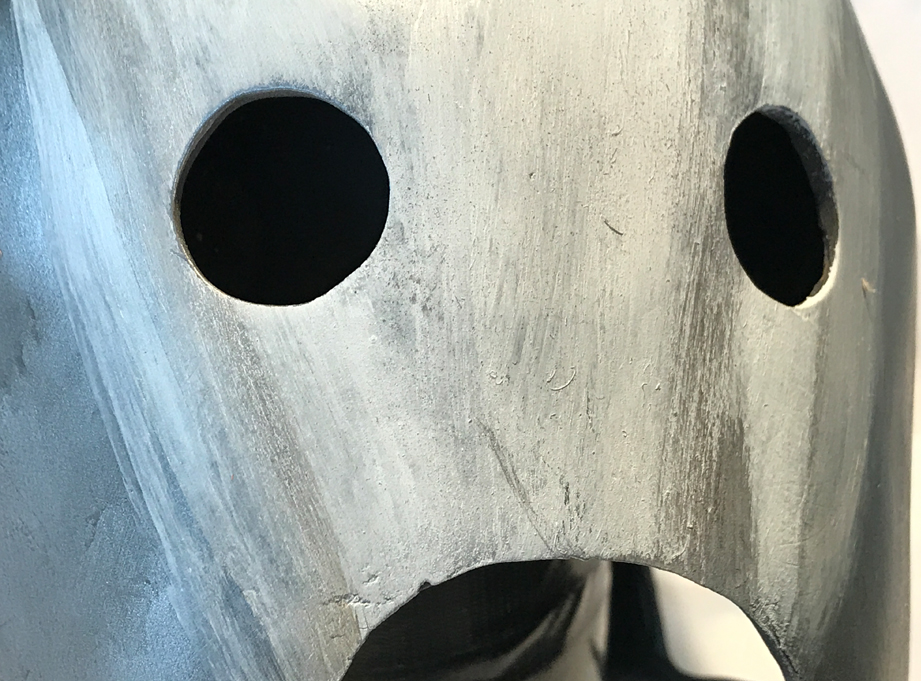
I drilled the new eye holes into the plugs
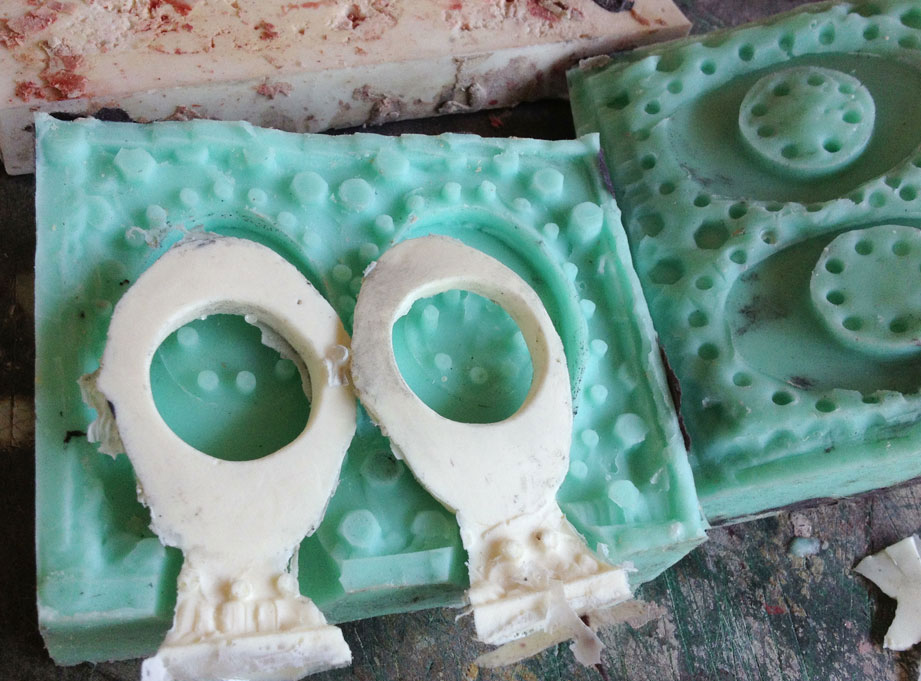
I removed the plugs and made a mold.
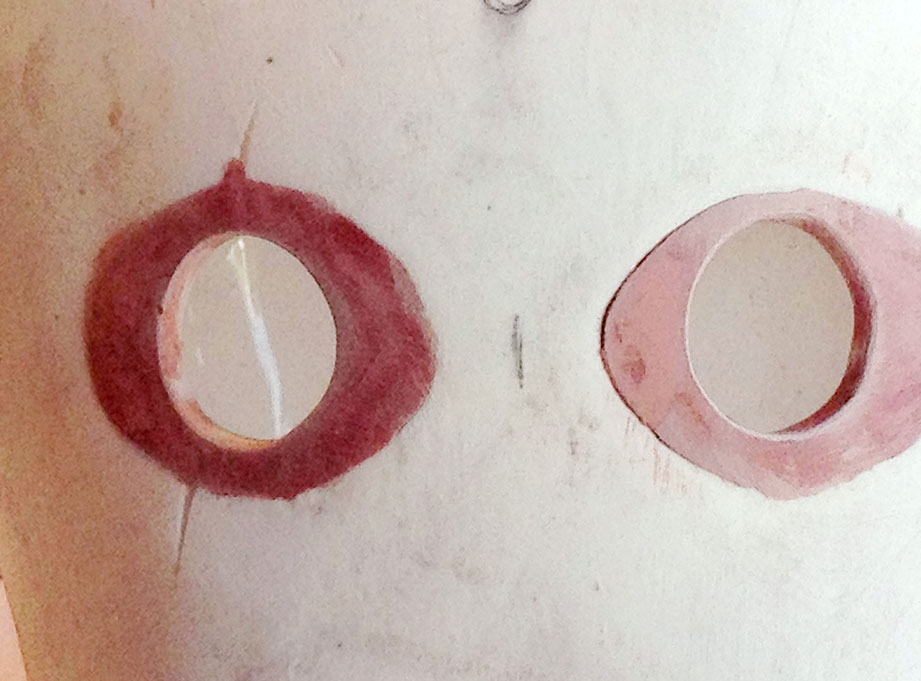
The resin plugs snap right in place. These were part of the Uruk and General kits to correct my inaccurate eye holes.
I painted the new master and made a mold.
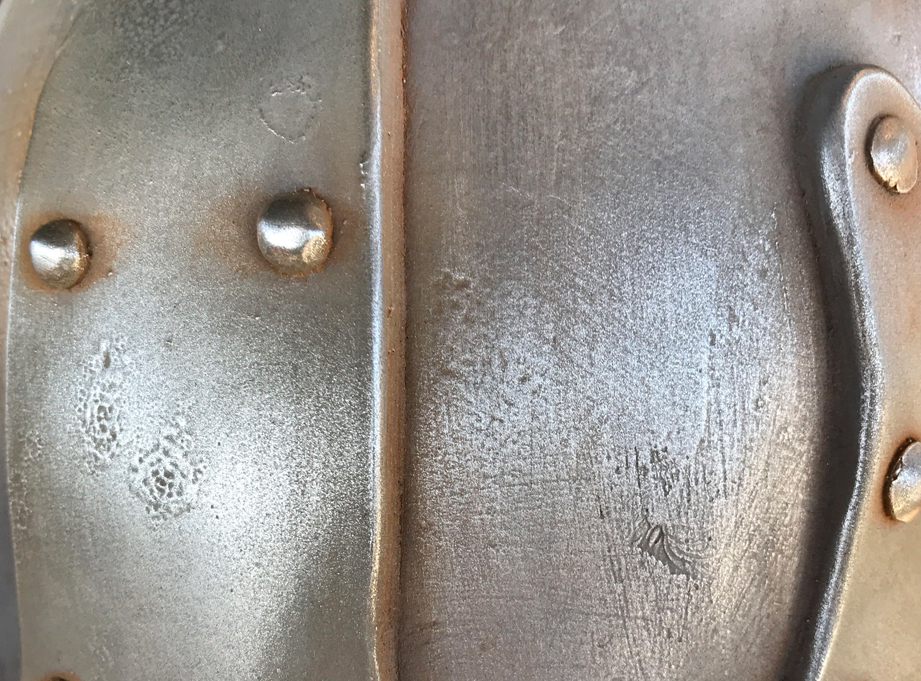
The new copy was cold cast with aluminum powder so it shines up like real metal. My steel wool happened to have some rust on it so I got some free weathering.
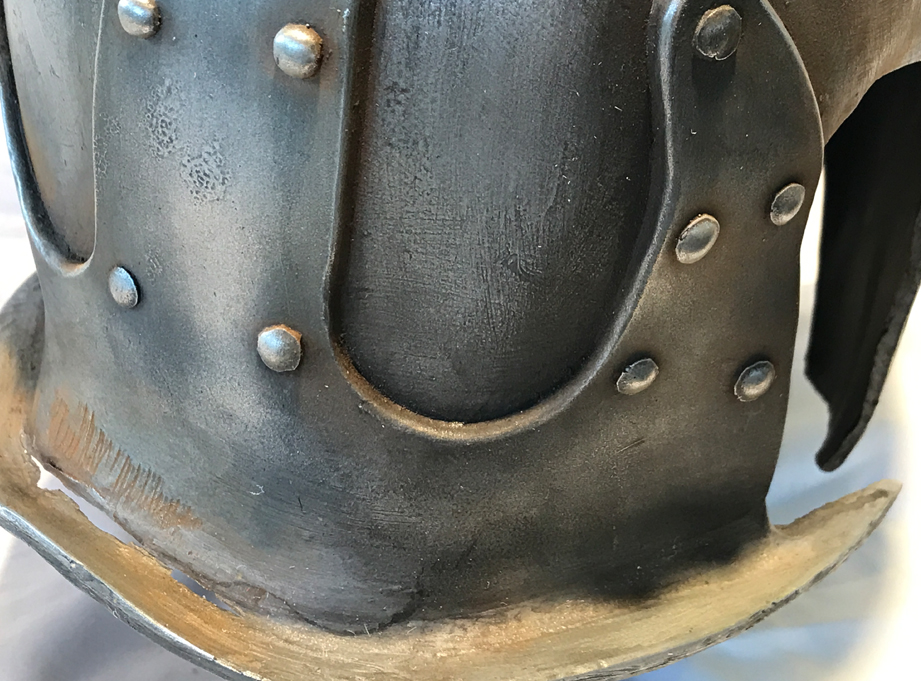
The back plate had a thin spot in the casting. Rather than putty it up, I made it part of the damage.
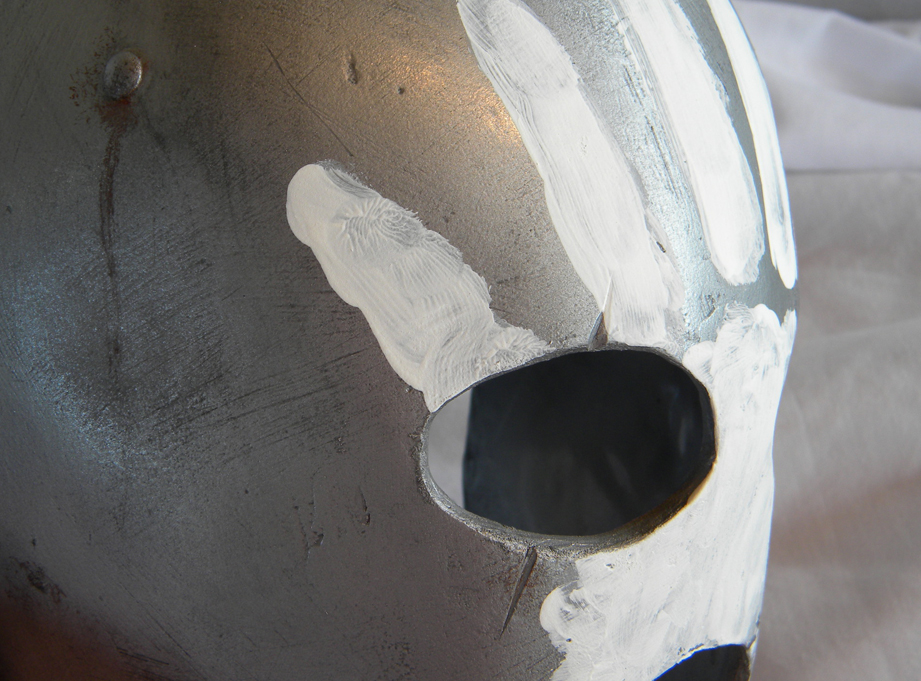
The original helmets have the white hand crudely painted on so I used a chip brush to do a purposely crappy job of it.
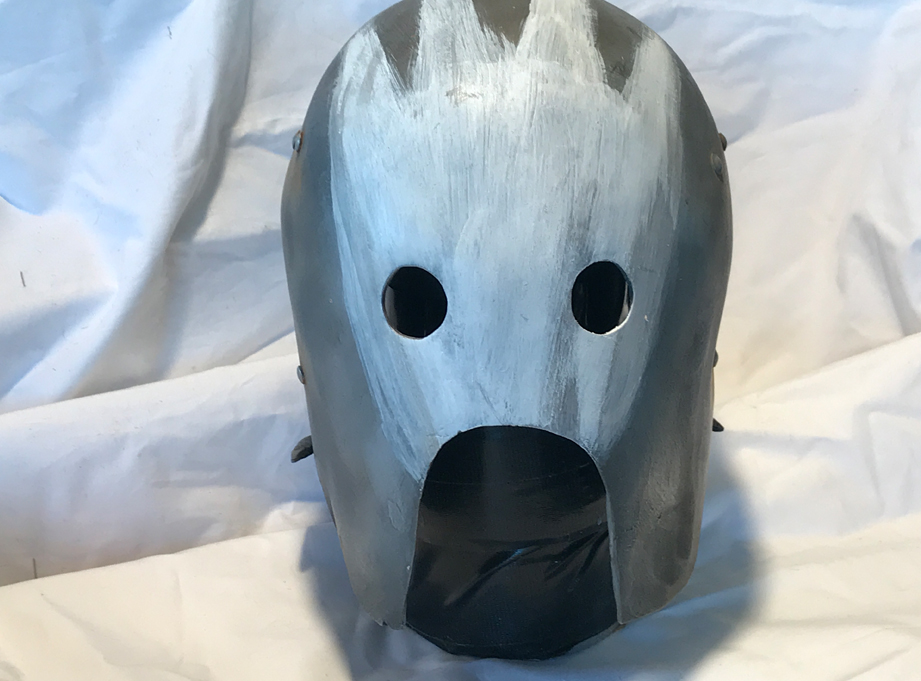
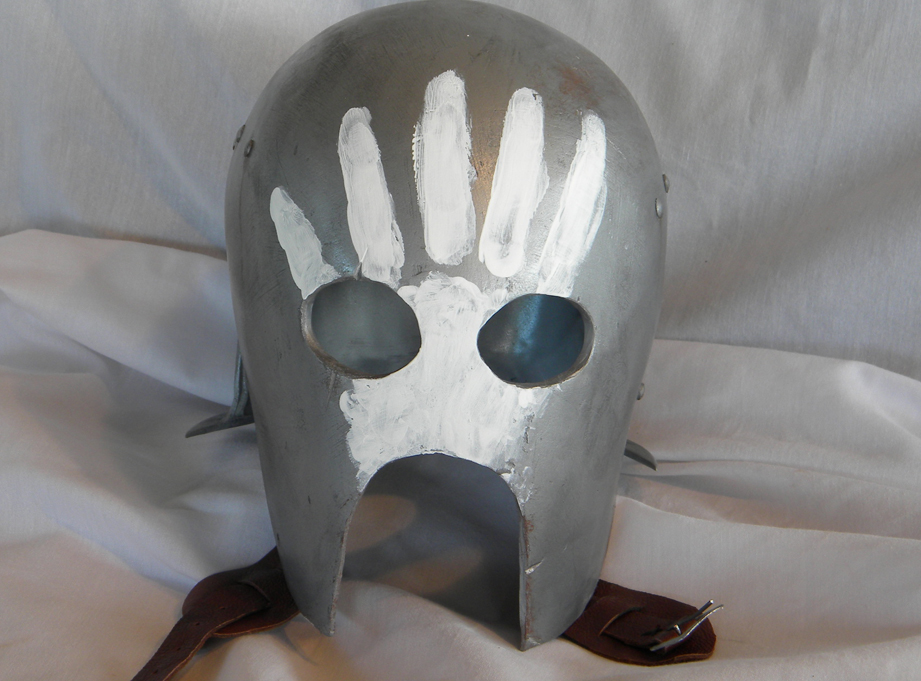
The final helmet

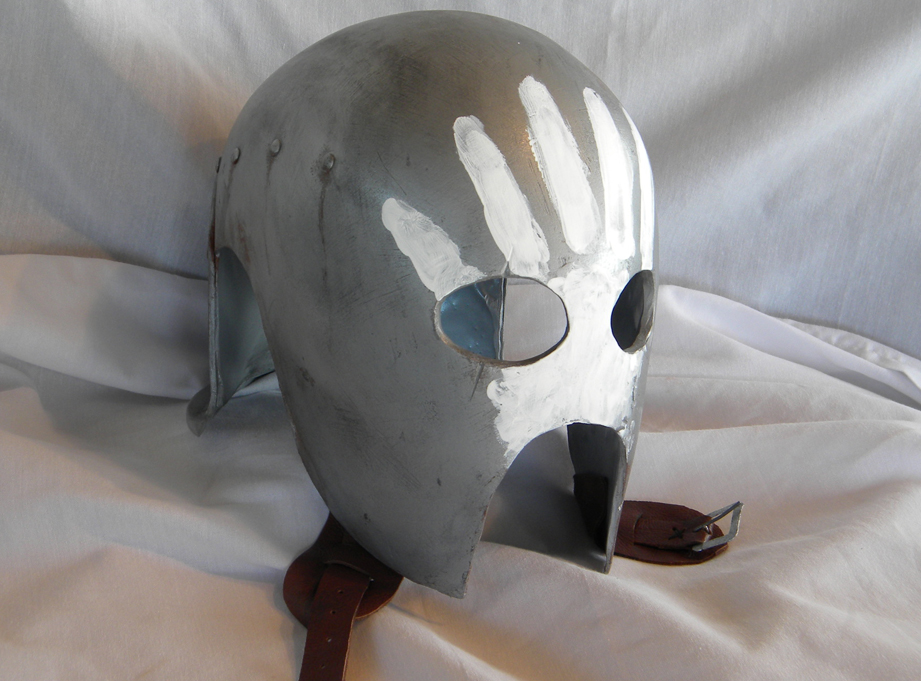
Side view.
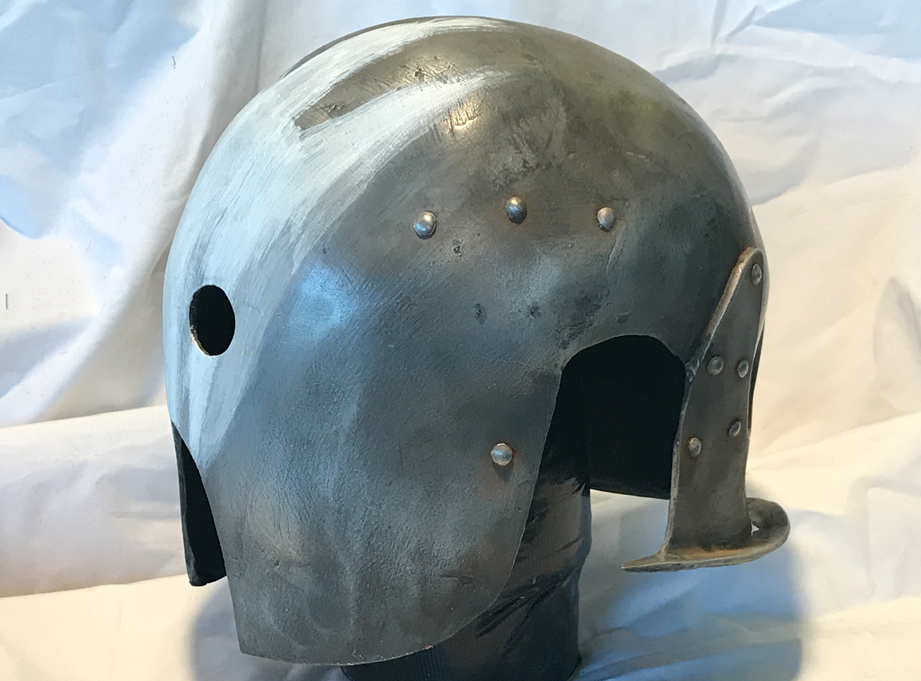
The other side.
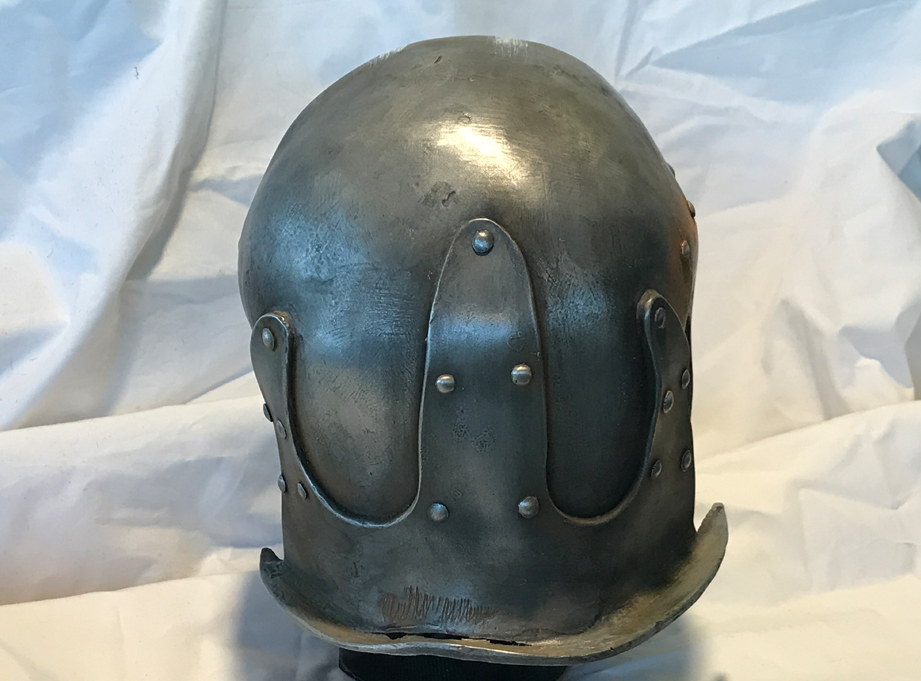
Back view.
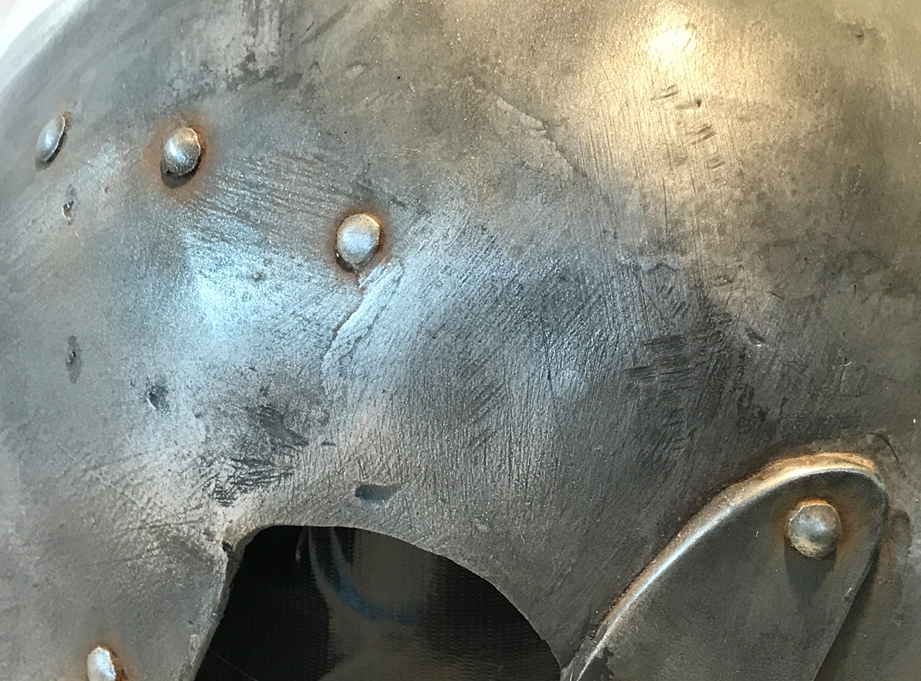
Detail.