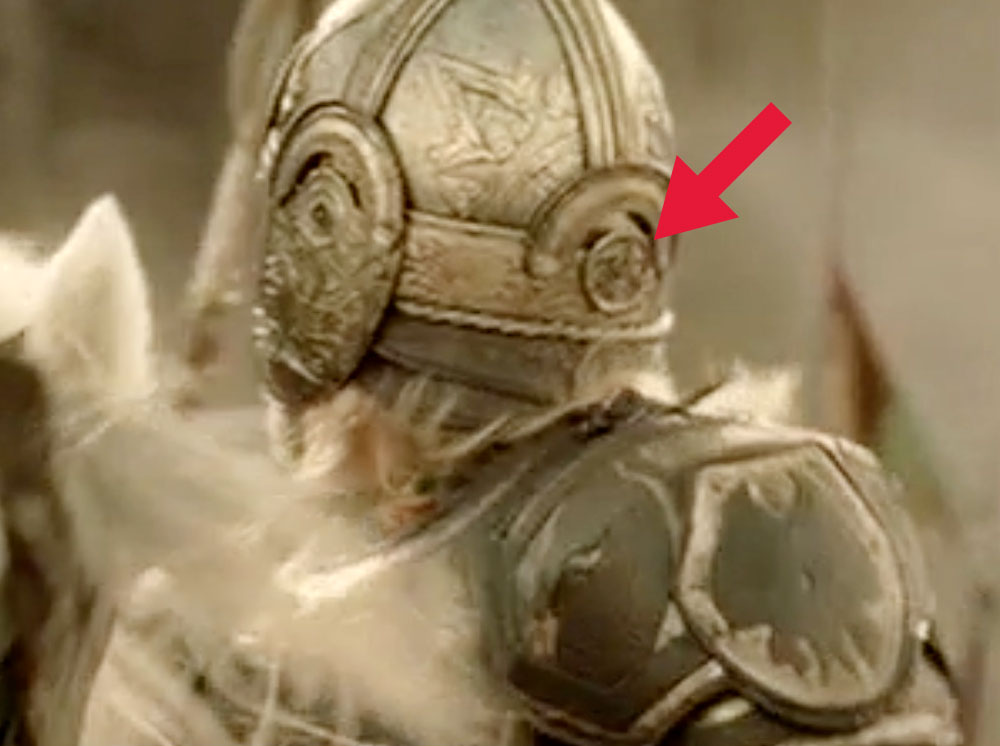
helm of king théoden
january 2015
King Théoden, as protrayed by Bernard Hill, is King of Rohan in The Lord of the Rings movies (and books). The Rohirrim are known for their skills as horsemen and equine graphic elements run throughout their architecture, armor and weapons.
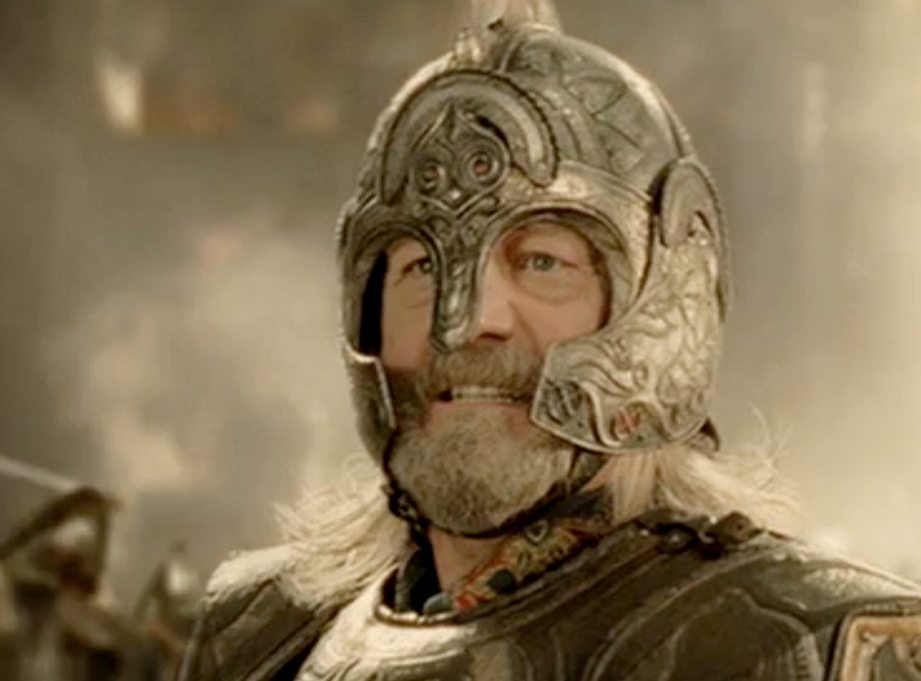
One of the coolest helmets from the Lord of the Rings movies was King Théoden’s. Because of the insane amount of detail, I went into the project with the mindset that it was a long-term project, to be worked on when there was nothing else going on.
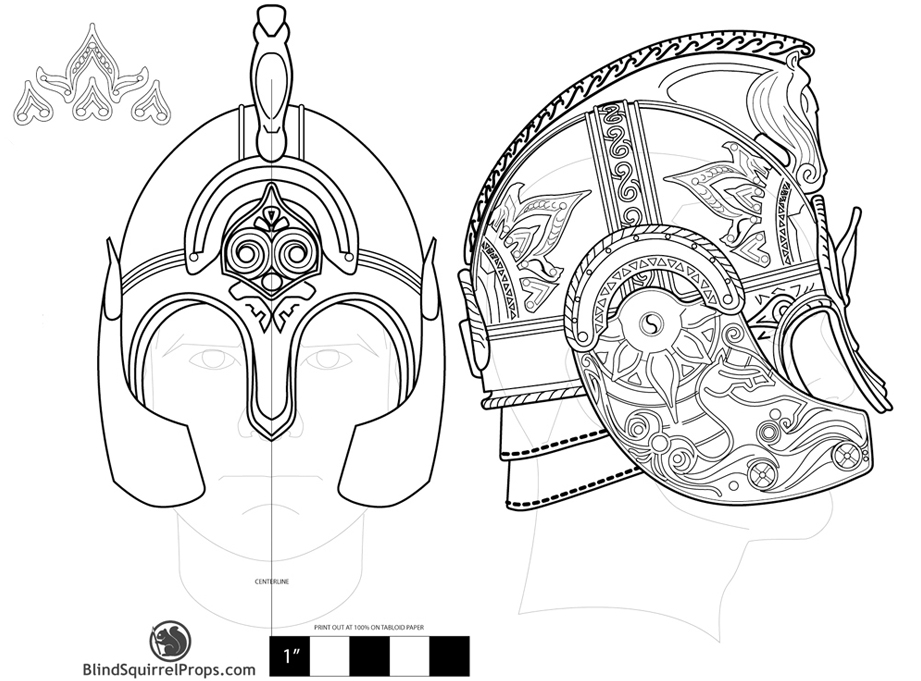
The first step was to draw out a detailed plan of the helmet. This started out pretty loose…I would continue to update this as I went or found new reference.
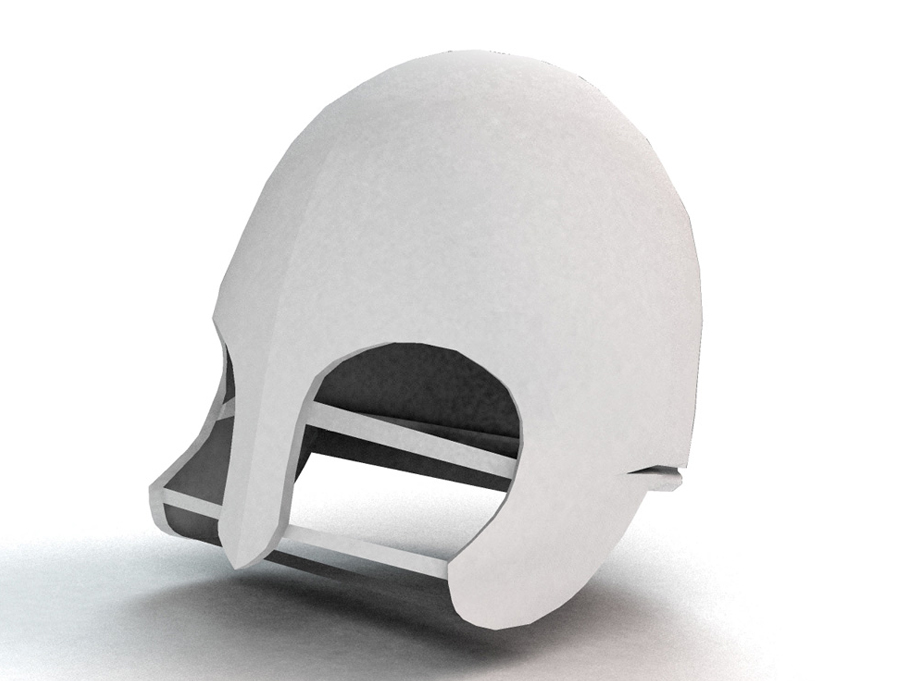
I imported the side and front profiles into Strata3D and sculpted a simple model of the base helmet.
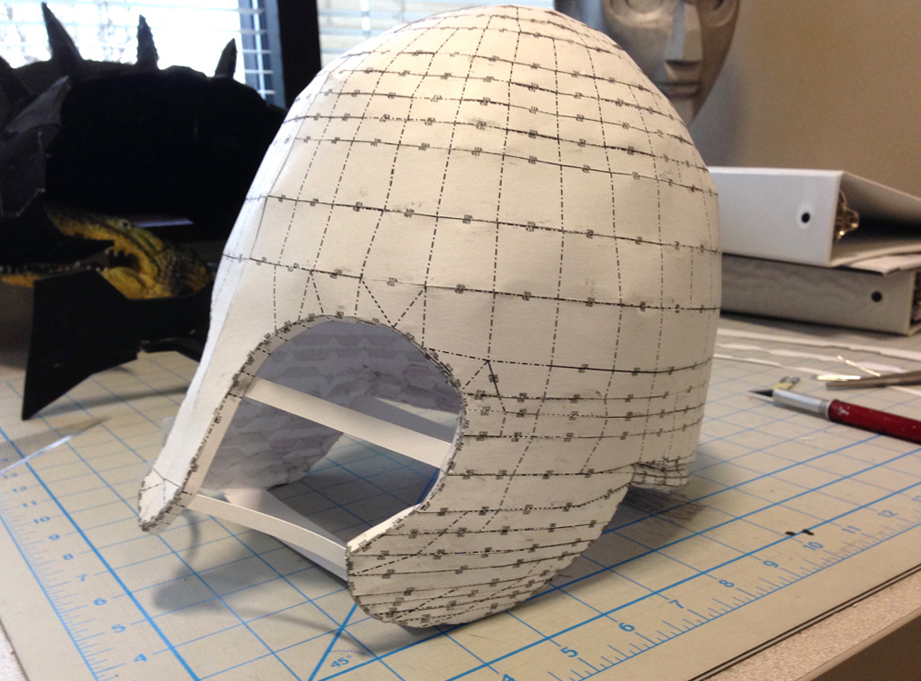
I ran the model through Pepakura and assembled a paper version.

After slushing Smooth-On Smooth-Cast 300 plastic resin into the paper model, I sanded off the edges to start smoothing the surface.
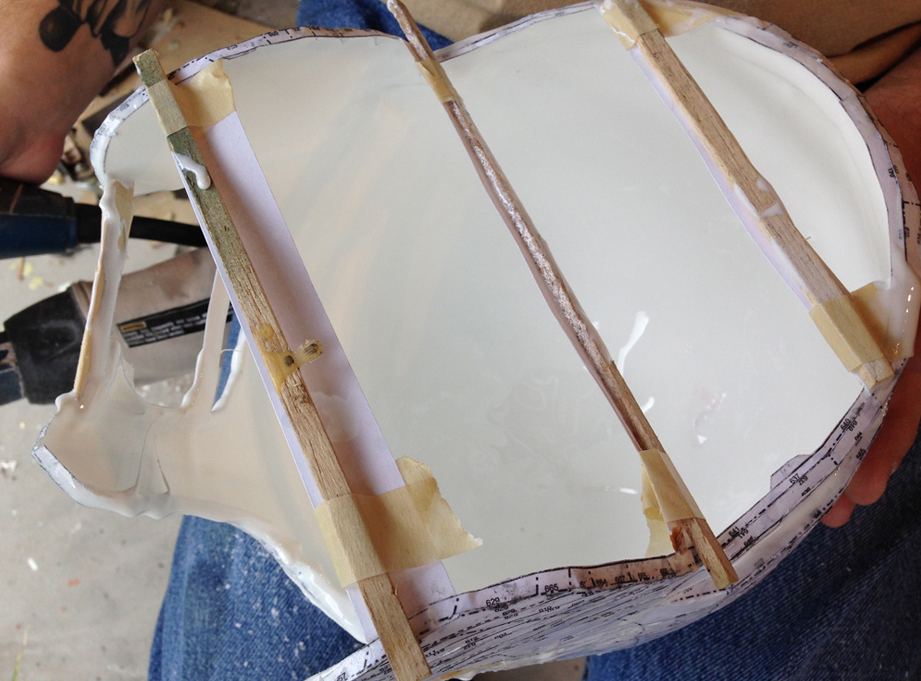
Because the paper model flexes, it was important to brace the geometry when I was adding the resin inside.
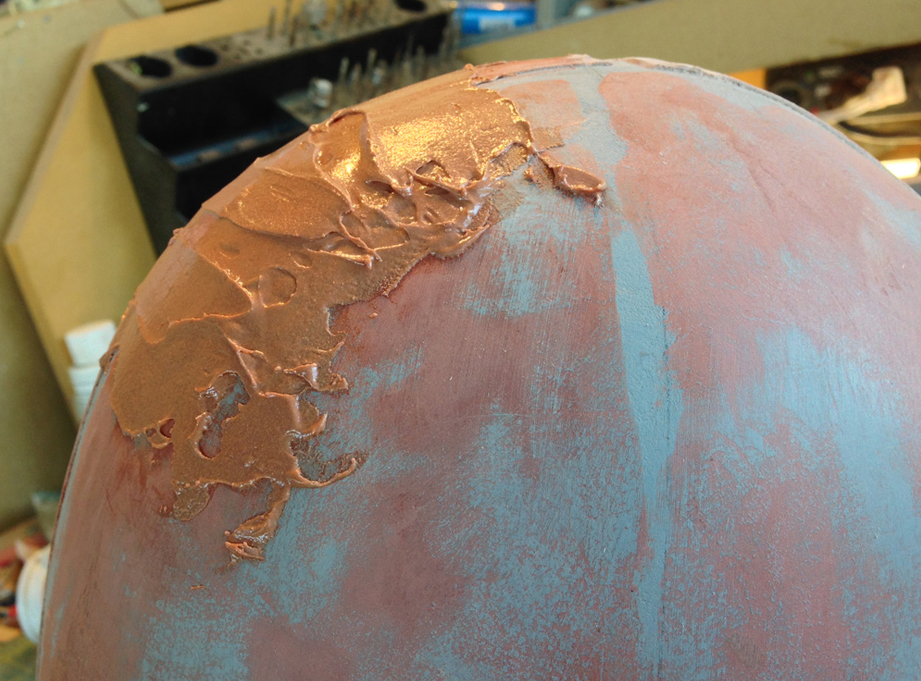
Bondo smoothed the geometry further and corrected any geometry issues.
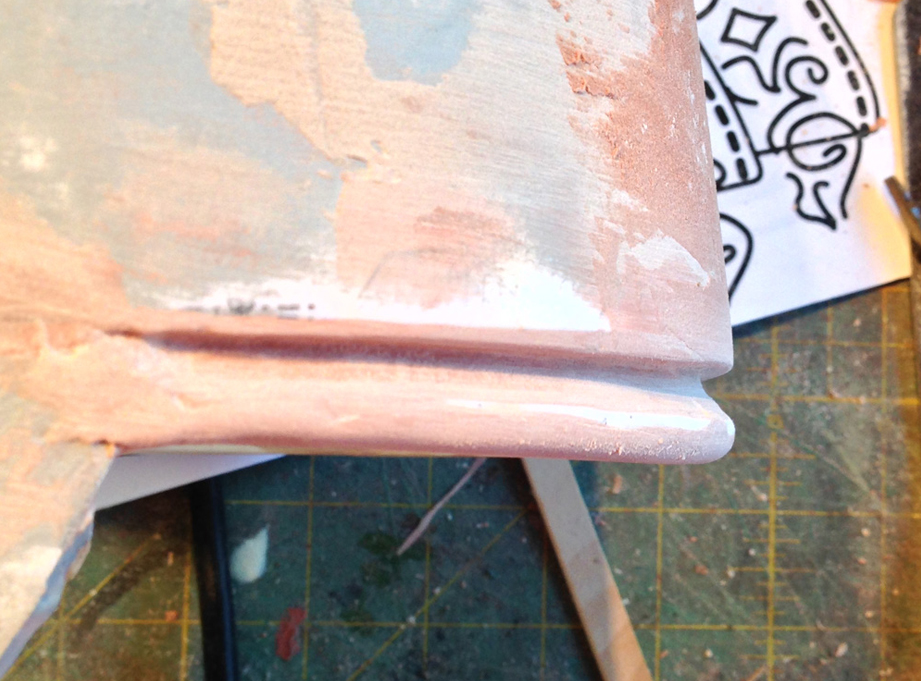
I used more Bondo to refine the back edge.
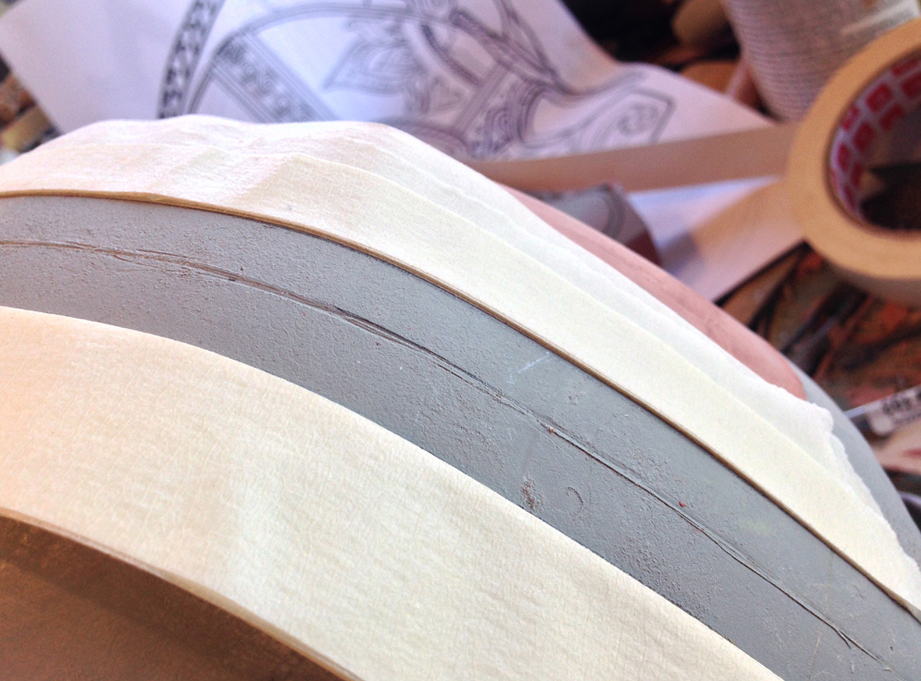
To make the raised bands that run down from the top of the helmet, I stacked up nine layers of masking tape and placed them on either side of the band areas.
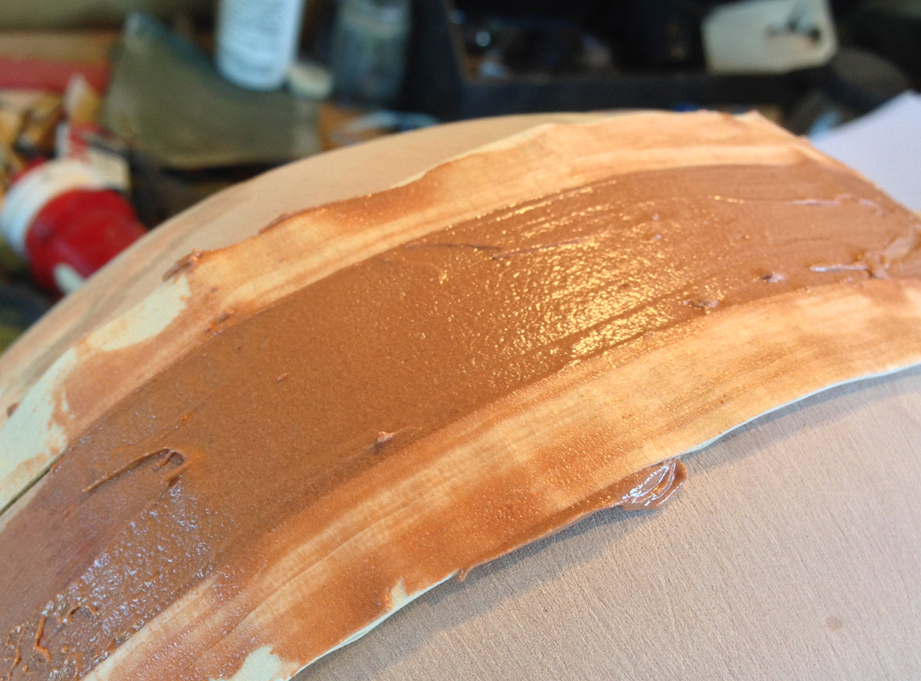
Bondo was squeegeed between the tape barriers using a flexible piece of plastic.
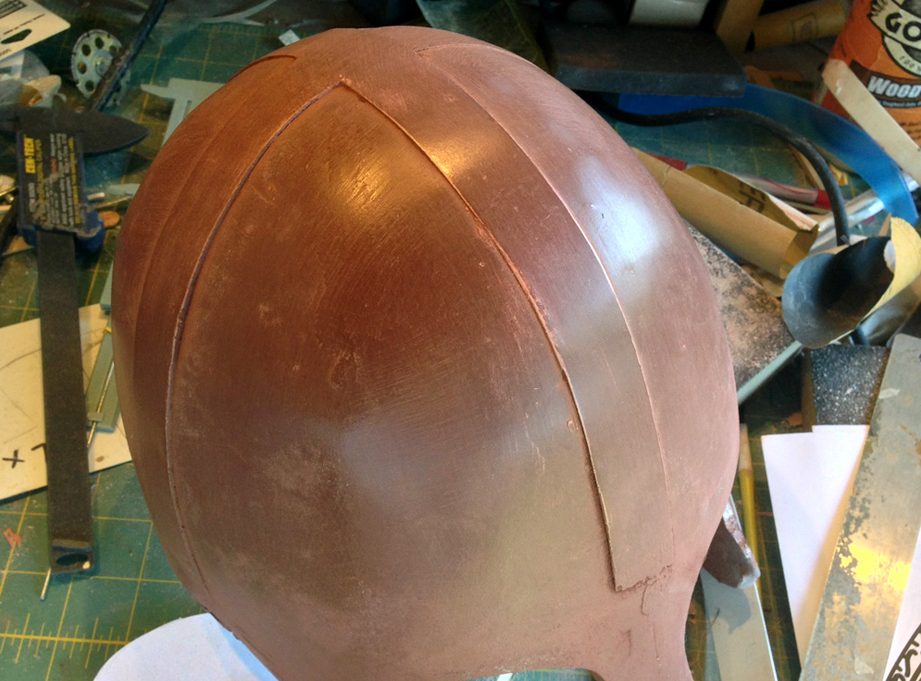
Once the tape was removed, the resulting bands are a consistent height.
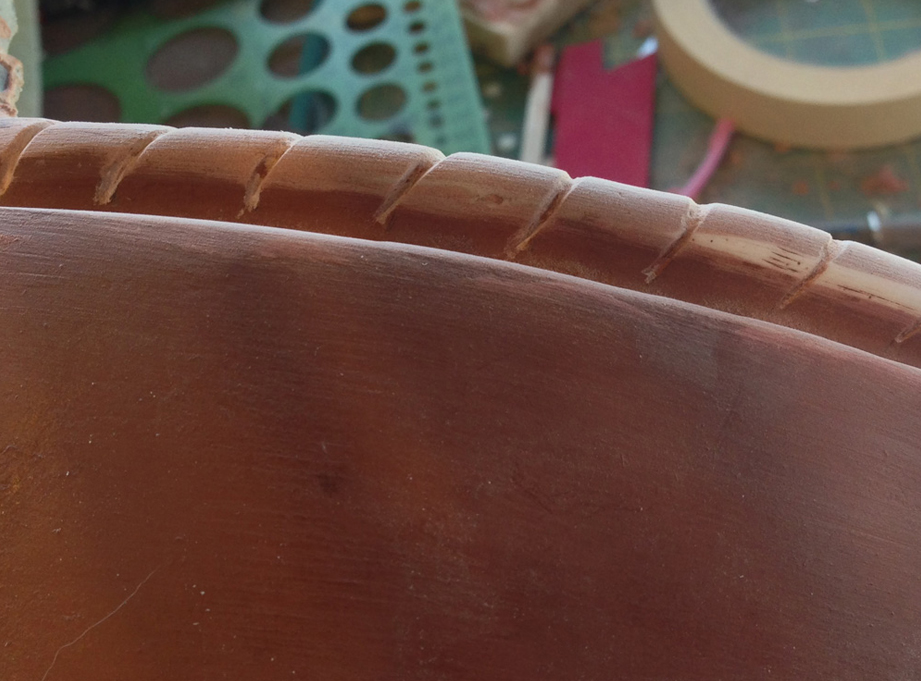
I cut the back edge into segments with a Dremel cutting wheel. I wasn’t very happy with the results and later changed the slot to a flatter angle and rounded the segments more.
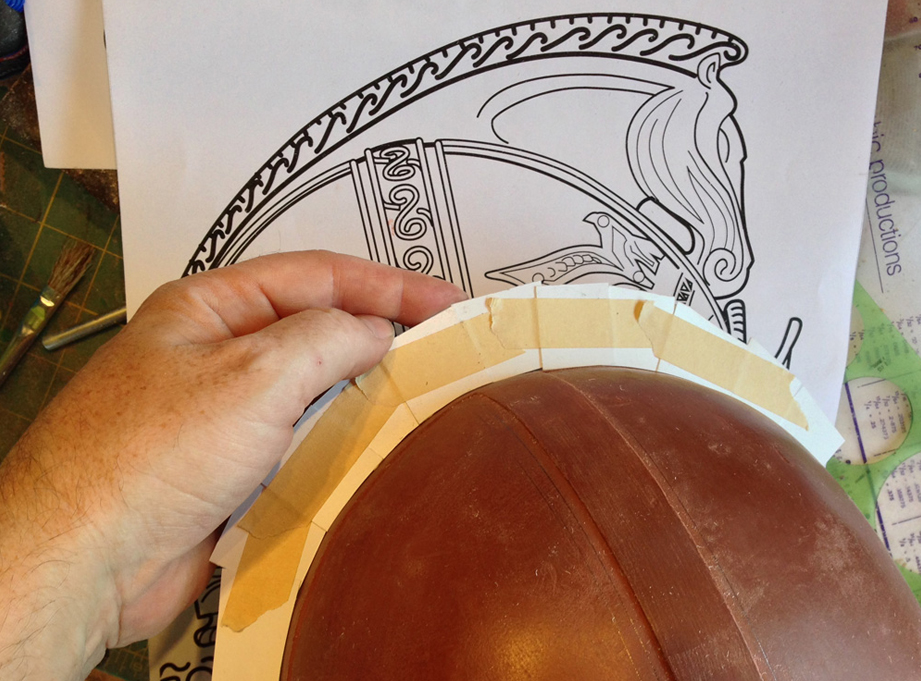
To make a template for the crest, I taped small pieces of cardboard together along the profile.
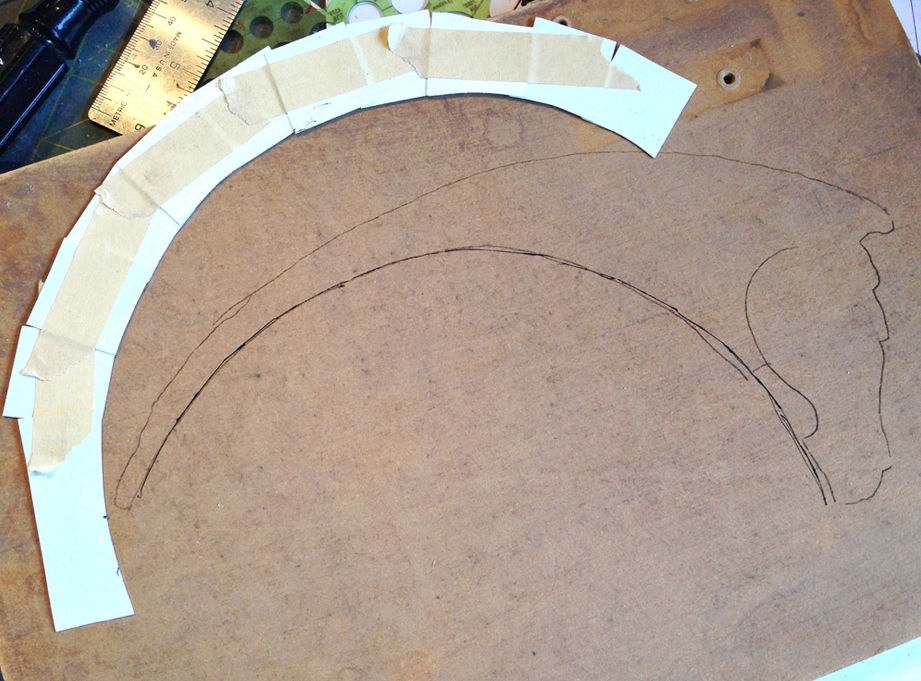
This was traced onto a piece of MDF and the rest of the crest was transferred over with carbon paper.
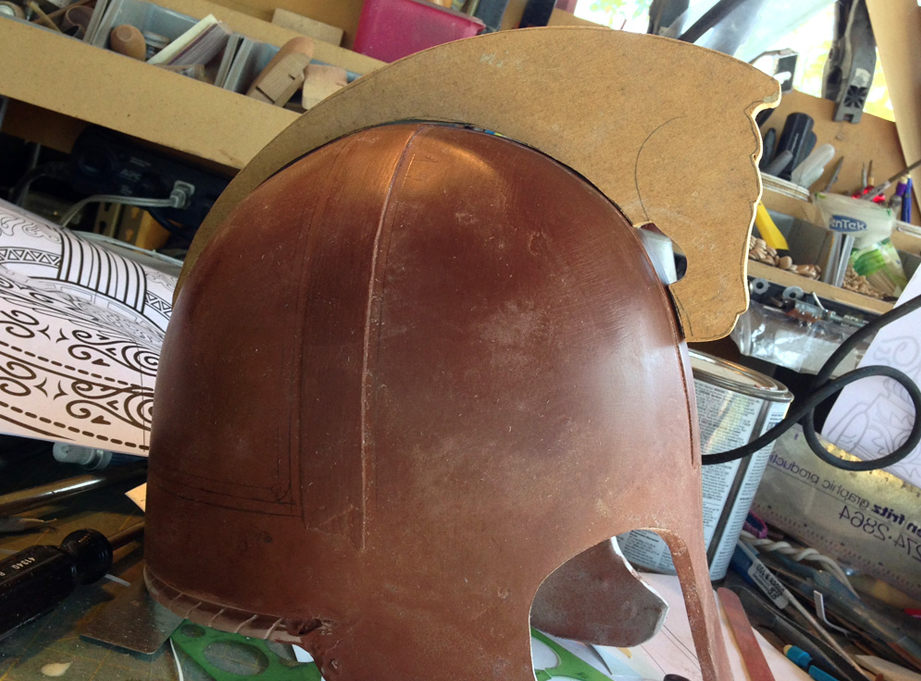
A test fit of the trimmed out 3/4″ MDF crest.
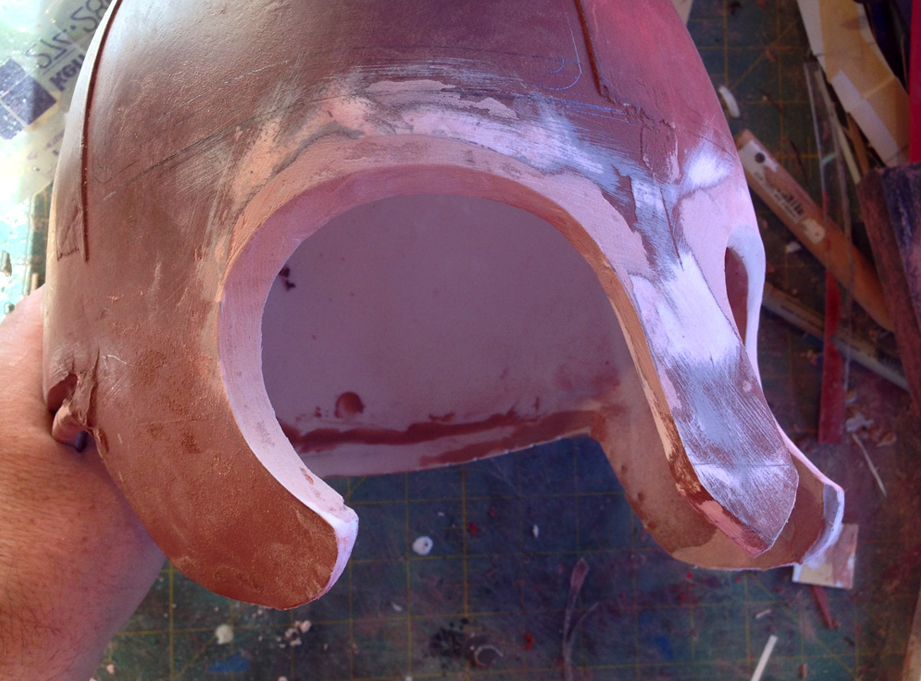
I refined the edges of the helmet with Bondo and added a Bevel to the eye holes.
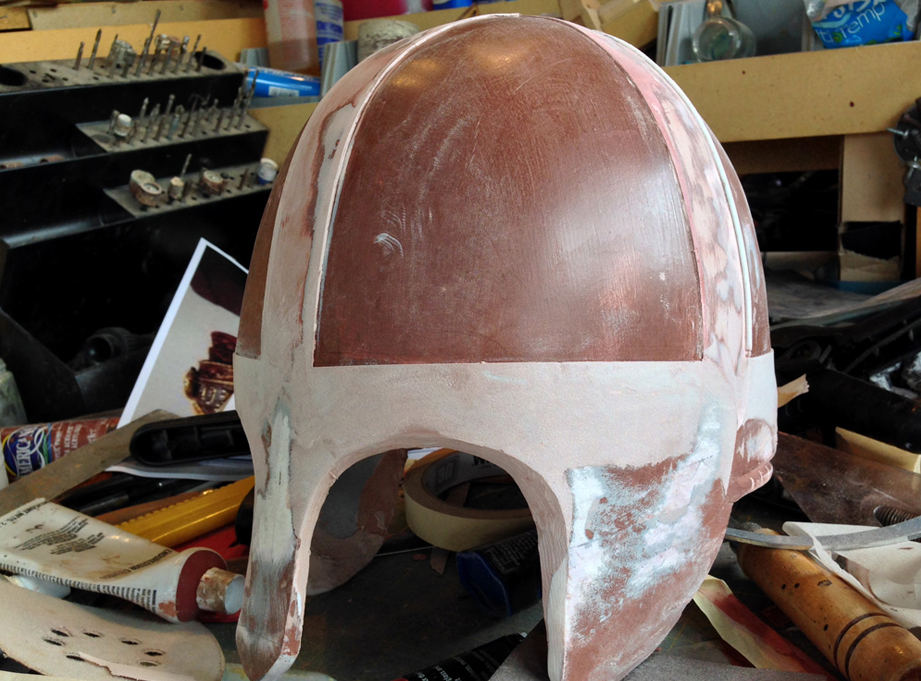
I used the tape and Bondo method to build up the horizontal edge around the helmet as well.
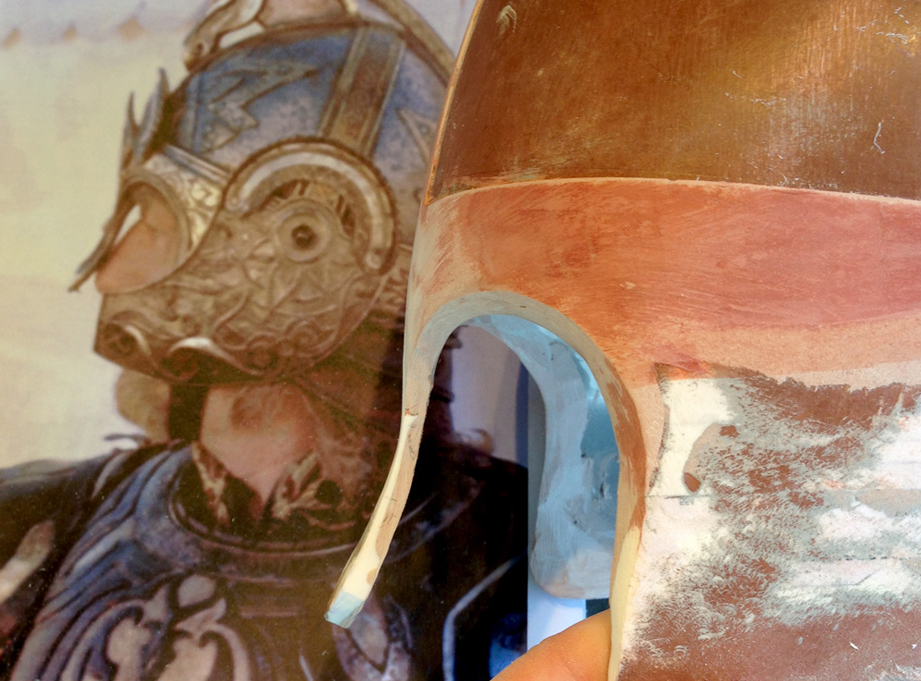
The nose piece needed some correction to match the curve of the original.
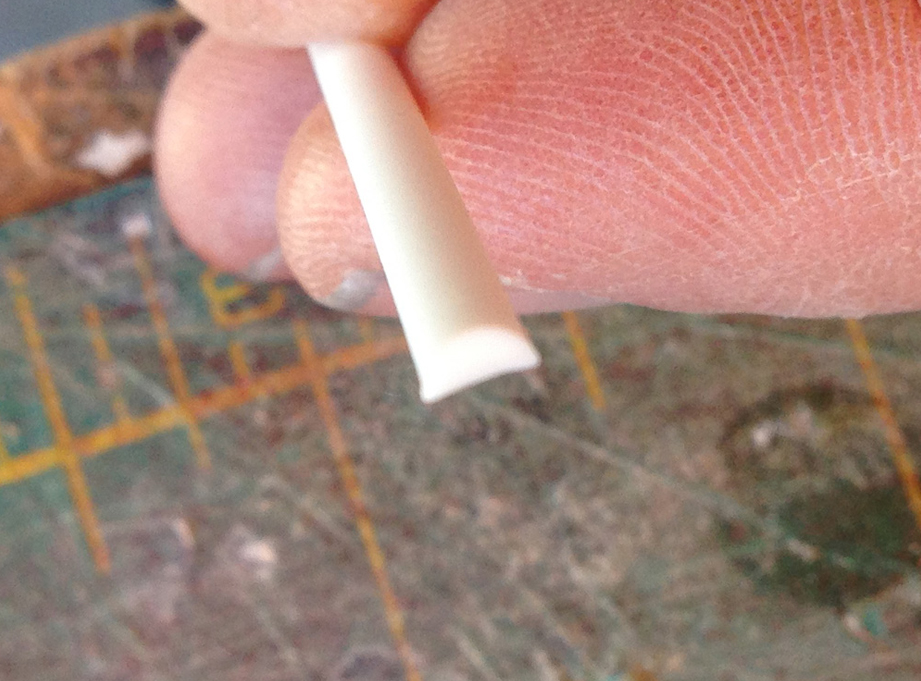
I bought half round styrene strips to apply to the raised bands. For some reason the flat edge of the half round strip is not actually flat. This causes problems when you try to glue it down.
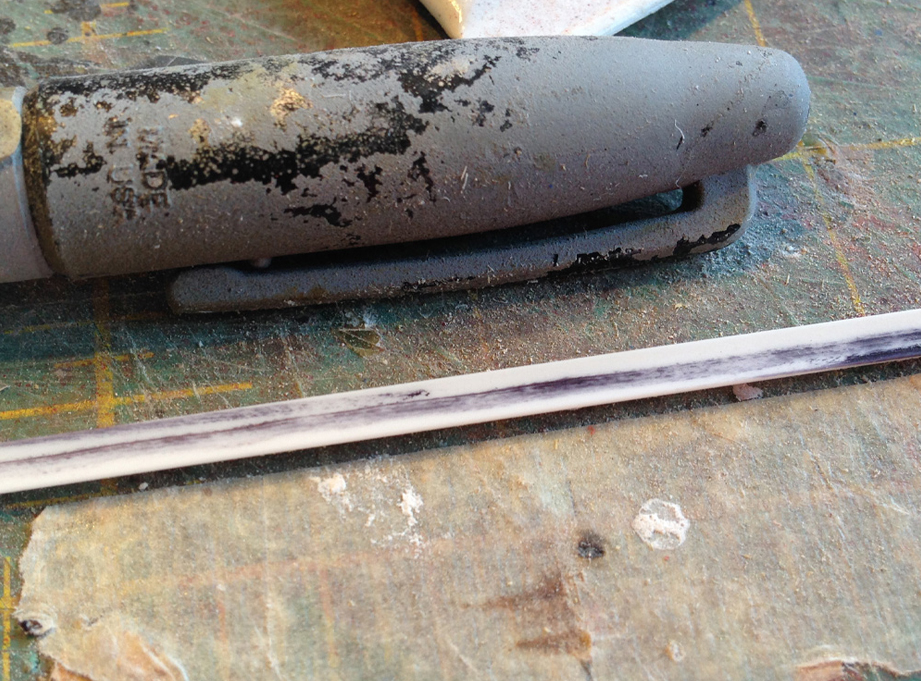
To fix this, I use a Sharpie marker to draw on the flat side.
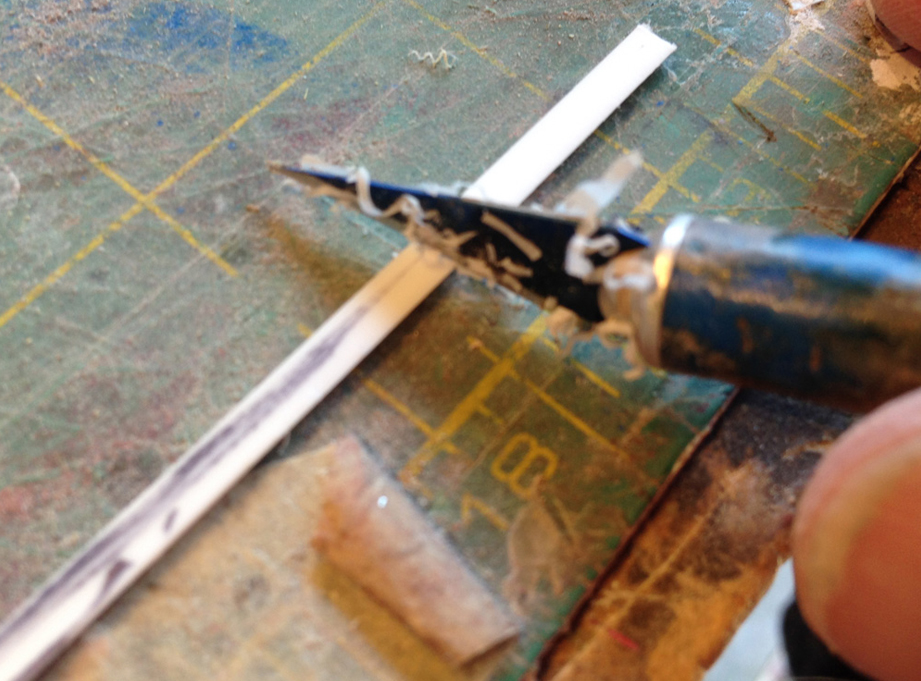
Then I use an Xacto blade to scrape the side flat. When the marker is gone, you have a flat surface.
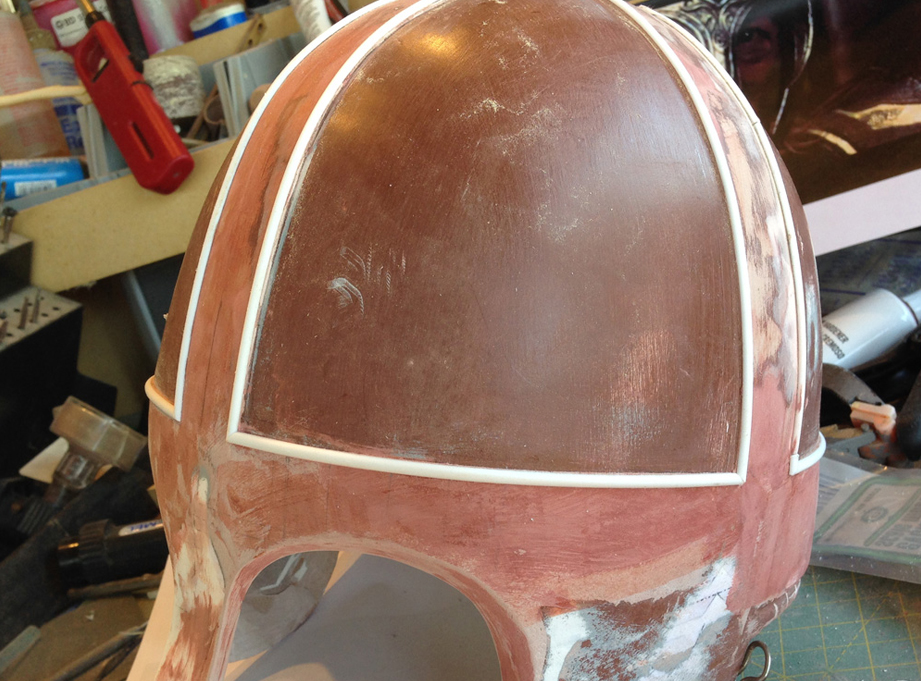
The strips could then be glued to the raised edges.
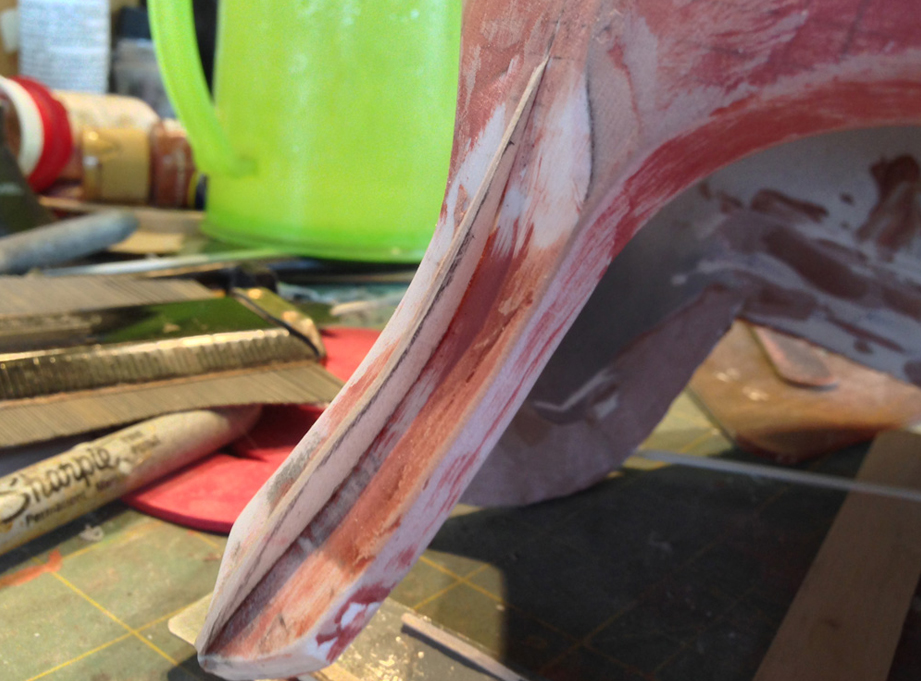
The nose guard has a raised triangular profile which I defined with a piece of plastic along its center.
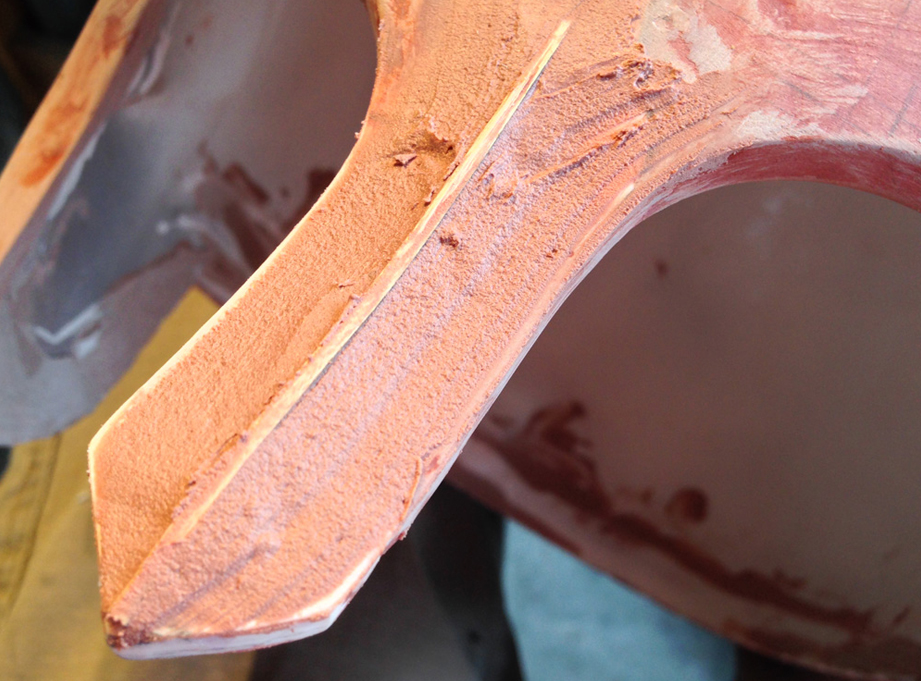
Bondo was spread between the raised center profile and the edge.
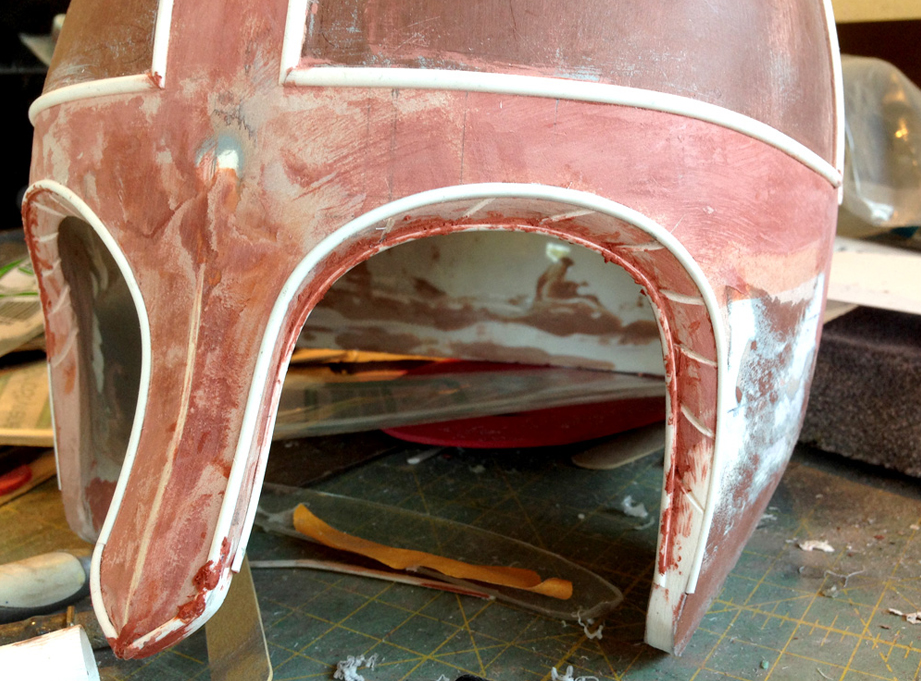
I added detail to the eye bevels and glued thinner half round to the inside of the eye holes.
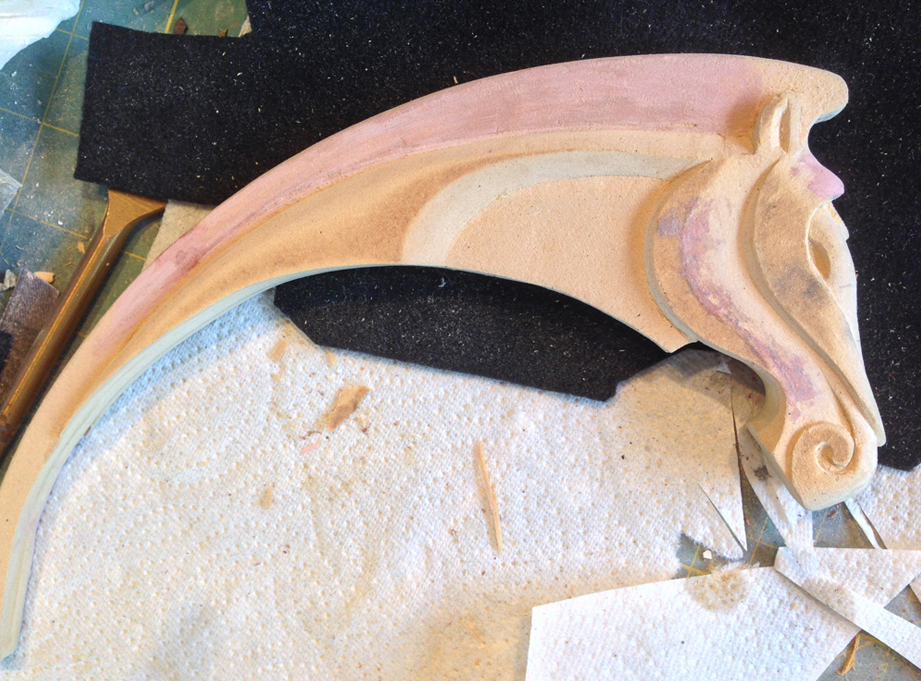
Back on the crest, I carved the details of the horse using my Dremel tool and Xacto blade.
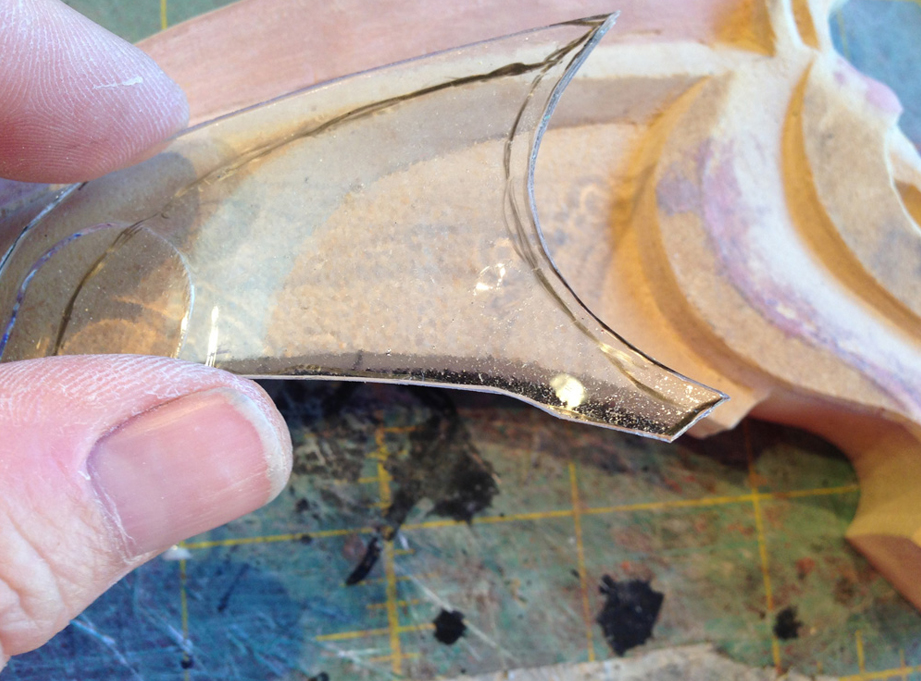
Once the right side was done, I traced templates of each section onto clear plastic.
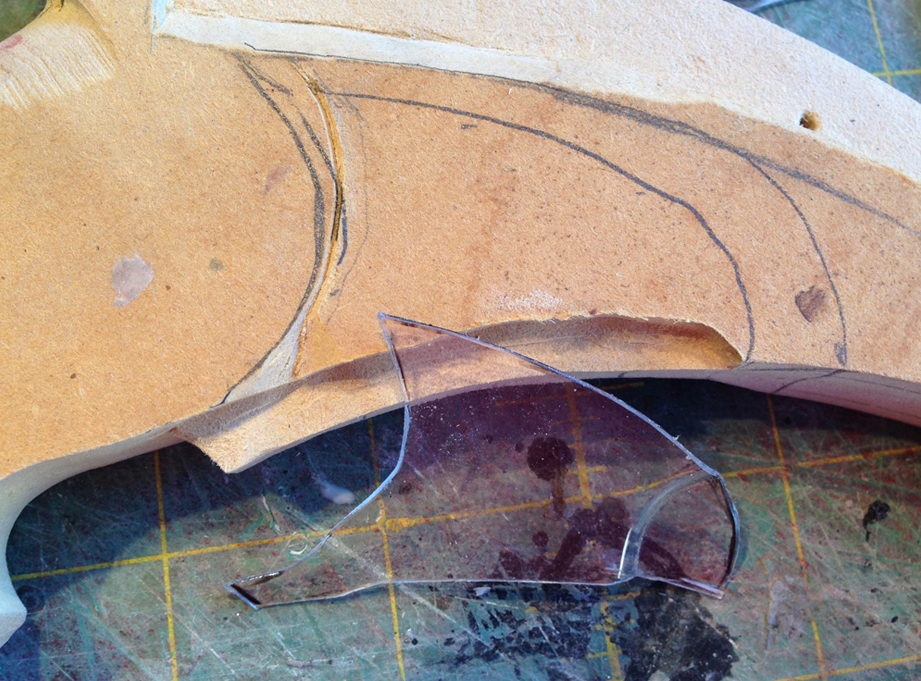
These were flipped and traced onto the other side.
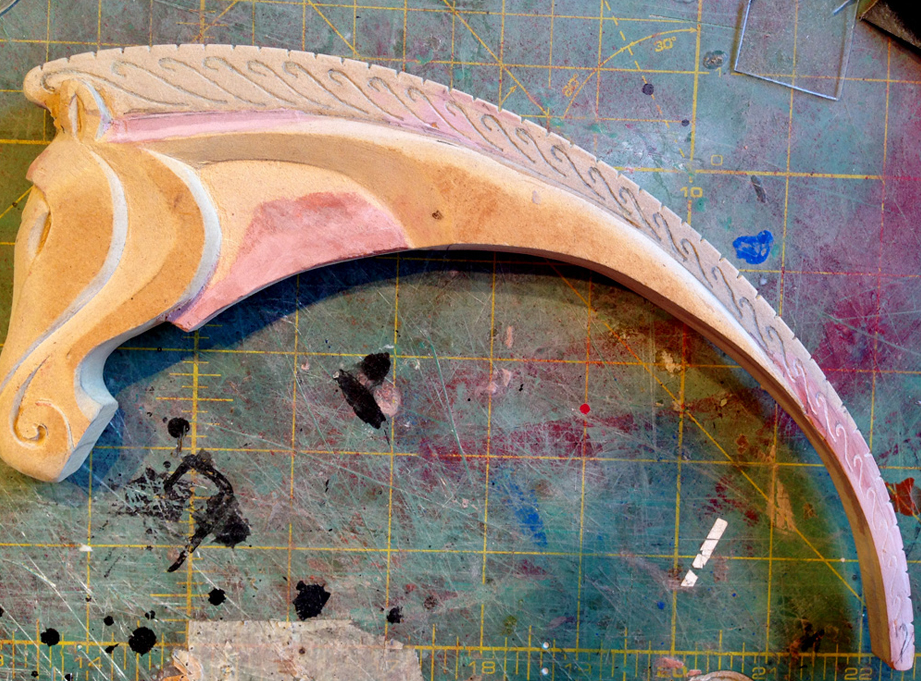
Then simply carve the other side to be perfect symmetrical! Now that I think about it, it would have been much easier to do this in 3D. Next time, right?
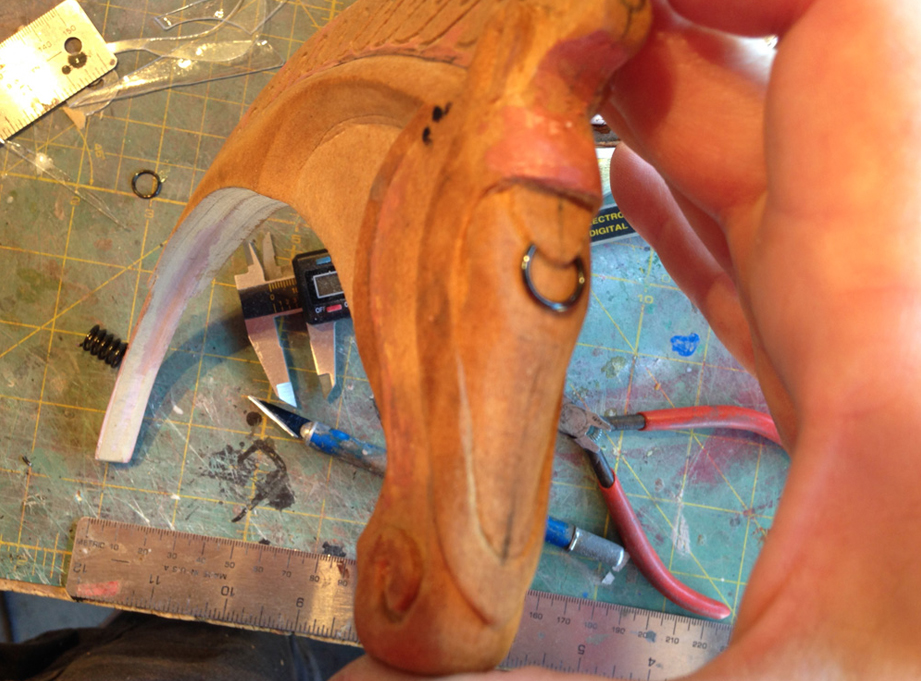
Since it would have been super hard to sculpt, I cut a link from a spring for the ring on the horse’s forehead.
To get the detail while still being symmetrical, I opted to make the decorative elements with Strata3D and then upload them to Shapeways for printing. Click for a time lapse of sculpting the “back button”. It actually took about 90 minutes.
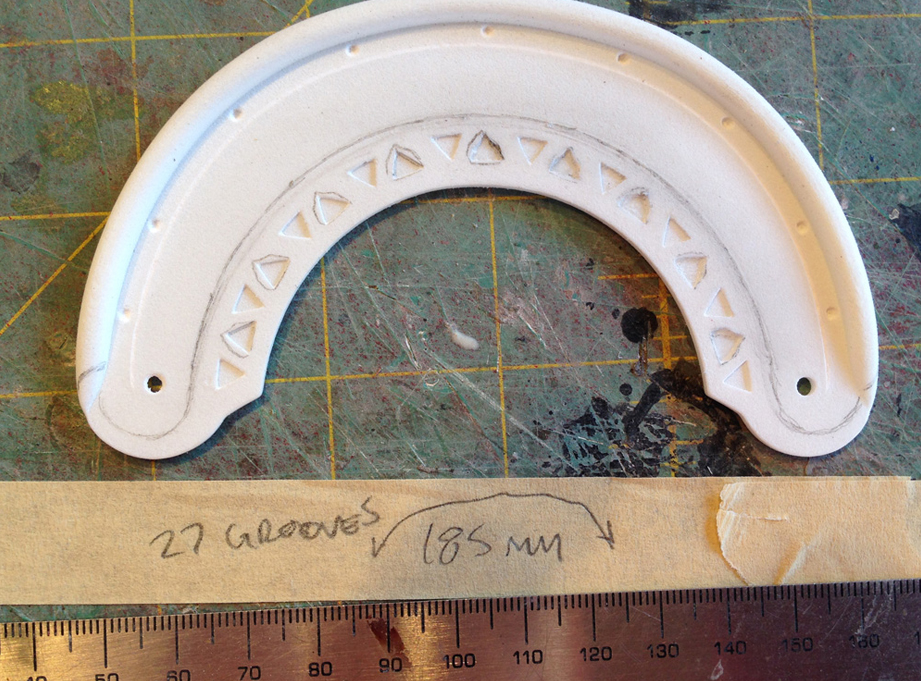
I received my first 3D printed part from Shapeways. Since I wimped out and didn’t model all the detail into the arch, I would have to add it before duplicating the production parts.
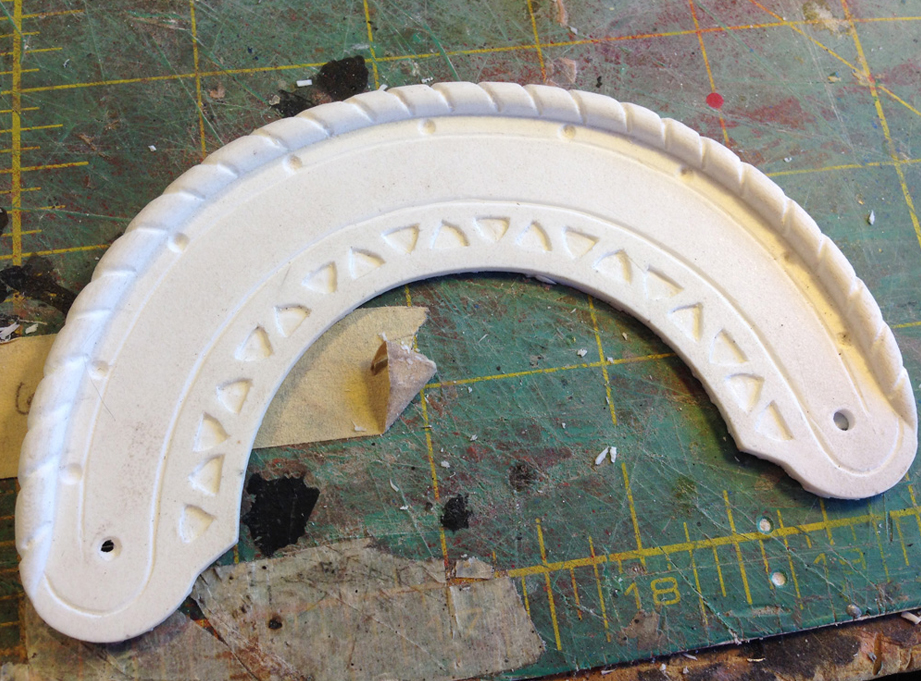
I carved the top into segments, added a scribe line and rounded the triangular pieces.
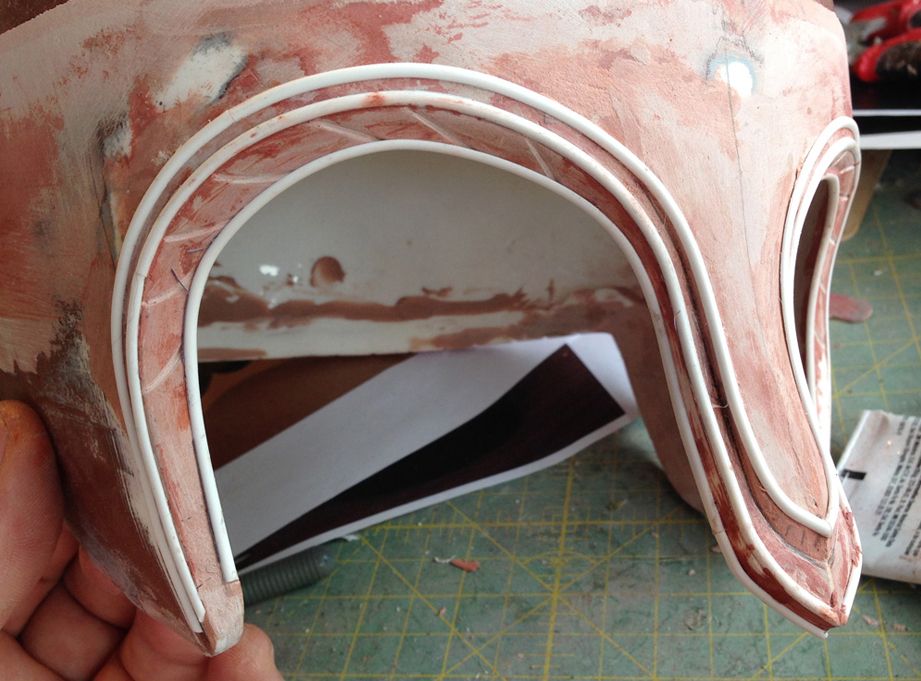
I added a second level of half round to the face so I could make a template for the center detail.
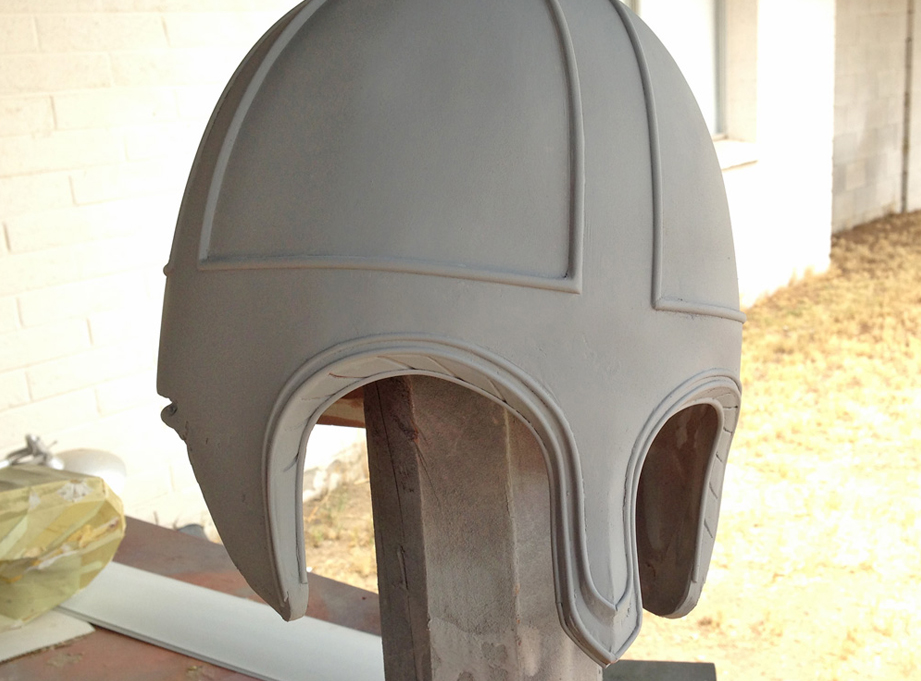
A quick coat of primer shows the progress so far.
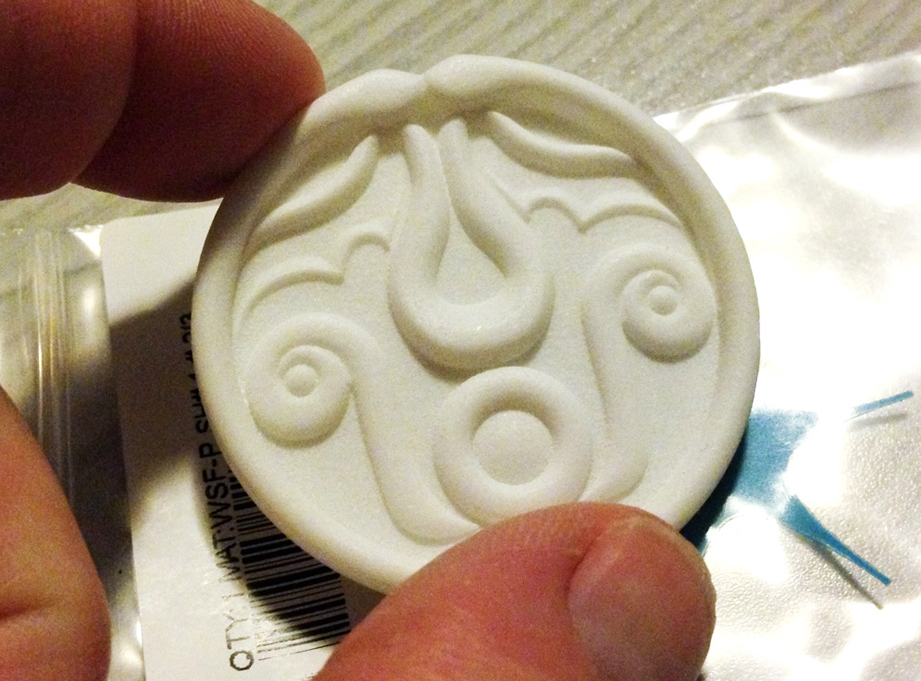
The back button back from Shapeways.
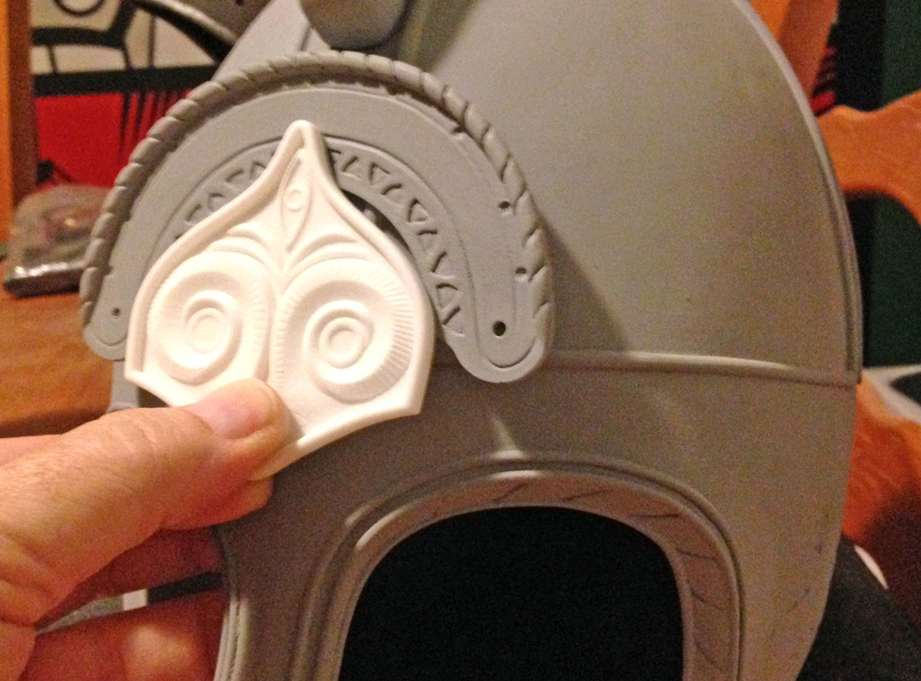
More 3D printed parts arrived from Shapeways. I used the polished option so a coat of filler primer and a quick sanding allows it to be molded.
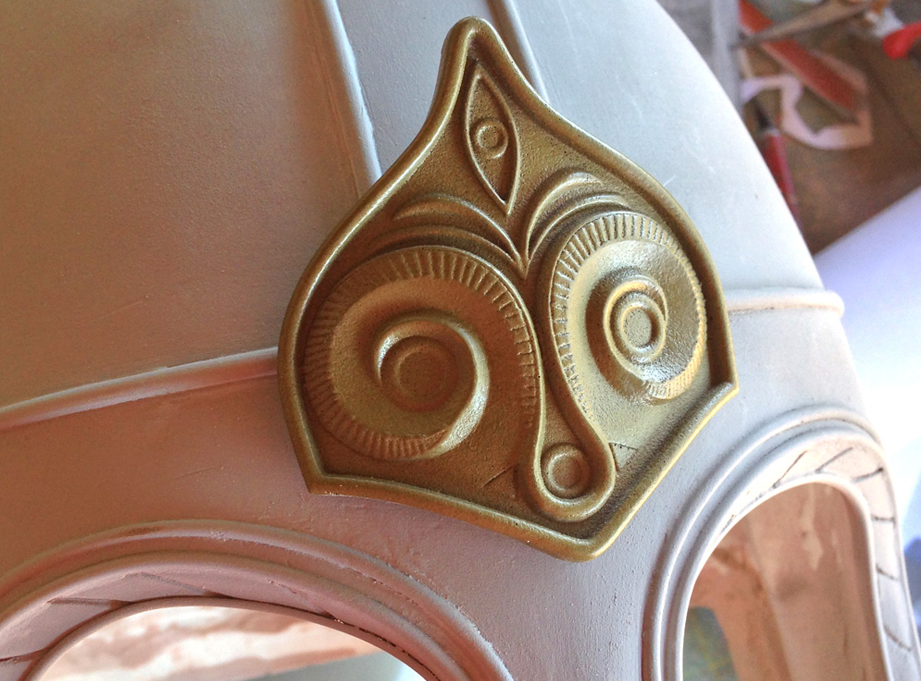
All pieces were cold cast in brass.
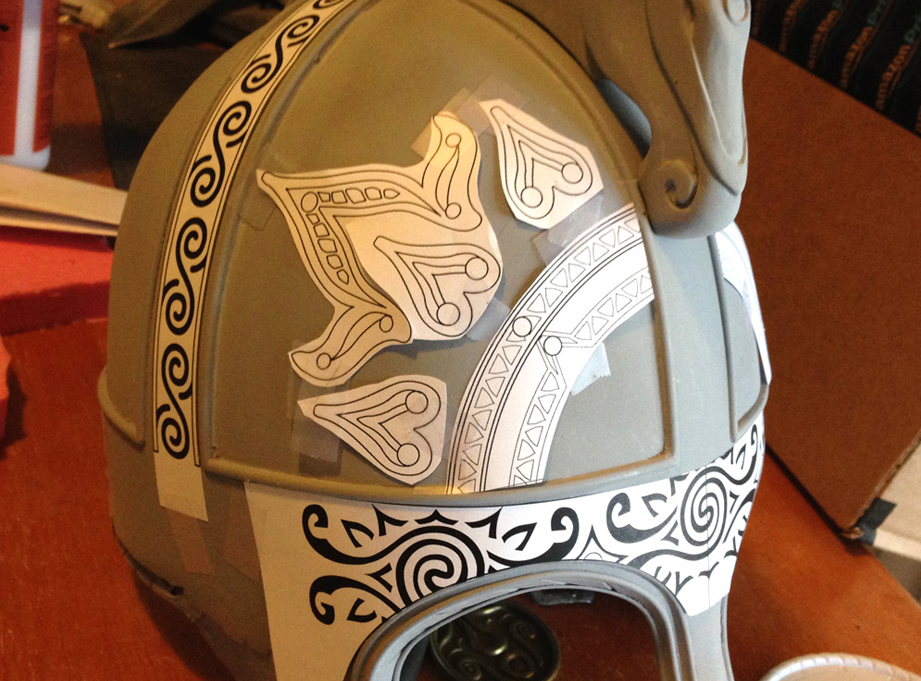
I printed out the plans and taped them to the helmet to double check decoration sizes before sculpting them in 3D.
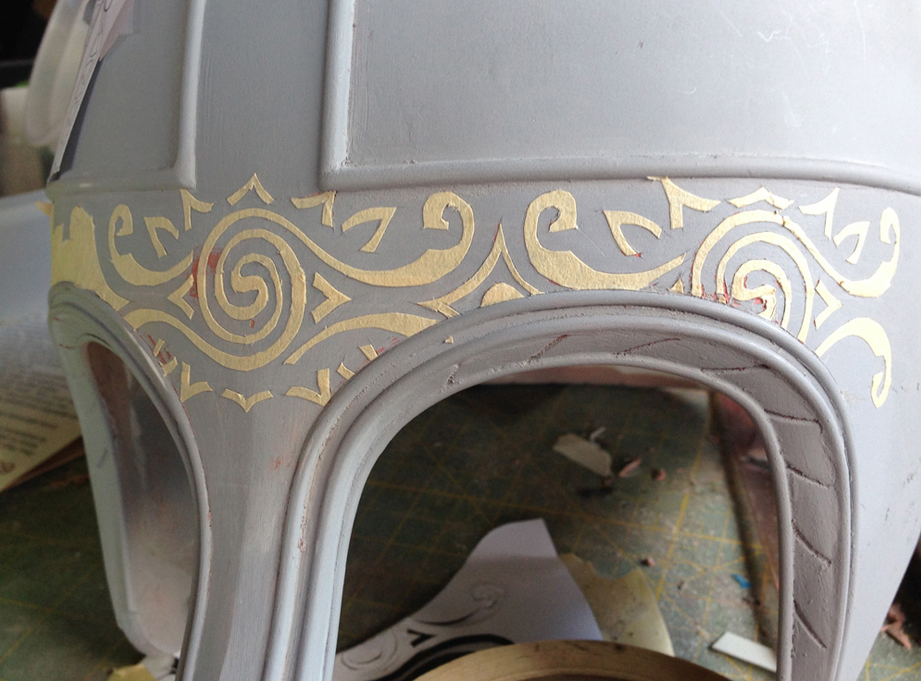
To make the recessed pattern around the brim, I covered the area with masking tape. A print of the pattern was taped in place and I cut all the shapes with an Xacto blade. The print and excess masking tape was removed to reveal the pattern.
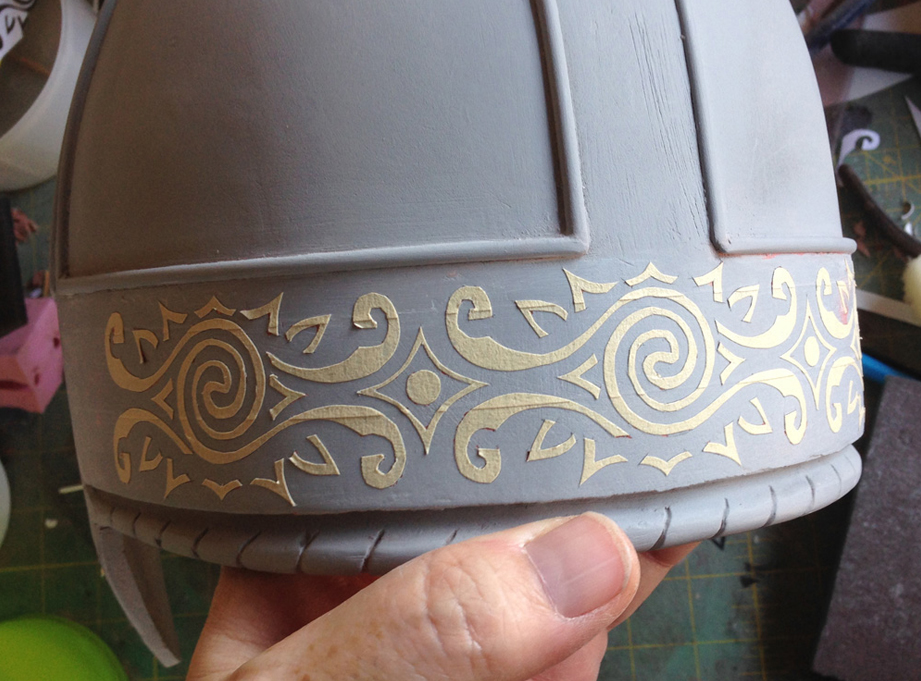
The design went all the way around the helmet. that's a lot of cutting!
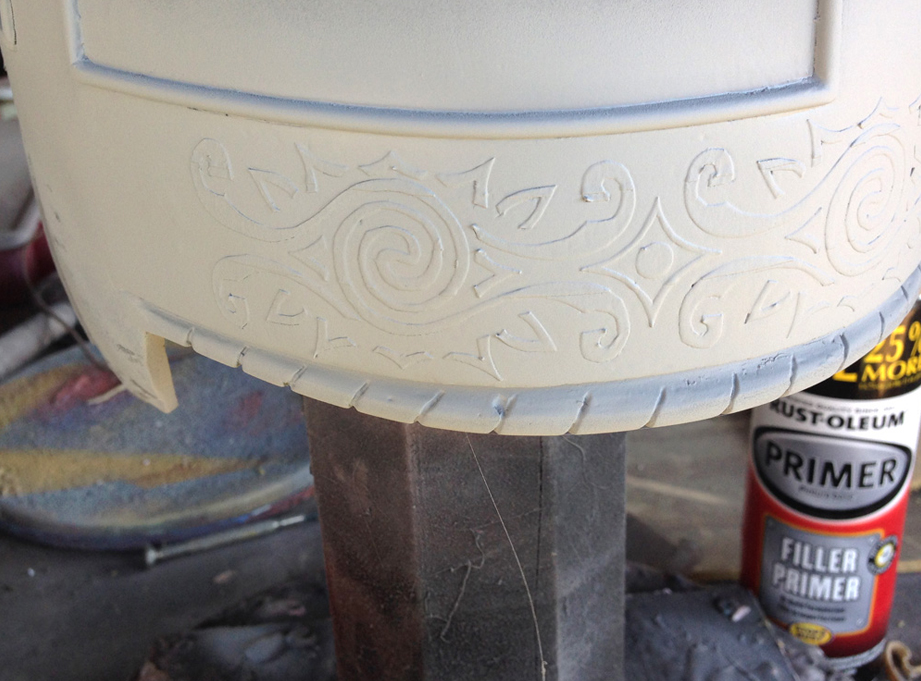
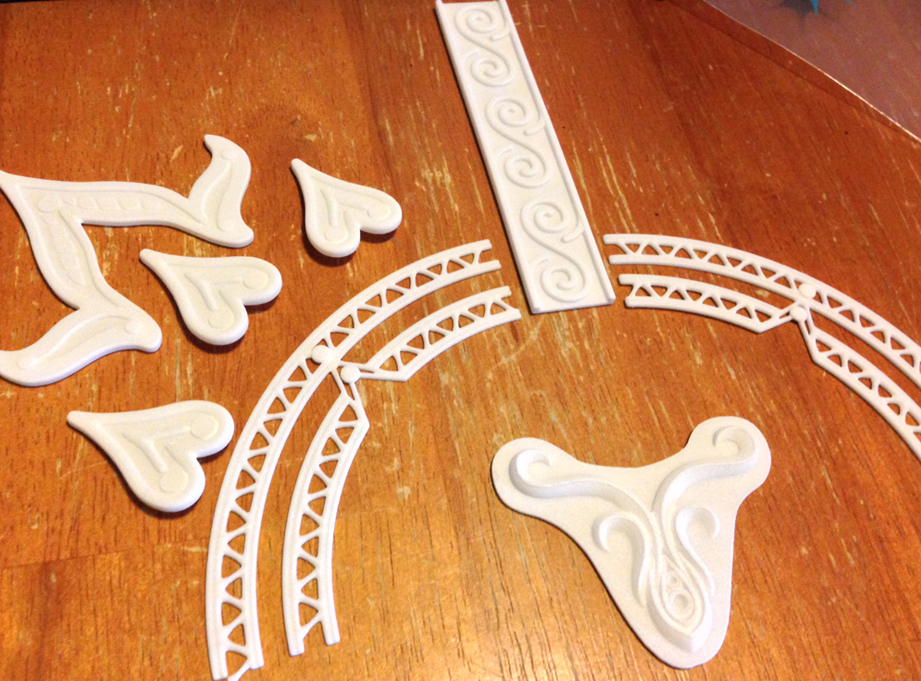
More 3D printed parts back from Shapeways.
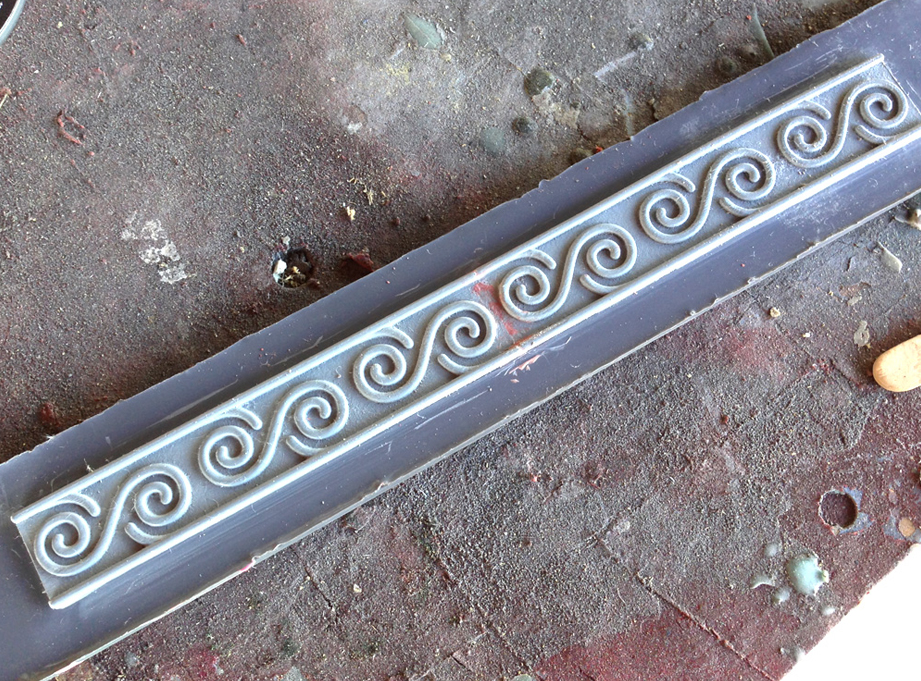
The band pattern would be too long to print as one piece so I printed halves and glued them together for a master.
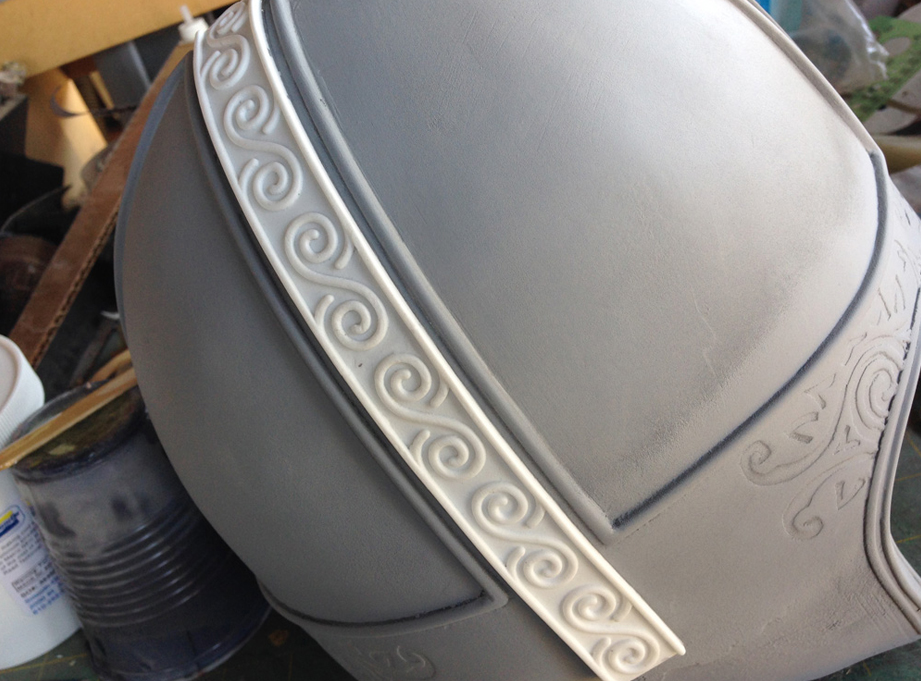
Resin copies were bent and glued before the resin fully cured. At that stage, the plastic is solid but still flexible enough to bend or distort around complex curves.
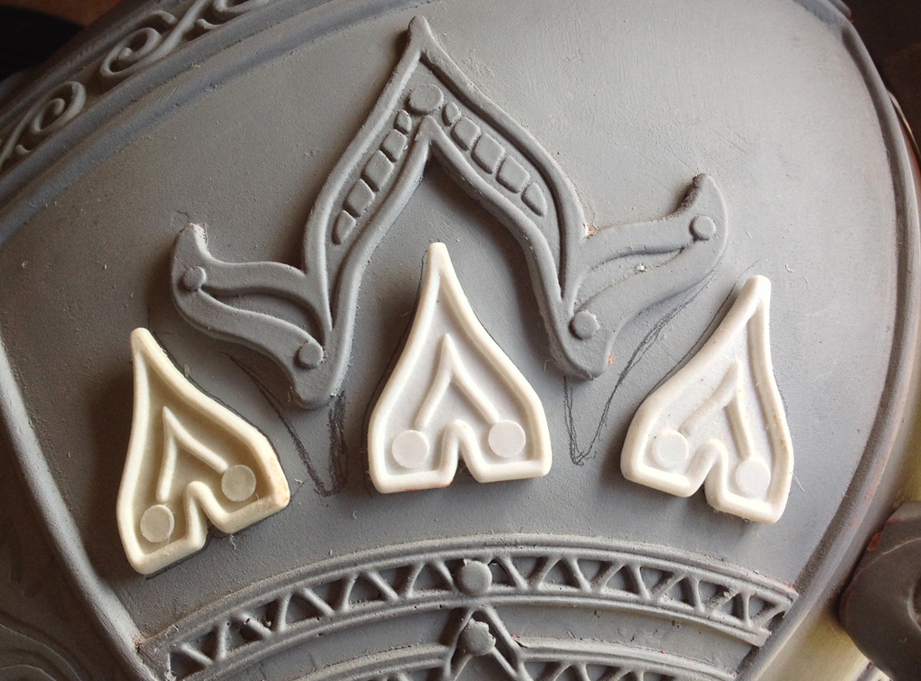
As you start to add detail and see how everything fits together, you discover your mistakes. It wasn’t until I started to glue down the triangular decorative pieces that I saw how my “W” piece needed to extend further between them.
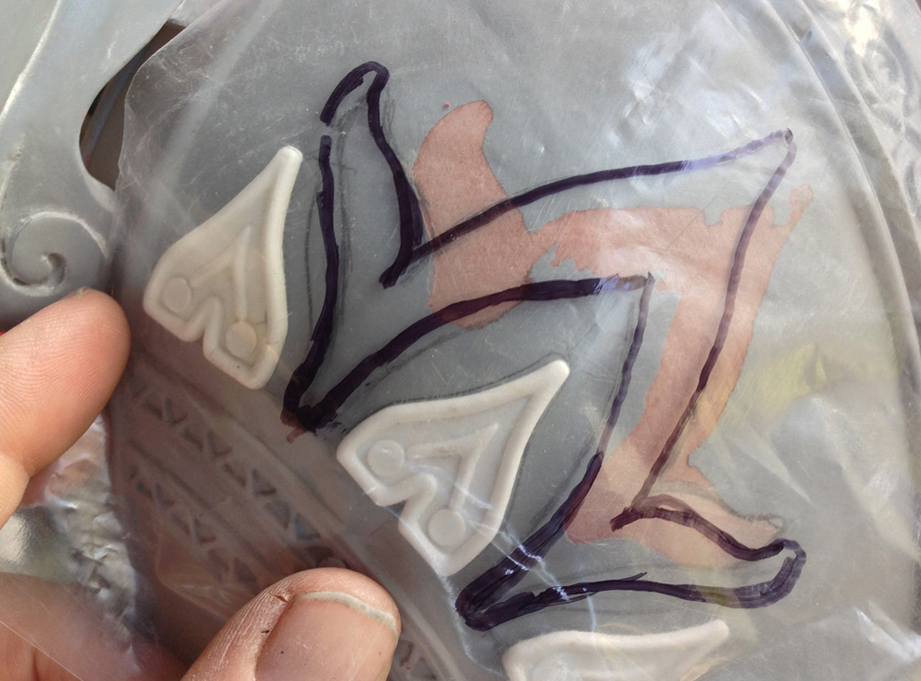
I traced a template onto a piece of clear plastic. I scanned this in to correct the 3D model which was uploaded to Shapeways for a new print.
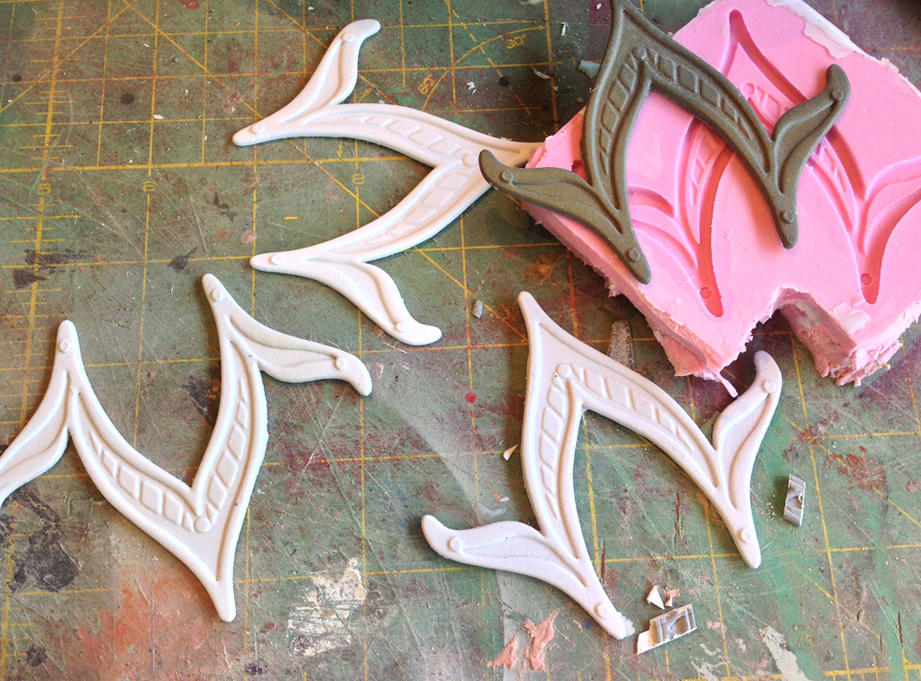
A few weeks later, I got the revised W, which I molded and made resin copies to glue to the helmet.
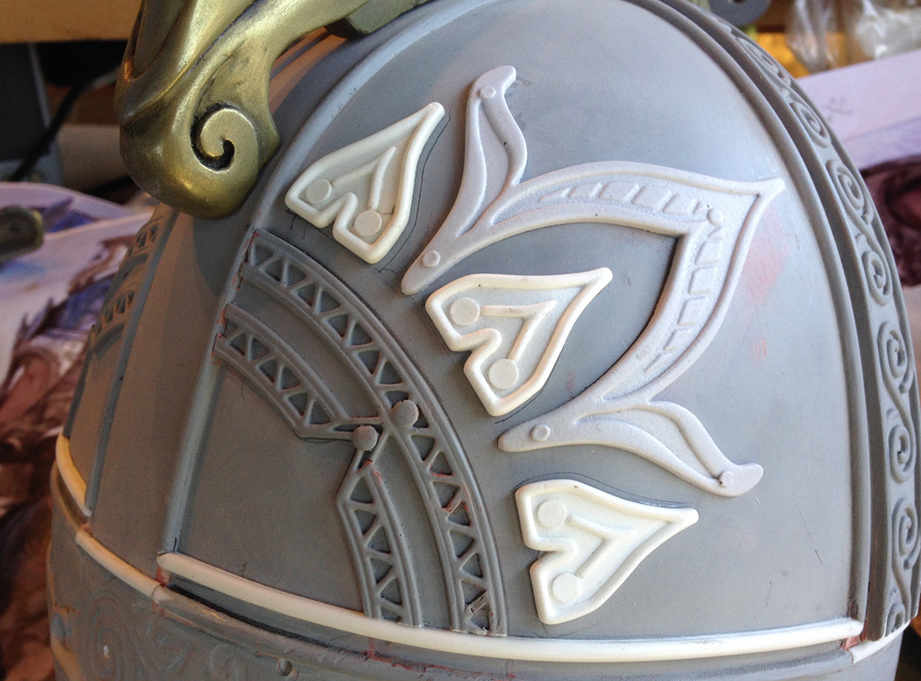
Much better!
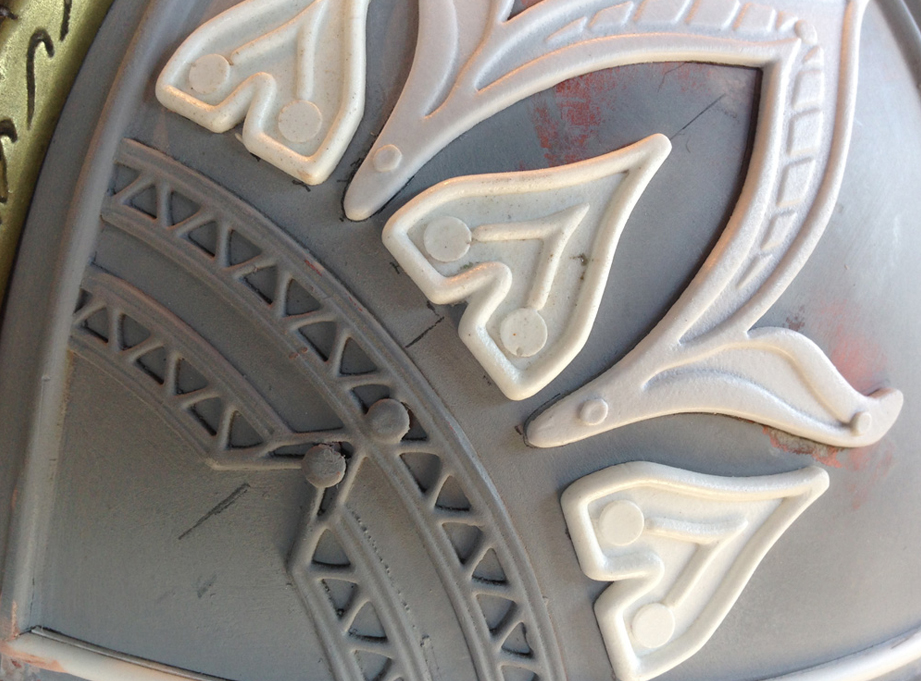
Of course, once that was in place, I noticed that the arches don’t line up with the middle triangle and center of the W.
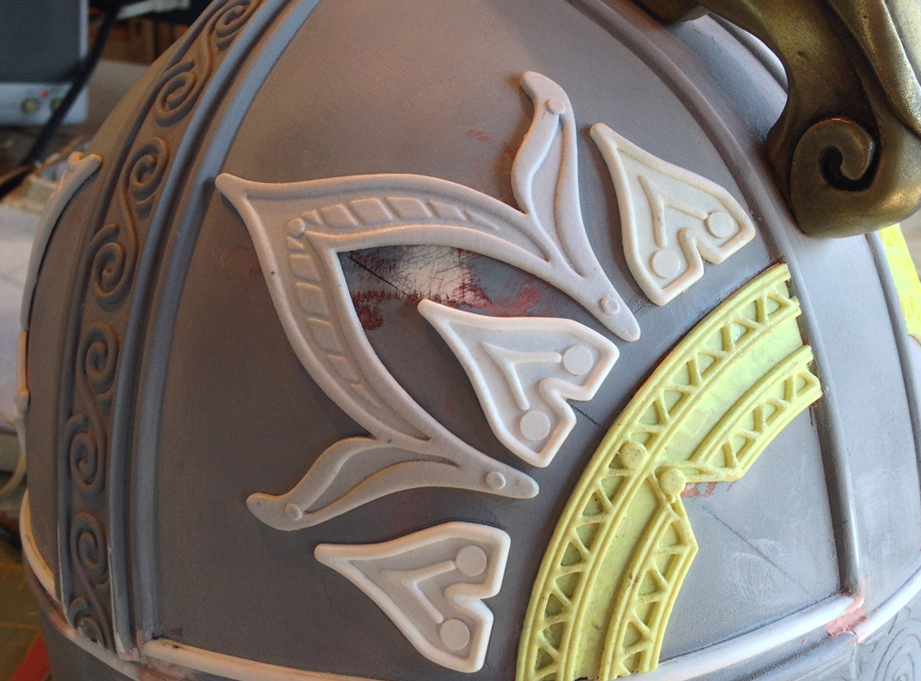
I pulled off the arches and cast new copies, this time trimmed and glued in proper alignment.
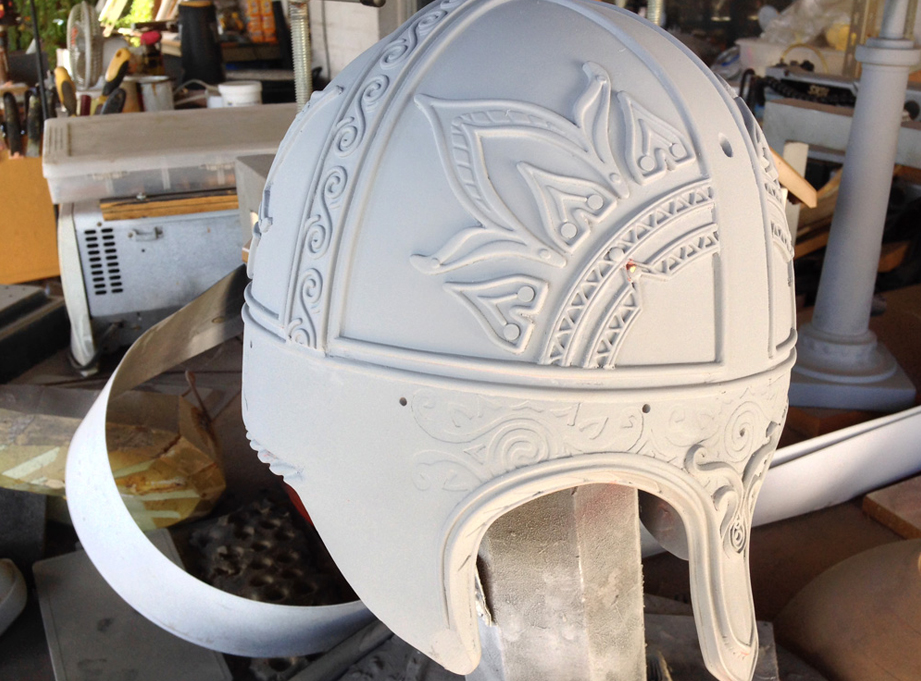
A final coat of primer shows me all the flaws that need to be fixed before it goes into silicone.
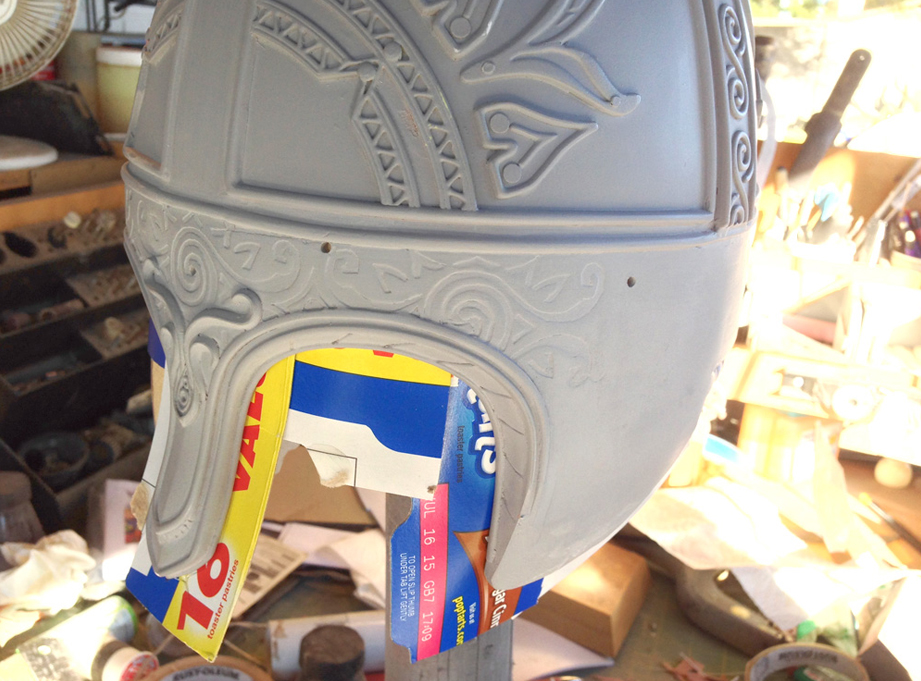
I used scraps of light cardboard to create a barrier for the silicone by hot glueing them inside the opening.
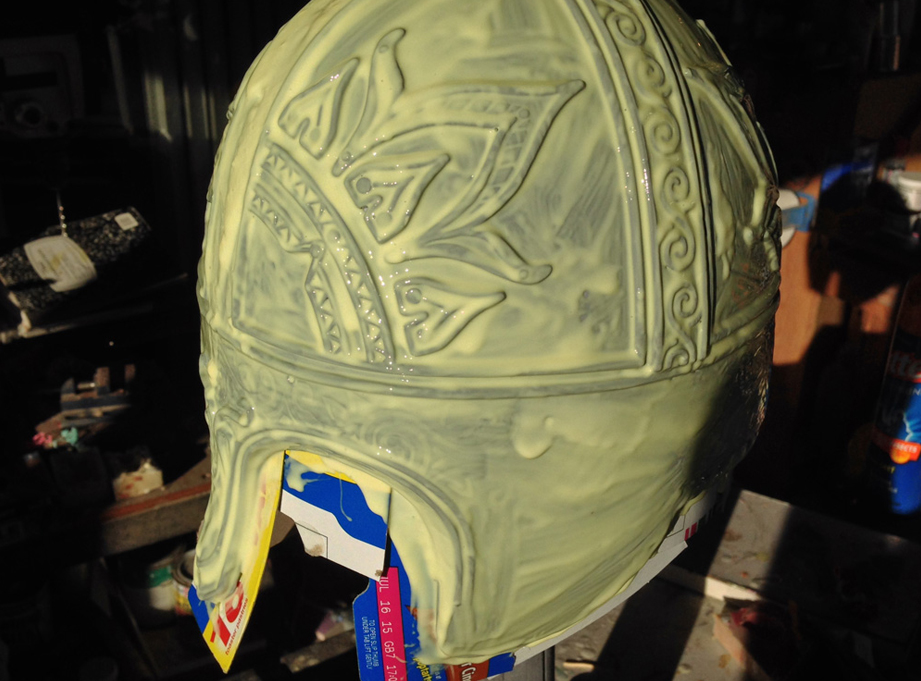
A thinned coat of Smooth-On Stroke silicone captures all the detail and allows air bubbles to escape easily.
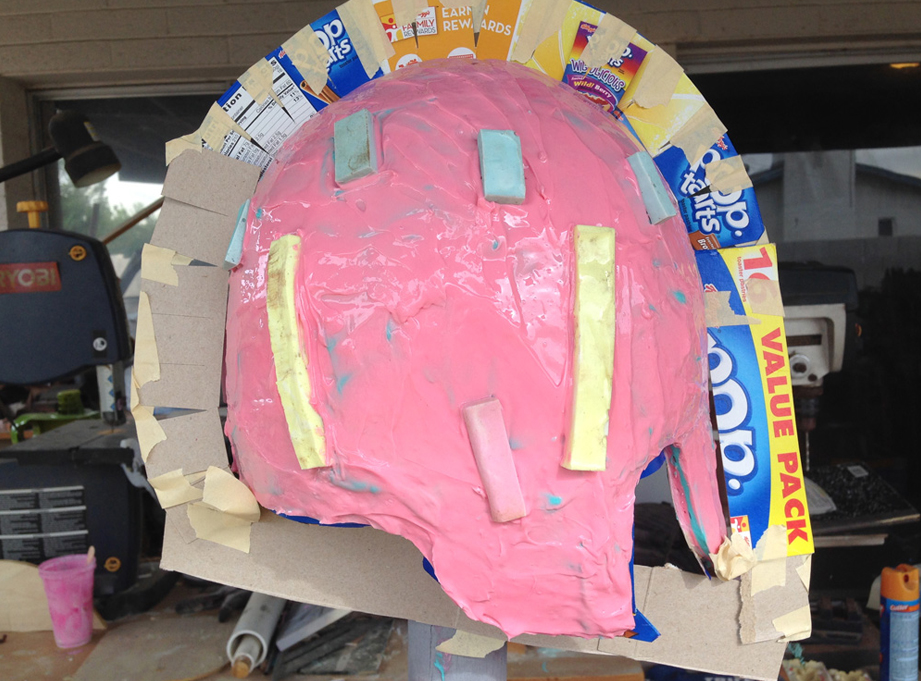
Several coats of Stroke later and keys applied to the final coat. I taped more cardboard to “trace” the profile of the helmet.
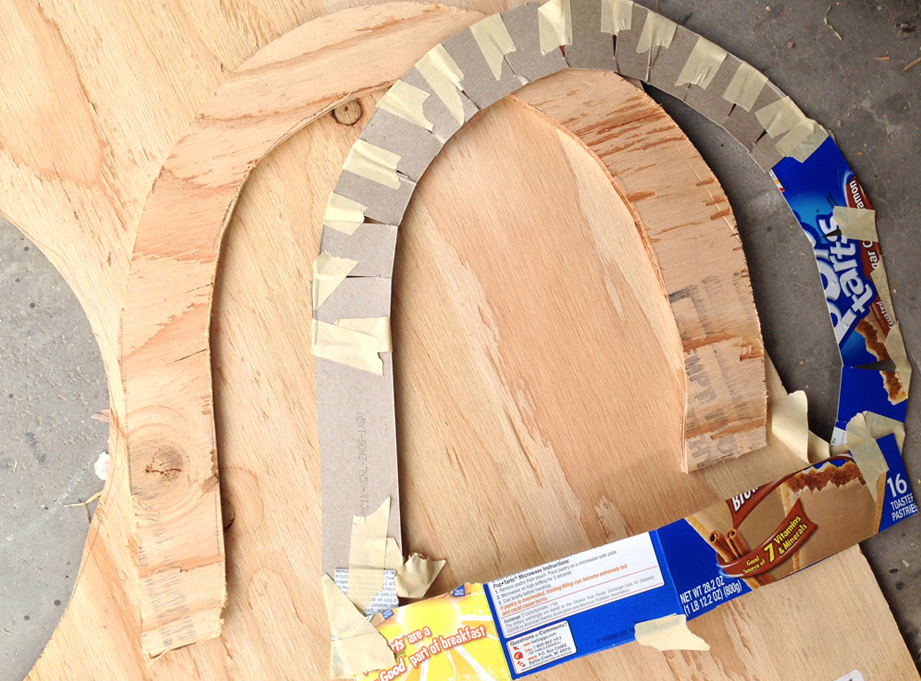
This “tracing” was used to cut out two plywood pieces that would bolt together the halves of the mother mold.
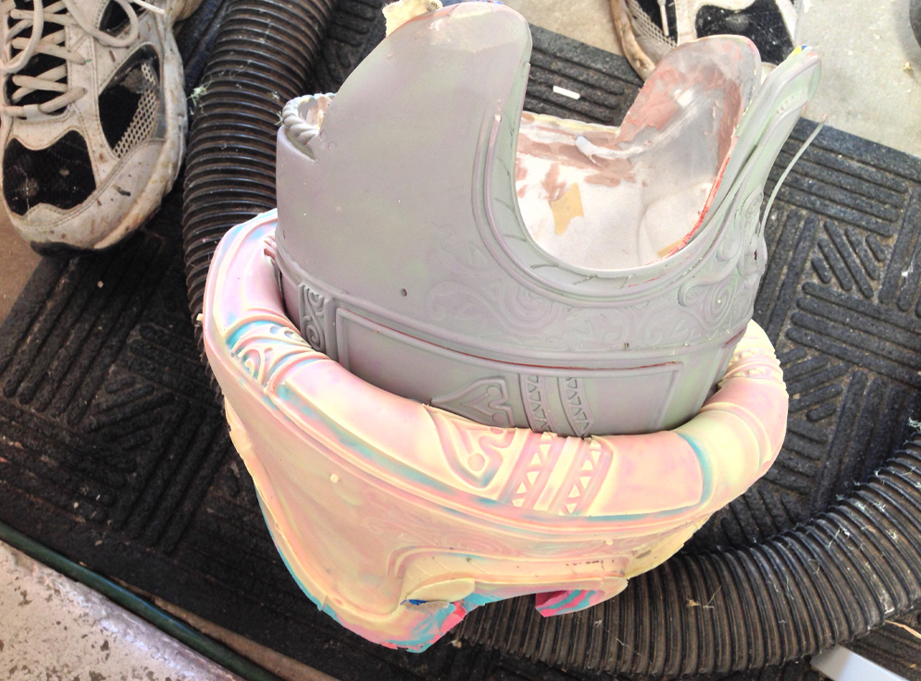
After the mother mold cured, the whole thing was disassembled and the master could be de-molded.
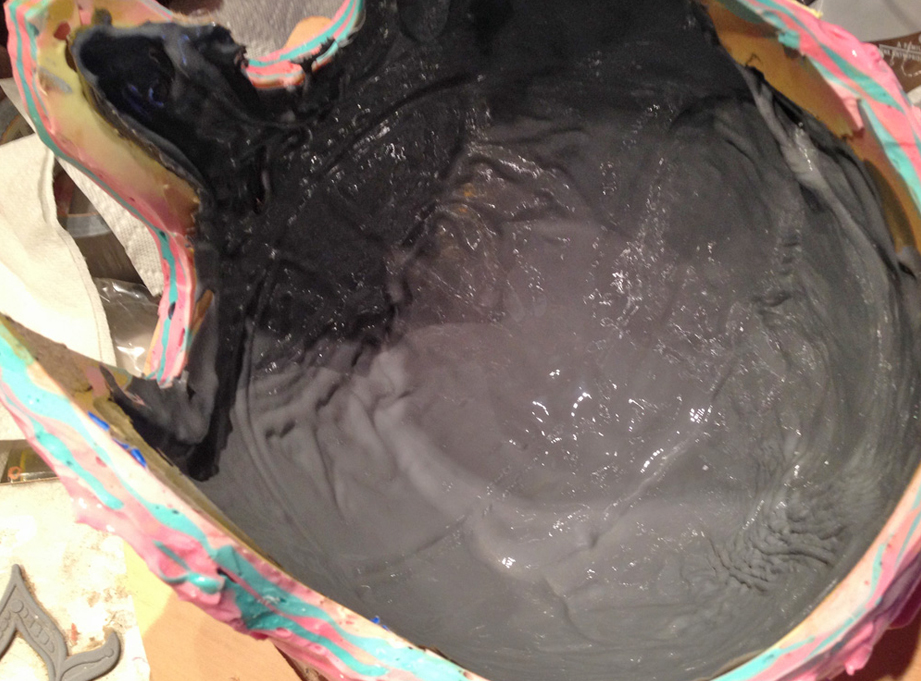
Reassembling the mold, I slush cast a first layer in cold cast brass, followed by thicker layers of black tinted resin.
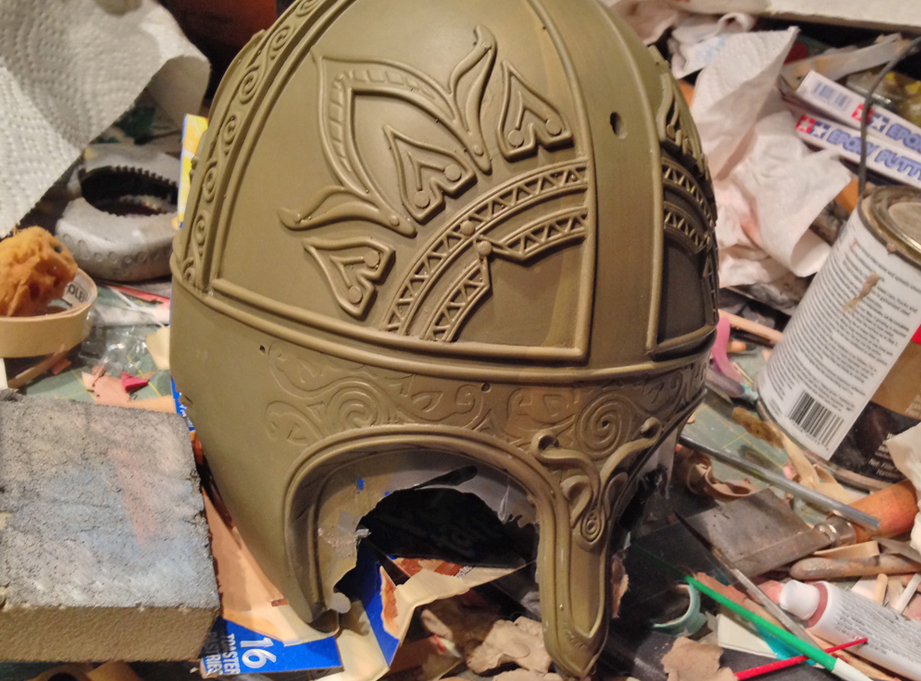
The de-molded first copy!
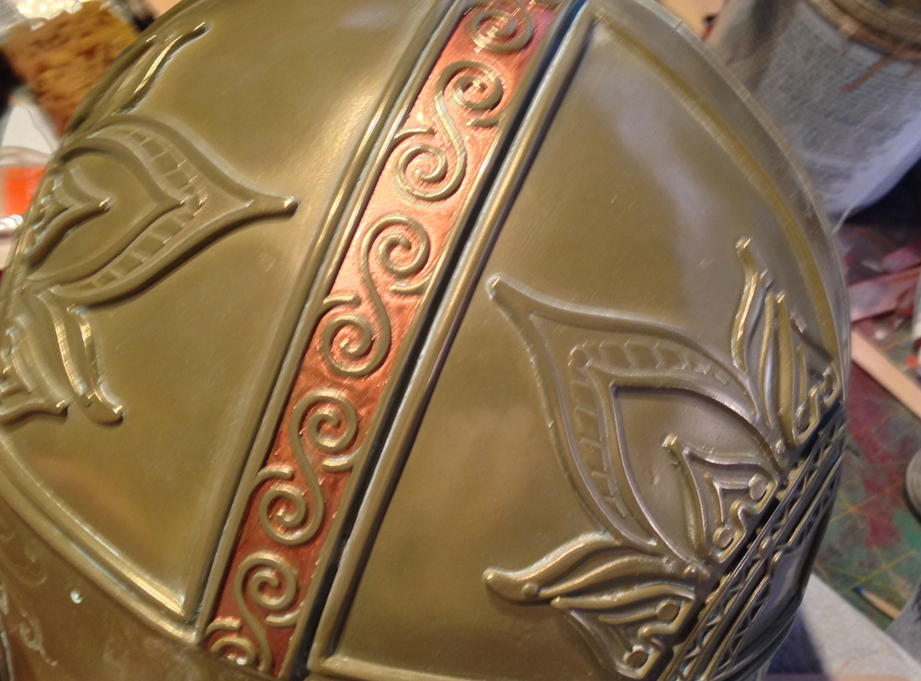
The side stripes needed a copper background. I hand painted them (with a small brush) using Testors metallic copper model paint. It was not as hard or as time-consuming as you might expect!
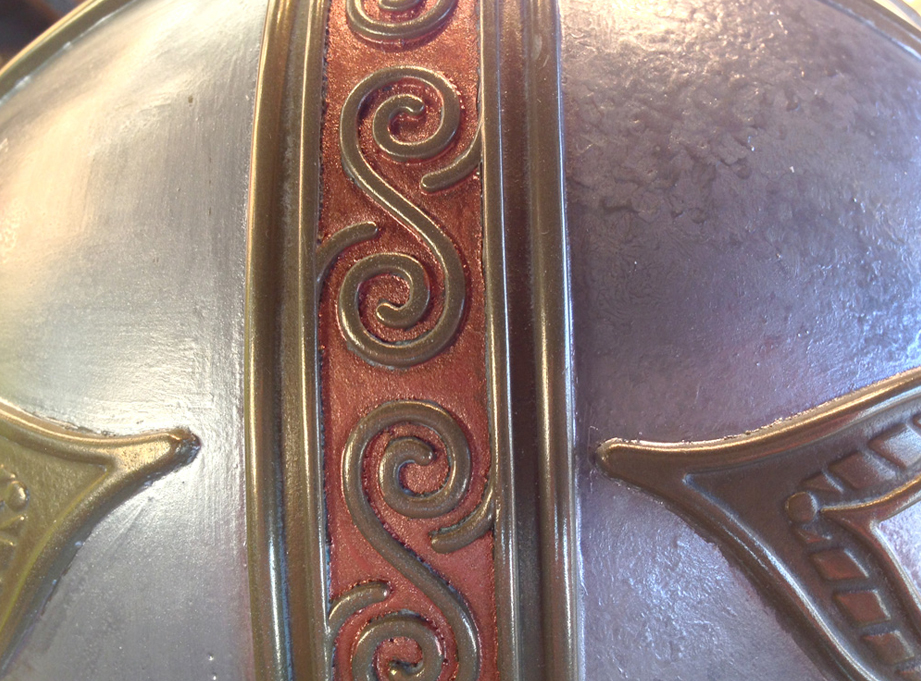
I didn’t feel like masking all that detail to spray paint it, so I broke out the Testors metallic silver model paint and hand painted two coats. The first coat on the left still showed brush strokes and some brass underneath.
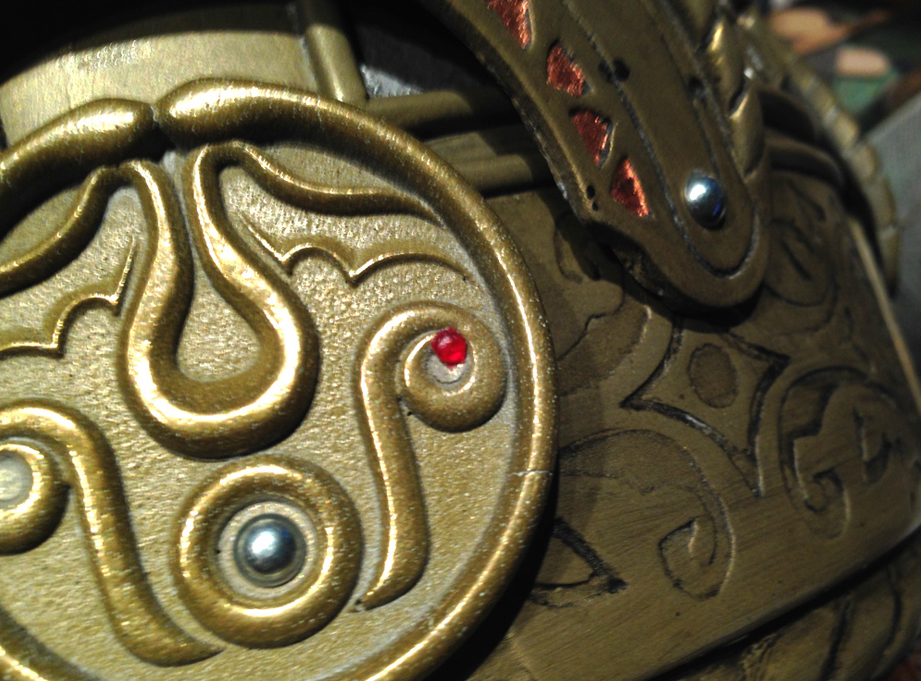
All the other pieces were epoxied, using drive screws (threaded rivets) to pin them in place. I applied red acrylic gems to the front and back pieces.
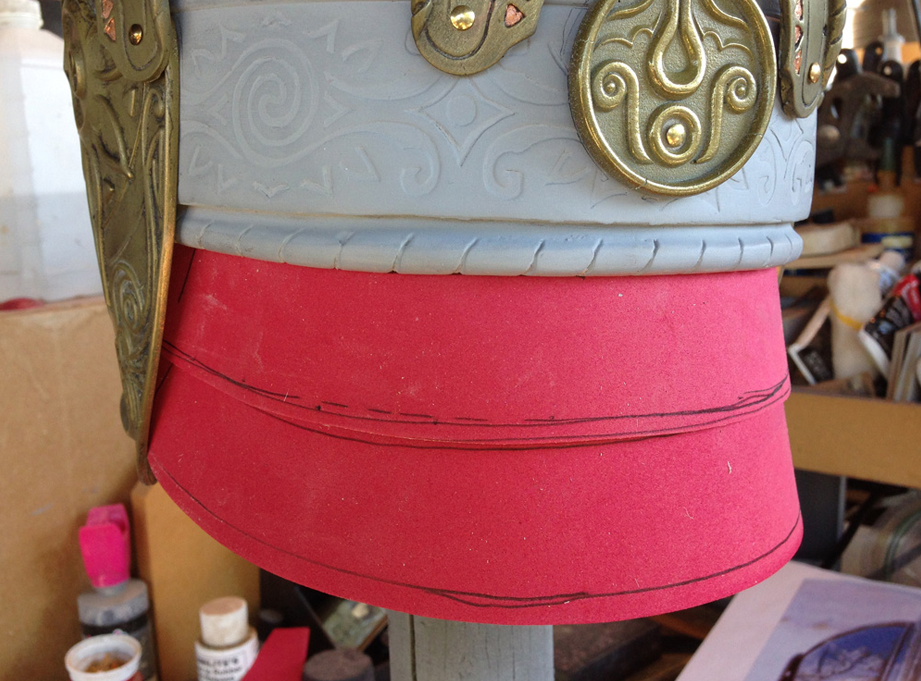
While all of the molding was going on, I used fun foam to figure out the size of the back leather armor.
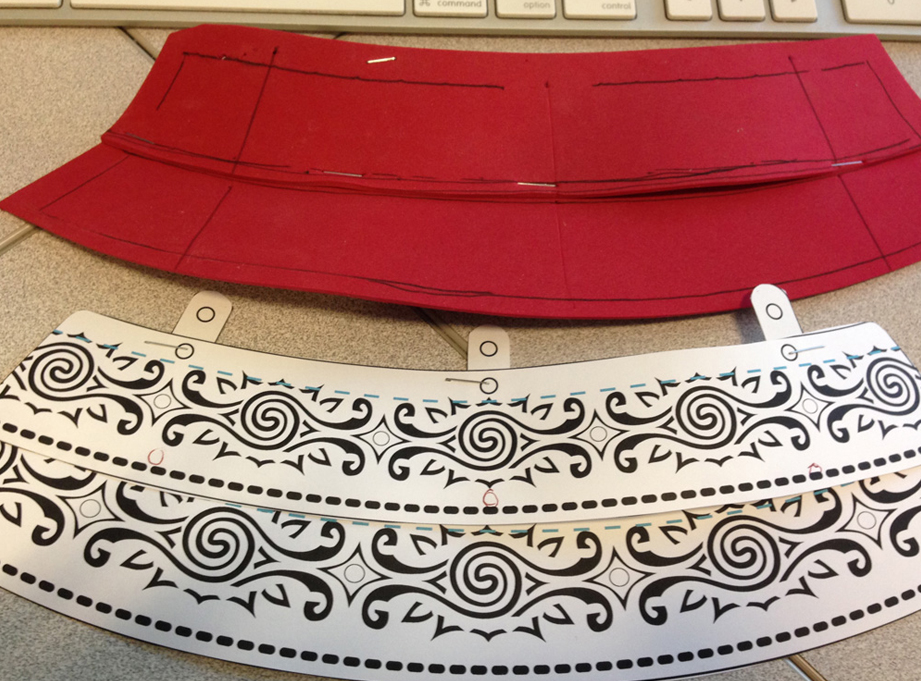
I scanned these pieces and used the image to lay out the pattern for the stamping.
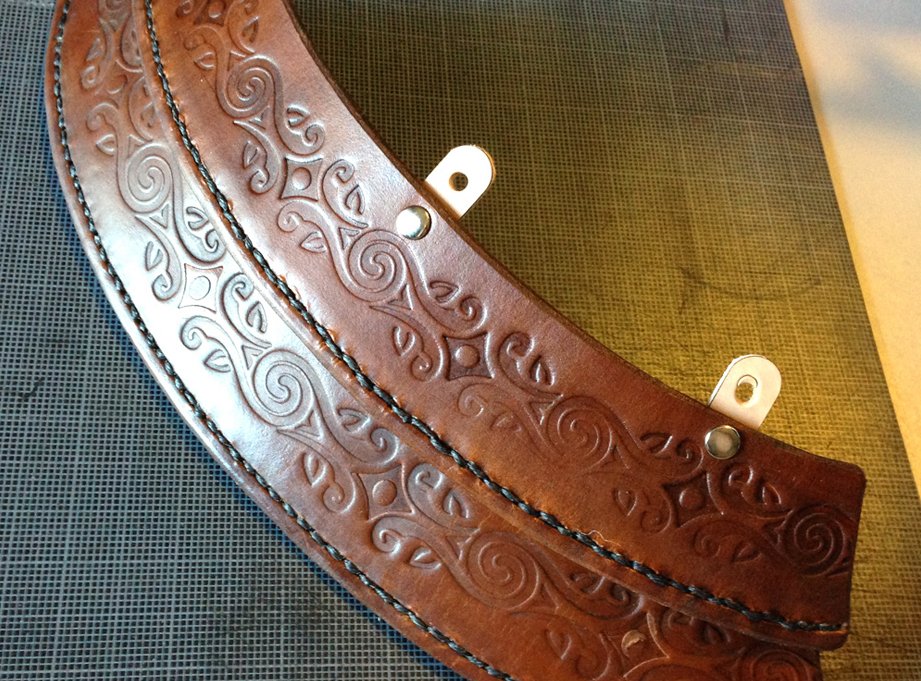
I sent the file to the amazing Lee “Fevereon” Camara in Atlanta and a few weeks later I received this beautiful leather piece!
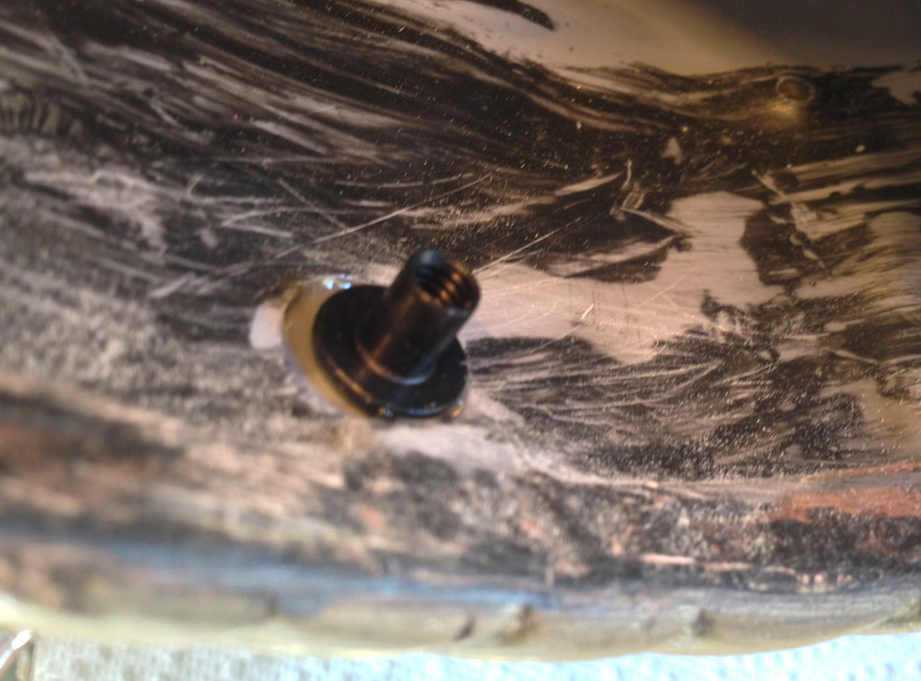
I epoxied chicago screws into the back edge of the helmet to attach the leather straps.
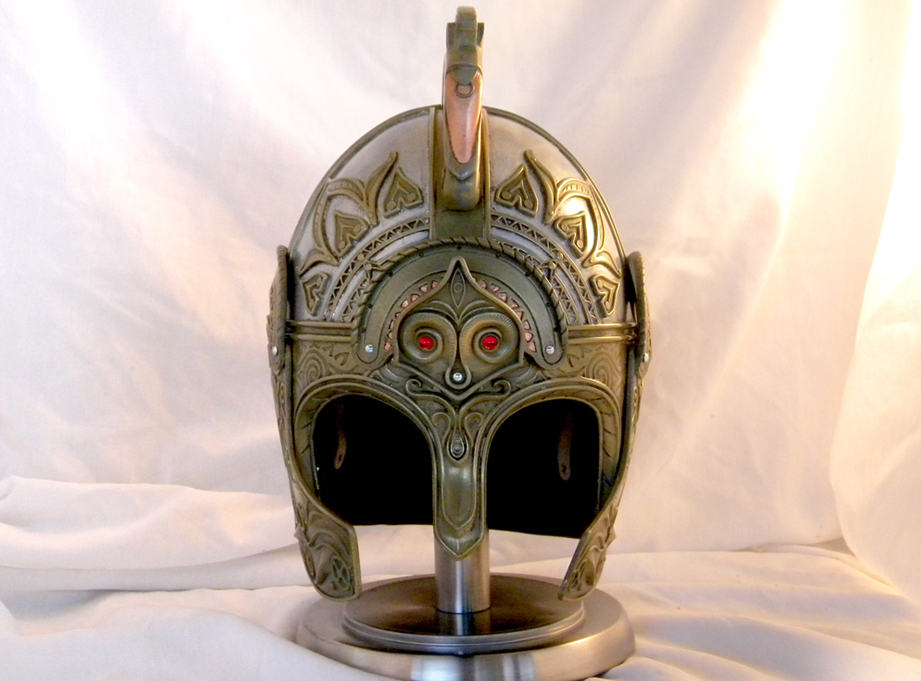
The final helmet
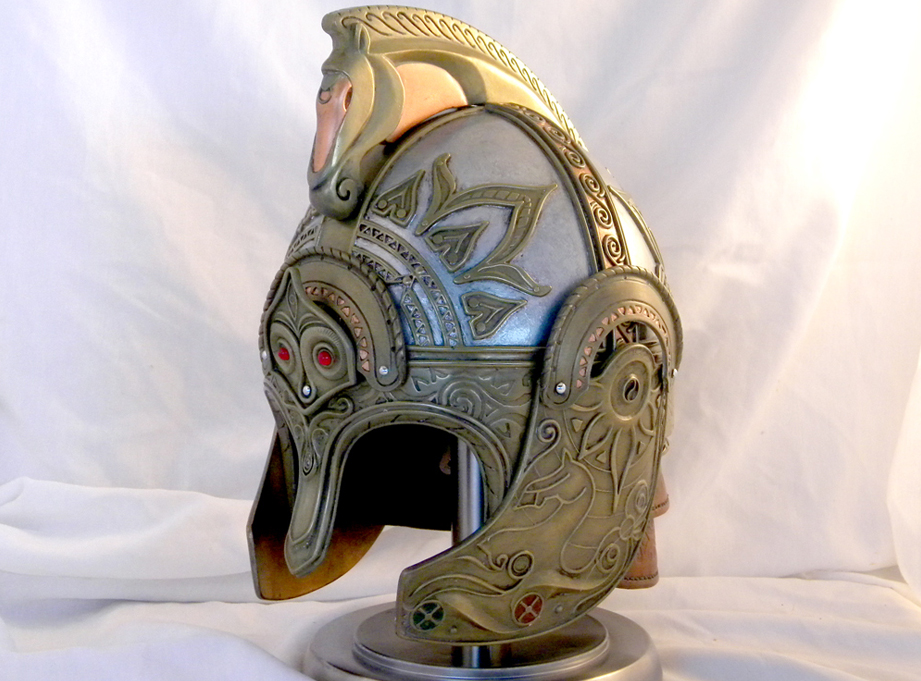
I applied a wash over the helmet to add weathering and bring out detail.

Other color details were also painted by hand.
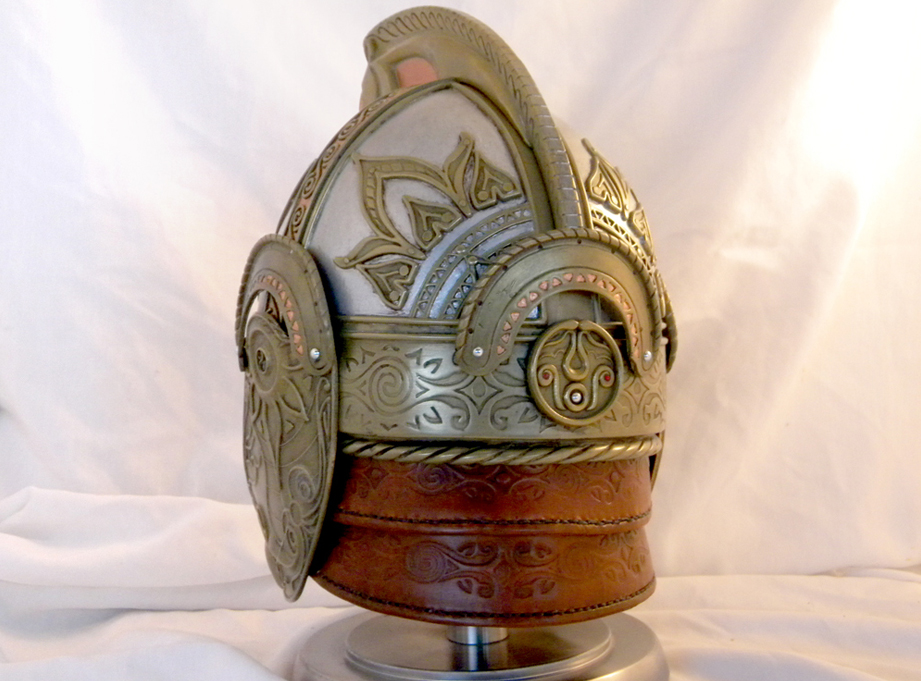
The leather armor really looks great against the brass.
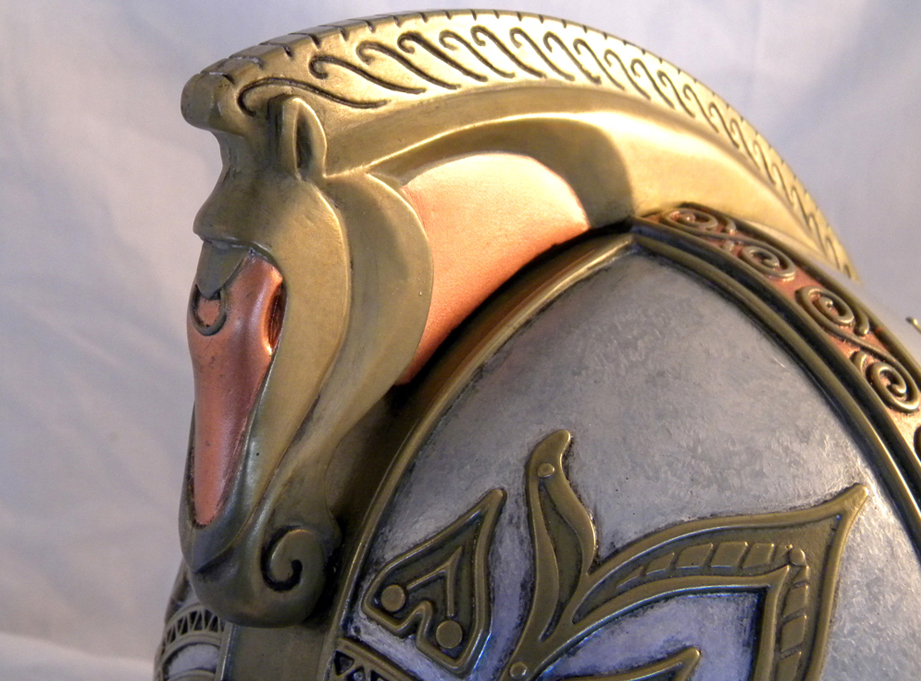
Crest detail.
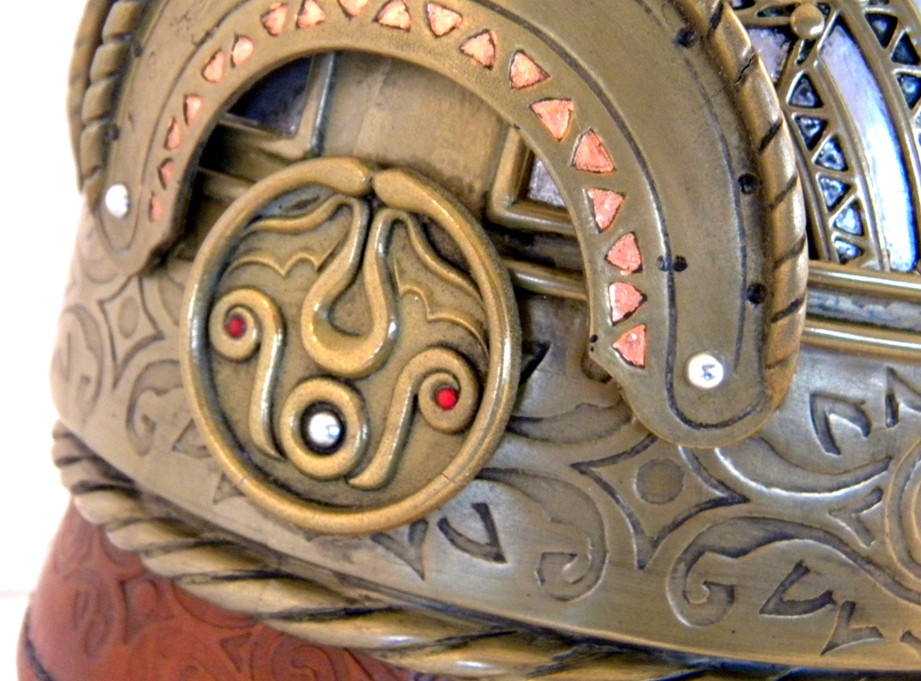
Back button detail.
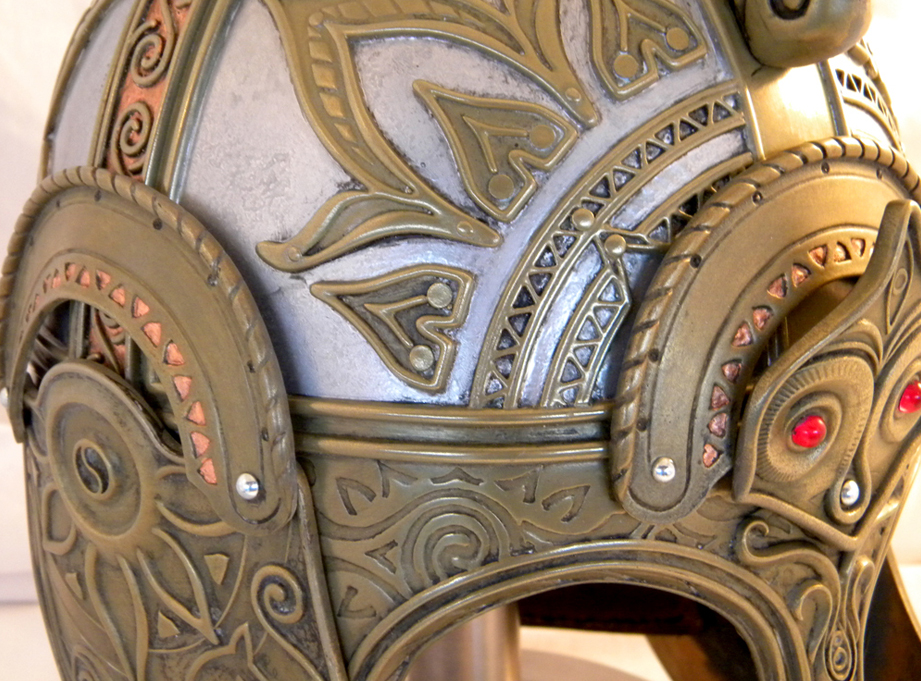
Detail.
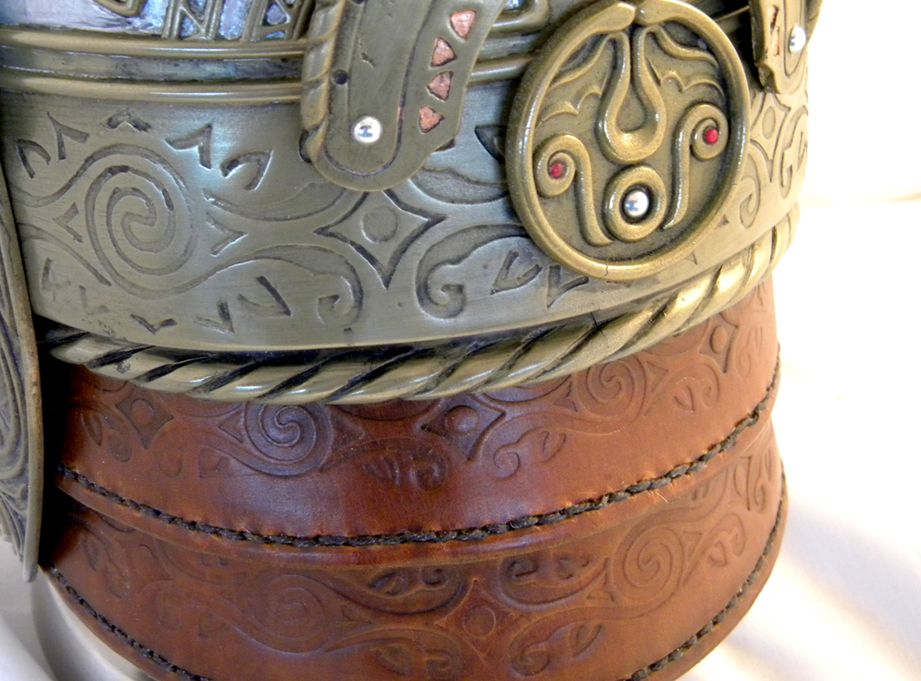
Detail.
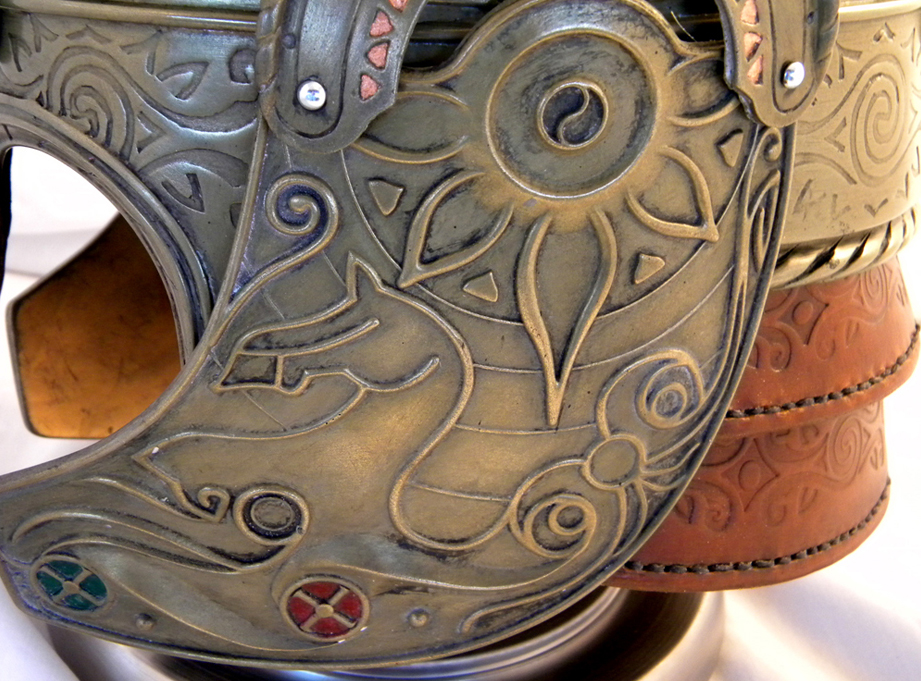
Detail.
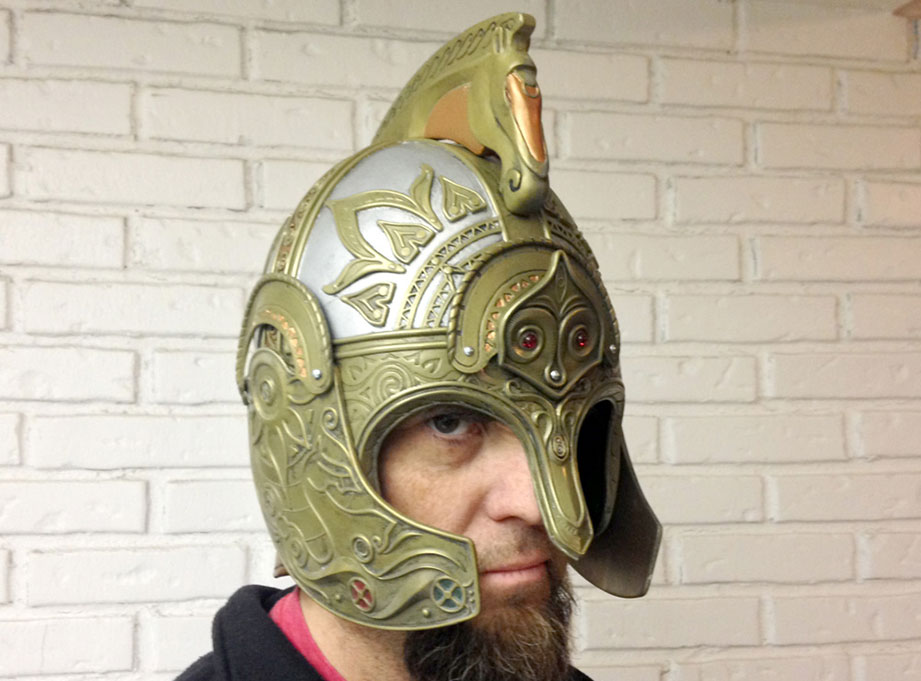
I slush my helmet a bit thick so it barely fits on my admittedly giant noggin, but it’s mainly a display piece so I’m fine with it. Let’s hunt some Orc!

