soifon's bankai
june 2010
The Jakuhō Raikōben is a shiny gold weapon of mass destruction that's wrapped around Soifon's right arm. It holds incredible power, but its use causes a massive recoil. To add to the chaos, Soifon can target and fire the missile like a rocket launcher.
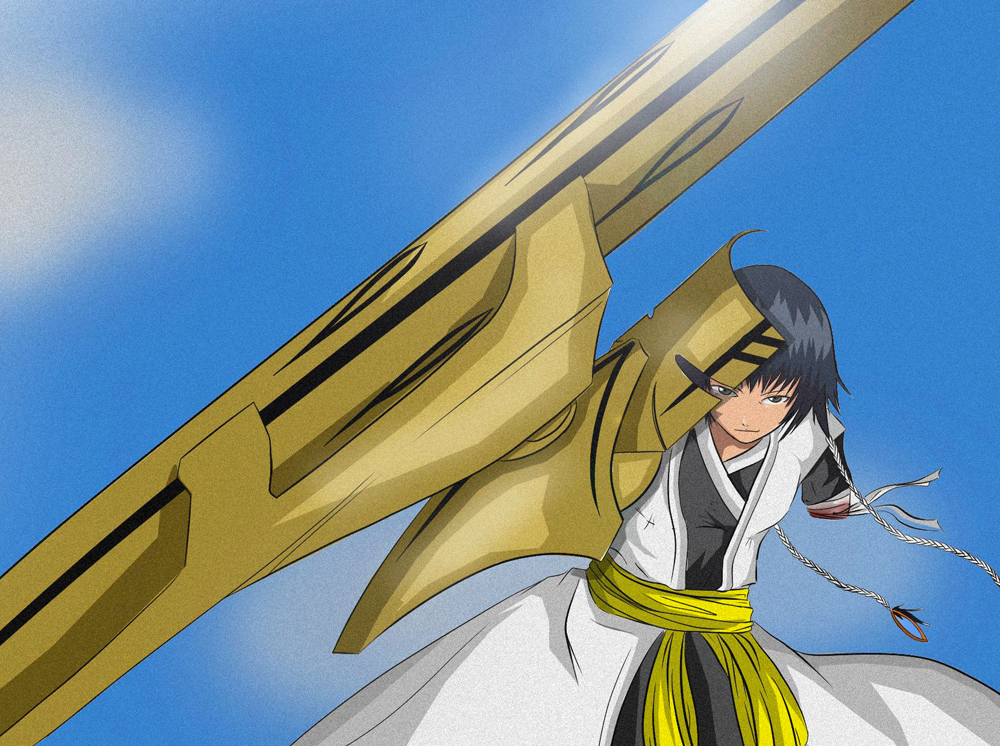
I was commissioned to build Soi Fon’s Bankai from the anime “Bleach”. Large builds are tricky…they have to be sturdy but light enough to wear.
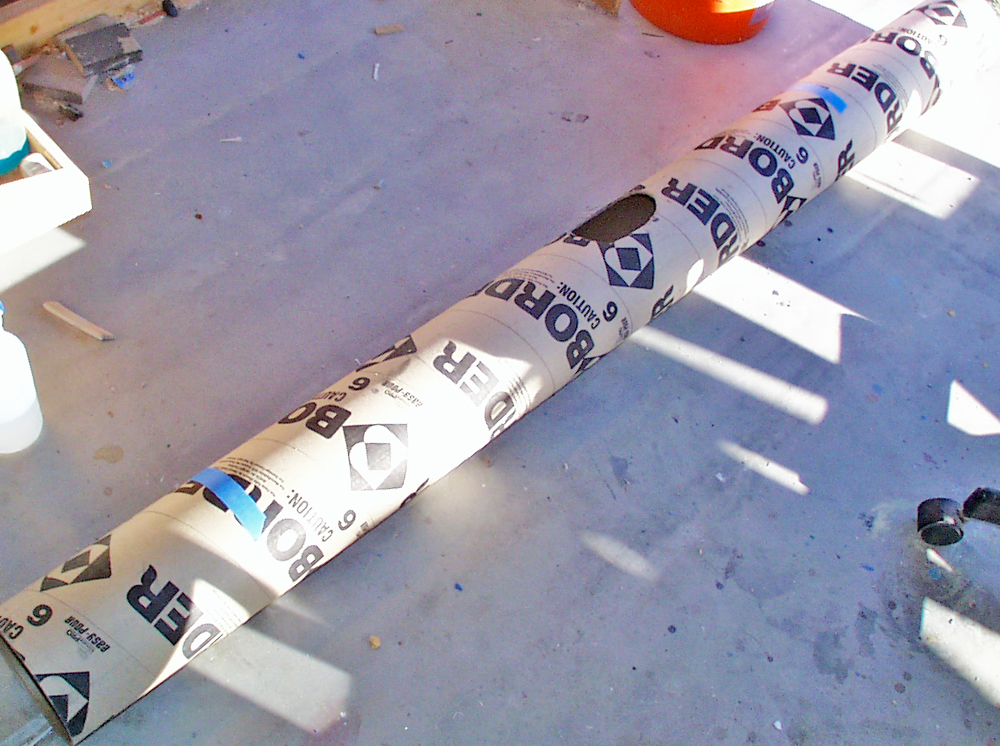
I started with a 6″ concrete casting cardboard tube. The client requested a 7′ length for the bankai instead of the 12′ length in the anime.
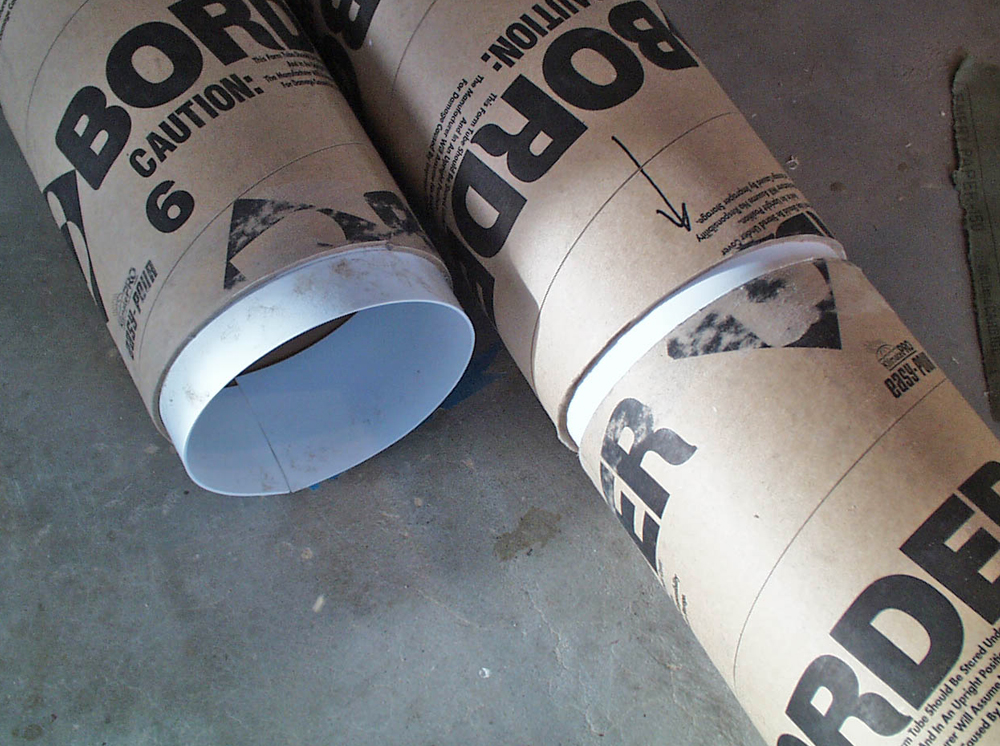
For ease of transportation, the bankai will separate in two spots. The tubes join by inserting an inner sleeve made from thick styrene.
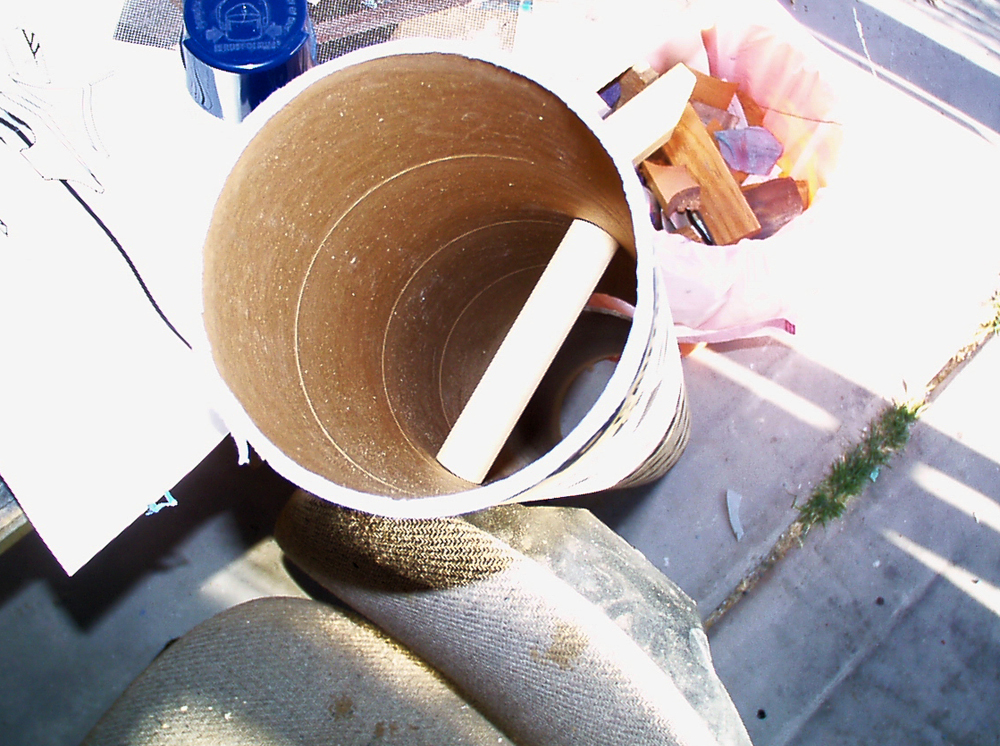
After cutting a hole for the arm to be inserted, I added a wooden dowel to act as a handle.
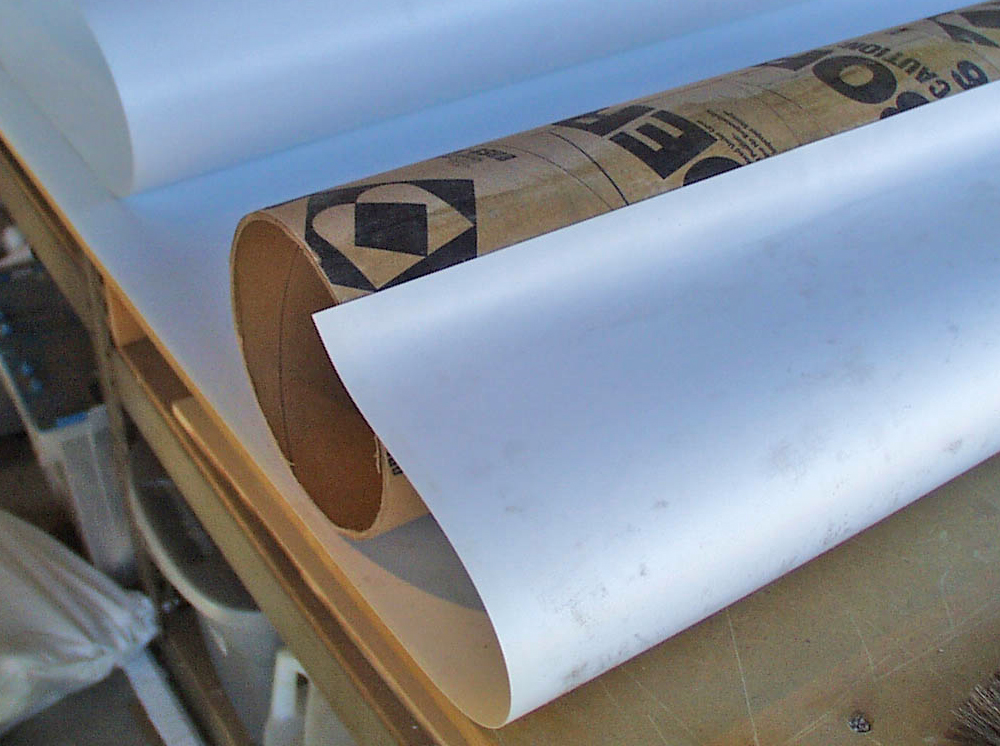
Because the tubes had seams and a rough texture that might not paint up that well, I covered them with .020 styrene.
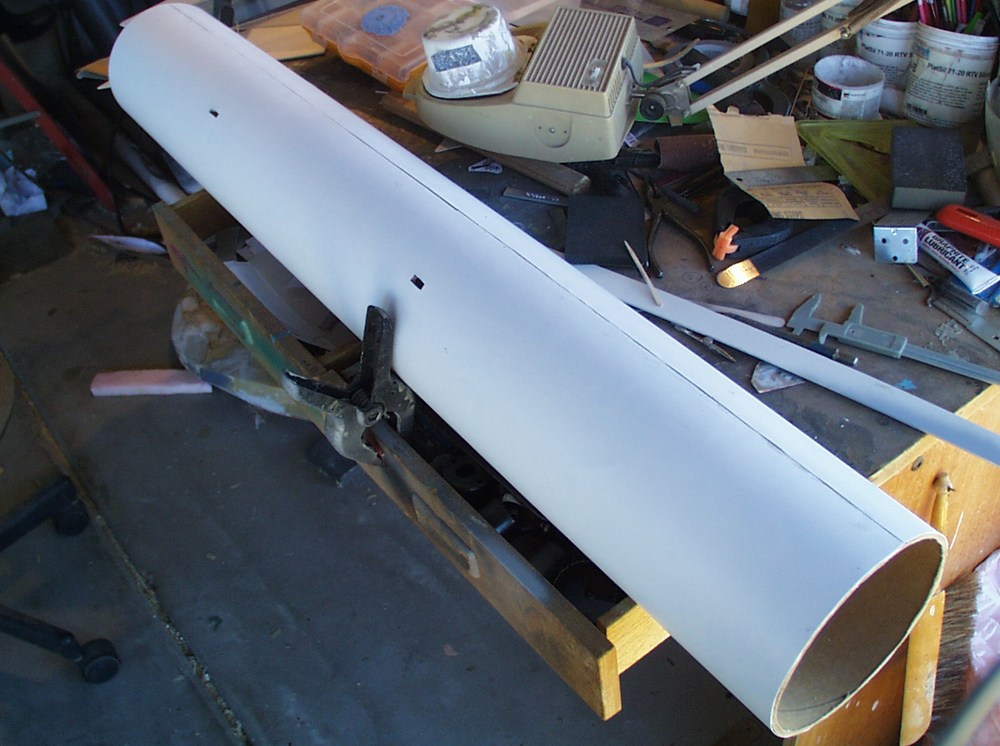
The styrene gave me a smooth, even surface with only a minor seam along the bottom.
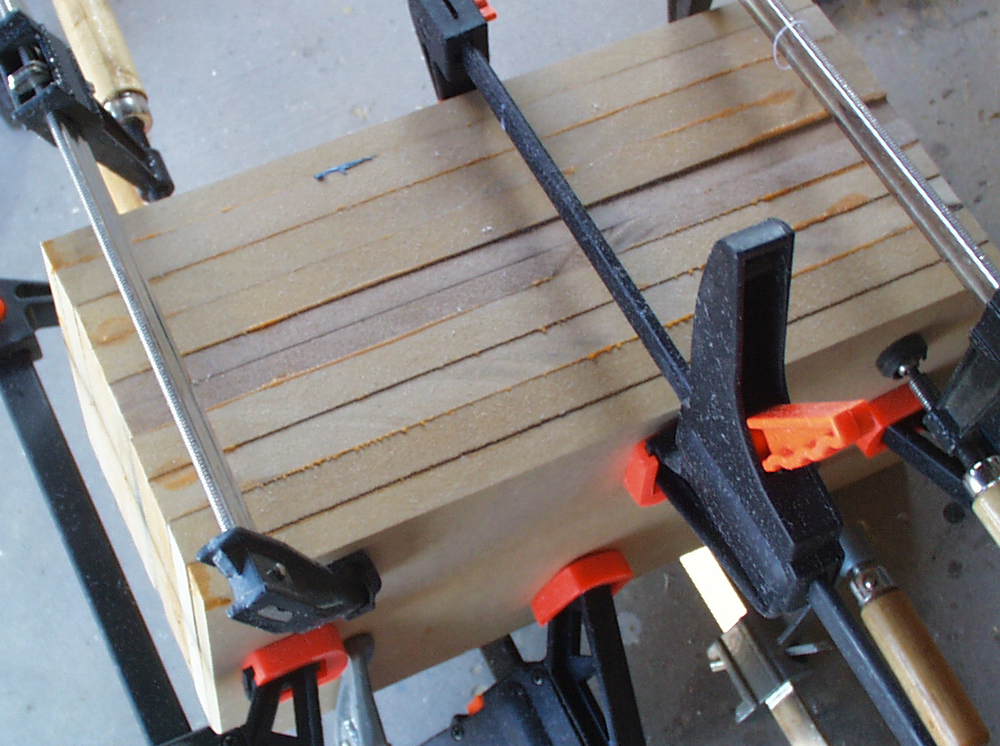
For the end cones, I glued sheets of MDF together.
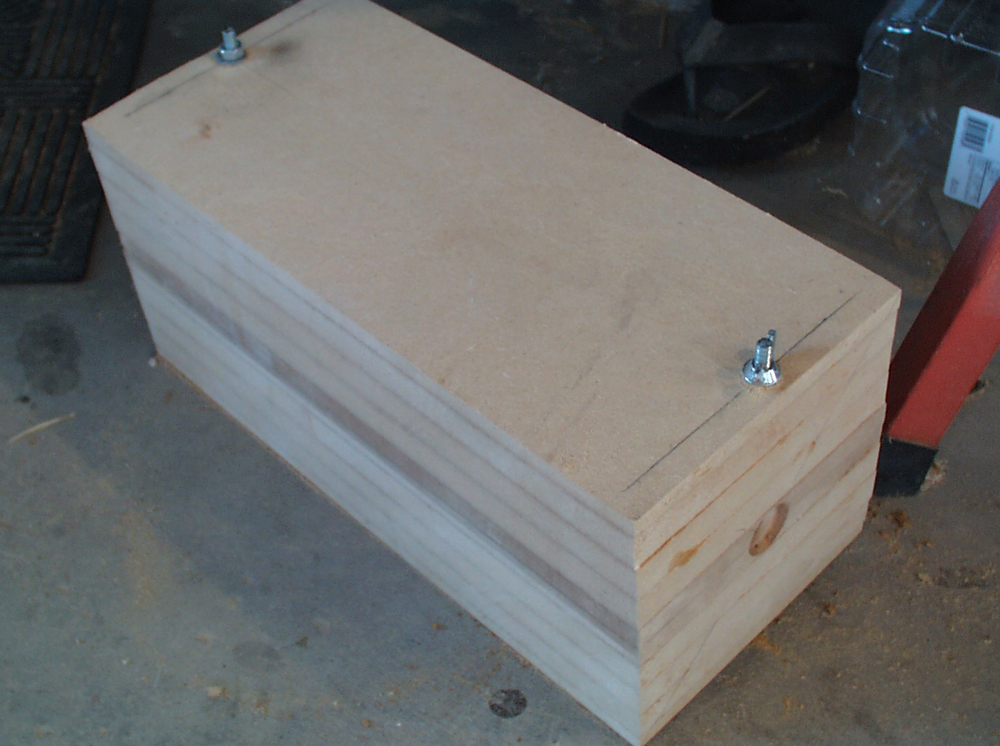
I don’t trust a glue joint if it’s going on the lathe, so I bolted all the sheets together.
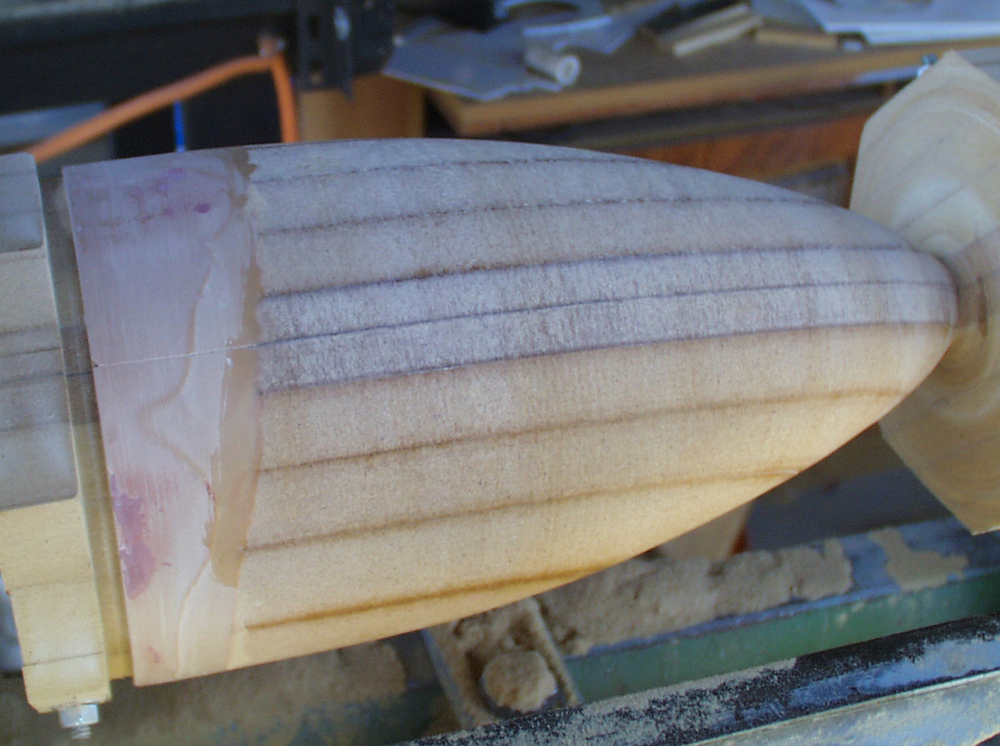
The cone starts to take shape after some work on the lathe. I took the opportunity to fix some gaps with Bondo.
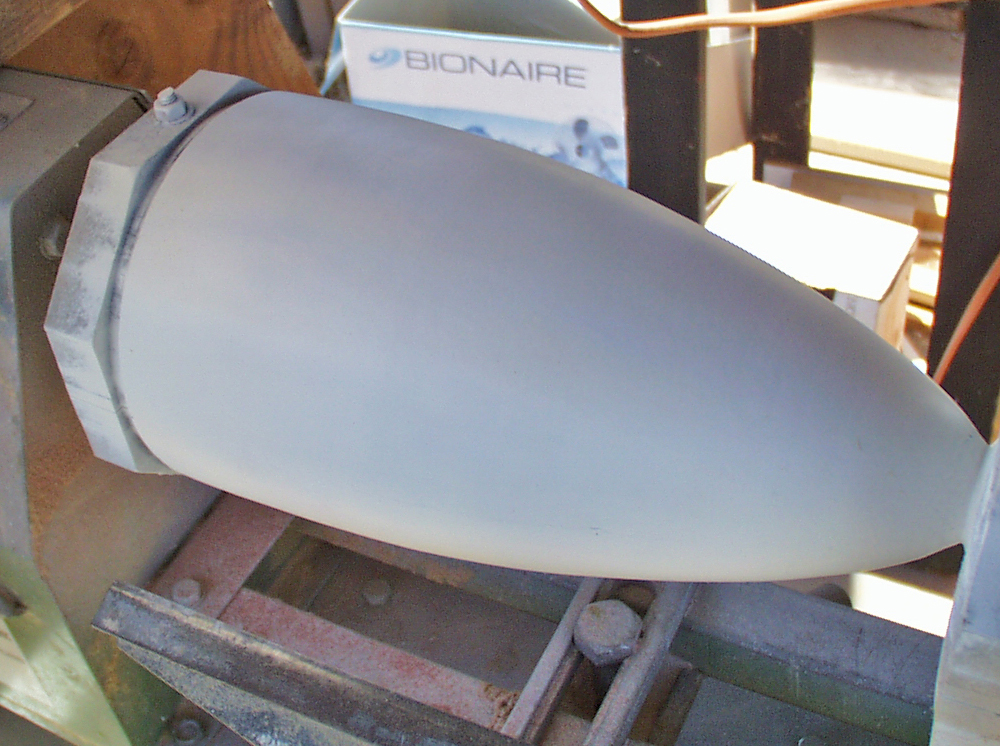
After much putty and sanding, the nose cone is ready to remove from the lathe. The MDF pieces at the ends were removed and the rounded tip of the cone was shaped by hand.
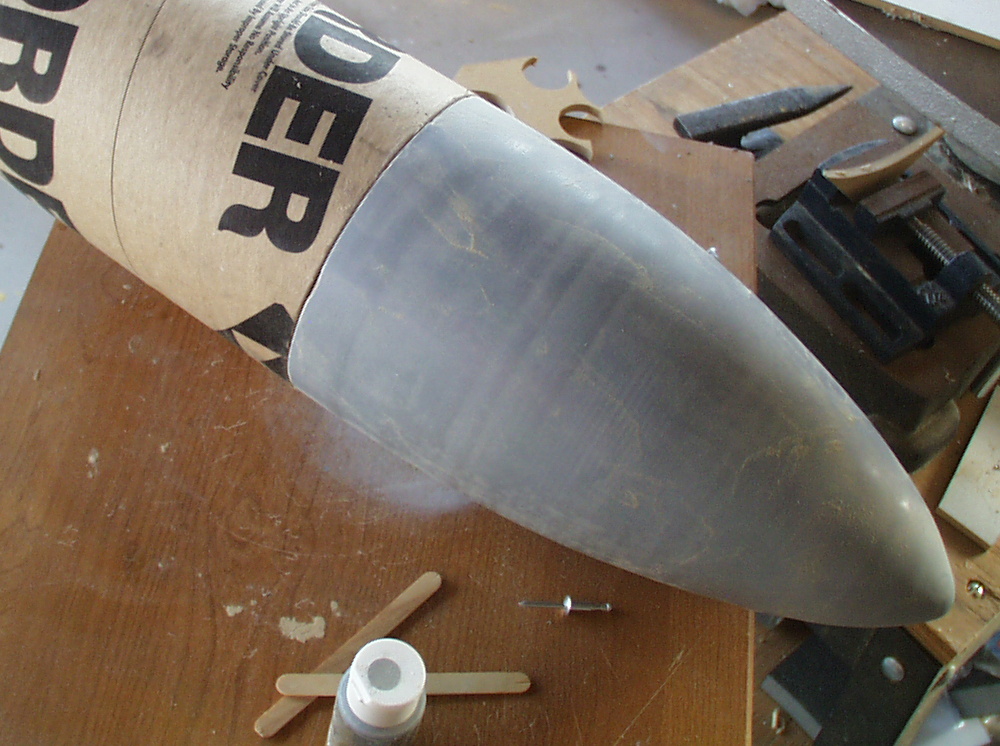
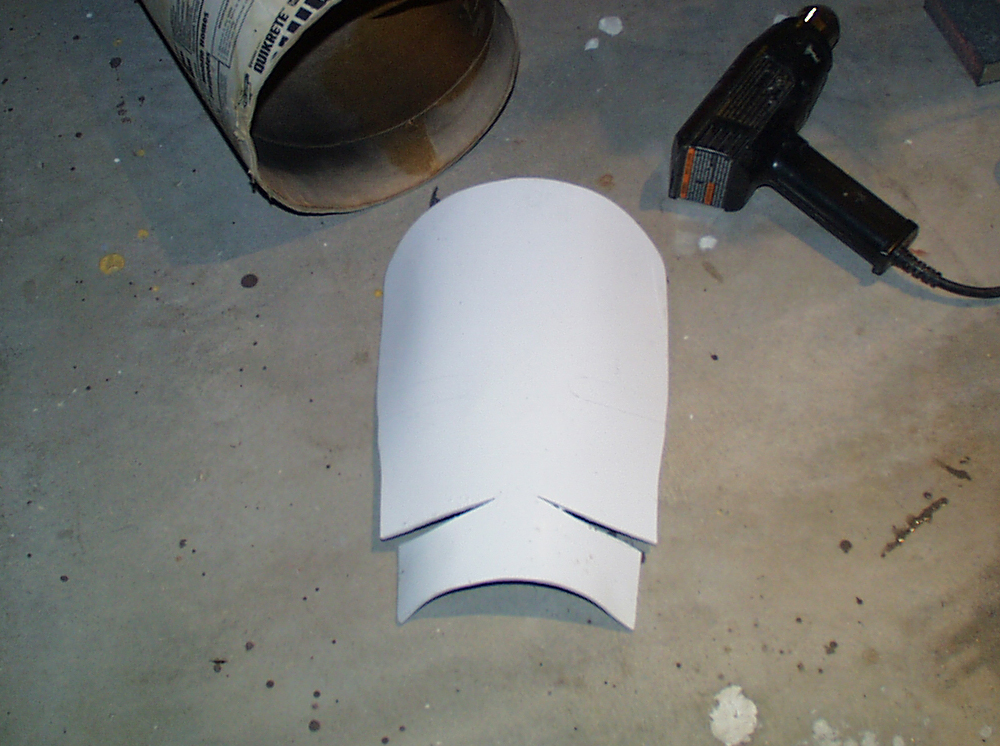
The face blast shield was made from heat-formed styrene in another tube to make the curved shape.
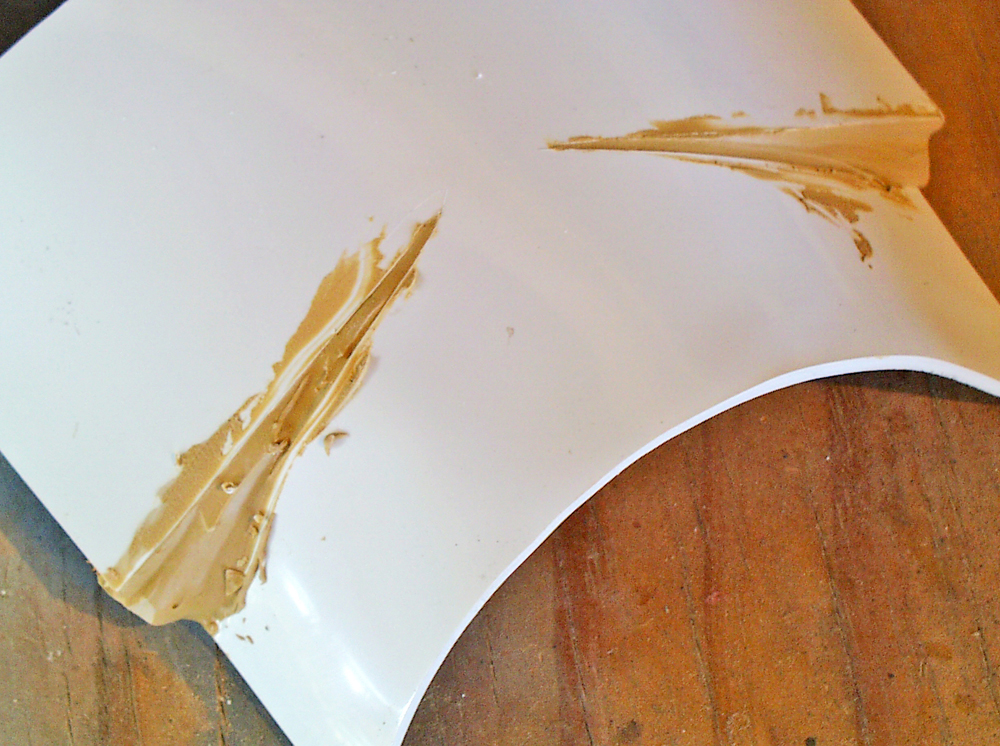
The inset was made by gluing in triangular pieces of styrene and puttying the seams smooth.
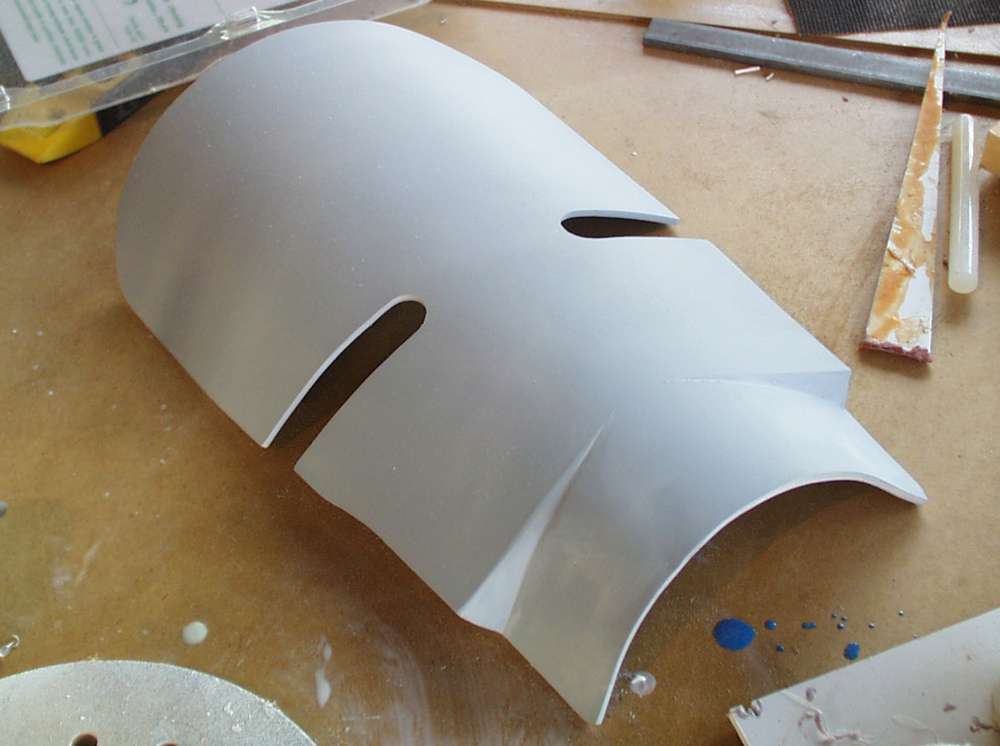
The primered final mask.
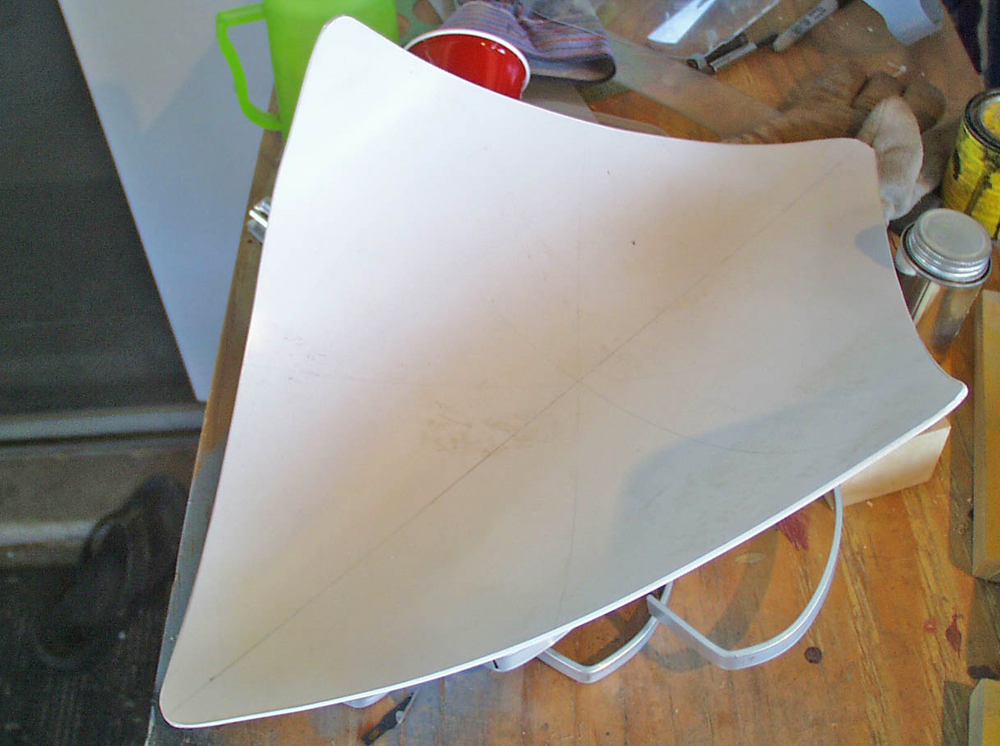
The body shield was also made by heat forming thick styrene.
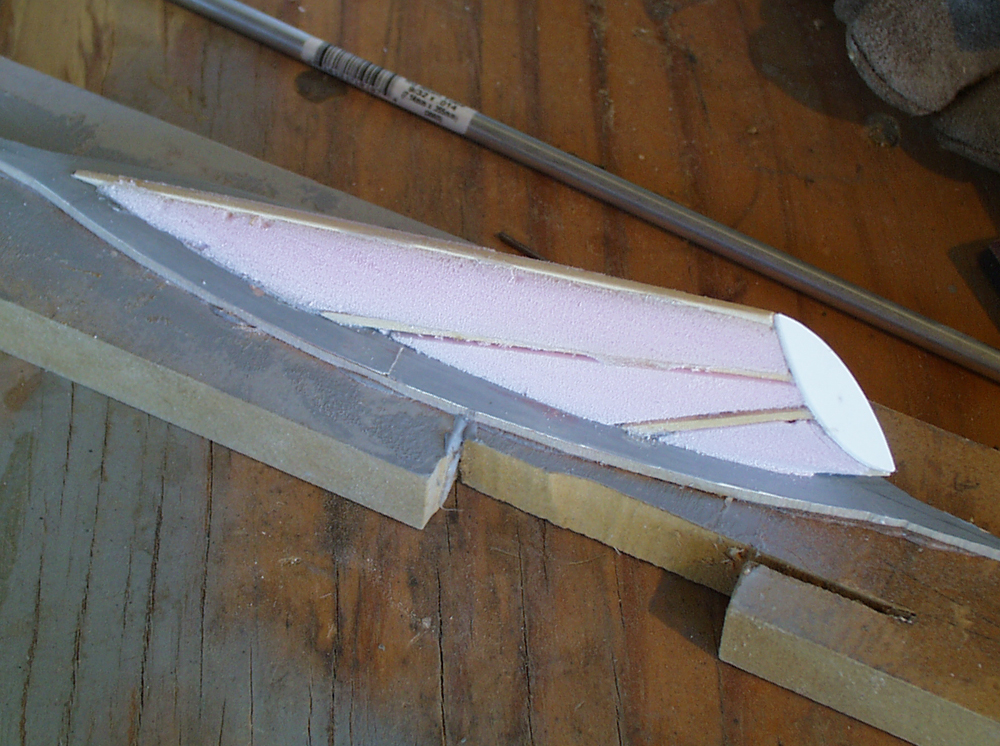
To make the exhaust vents, I had to build a negative master for the inside of the vent. I framed up the shape with balsa, filled the recesses with foam, sanded them smooth and covered the whole thing in Bondo in preparation for molding.
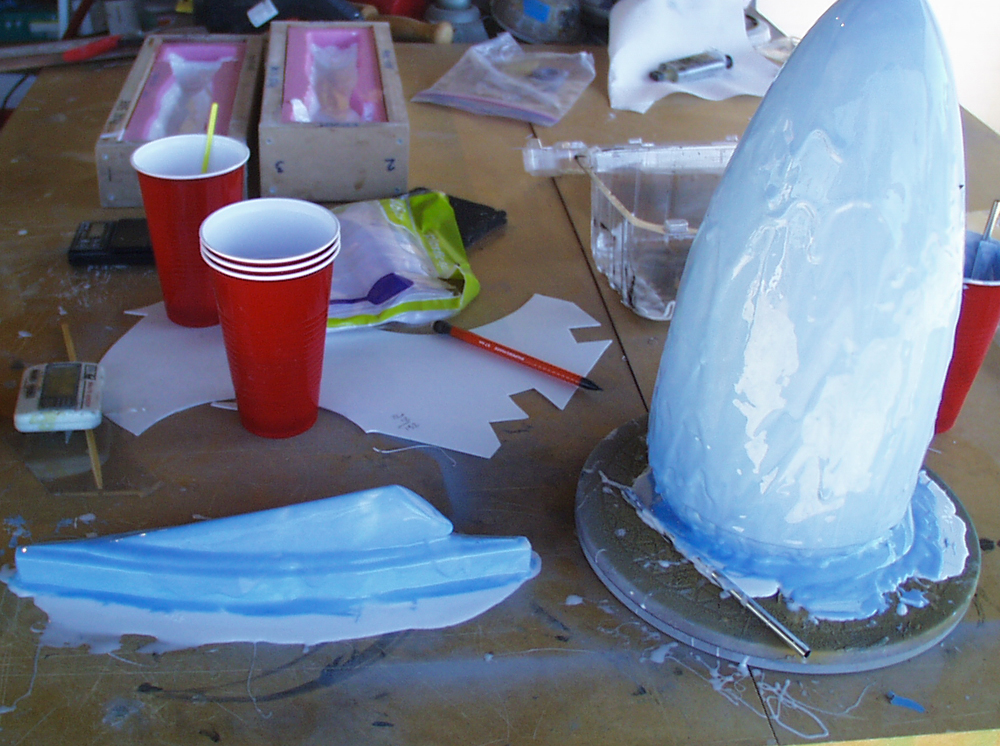
I brushed MoldMax Stroke silicone over the cone and vent masters.
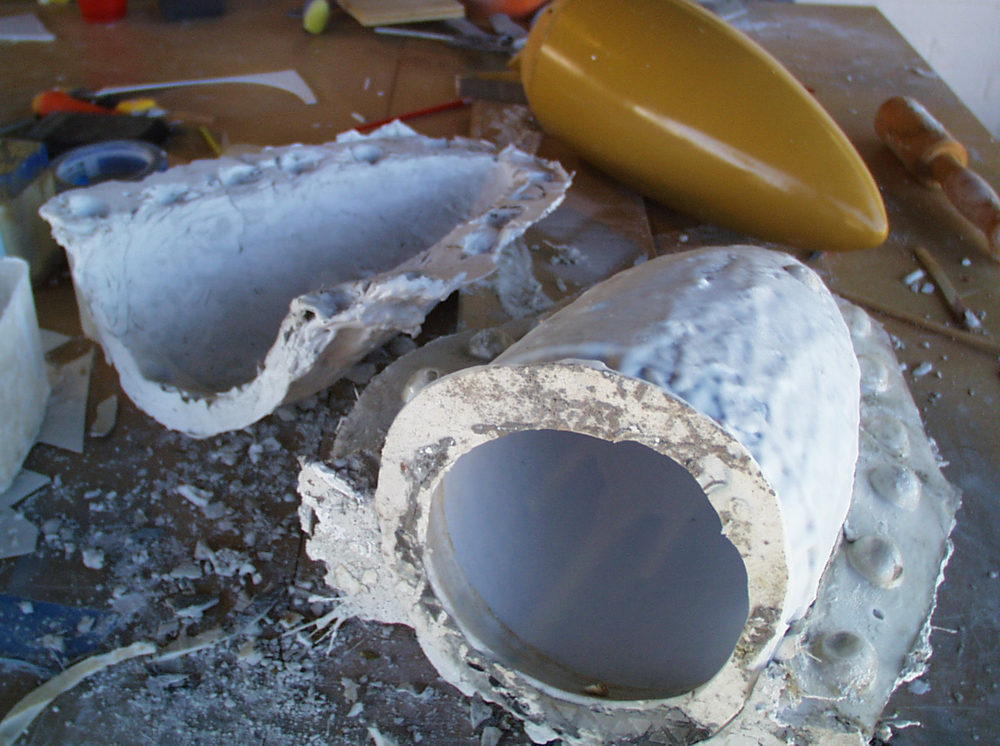
The silicone was supported with a mother mold made from fiberglass-reinforced plaster.
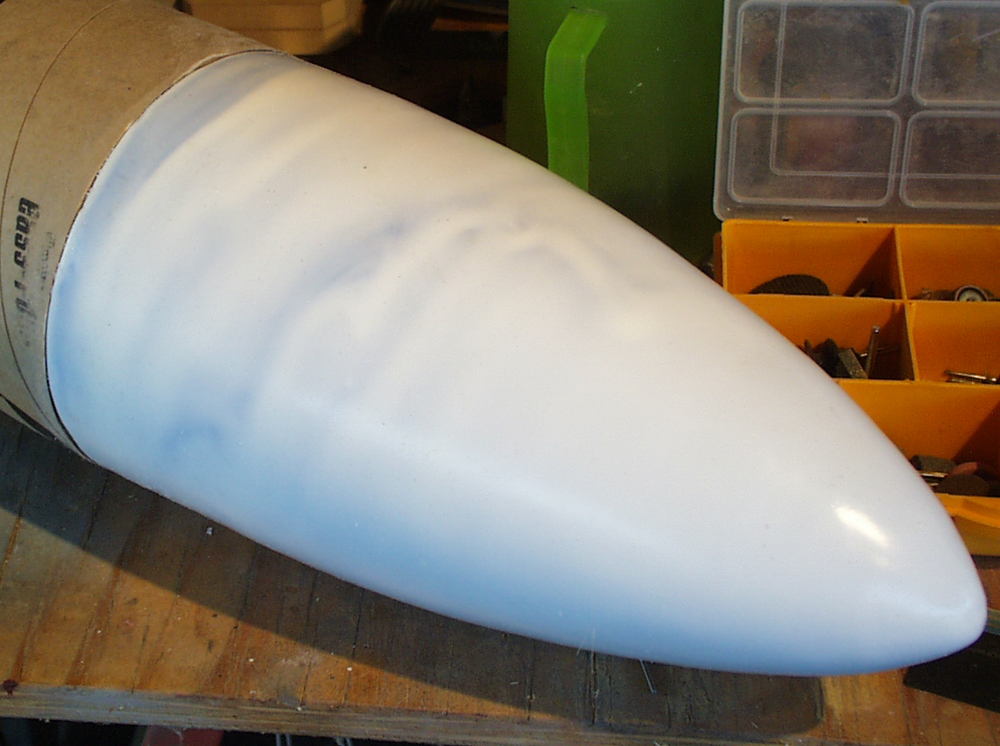
I slush cast a copy using SmoothCast 300 and it fit in the tube perfectly!. The surface looks uneven because dark tinted resin was used behind the thin initial coat.
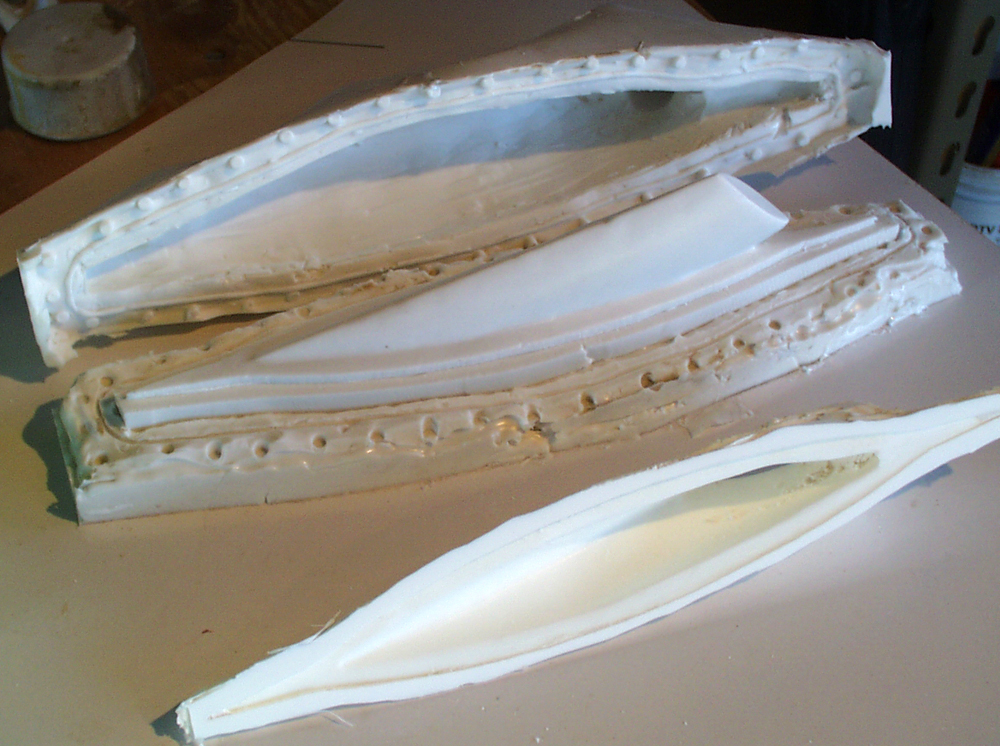
The final vent 2-part mold with a plastic resin copy.
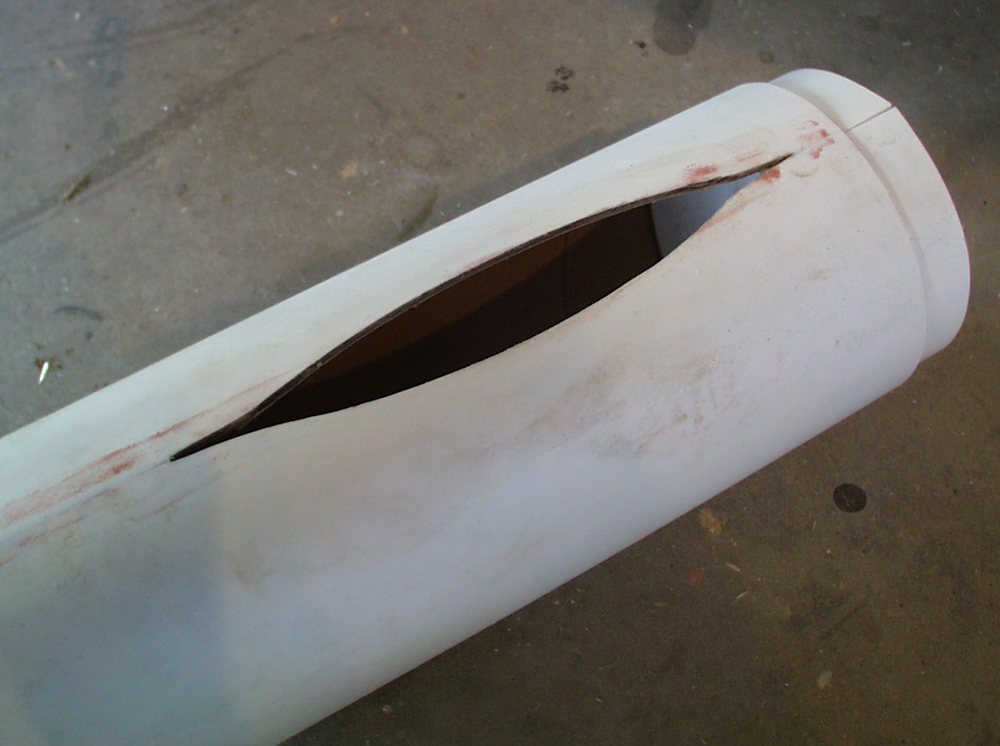
I cut holes in the tubes for the exhaust vents.
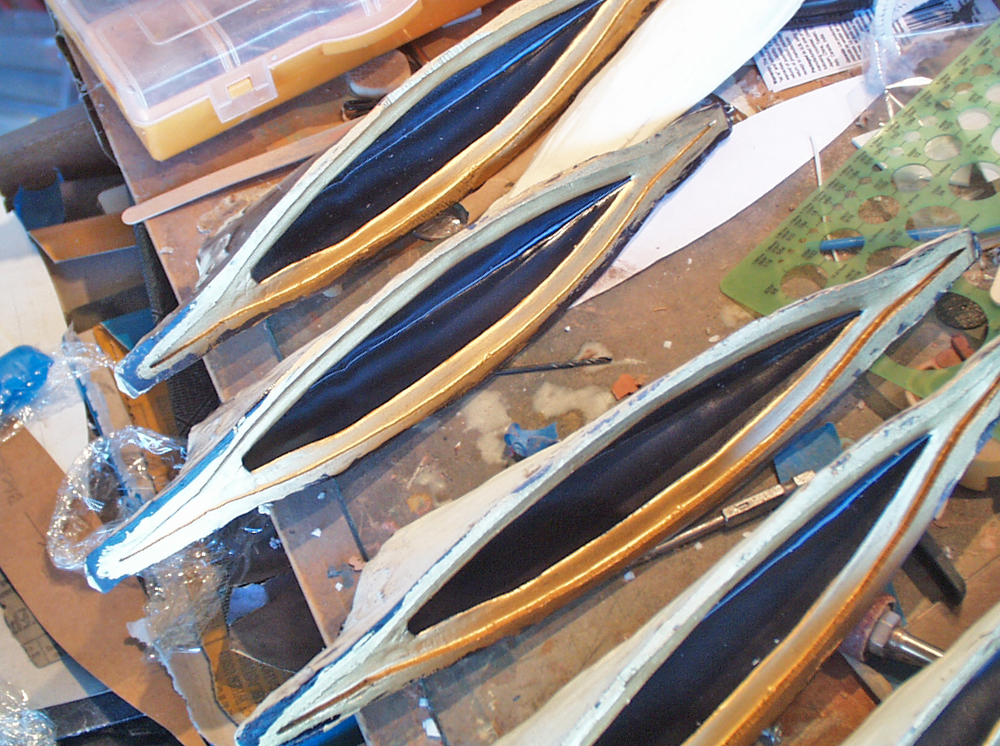
The resin vents were painted before installing them
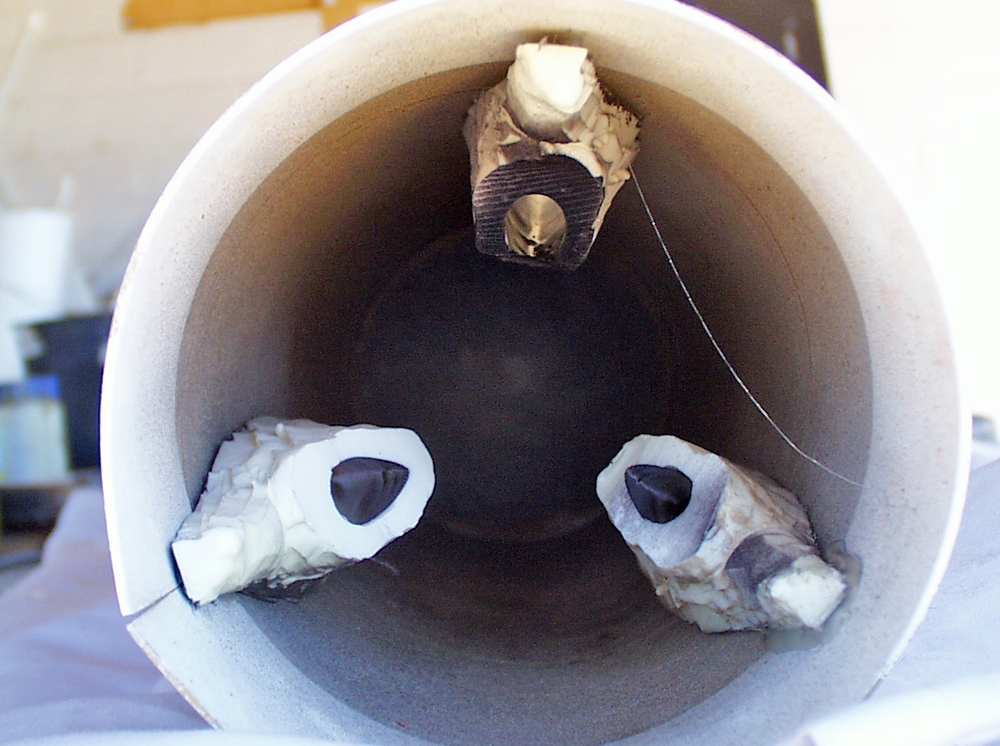
The vents were then hot glued into the tube sections.
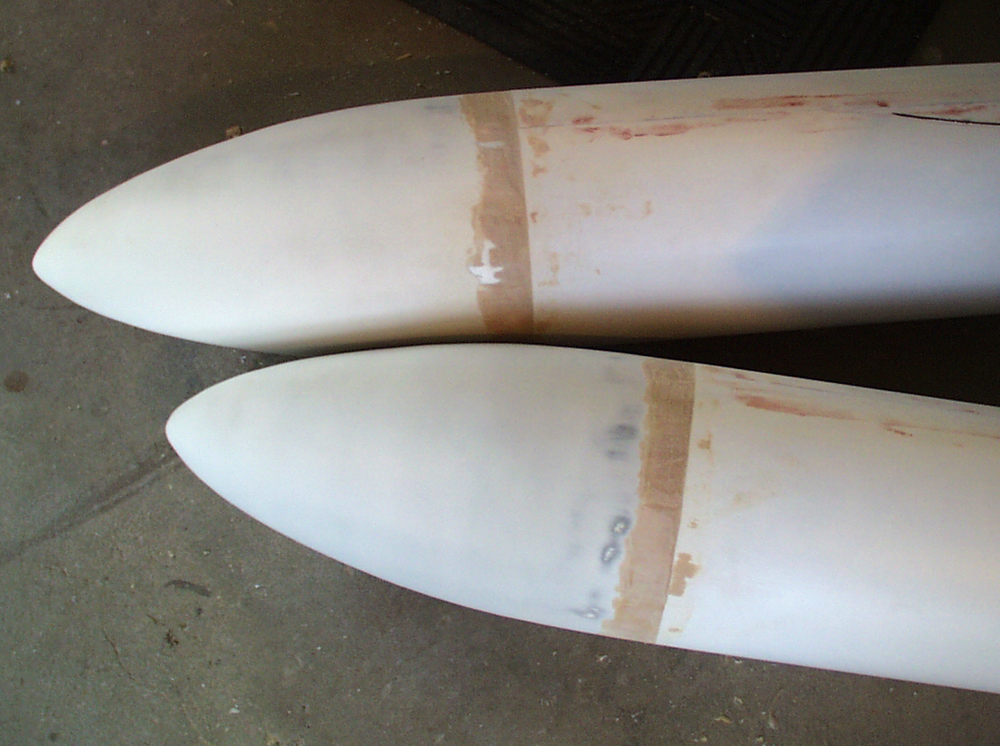
Both end cones attached to the tubes.
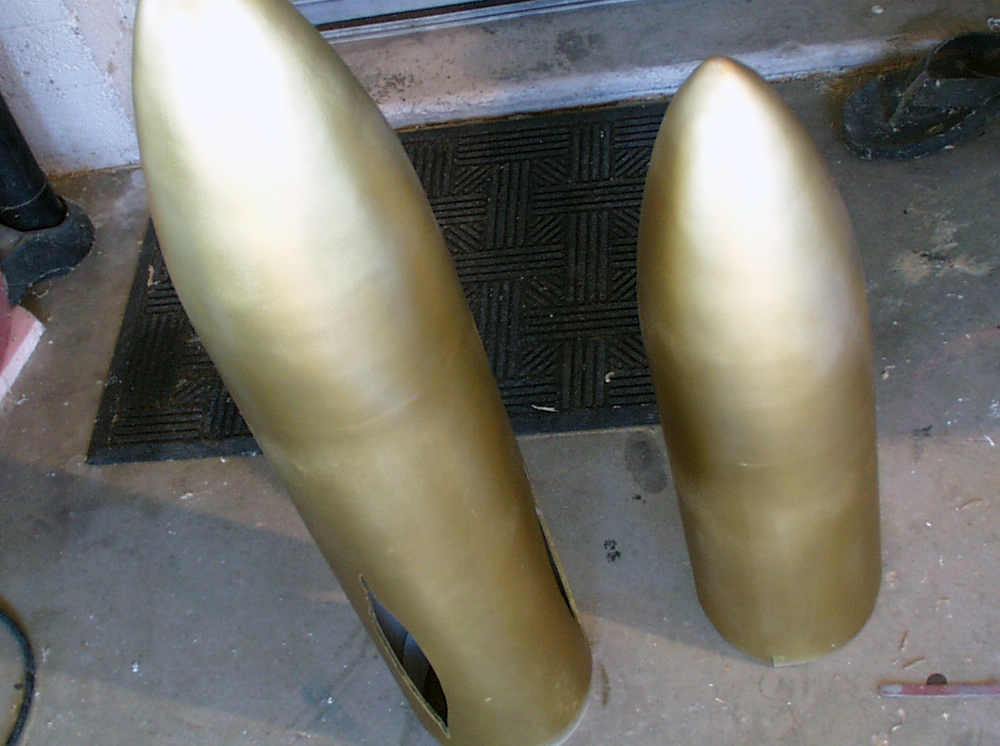
Both cone sections with a base coat of gold.
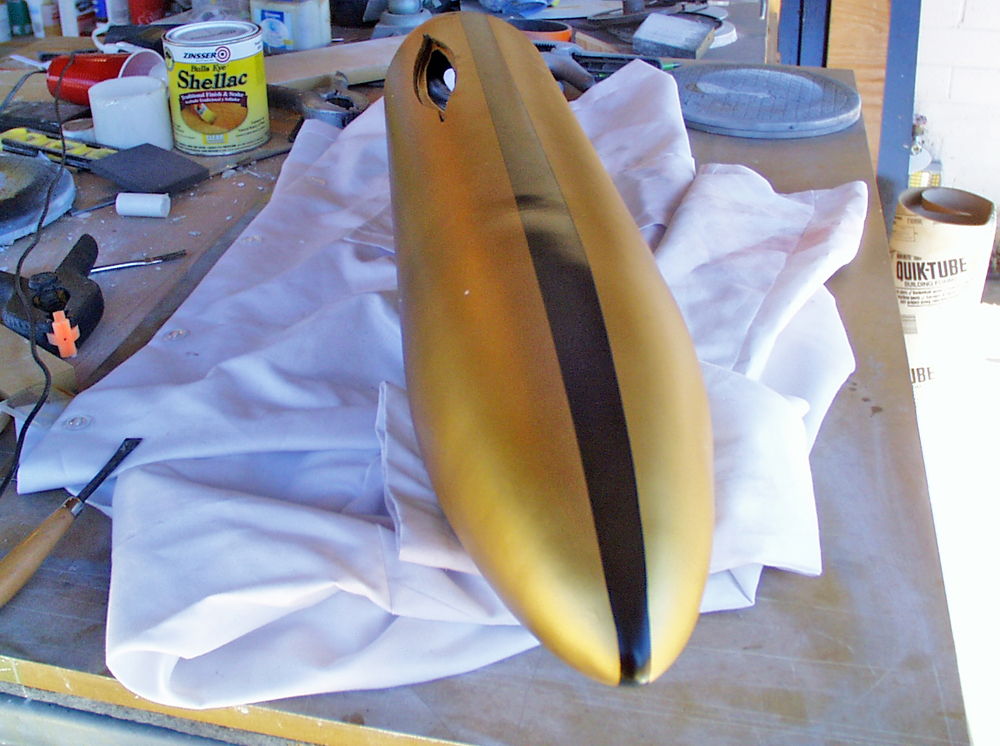
The tubes were then given their distinctive accent stripes.
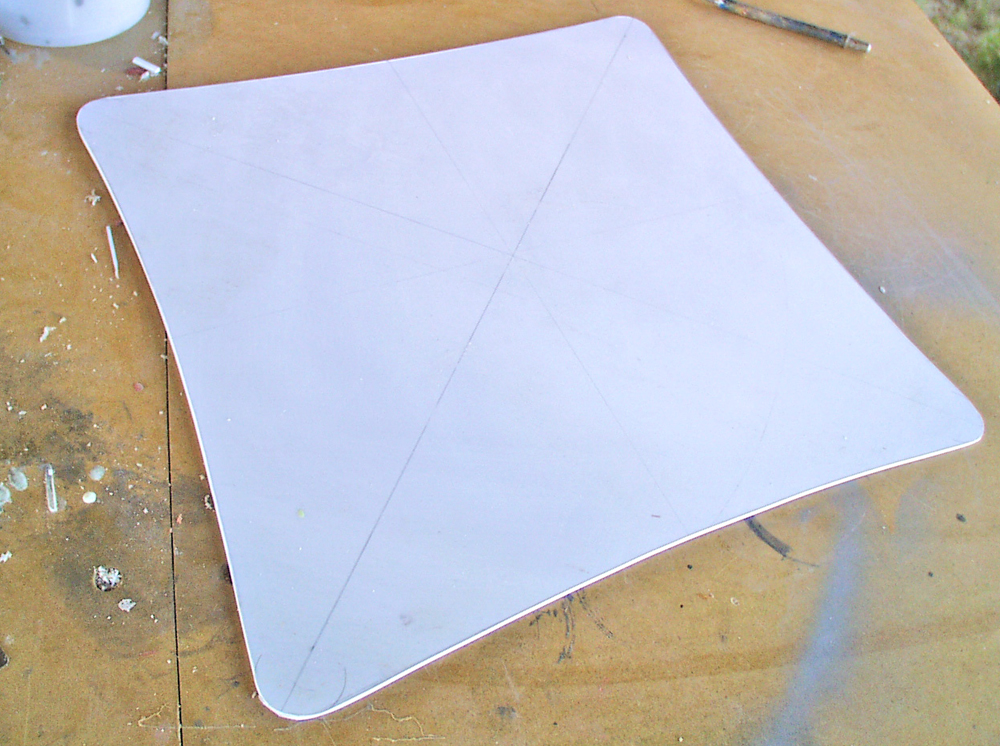
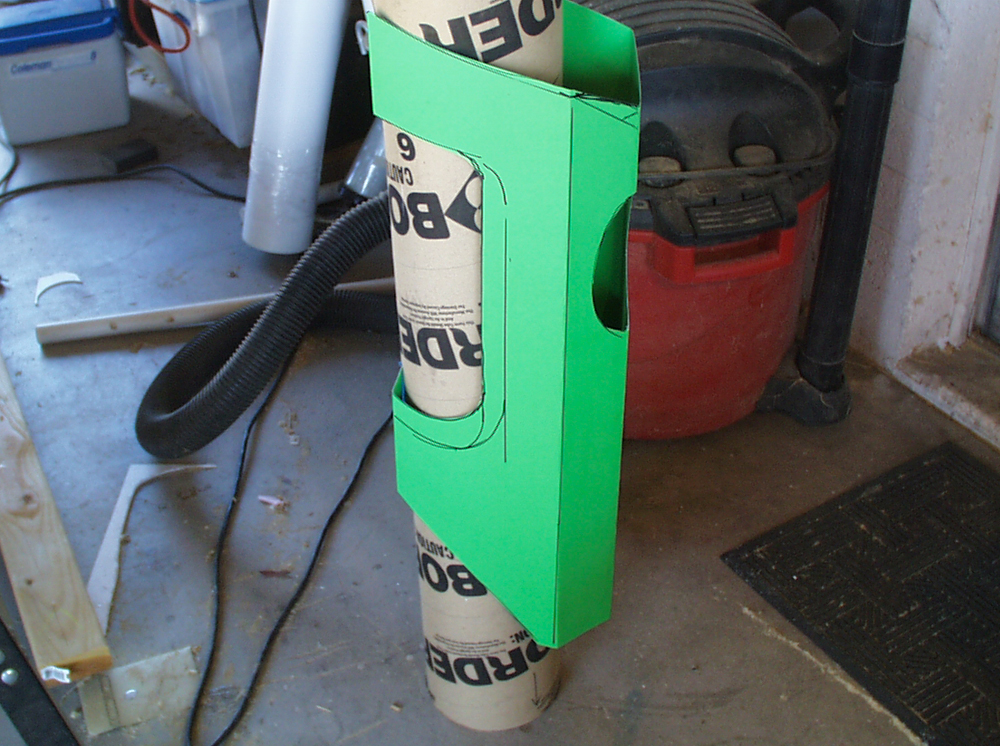
To figure out the frame that holds to main tube, I cut a template from poster board.
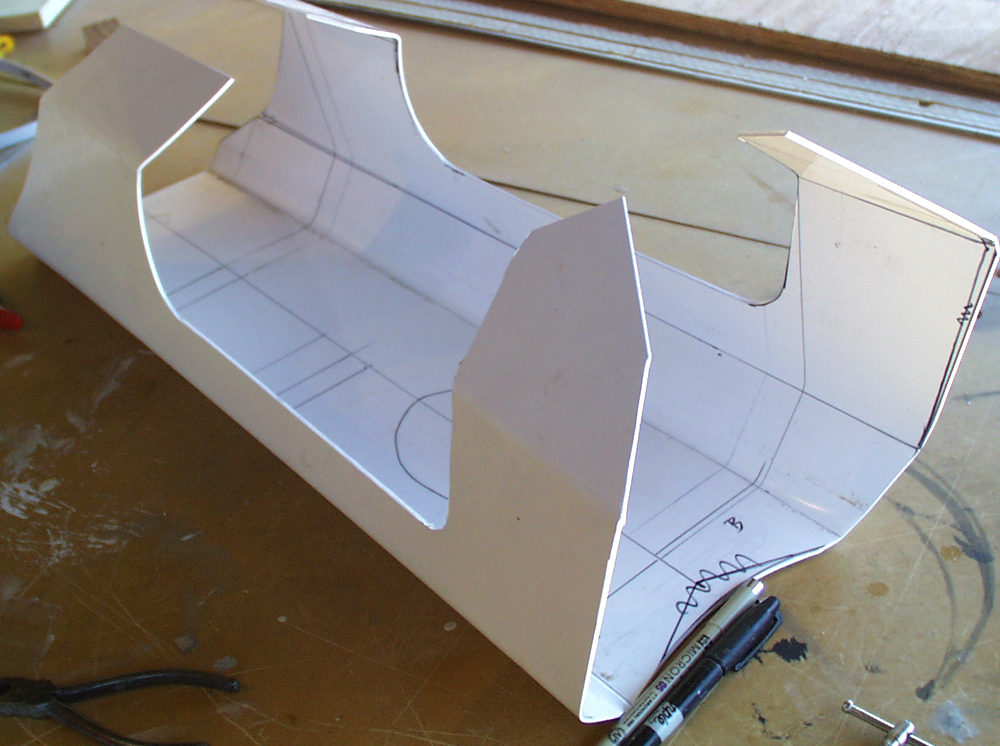
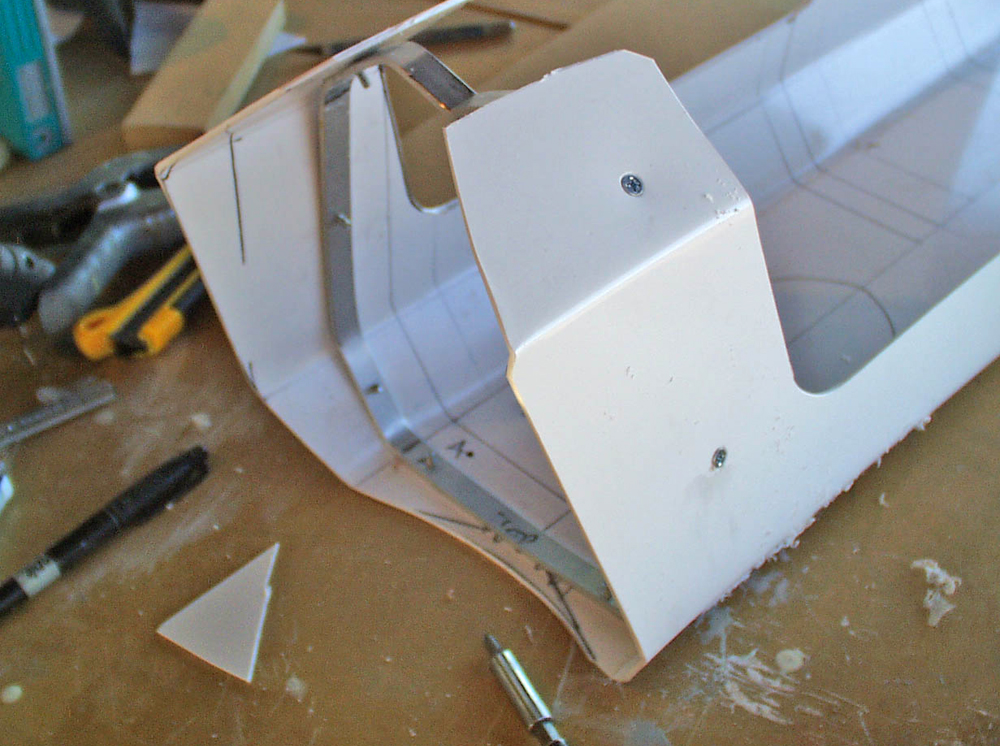
The design was then traced on to thick styrene and it was heat formed to shape.
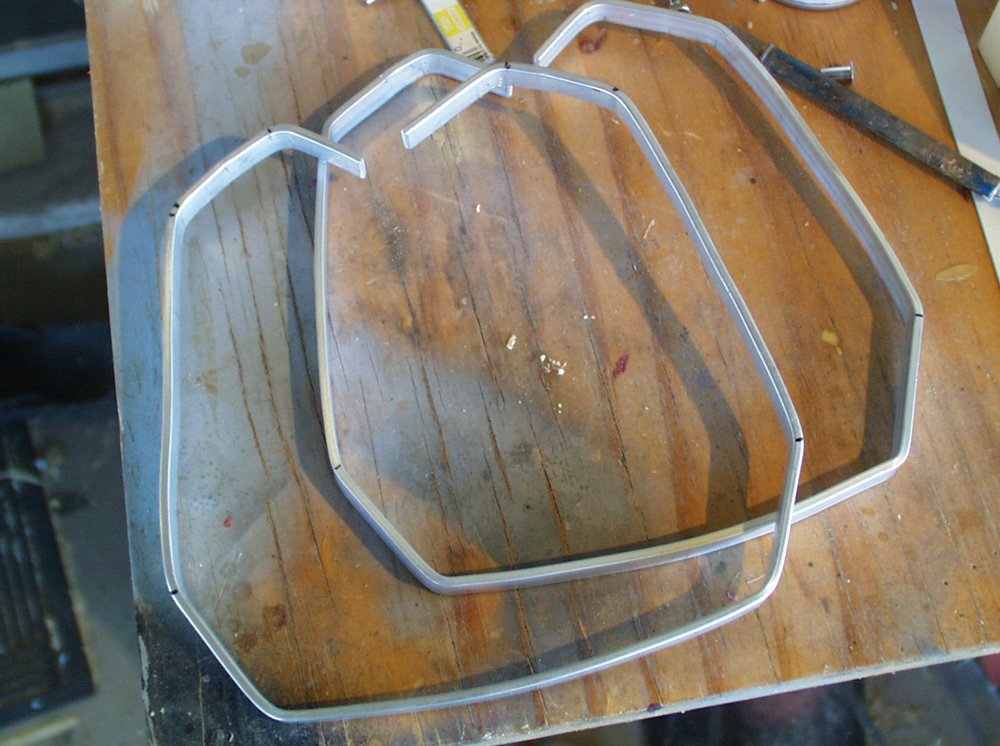
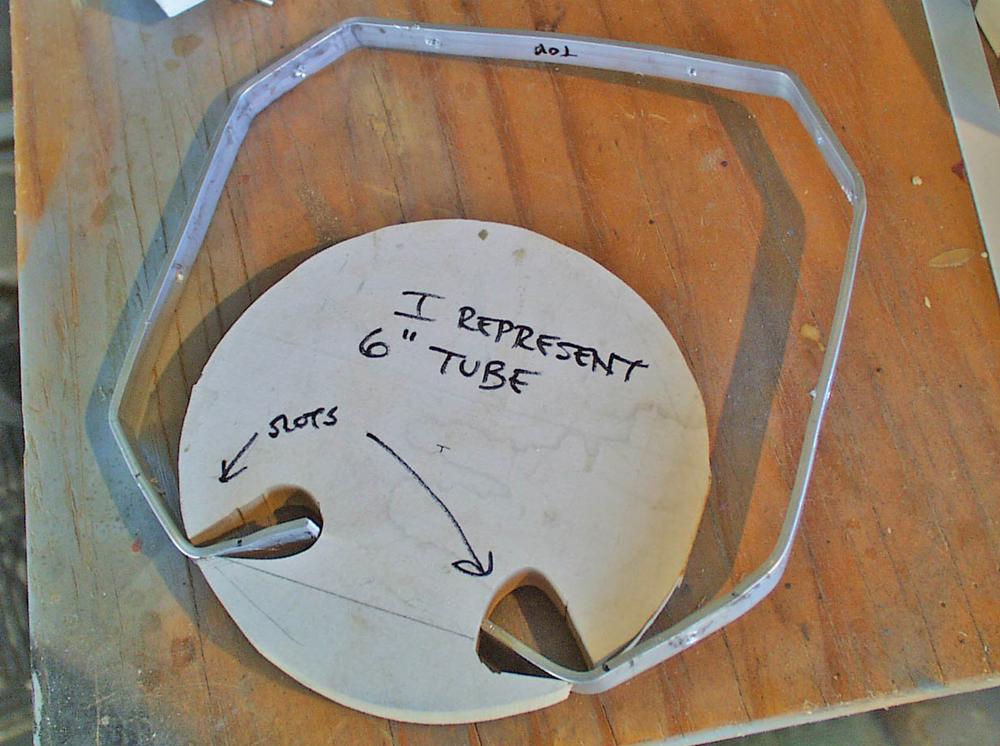
To make the frame more durable, I bent aluminum bar stock to the proper profile.
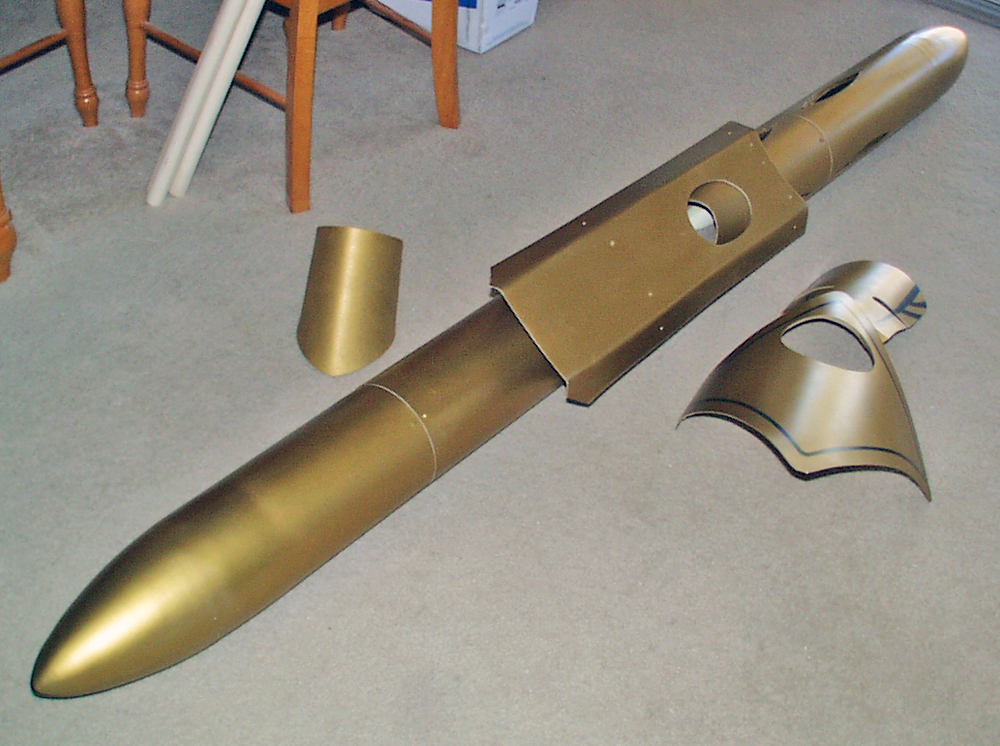
The final assembled bankai!
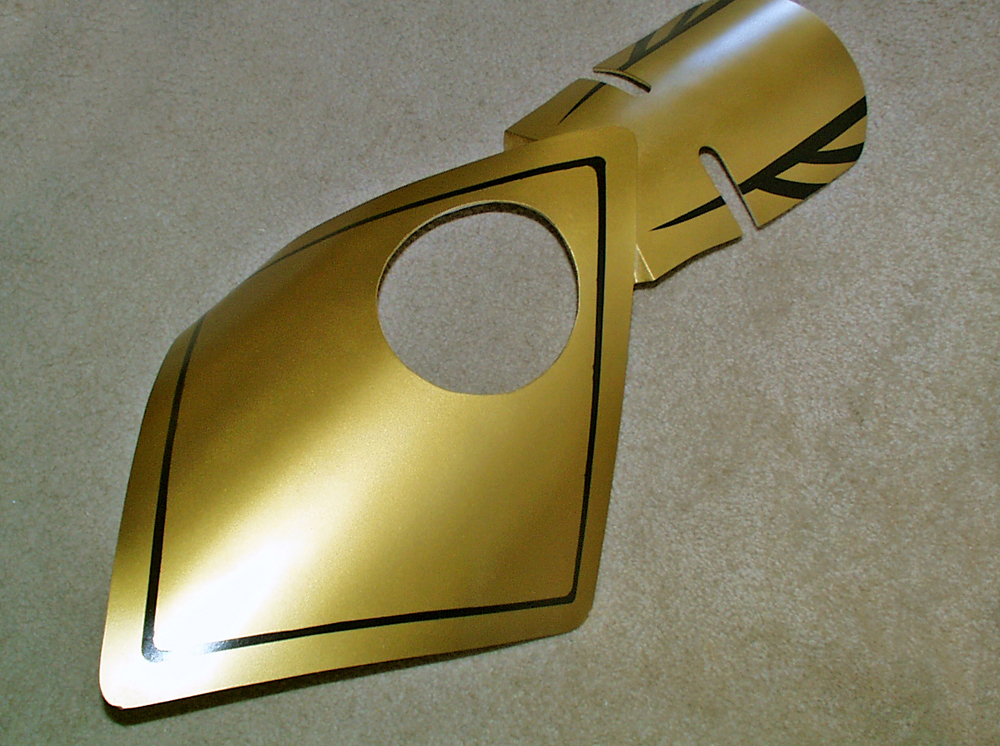
The painted blast shield.
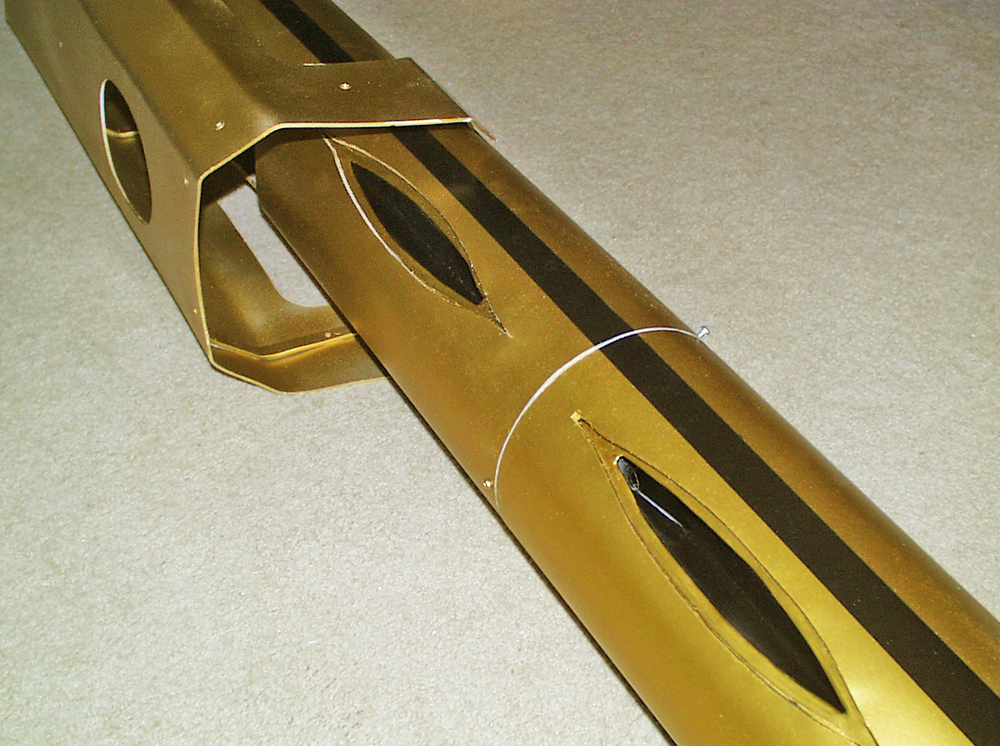
Detail showing the exhaust vents.
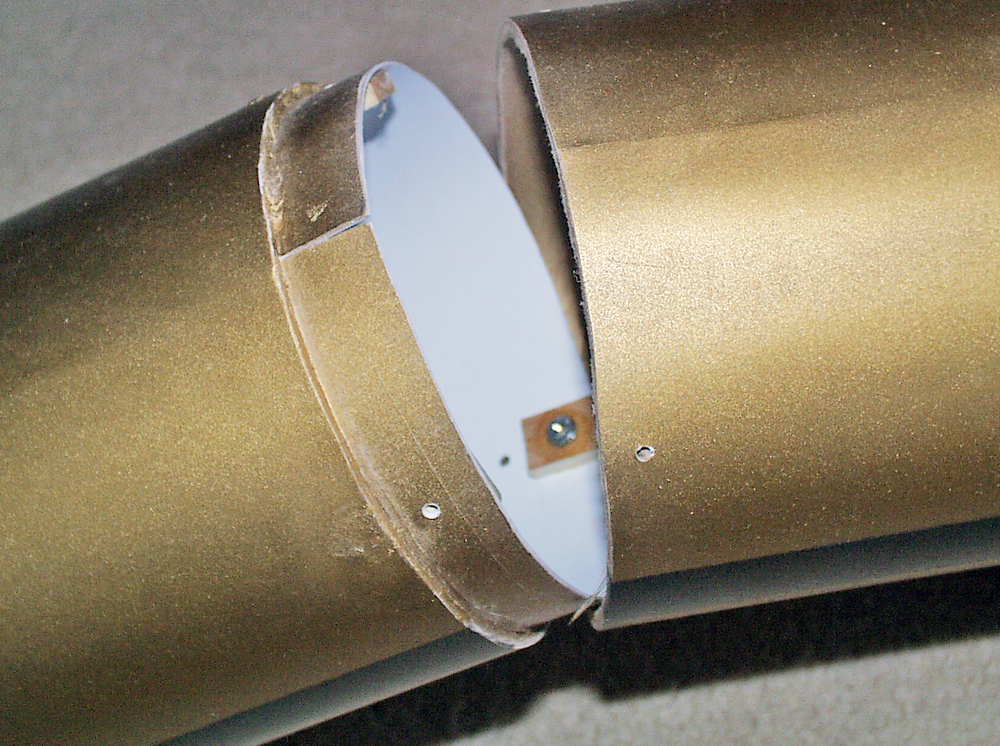
I decided reinforce the tube connections by drilling holes for three boles at each joint.
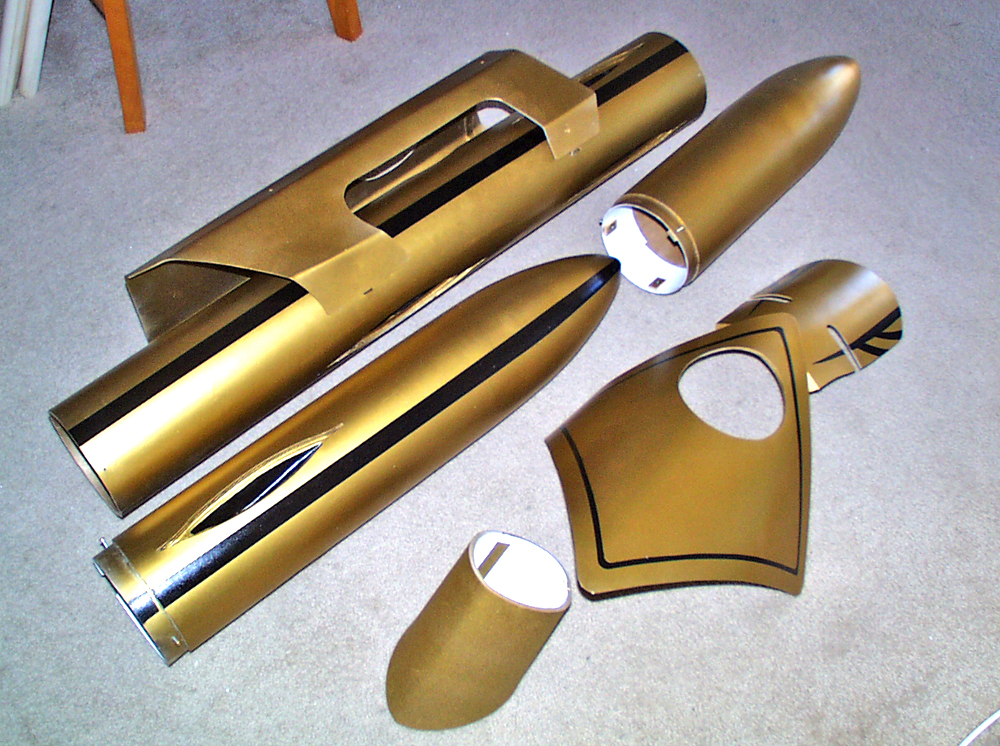
The bankai can now be disassembled for easy transport.
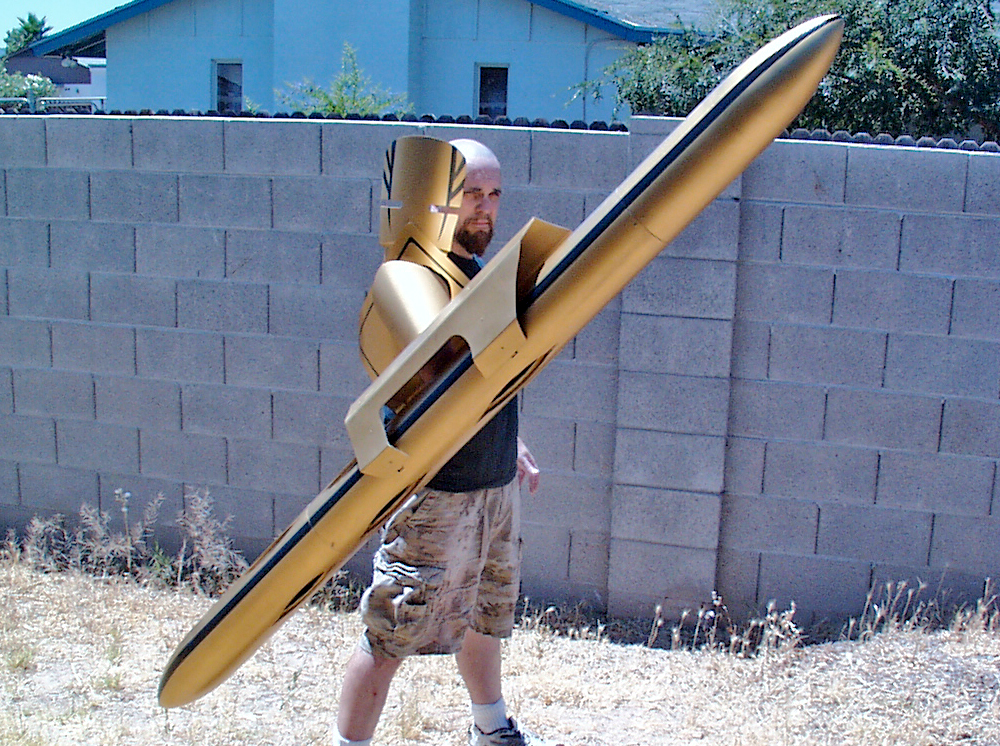
The final bankai as worn by me. Even though this monster makes me look Hobbitty, I am actually 6 ft tall. The prop weighs 11 lbs but is nicely balanced when worn.
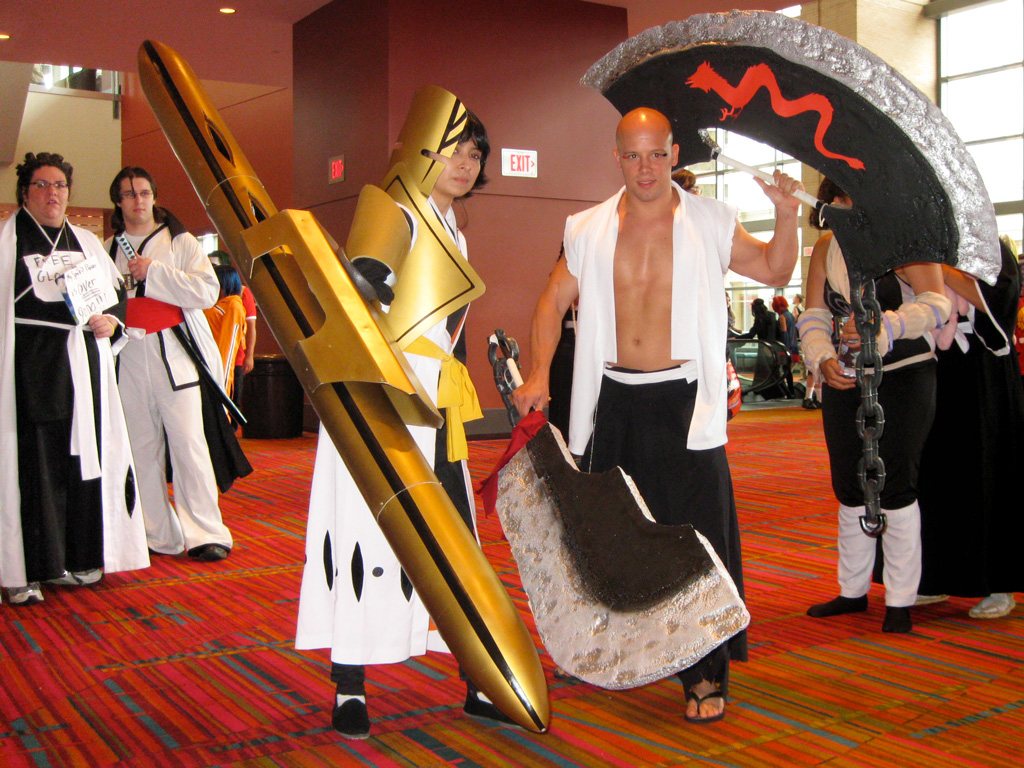
The client with her bankai at ConnectiCon 2010.
