toy story snake
august 2014
Snake is a green and purple jointed rattlesnake toy that appeared in the Toy Story series. He is shown to be good friends with Robot, as they are always seen together.
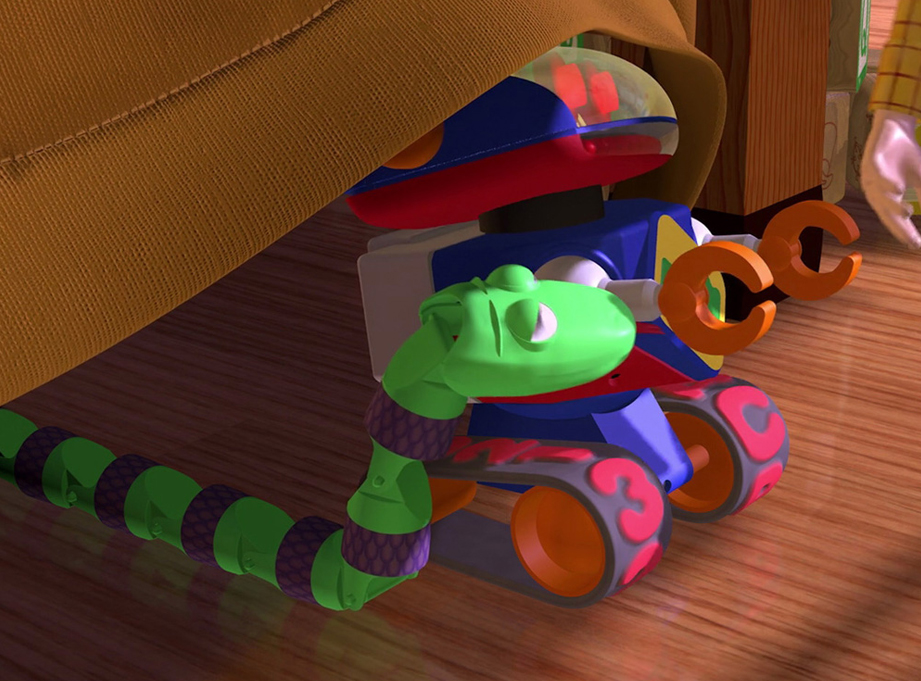
I was commissioned to build Robot’s friend Snake. After the complexity of the Robot, I thought that a simple toy like the Snake would be easy. ..what an idiot!
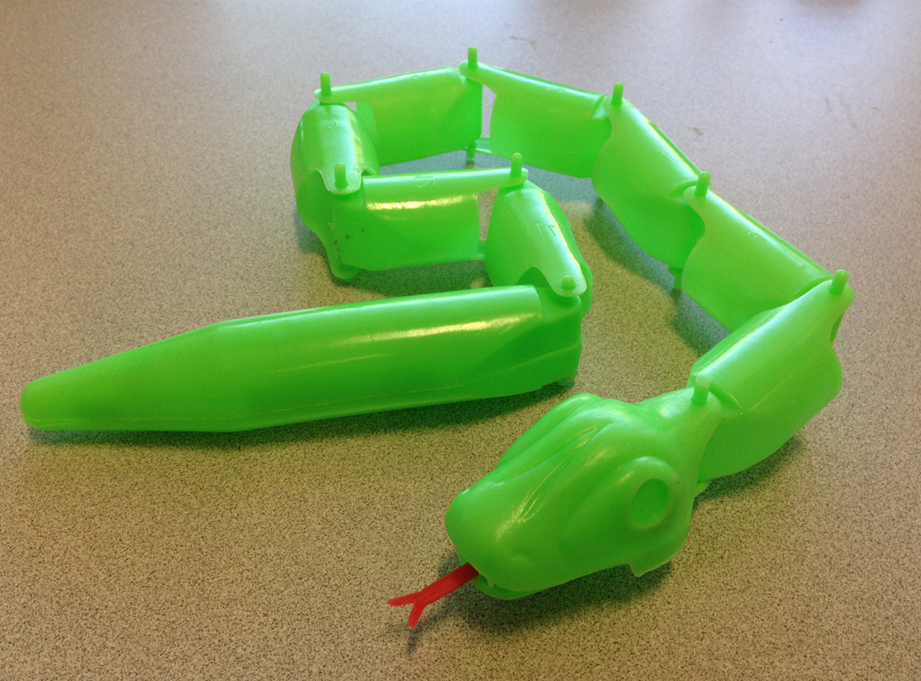
One of the clients lent me a Snake toy that was close to the movie version which was very helpful to see how it was constructed.
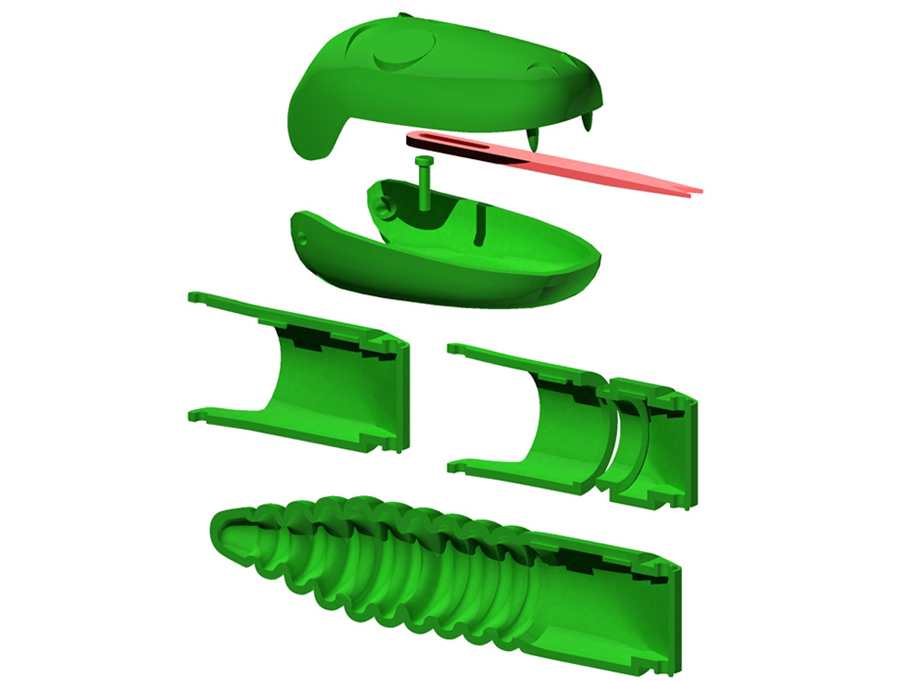
I built masters for all the parts in Strata3D.
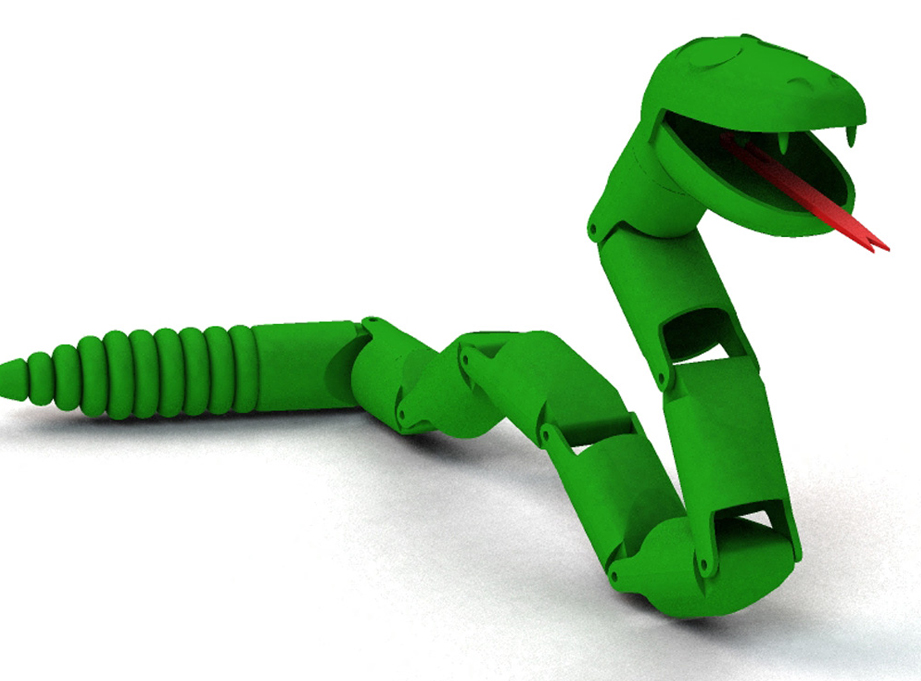
A quick virtual assembly to see how everything fits together. This was helpful to see the range of movement.
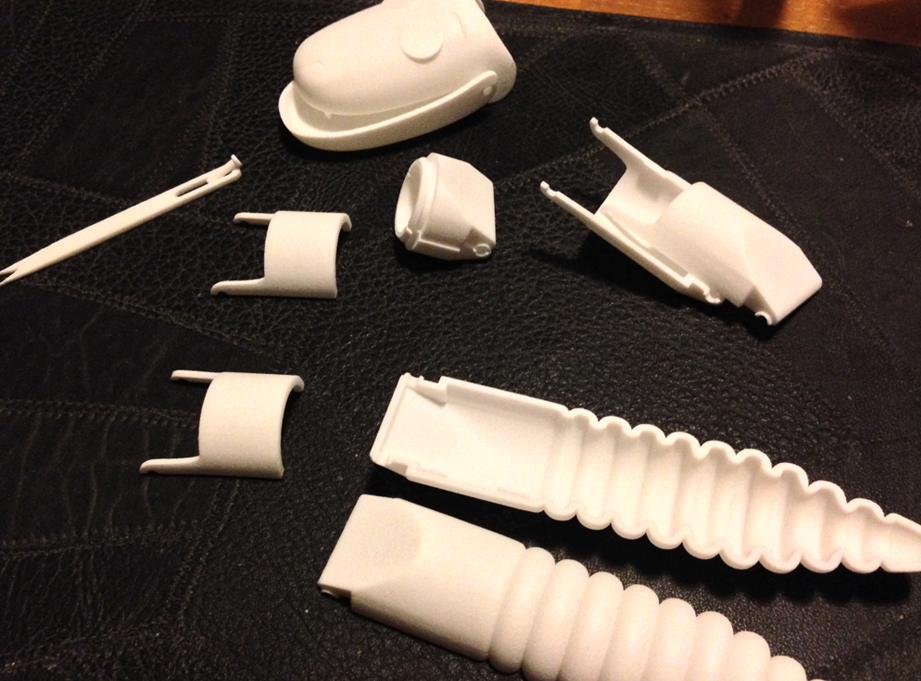
I printed out half of each piece so I could make molds.
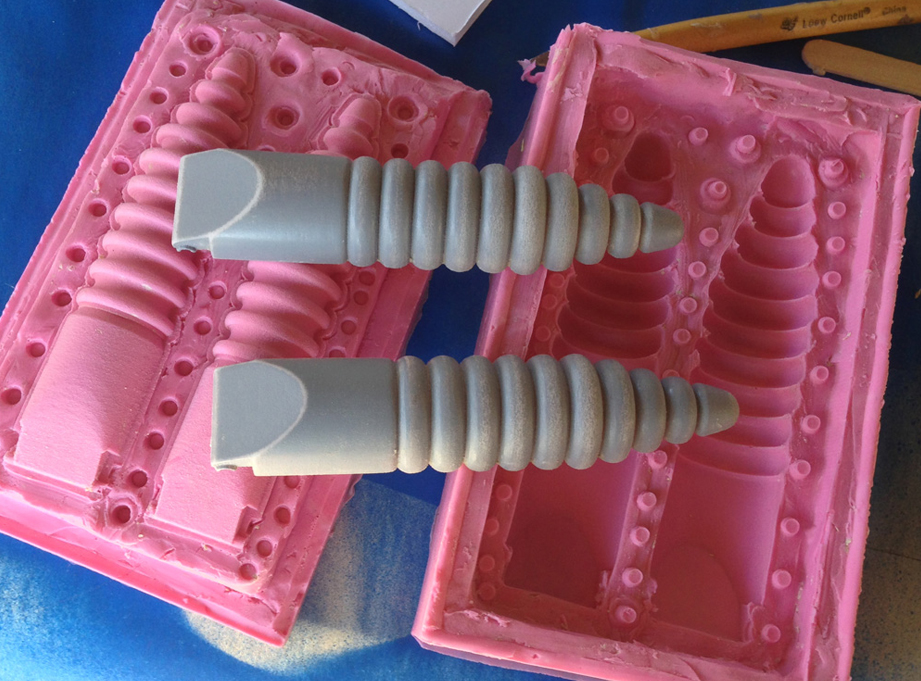
I made two-part molds for all the pieces. The plan was to cast all the pieces to make a complete kit so that the color would be consistent
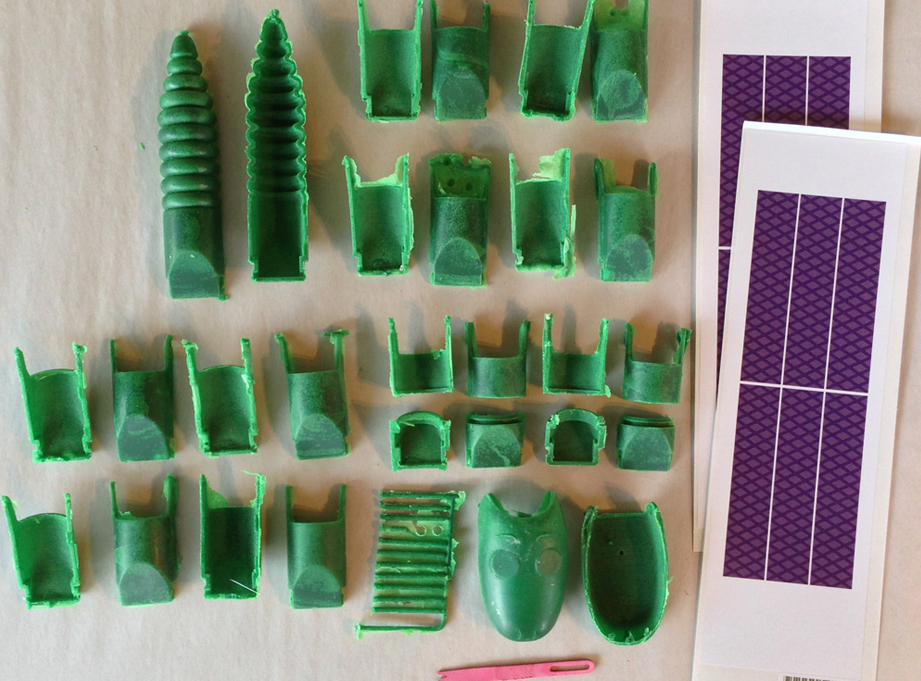
Smooth-on Task 13 worked the best of the resins I tried but it was nearly impossible to get bubble-free castings with the thin walls.
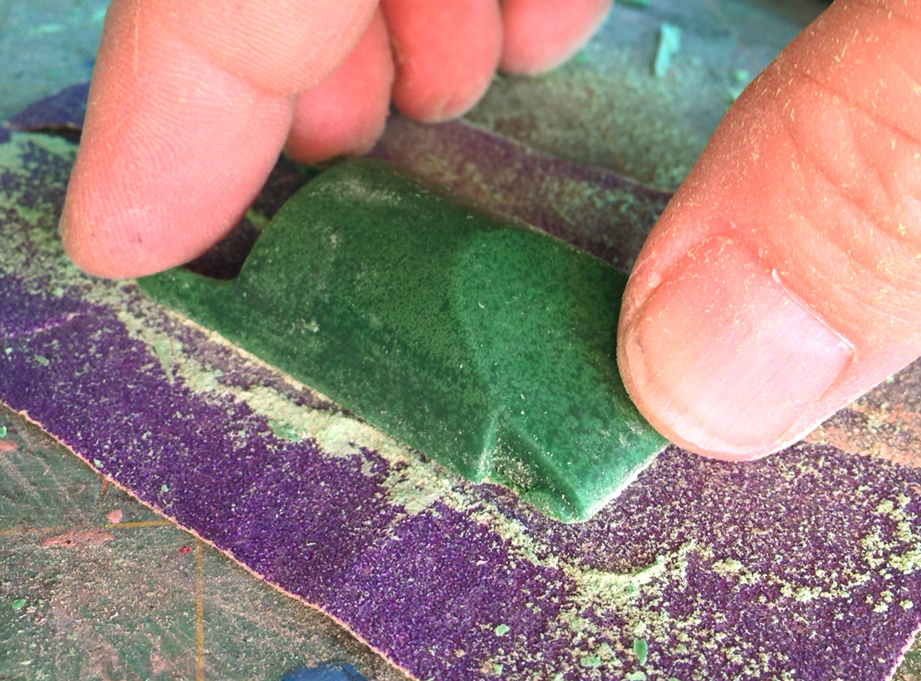
To build the segments, I would first have to sand the edge of all the part halves to get a flat glueing surface.
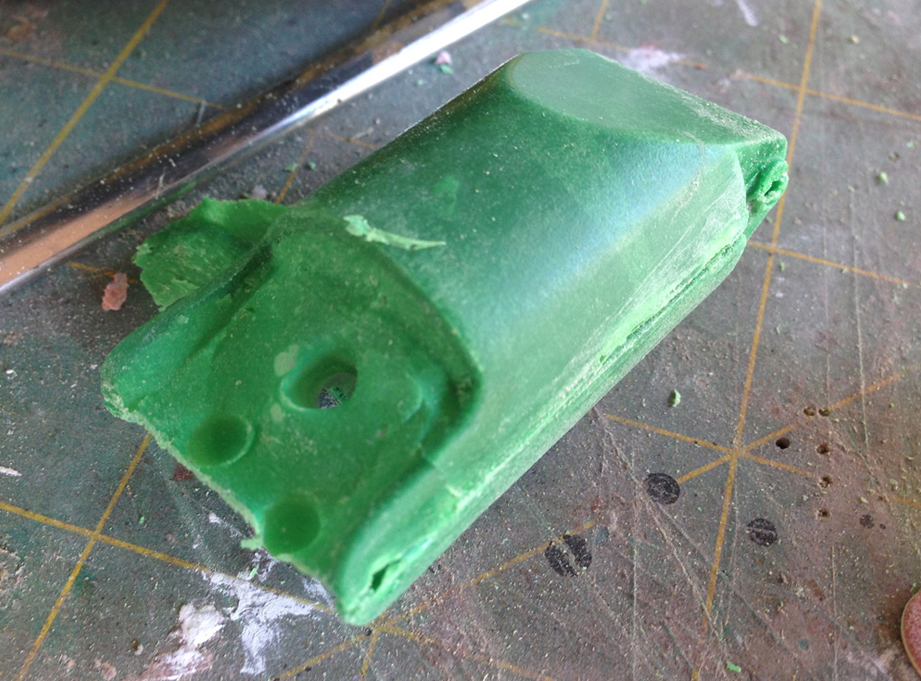
Without removing the flash (excess plastic from casting), I glued the parts together. This helped to support the fragile arms until the part was complete.
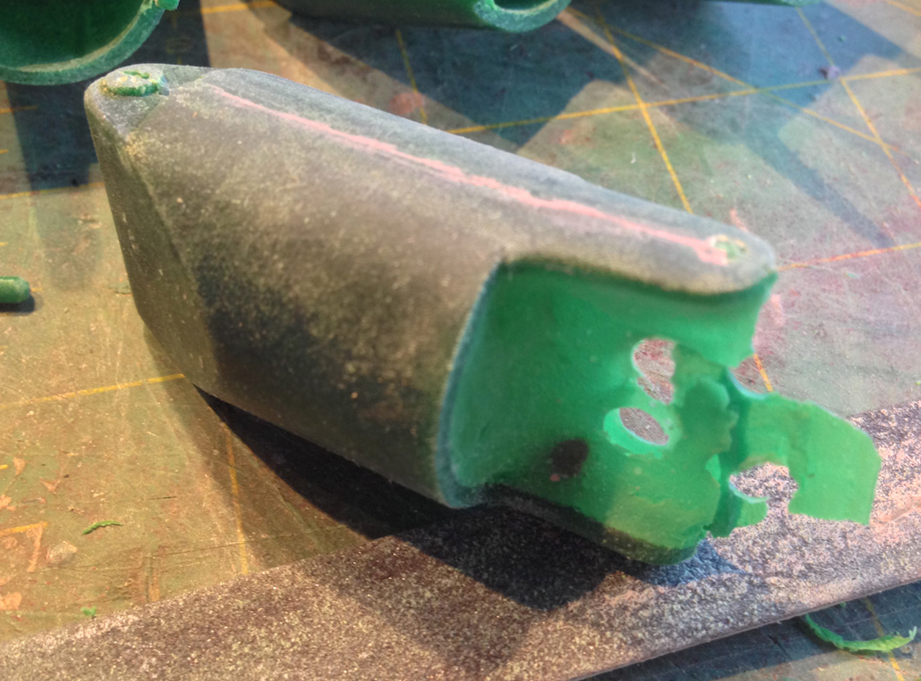
The seam was puttied up and the surface sanded to remove any other flaws.
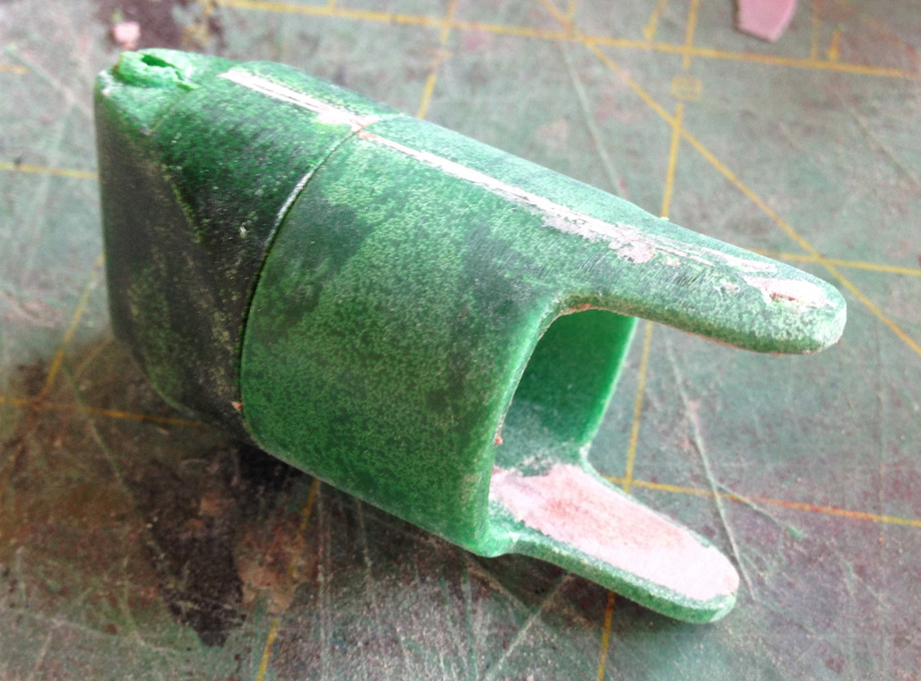
I removed the flash and added some Bondo to the inside of the arms to strengthen them.
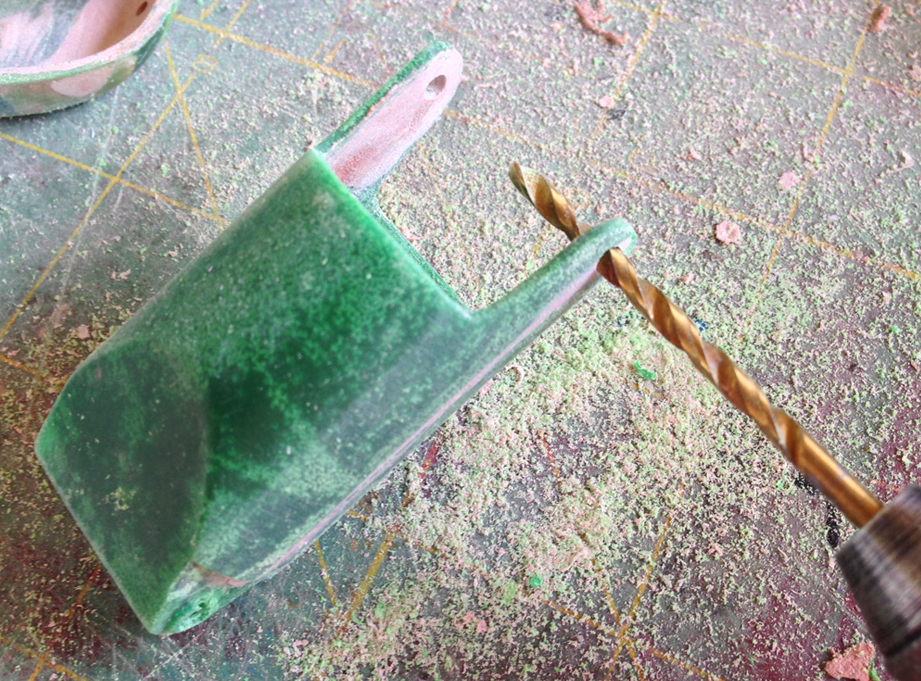
I then had to drill out any mounting holes that may have clogged up during the putty stage.
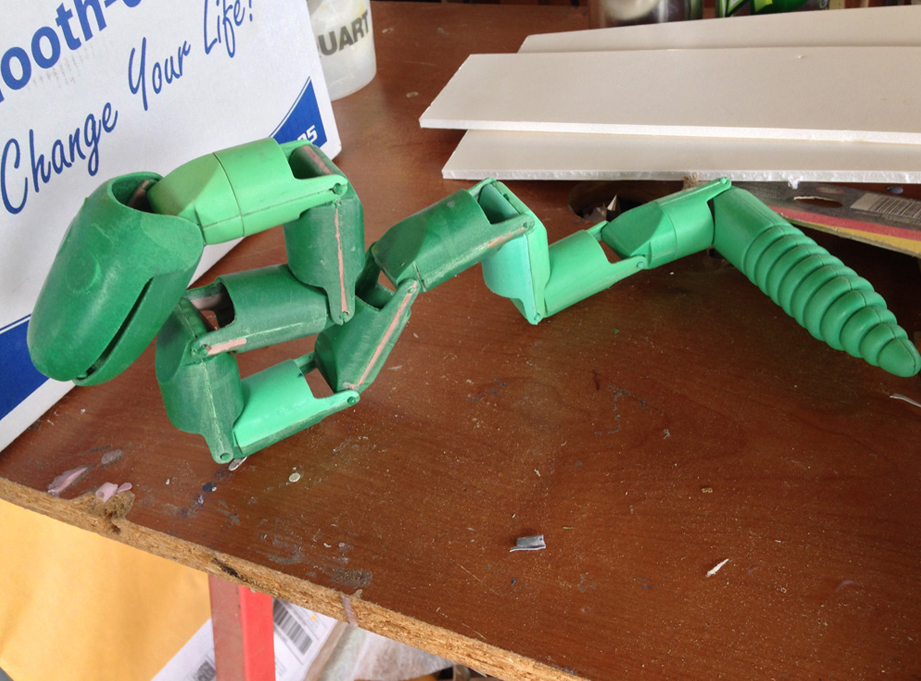
A quick test fit. It was a lot of work to clean up the parts just to get to the prototype stage.
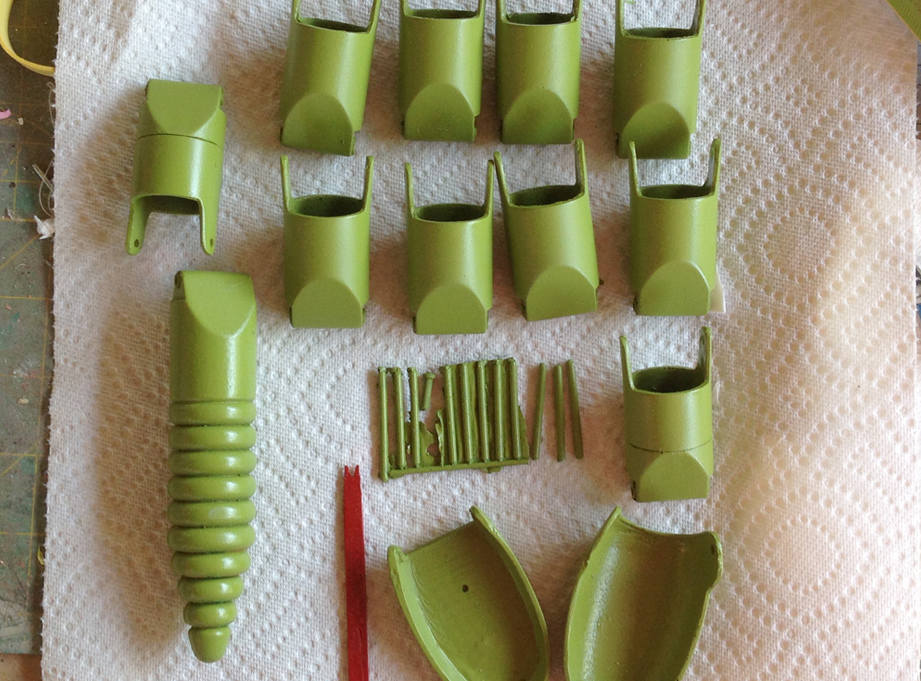
I foresaw a grim future of trying to replicate these finicky parts to sell kits.
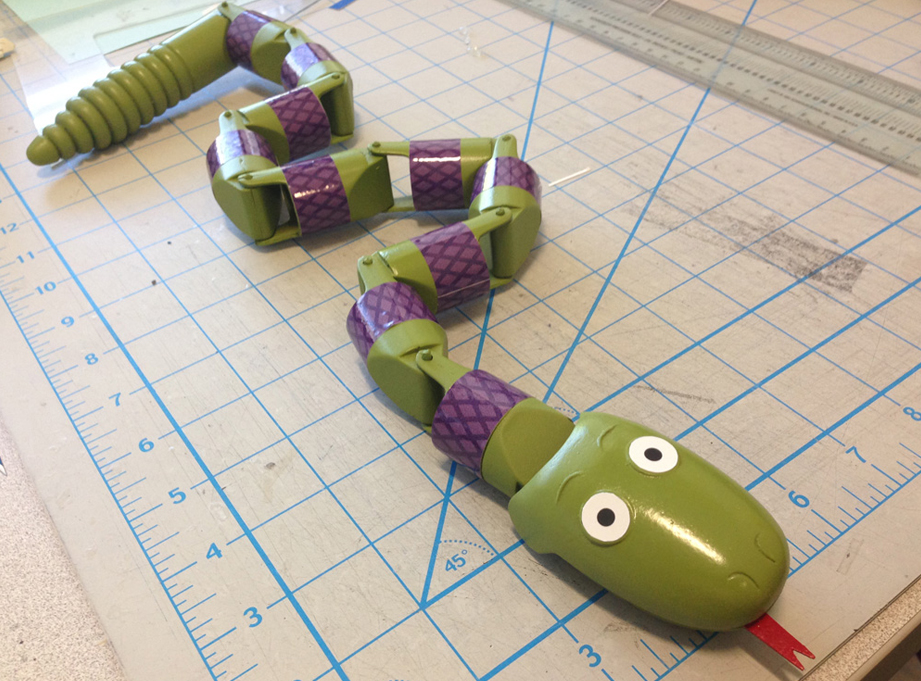
It was then that Shapeways reduced their pricing significantly. It was now cheap enough to just sell 3D printed parts for the kit, eliminating any need to cast them myself!!
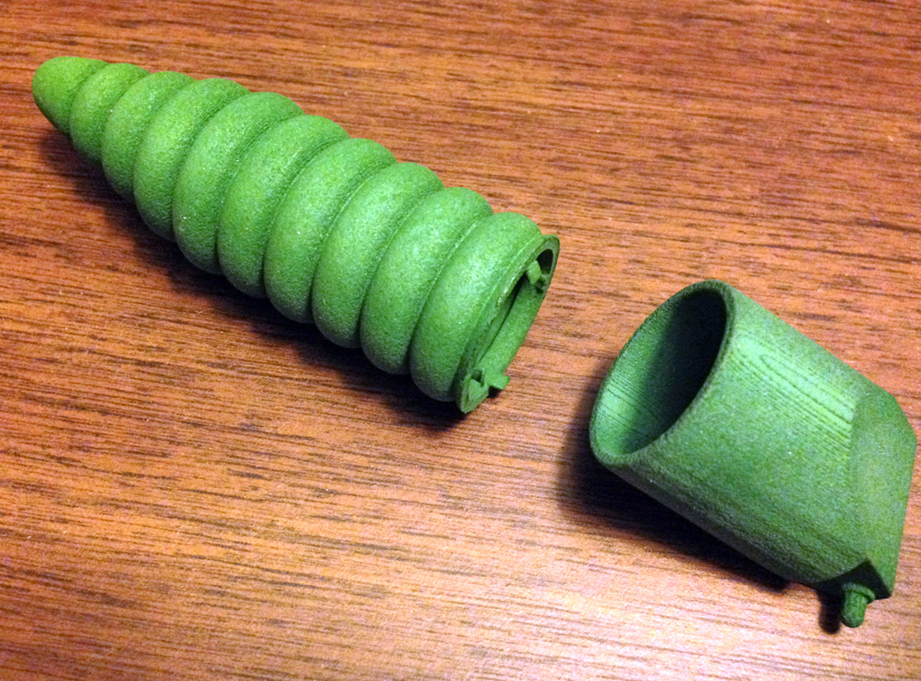
I rebuilt the 3D files to be complete segments. The tail had to be printed as two pieces to allow excess material to be removed.
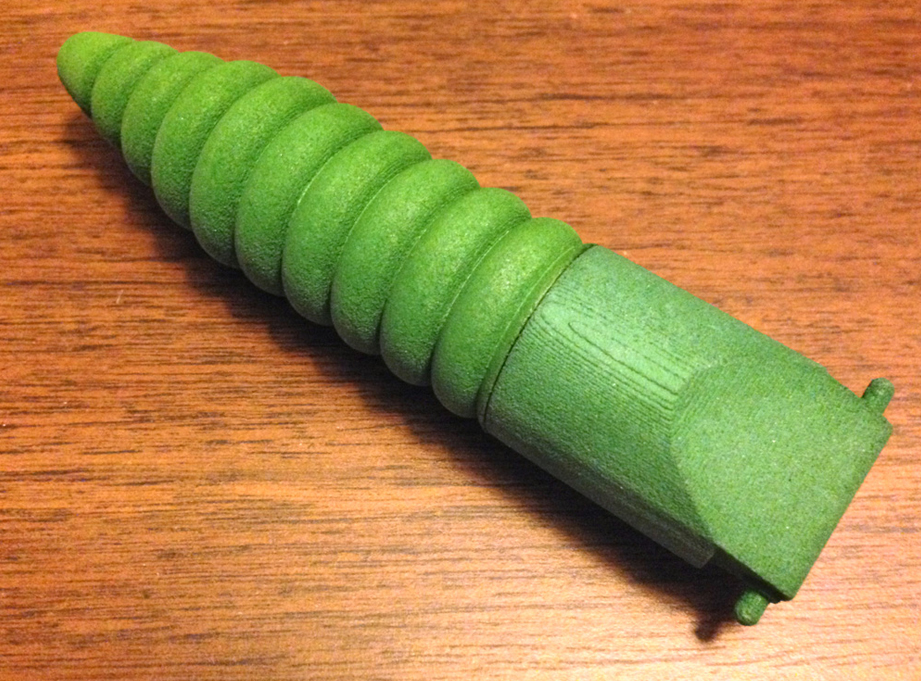
A little super glue completes the tail.
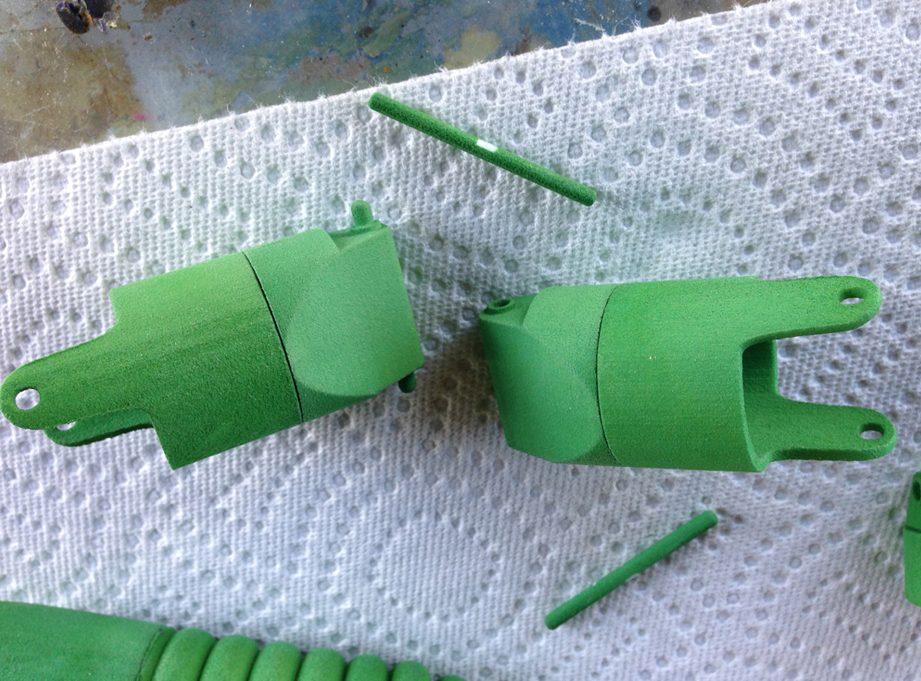
To allow the neck and tail to rotate, I built two segments that would lock together and spin. A bit of white grease smoothes the movement.
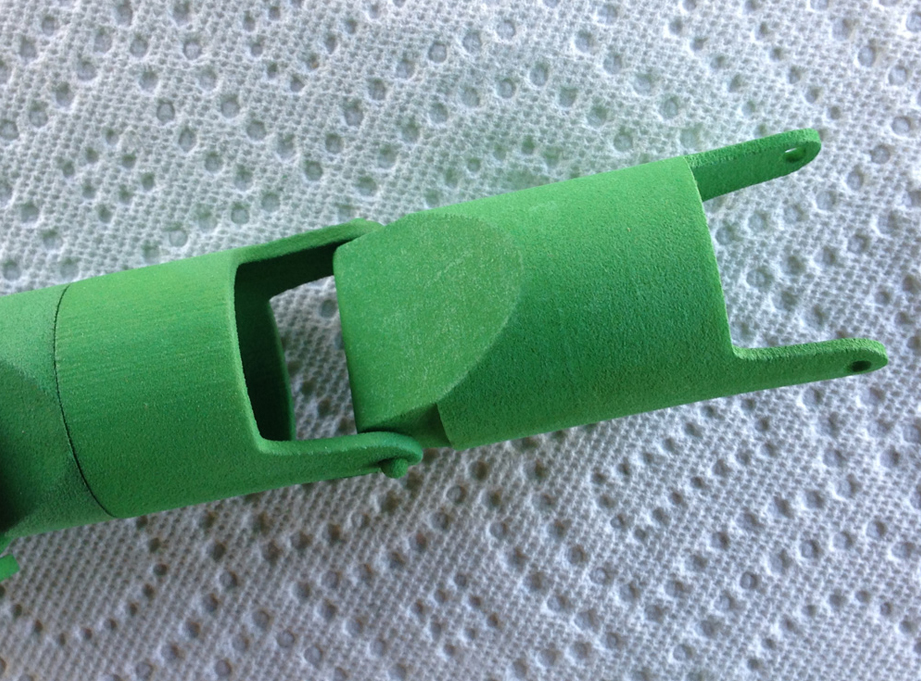
The body segments lock together.
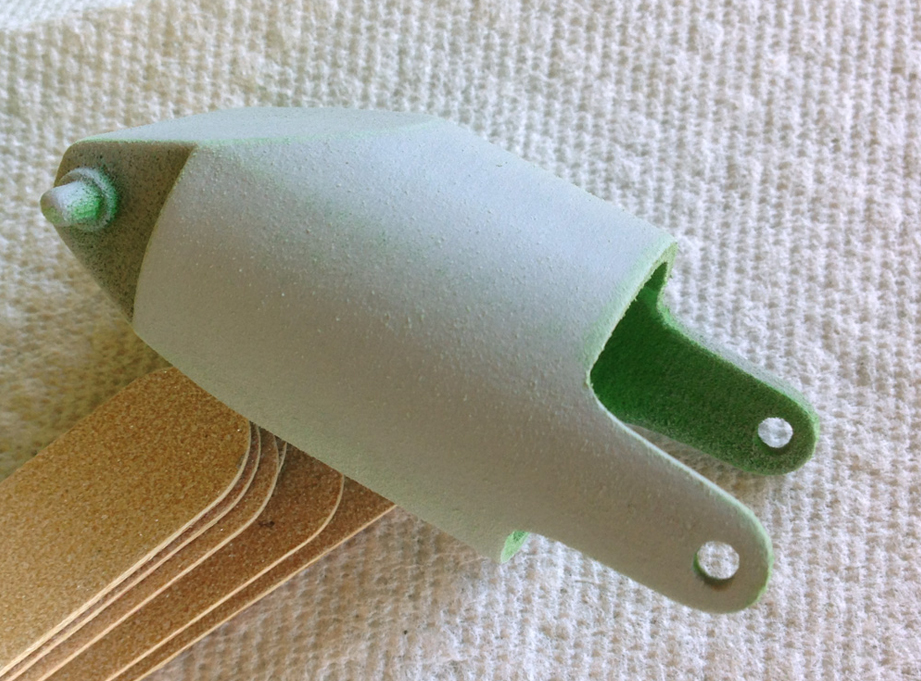
A coat of filler primer removes most of the print marks. The green plastic make it easier to paint as I don't have to worry about getting color in the recesses.
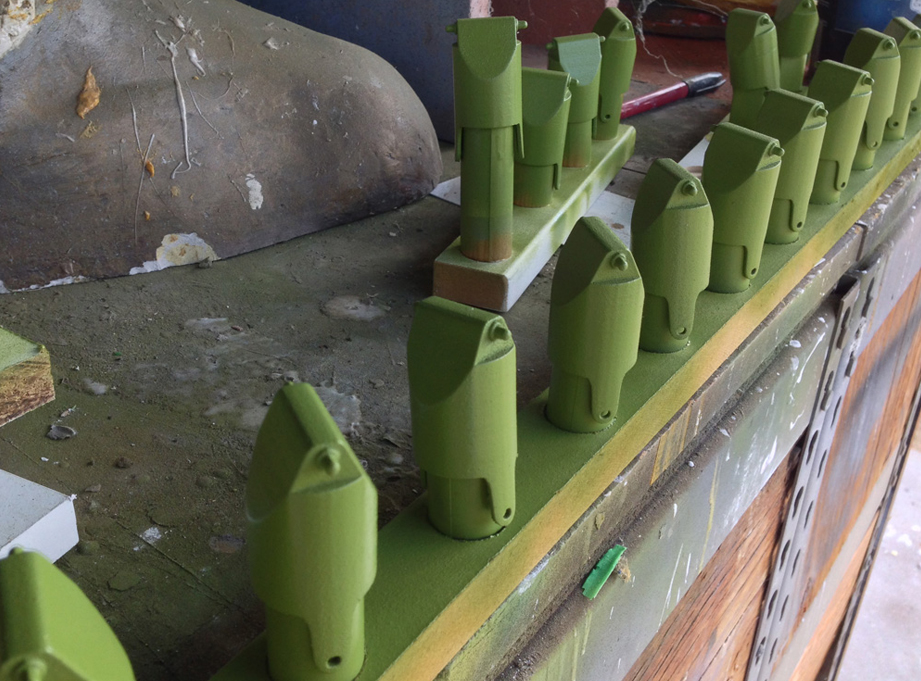
I found that Rustoleum "Satin Eden" is a pretty good match for the movie Snake.
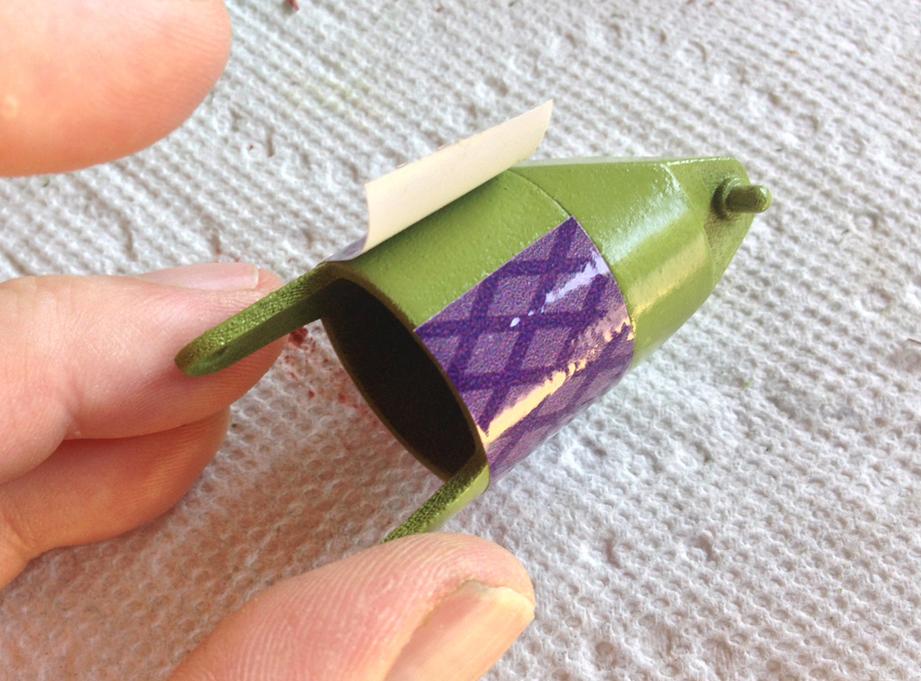
I trimmed out vinyl decals that I printed at CafePress and wrapped them around each body segment.
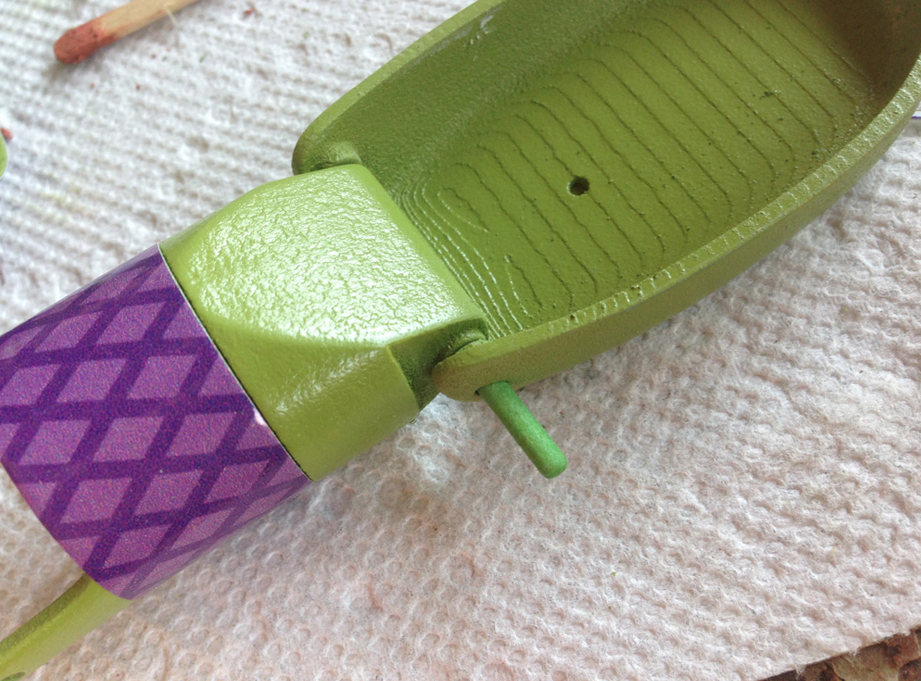
The rotating neck segment was positioned in the jaw so the holes would line up.
A pin slides through both pieces.
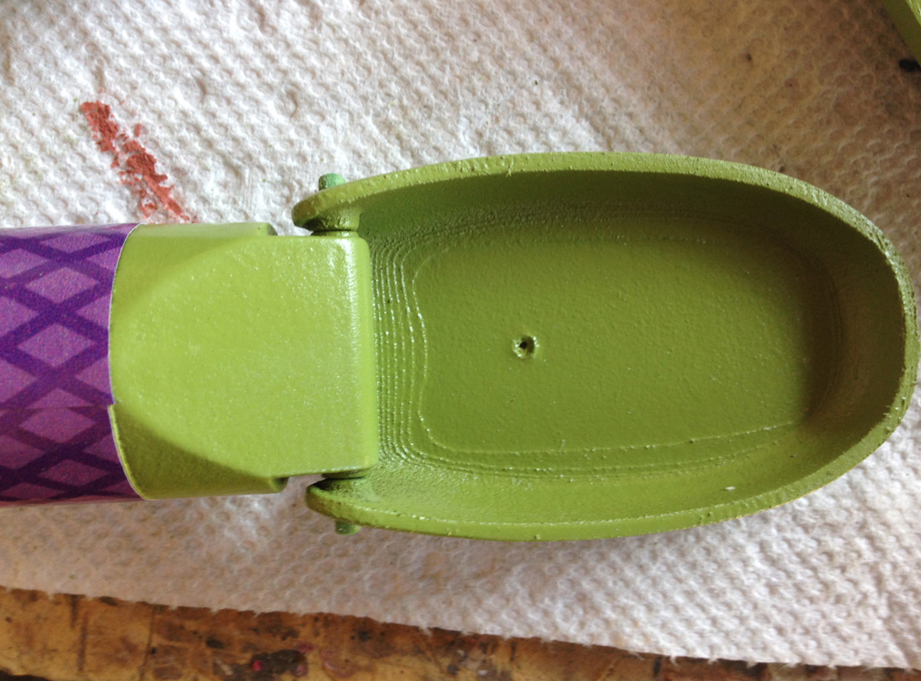
The ends of the pin poke out both sides. Since it wasn’t going to show in the completed toy, there was no reason to paint it.
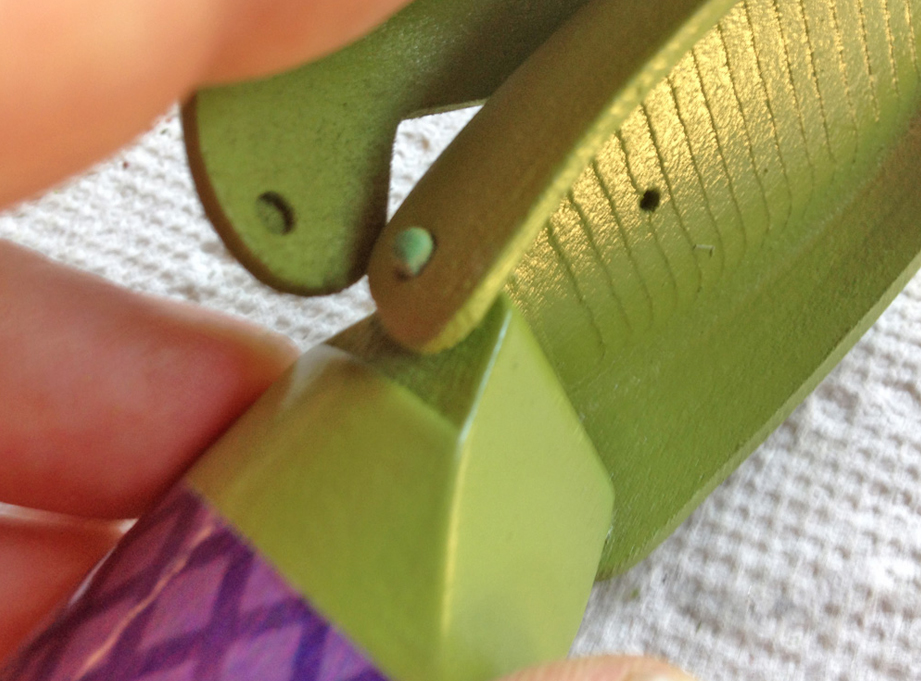
The pins lock into holes on the inside of the head piece. A spot of superglue secures the head to the jaw.
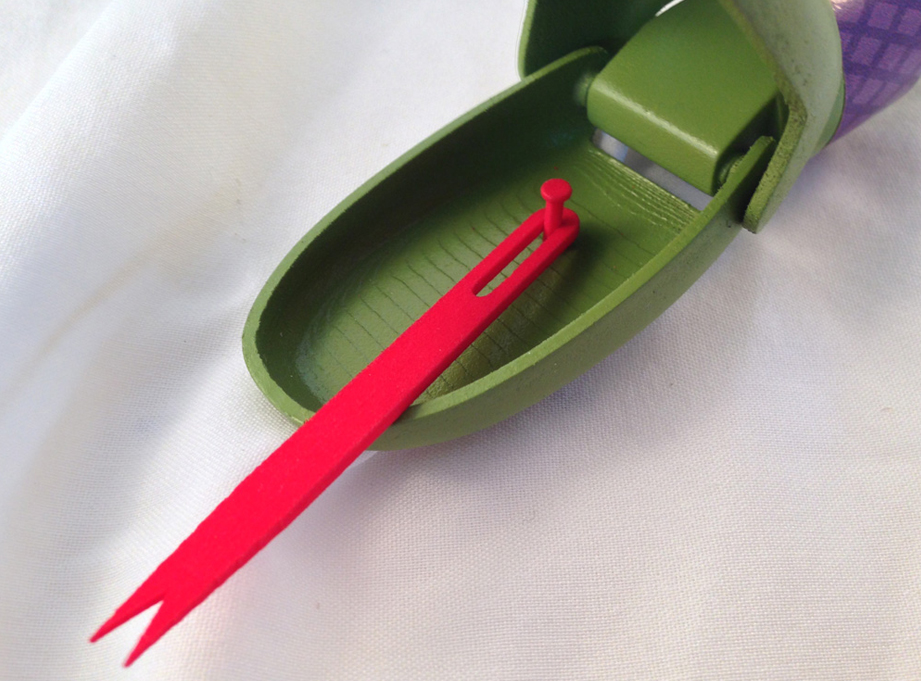
The tongue is secured to the lower jaw with a pin. The slot allow the tongue to dart in and out of the mouth as well as moving side to side.
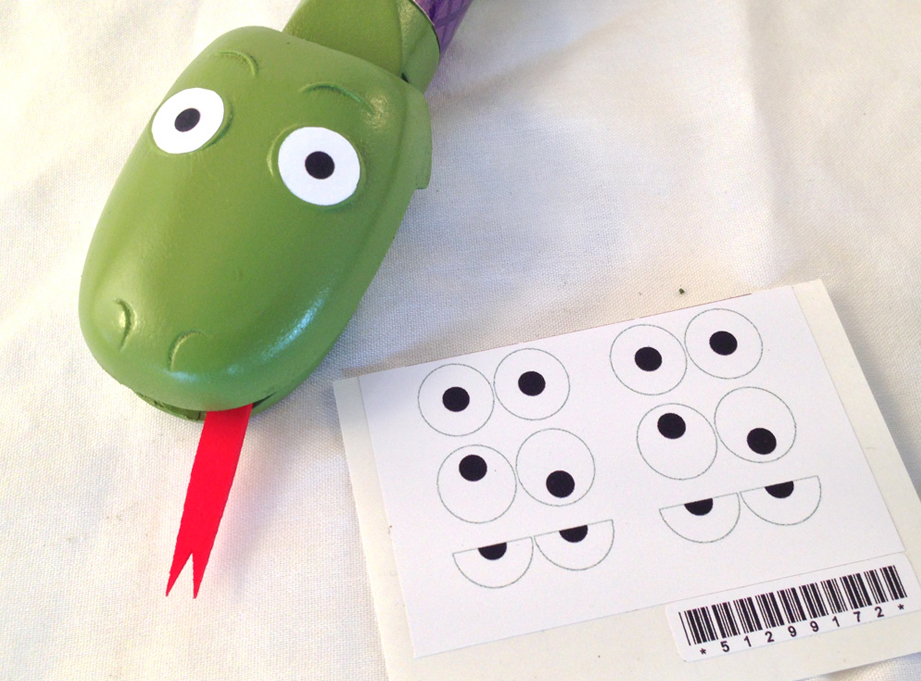
Vinyl eyes were trimmed out and applied to the head. When I printed the decals, I made alternate eyes so the expression could be customized.
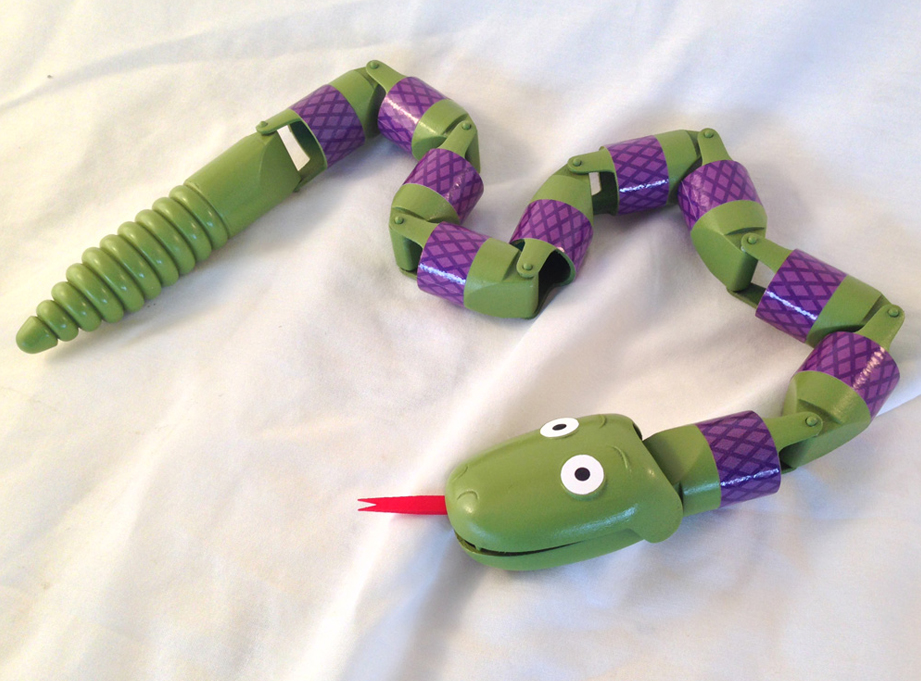
Here is the completed Snake, ready for Andy’s room!
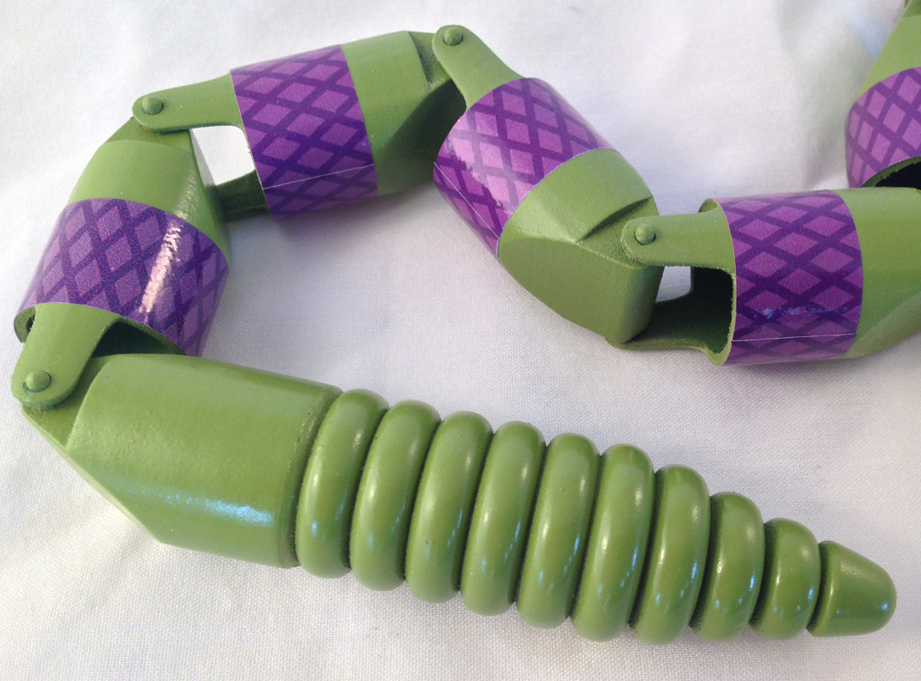
Detail of the rattle. In later builds, I added a few pieces of plastic inside so that it would actually rattle!
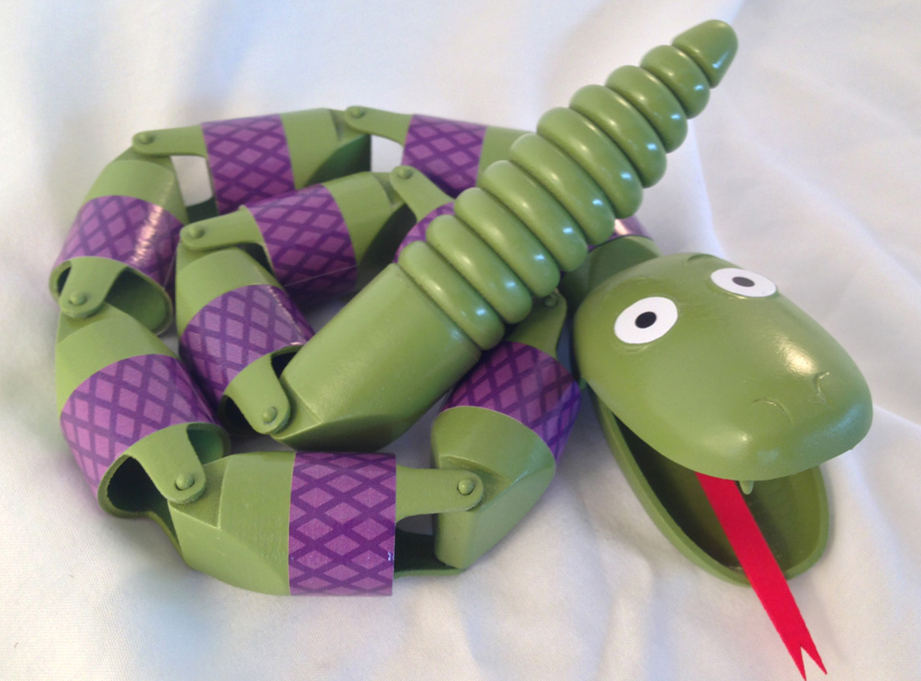
Coiled and ready to strike!
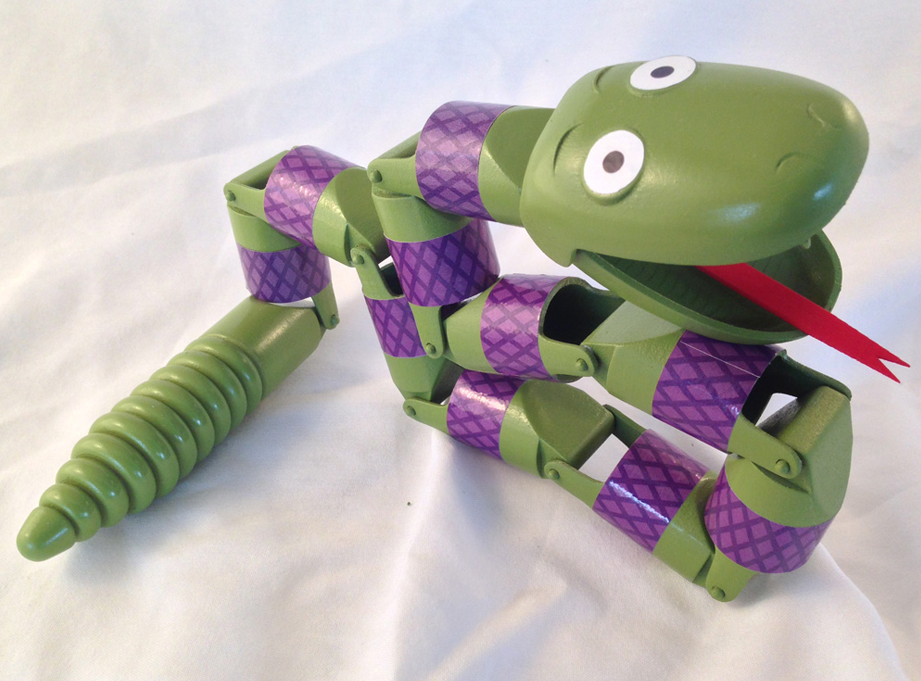
The pivoting tail and neck segments allow for more complex posing.
