shinken swords
march 2008
X/1999 is a Japanese manga and anime series dealing with superhumans battling in apocalyptic Tokyo.
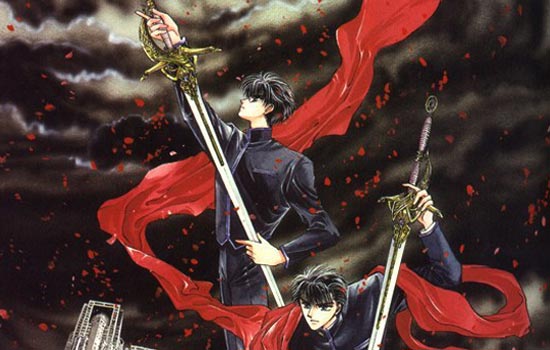
I was commissioned to make two of the Shinken (or Divine Sword).
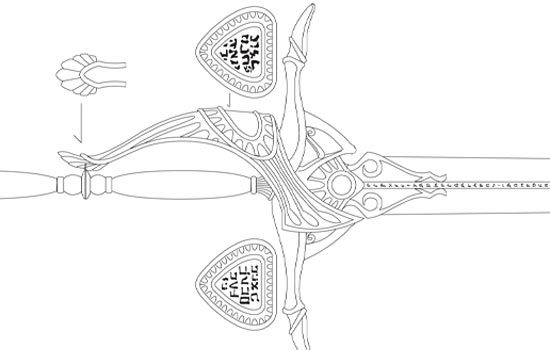
Since I had to build two identical swords, I needed to make one master, make molds and cast plastic resin copies. The sword is over 59″ long and very thin so it would need a reinforcing core within.
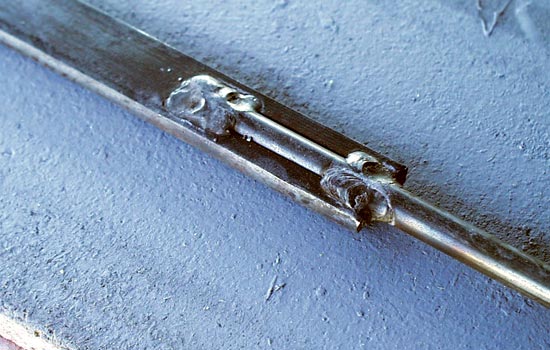
I had a friend weld a 5/16″ steel rod to a 3-16″ x 3/4″” steel bar. I planned to make half the blade and guard cast cast copies to glue together around the steel.
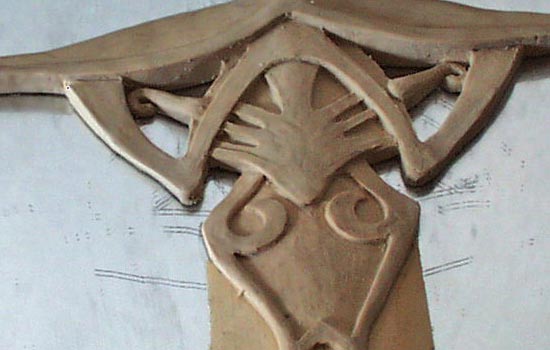
I sculpted 1/2 of the guard from clay. I worked on a mirror thinking that it would give me a better view of the complete guard. I think it was too flat to make much of a difference, though.
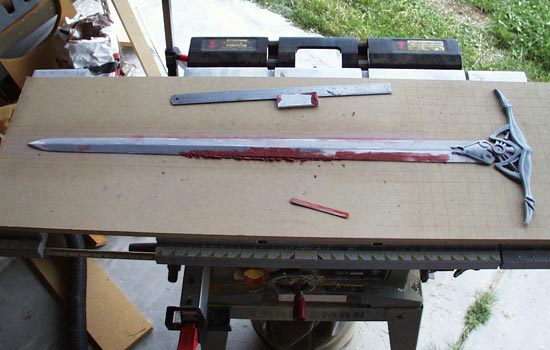
I made half of the blade from 1/4″ Poplar and glued it to a sheet of MDF. A resin copy of the hilt was also glued in place.
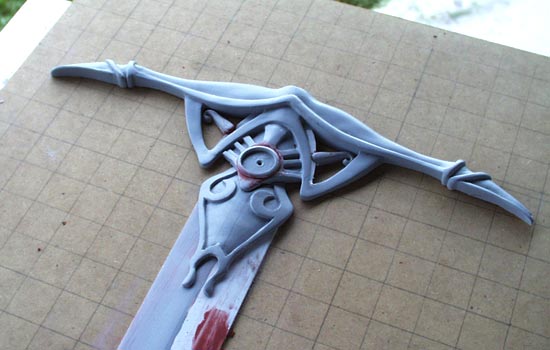
I drew a grid on the MDF to make sure the half would be symmetrical.
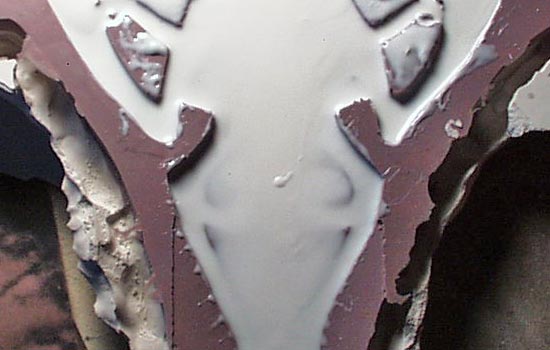
After I cleaned up all the flaws with putty and primer, I made a silicone mold with a plaster jacket. The next day I slush cast two halves with plastic resin. I reinforced the resin with chopped fiberglass mat.
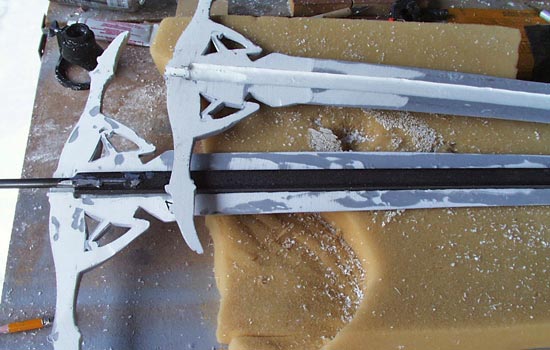
I used a trim router to cut a channel in each half to make room for the steel.
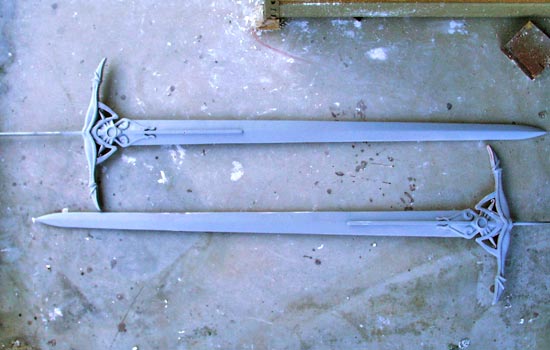
I mixed up a small amount of resin to glue the steel into the channel and then the two sides together.
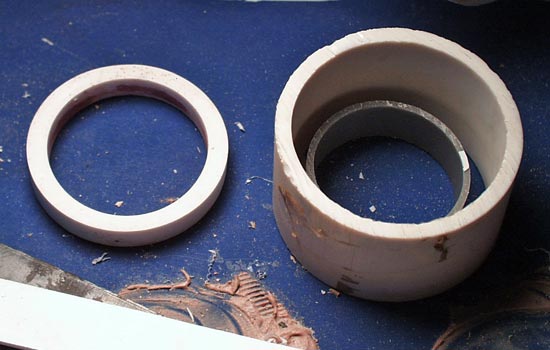
To fabricate the ring around the star at the pommel, I inserted one PVC pipe inside another and cast resin between them.

The star was made from 1/4″ square styrene rods.
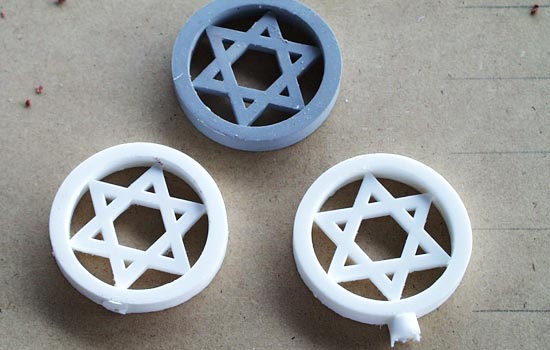
The master (in grey) and two cast resin copies.
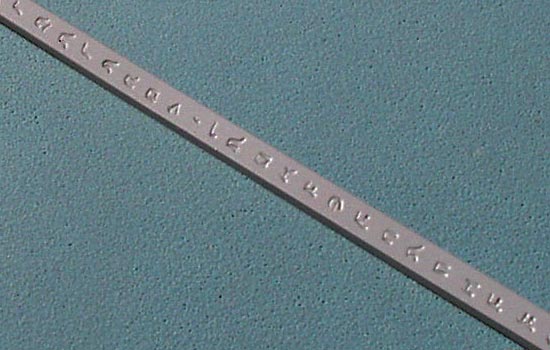
A thin rail runs down the center of the blade from the hilt. I laminated 2 layers of styrene and dremeled the characters into the surface.
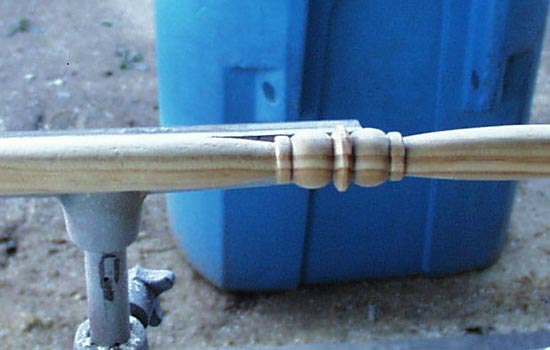
The grip was lathed out of pine stock. I then sealed it with gloss black paint.
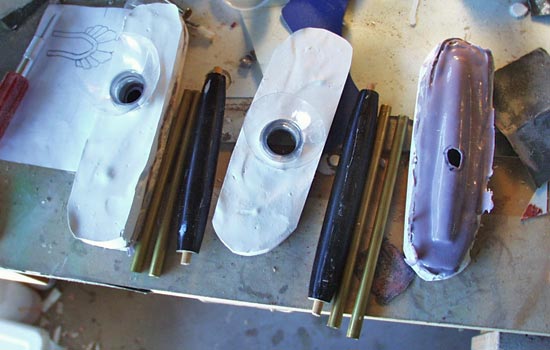
I cut the lathed grip master into its components and cast them in silicone rubber.
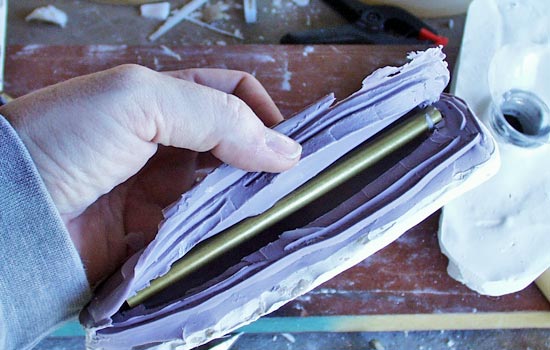
I inserted brass tubing into the mold and cast plastic resin around them
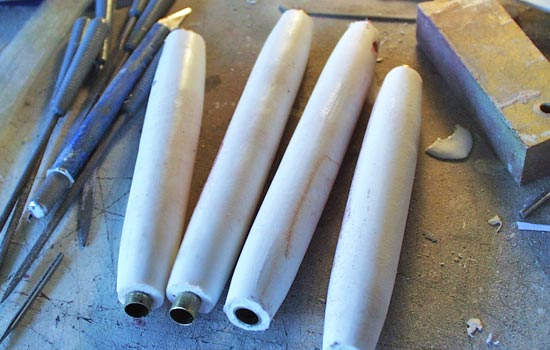
The cast grips. Now to trim off the extra tubing and sand down the rough edges.
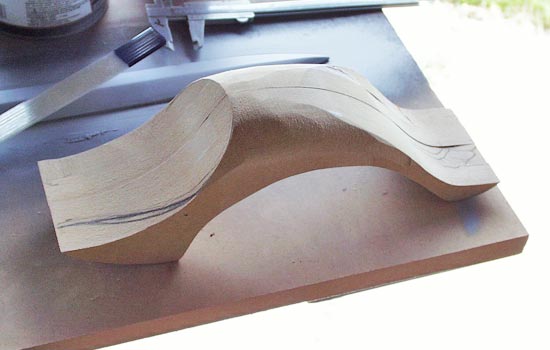
To make the basket guard, I glued together 4 layers of MDF. I then shaped it on the belt sander.
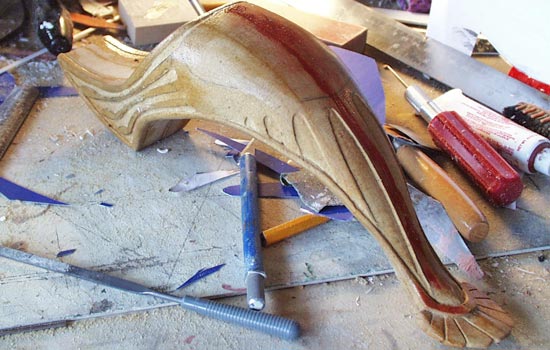
I used a Dremel to carve some of the surface detail into the guard.
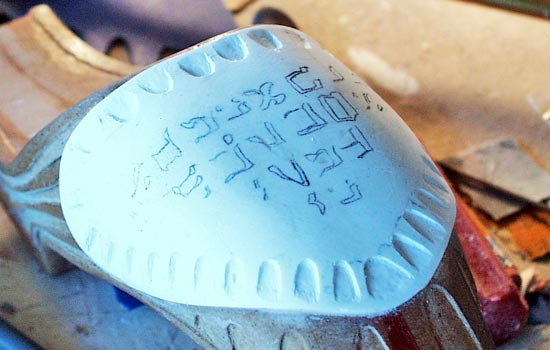
To make the shield, I heated a piece of styrene with a heat gun and molded it to fit. I attached it with Bondo and carved the edge scallops into the shield.
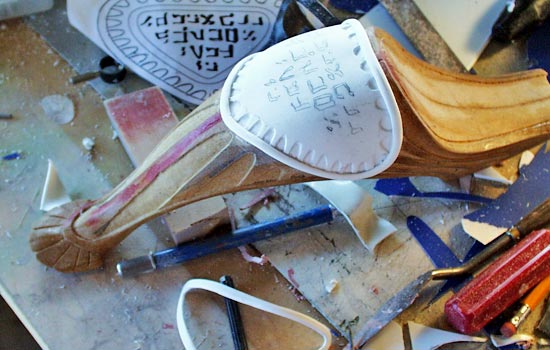
I heat formed some more styrene to fit the shield and cut two pieces of trim. After they were attached, I Dremeled the characters into the styrene.
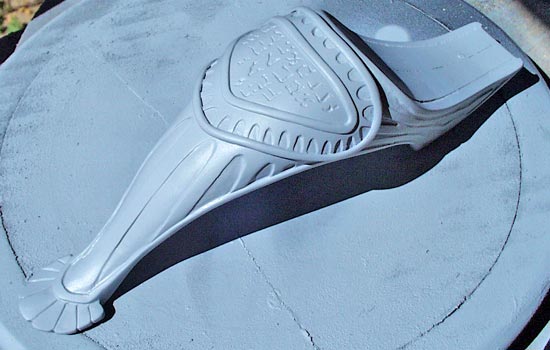
The completed and primered Basket Guard. I made a silicone mold from this.
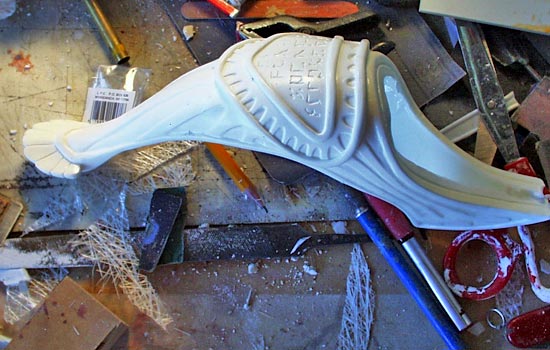
I slush cast resin in the mold to make a hollow basket guard.
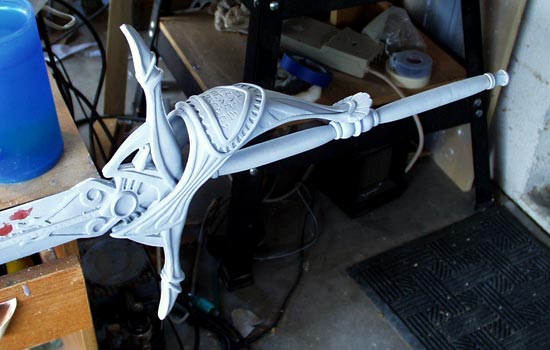
Here are all the pieces in a quick test fit.
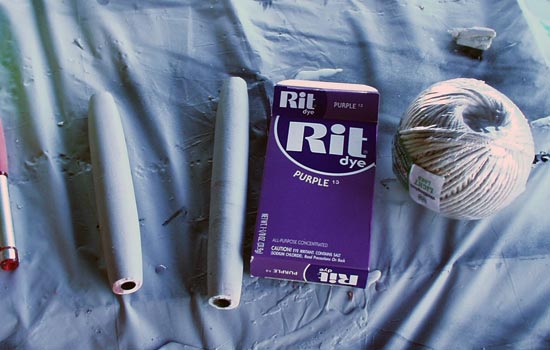
The grips are wrapped in a purple thread. To simulate this, I picked up some cotton twine and a box of Rit dye.
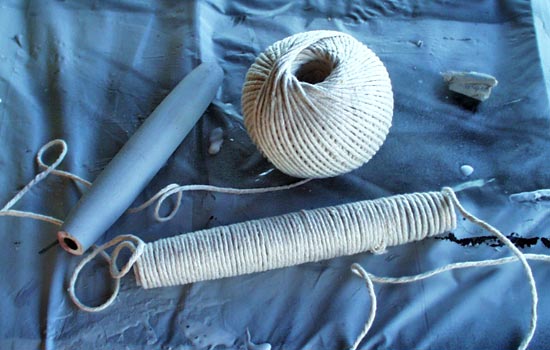
I did a quick test wind to find out how much it would take. The answer?….25 feet!
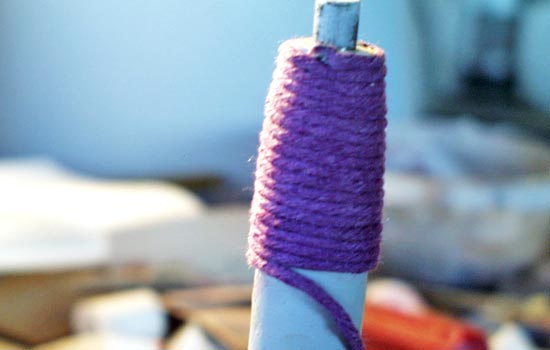
I notched the end at an angle and CA glued the end. I coated the grip with Elmer’s wood glue and started winding.
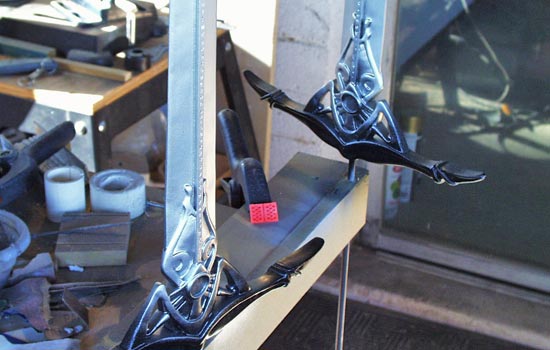
I painted the blades with a gloss black to show any last flaws and to act as a base coat for the metallic paint and then applied a Krylon Chrome paint for the blade.
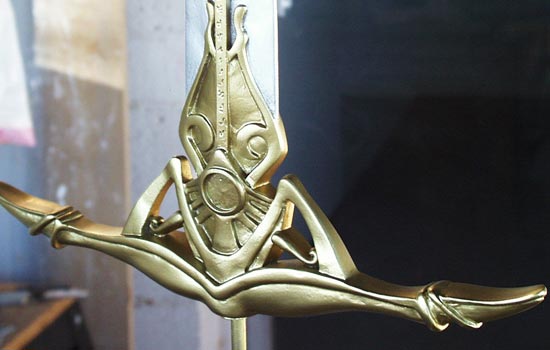
I masked off the silver and painted the hilt with a Krylon gold leaf paint. The sword was then coated with a protective top coat of Future.
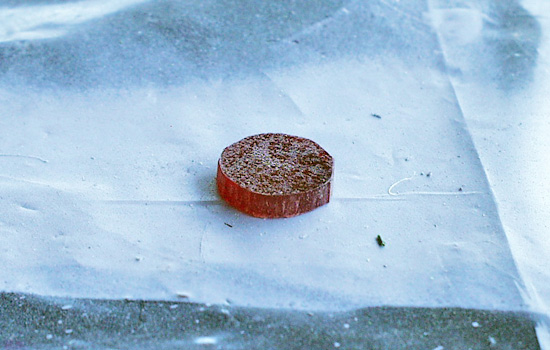
The sword features a red hemispherical gem on either side of the hilt. I cut a disk from 1/4″ red acrylic.
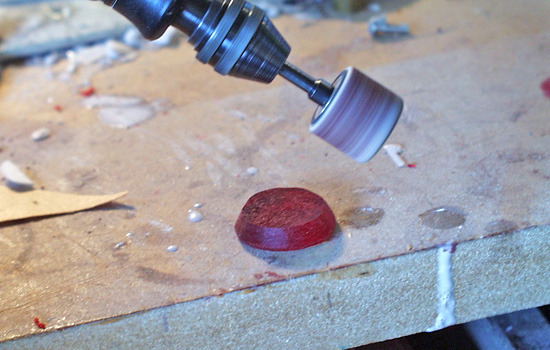
I used a Dremel sanding drum to shape the dome. Once it was sanded, I hit it with a propane torch to glass over the surface.
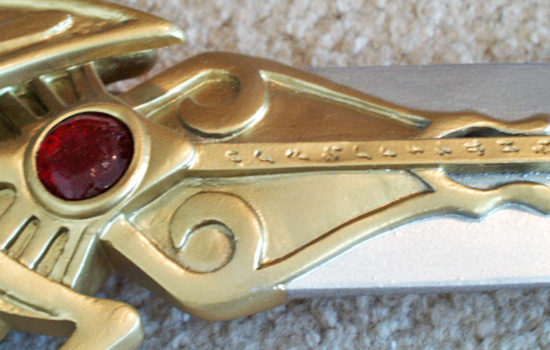
Here is the gem in place.
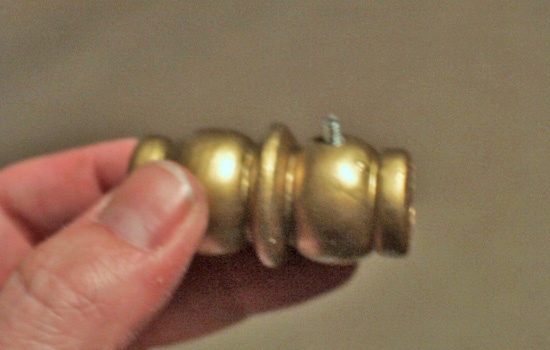
I inserted a bit of threaded rod into the bead between the grips. One end of the basket will attach here.
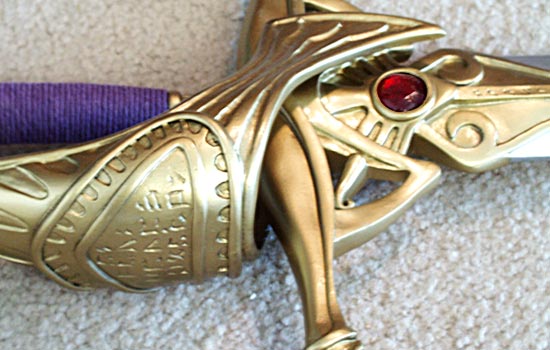
The other end of the guard attaches to either side of the hilt. I attached these with two small brass nails.
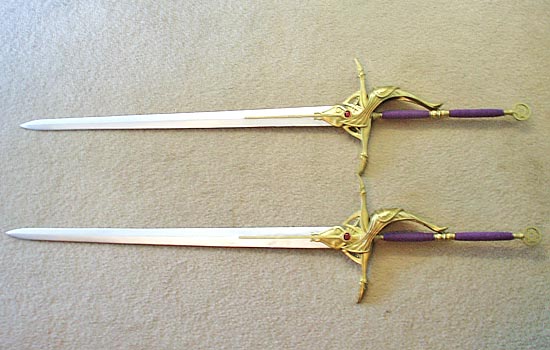
The final assembled swords. They are REALLY long (59″)!
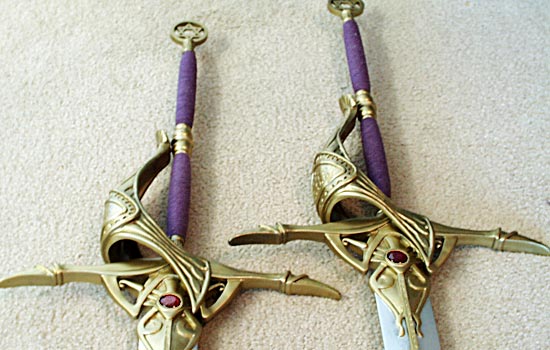
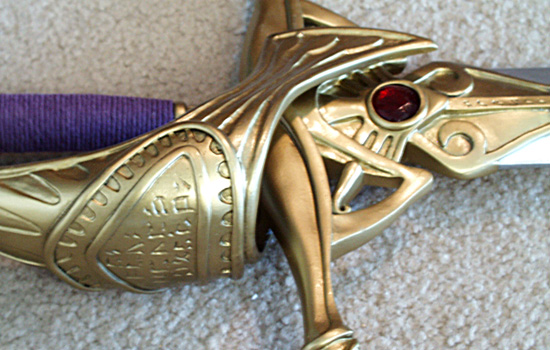
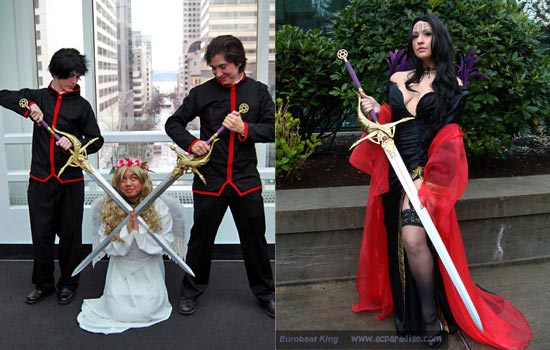
The swords in action at the 2008 SakuraCon in Seattle.
