sandman ds gun
april 2005
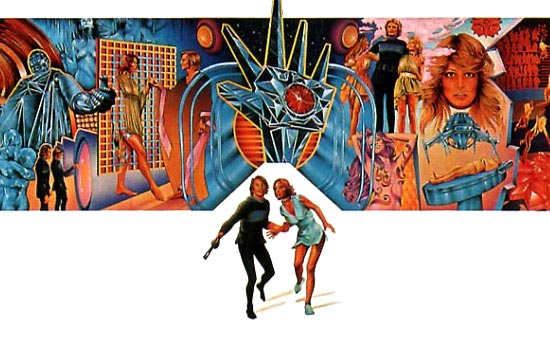
In the 1976 movie Logan's Run, Sandmen, or DS operatives (short for Deep Sleep), are specially-selected officers who hunt down and terminate runners, those who flee their state-sanctioned "Last Day" at age 30.
In the 1976 movie Logan's Run, Sandmen, or DS operatives (short for Deep Sleep), are specially-selected officers who hunt down and terminate runners, those who flee their state-sanctioned "Last Day" at age 30.
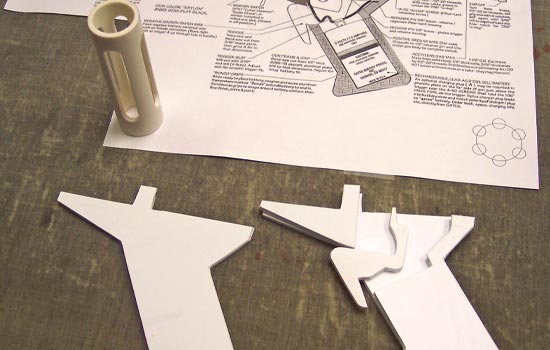
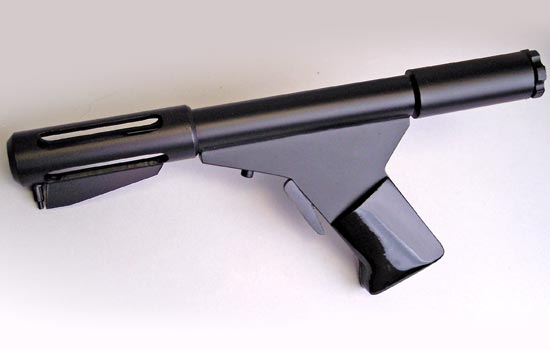
This gun is from the 1976 sci-fi film “Logan’s Run”. I was able to find some very detailed plans online, including WORKING acetylene blasting models (as in the film)! I used plans from the original prop maker, Richard Coyle. It’s rare when you can find any sort of detailed specs, so this was a joy to work on.
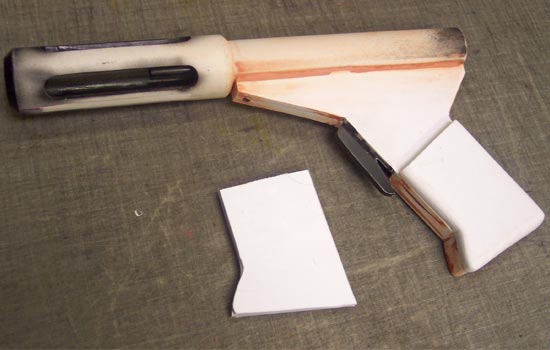
First, I cut out the grip halves and trigger according to the plans. I used .08 sheet styrene laminated to build the right thickness. The muzzle was cut out of PVC and beveled on the end by attaching it to a drill, turning it into a makeshift lathe.
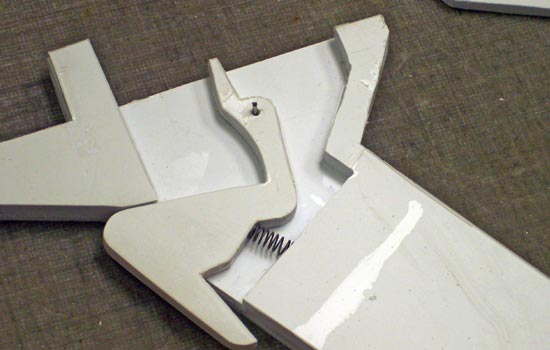
I wanted to be able to pull the trigger so I took a spring from a crappy ball point pen and inserted it under the trigger (deviating from specs).
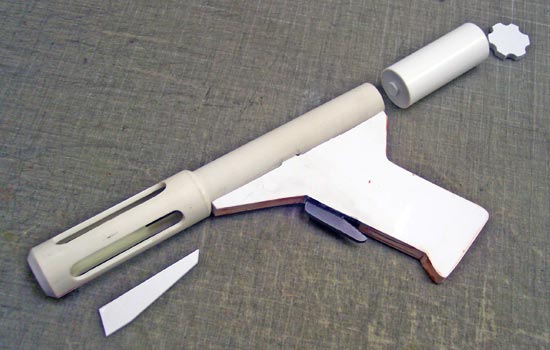
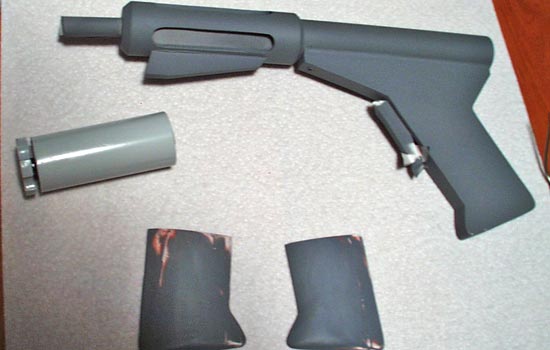
The receiver tube and gas canister are stock PVC parts cut to size. There is a small barrel hidden within the muzzle shroud…for that I used the barrel of an old dried up marker. The knob at the end of the gas canister is laminated styrene. The stage came together pretty fast, so I don’t have photos of the assembly.
I then airbrushed the interior of the muzzle. For final painting with spray paint, I didn’t want to miss or overpaint any of these confined areas. The receiver tube was epoxied to the grip and puttied to hide the seam. I cut out the grip plates from sheet styrene and sanded them to shape.
I masked off the trigger and the interior of the muzzle and gave all the parts 5 coats of primer, sanding where needed.
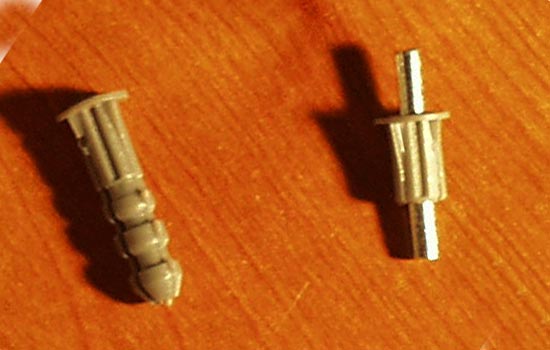
I made the ignition plug (below the muzzle) according to the plans but it just looked like a spark plug. Since mine didn’t have to work, I scrapped the part and rebuilt it using a plastic wall anchor and a metal dowel. It is the same size as the original part, retains the spirit of the original but looks more futuristic.
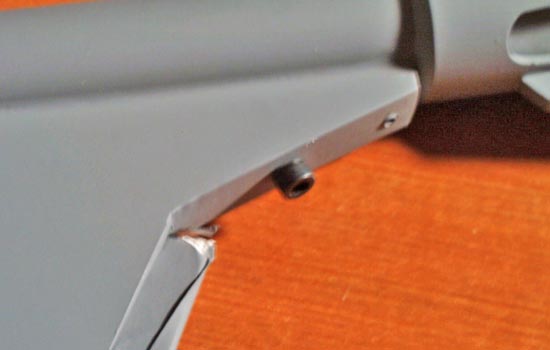
Same situation on the arming switch in front of the trigger. The original plans call for a toggle switch. I adapted a bolt for a decorative substitution.
The final paint for the grip plates was Krylon gloss black (many coats). The rest of the gun was painted with semi-gloss black (Also many coats). Krylon suggests that spray paint be given 5 to 7 days to cure, so I waited to epoxy on the grips. The grip plates look strange only coming up halfway, but I was surprised how comfortable they were when assembled! Very solid hold and an ambidextrous thumb rest.