rohan war axe
april 2014
Rohan is a kingdom in J. R. R. Tolkien's Middle-earth. It is inhabited by the Rohirrim, who are known for their horses and cavalry. Their axes were featured in The Two Towers film.
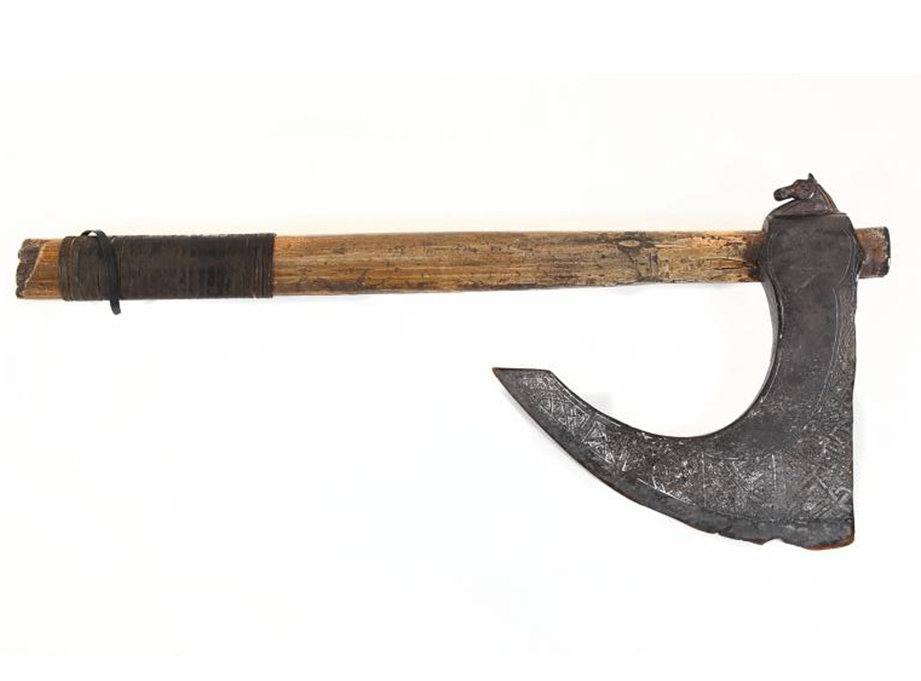
Ever since I saw this Rohirrim war axe from a Lord of the Rings prop auction, I wanted it. Buying the original was well out of my price range so I built my own.
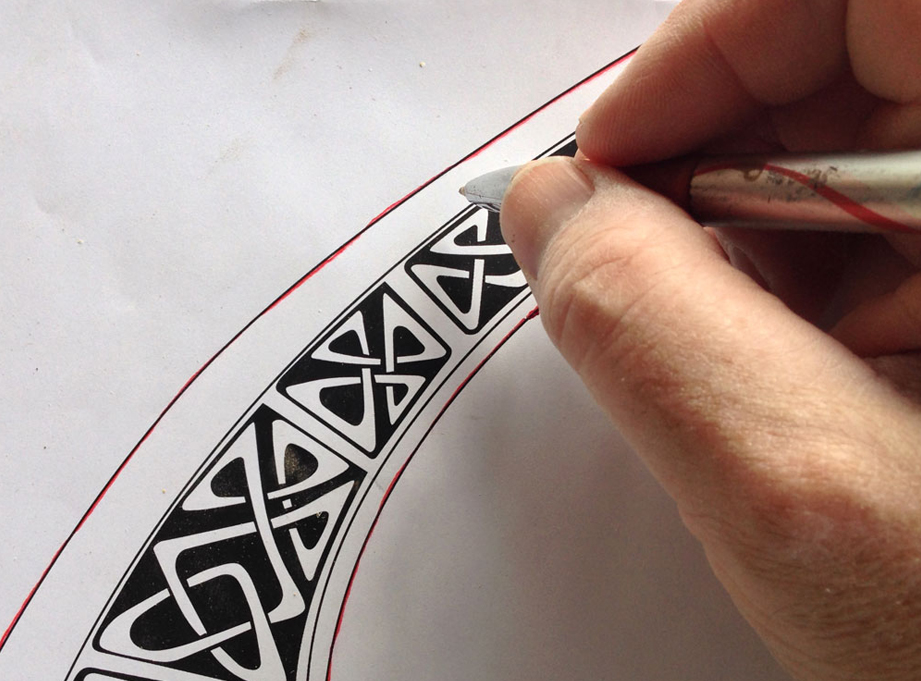
After drawing up plans based on reference photos, I modeled the horse in 3D and sent it off to Shapeways for printing.
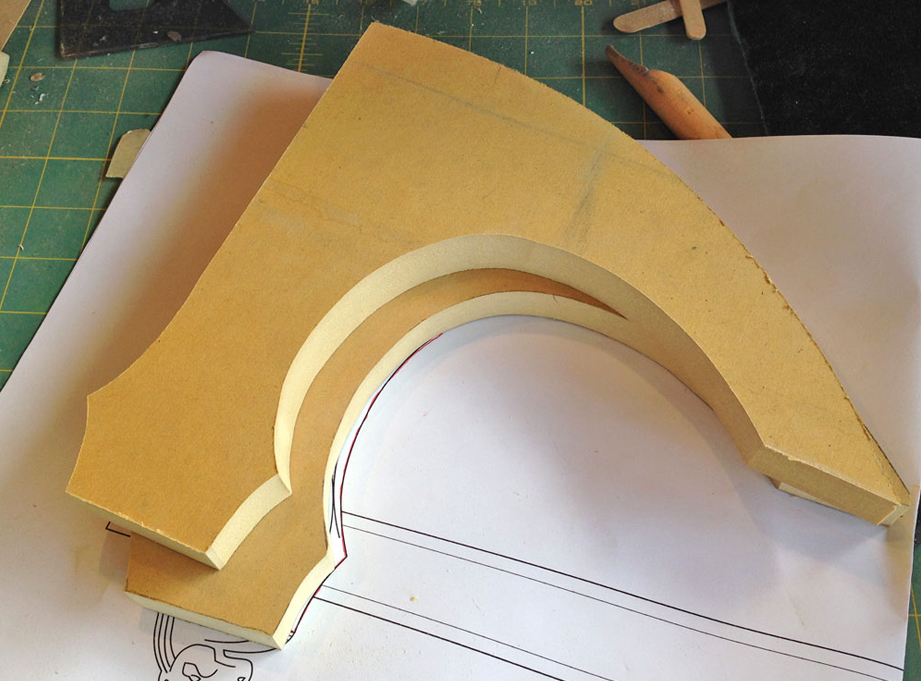
For the blade, I transferred the profile from my plans to two sheets of 3/4” MDF.
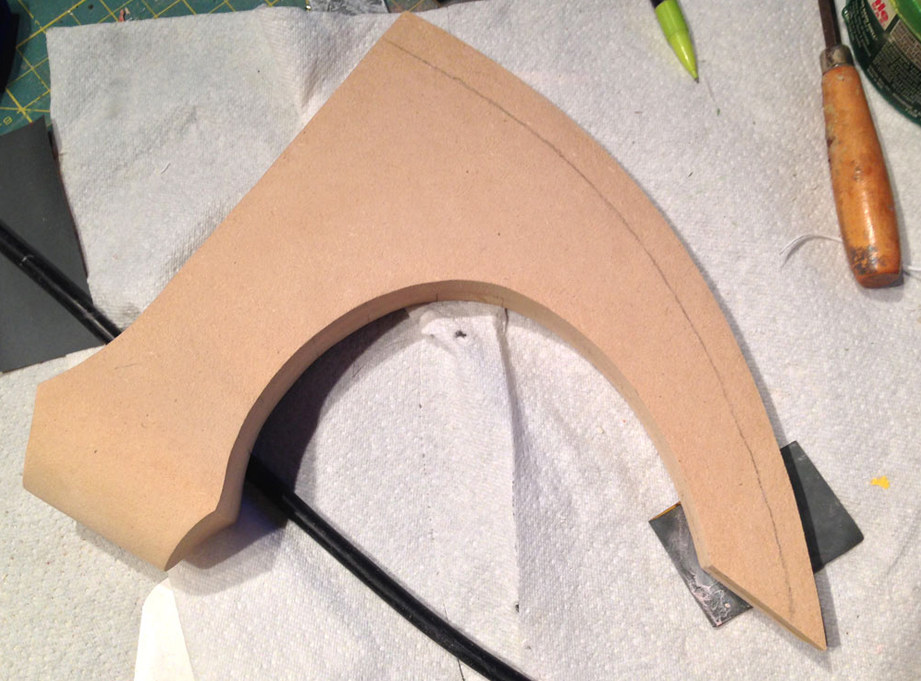
After glueing them together, I sculpted it on the belt sander.
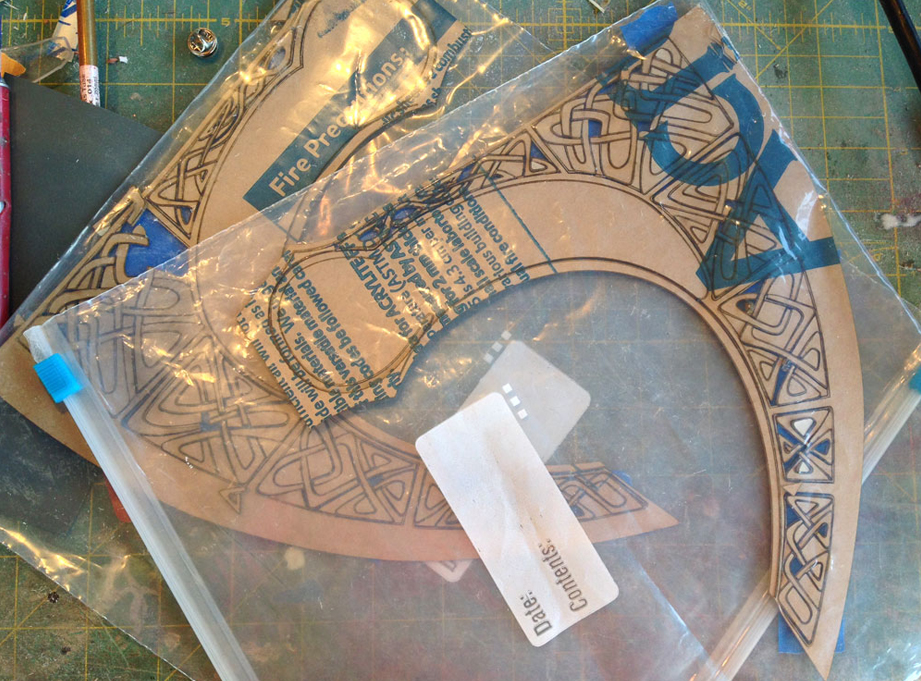
I had the blade designs laser cut from 1/16” acrylic by Scorpion Ridge Engraving.
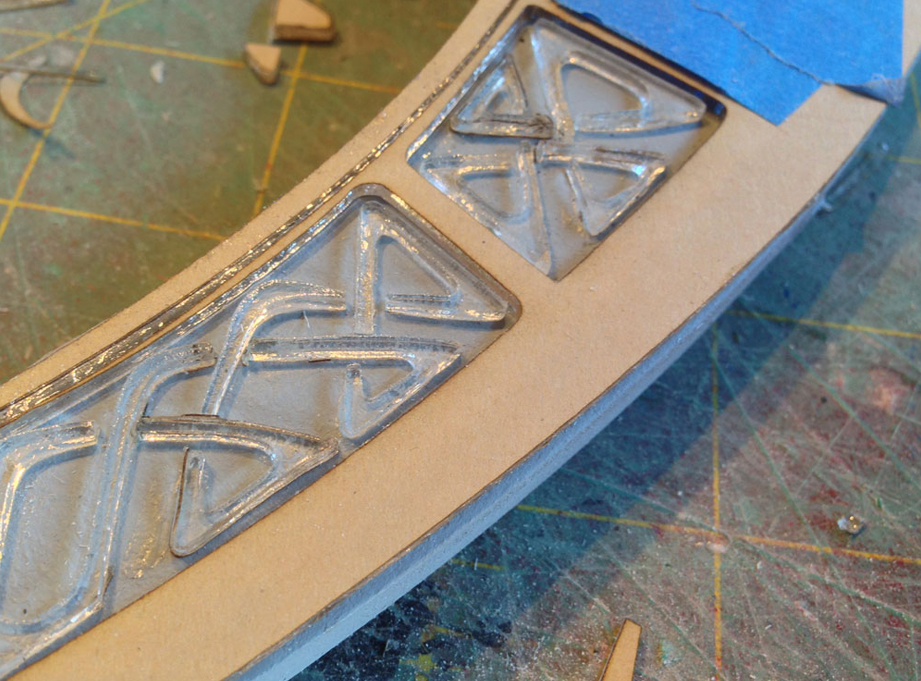
I used CA (“superglue”) glue to glue the acrylic to each side of the blade.
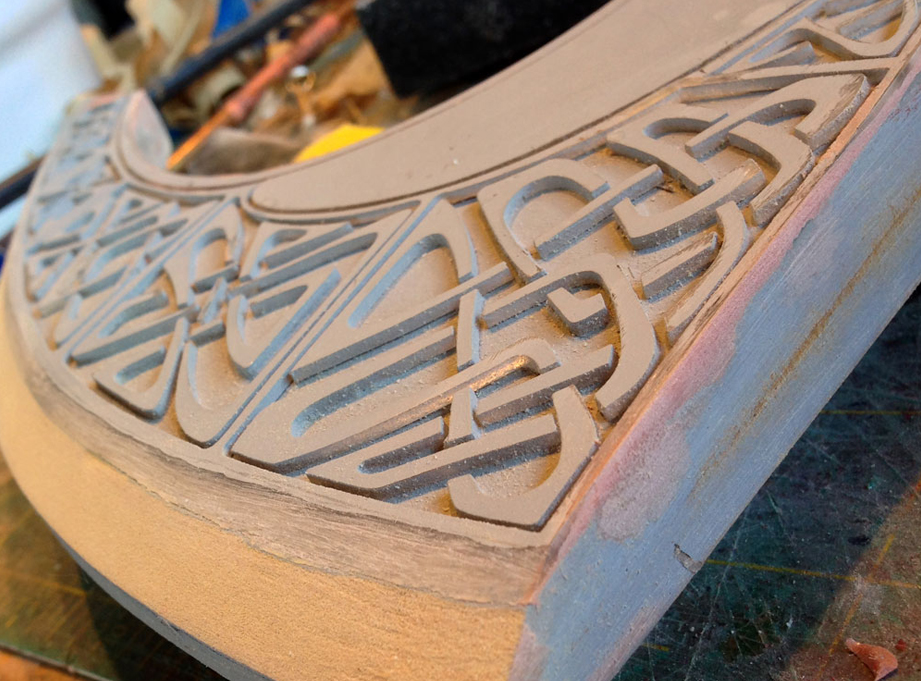
I used CA (“superglue”) glue to glue the acrylic to each side of the blade.
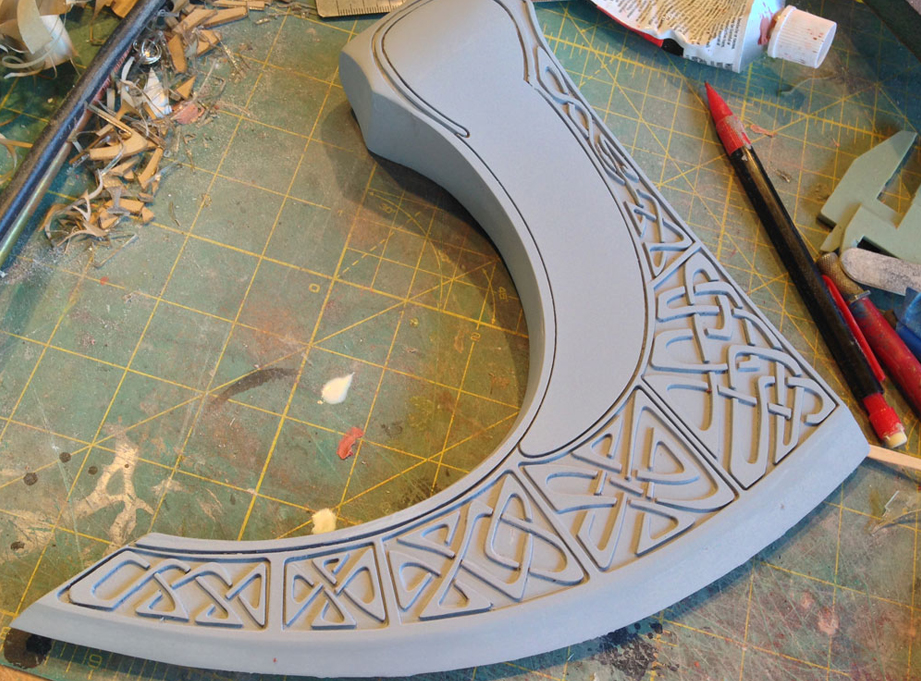
The completed axe head.
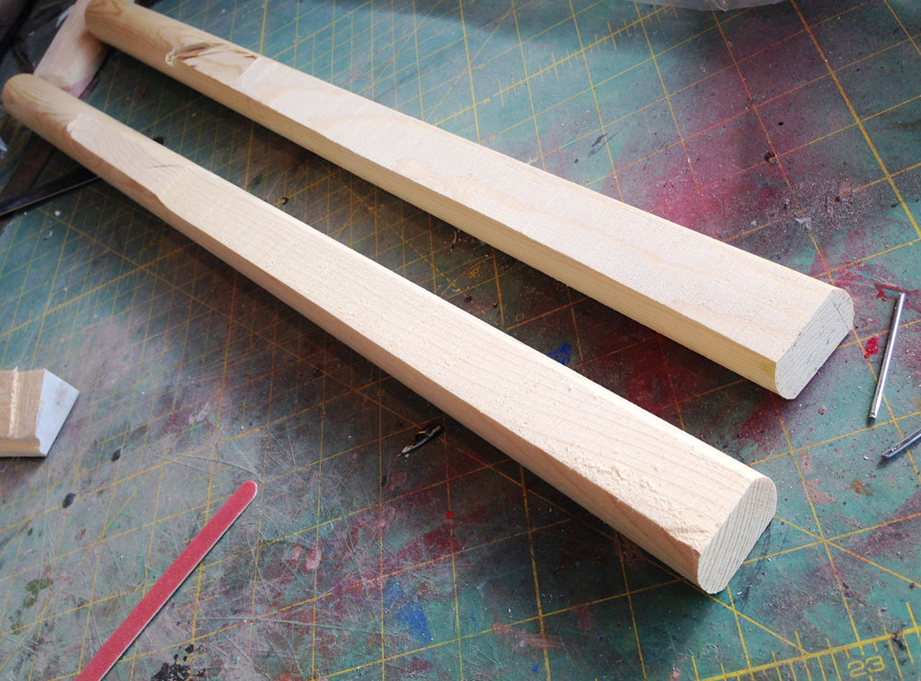
I picked up some 1-1/4” dowels and flattened the sides on the table saw. The flat sides really add to the comfort of the grip and would help prevent the axe twisting in your hand.
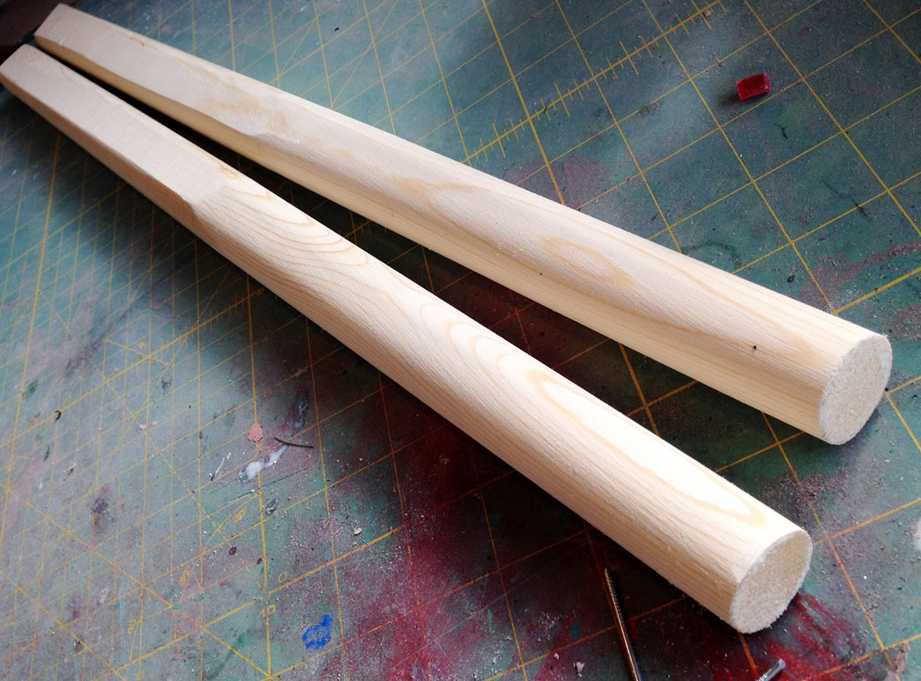
The other end was tapered with the belt sander to a 1” diameter.
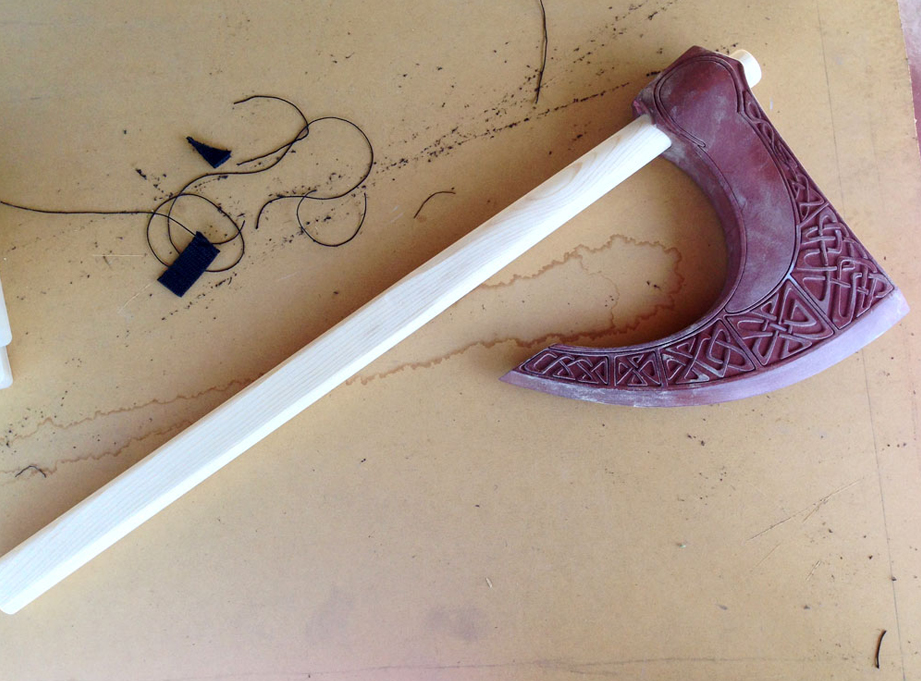
A quick test fit of the handle in the axe head.
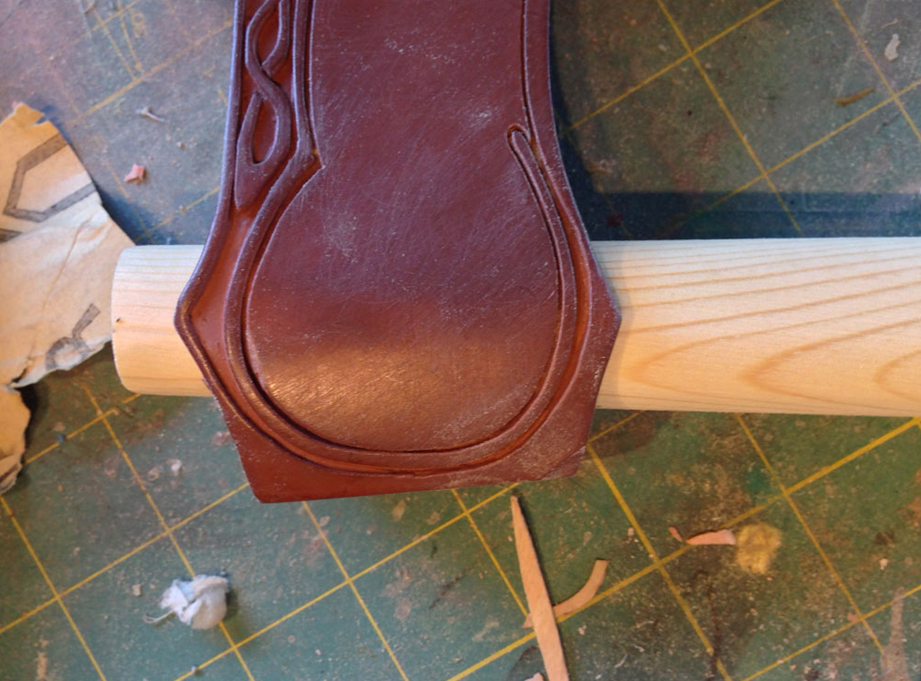
The handle inserted into the axe head.
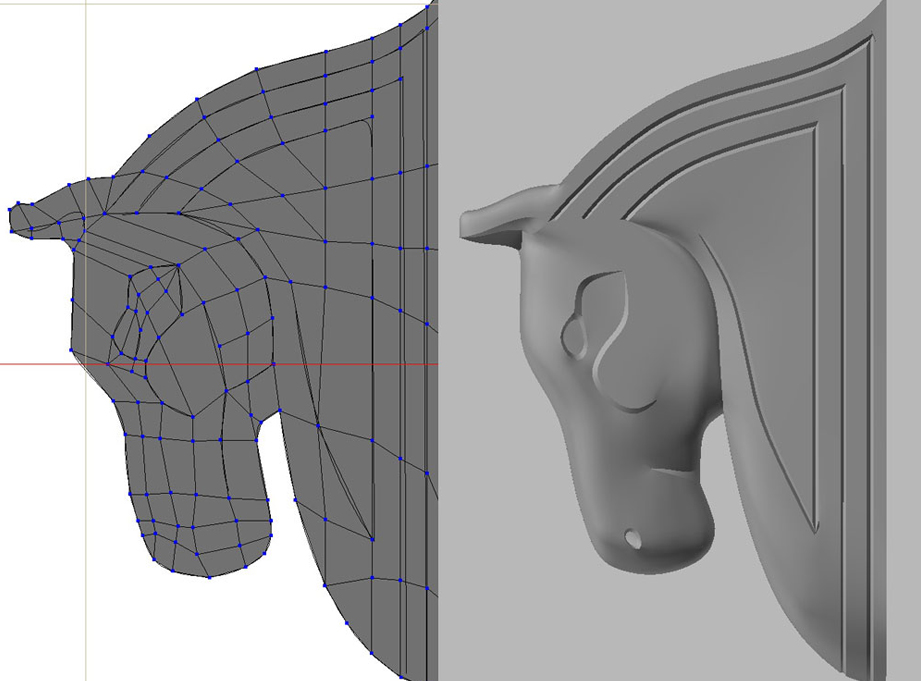
After drawing up plans based on reference photos, I modeled the horse in 3D and sent it off to Shapeways for printing.
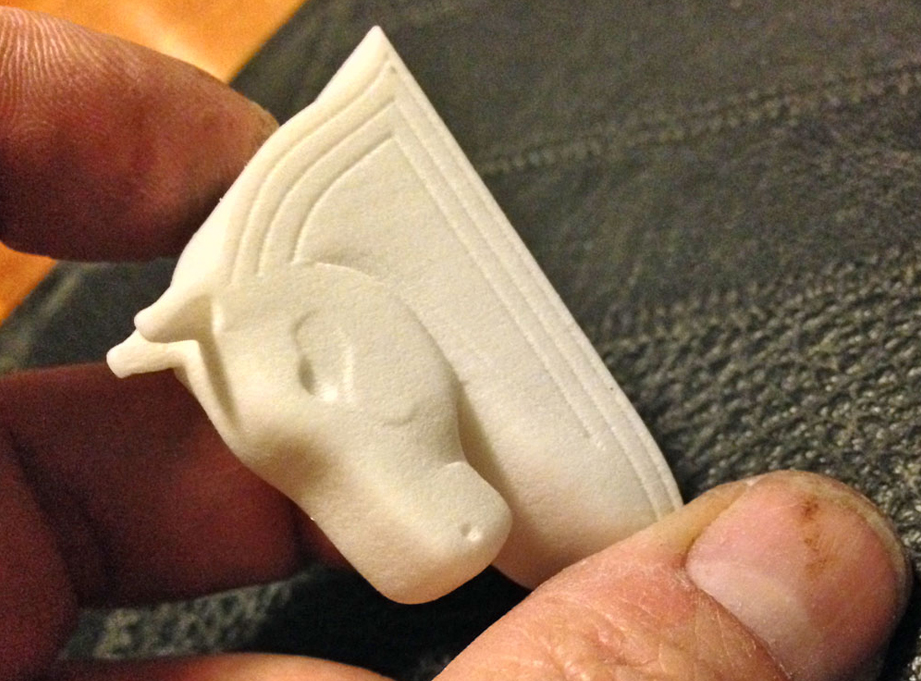
A couple of weeks later I got the 3D print of it. I could’ve made some of the detail deeper but it’ll still work.
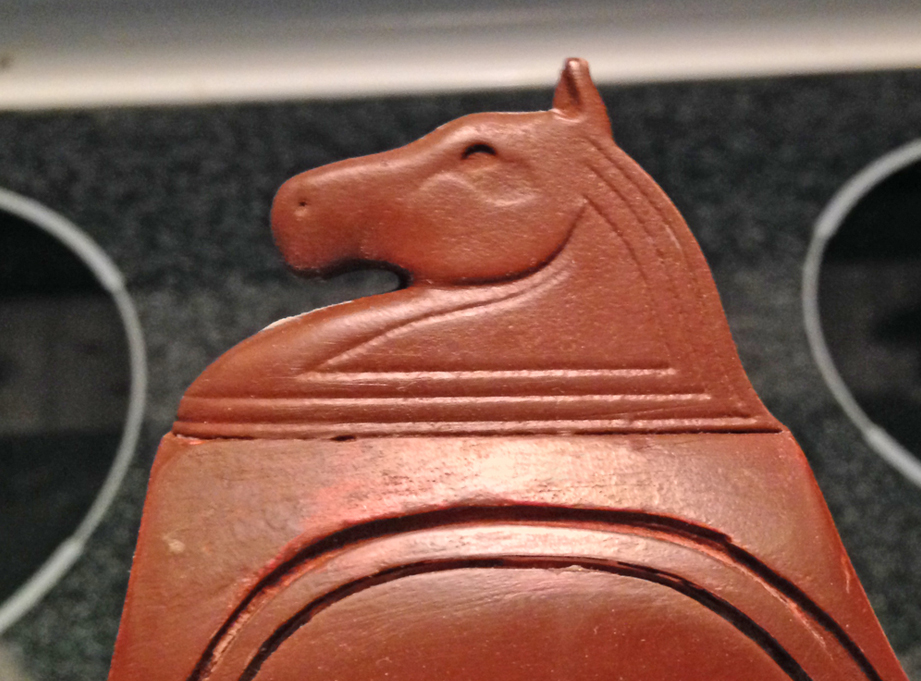
Glueing the horse in place was the final step before molding.
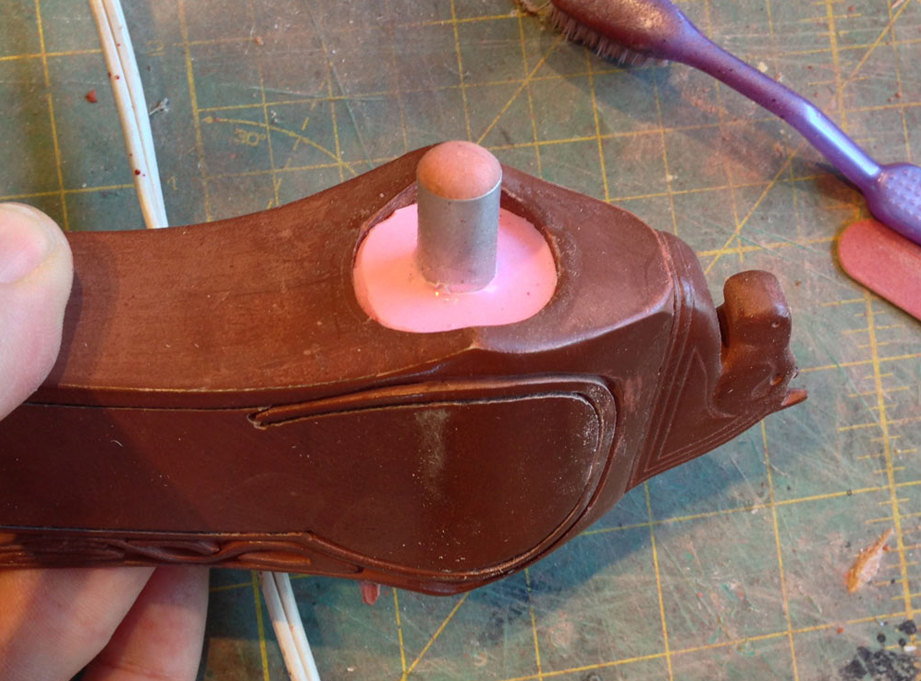
I inserted an aluminum rod and poured silicone into the handle hole. The rod will help with registration of the mold parts and make it easier to remove the plug from castings.
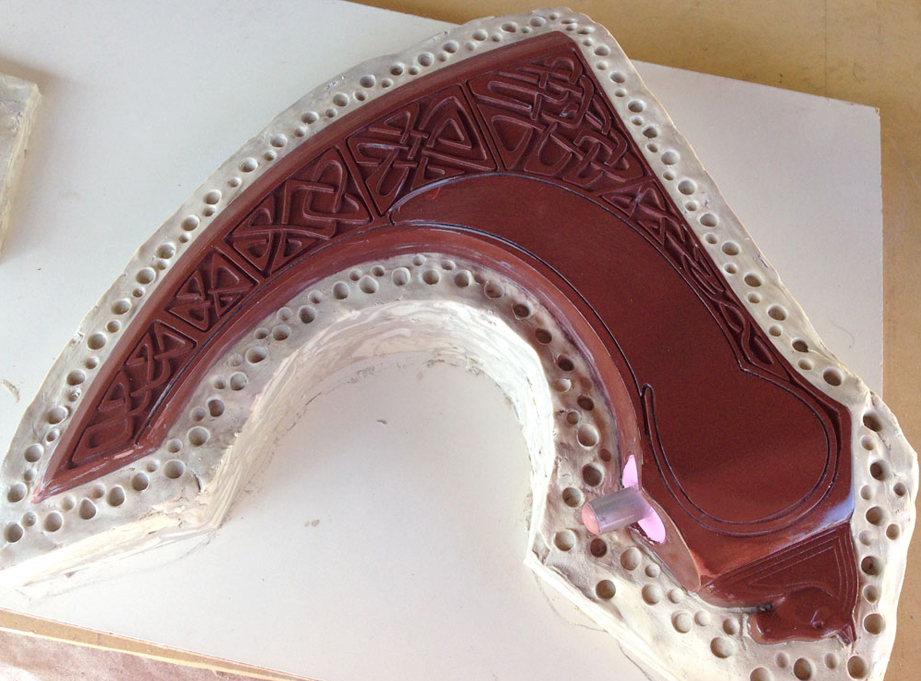
Once the plug cured, I prepped the master for a two-part mold.
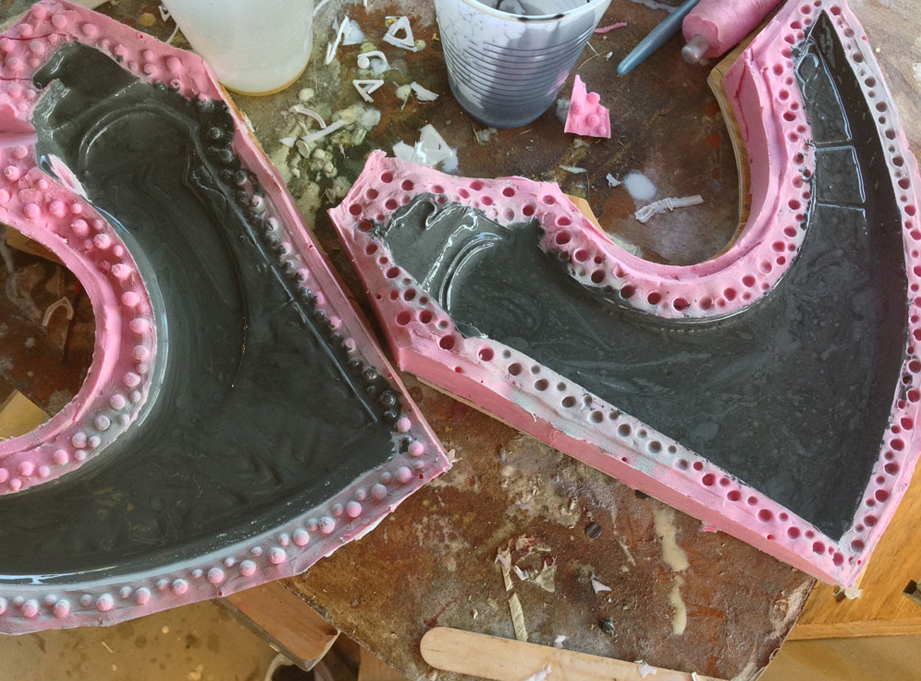
I mixed up a small amount of aluminum powder and Onyx resin to capture the detail in the new mold sides.
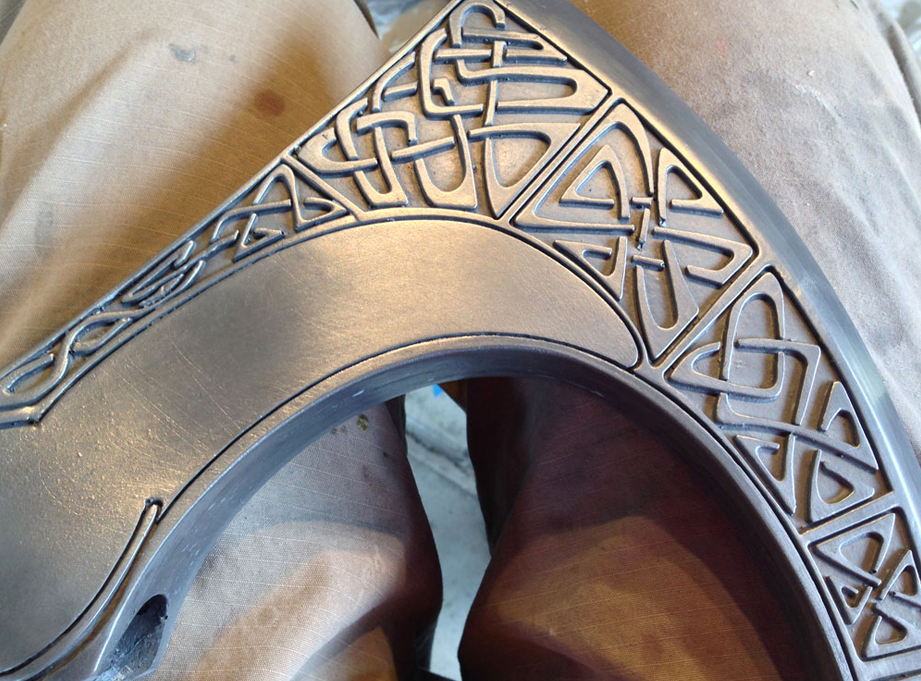
The raw casting looks dull grey but after wiping it with acetone, buffing it with 000 steel wool and burnishing it with swirl remover, it shines up like real metal!
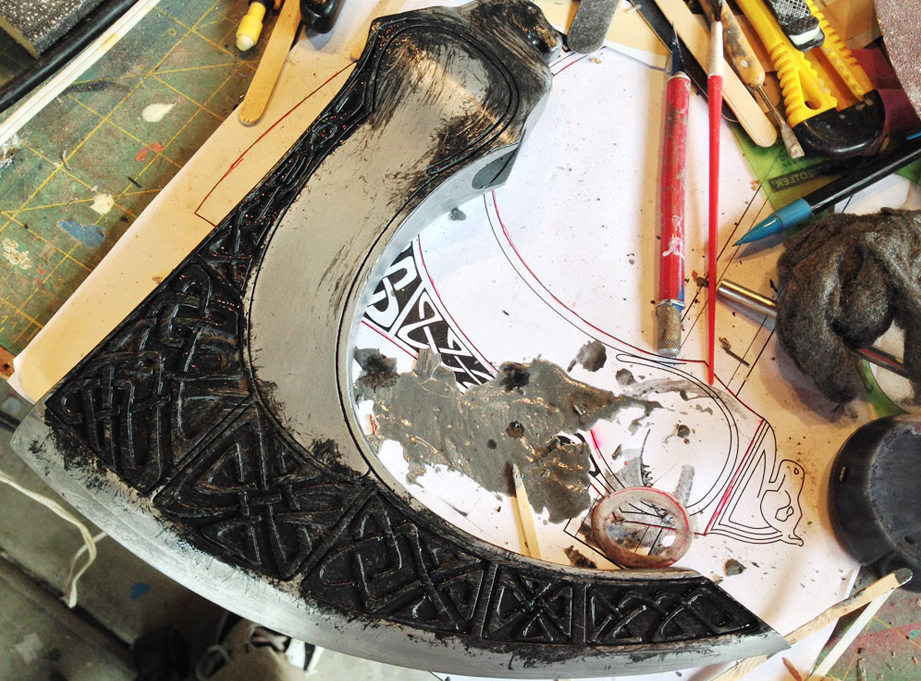
I painted the detail with black acrylic and left it to dry.
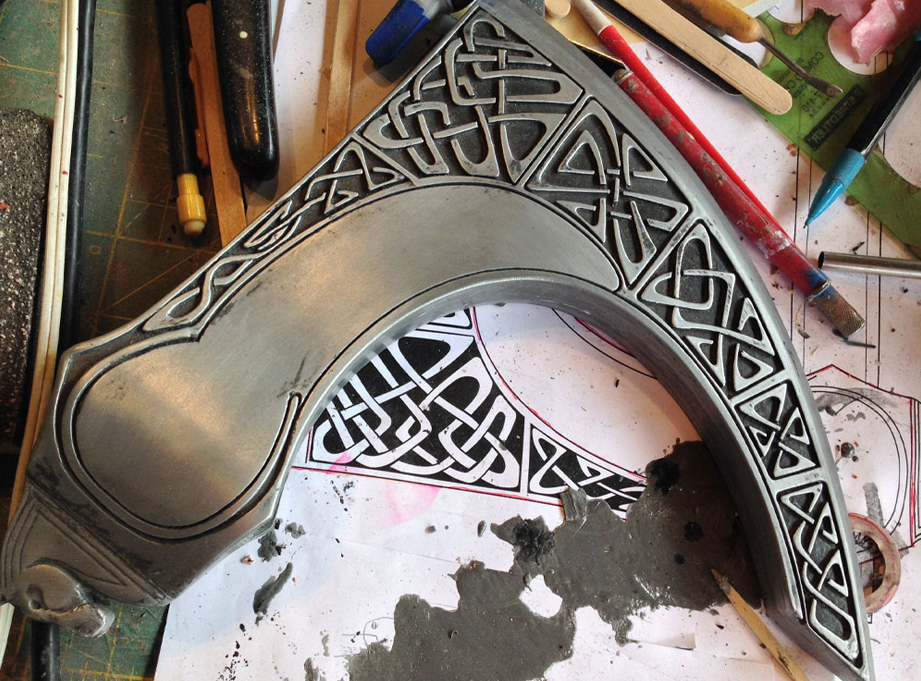
A quick scrubbing with steel wool removes the surface paint but leaves it in the low areas, bringing out the detail.
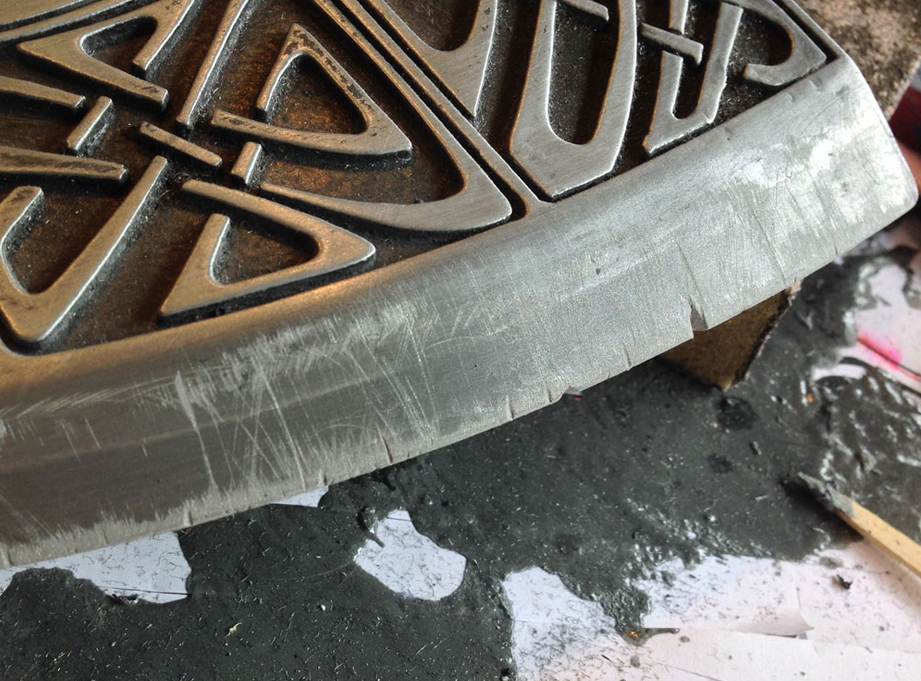
Next I knicked the blade with a knife and scuffed it with an emery board to simulate battle damage.
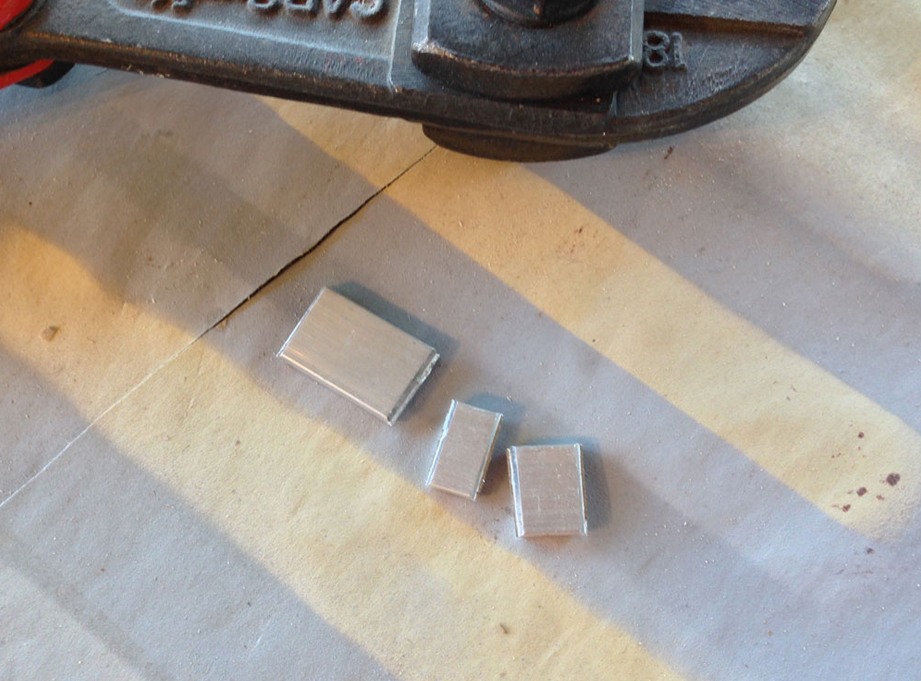
One little detail I needed to add was the metal wedge that’s embedded into the end of the handle that keep the axe head from flying off. I cut scrap aluminum pieces.
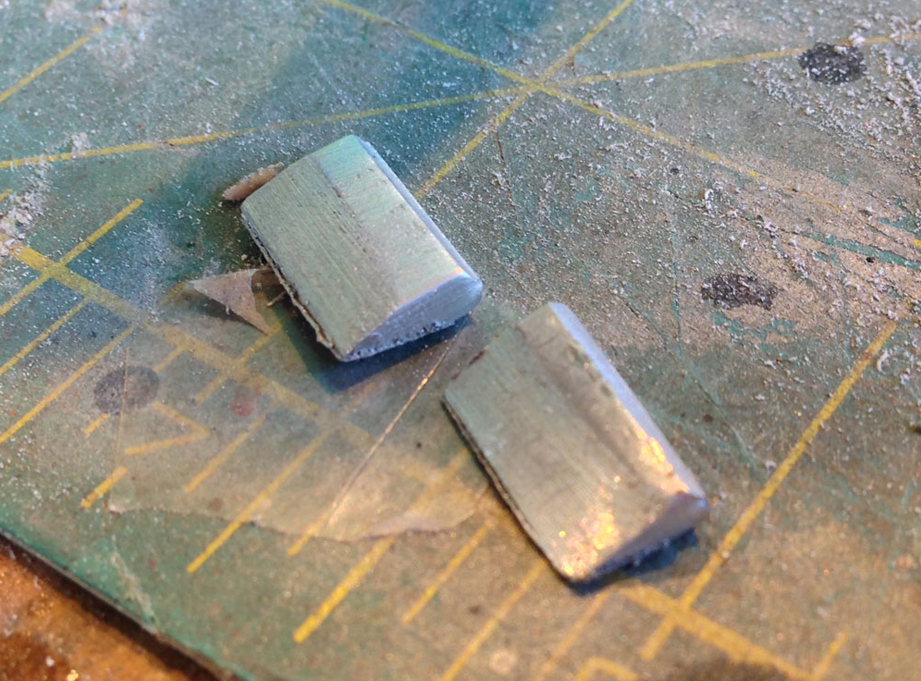
A quick trip to the belt sander turned them into rough wedges. Since they’re only cosmetic, they didn’t need to be very deep.
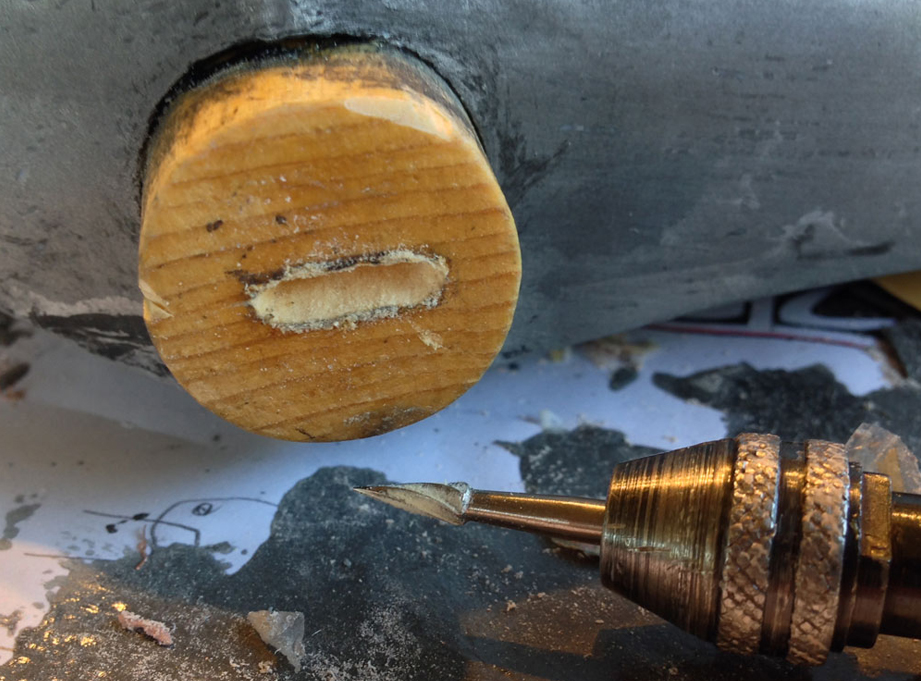
I didn’t want to stress the plastic of the head by hammering in the wedge, so I cut a shallow hole in the top of the handle with a rarely-used Dremel cutter.
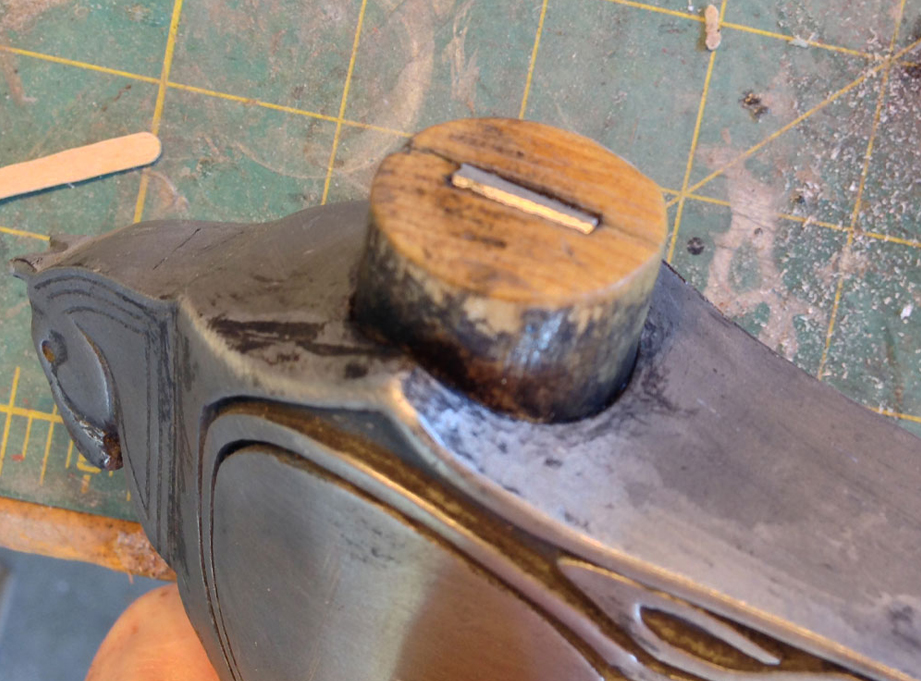
The wedge tapped into place (no glue needed) and some more weathering to blend it in.
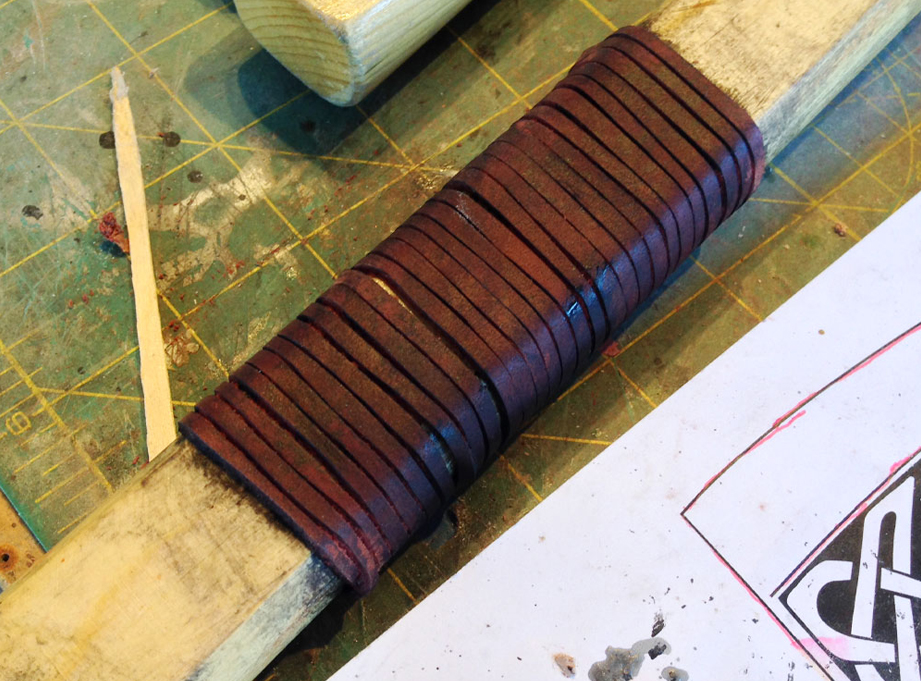
The last step was to wrap the handle with a thin strip of leather. This, too, was weathered with a wash of paint…because of battle dirt and orc blood.
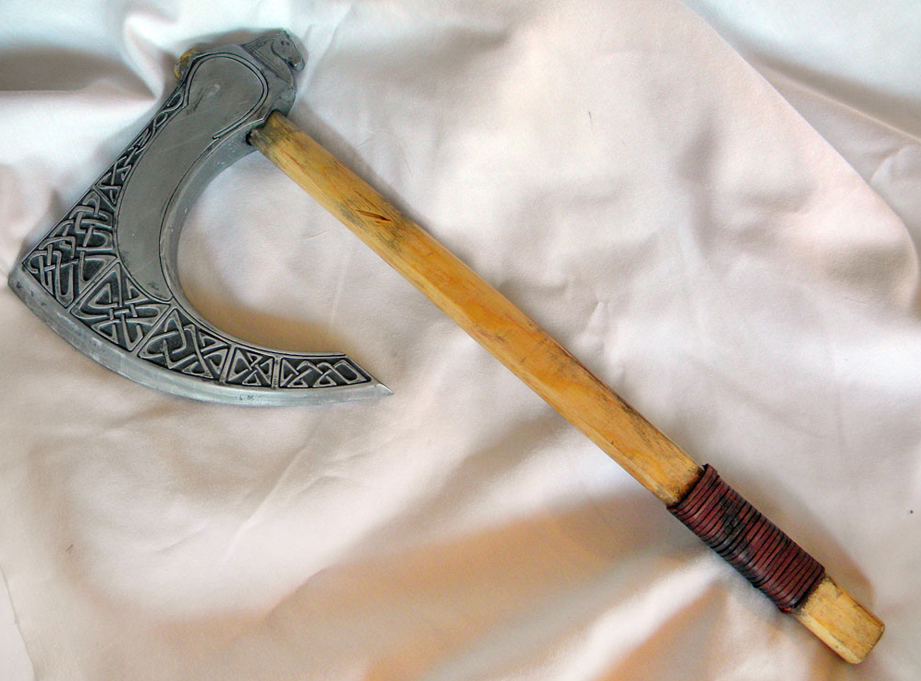
The completed axe!
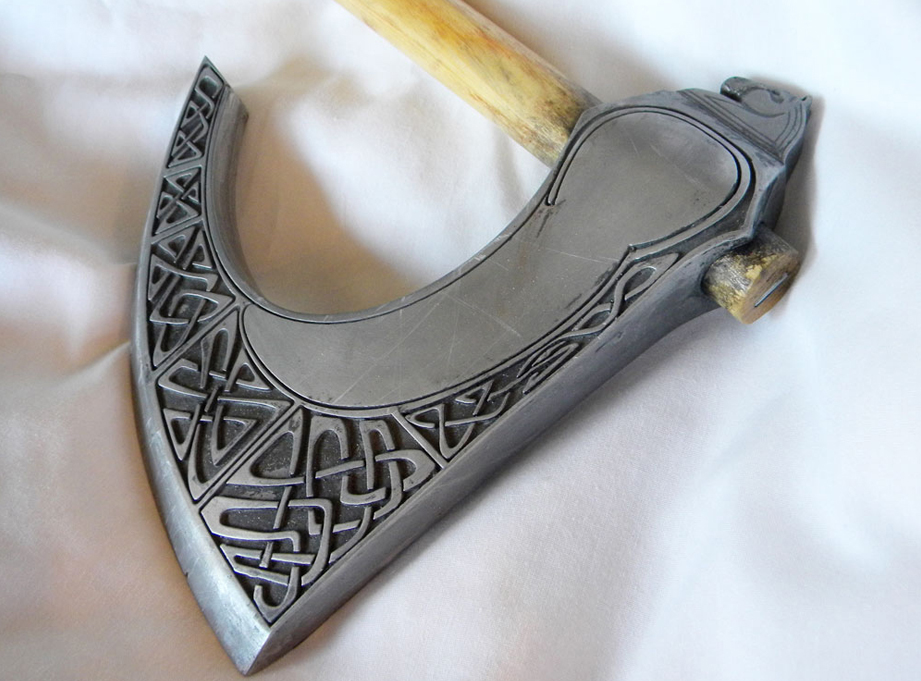
Detail of the head.
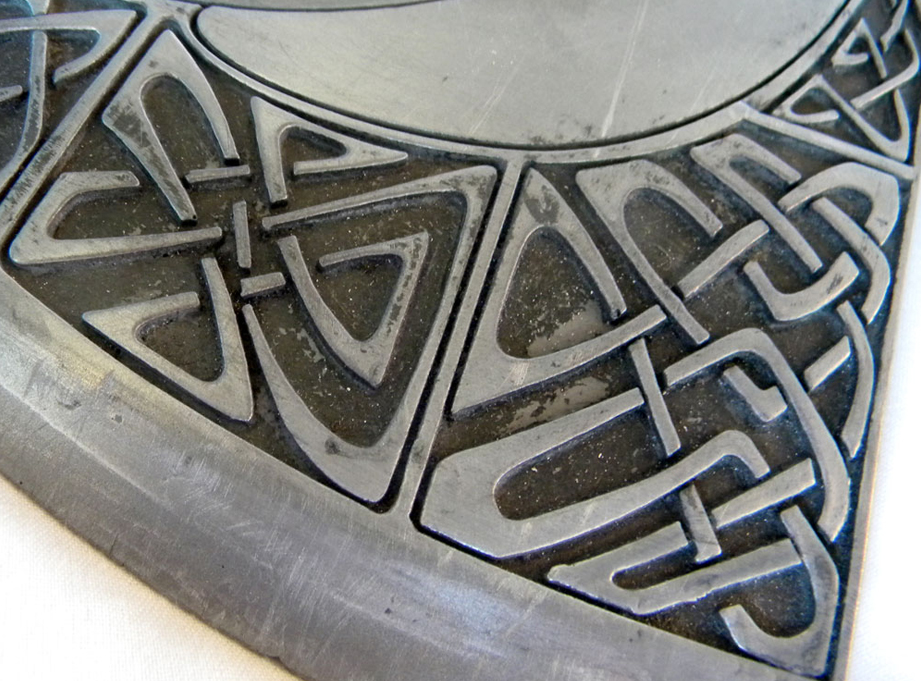
Blade detail
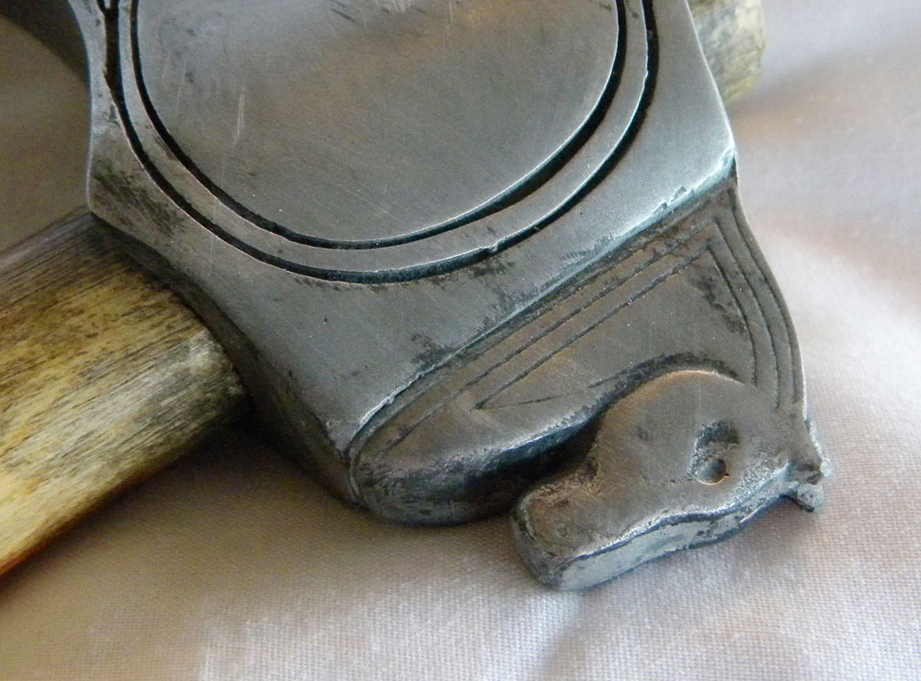
Horsie detail. I think this would really hurt!
