toy story robot
september 2013
Robot is a toy that appeared in the Toy Story series. He is good friends with Snake, as they're always seen together.
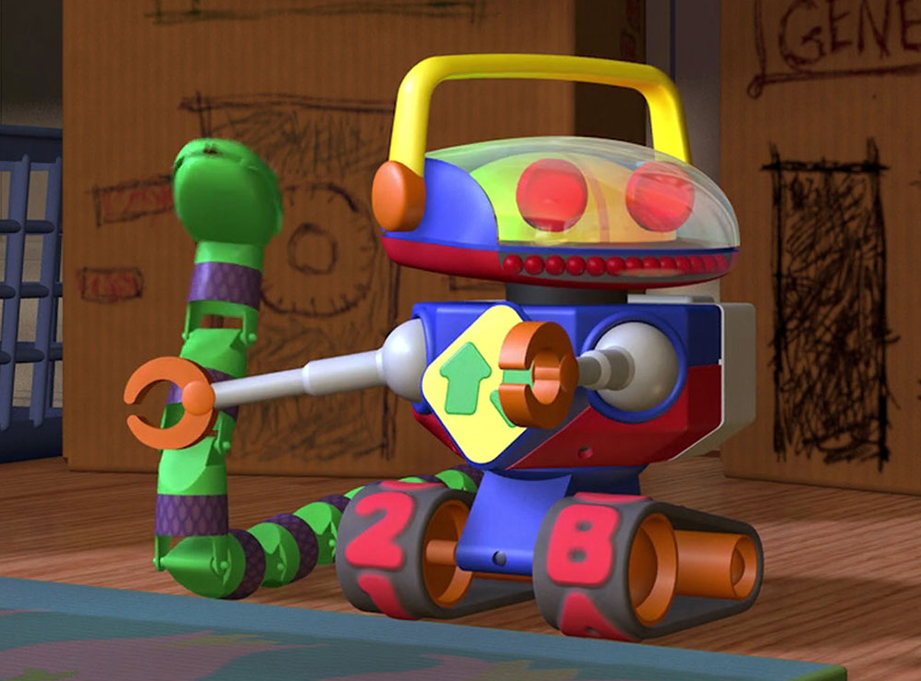
After building Mr. Spell, I was commissioned by the same group of rabid Toy Story fans to build Andy’s Robot, shown here hanging out with his friend Snake.
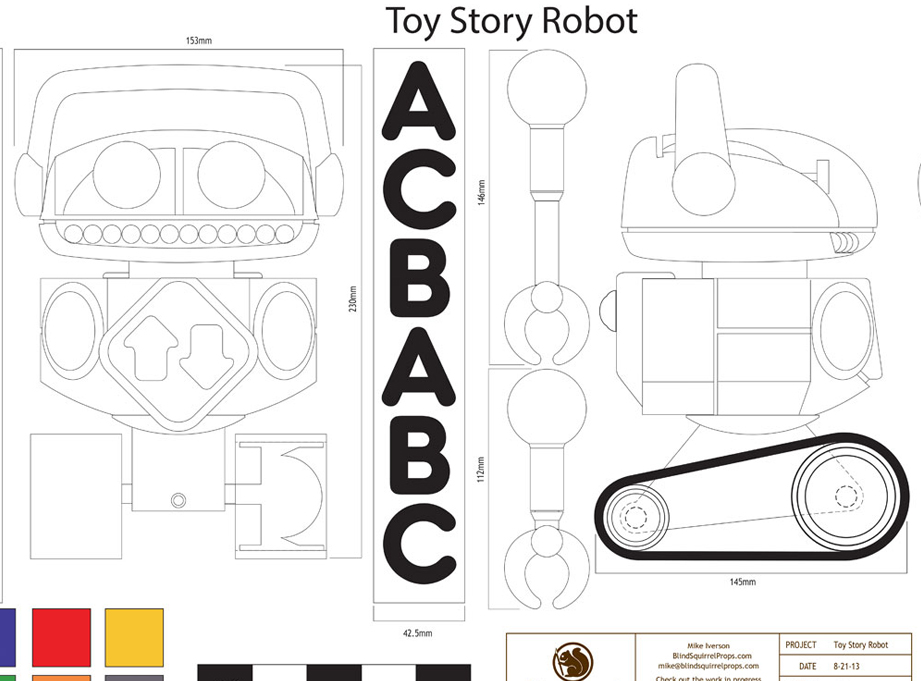
Working from screen captures and basing the size to be in scale with Mr. Spell, I drew plans to work from.
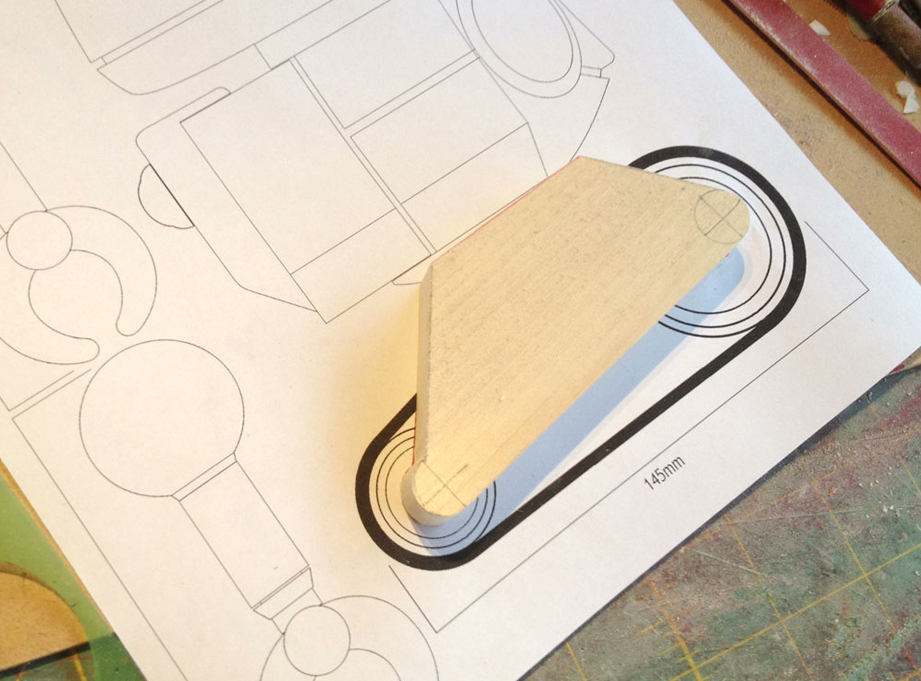
I started by cutting the profile for the “hips” out of basswood.
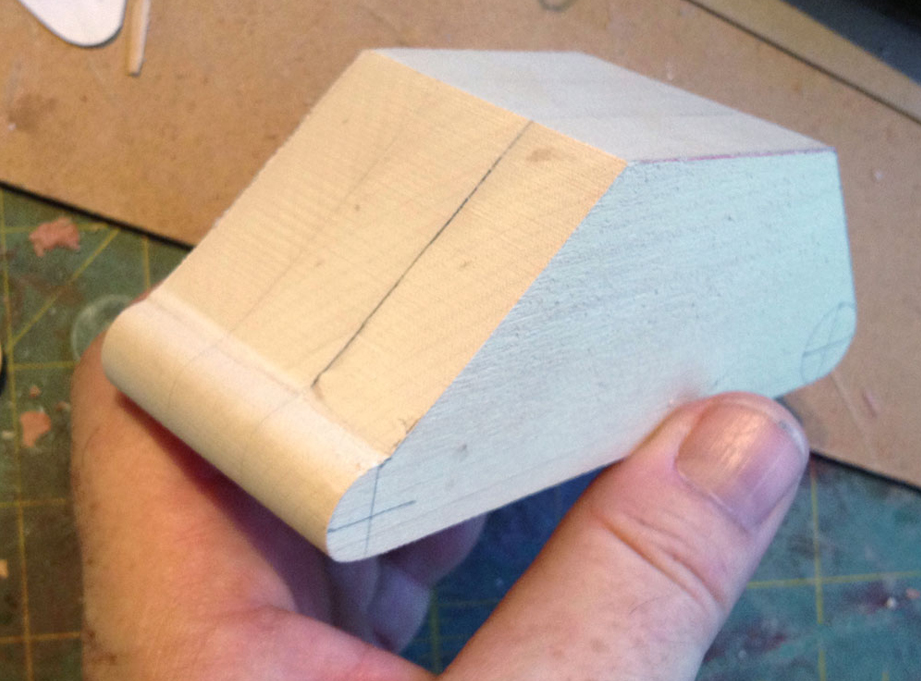
I replicated the shape twice more and glued the pieces together to make the proper width.
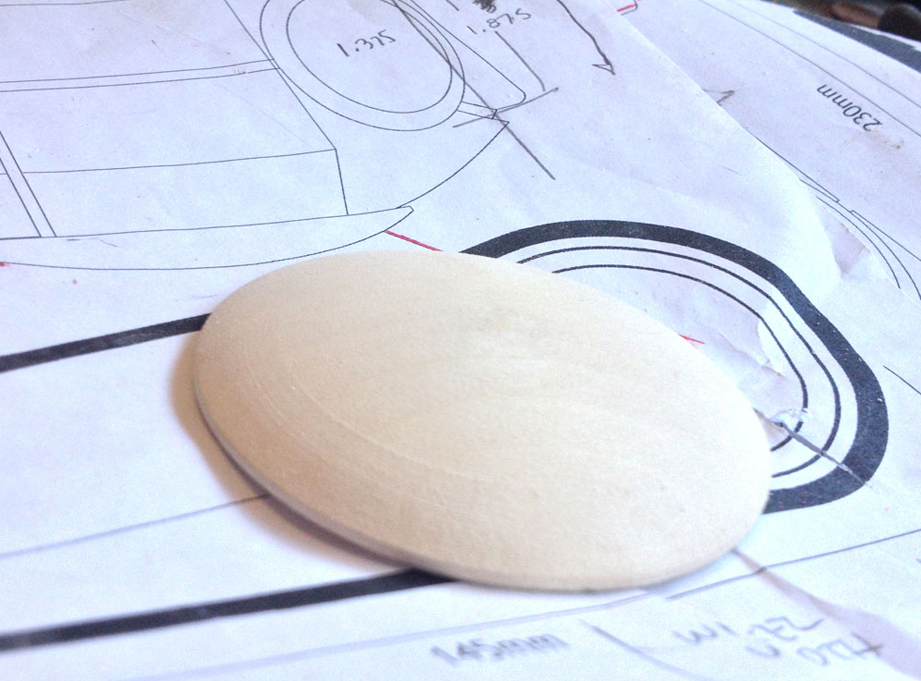
I sanded down MDF to make the domed piece that connects the hips to the torso.
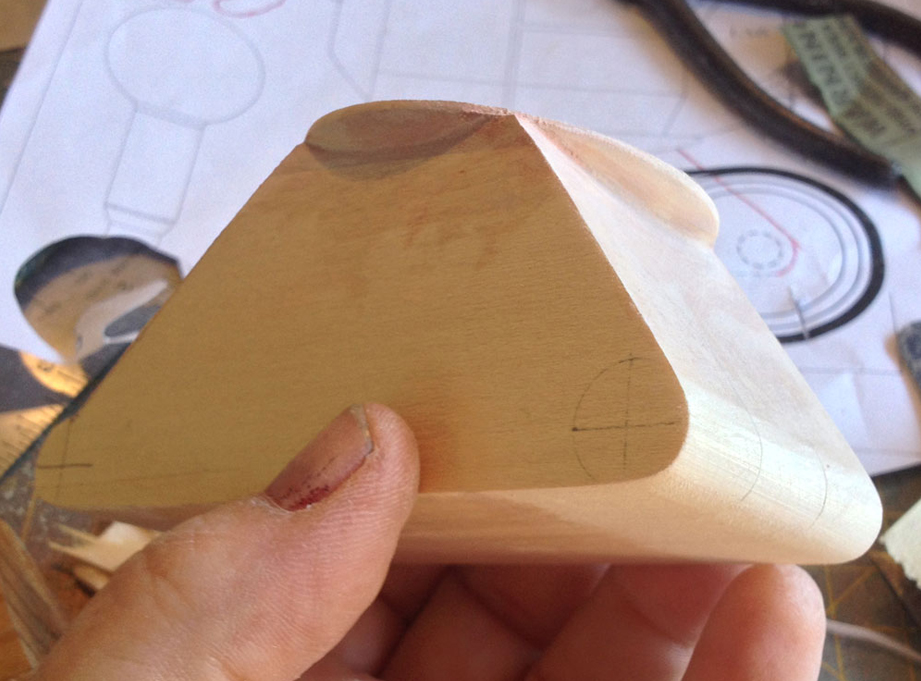
I flattened the top of the dome to glue it to the hips and then used Bondo to complete the corners.
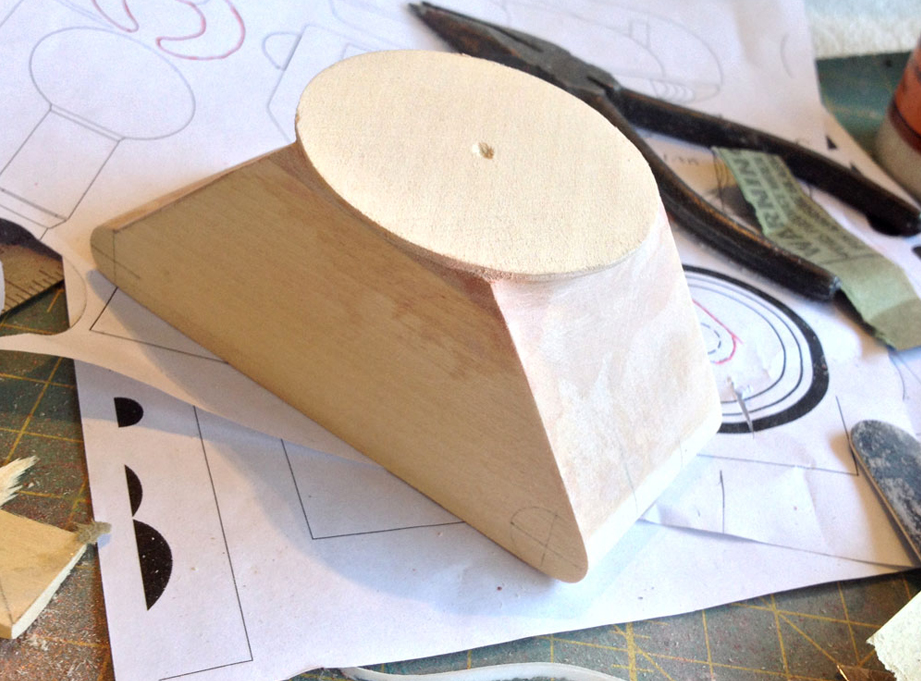
Lastly, I drilled a guide hole in the center of the dome for the torso to pivot on.
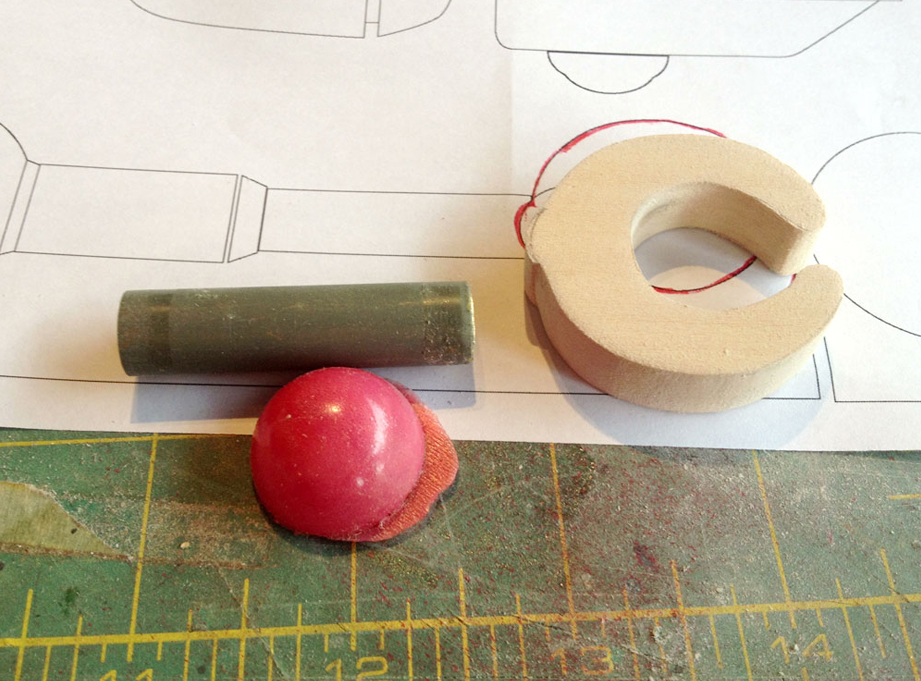
The claw base was cut from a piece of basswood. The forearm master was a brass tube of the proper diameter and I found a reject resin gem that I could use for the hand rivet.
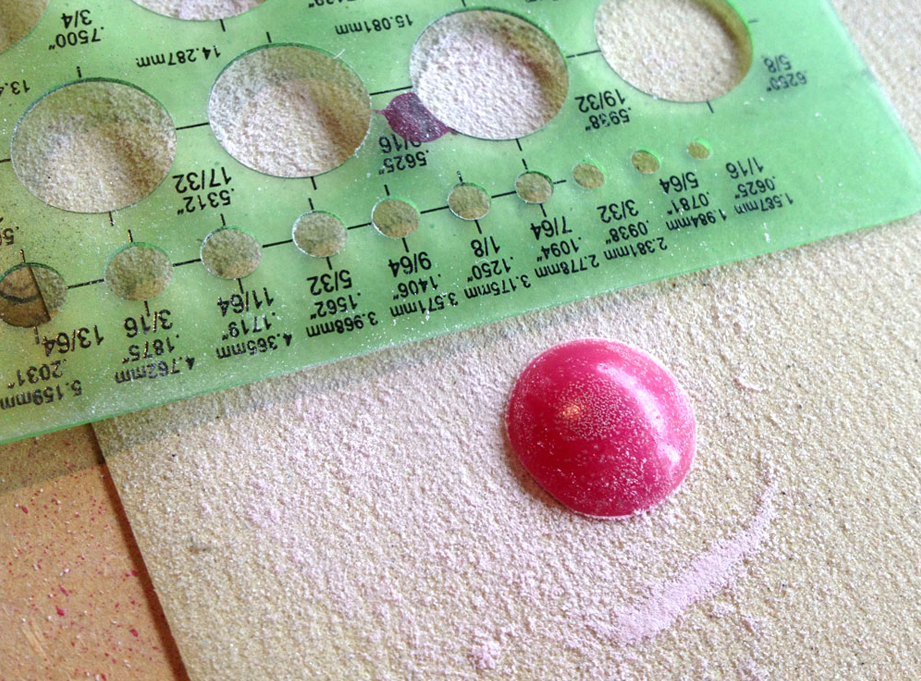
Using a circle template to mark the diameter I needed from the dome, I made a rough cut. I then sanded the base to get the dome to the right width.
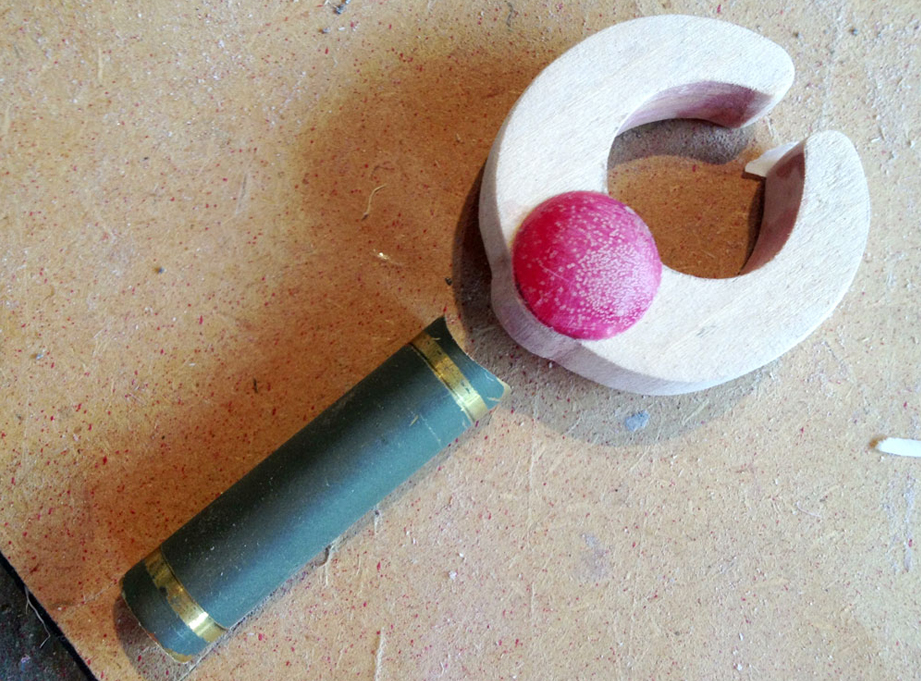
The domes were glued in place and Bondo applied to round out the space between them. The end of the forearm tube was cut to fit that curve.
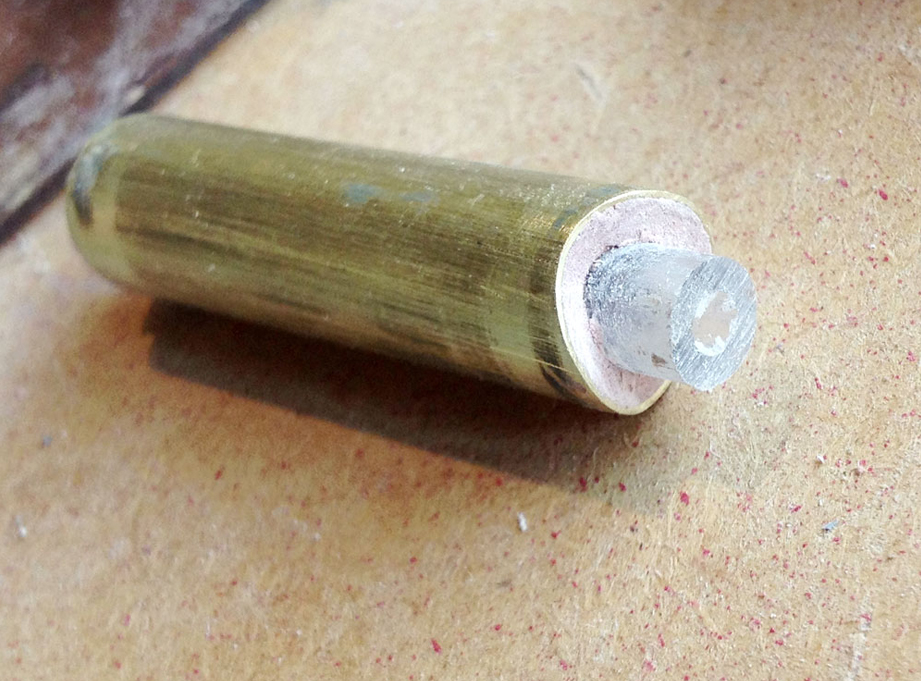
I filled the ends of the forearm tube with Bondo and then drilled a hole in both ends to fit acrylic pegs.
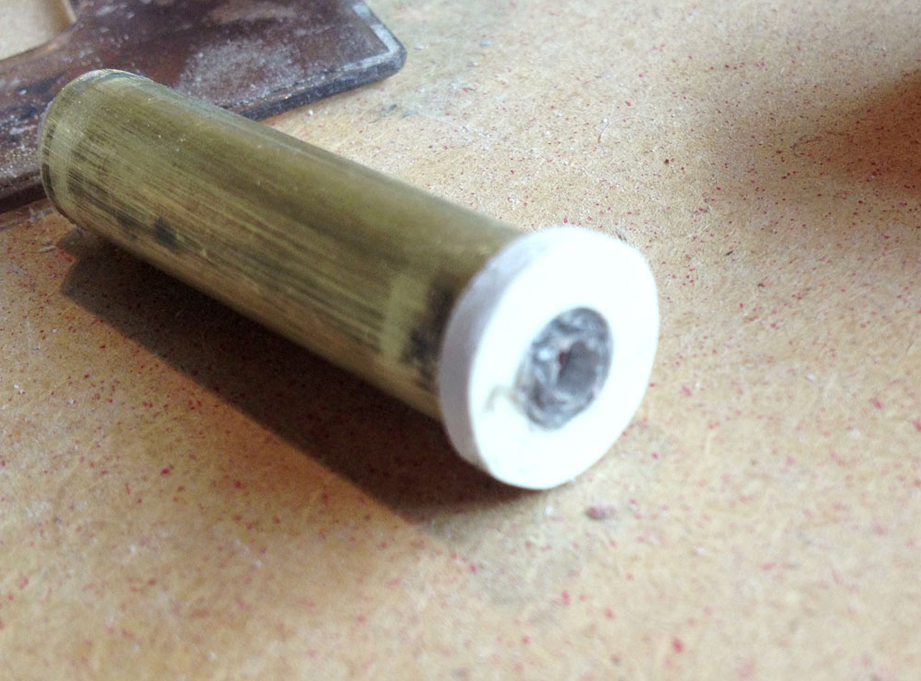
The other end was fitted with a styrene washer that fit the inside of a 1/2” copper pipe (which will serve as the upper arms).
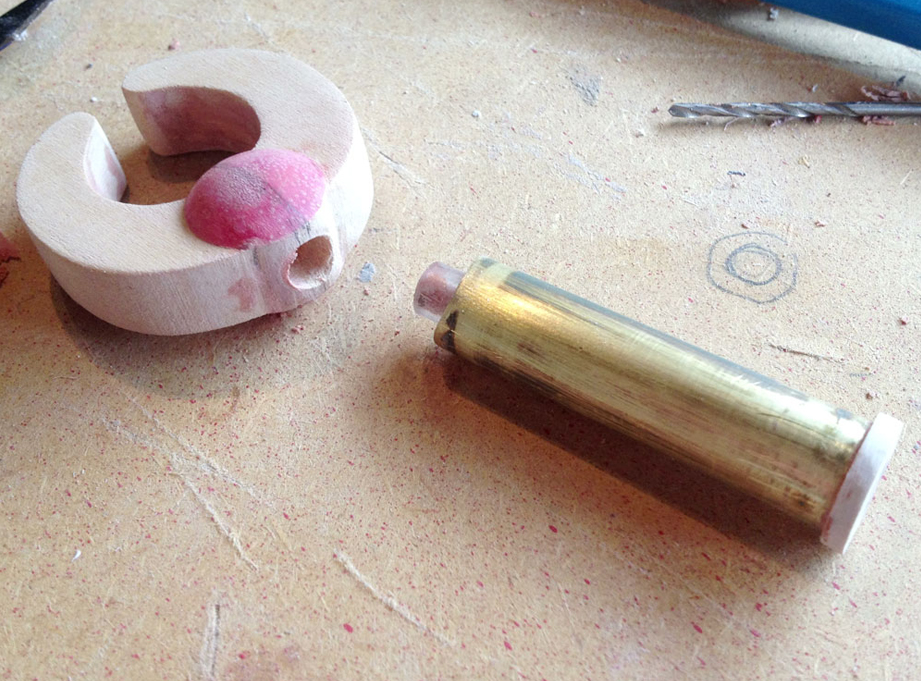
I drilled a hole in the base of the claw for the forearm peg.
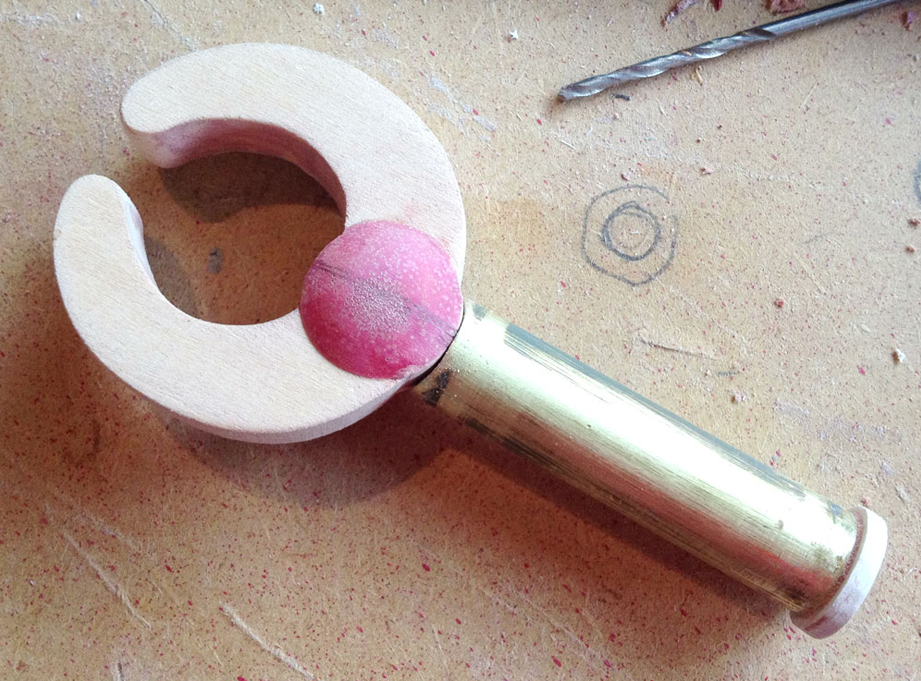
A quick test fit to make sure everything is ok.
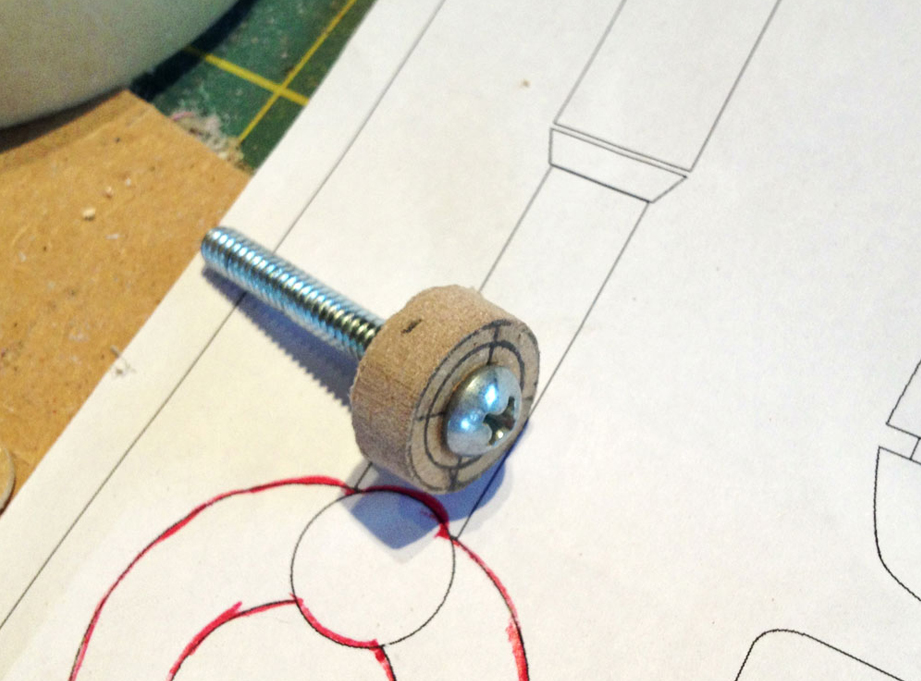
Since the upper arm inner diameter is much wider than the forearm tube I needed to make an angled transition piece. This would act as a stop to prevent the forearm from pulling out.
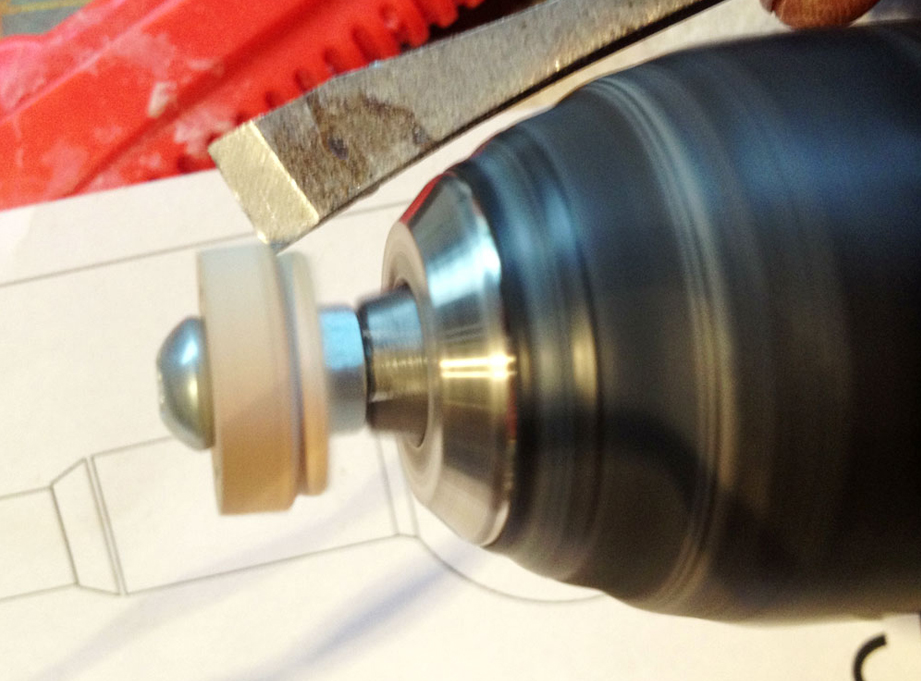
After chucking it to my hand drill, I used a chisel as a “poor man’s lathe” to shape the piece. Here I’ve just cut the parts that inserts into the upper arm pipe.
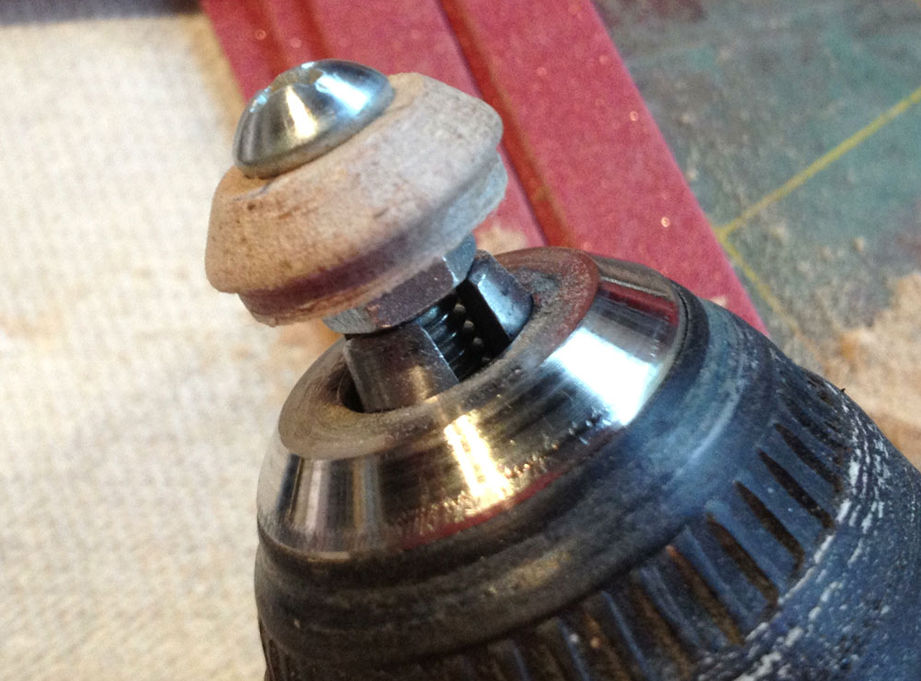
A bit more work angles the exposed sides.
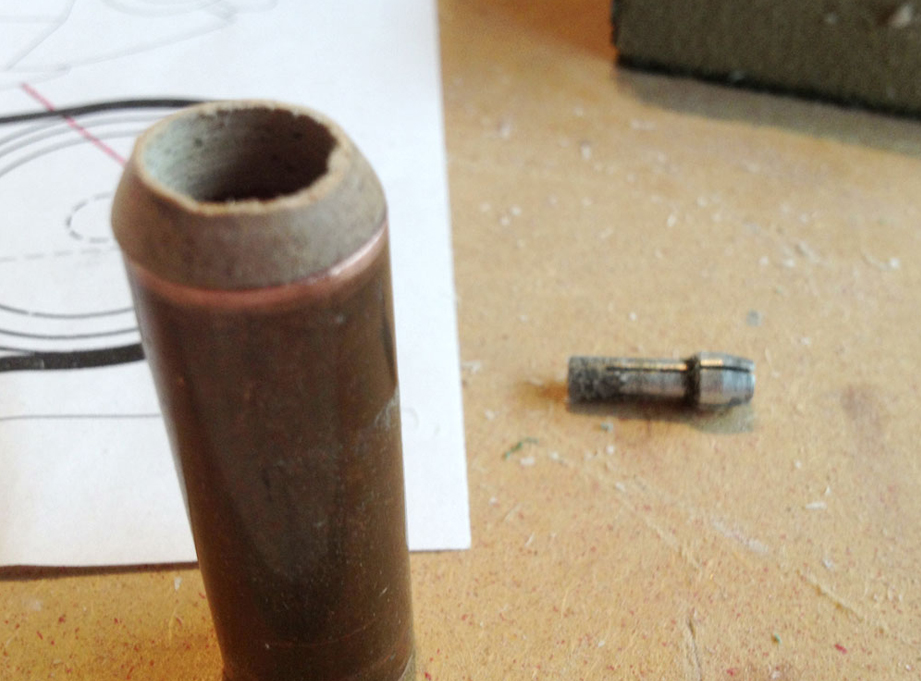
The part is inserted into the pipe and drilled out to allow the forearm tube to fit.
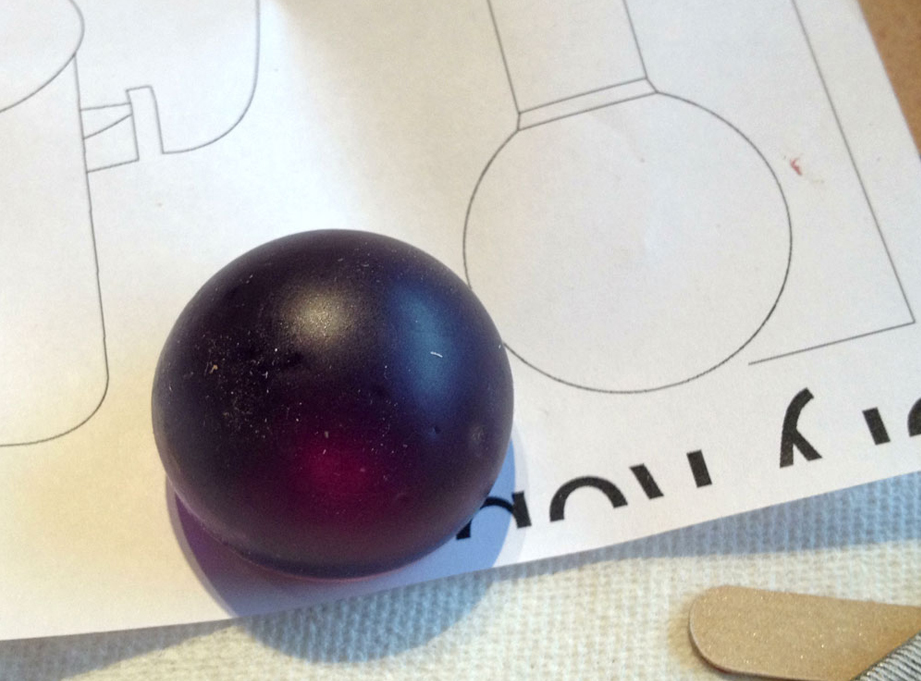
To make the rotating shoulder ball joint, I fished another spare resin gem out of the scrap box.
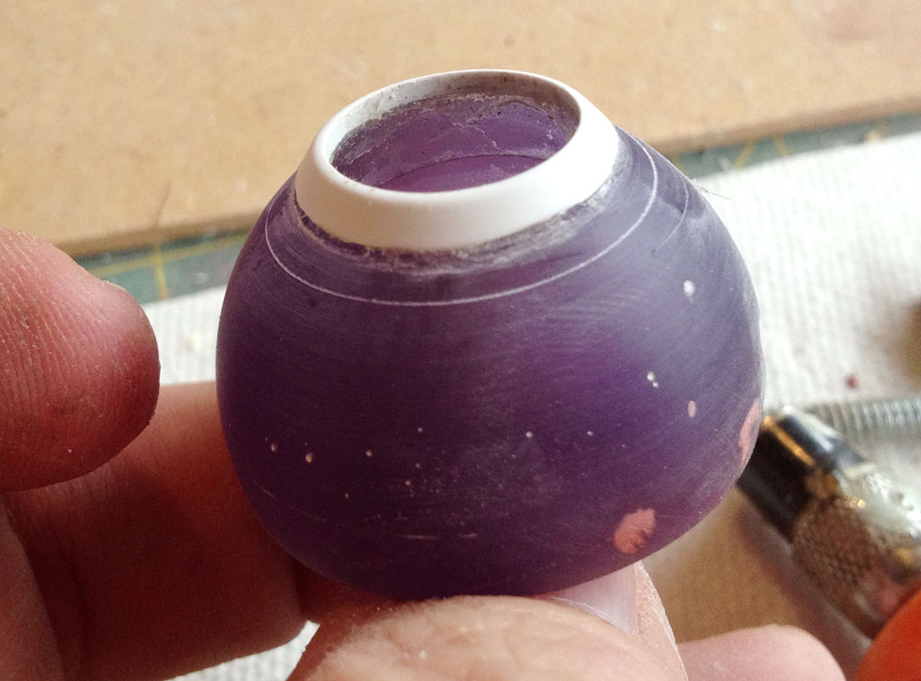
I drilled a hole for the upper arm pipe and cut a piece of styrene for the collar at the joint.
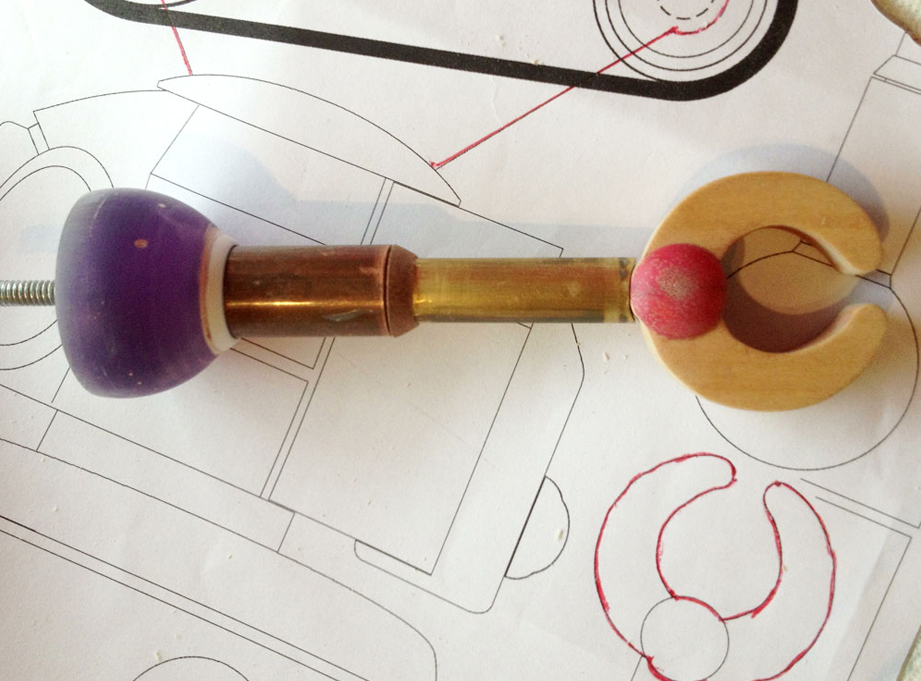
All the parts assembled!
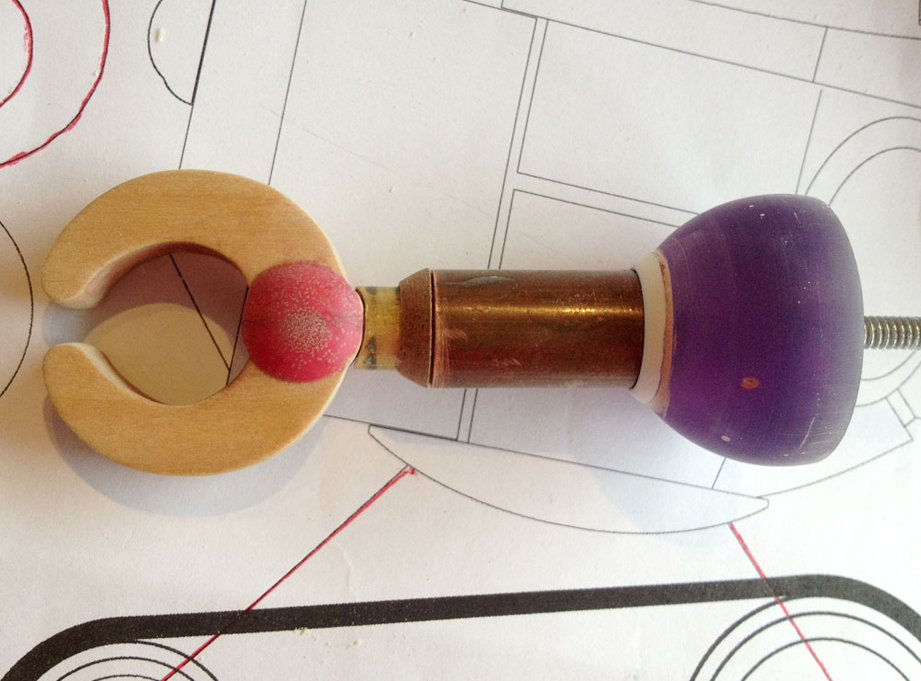
And the claw retracts as planned!
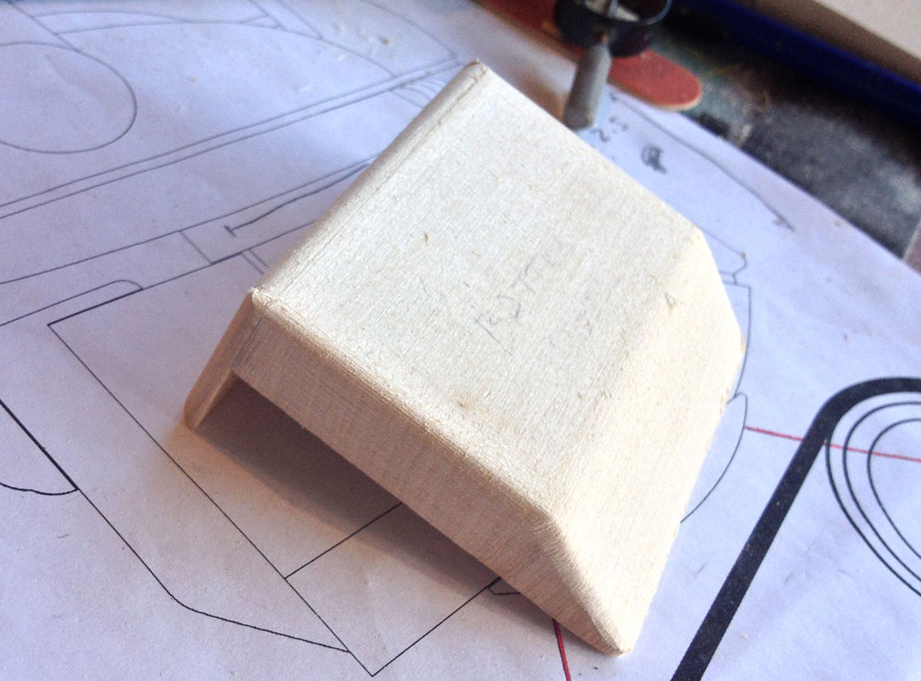
On to the torso, I cut two pieces of basswood to make the battery door.
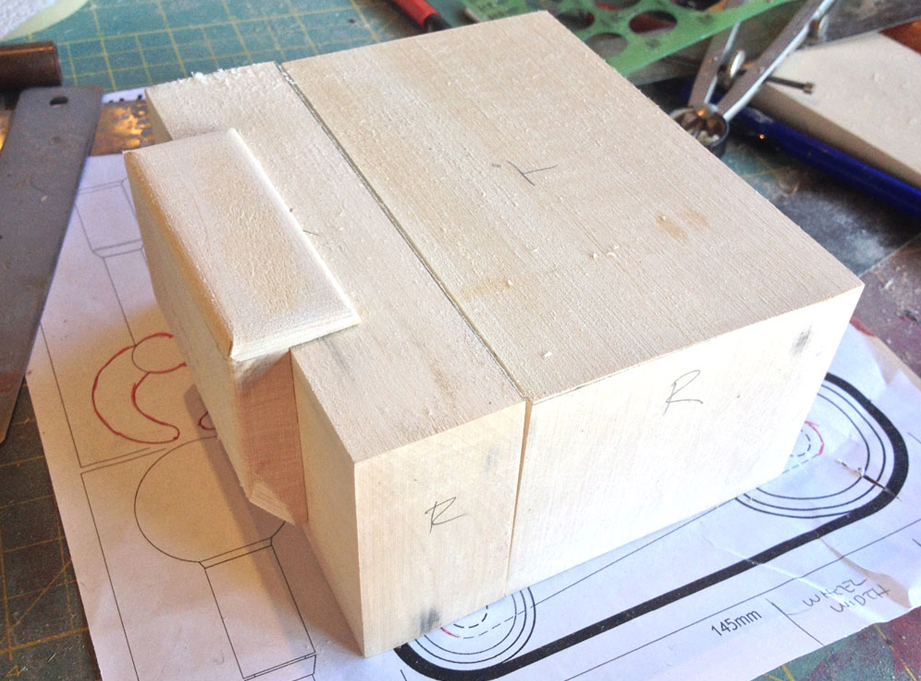
The torso would be molded in two parts so I cut two blocks of basswood.
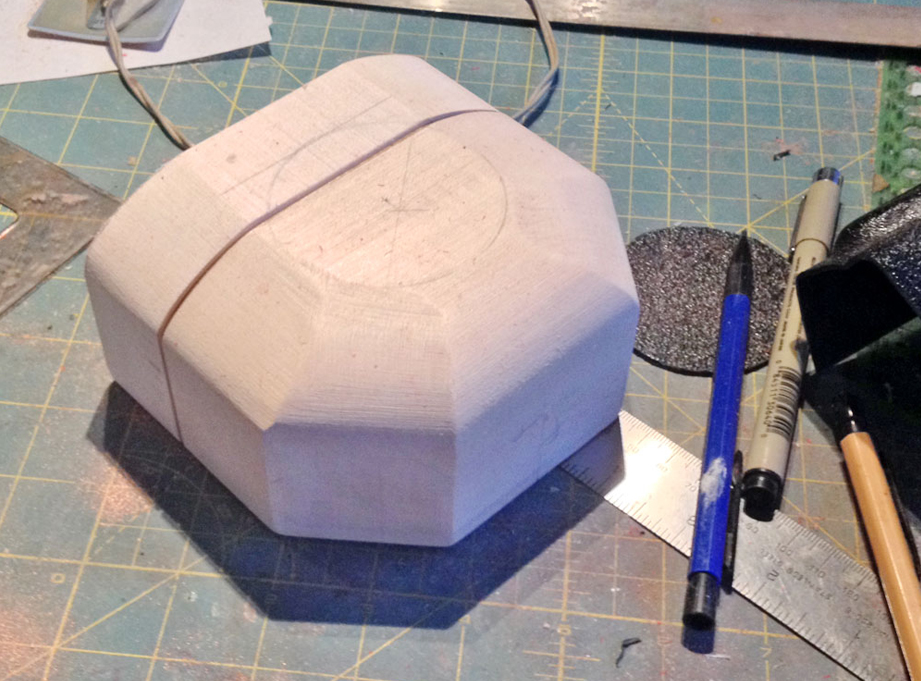
I marked the circular base and then cut and sanded the bevels.
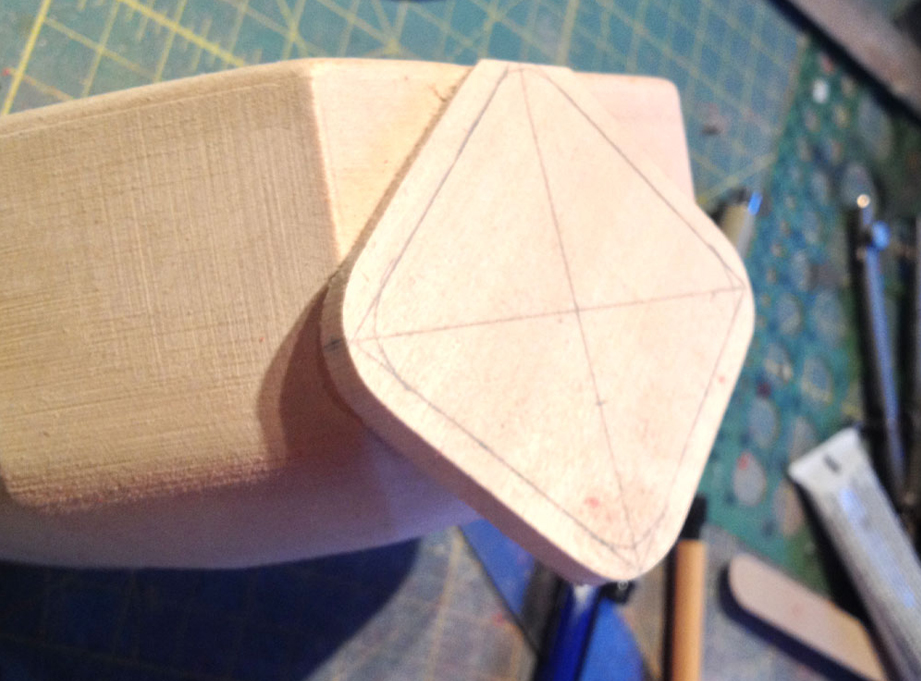
I cut a piece of basswood to make the chest shield and sand an angle to the back so it sits properly.
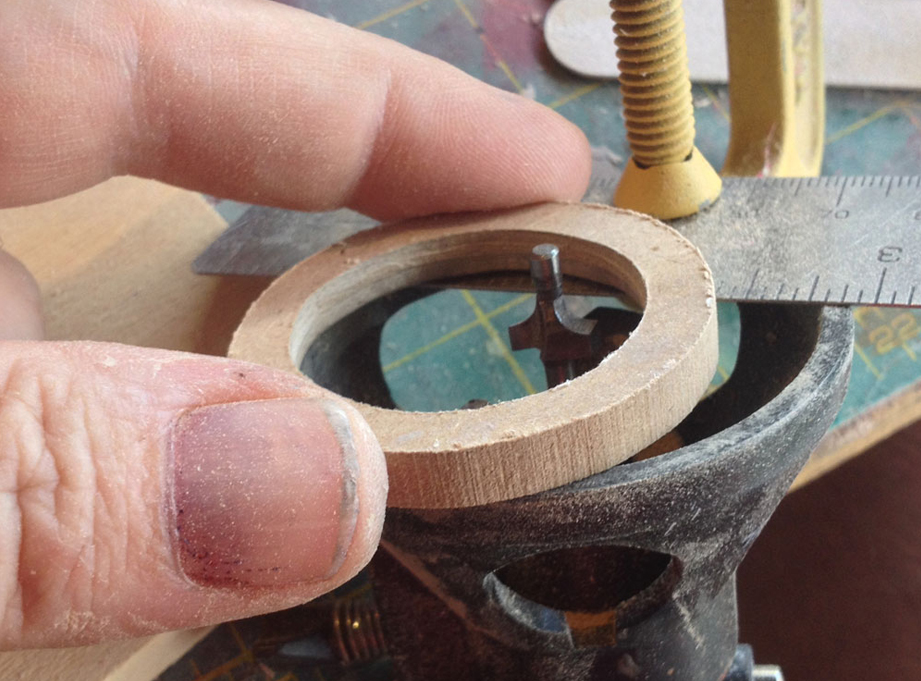
To make the rounded border of the arm holes, I cut two rings from 1/4” MDF and rounded the edges on a makeshift Dremel router “table” . Please don’t do this. It is very dangerous.
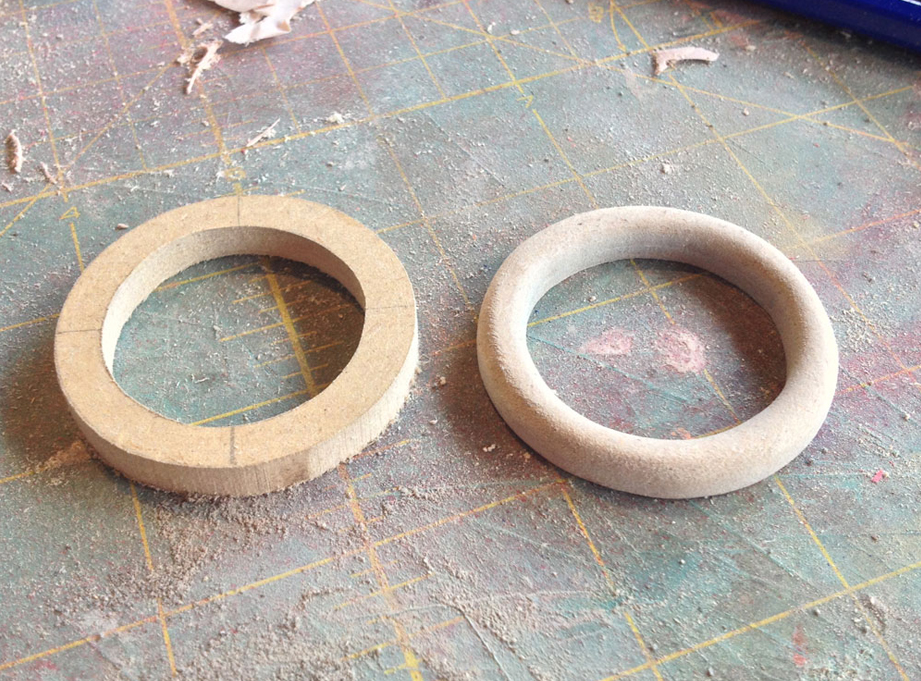
Before and after, with no blood spilled.
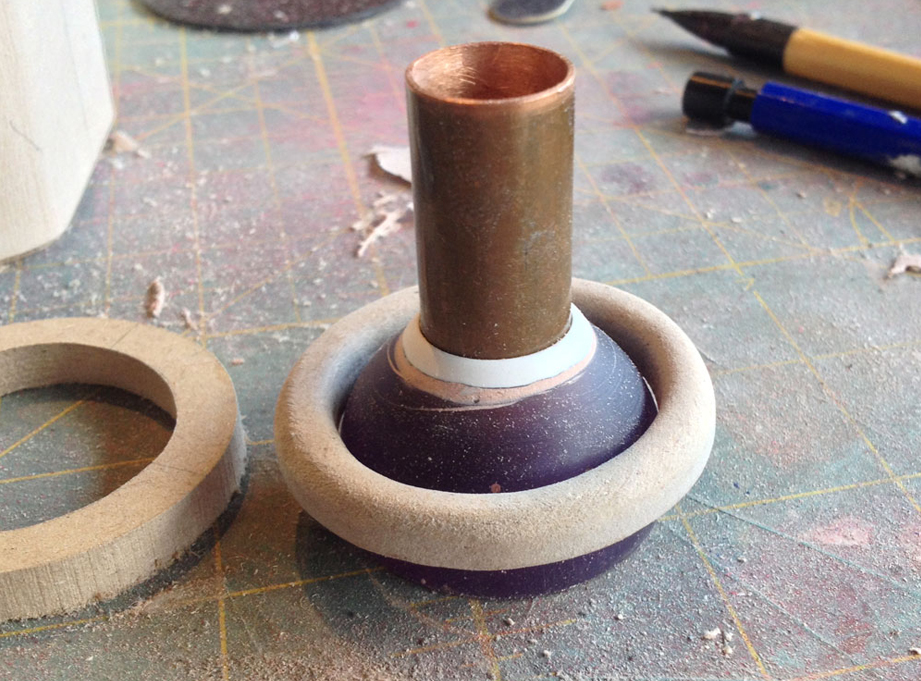
A test fit of the shoulder joint.
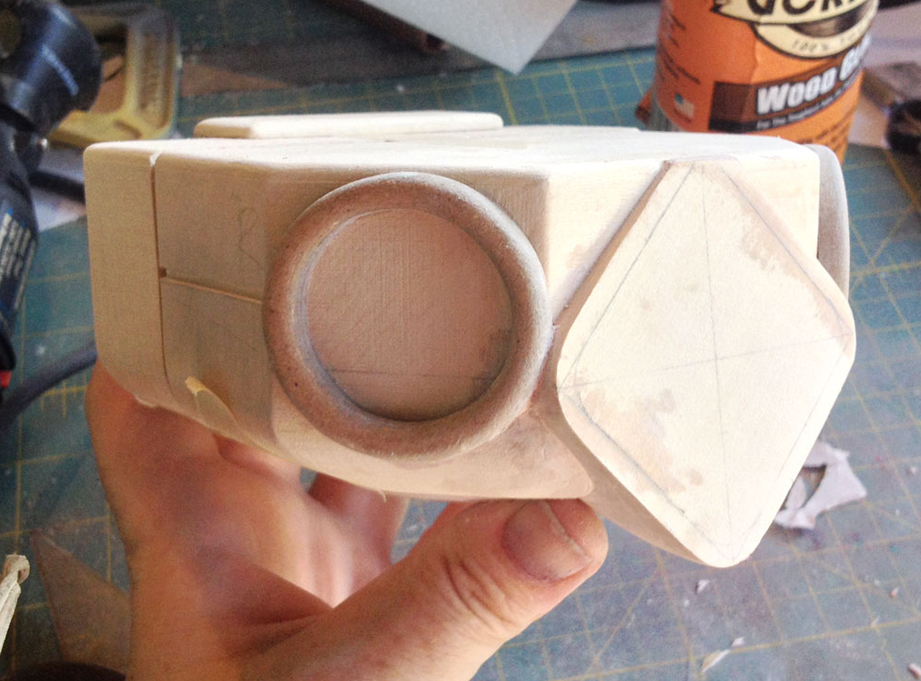
The rings glued on.
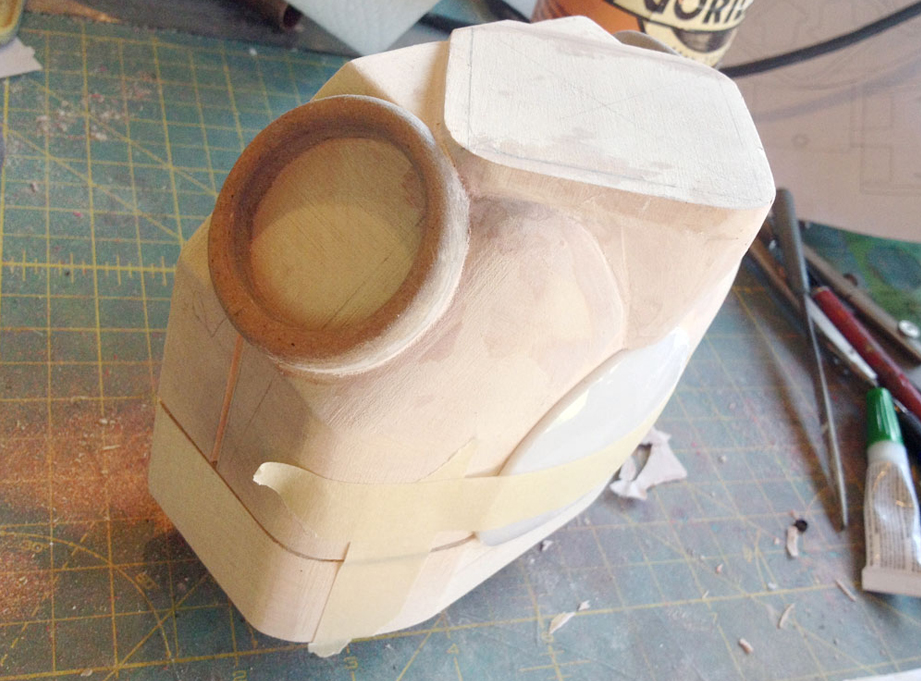
With the arm borders glued, I used Bondo to fill in the space between the chest plate and the torso.
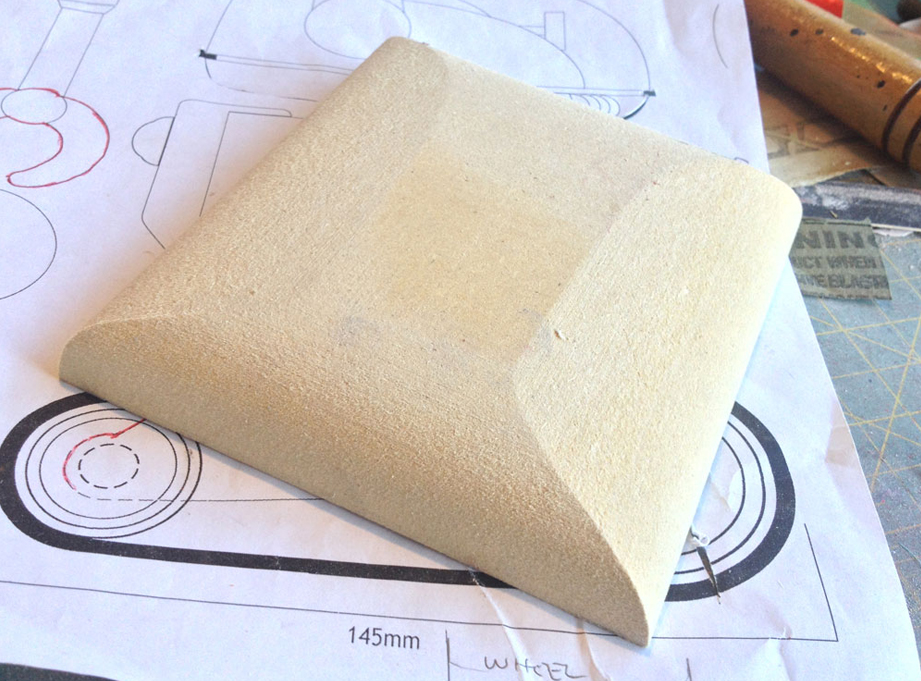
To make the jaw, I cut a piece of MDF and sanded the curved base shape.
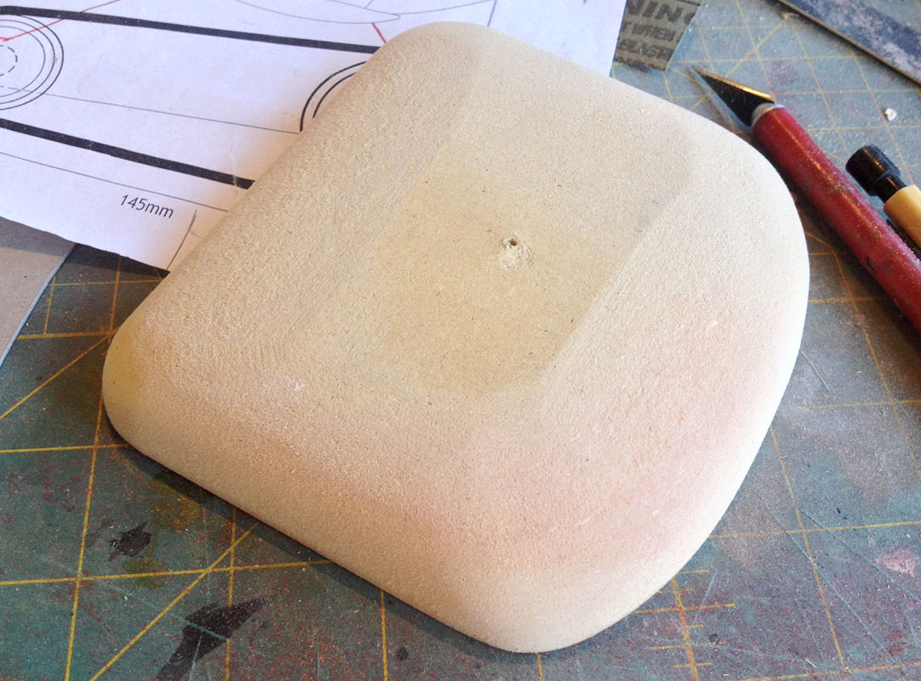
After rounding the corners and front, I continued to sand the jaw to its organic shape.
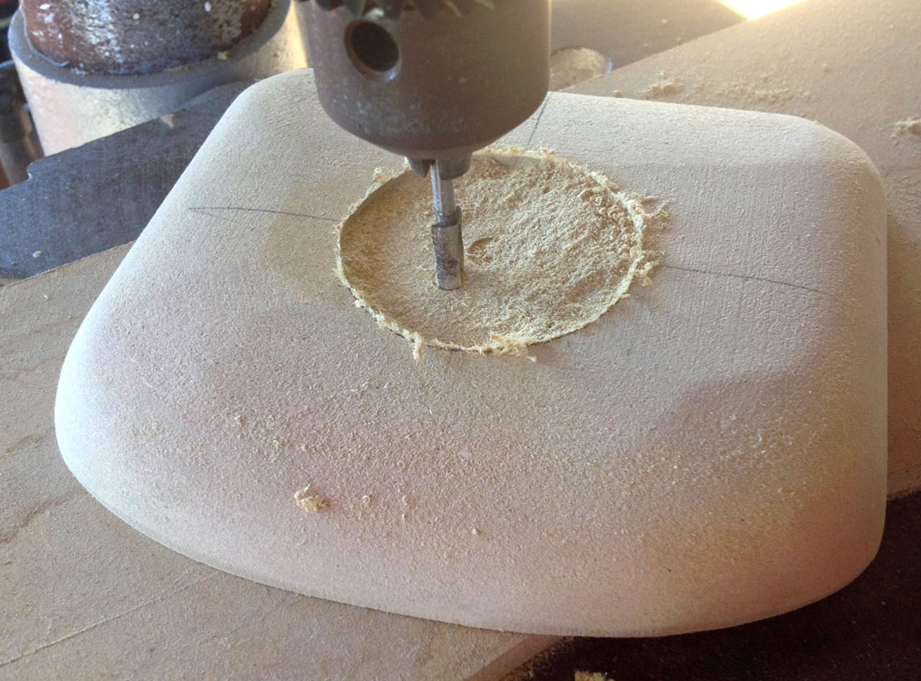
I chucked a router bit in my drill press and cut a hole in the bottom of the jaw for the neck.
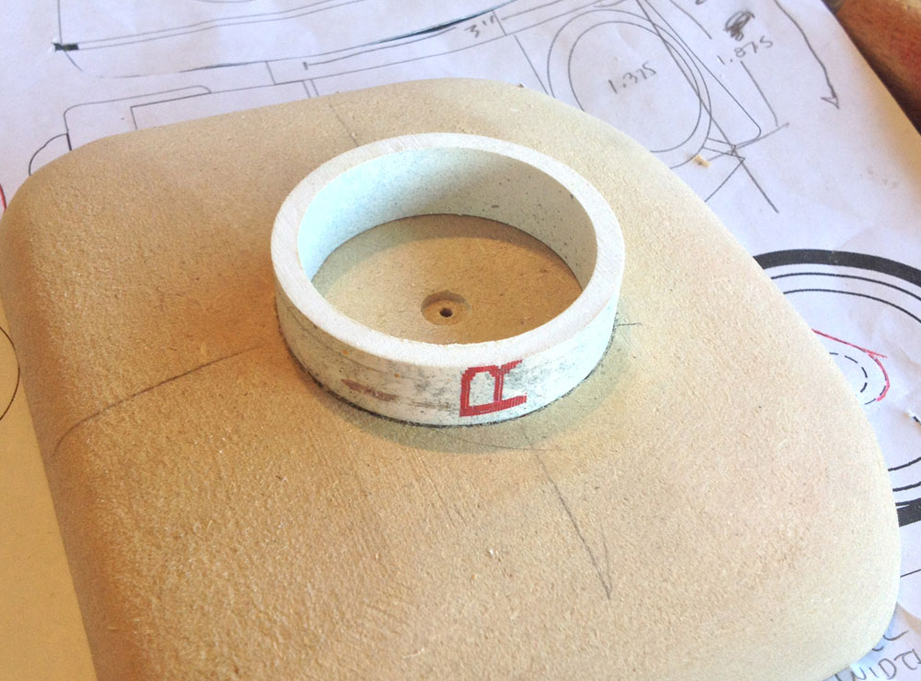
A PVC pipe is cut and glued into the hole.
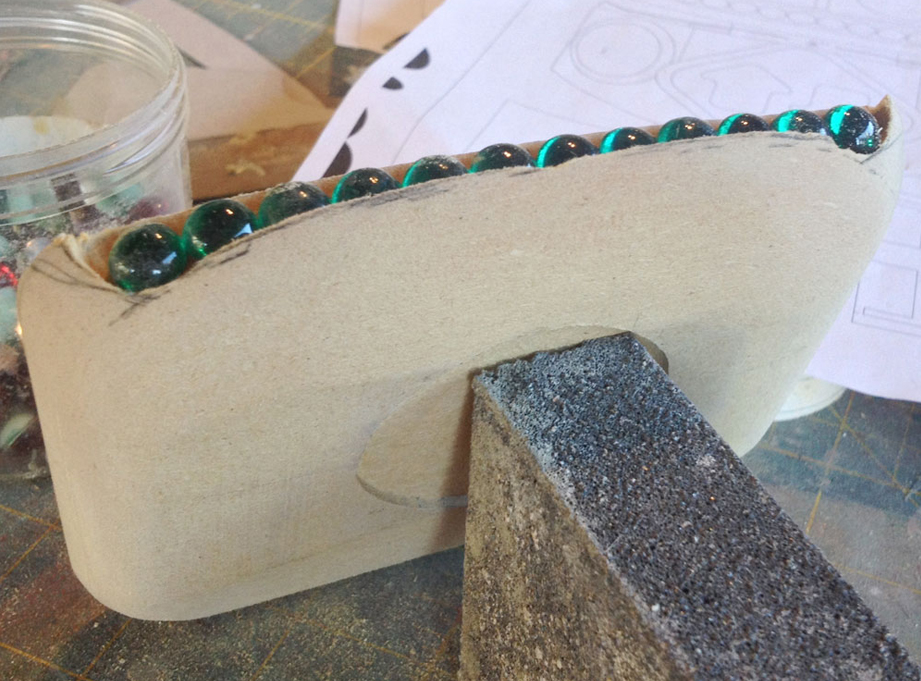
I cut out a slot in the jaw to hold 12 acrylic dome “teeth”.
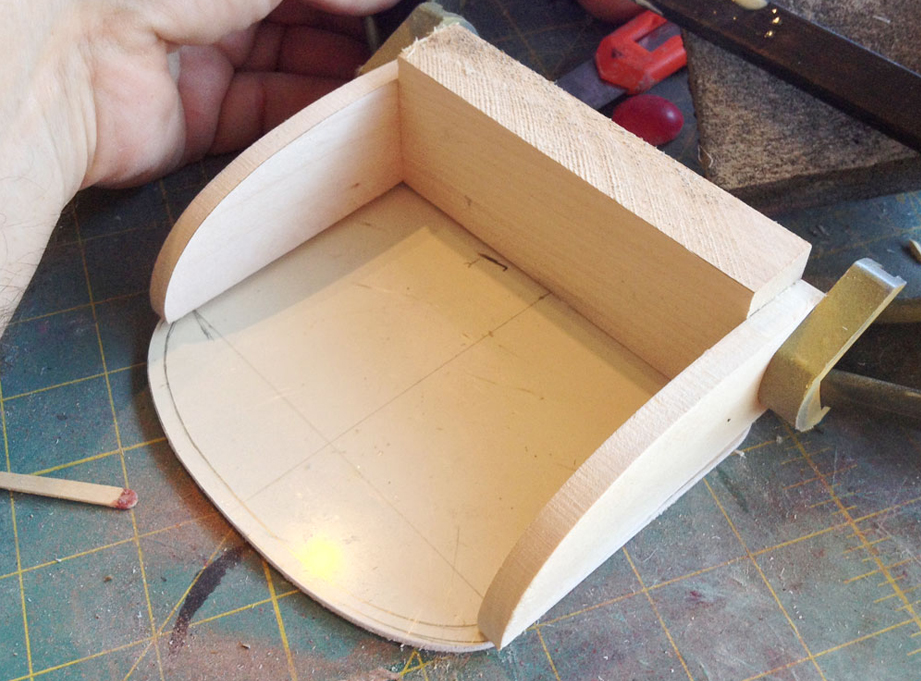
The head started with a thick styrene base supporting basswood back and sides.
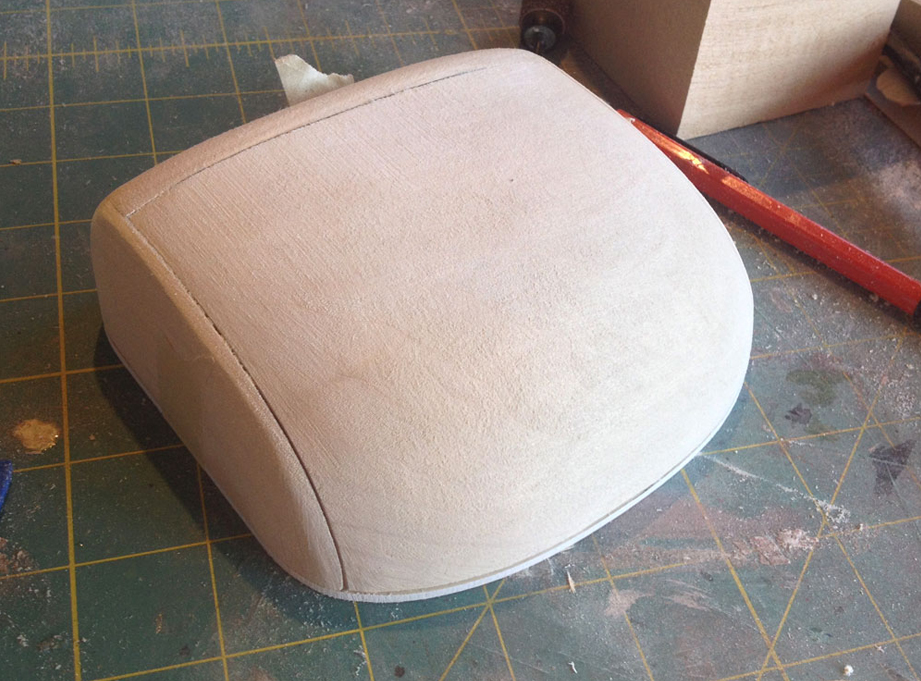
The interior of the head will be covered by a clear dome so I cut a piece of basswood to fit within. I sanded the head pieces together so that they became one smooth shape.
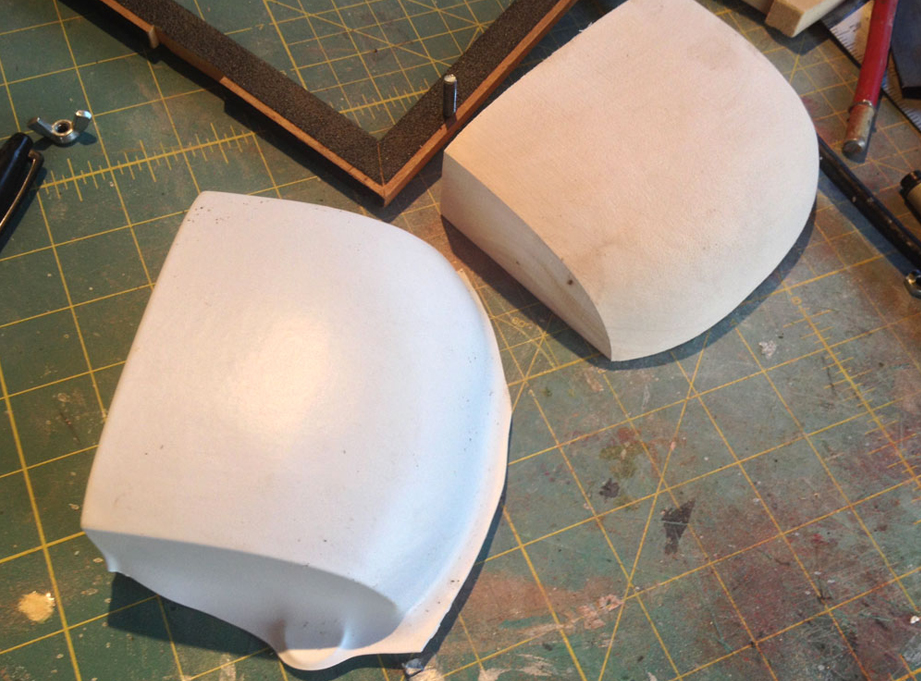
I vacuum formed some styrene over the interior head form to make a stand-in visor.
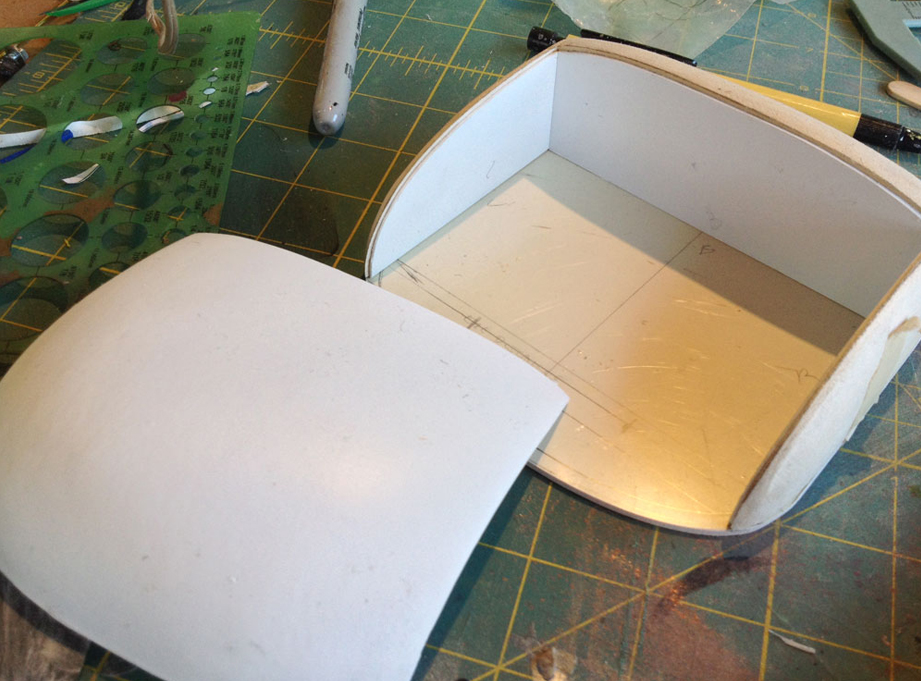
I cut some styrene panels that fit inside the head to act as a shelf for the visor to rest on.
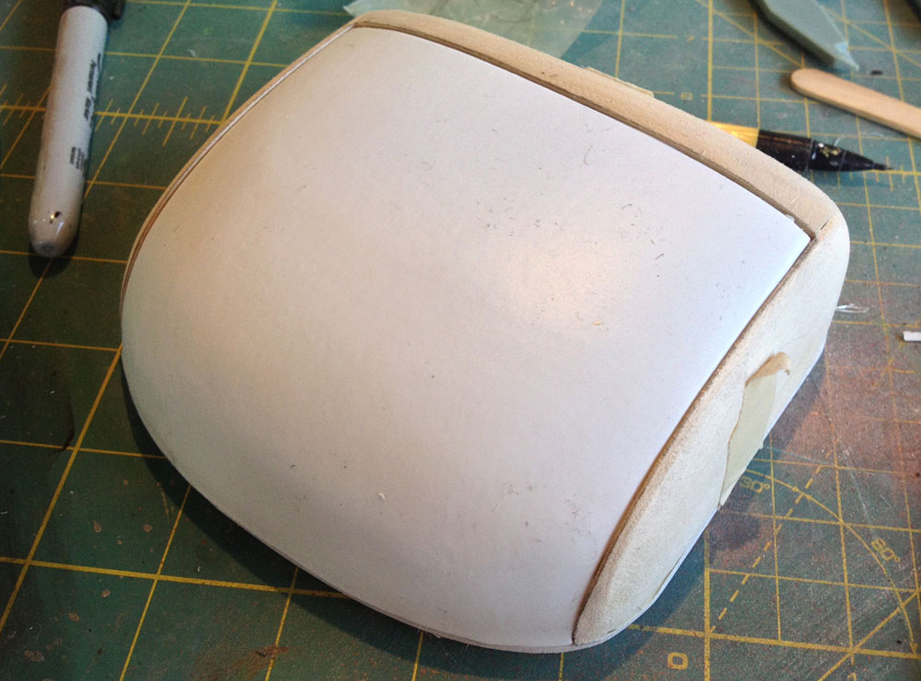
A quick test of the theory.
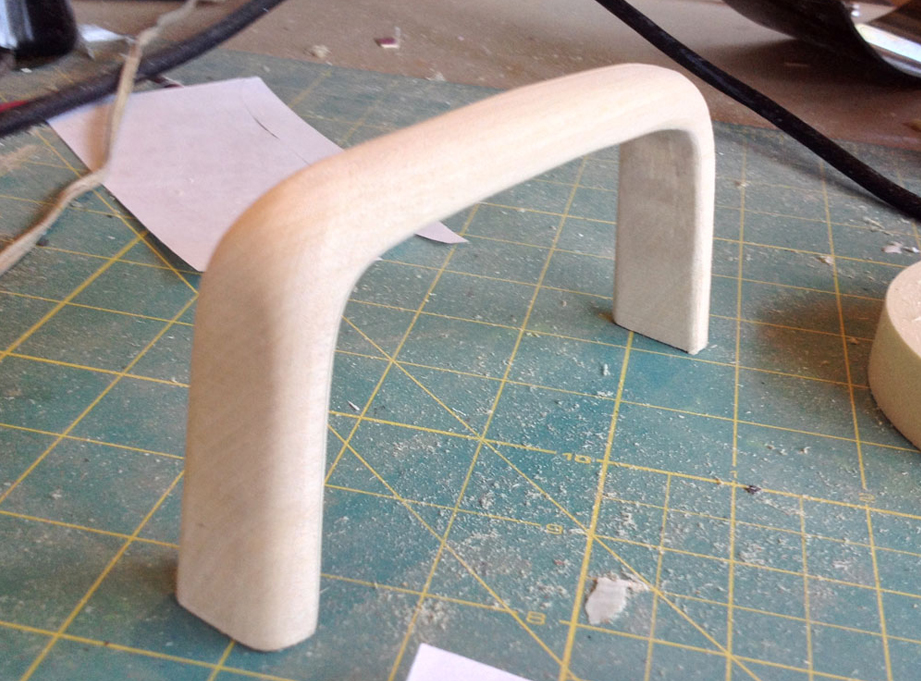
The handle was cut from a piece of 3/4” MDF and sanded to shape.
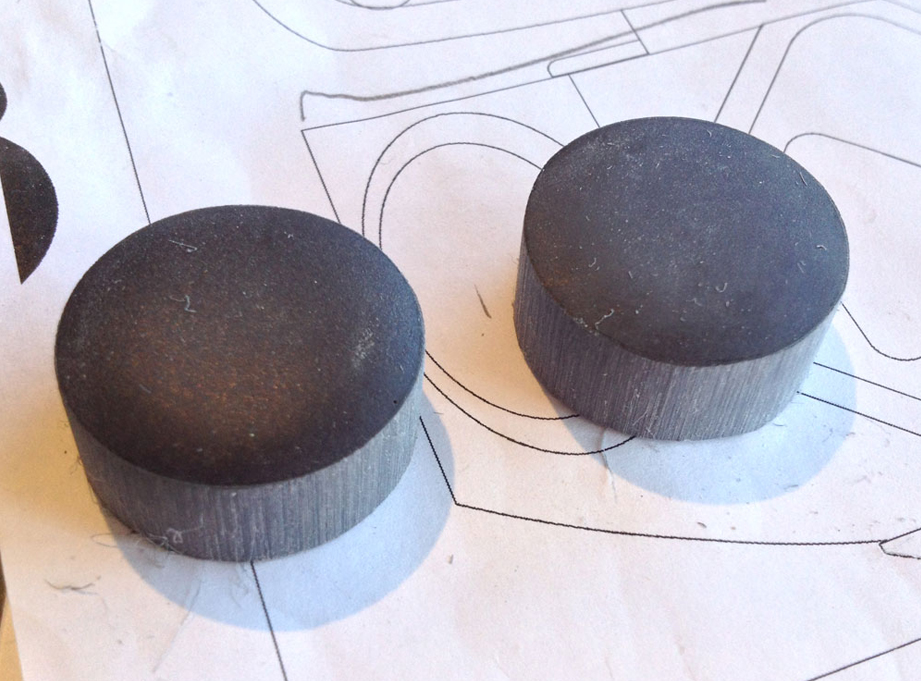
Mr. Spell’s ear pucks are slightly bigger than what I needed for the Robot so I cut down resin castings to the right size.
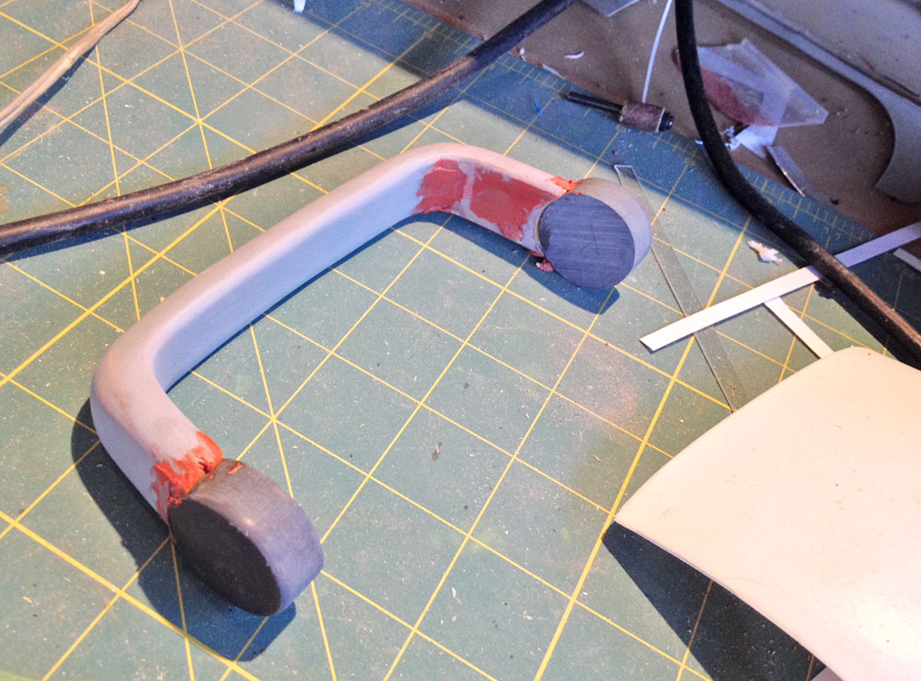
The new pucks were glued to the base of the handle.
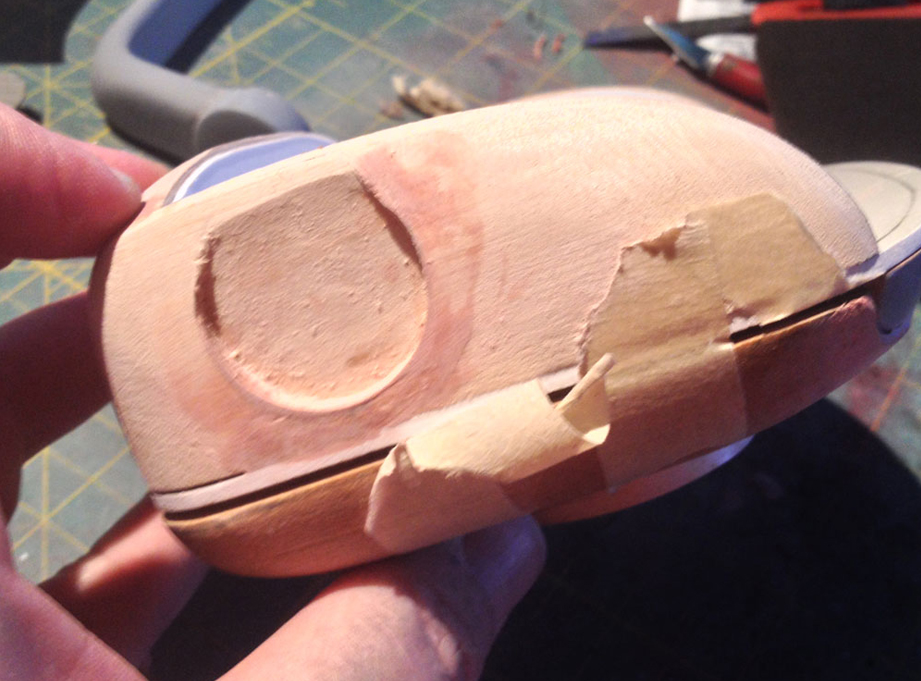
I cut holes for the ear pucks in the side of the head.
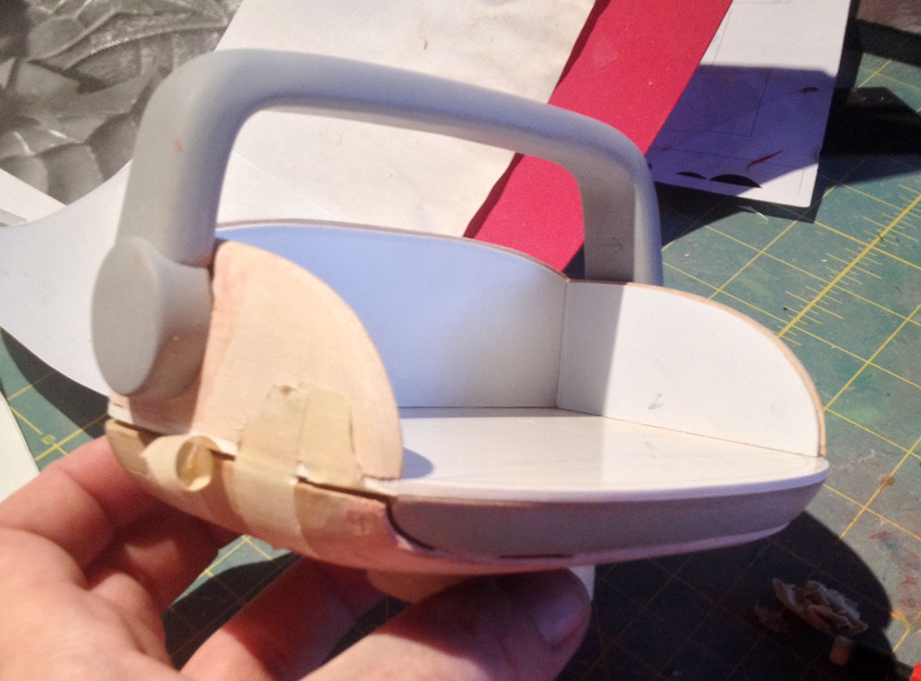
A quick test fit.
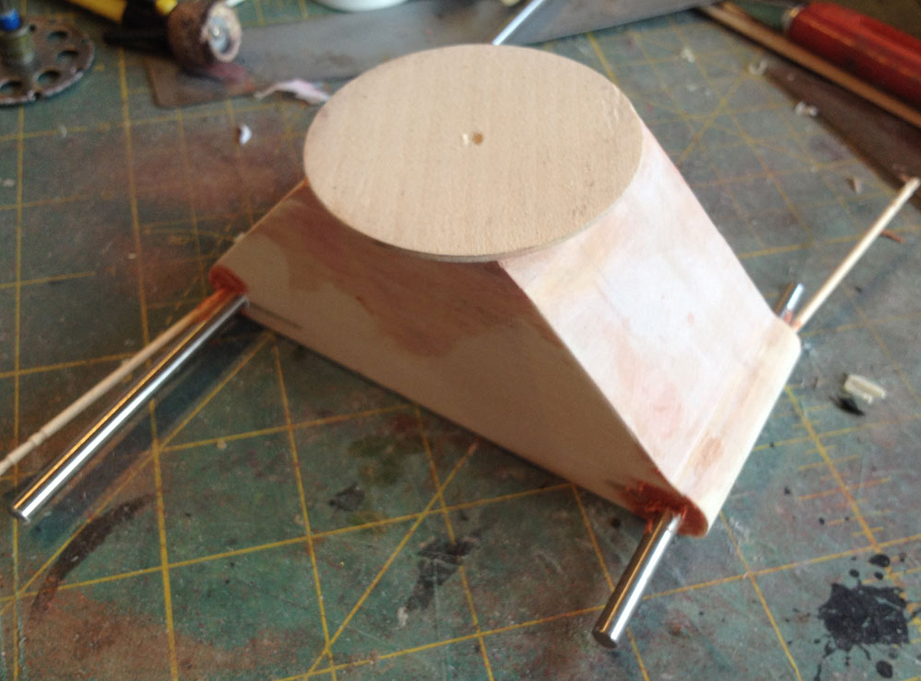
Back on the hips, I drilled holes to fit the stainless steel axles. Bondo was added to true up their alignment.
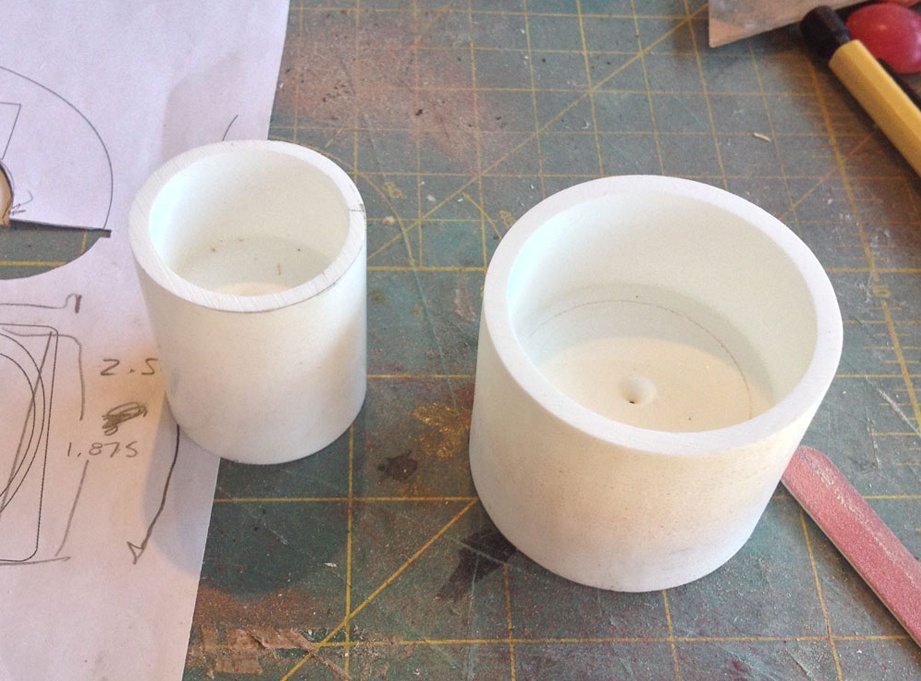
I cast a plug of resin for each size wheel, then drilled out each side with forstner bits to make hollow wheel rims with a flat wall in the middle.
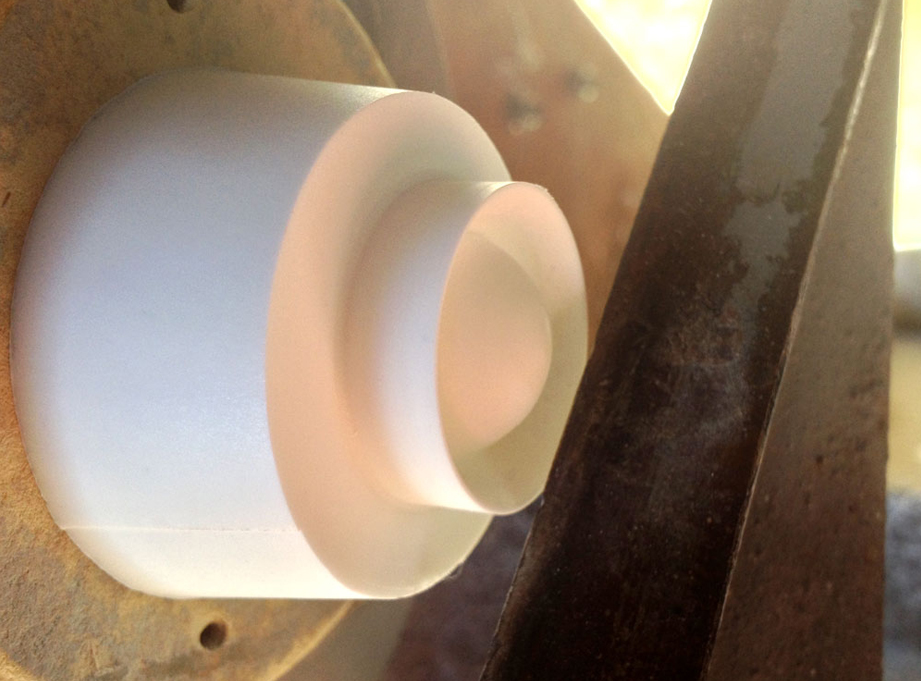
I cast two more resin plugs and lathed the “hub caps”.
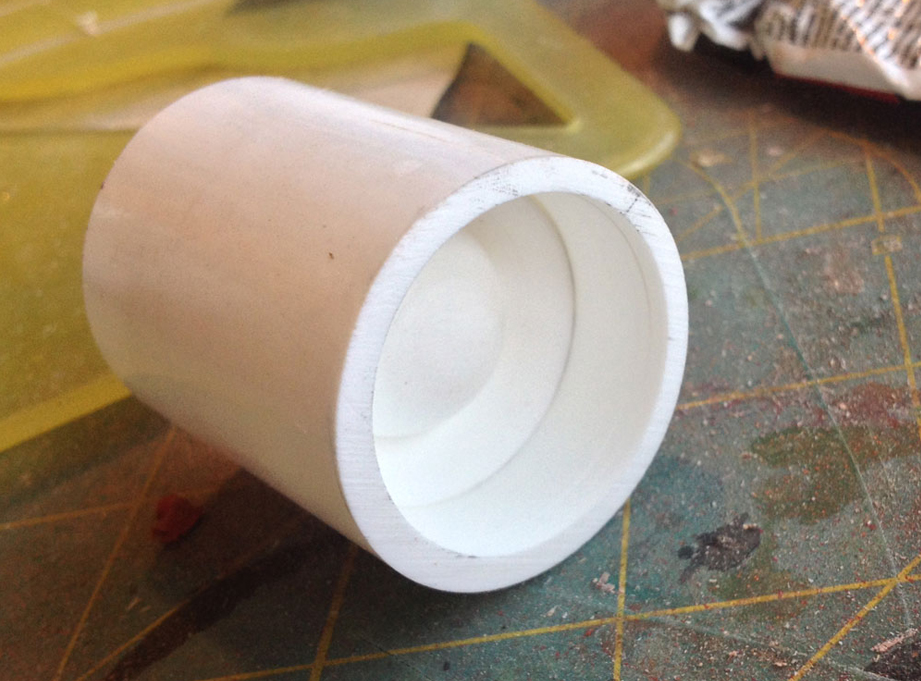
The hub caps slid right in and glued the center.
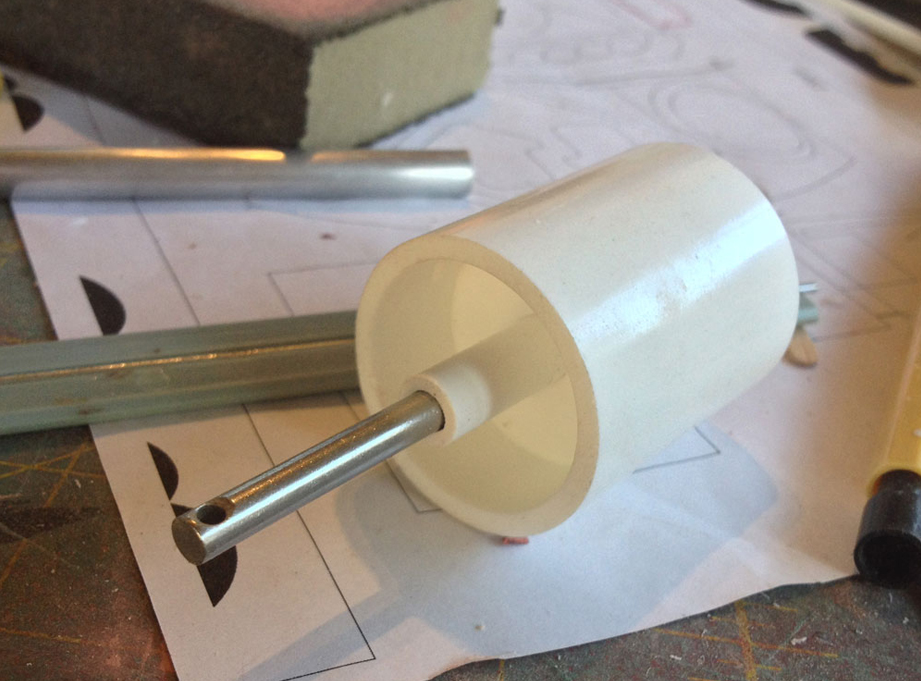
The other side was drilled to accept a styrene tube that fit the axles perfectly.
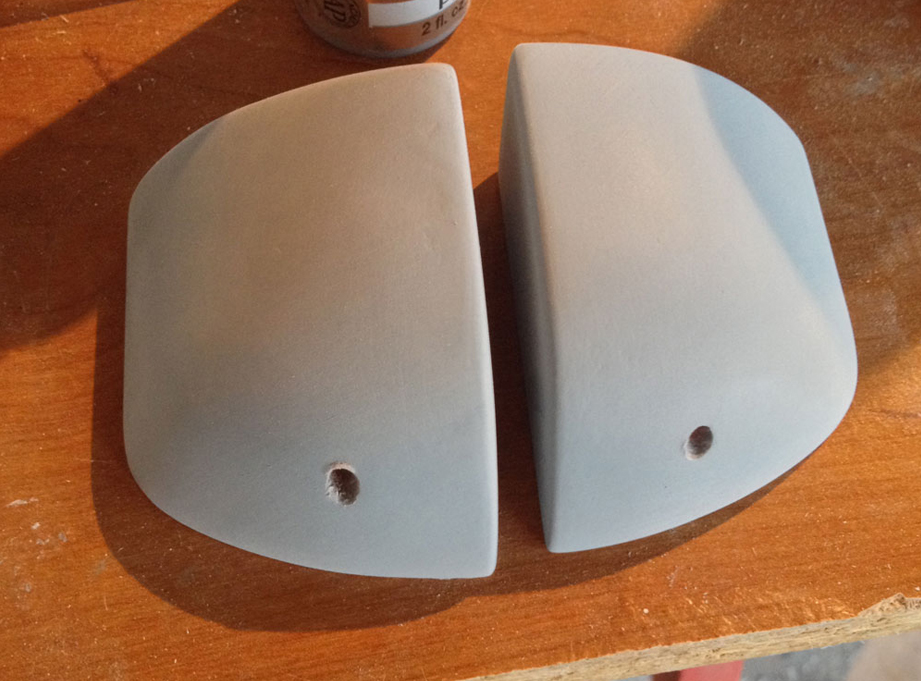
I sanded MDF blocks to make vacuum forming masters for the brains. The hole will hold the stalk of the eye.
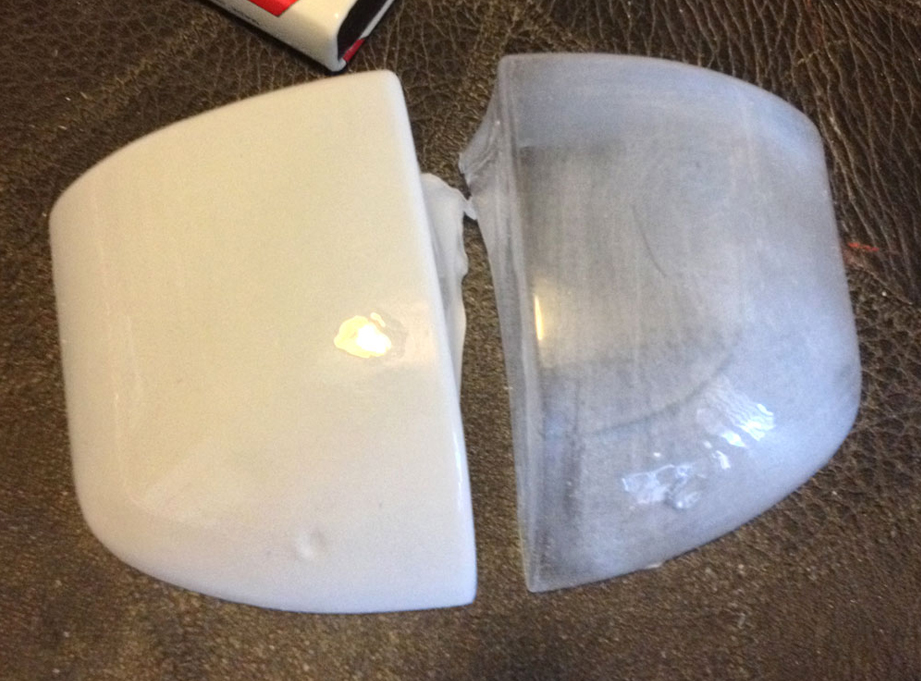
A quick test to see whether I would use clear or thin styrene. I found that .015 white styrene allowed the inner lights to show but was thick enough to support the eyes.
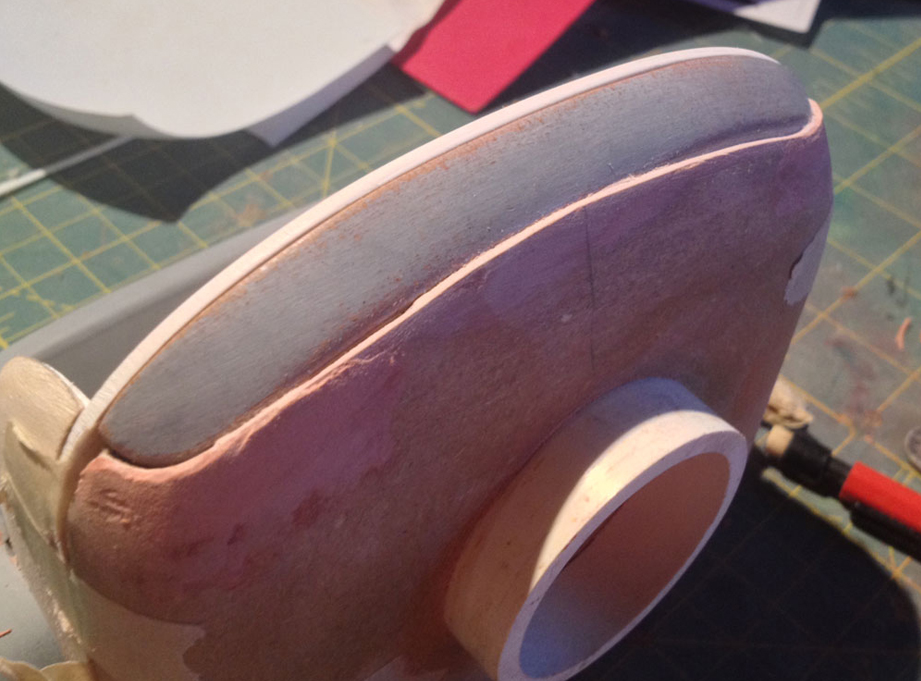
I cut and sanded a MDF master for the mouth shield.
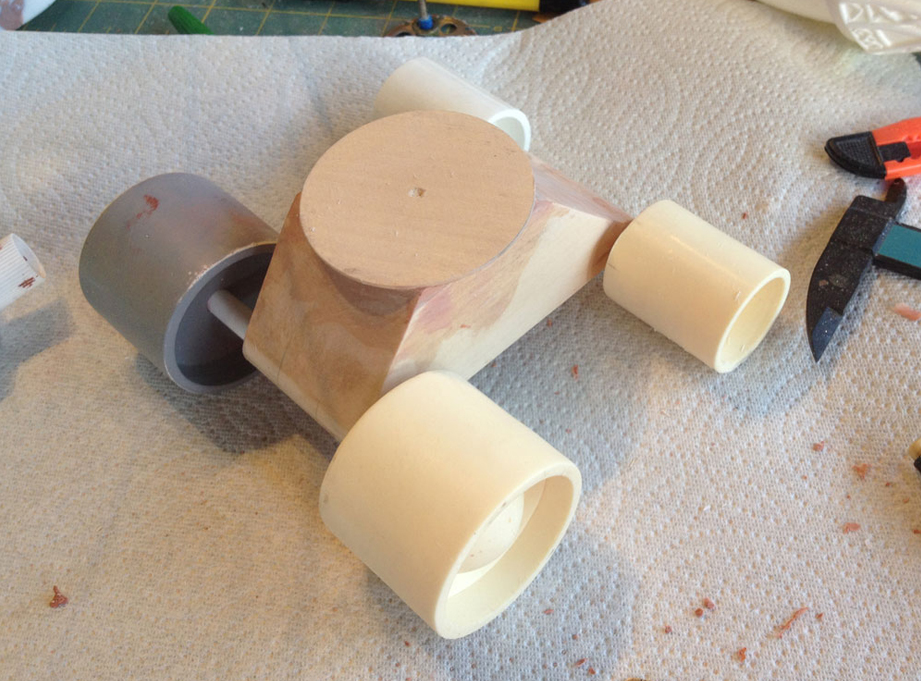
I made resin copies of the wheels and fit them onto the axles. It rolls nicely!
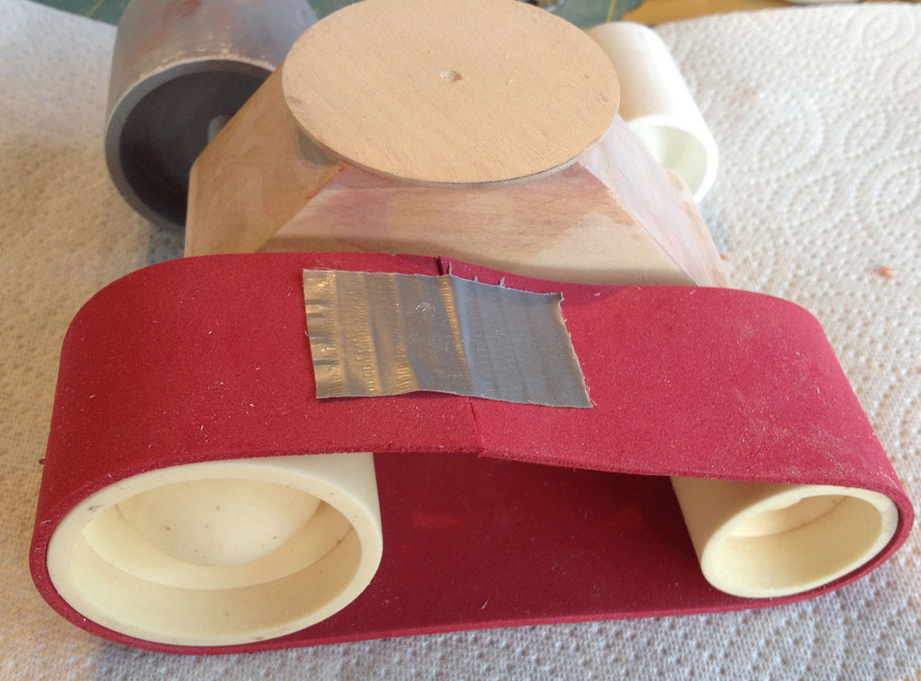
Using a length of fun foam, I could get an accurate length for the tread.
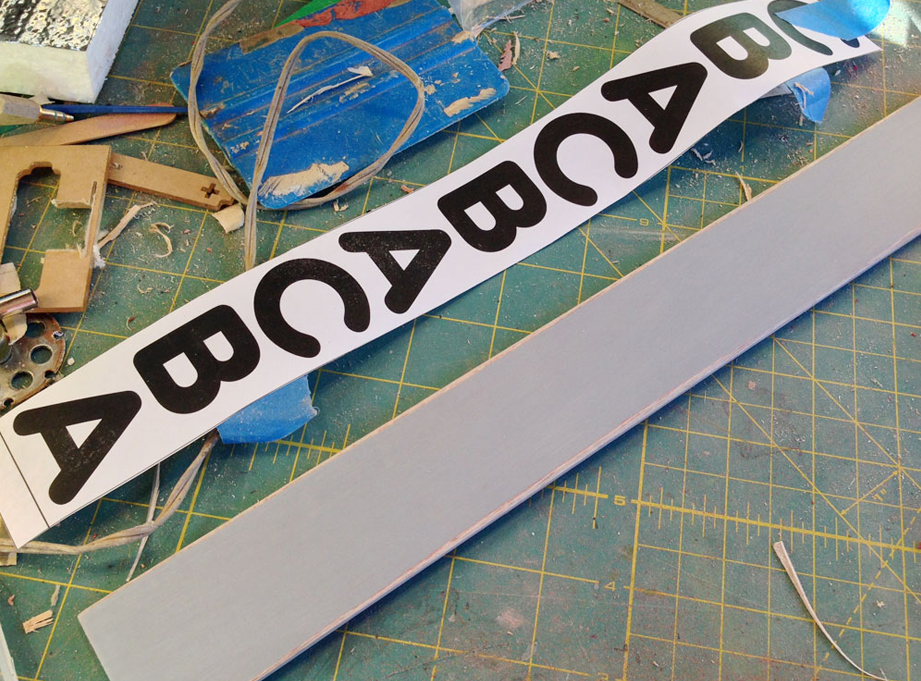
I cut balsa wood to the right length, notching each end to overlap for a glue joint.
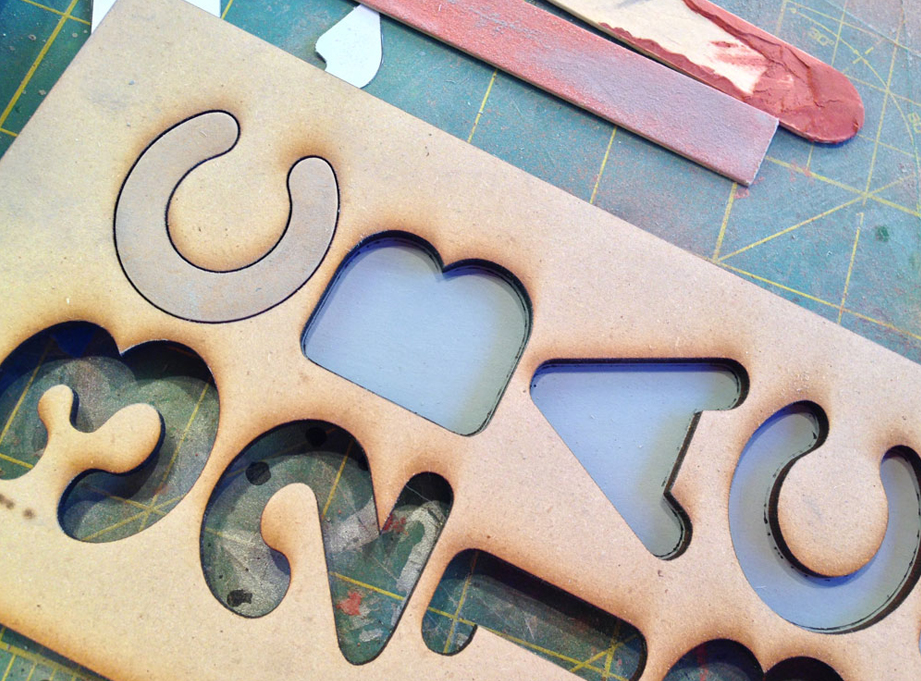
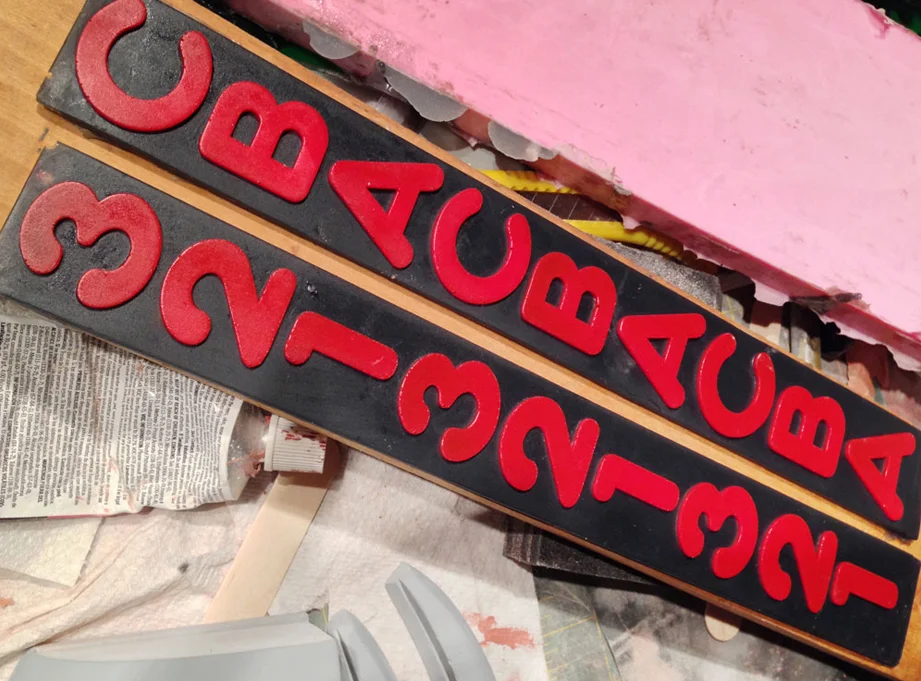
I had the letters for the tread laser but from 1/4” MDF by Scorpion Ridge Engraving. The unused parts made a nice template for glueing the letters and numbers down to the base.
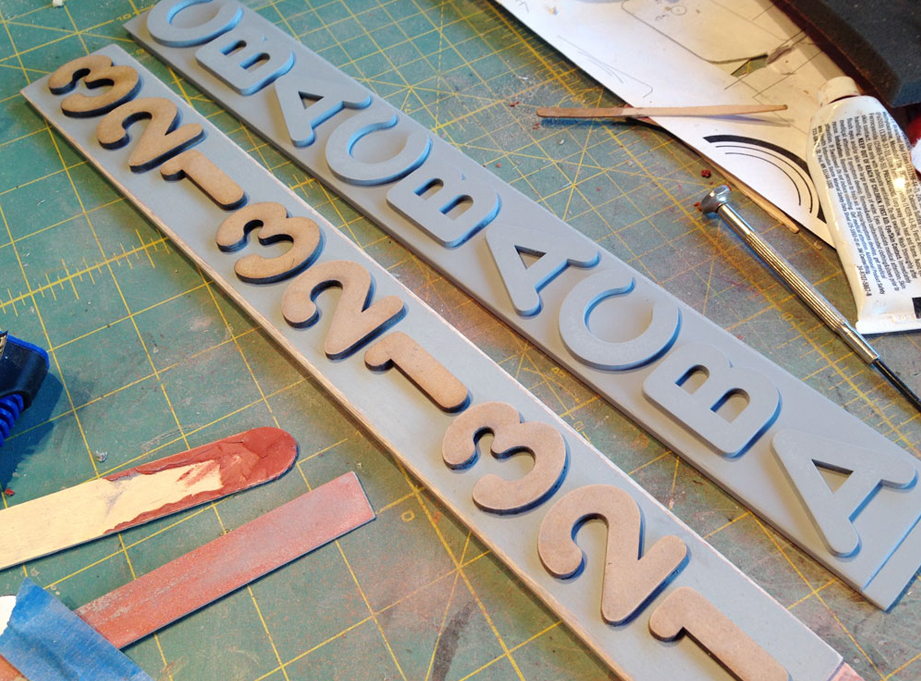
The completed tread masters.
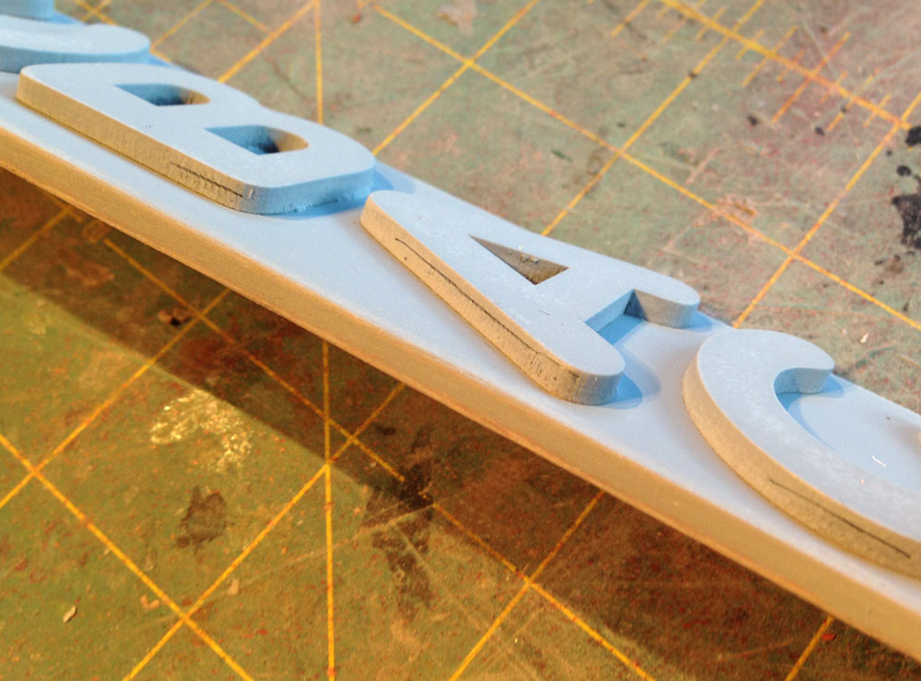
Looking at the reference pictures, I noticed that the letters were too thick.
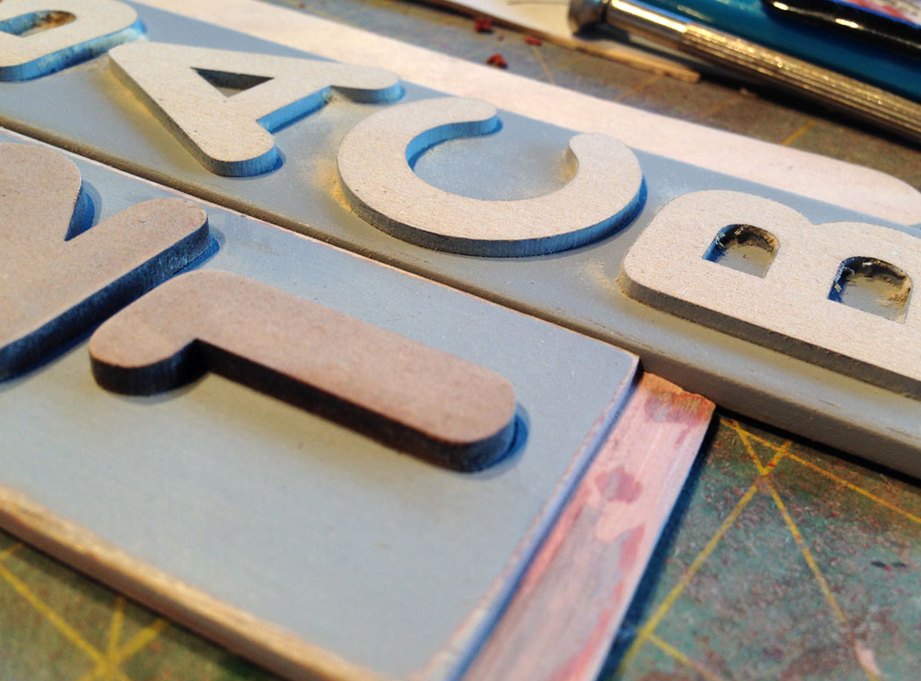
A trip to the belt sander brought the characters down to the right level.
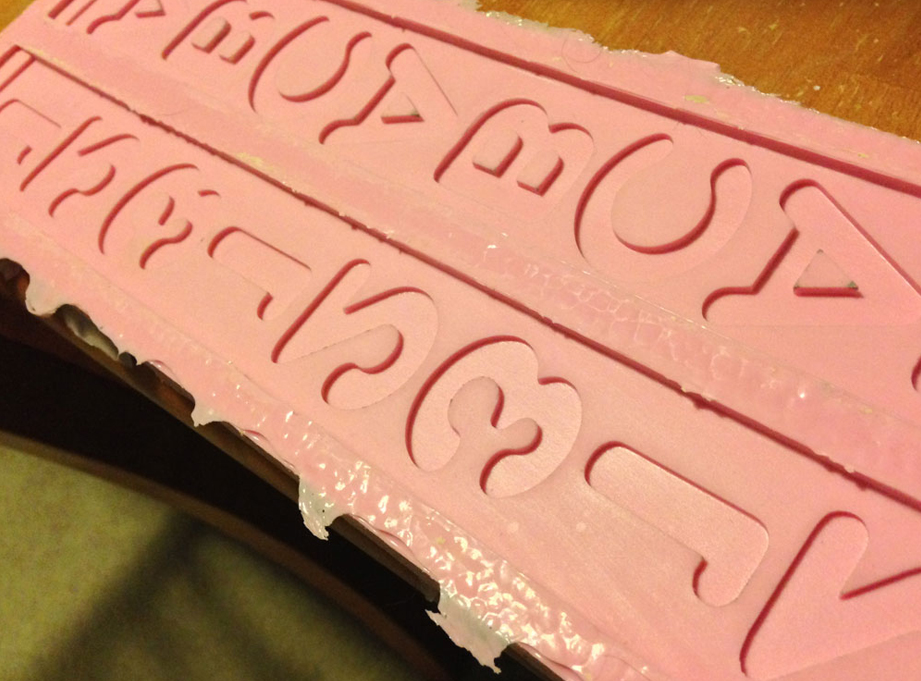
With the tracks finished, I made a mold for production.
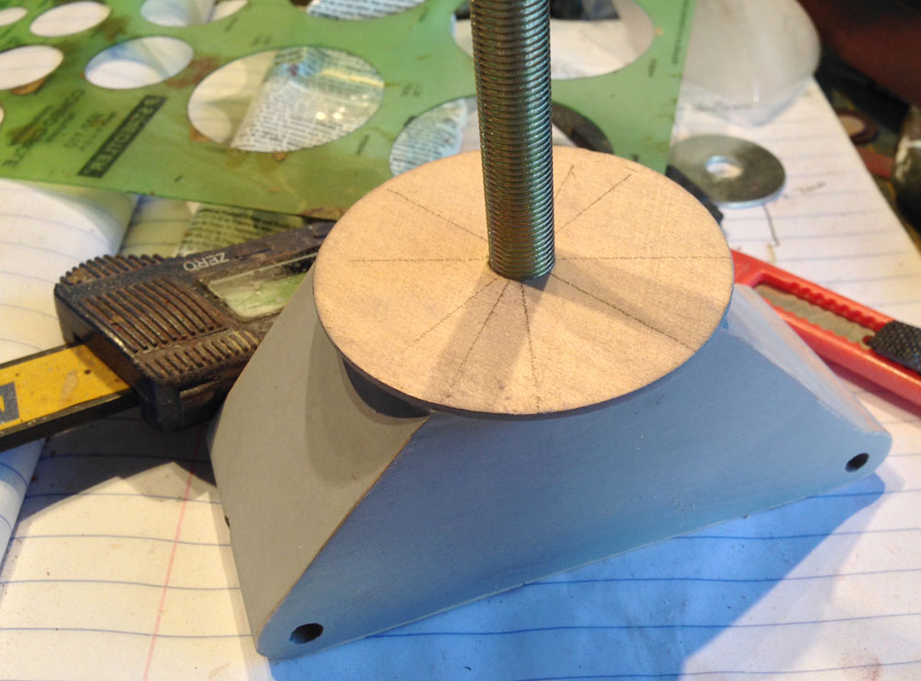
To connect the body parts, I decided to use pieces of a lamp nipple (a brass tube with a treaded exterior.) I drilled a hole in the hips to accept the hardware.
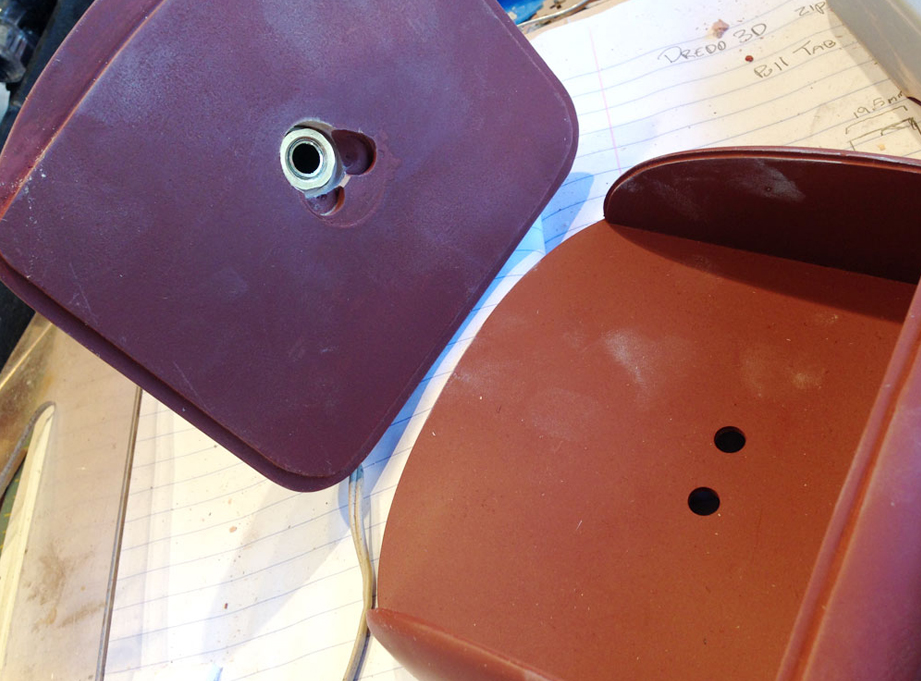
I drilled a hole under each brain dome that would connect up with a larger hole in the jaw. The lamp nipple allows the wires to pass into the torso and allows the head to fully rotate.
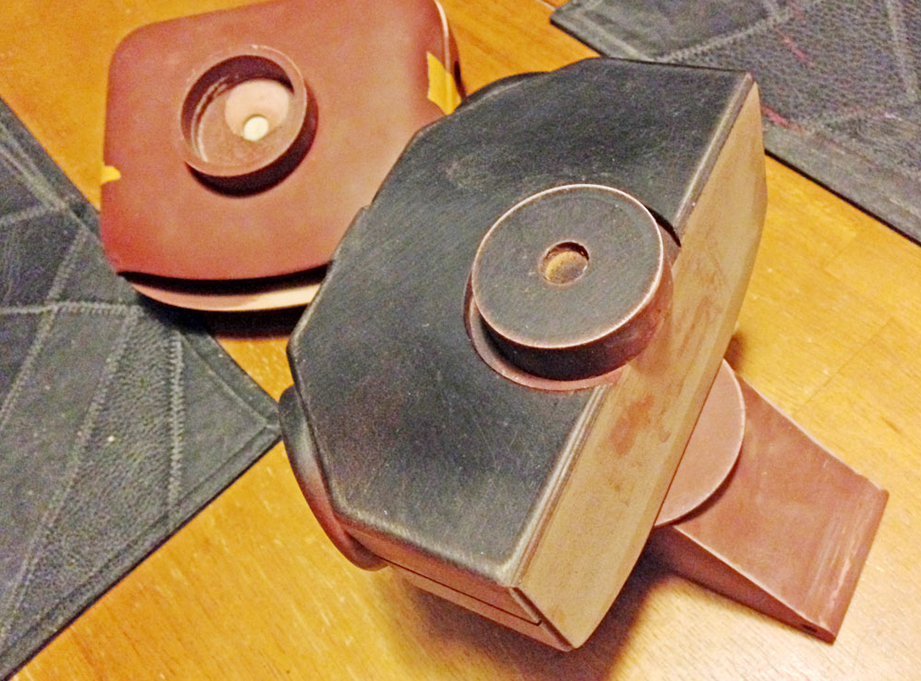
I made an inner sleeve on top of the torso that the neck tube would fit over. The connecting lamp nipple passes thought the center.
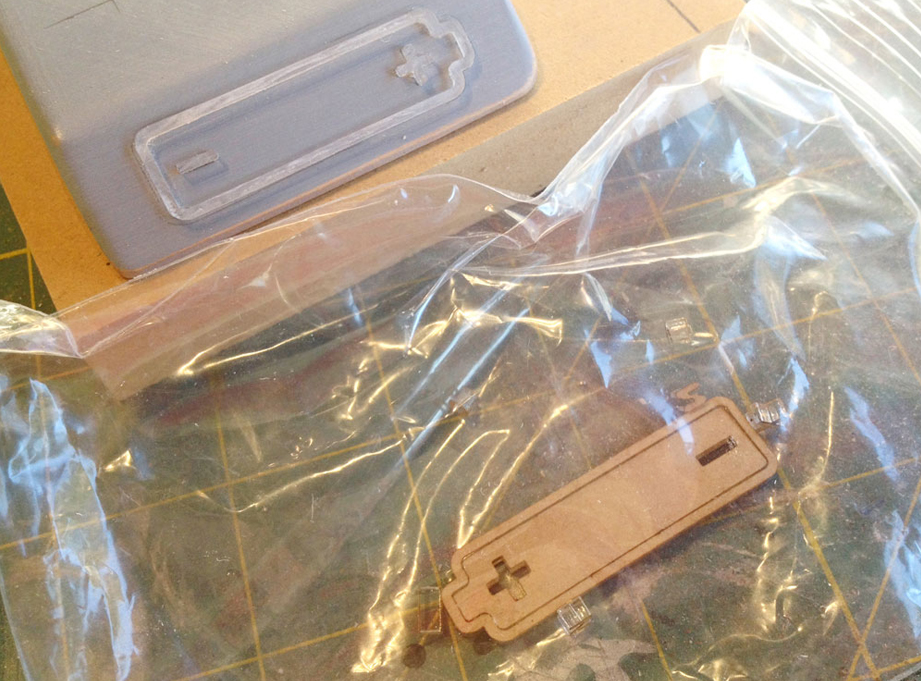
I had the battery symbol laser cut from 1/16” acrylic and glued it to the battery door.
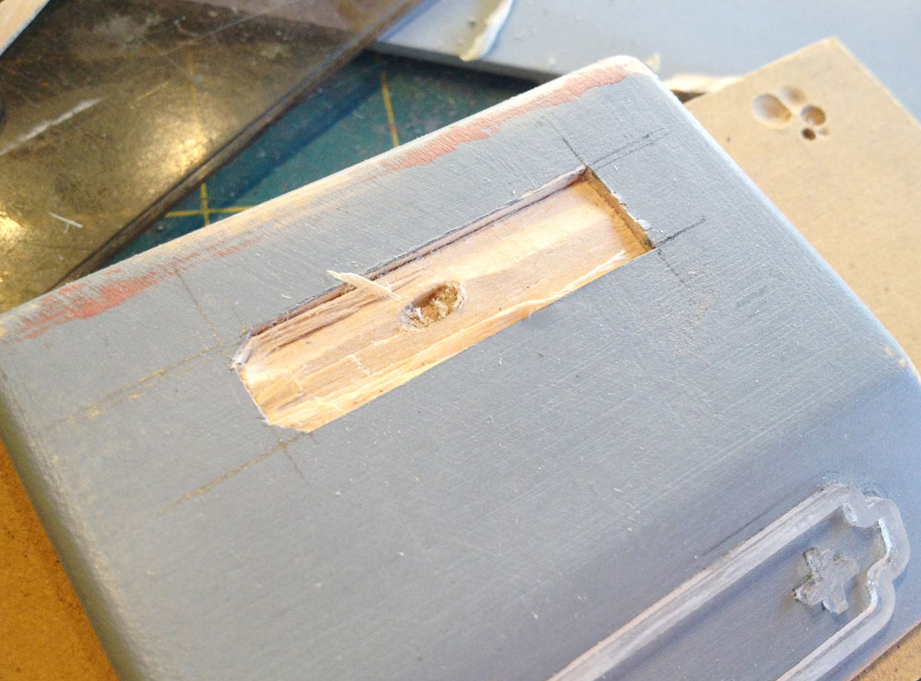
I cut a slot for the electronics switch into the battery door.
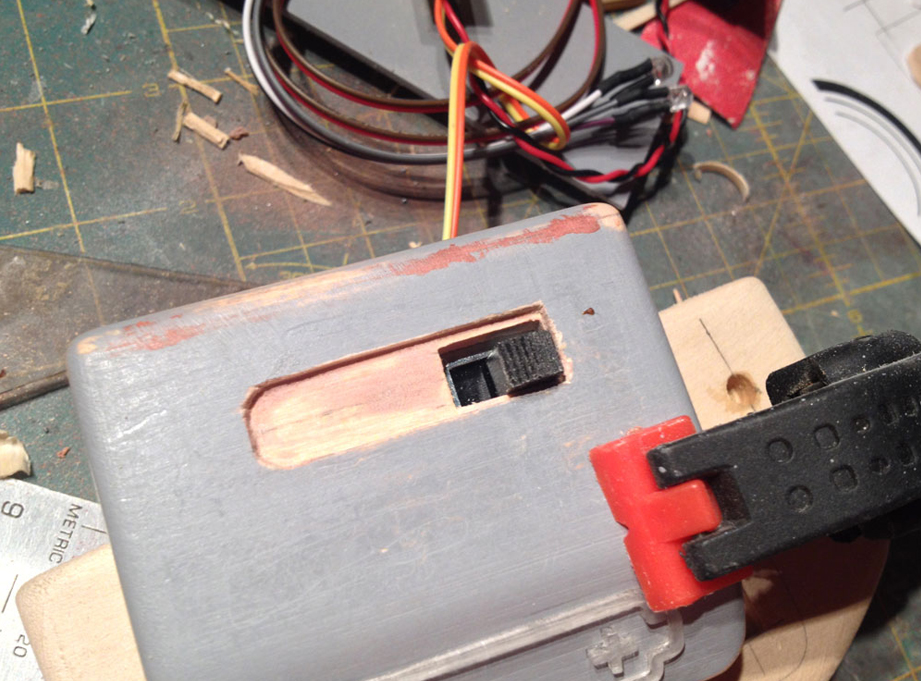
The switch lever sticks out of the hole.
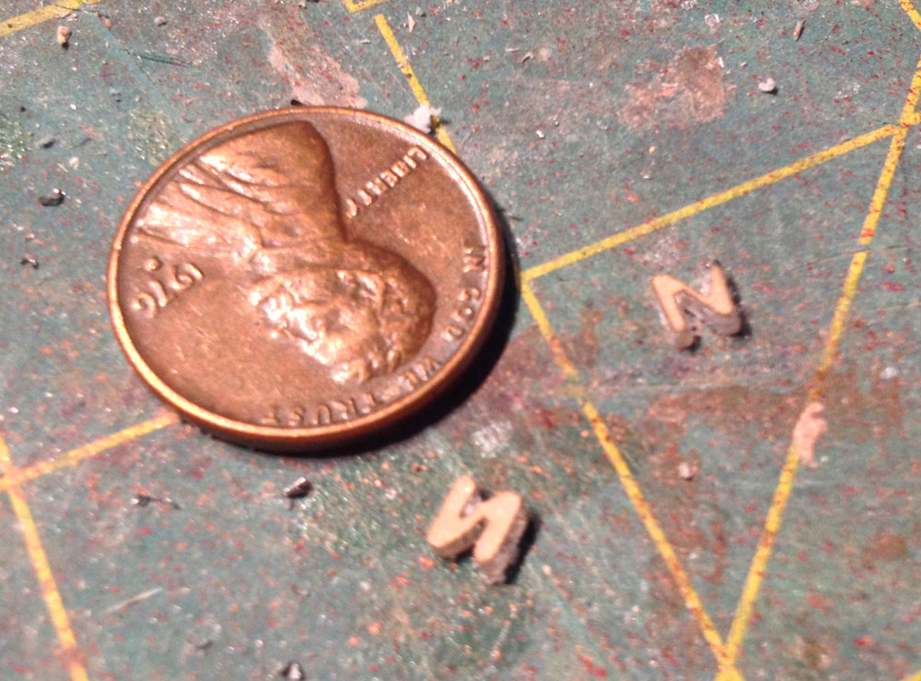
Tiny, tiny “ON” letters were laser cut from acrylic.
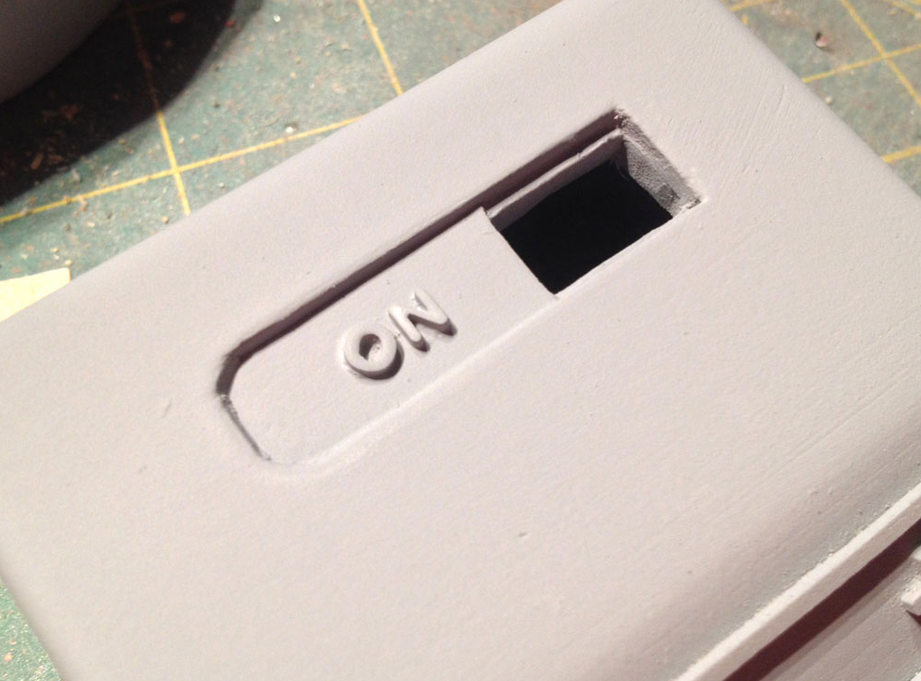
These were glued into the recessed slot, low enough to pass under a switch cover.
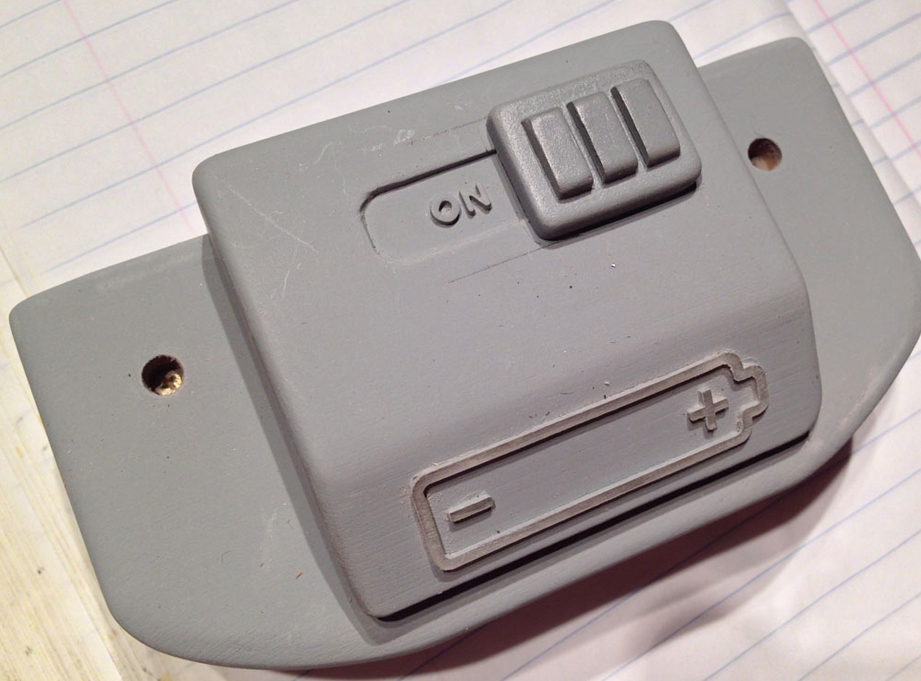
A switch cover was made from MDF and glued over the electronics switch lever.
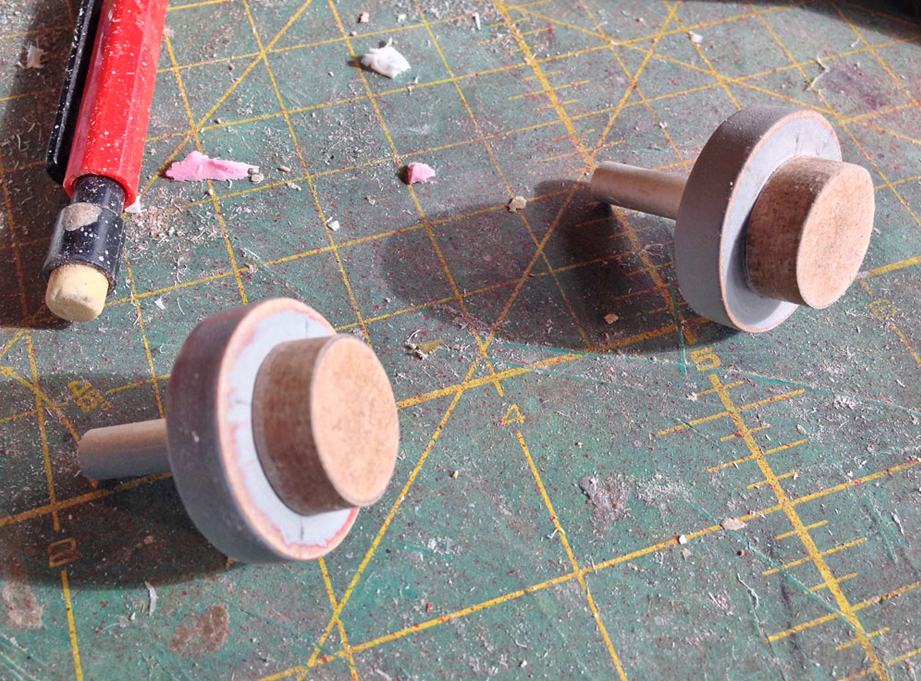
The eyes were made with MDF disks glued to wooden dowels.
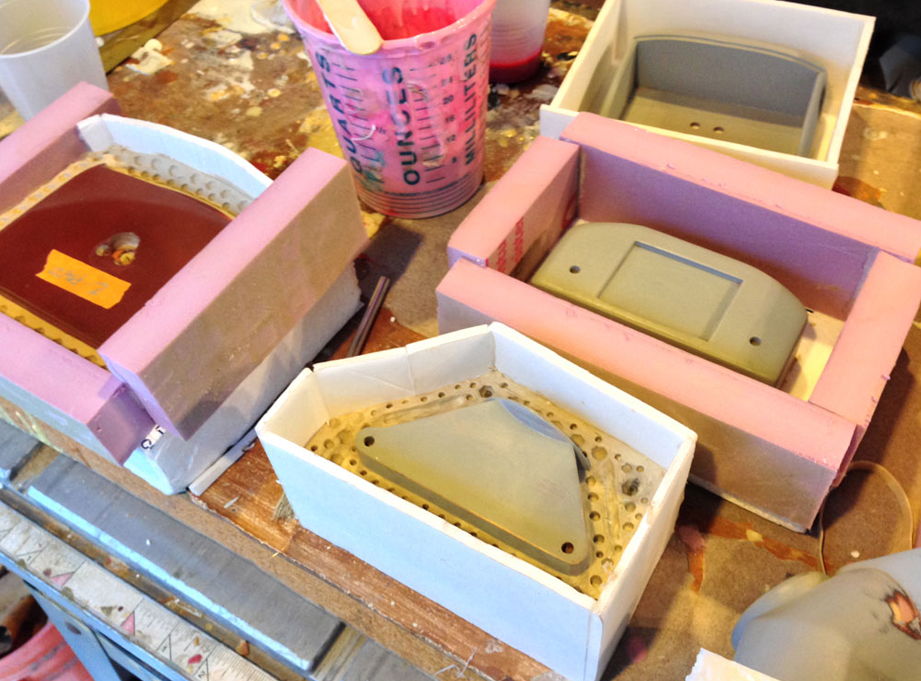
I made silicone molds of all the parts. It took a gallon of Smooth-On MoldMax 30 to mold all the parts.
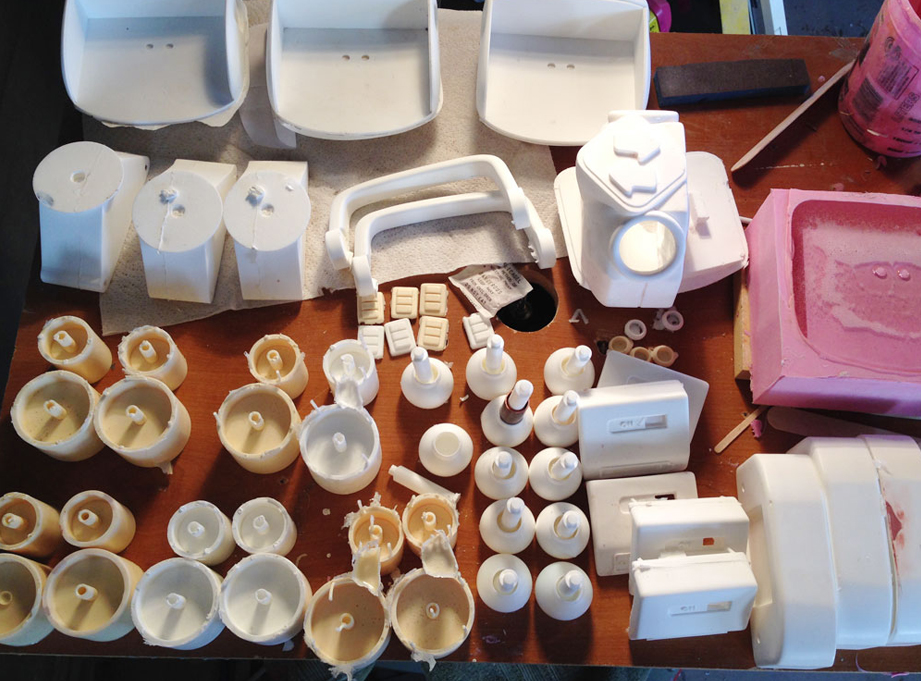
Resin castings for the initial four Robots.
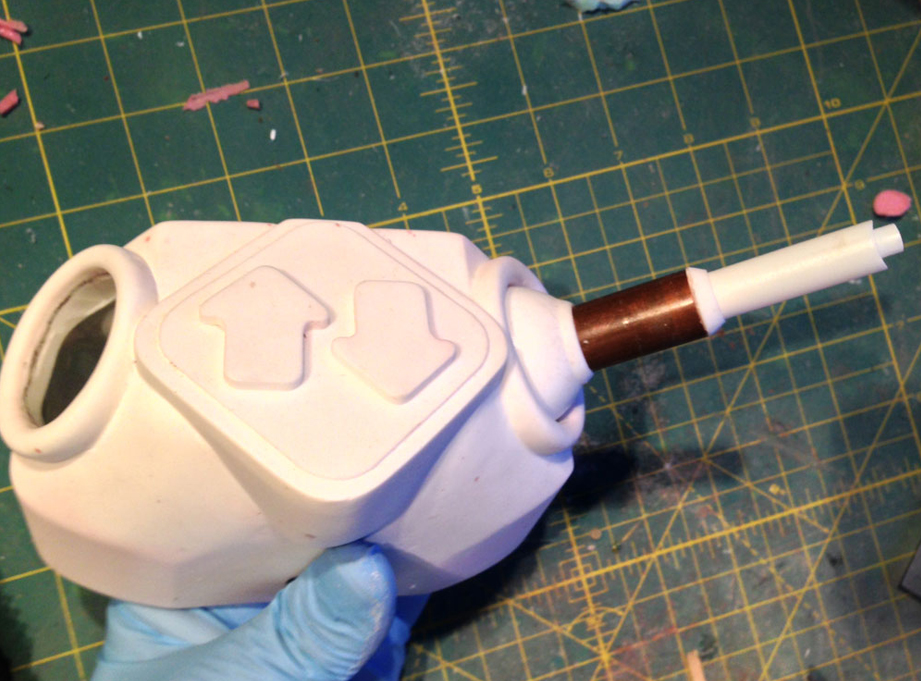
I cut out the arm holes in the torso and removed excess resin inside so the arms would rotate freely.
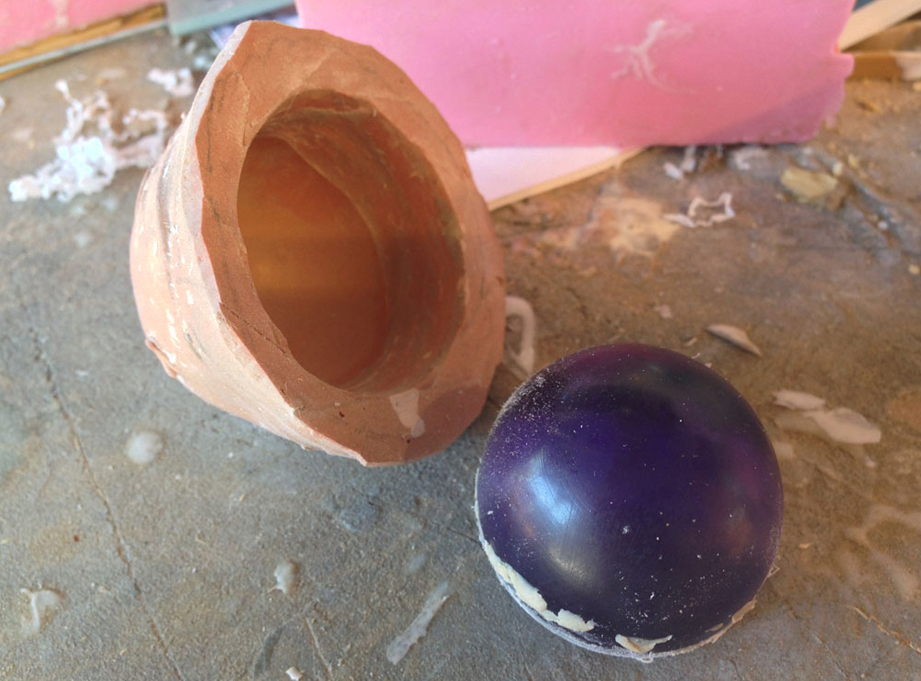
To form the arm socket cover, I made a Bondo casting of another gem the same size as the shoulder.
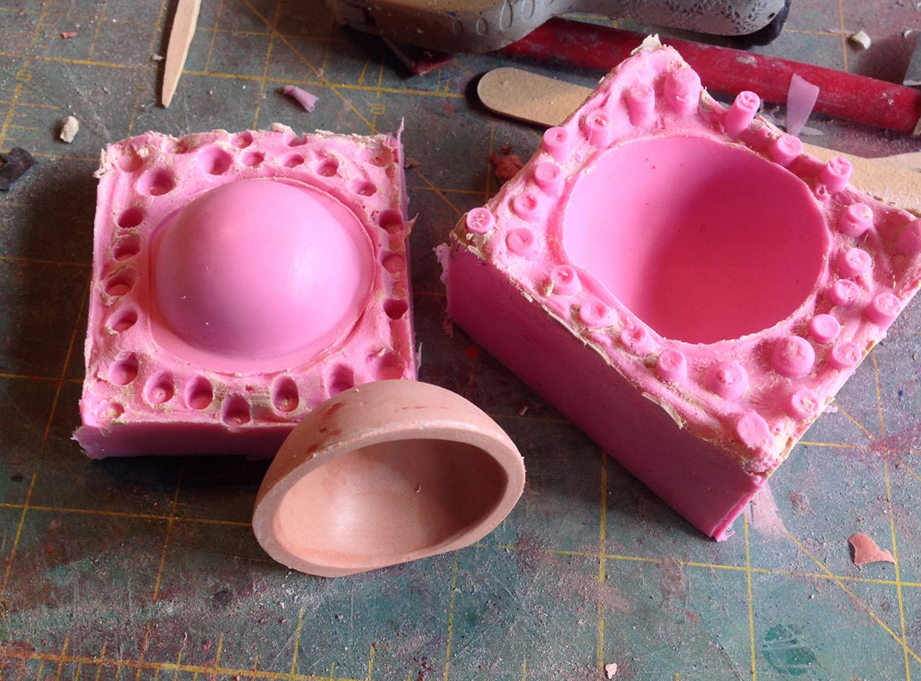
This piece was smoothed and molded.
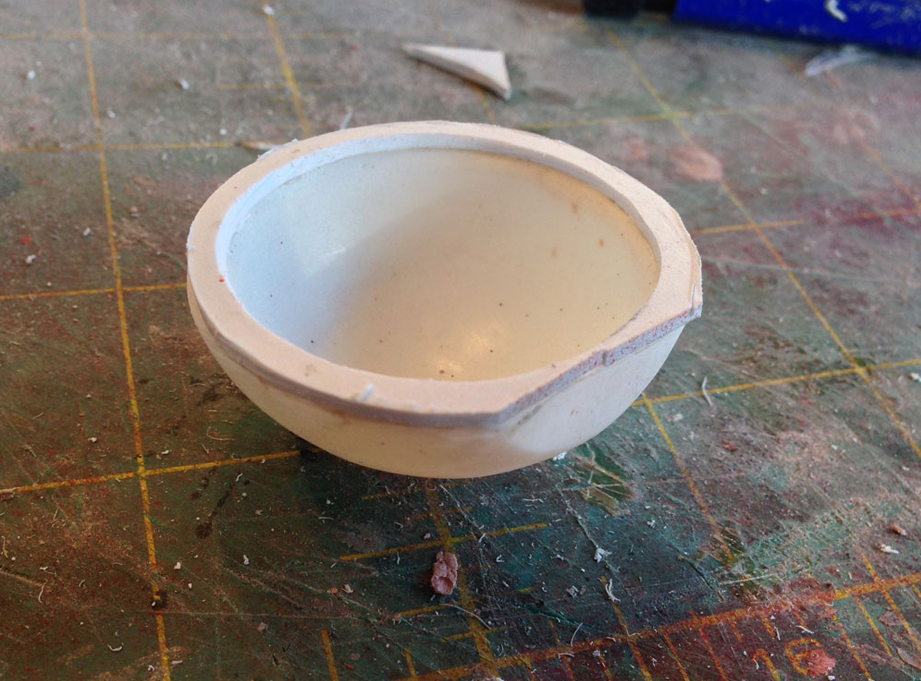
A resin copy of the shoulder bracket from the mold.
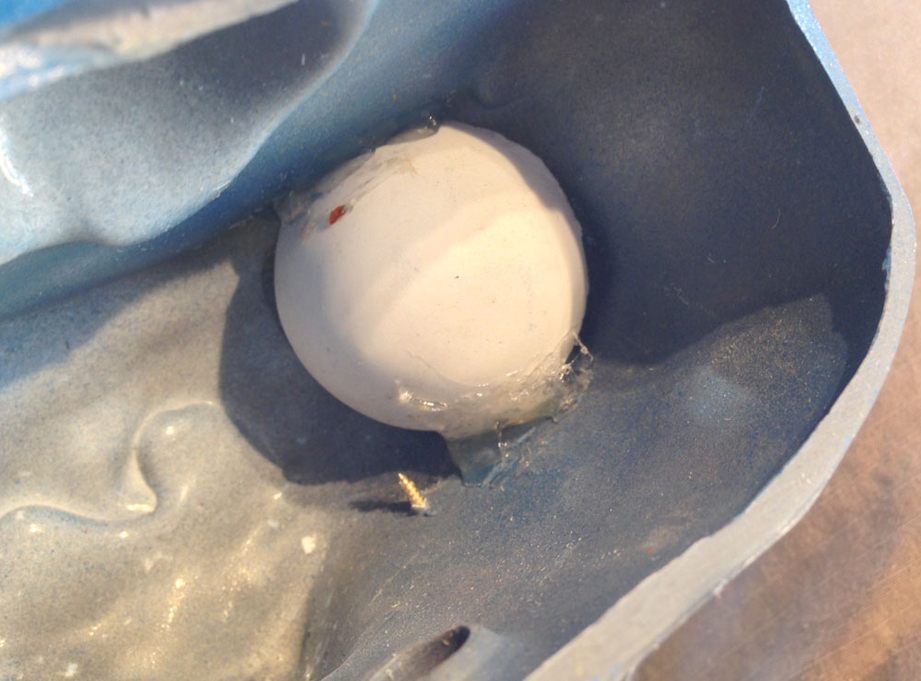
A resin copy was placed behind the shoulder in the torso cavity and hot glued. The glue has some flex to it allowing the shoulder to move while being held snugly in place.
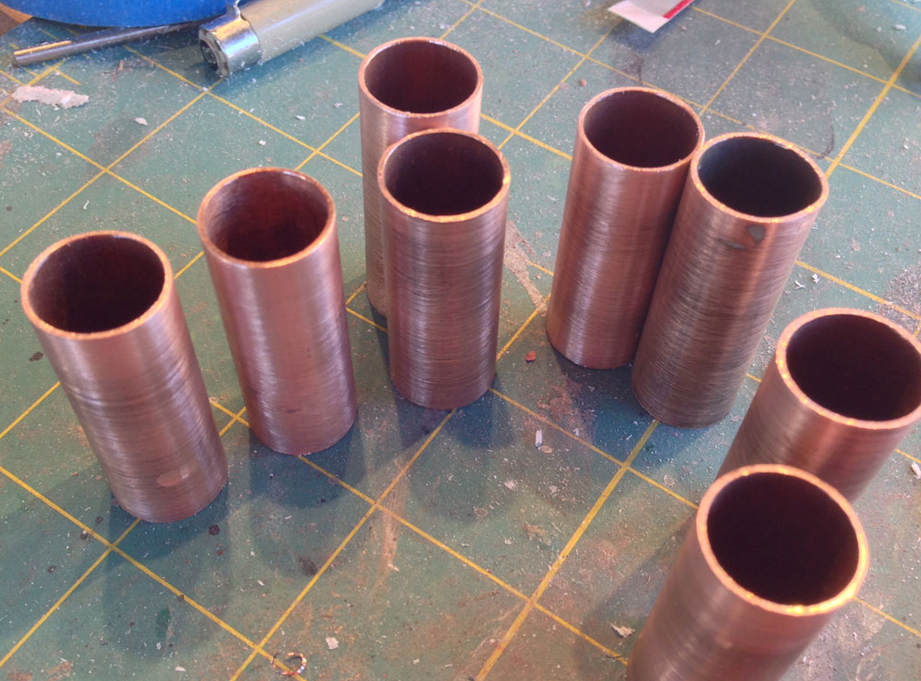
I cut segments of 1/2” copper pipe for the upper arms.
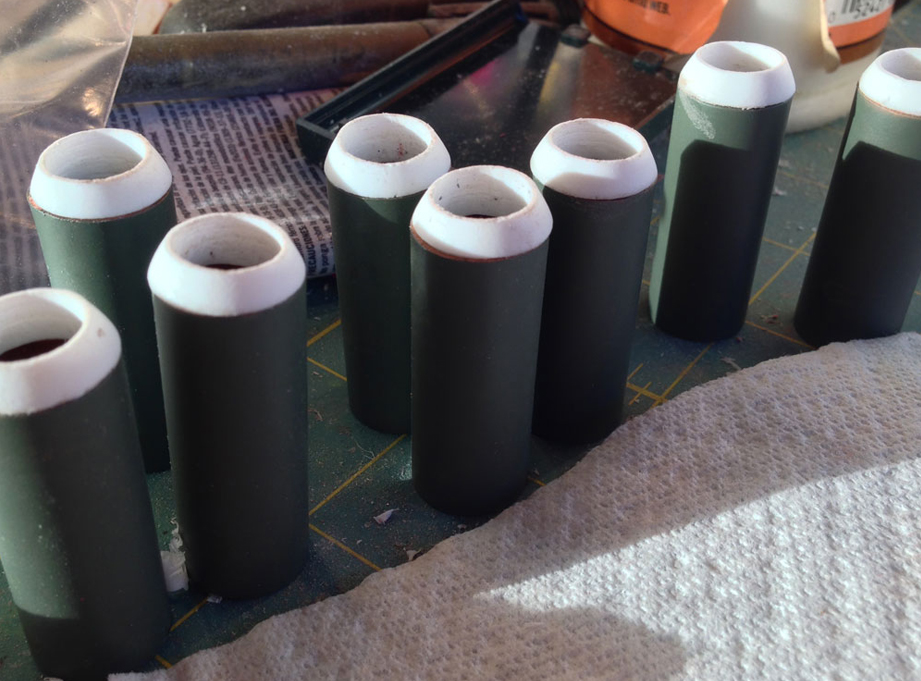
The “elbows” are then glued into the copper pipes and the forearms tested to make sure they slide smoothly. The forearms were later painted with a gloss white paint.
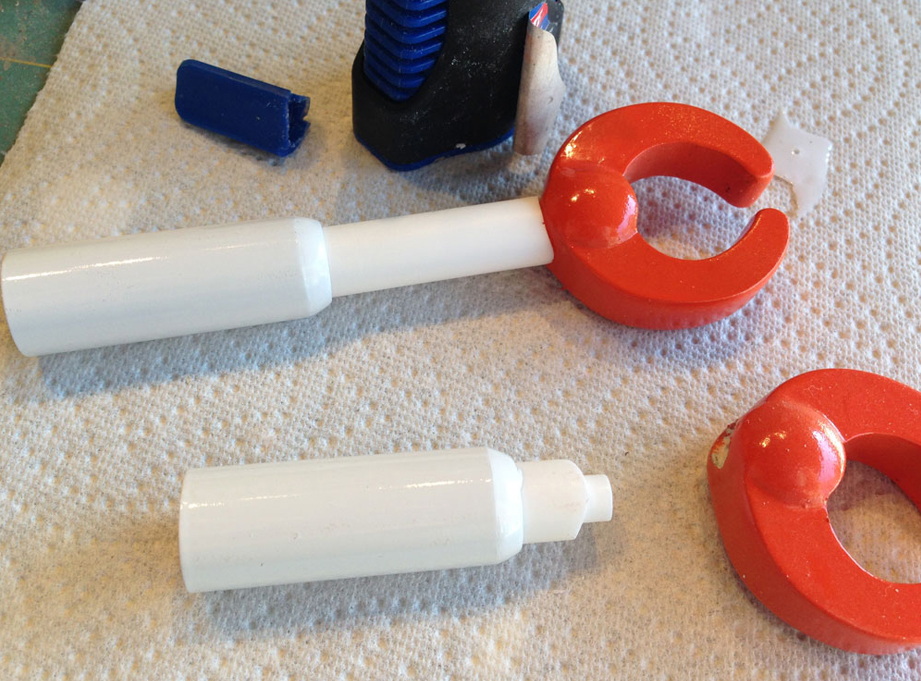
The forearms (unpainted since they needed to slide) were inserted in the upper arms and glued to the claws.
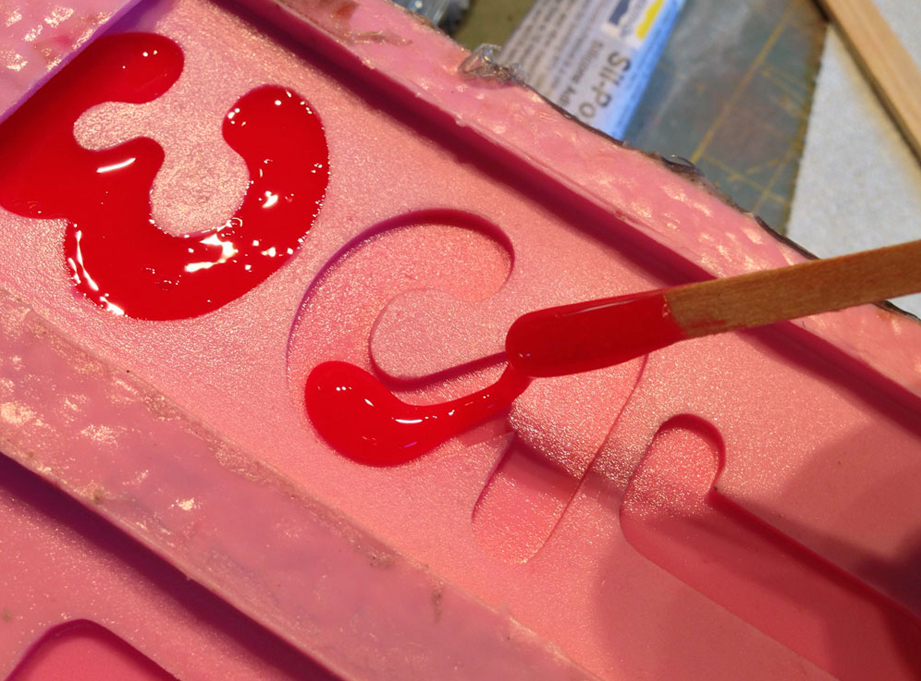
To cast the tread, I mixed up a small amount of Dragon Skin silicone and added red Sil-Pig pigment. This was laboriously dripped into the letters.
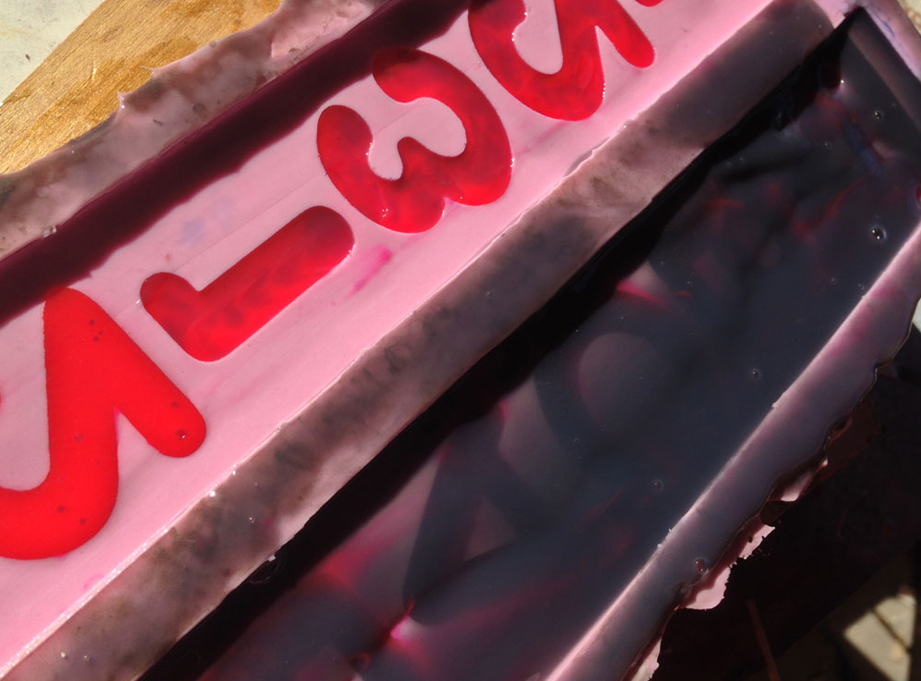
I then mixed up a larger amount, tinted it with grey (white for opacity then black for color) and then covered over the red letters after they had cured.
In a few hours, I could peel out two rubber treads.
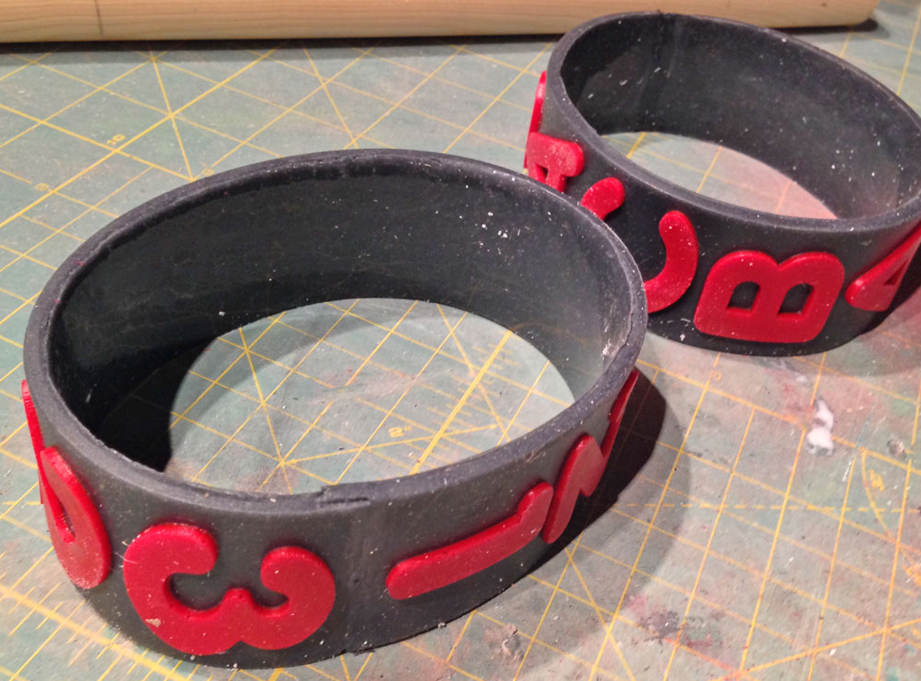
The ends were cleaned with acetone to remove any oils or mold release and then glued together with Sil-Poxy, a glue made for silicone.
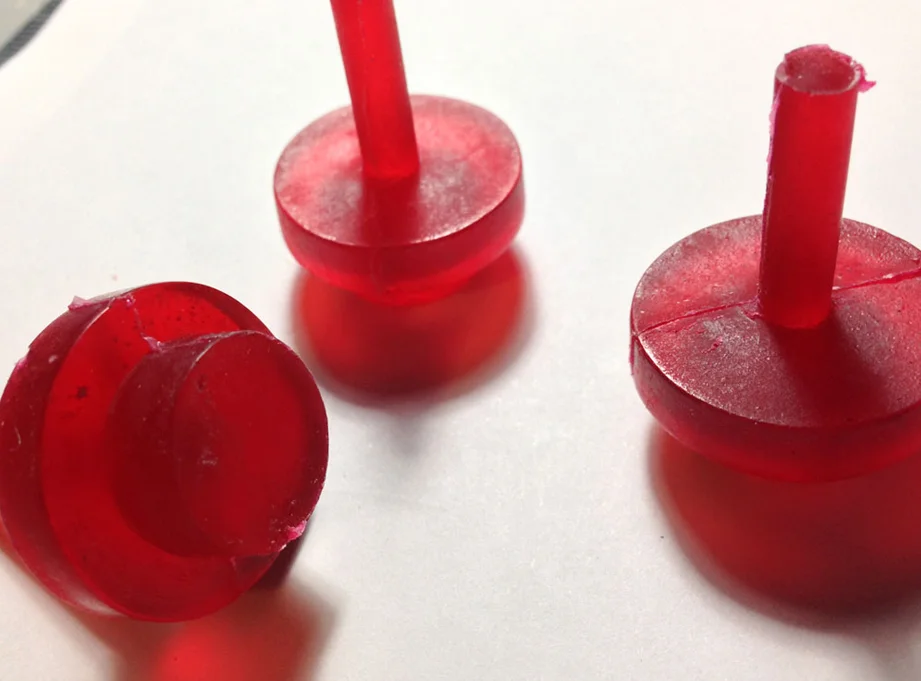
I cast the eyes in red tinted clear resin so they could be illuminated.
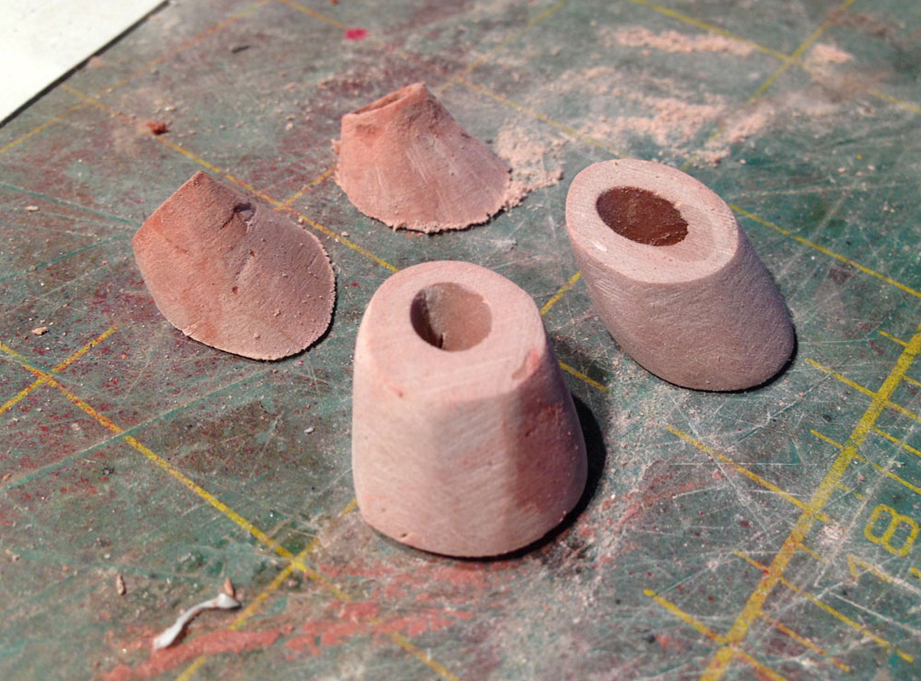
I made Bondo anchors (which will be molded and cast) that could be glued to the inside of the brain to hold the eyes
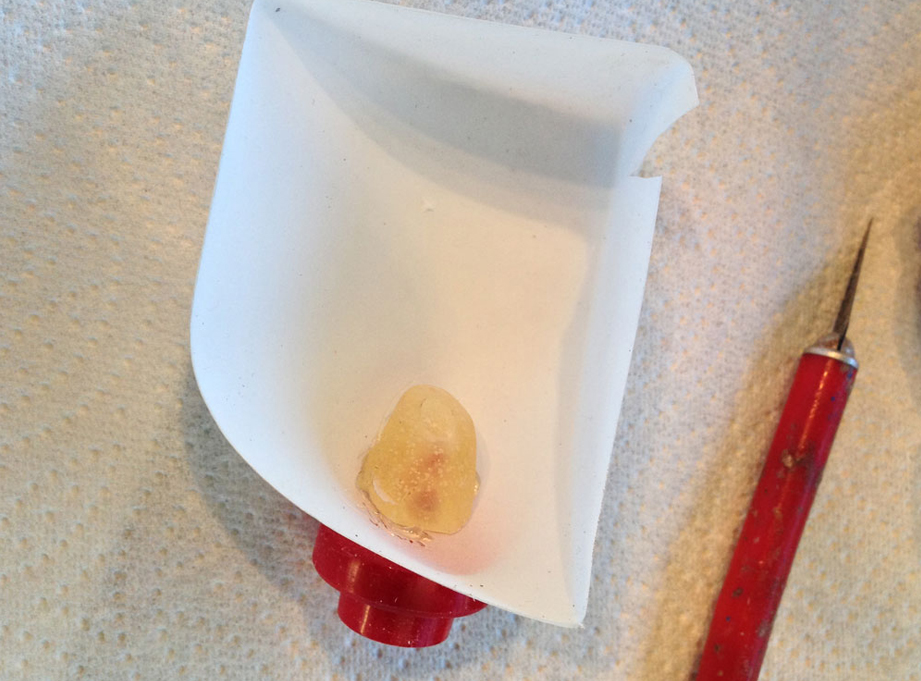
I cast the anchors in clear resin to minimize any shadow they might cast in the brain. The eyes were inserted into the brain and into the hole of the anchor.
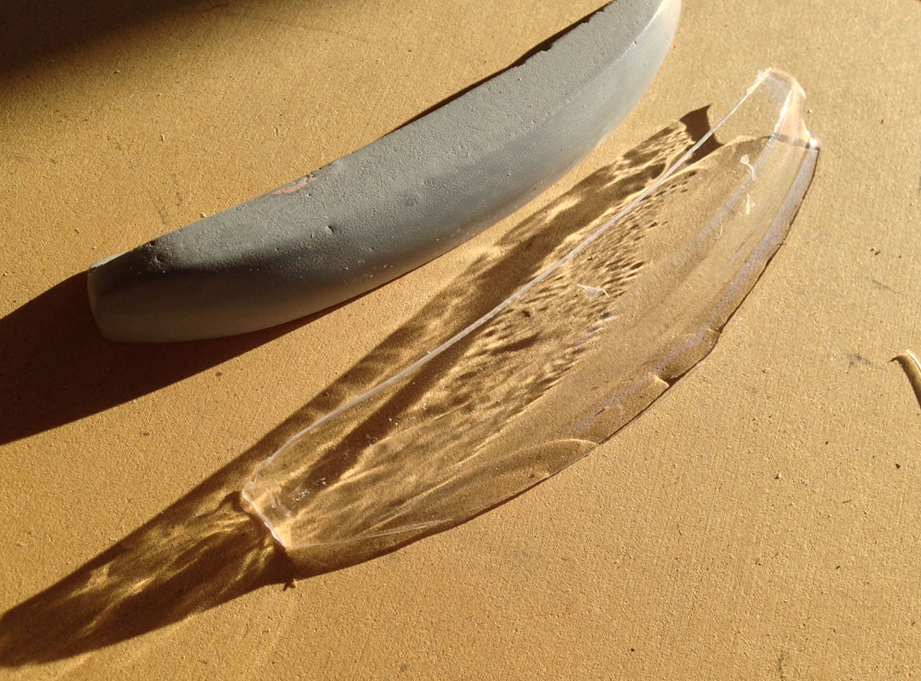
I vacuum formed clear PETG plastic for the mouth.
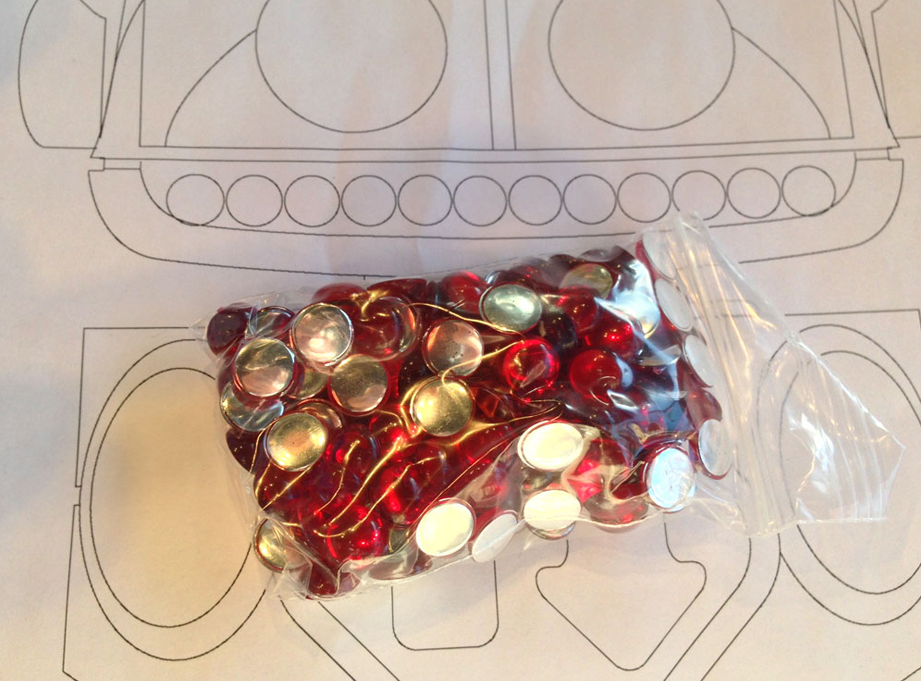
I purchased red acrylic cabochons for the teeth. They have a silver backing that really reflects the light.
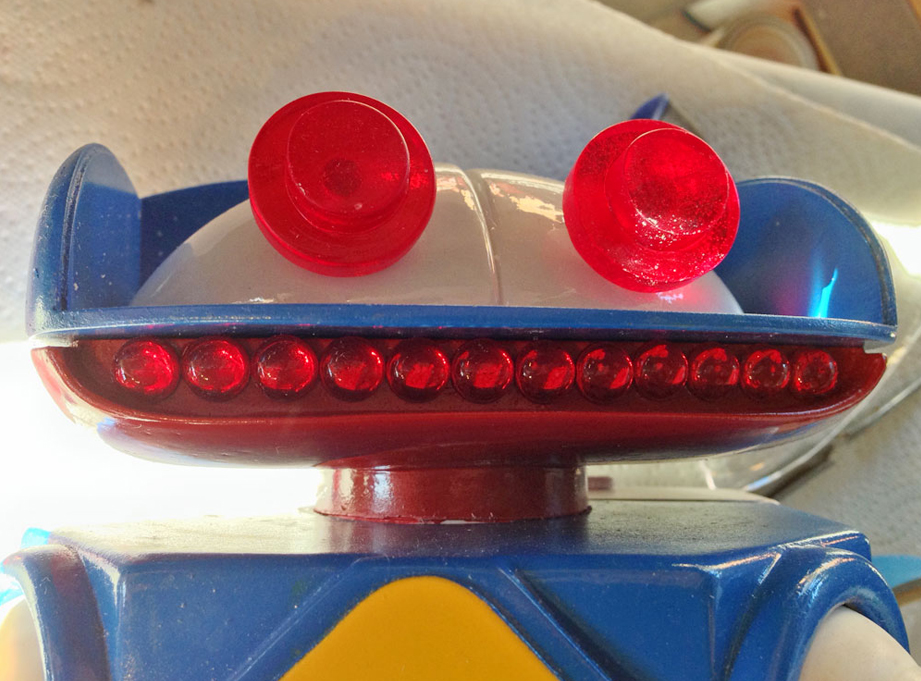
Twelve cabochons were glued into the mouth. The ends had to be notched to allow the mouth shield to slide by.
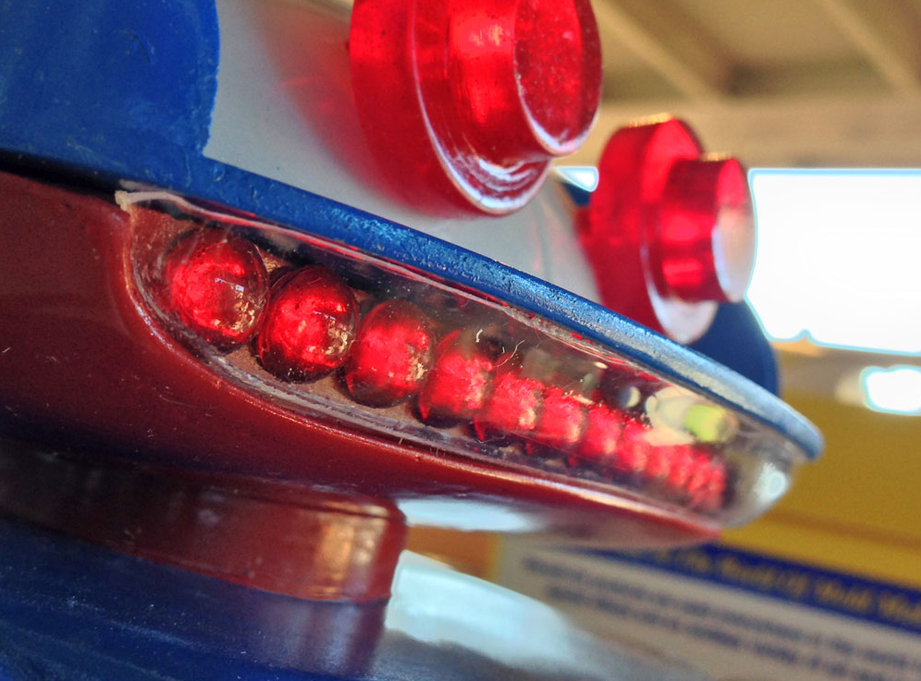
The mouth shield was carefully trimmed to fit and was glued into place with Testors Clear Parts Cement, which will not haze clear plastics.
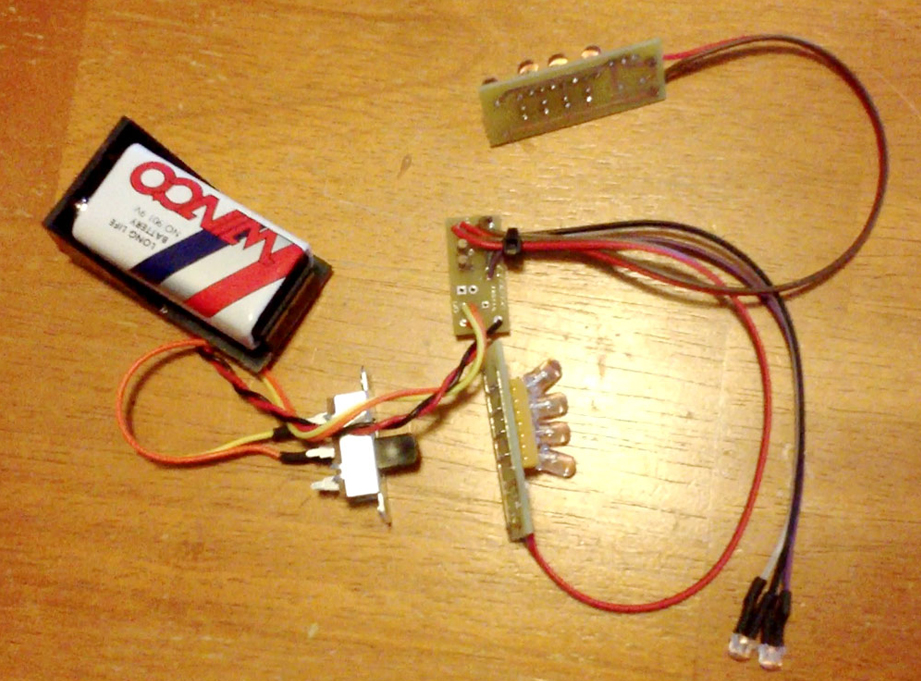
Randy at VooDooFX made the electronics for this kit. It features two red LEDs to make the eye glow and a bank of LEDs for each lobe of the brain which will pulse different colors.
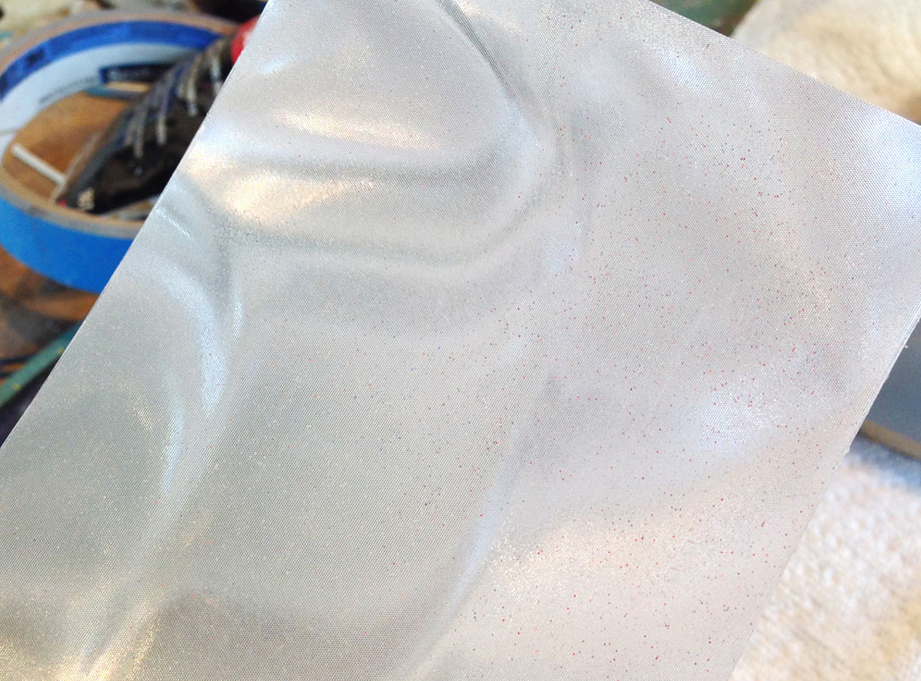
Randy was also nice enough to include plastic diffusion material so no “hot spots’ would be projected onto the brain.
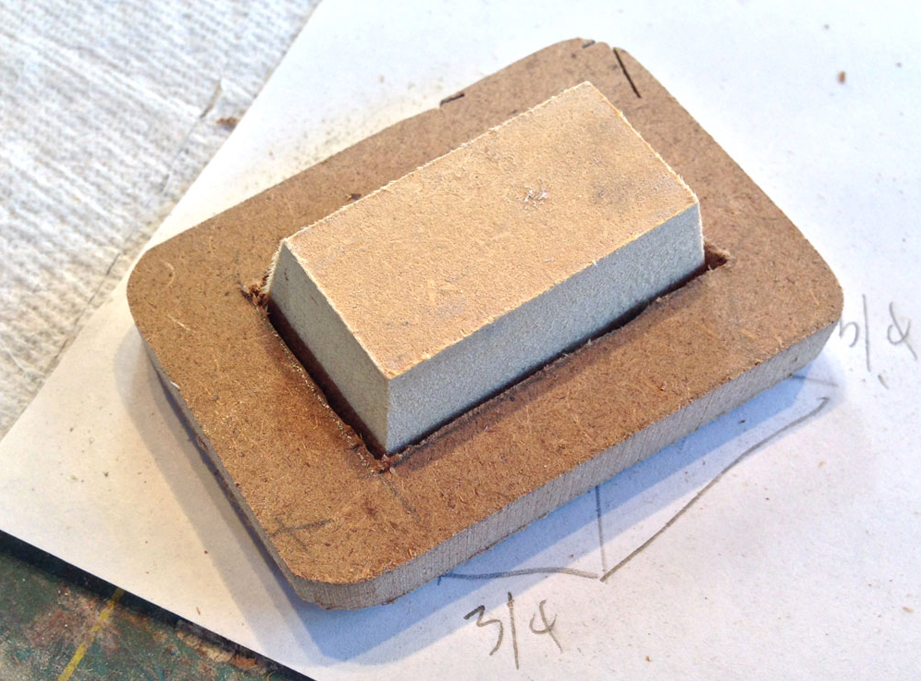
To make domes that would fit over the light banks, I made a block and frame from MDF to form the plastic over.
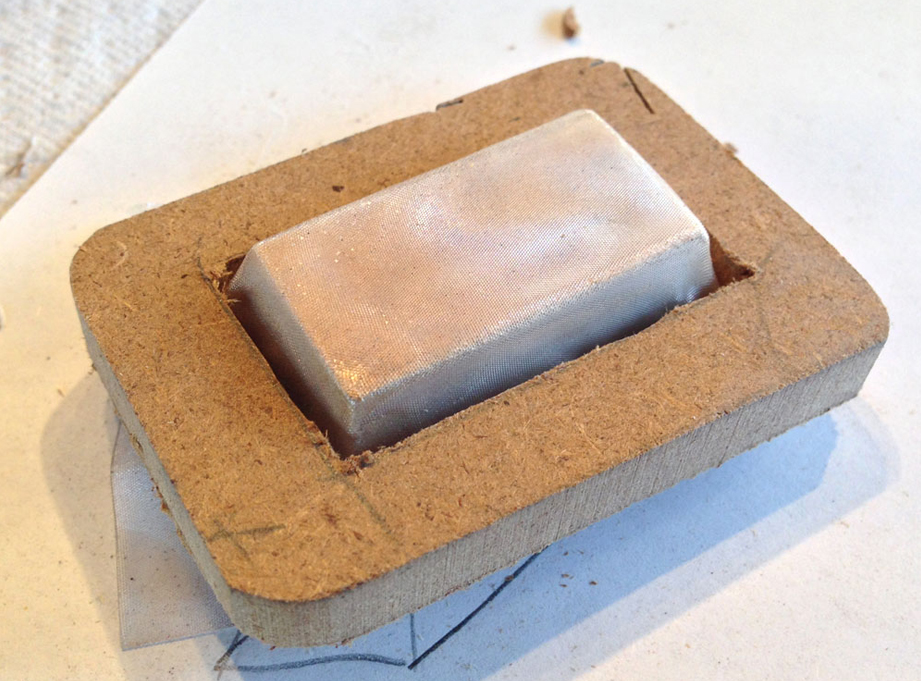
I heated the diffusion material, placed it on the block and used the frame to squish it into shape.
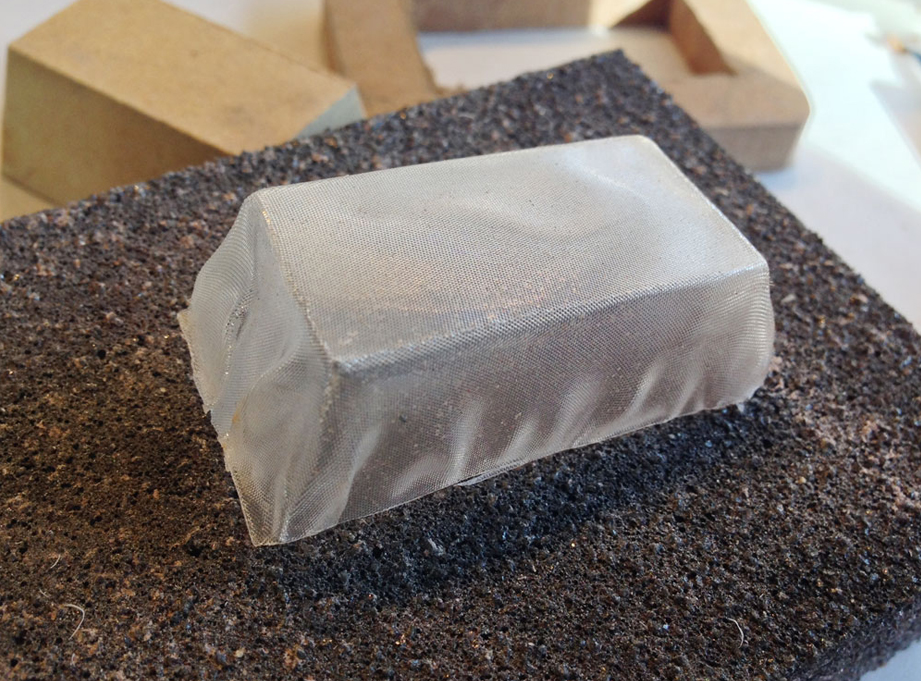
The formed and trimmed diffusion dome. It’s not pretty but it will do the trick.
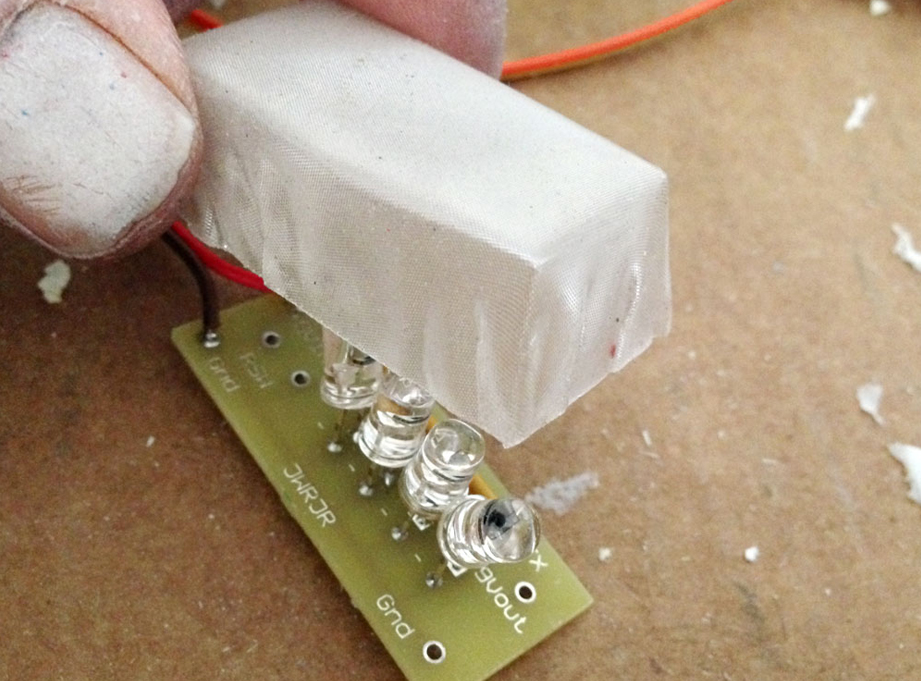
The diffusion domes were glued over the LED banks and the eye lights were hot glued so they lined up behind the eyes.
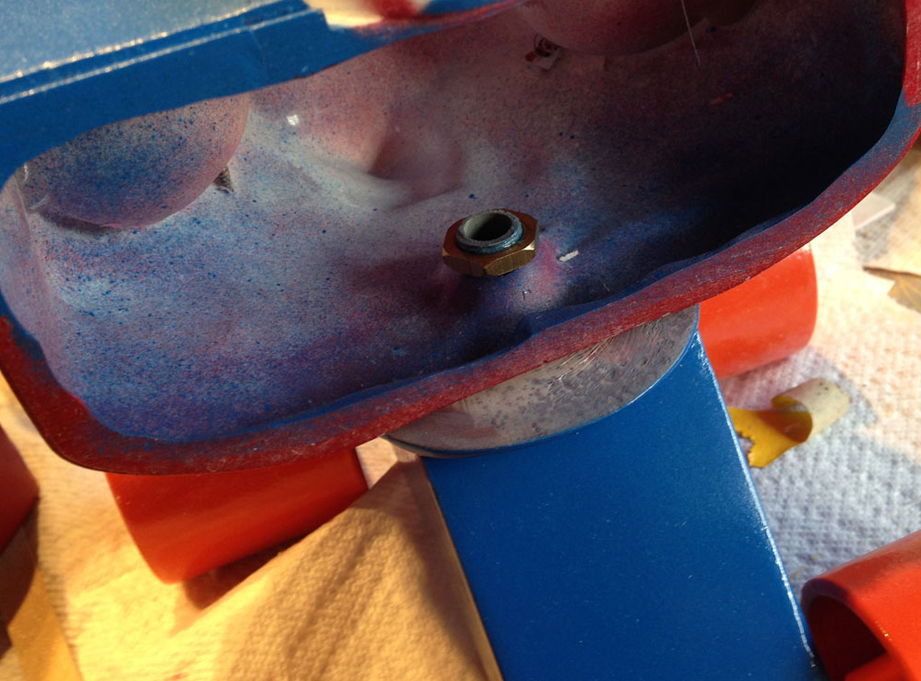
The torso was secured to the base with a nut over the lamp nipple. A spot of glue locks the nut and allows the torso to rotate.
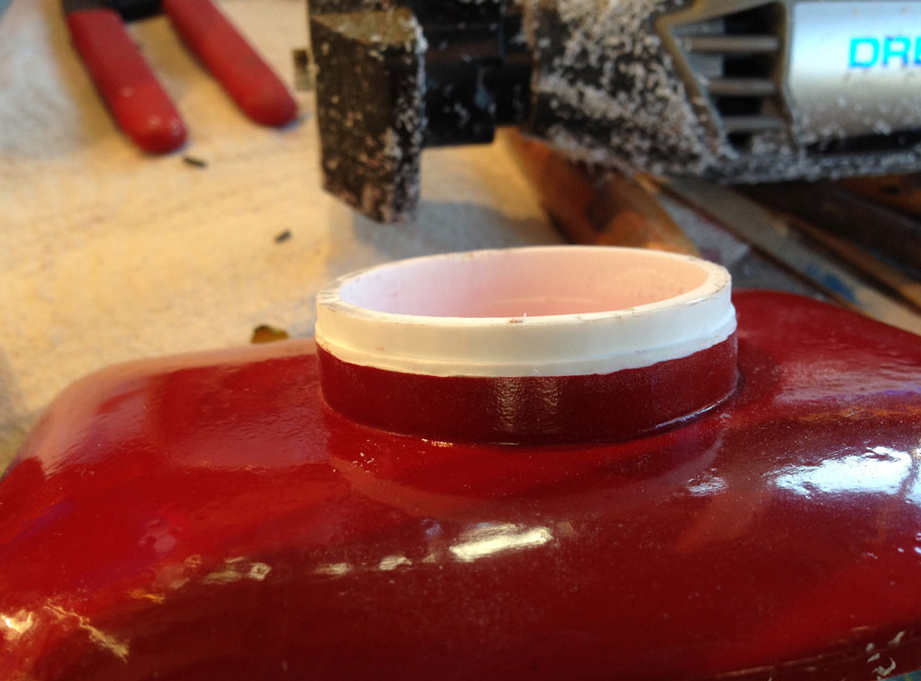
After painting, the neck was too tight in the torso to rotate freely. I sanded off the paint and a bit of resin for a looser joint. A bit of lubricant helps as well.
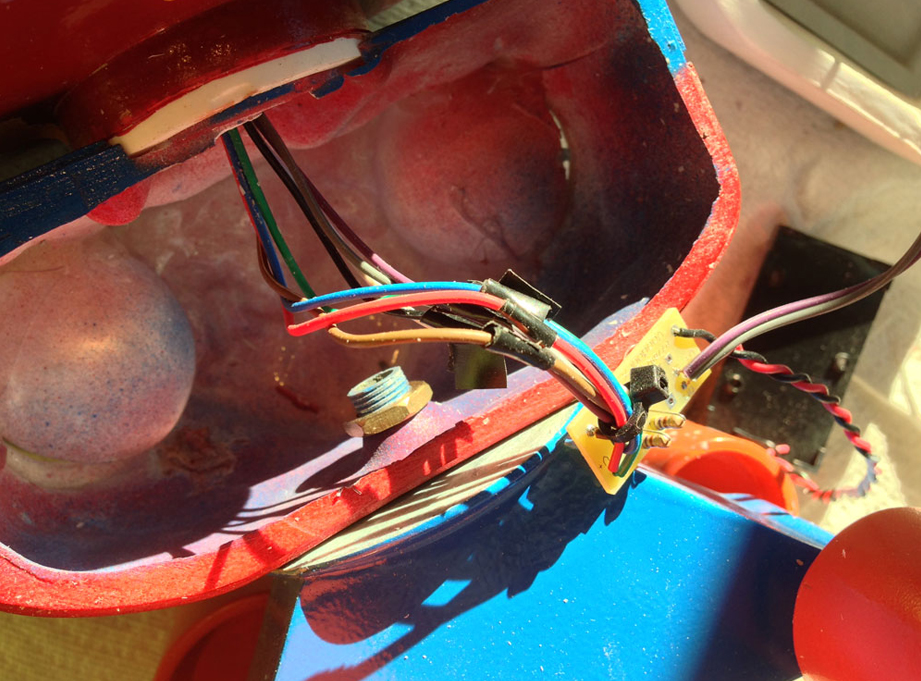
I cut the wires of the electronics and fed them through the neck hole. Inside the torso, I re-soldered them to the switch and power supply.
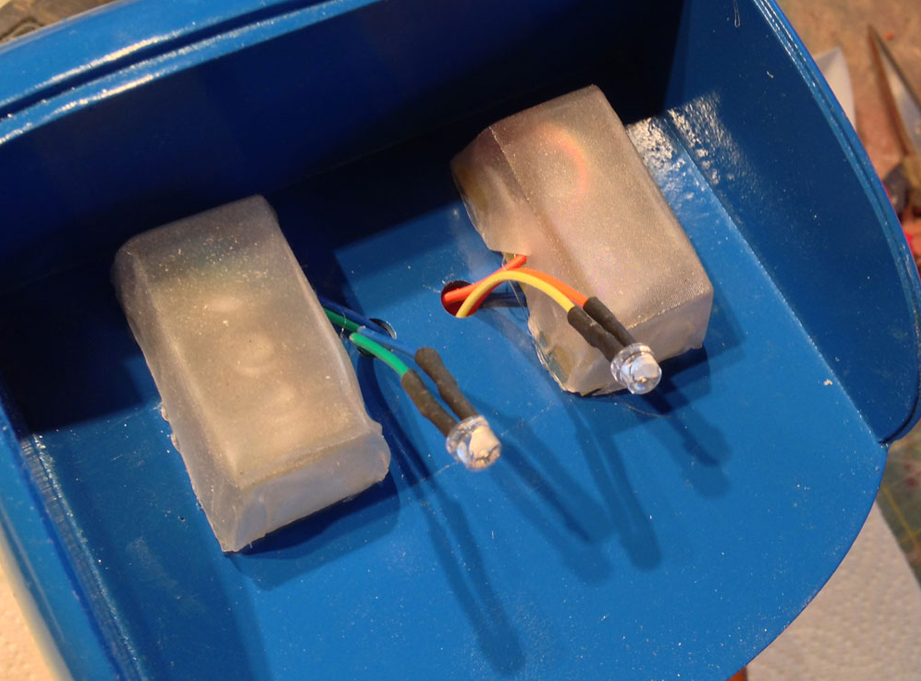
The brains could now be glued over the lights.
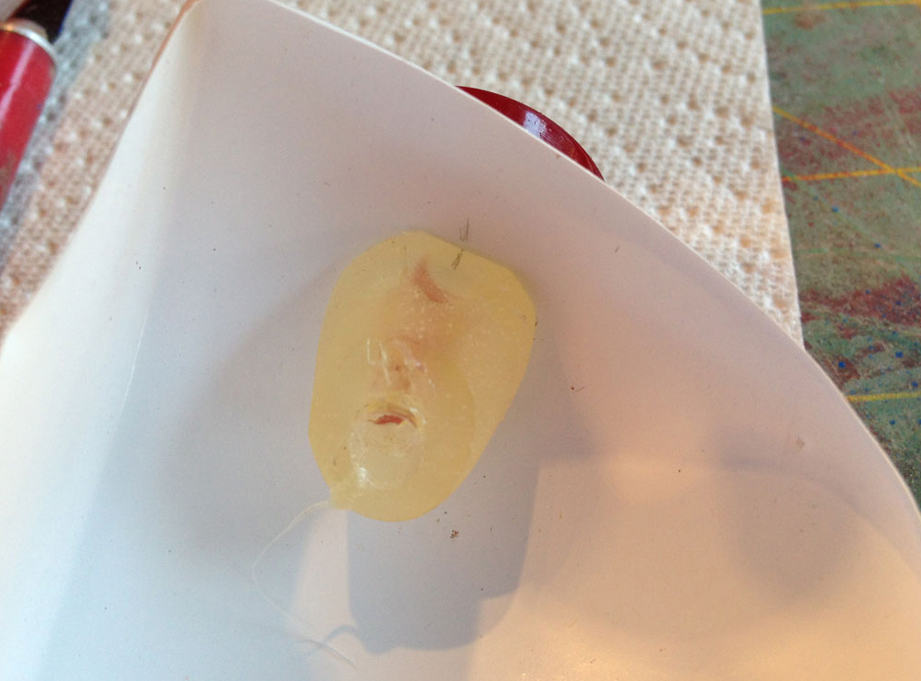
The eye anchors glued inside the brain shells.
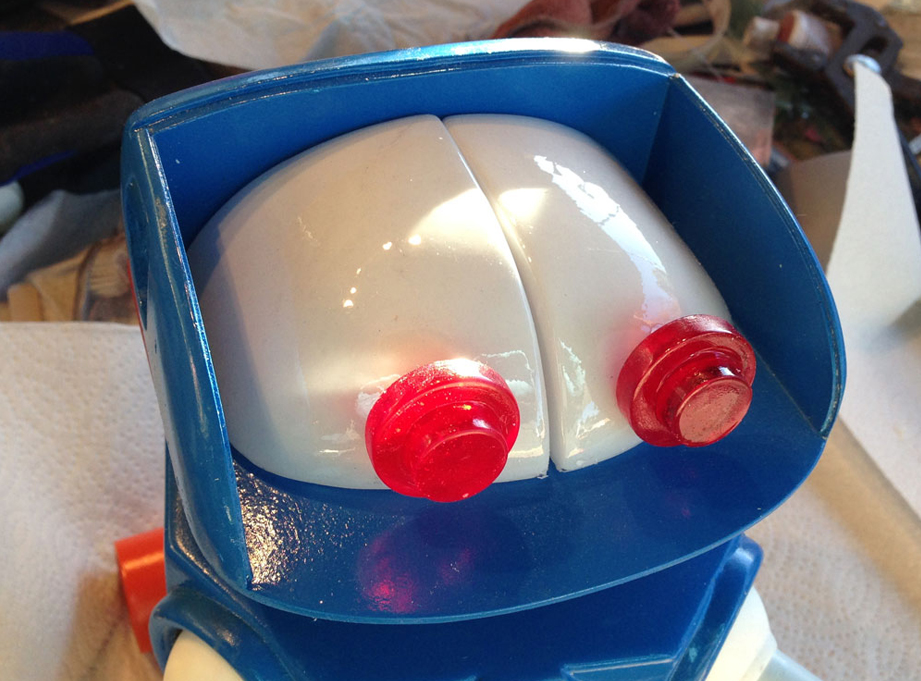
Eyes and brains glued into place.
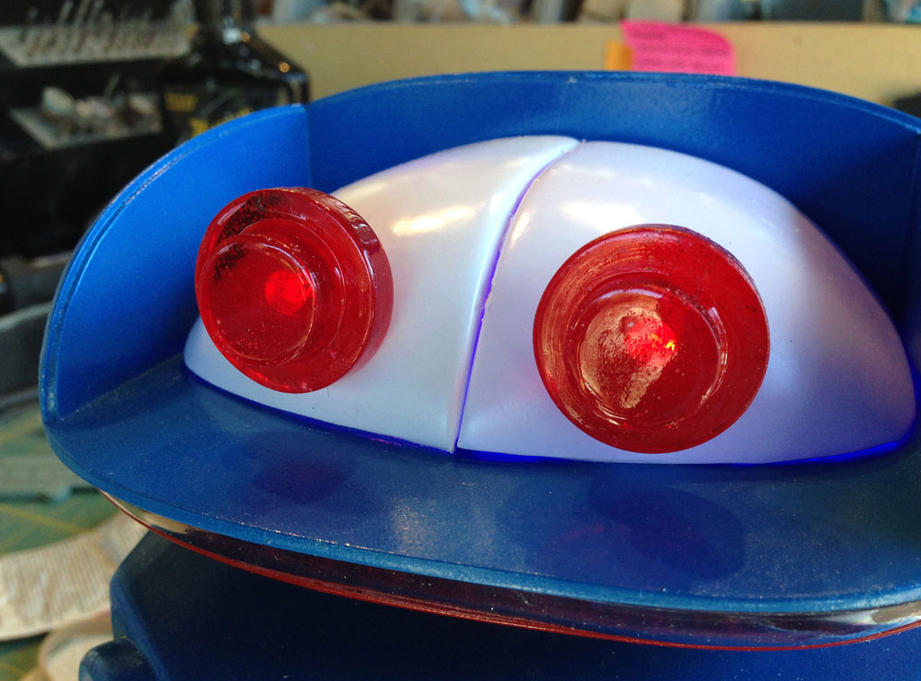
Eyes and brains lit up. Check out the lights in action here.
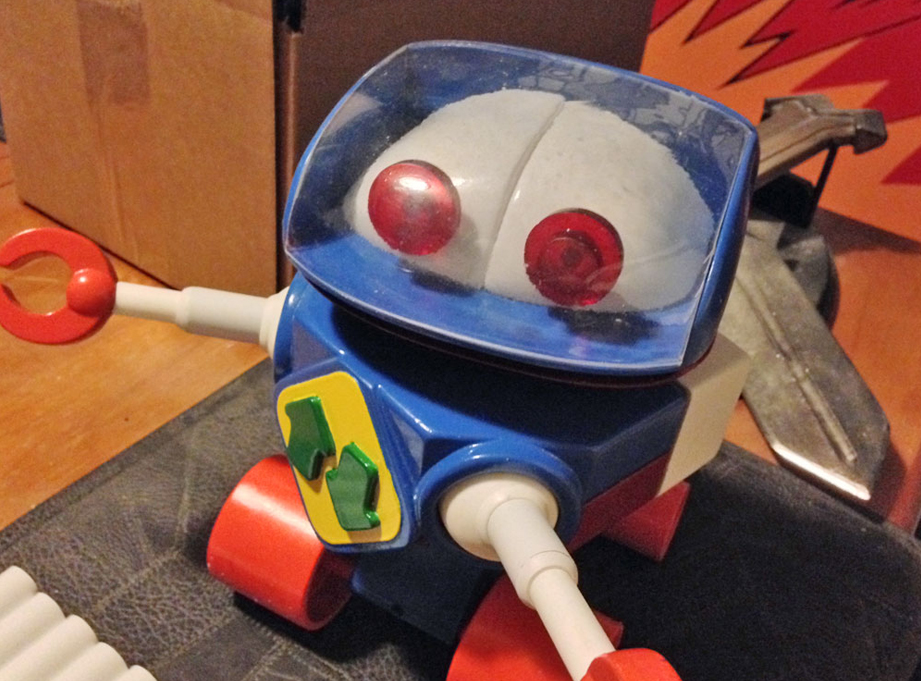
I vacuum formed clear PETG to make the head visor, trimmed it and glued it in place.
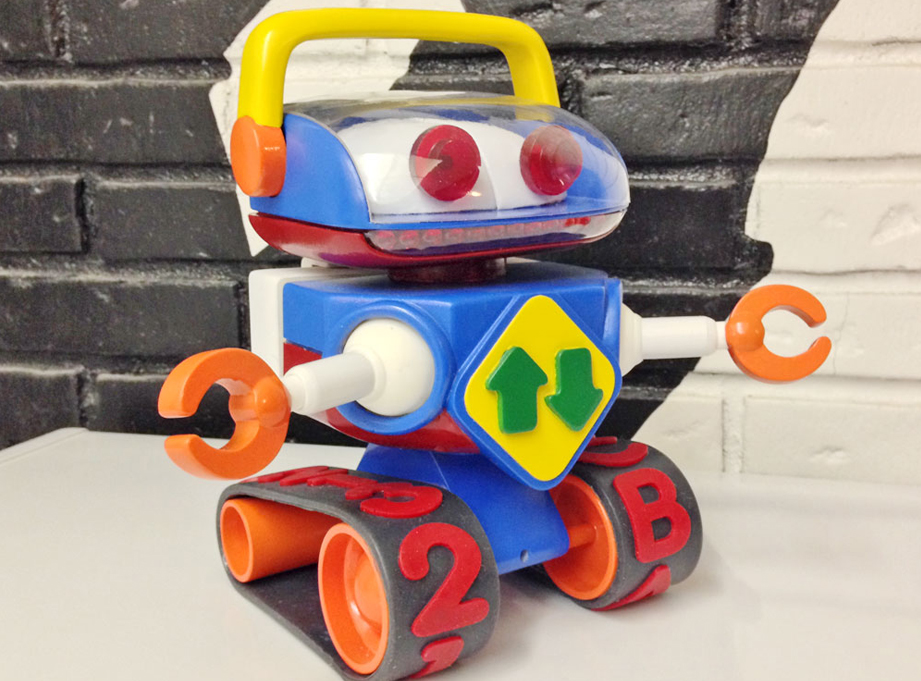
The finished Robot! See a video demo here.
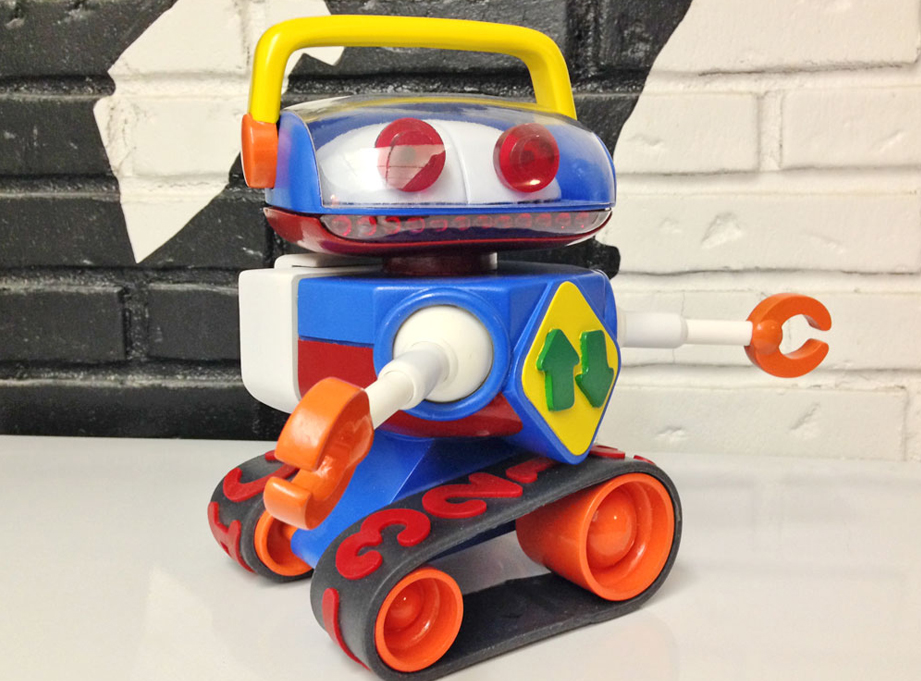
The finished Robot.
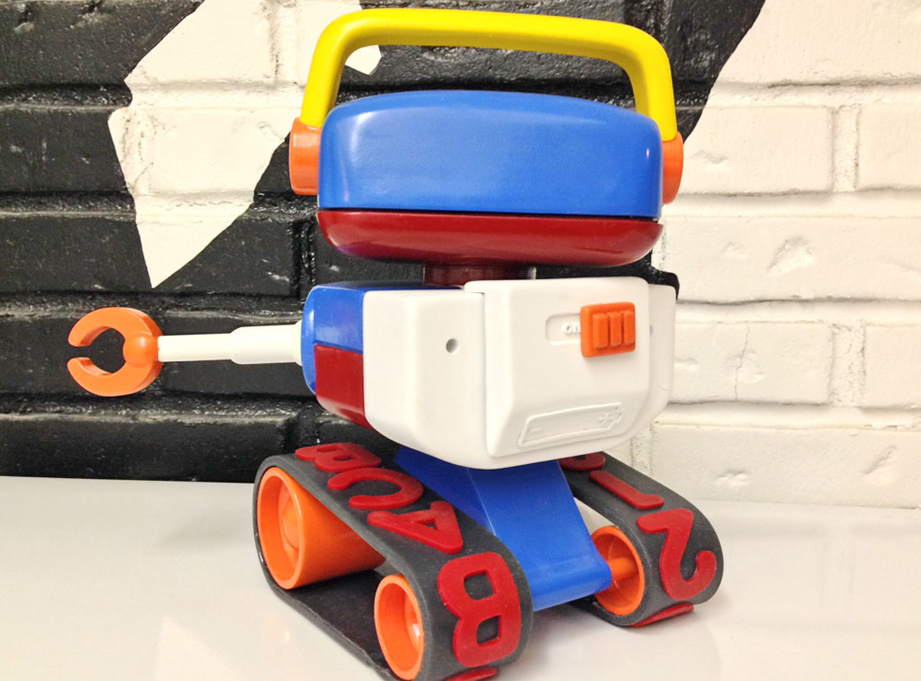
Back view.
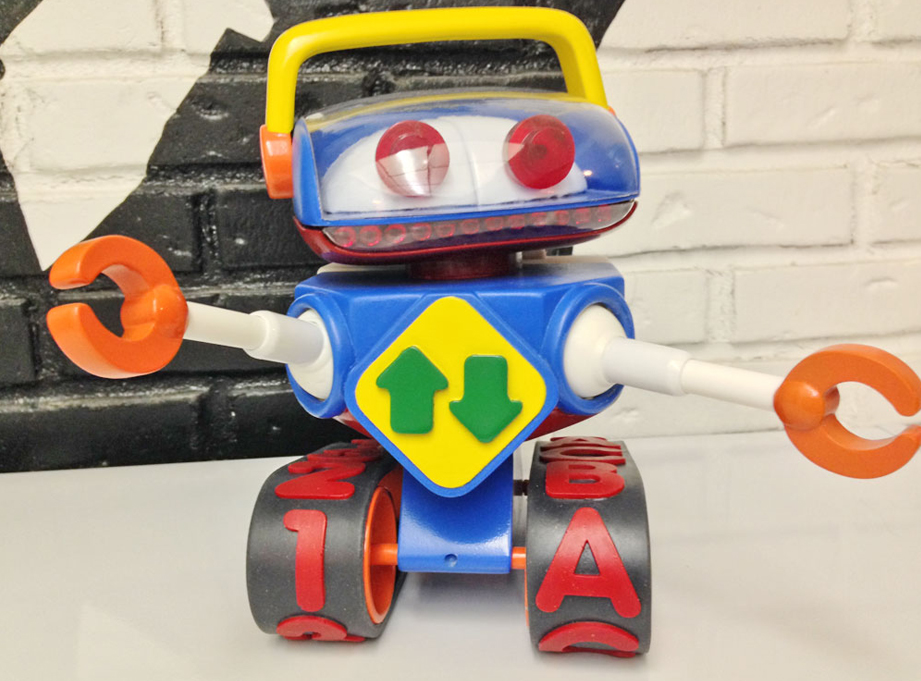
Arms extended.
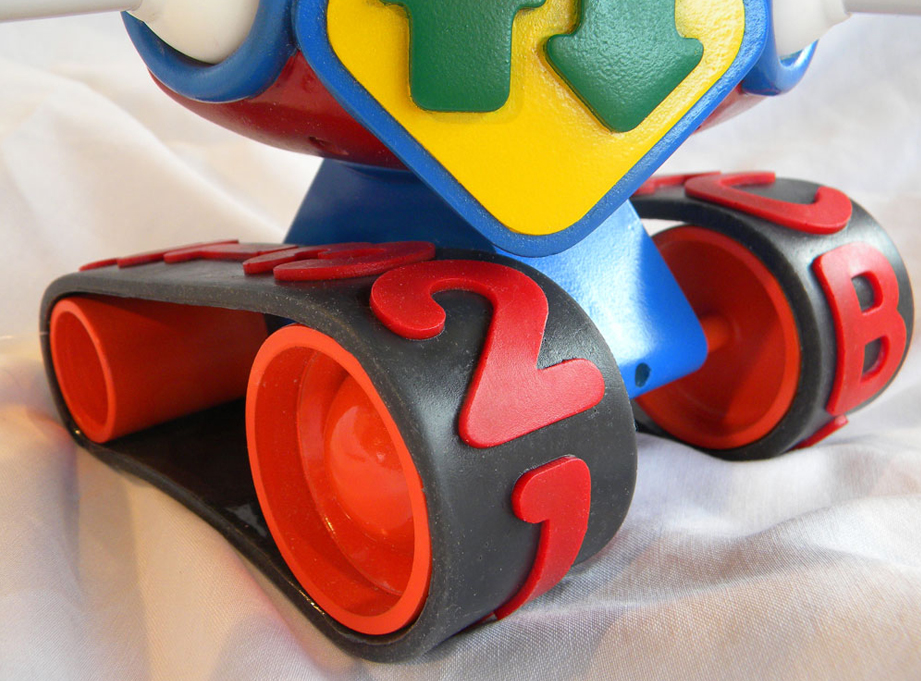
Tread detail.
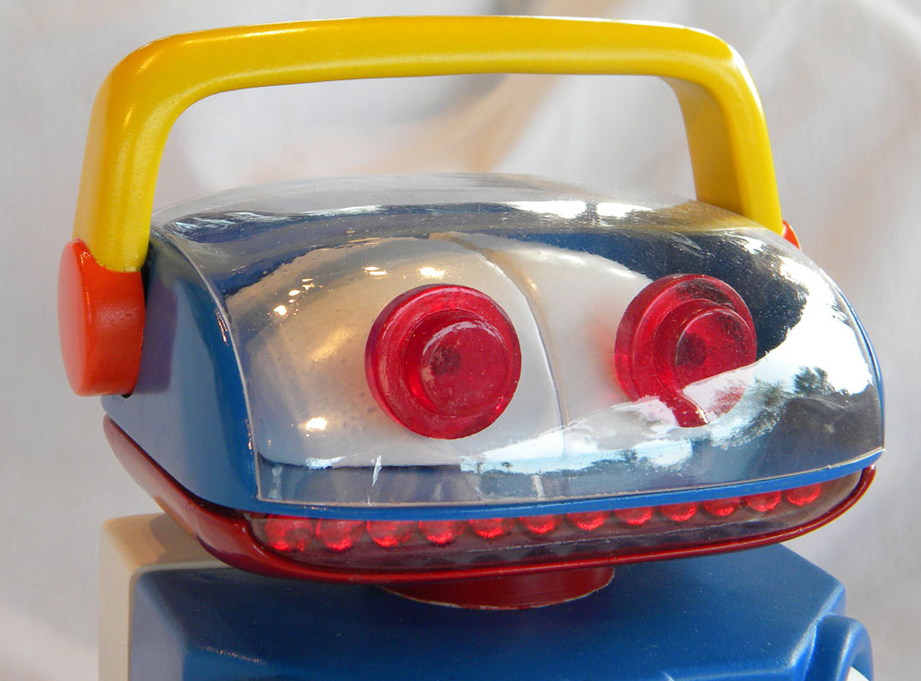
Face detail.
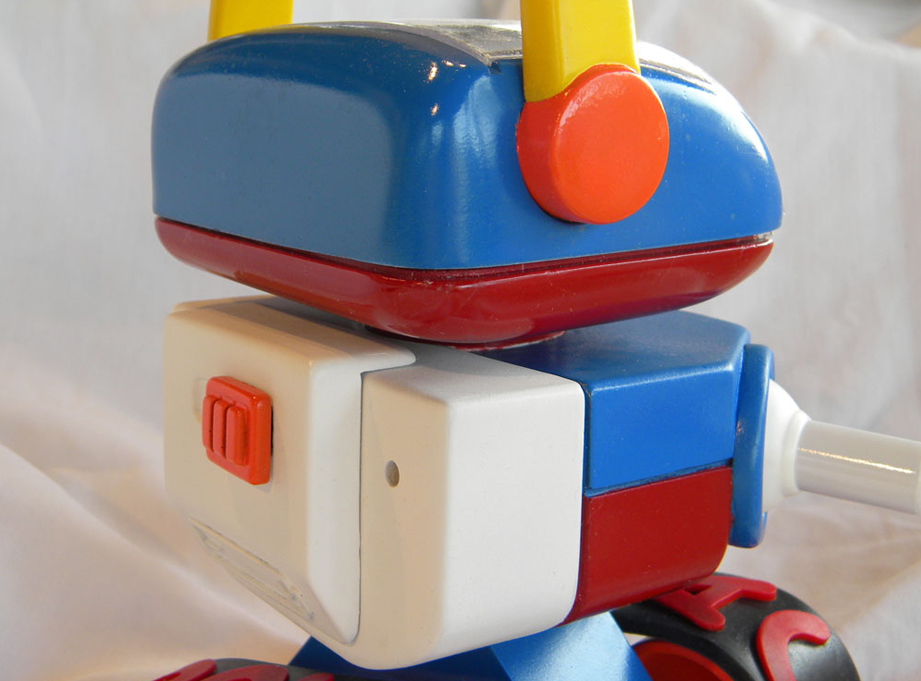
Back detail.

Since this post, I have re-created the head, jaw, neck, chest and base to print in PLA. They are now more accurate and, best of all, easy to paint with zero masking!
