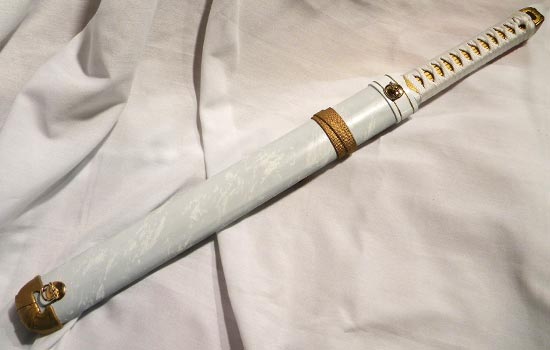
taki's swords
december 2010
Taki is a character in the Soul Calibur video game series. Taki is a Japanese demon-hunting kunoichi and the greatest warrior of the Fu-Ma ninja clan, who is traveling the world on a quest to destroy an evil sword known as Soul Edge.
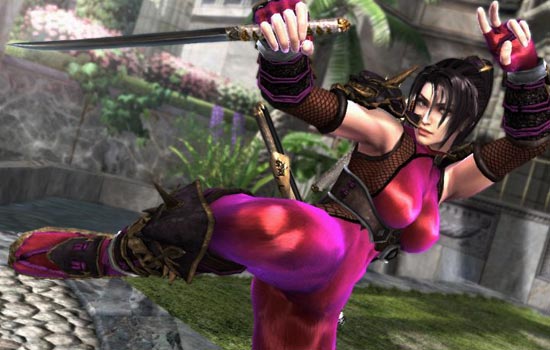
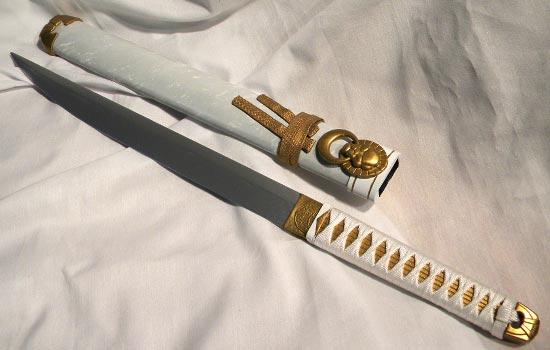
I was commissioned to make Taki‘s swords Rekki Maru and Mekki Maru from the Soul Calibur video game.
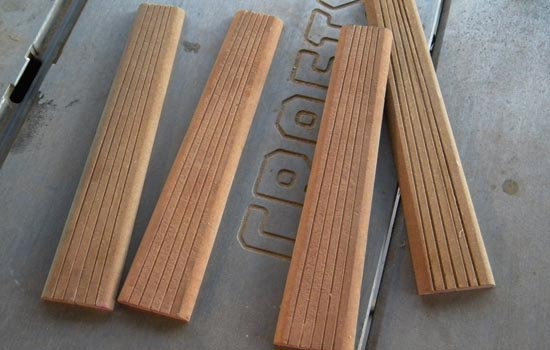
I started by cutting grips from 1/4″ MDF, scribing lines across the surface of each.
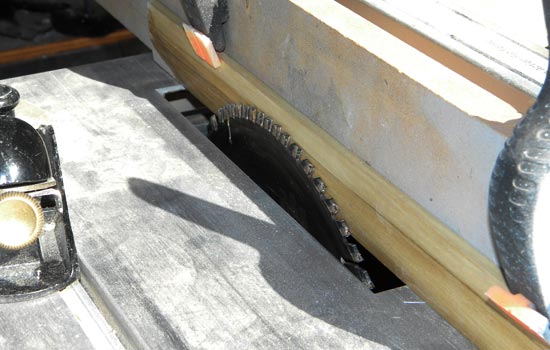
The blades were made from 1/4″ poplar. I beveled the edge of each blade on the table saw.
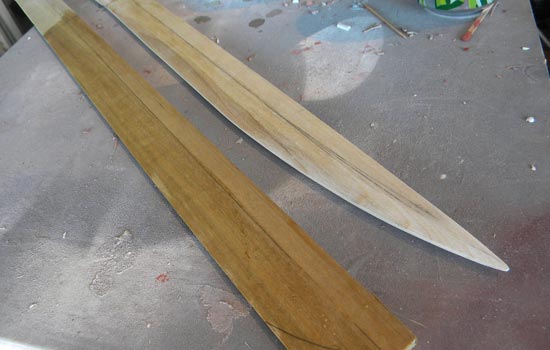
After the edge is cut, I shaped the points and finished the bevel on the belt sander.
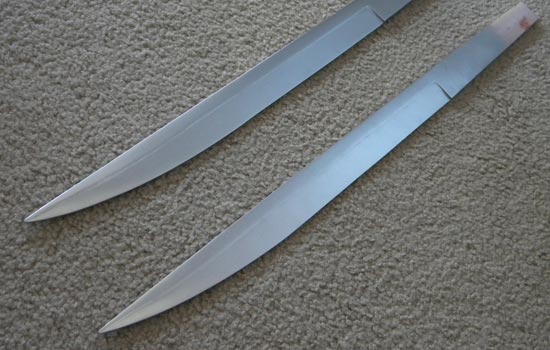
The final sanded blades painted.
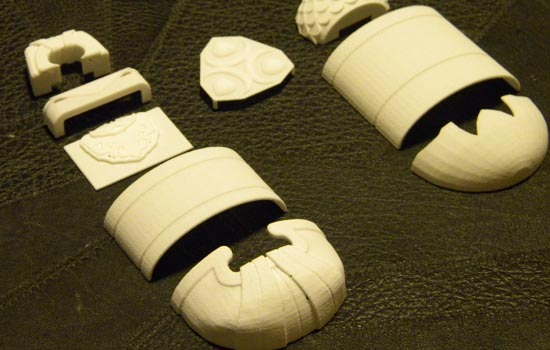
I created many of the parts for these swords with a 3D printer from Shapeways. Since they charge by the amount of plastic used, I made each part hollow and in half. After some cleanup, I would make a mold and make resin copies for the final swords.
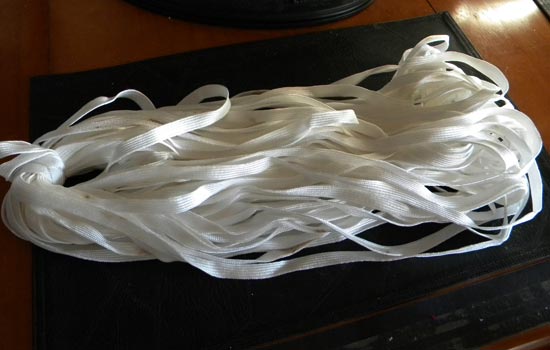
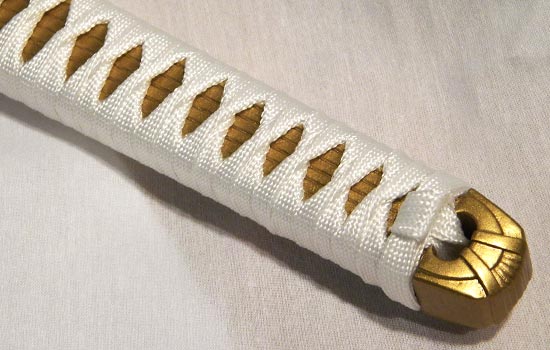
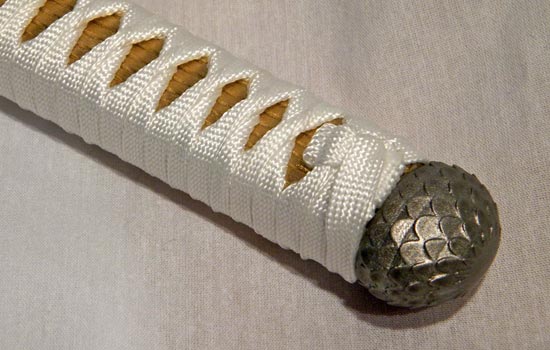
To wrap the grips, I ordered tsuka-ito (the grip wrapping) from China. I had to order 150 feet although I only needed 11 feet for each grip.
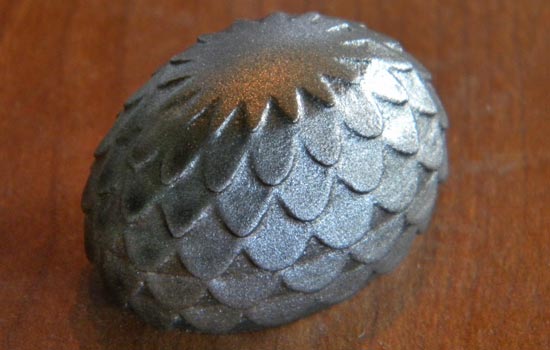
I cast two halves of the Mekki pommel and glued them together.
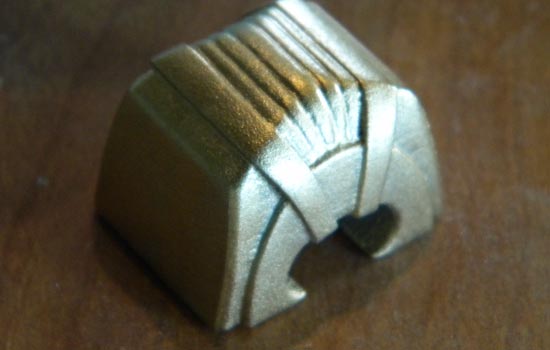
The completed pommel for Rekki Maru.
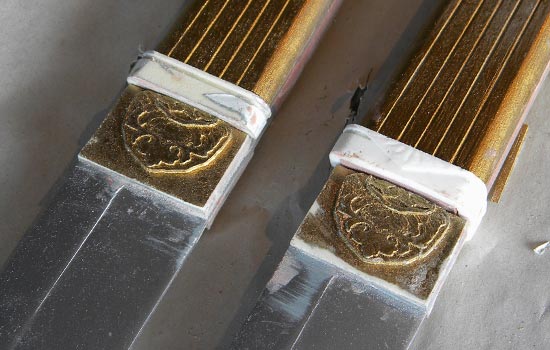
The cast resin grip collars and decorative blade bases glued to each sword.
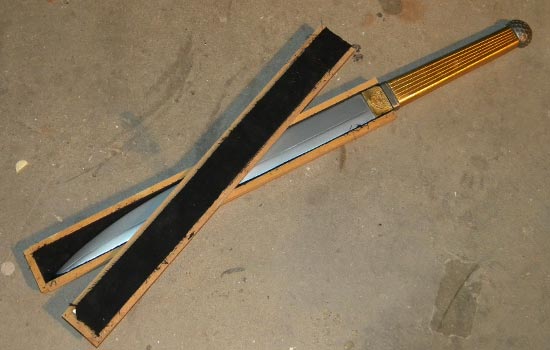
Once the blades were completed I could construct the scabbards for each. I made MDF boxes lined with soft cloth to protect the finish on the blades.
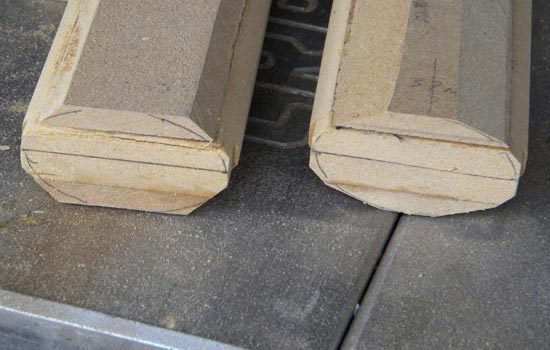
I started to round the scabbards by making angled cuts on the table saw.
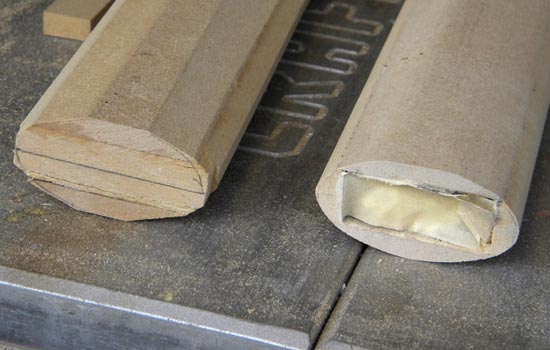
After the major cuts were done, I finished rounding them on the belt sander.
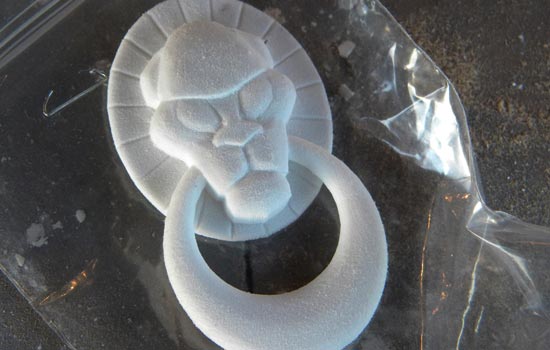
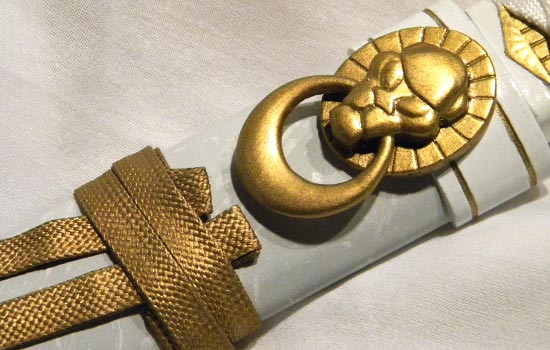
I forgot about the lion-shaped grommet for Rekki’s scabbard so I got a second package from Shapeways. The printed pieces arrive with a sandpaper-like texture that has to be smoothed.
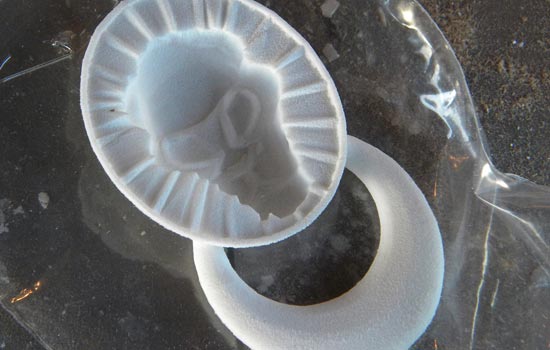
The hollow back of the lion grommet. I will fill this with clay and cast the piece as solid resin.
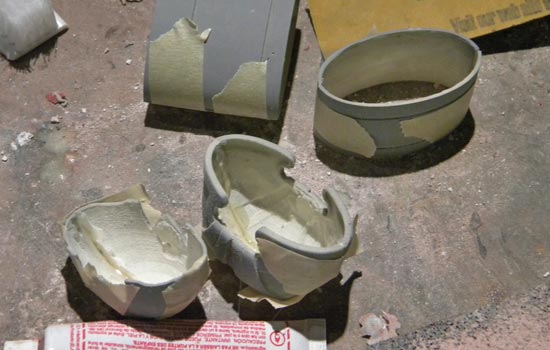
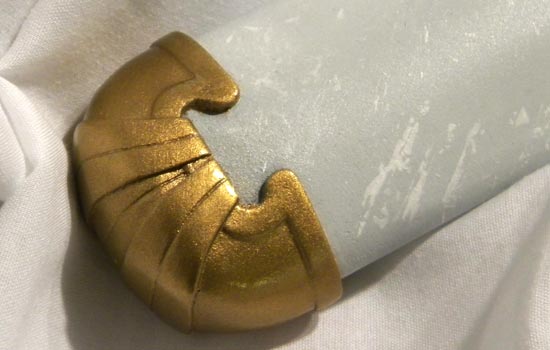
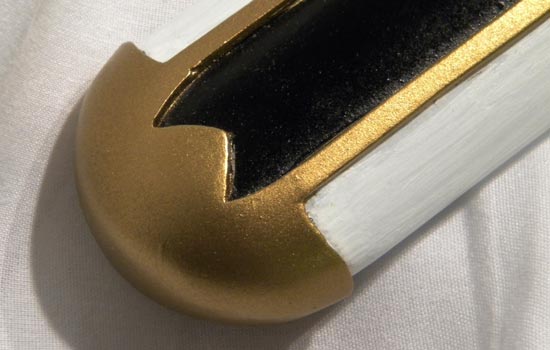
I glued the cast resin halves of the scabbard collars and bases together.
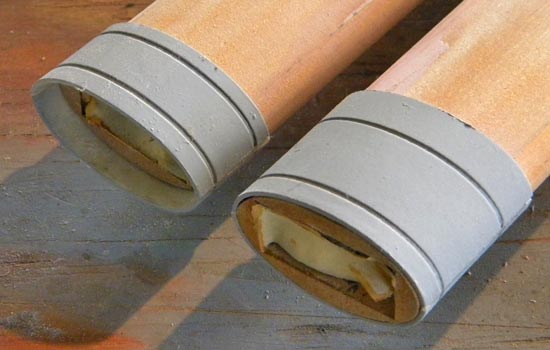
A quick test fit shows a nice snug fit!
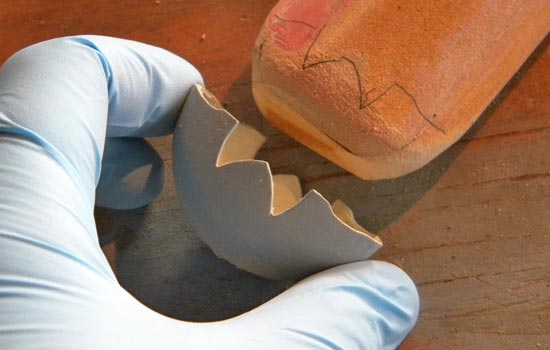
I rounded the base of both scabbards to fit the new resin tips.
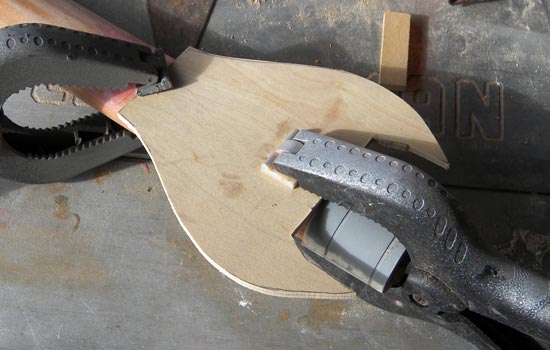
I cut a plate from 1/4″ poplar for the back of Mekki’s scabbard.
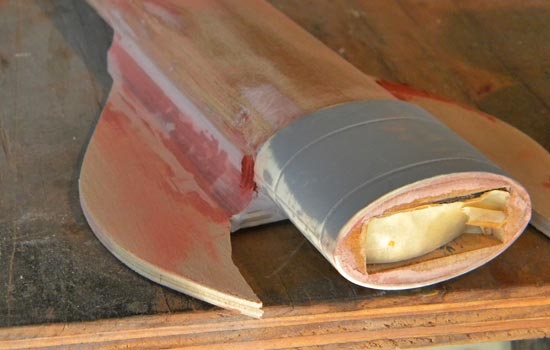
I blended the space between the scabbard and the back plate with Bondo.
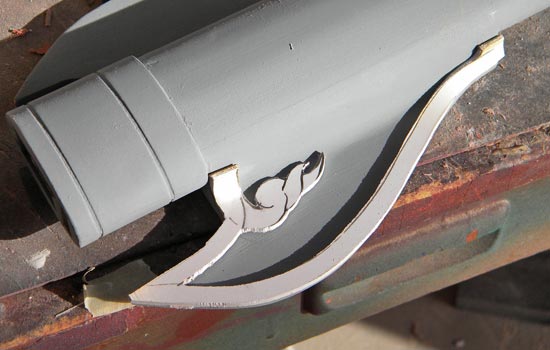
I cut trim from thick styrene and heat formed it to shape.
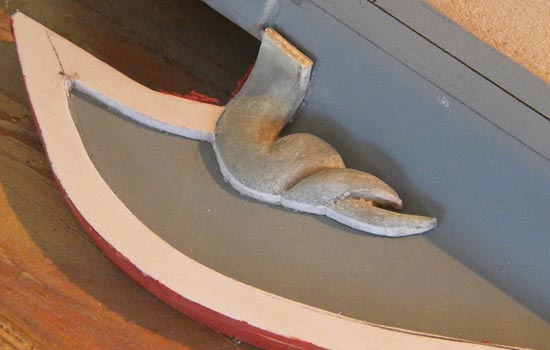
I then applied epoxy putty to form the scroll work on the trim.
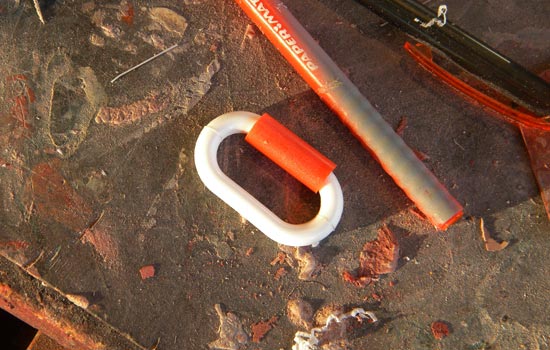
I used a link of plastic chain and a tube cut from a mechanical pencil for Mekki’s inset area.
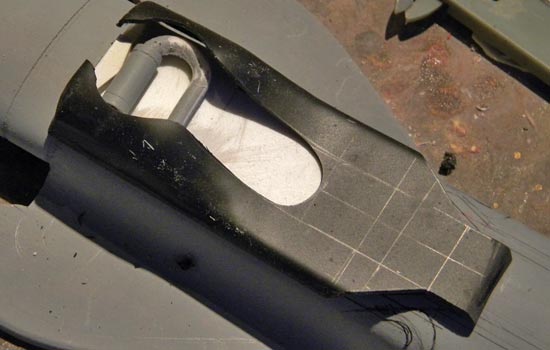
I vacuum formed a styrene cover plate for Mekki’s inset area.
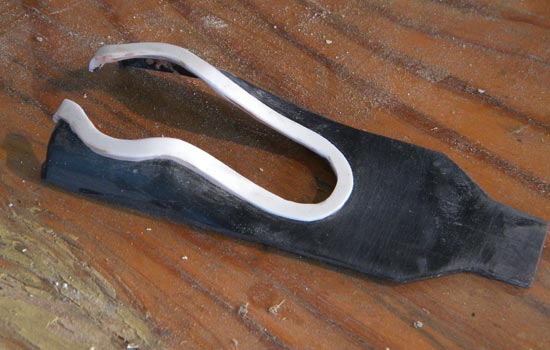
I applied a border cut from thin styrene around the opening of the cover plate.
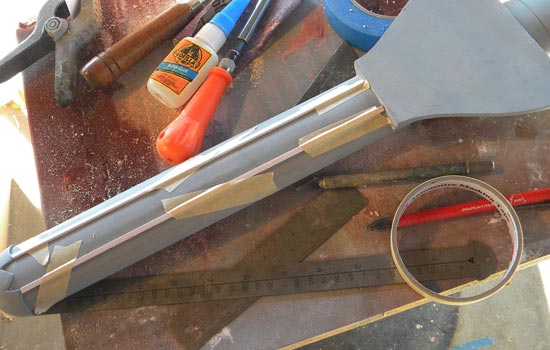
I cut thick styrene strips for the front and back of Mekki’s scabbard.
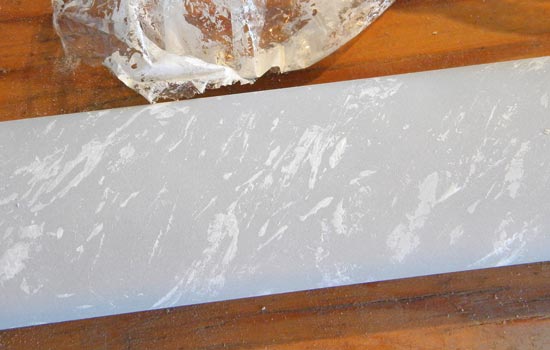
I painted Rekki’s scabbard with a base coat of white over grey and then applied a texture using plastic wrap dipped in white acrylic paint.
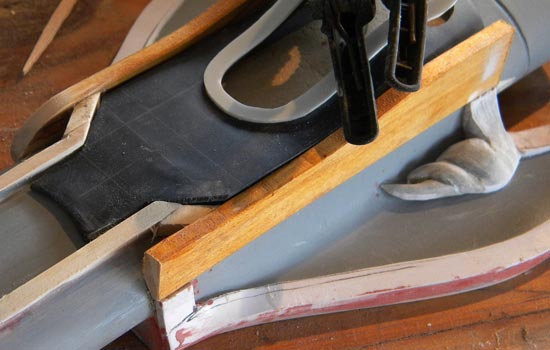
I cut side plates from bass wood to border the inset area.
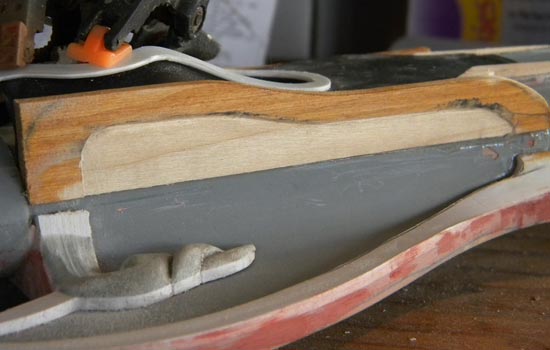
I started shaping the side plates and carved the center to make trim.
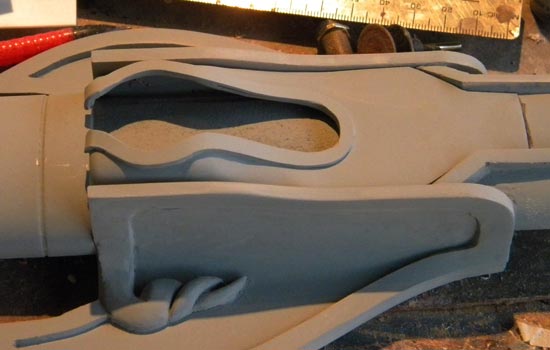
A coat of primer to see how everything is working together.
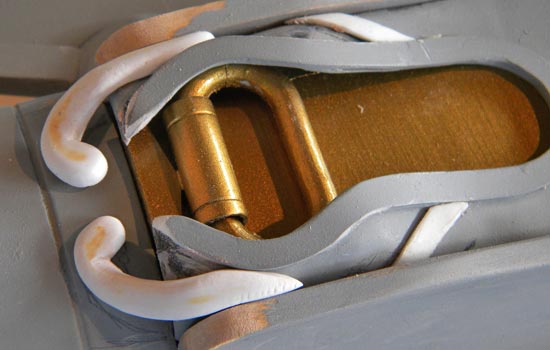
I heat formed some final styrene details on the cover plate.
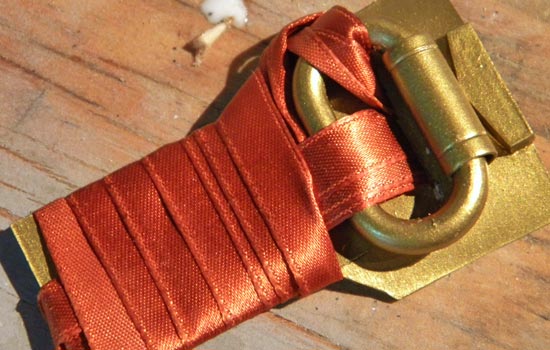
I found some ribbon of the proper width and color to wrap around the inset.
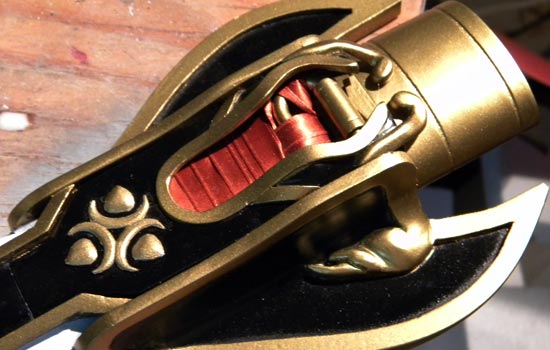
I gave Mekki’s scabbard its paint job and applied the 3D printed symbol at the base of the cover plate.
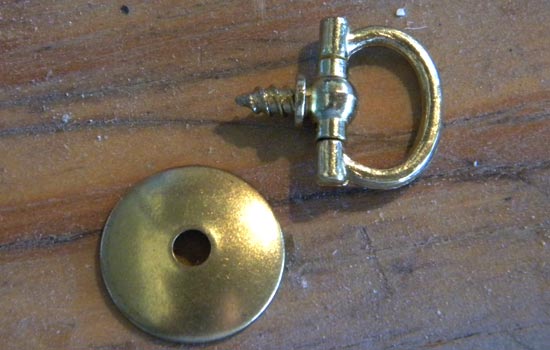
To wear the swords, I used mirror rosettes and swivel rings attached to the back of the scabbards.
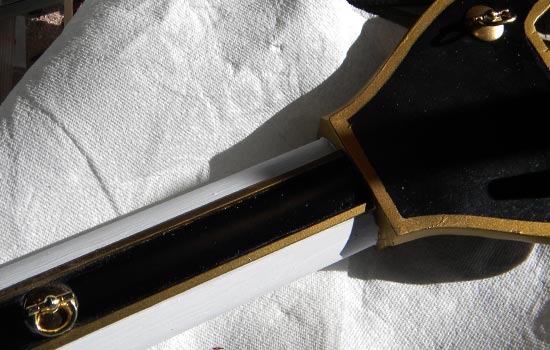
Hanging hardware attached to Mekki’s scabbard.
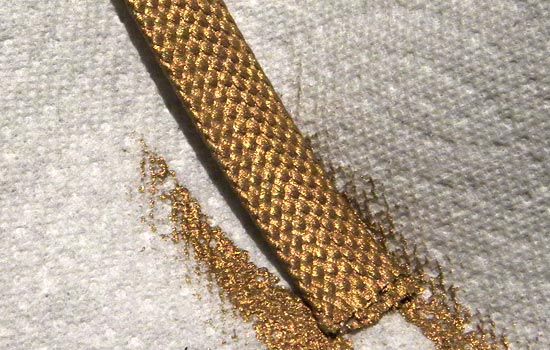
I wasn’t able to find gold ribbon in the proper width, texture and color make Rekki’s scabbard ribbon, so I found the closest match in size and texture and painted it with gold acrylic.
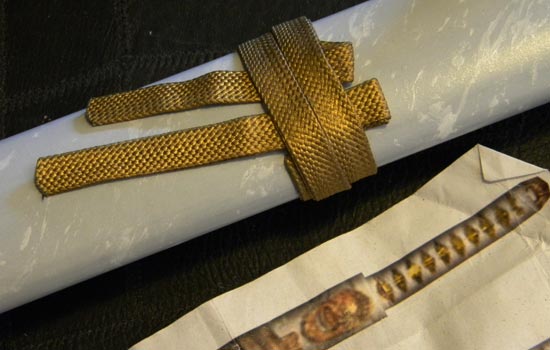
The ribbon applied to Rekki’s scabbard.
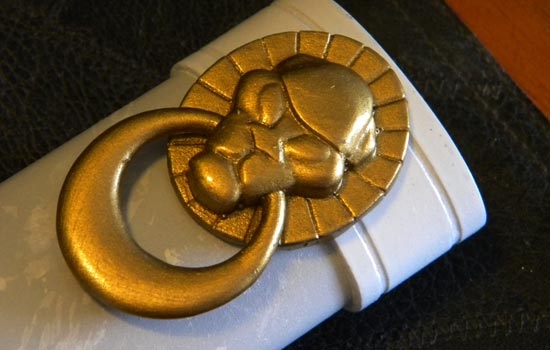
The painted lion grommet attached to Rekki’s scabbard.
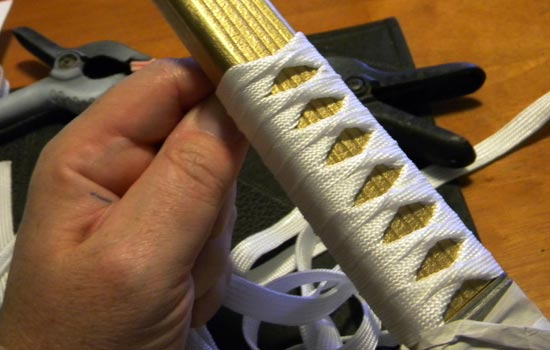
I found a tutorial online for tsuka-maki (the Japanese method of wrapping sword handles) with tsuka-ito (the ribbon used to wrap it).
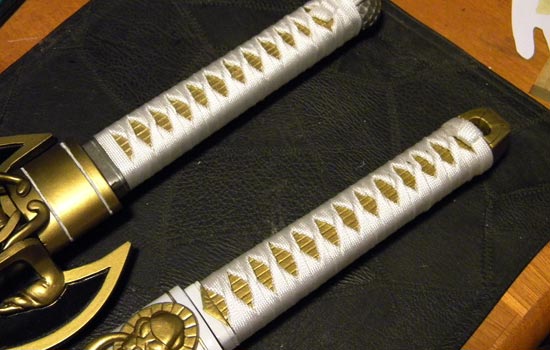
The final wrapped grips.
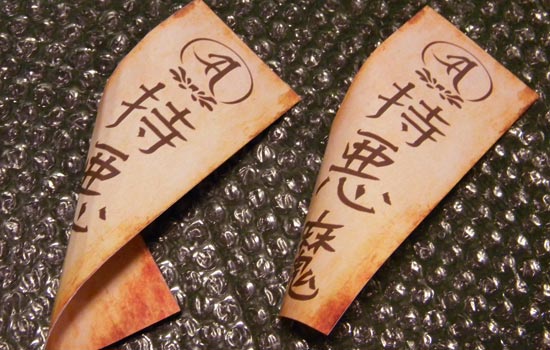
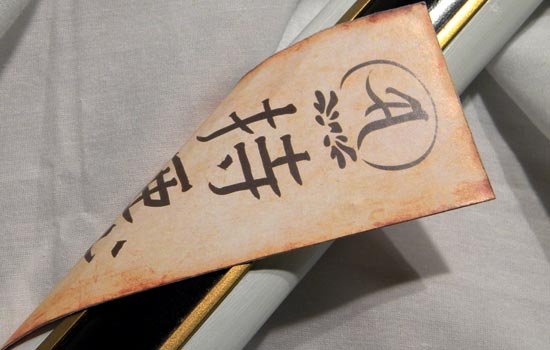
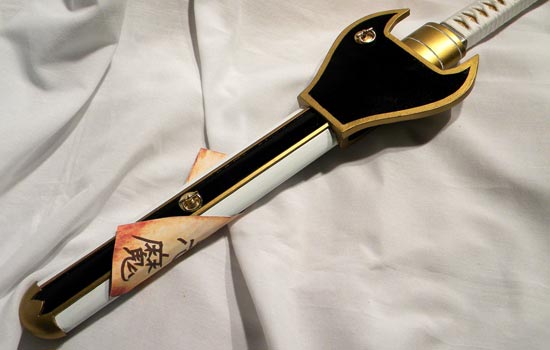
Mekki’s scabbard features a magic scroll wrapped around the center. I printed both sides of the scroll and glued them to both sides of thin aluminum. The metal could then be bent to shape and tightly wrapped around the scabbard.
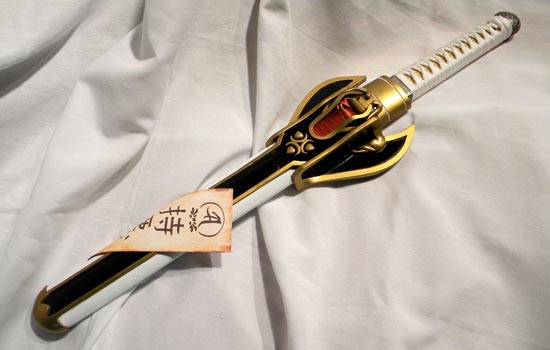
The completed Mekki Maru!
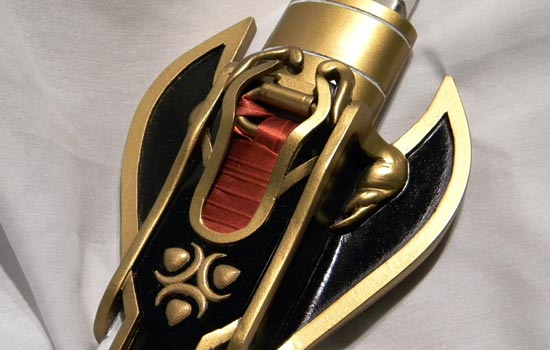
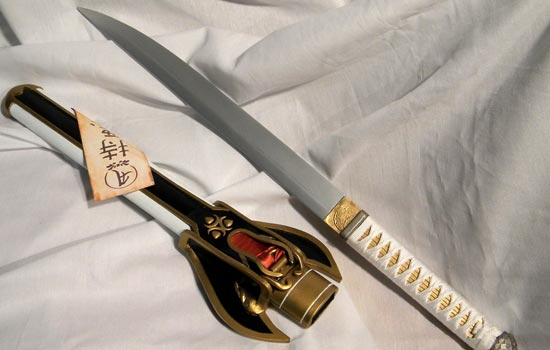
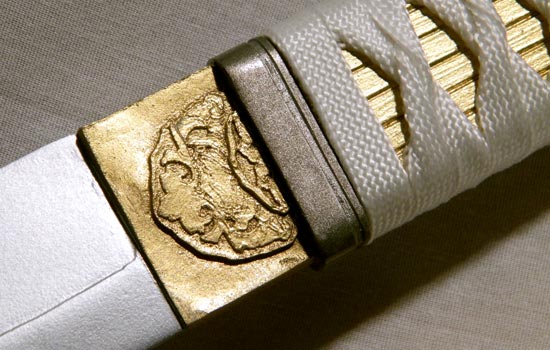
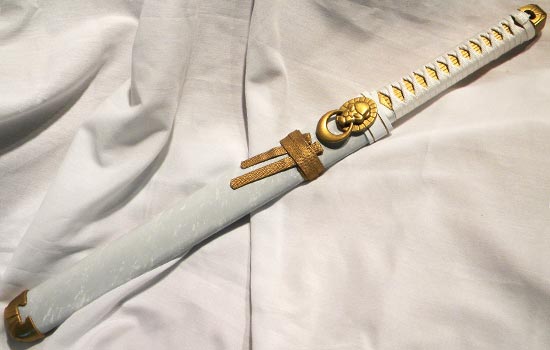
The completed Rekki Maru!
