outlaw star Caster gun
december 2008
Outlaw Star is an anime series which follows Gene Starwind and his motley crew of an inherited spaceship dubbed the Outlaw Star, as they search for a legendary treasure trove called the "Galactic Leyline".

I was commissioned to make a replica of the Caster gun from the series Outlaw Star. As an additional challenge, the client wanted it to be able to load the shells into the breach.
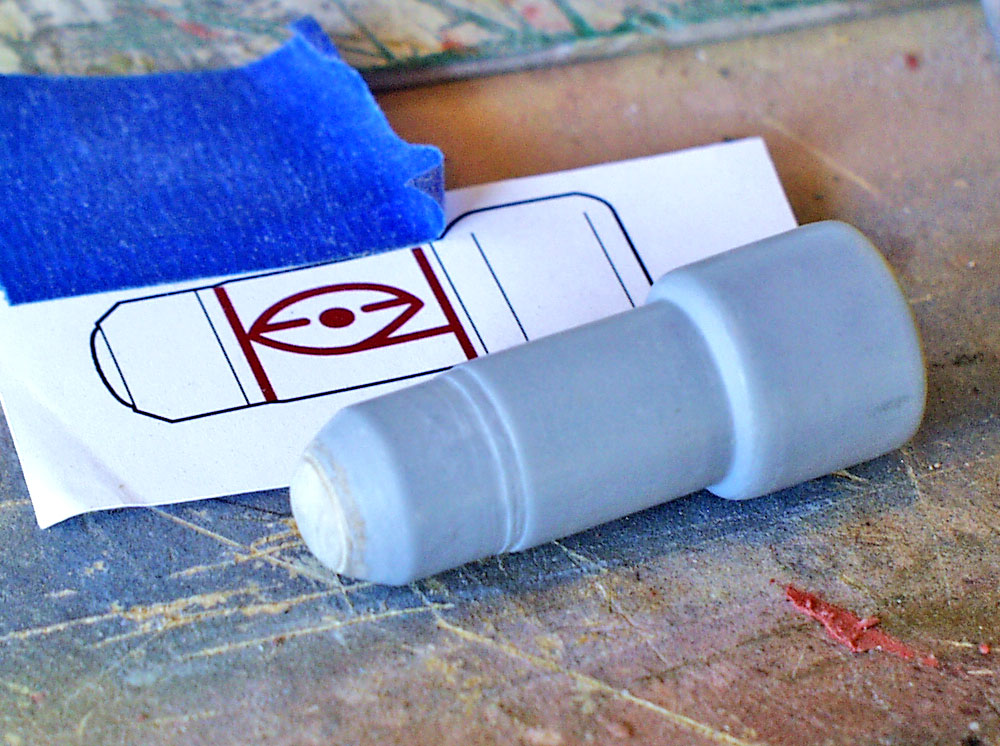
I started working from the inside-out by making a master for the shell from bass wood. The shell is about 3″ long.
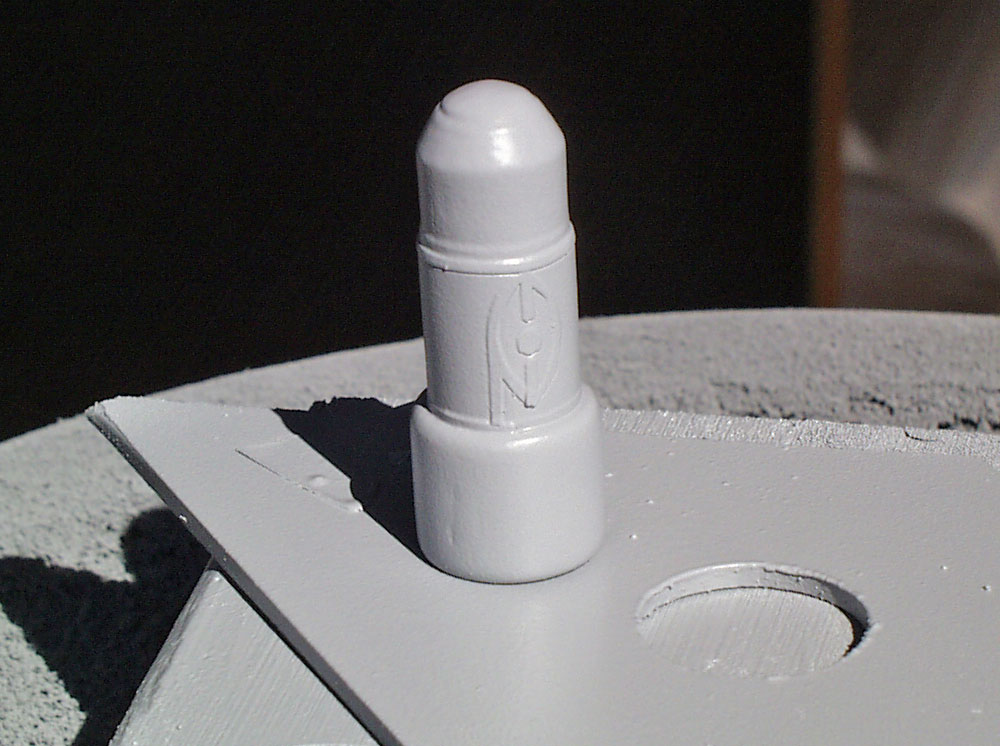
I masked off the design and then sprayed several coats of primer to build up some thickness. When the tape was removed, I had inset markings!
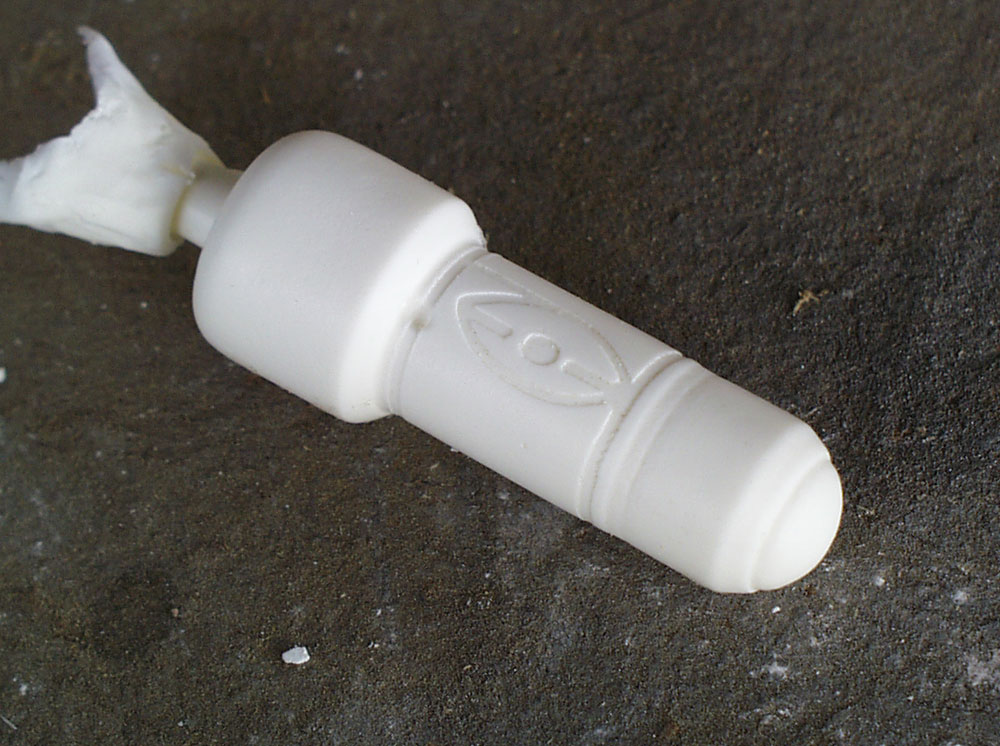
I made a mold of the master and cast five copies in resin. There was some cleanup to do but they came out pretty clean.
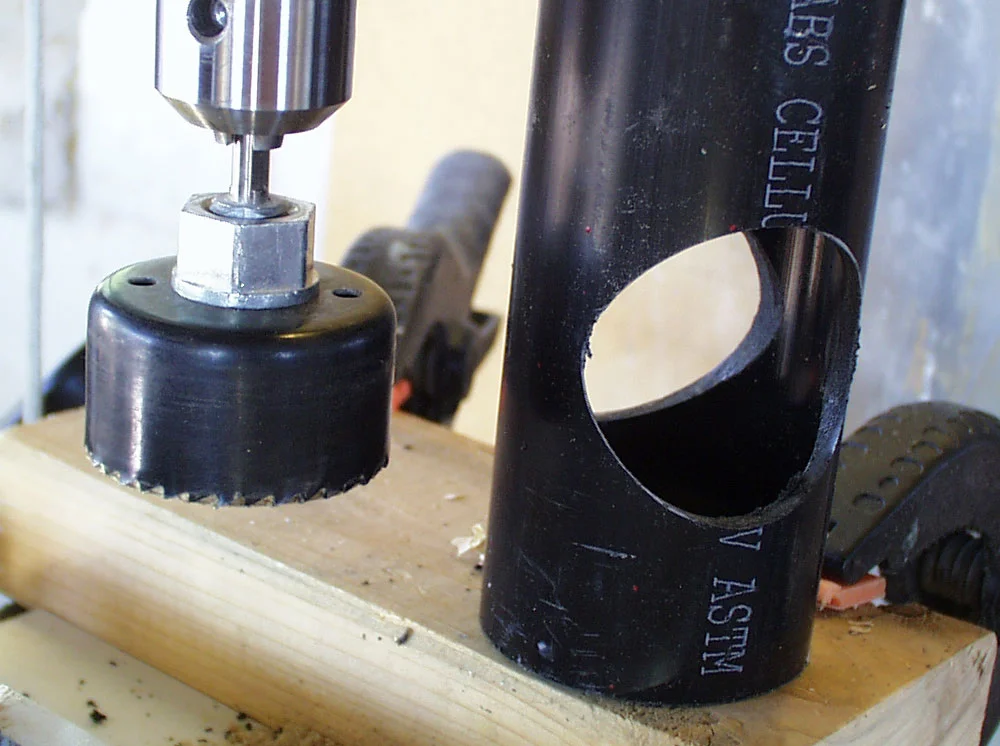
I used a PVC pipe for the receiver and drilled a hole for the pivot arm section.
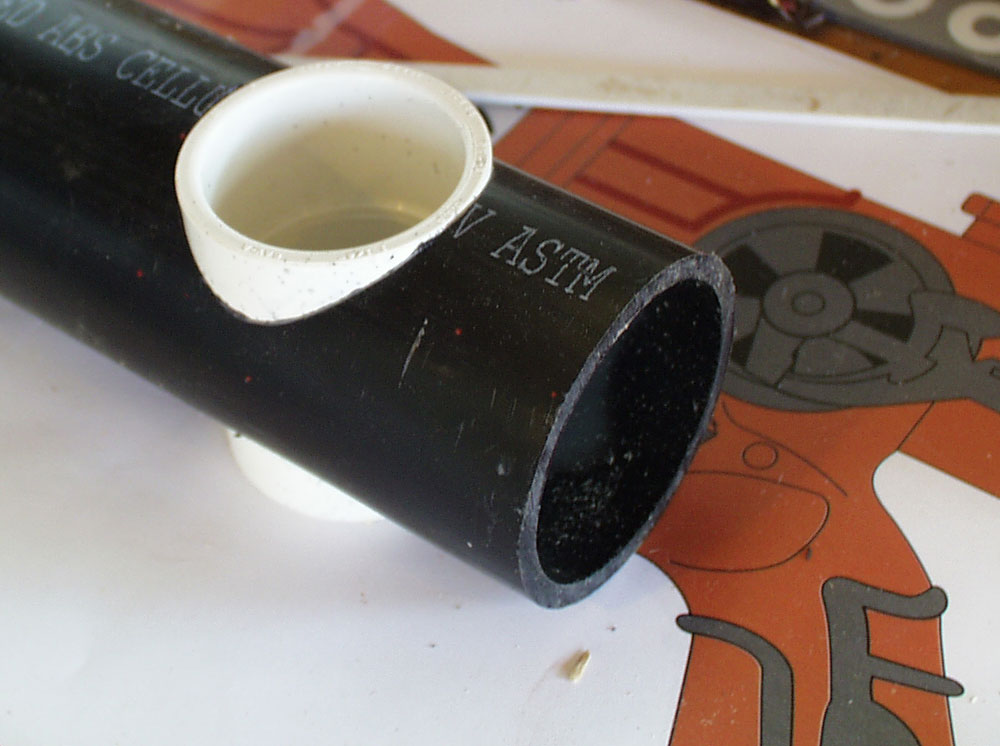
Luckily, a PVC connector was exactly the right size for the pivot…no trimming needed!
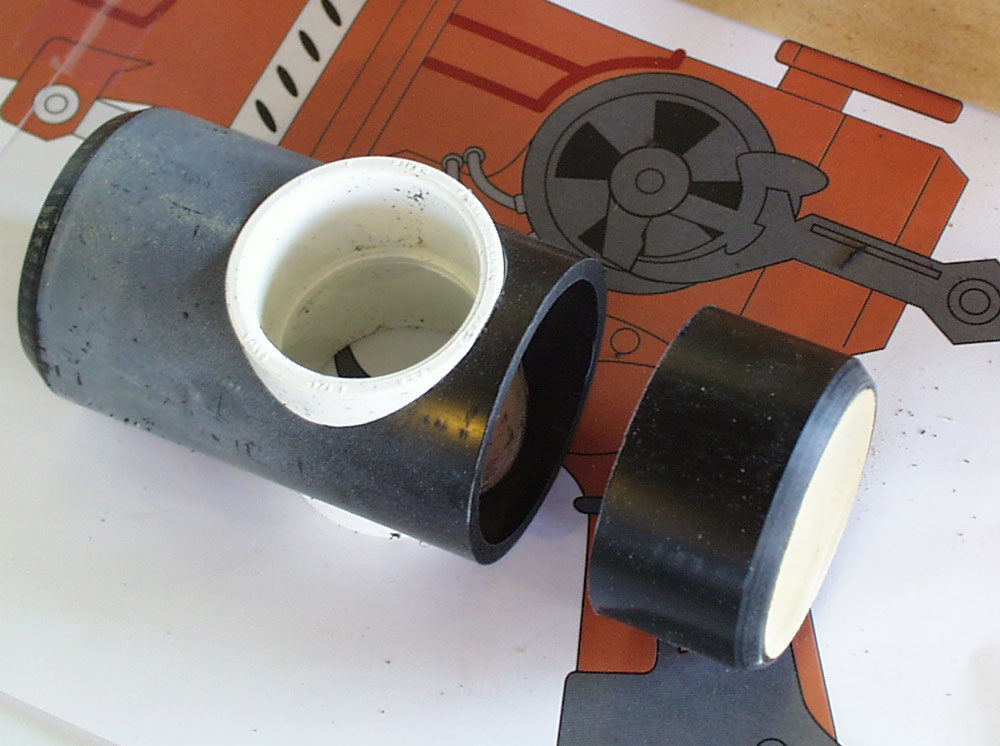
I cut off the end cap and plugged it with MDF.
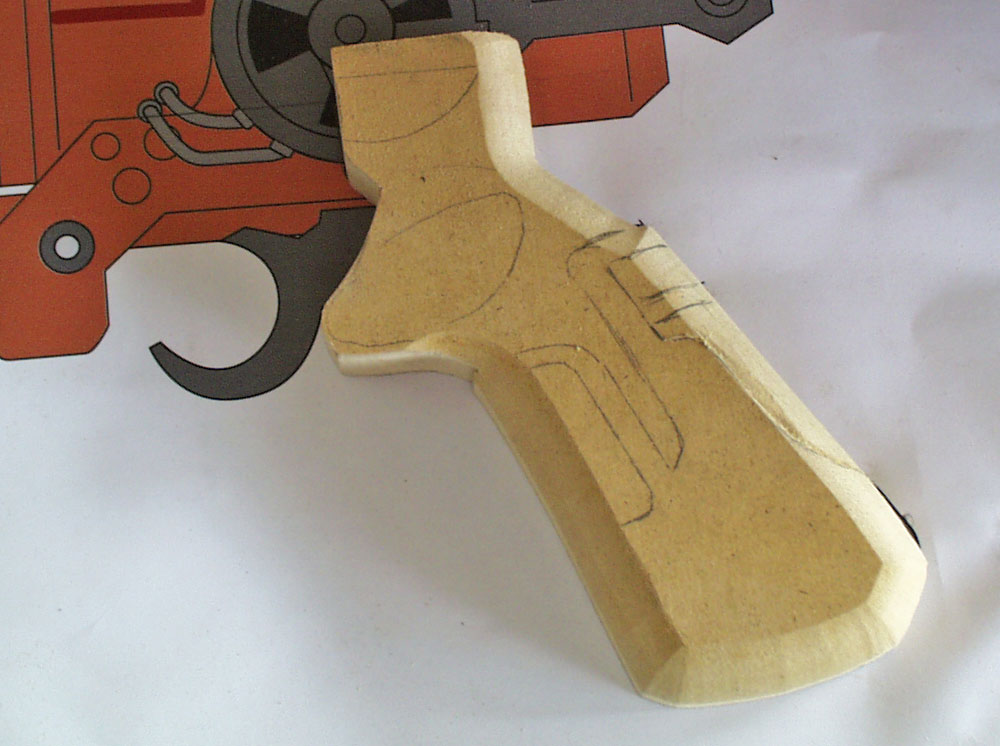
I cut the grip halves from 3/4″ MDF.
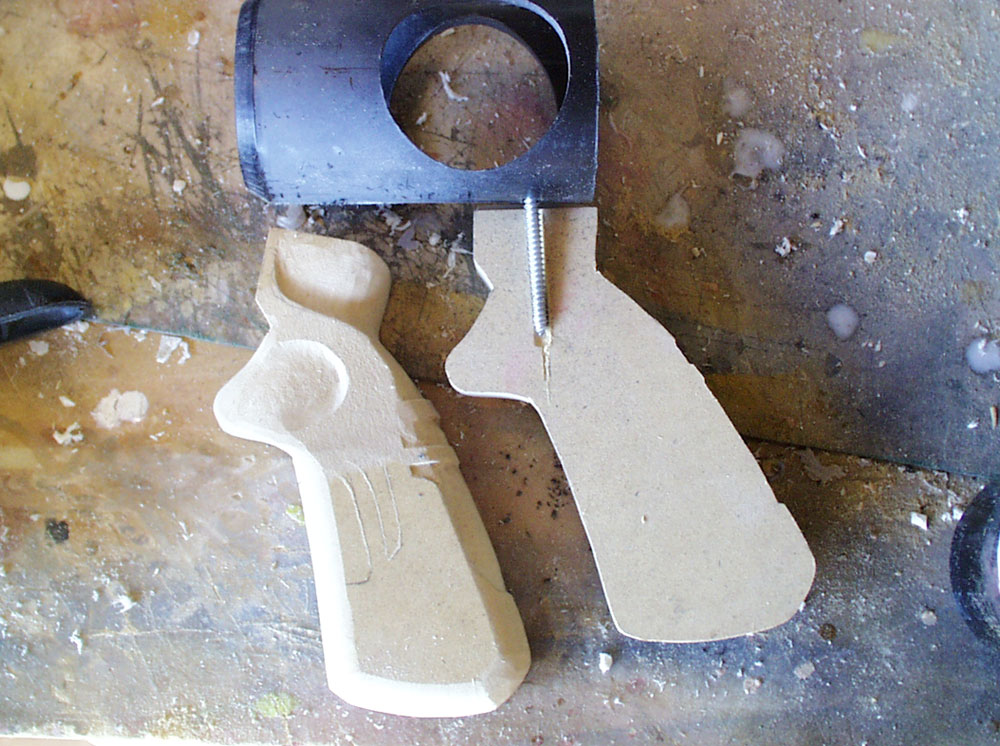
I planned to use a wood screw combined with epoxy to attach the grip to the receiver.
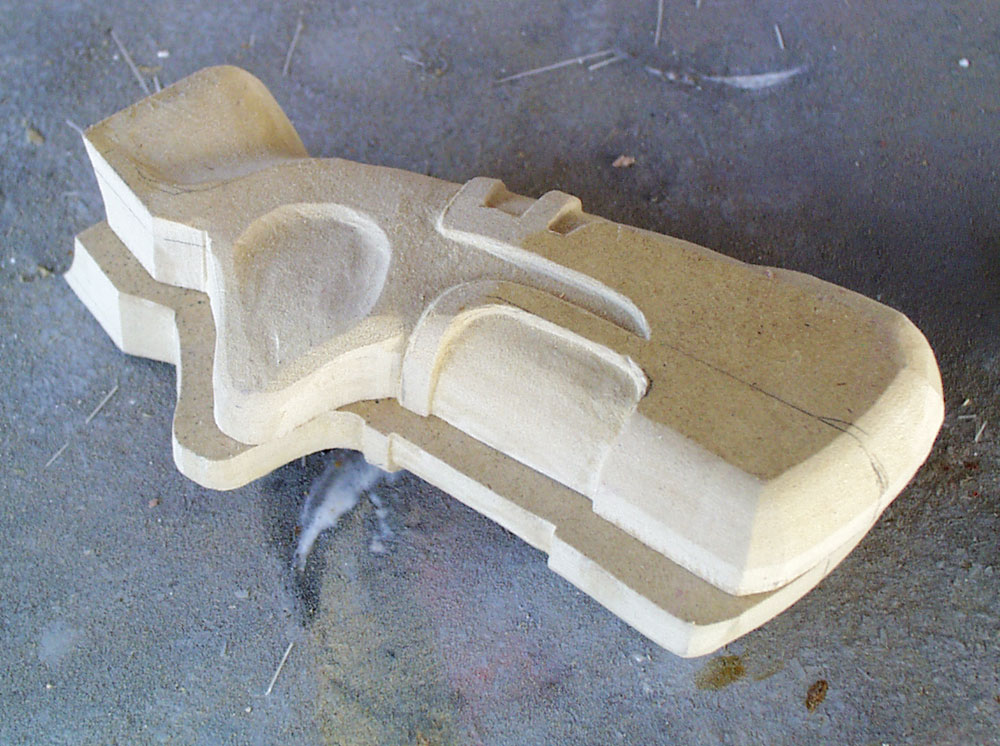
I carved the recessed areas to the grip.
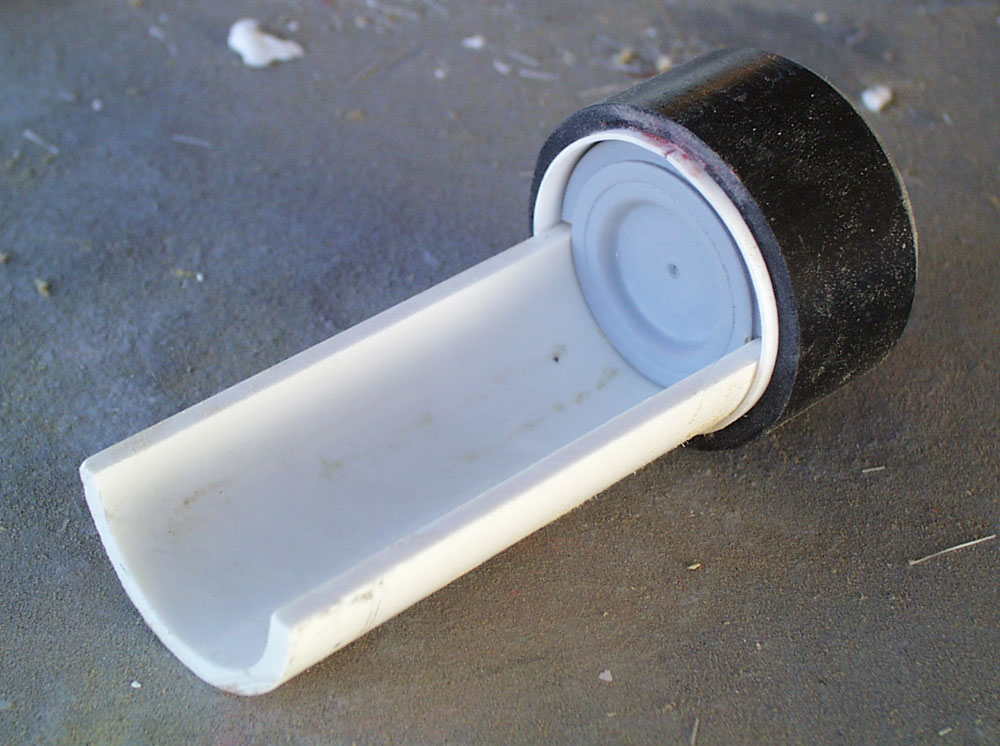
The slide was made from a section of PVC. I lathed an interior to the cap from MDF.
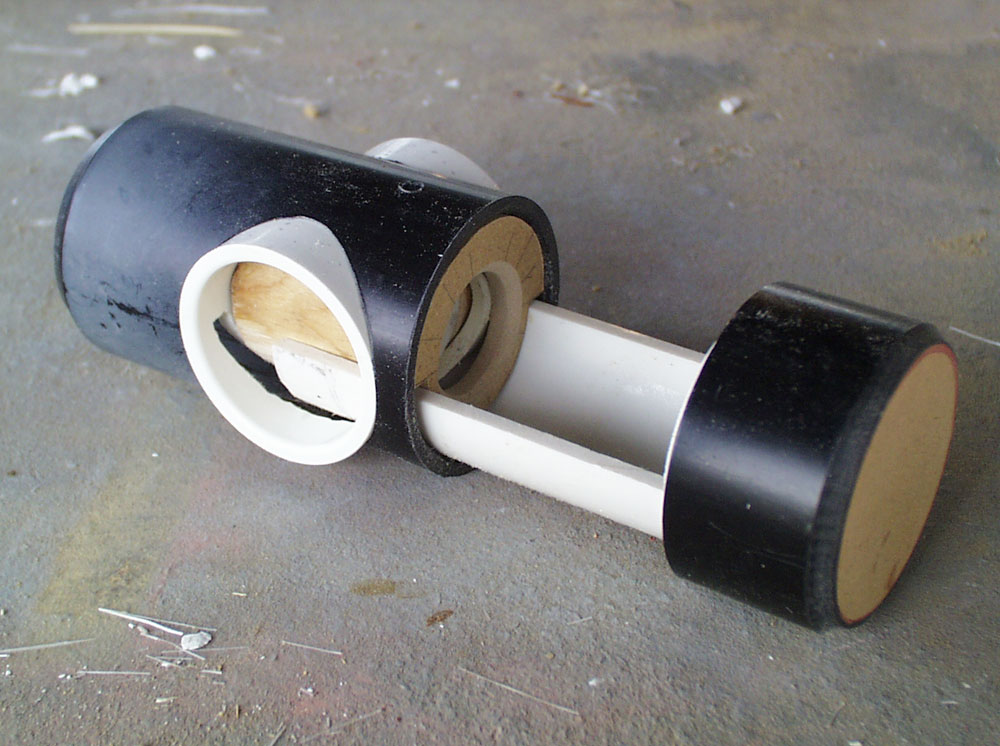
I cut a slot in the pivot PVC to allow the slide to move through.
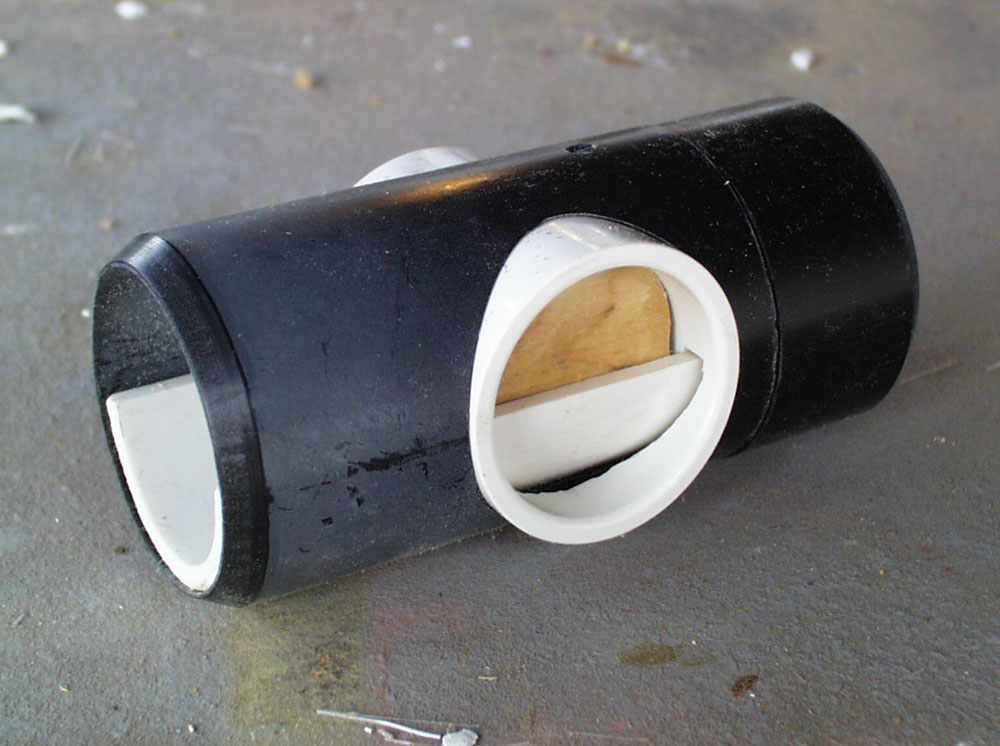
The closed breach.
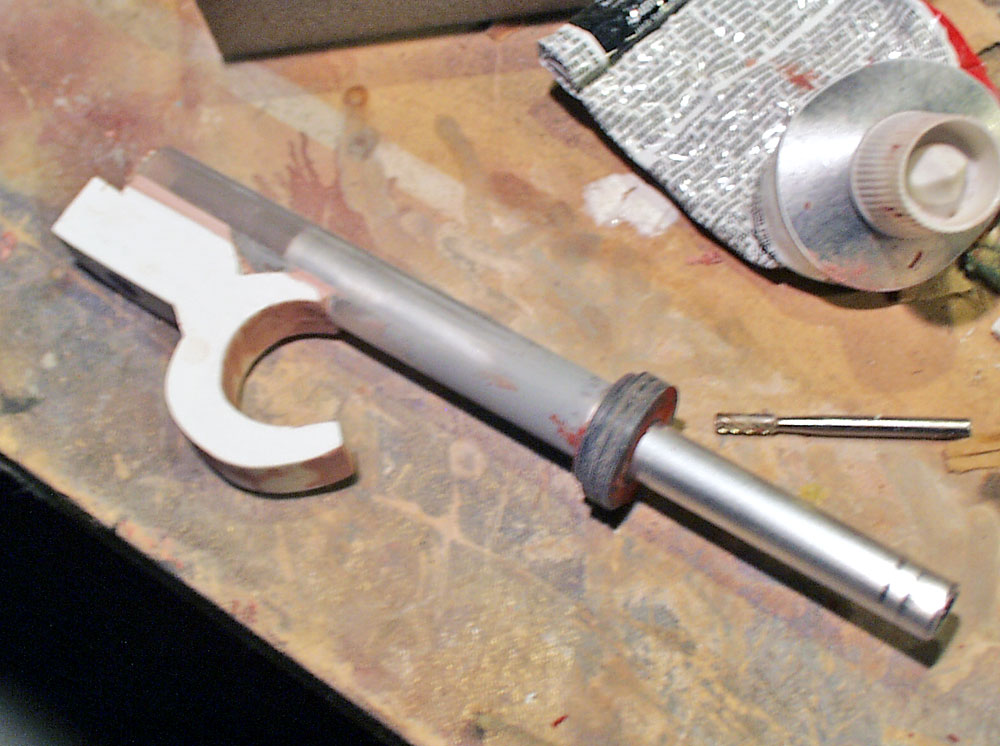
The trigger assembly was made from an acrylic rod with a sliding aluminum tube inserted. The trigger was made from laminated styrene sheets.

I screwed and epoxied the grip to the receiver and capped the pivot with 1/4″ MDF.
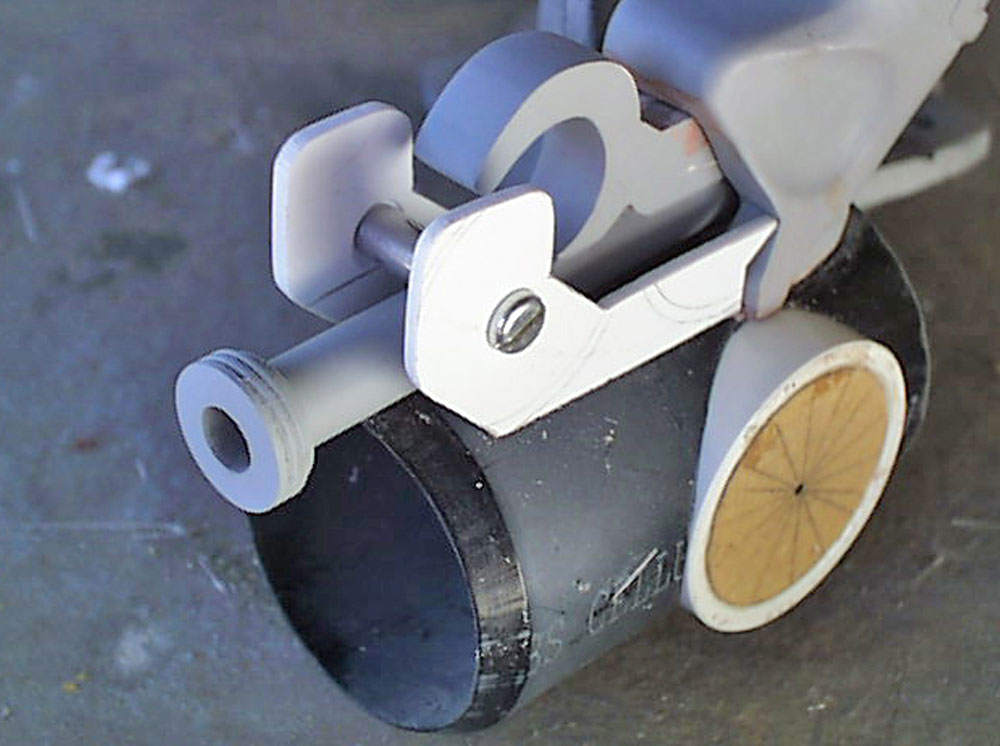
The trigger guard was made from 1/8″ styrene with an aluminum rod connecting them. There is a compression spring glued behind the trigger so that it moves forward.
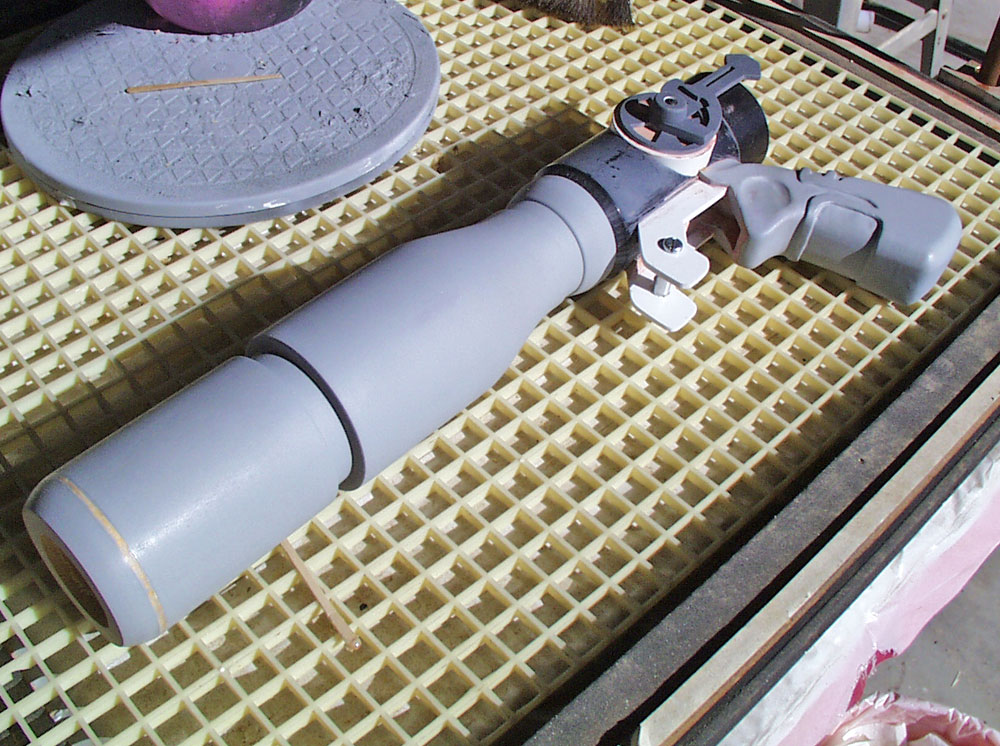
I turned the barrel out of Bass wood on the lathe.
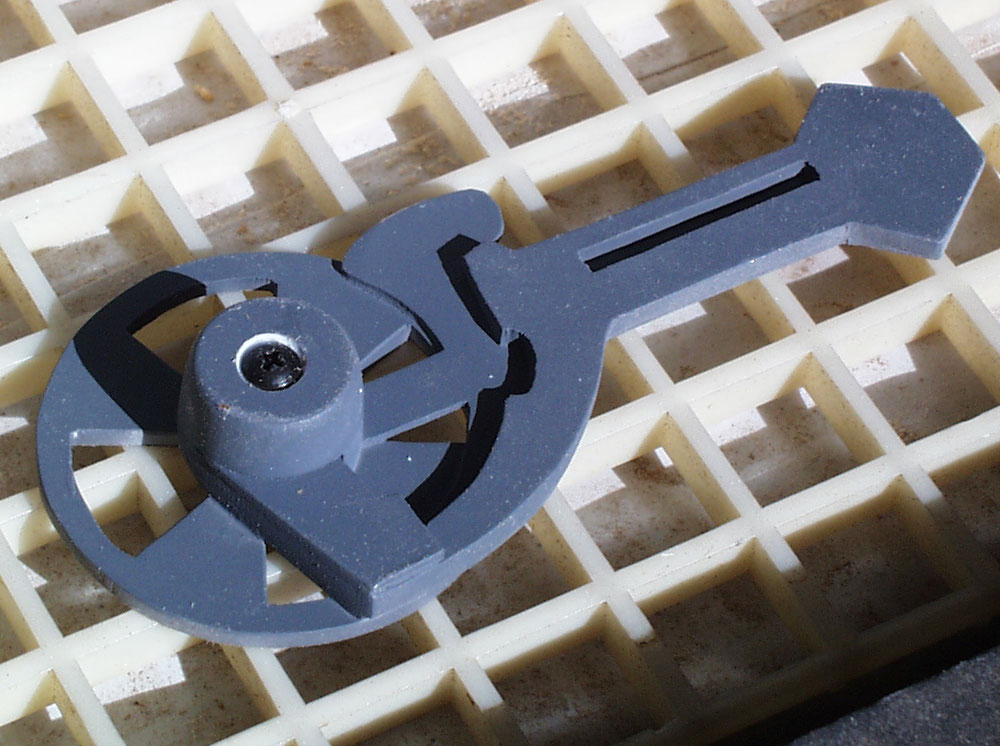
The pivot arms are made from stacked styrene sheets on a steel base.
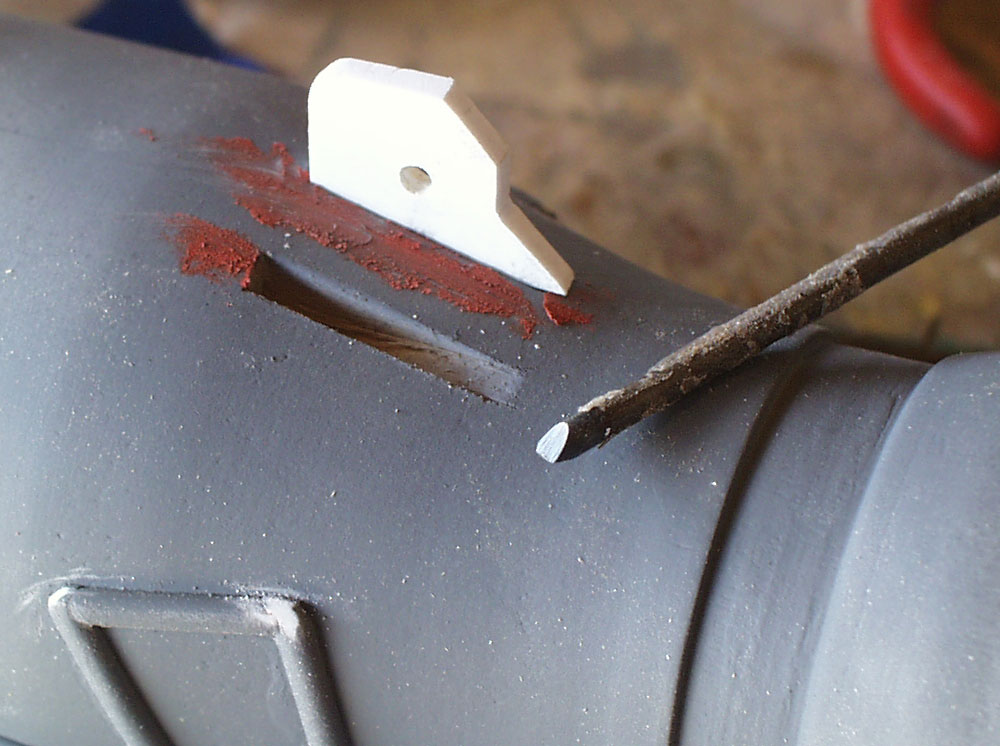
The brackets that hold the other end of the trigger piston are made from 1/8″ styrene. I made a small chisel to carve out the slots in the barrel.

I glued on half-round styrene piping to the gun. The tight curves were heated first.
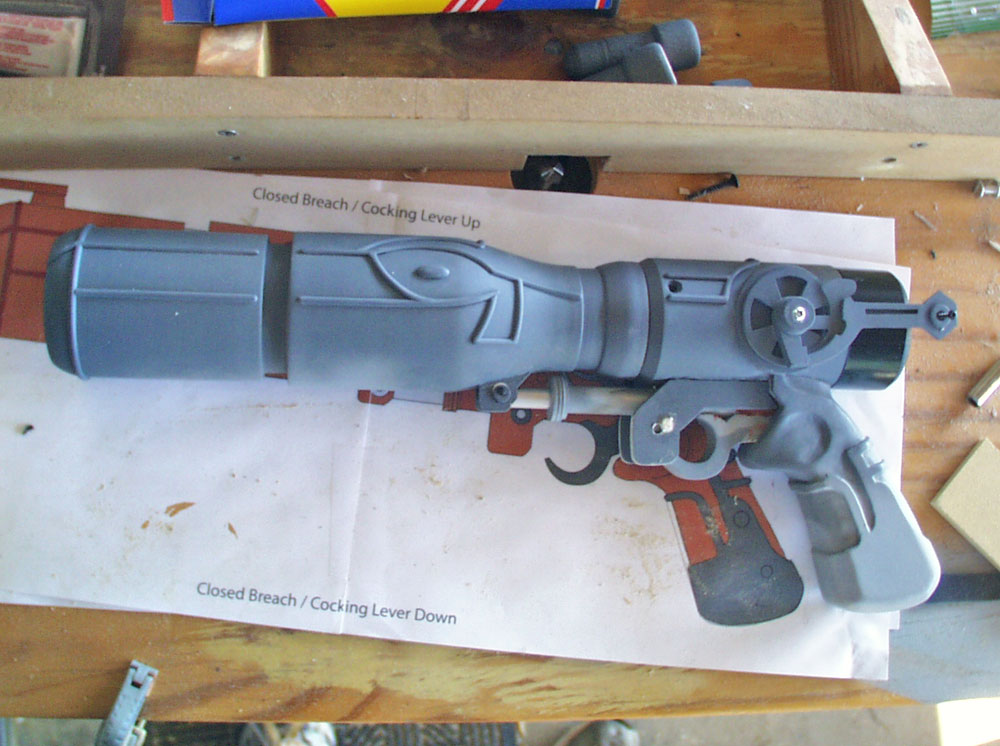
The piping completed and primered.
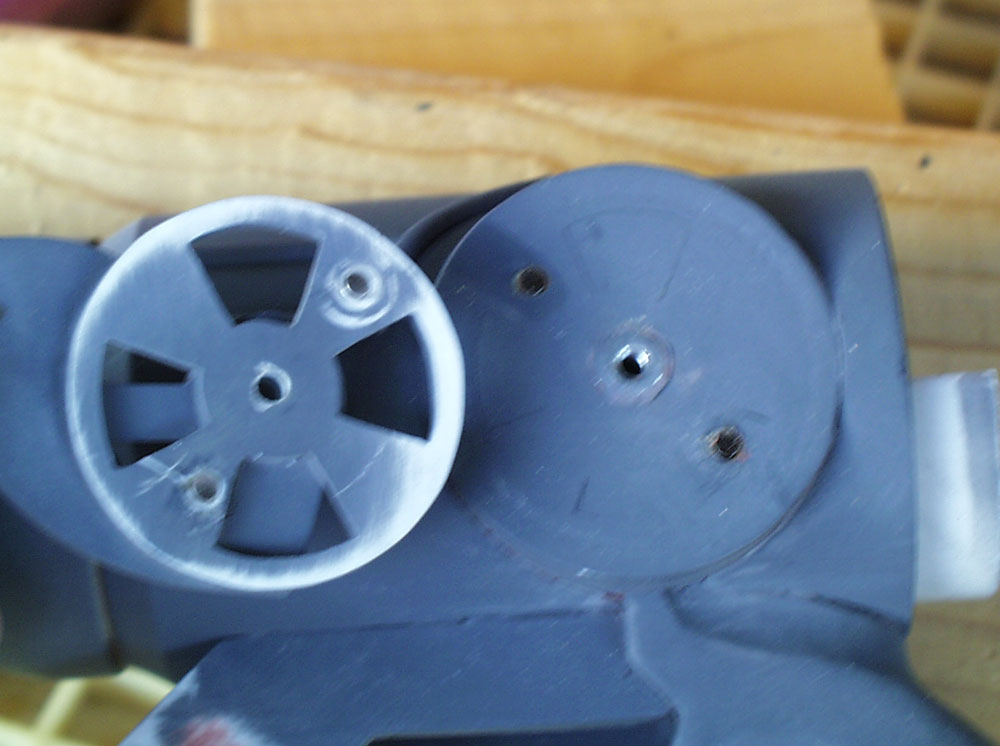
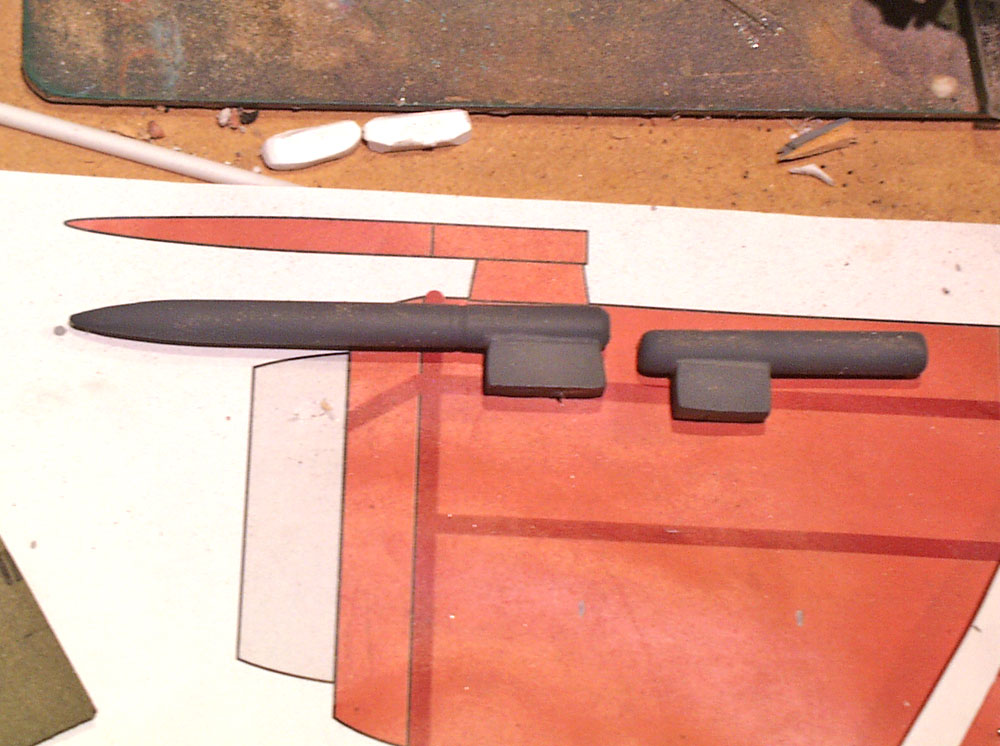
The sights were made from 1/8″ acrylic rods glued to styrene blocks.
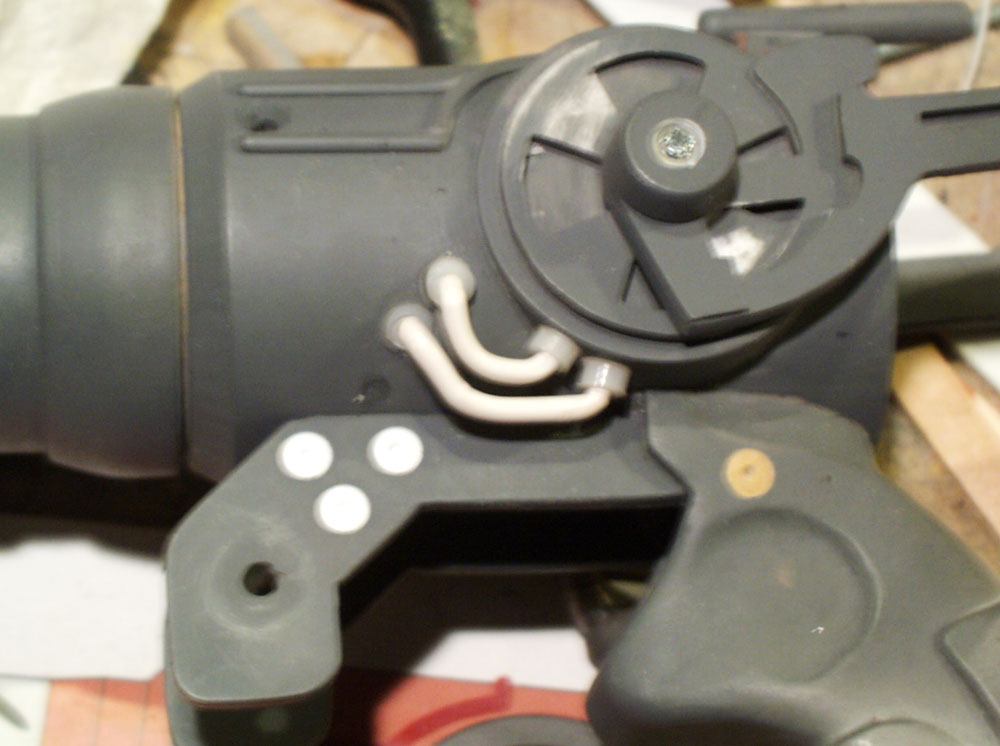
I heat formed styrene rods for the tubes on either side.

The only gold color I could find that matched my screen caps was a Krylon Farm Equipment paint. It has a great industrial texture that makes it look like cast iron.
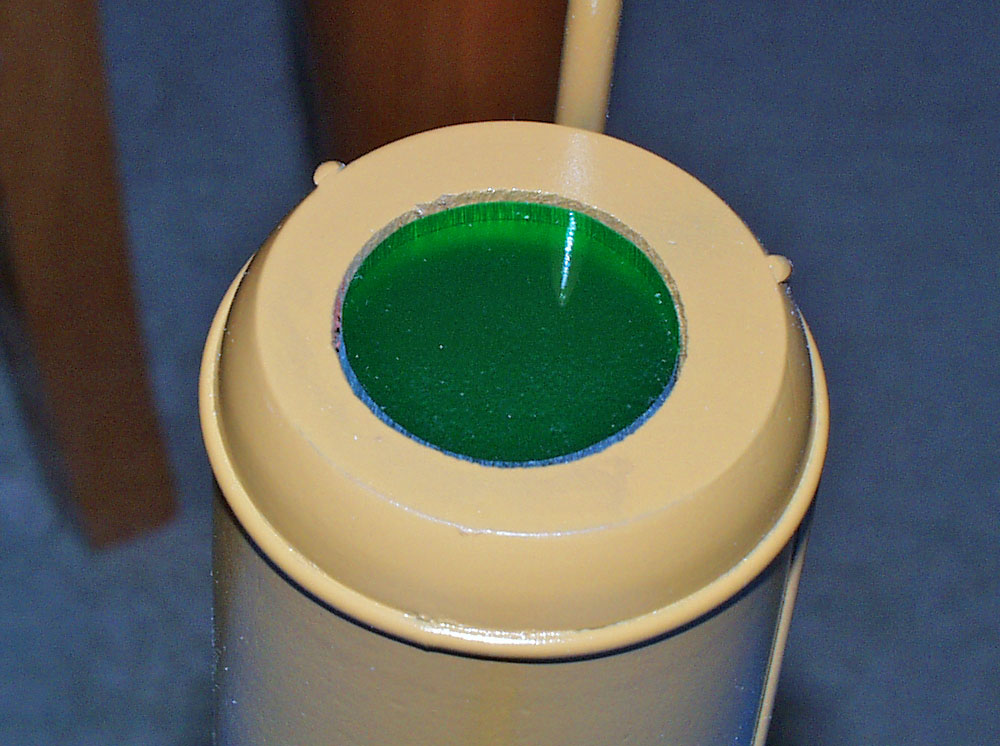
I back painted green acrylic and inserted it into the barrel.
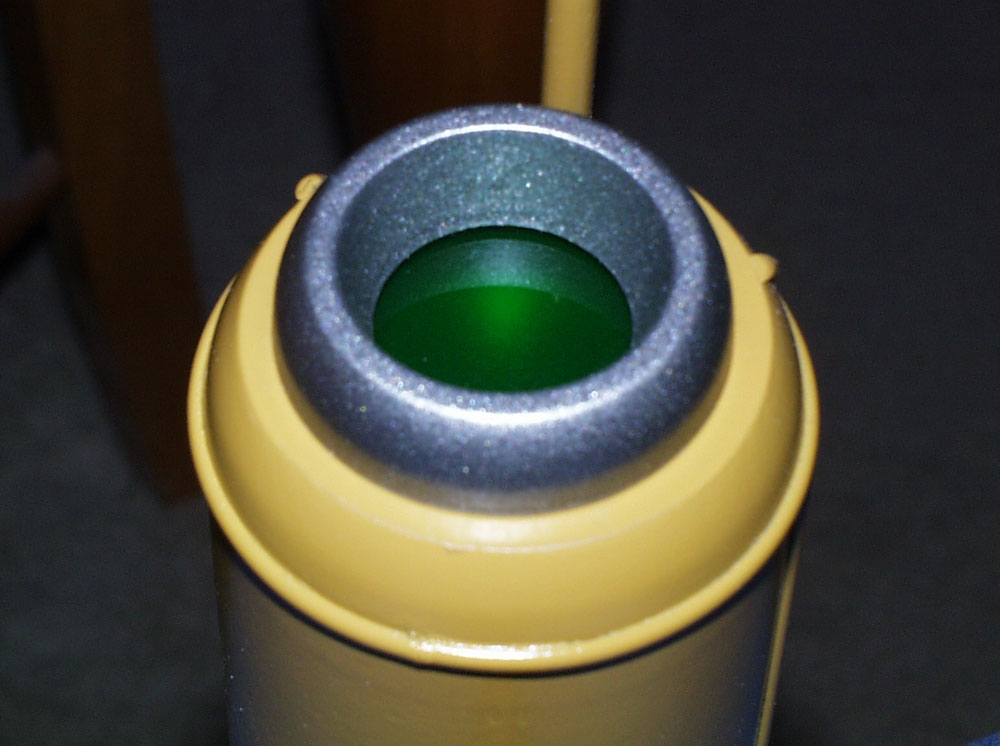
The muzzle ring is glued on over the acrylic.
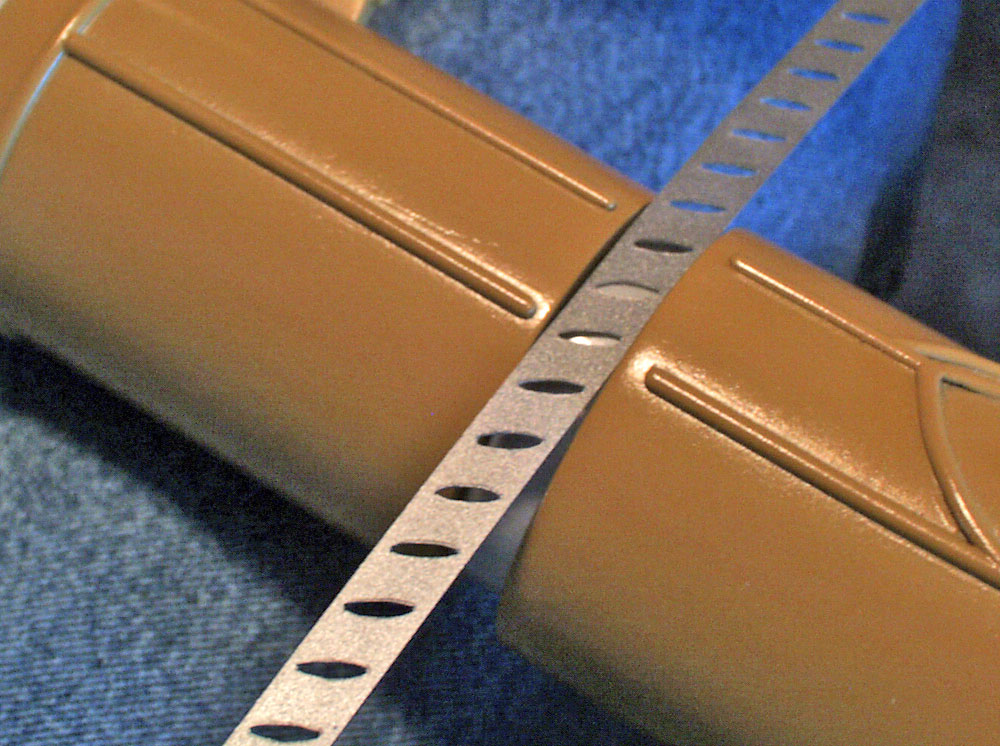
The vents holes were cut from a thin sheet of styrene. It was glued over reflector tape….
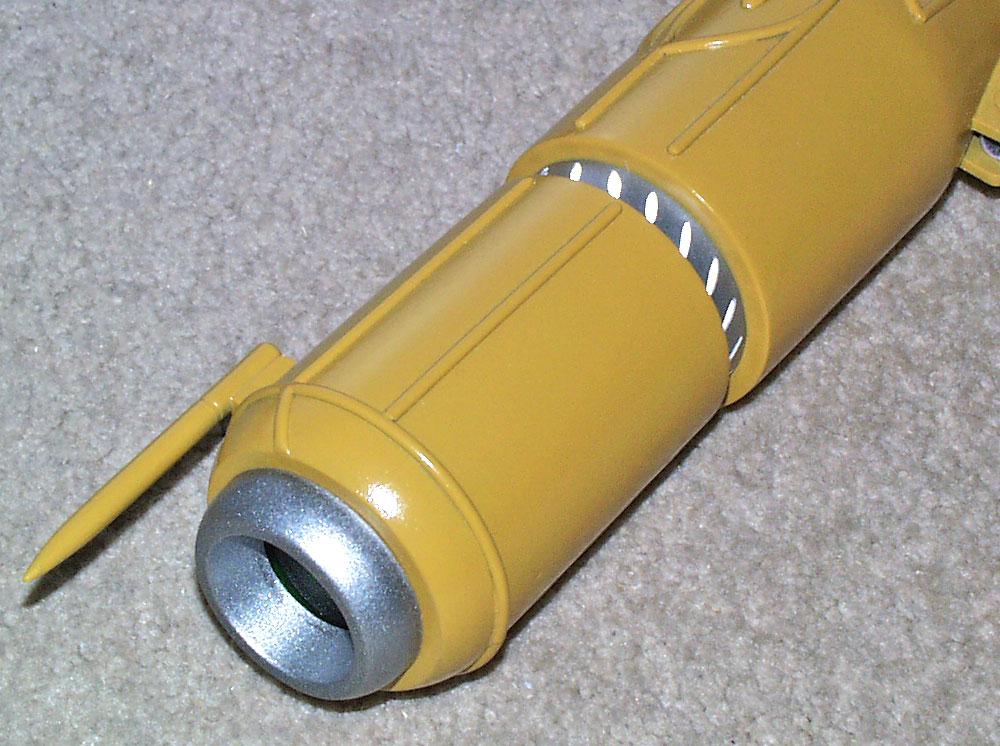
…so that it would glow under a camera flash!
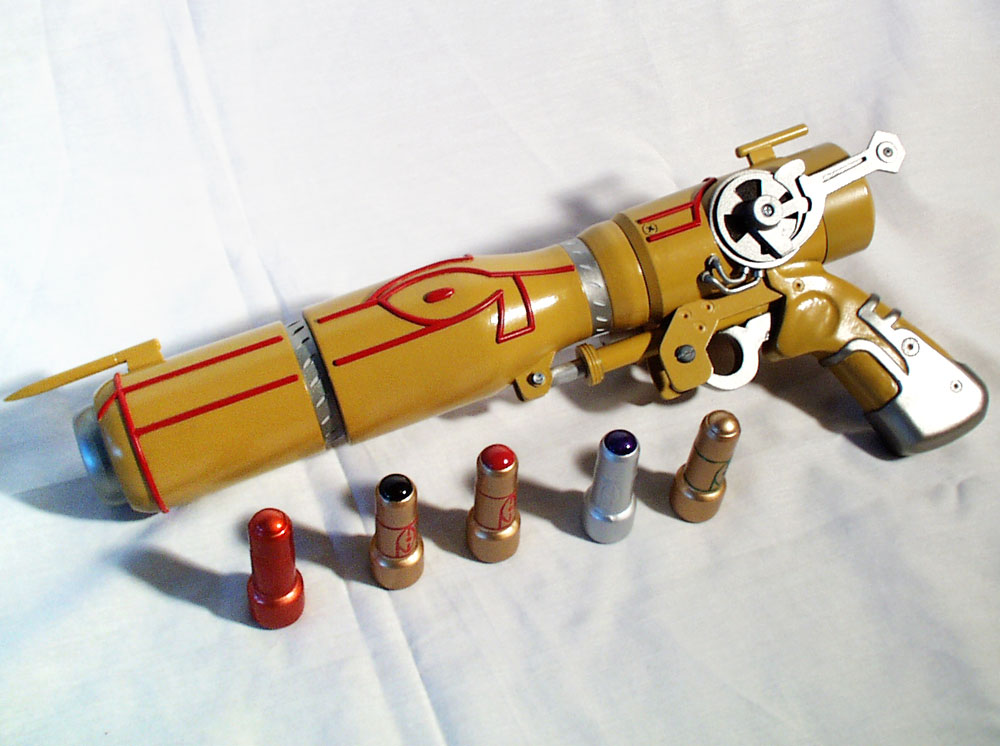
Here is the final assembled gun.
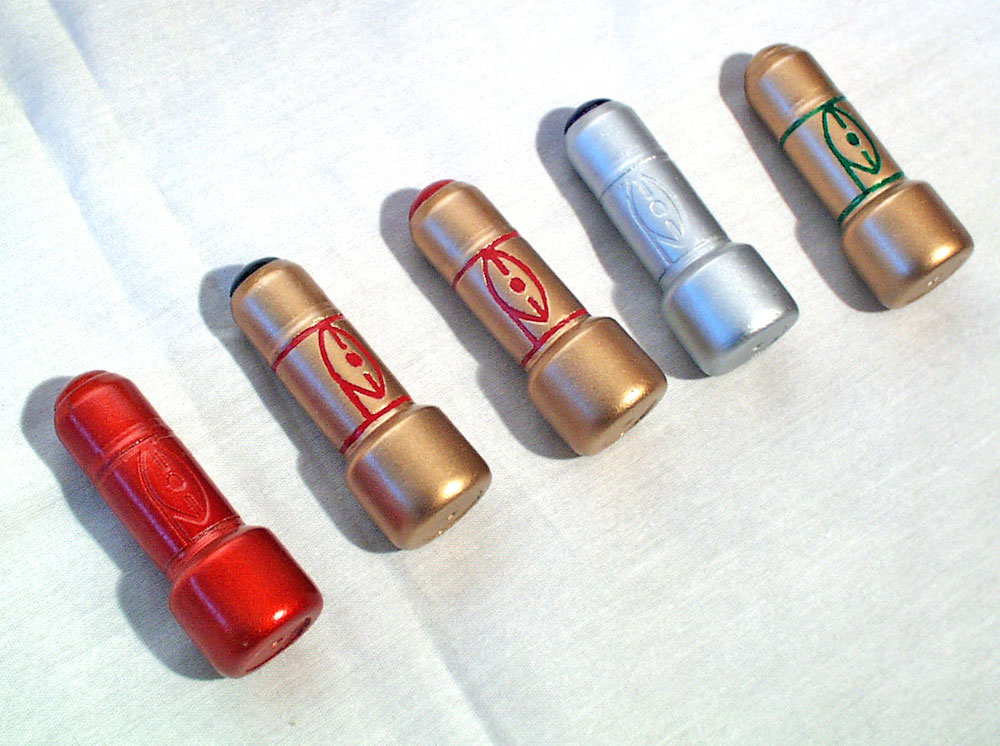
The individual shells painted to show accurate specs. FYI, there are 20 different shells on the show.
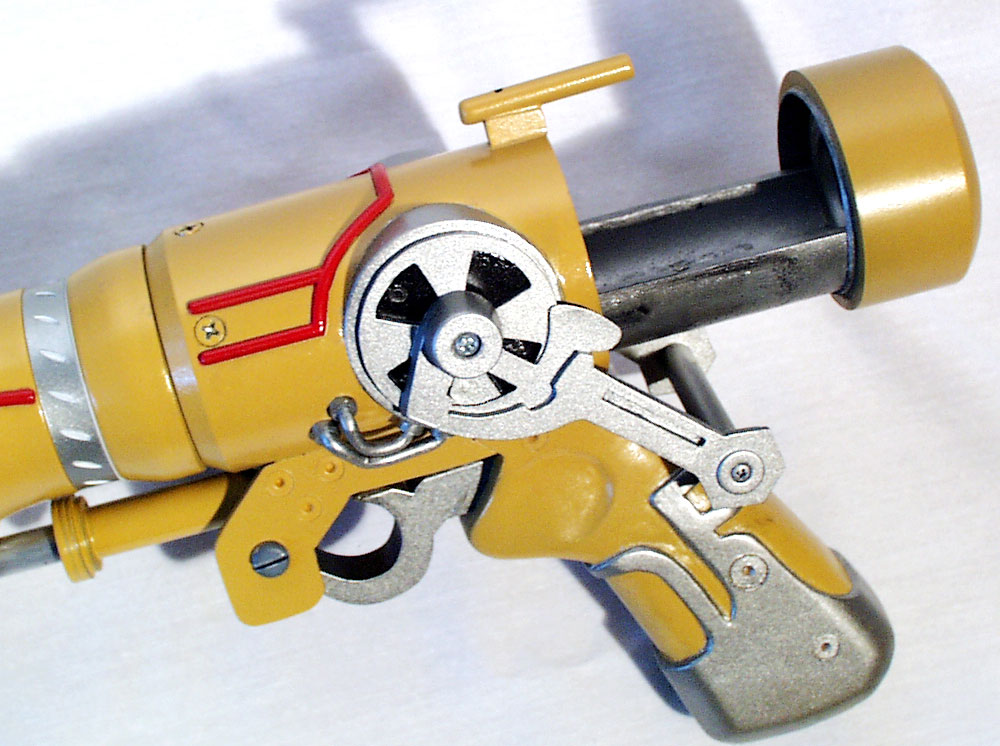
Detail of the receiver.
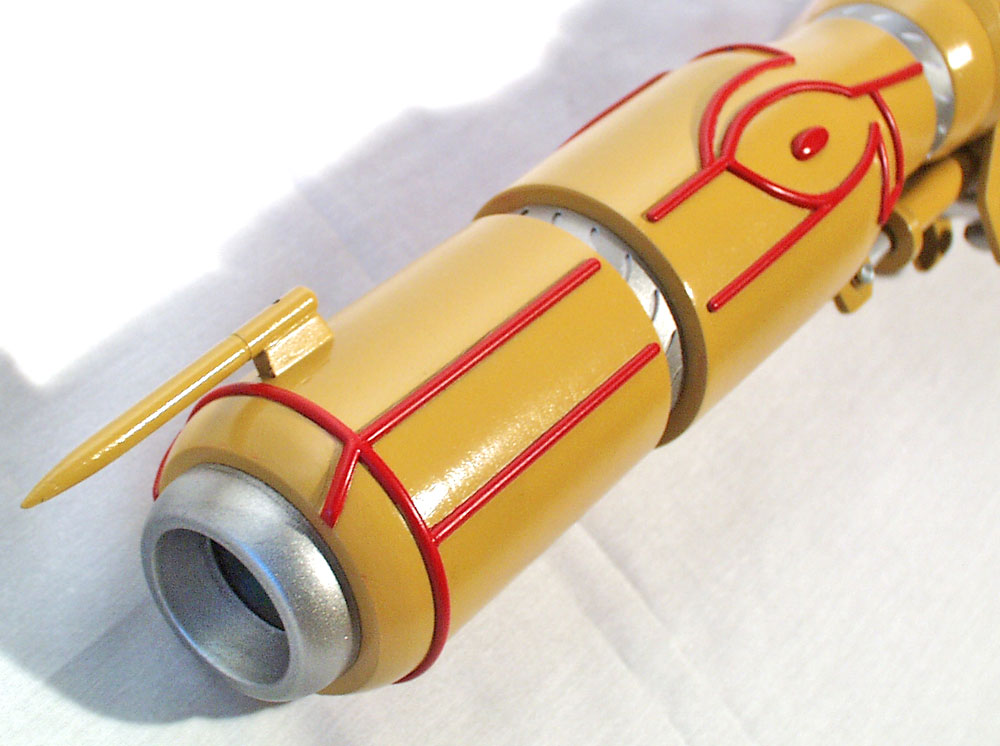
Detail of the barrel.
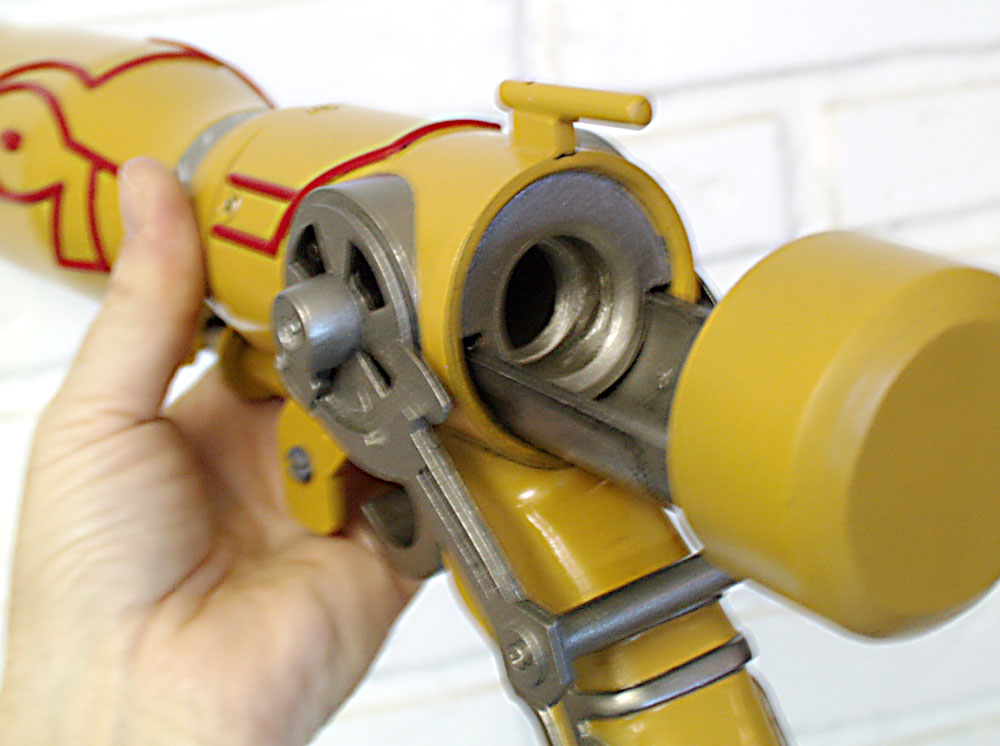
The arm swivels down and the breach opens.

A shell inserted.
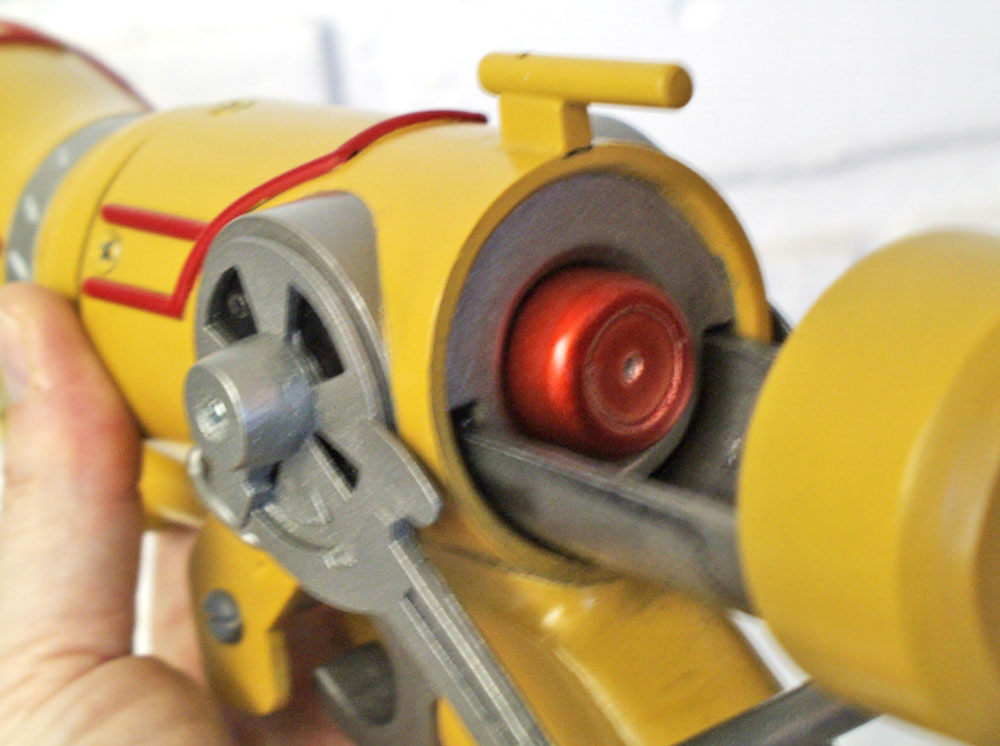
The shell seated.
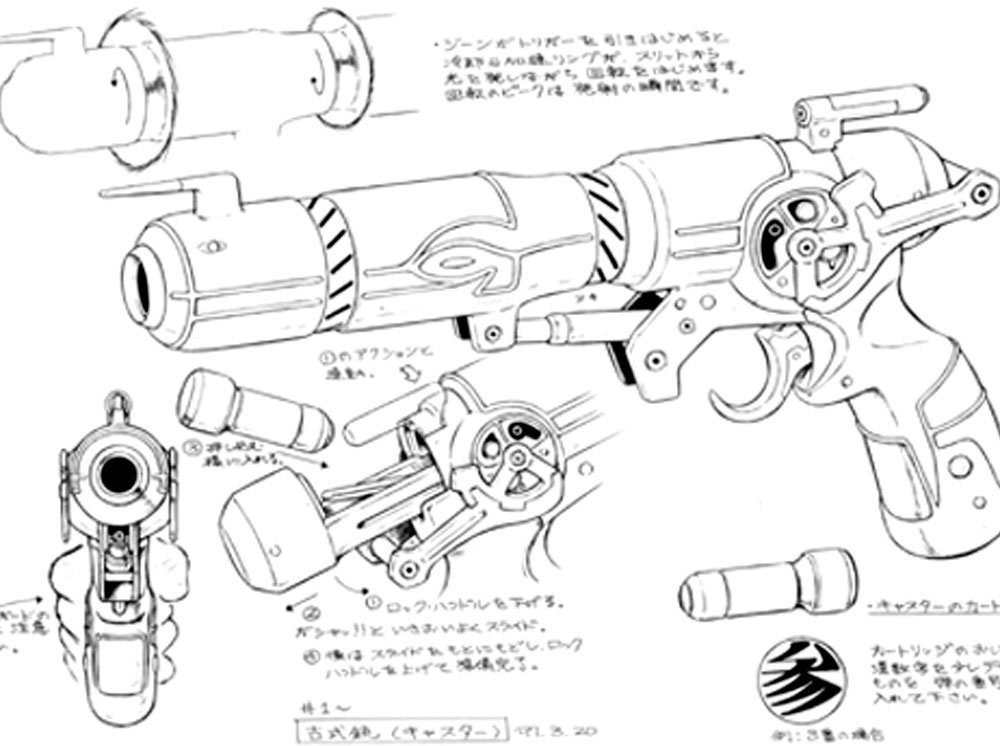
After I created my original Outlaw Star Caster Gun, I was besieged with requests for another one. I was commissioned to create another replica in August of 2009 and with the help of my sharp-eyed client, refined the design to be far more accurate.
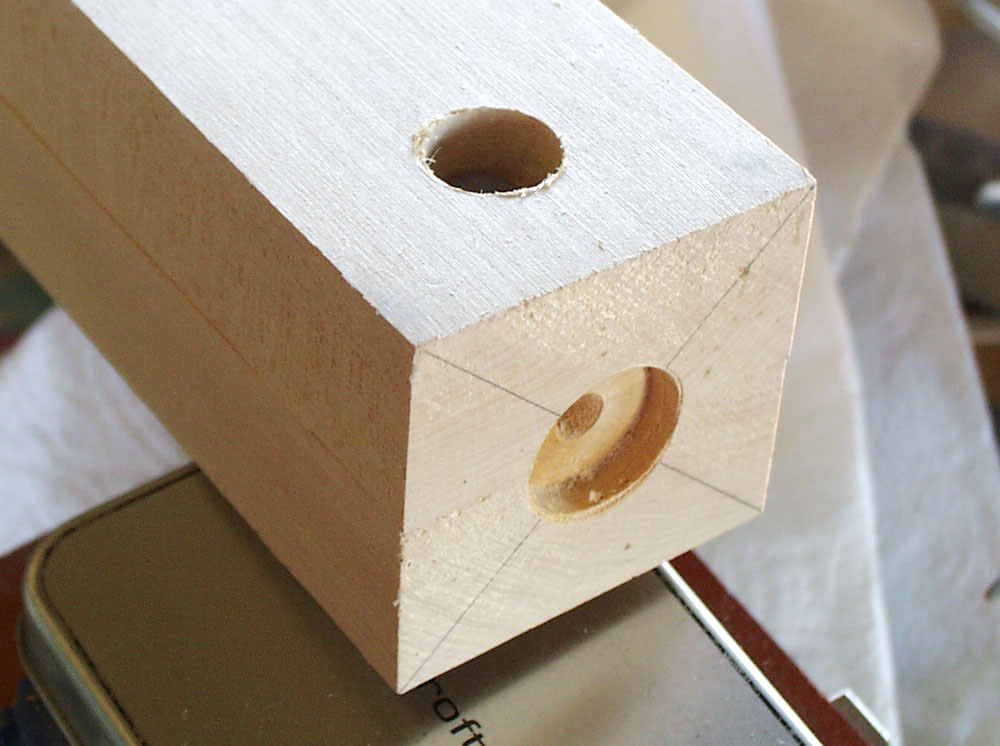
I started to build the Caster barrel by bolting two pieces of bass wood together for lathing. Since the barrel will be molded, I needed to be able to separate it in two halves.
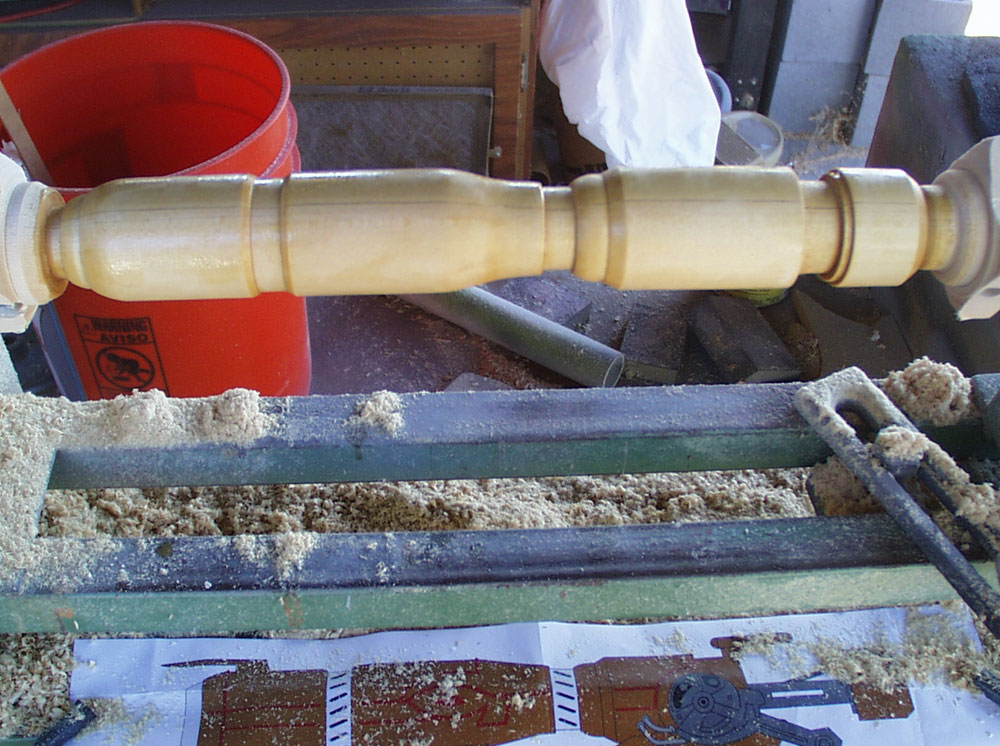
The barrel and end cap lathed.
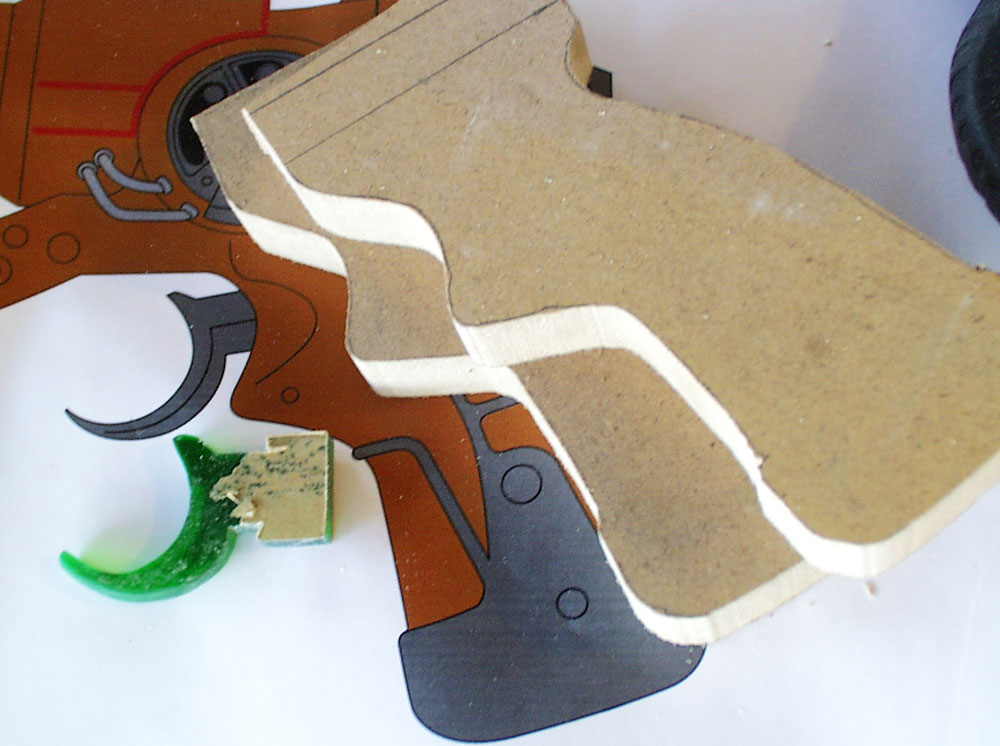
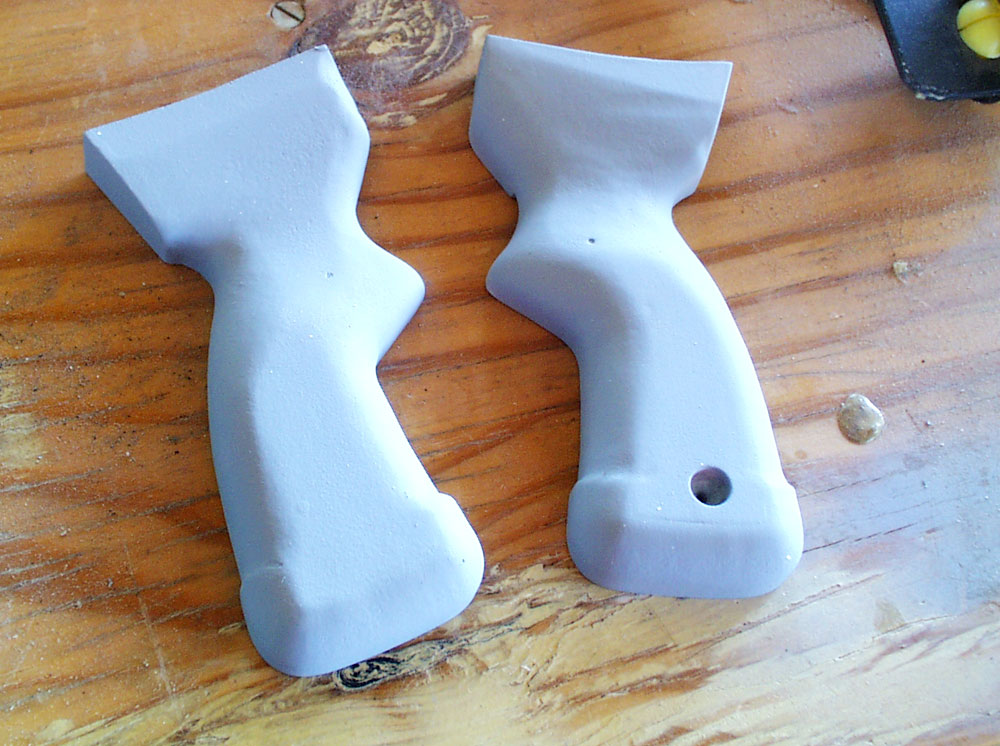
I made a master for the trigger out of a scrap of green acrylic. The grip halves were cut from 3/4″ MDF.
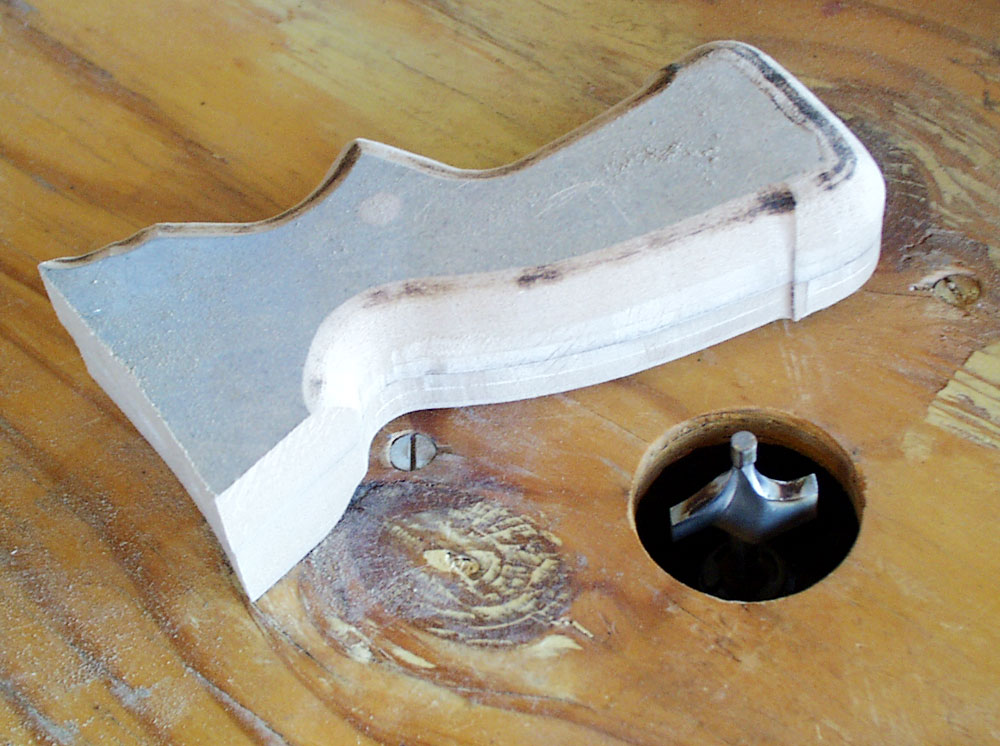
I temporarily glued the grip halves together for shaping. I started by rounding the edges with a router.
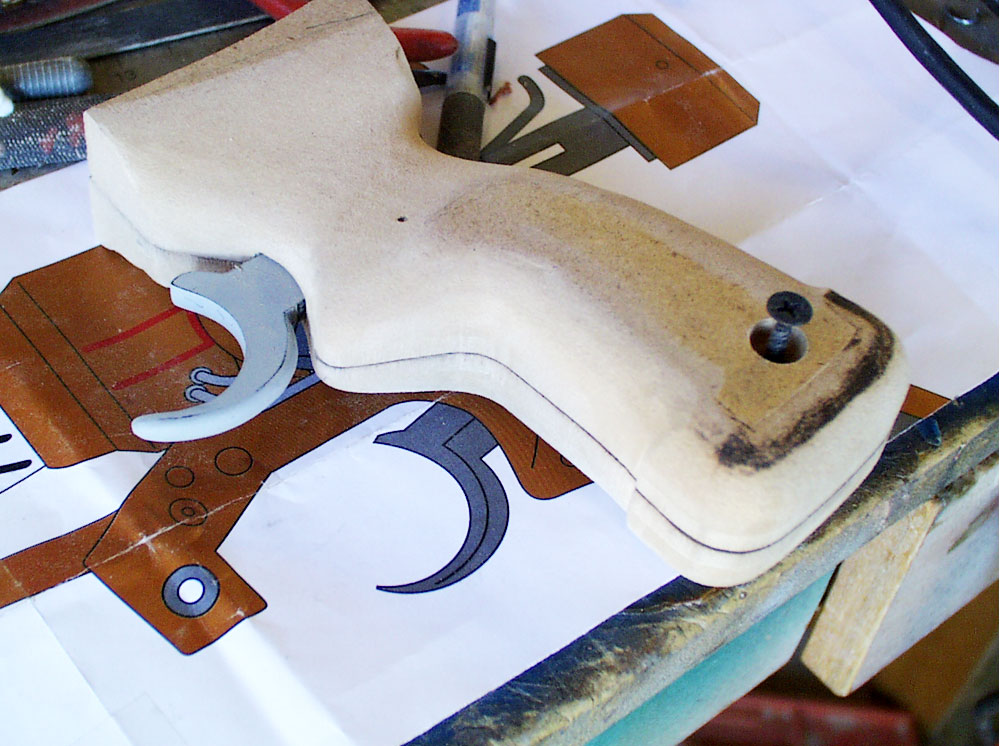
After some shaping with the Dremel, the basic shape of the grip is done.
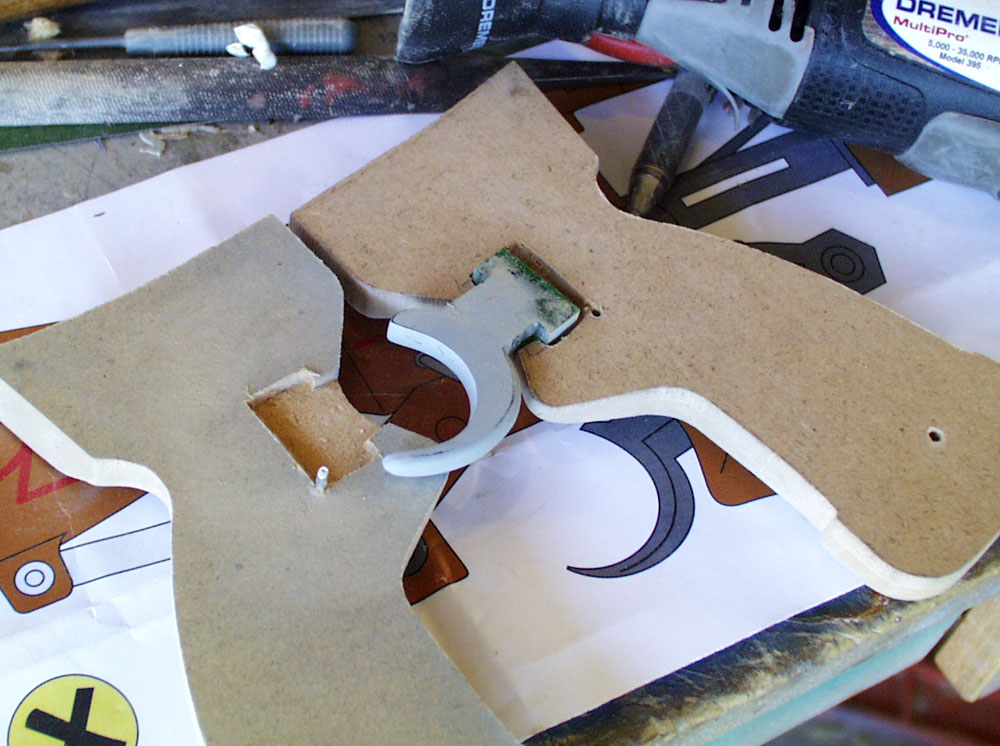
I cut a slot in each half for the trigger to slide in.
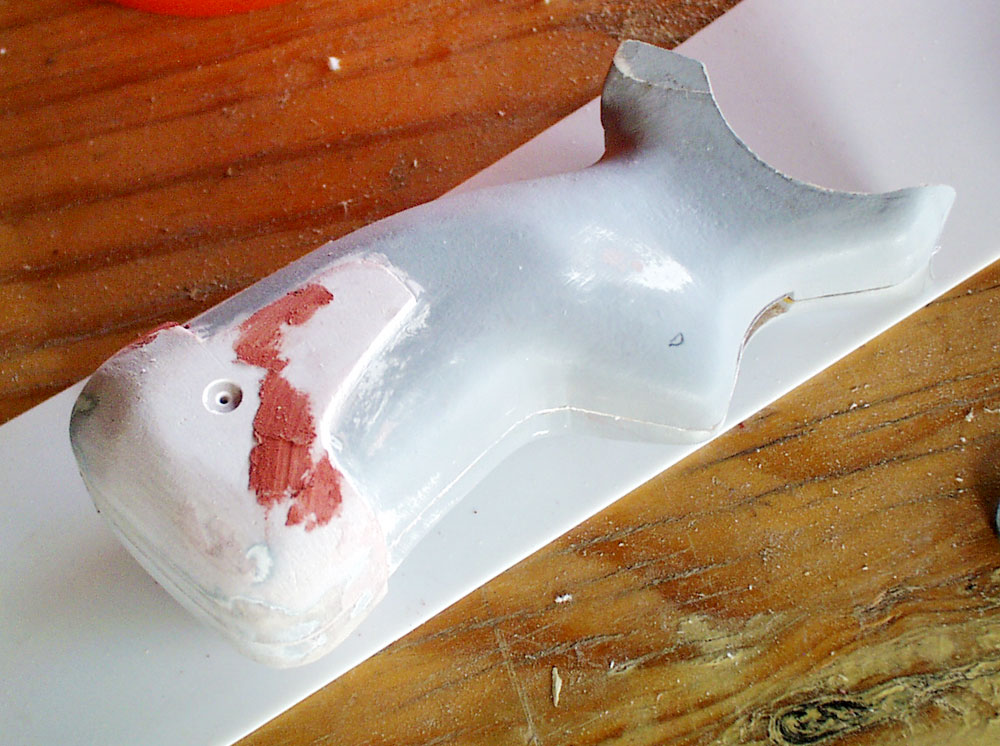
I built up the pistol butt with Bondo.

The grip piping was made by bending half-round styrene.

The grip finished.
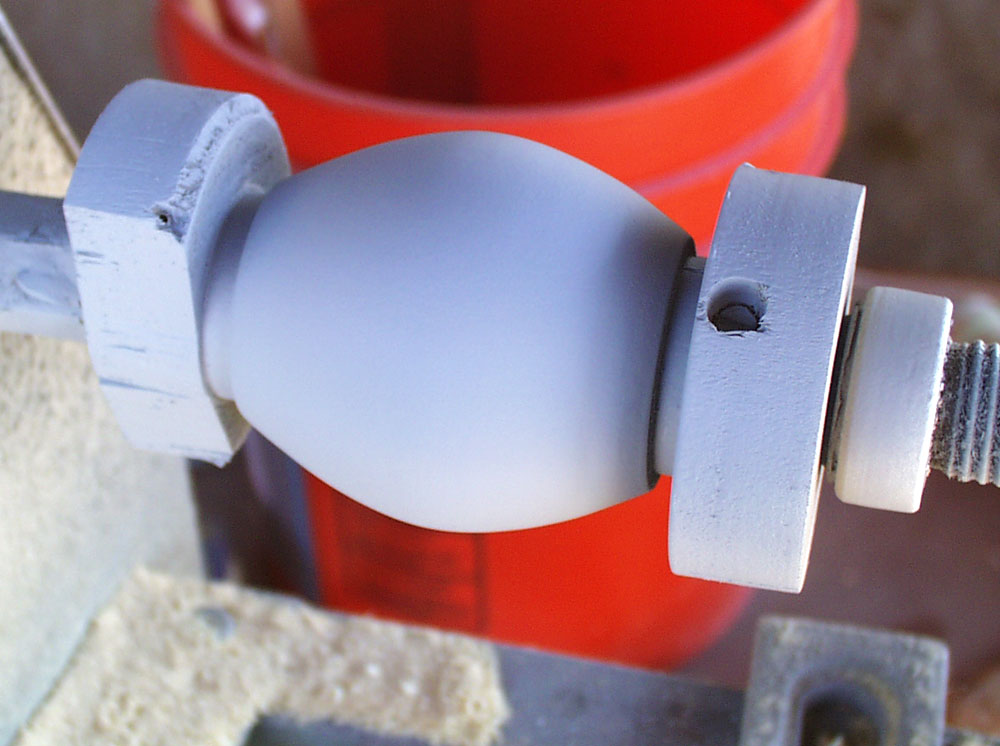
I lathed the breach arm junction out of basswood. The missing chunk at the left broke off during the process and would have brained me if I hadn’t been wearing a face shield!
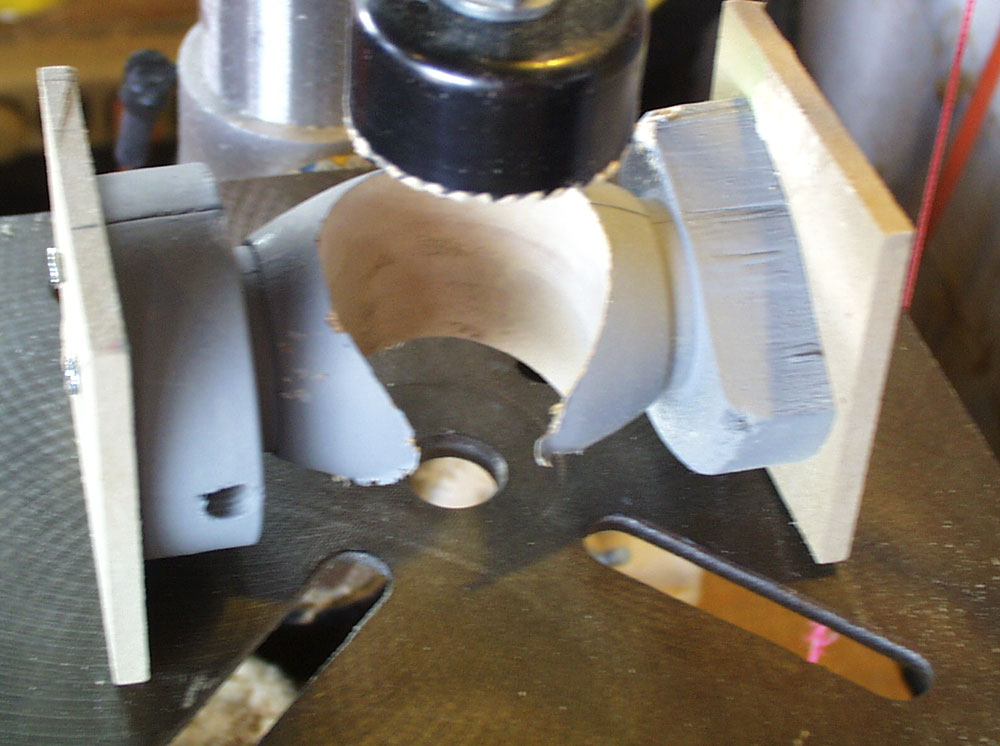
I drilled out the center of the junction block.
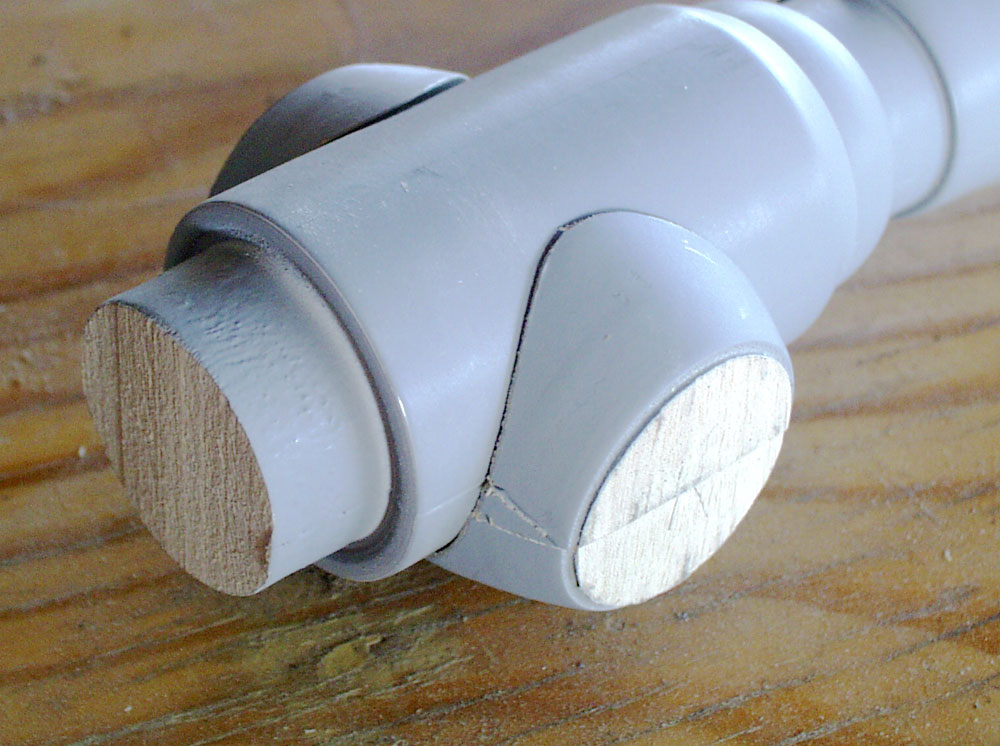
The junction block in place over the Caster body.
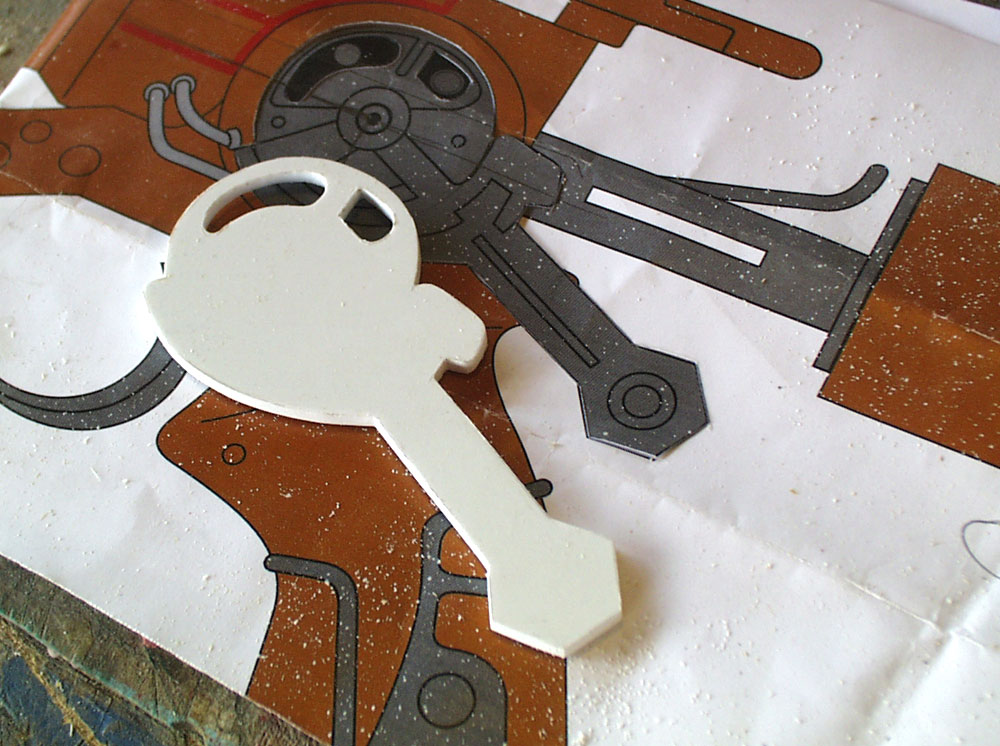
The breach lever arm base was cut from thick styrene plastic.
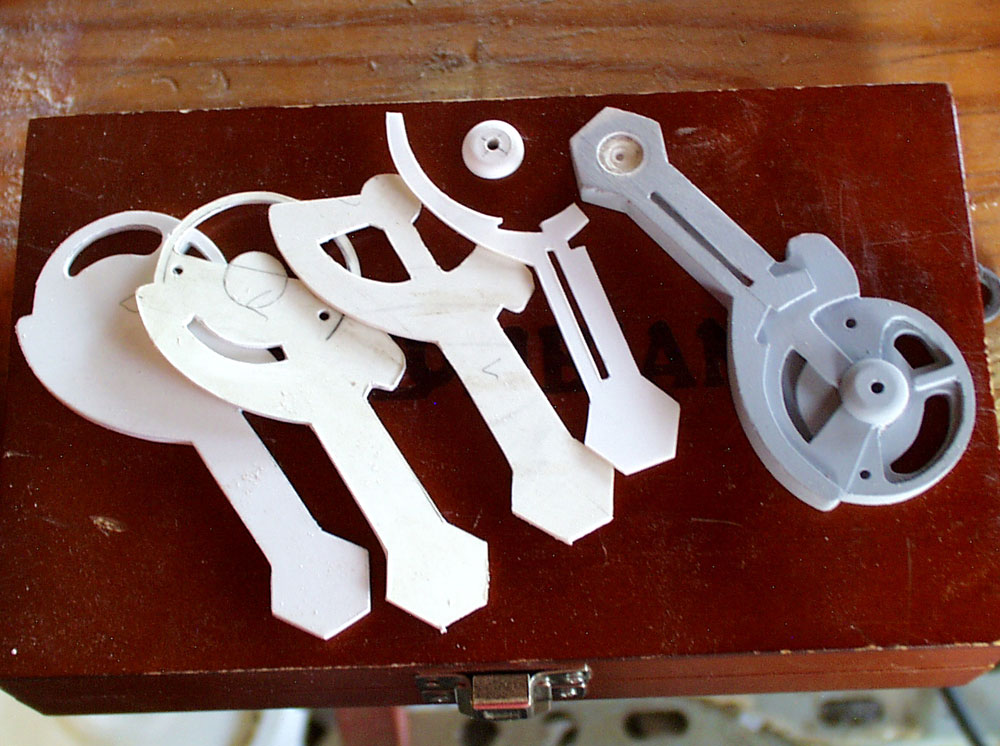
The arm detail was made by cutting layers of styrene.
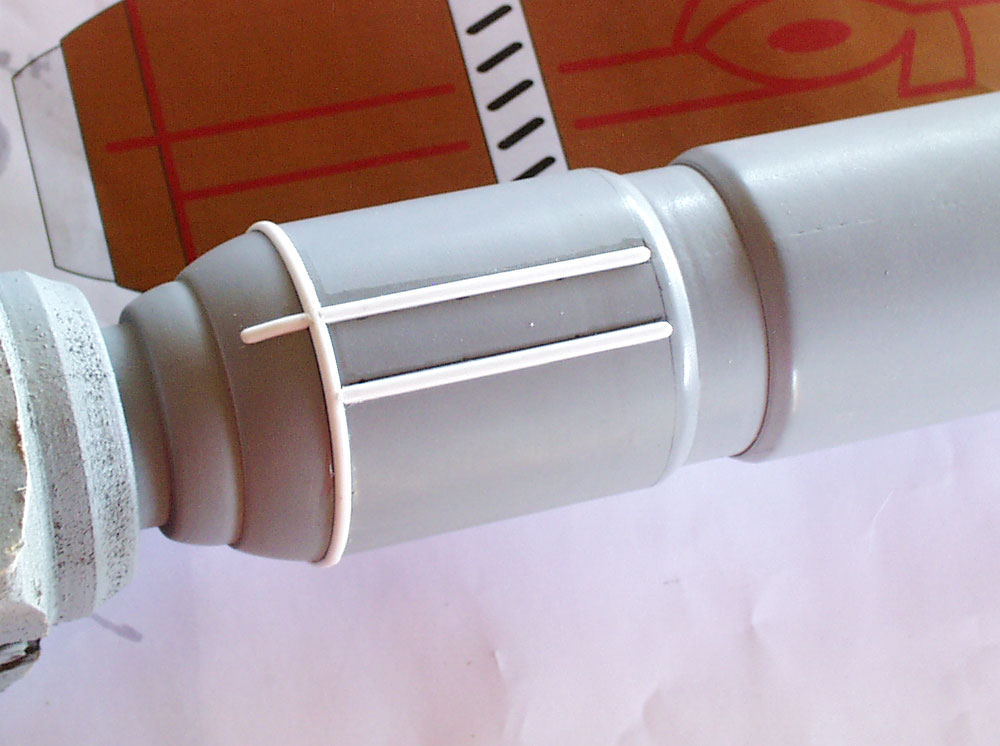
I added the piping to the barrel with half-round styrene.

I used styrene to build up the breach details.
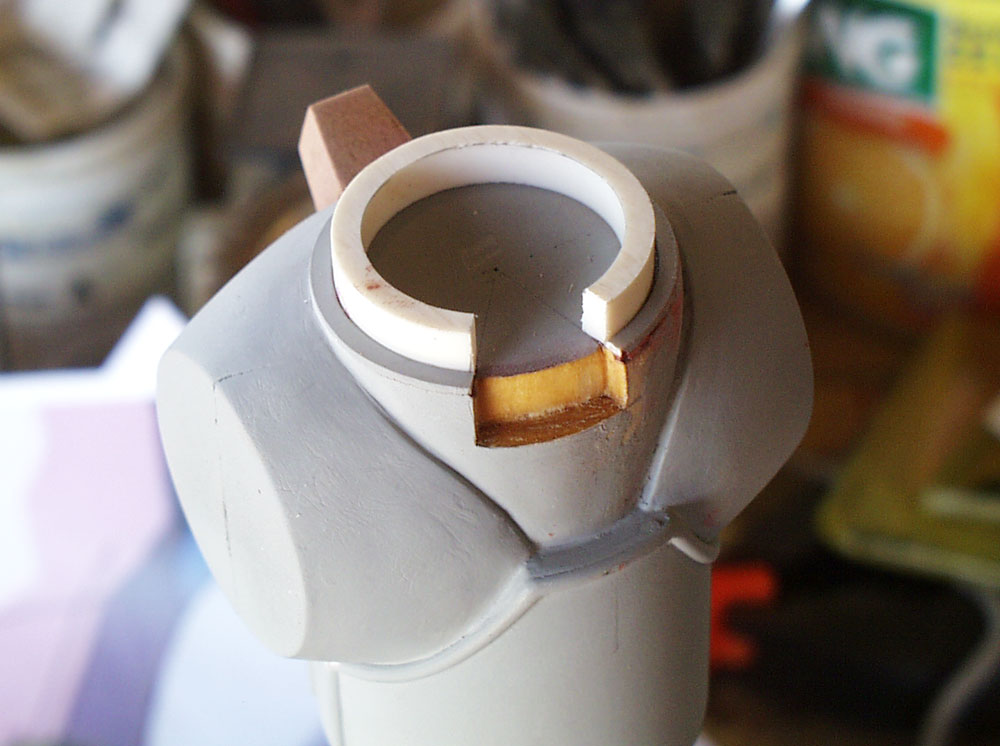
The inner seal for the breach cap was made with a slice of PVC pipe. I also cut away a section for the rear sight to mount to.
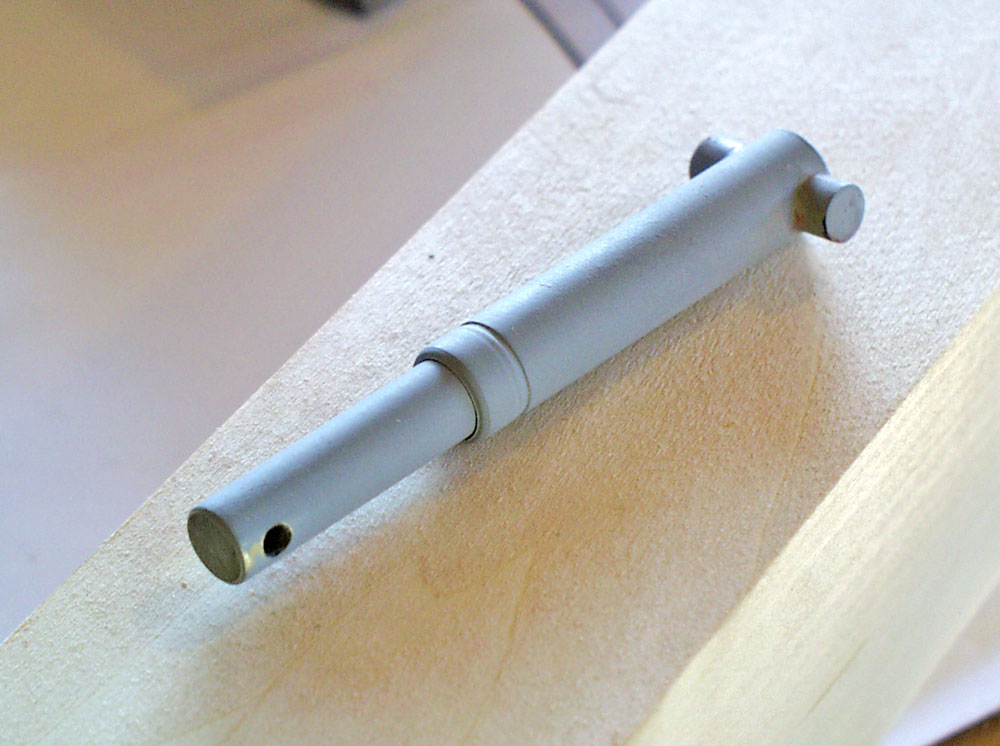
The piston master was made with brass and aluminum tubing.
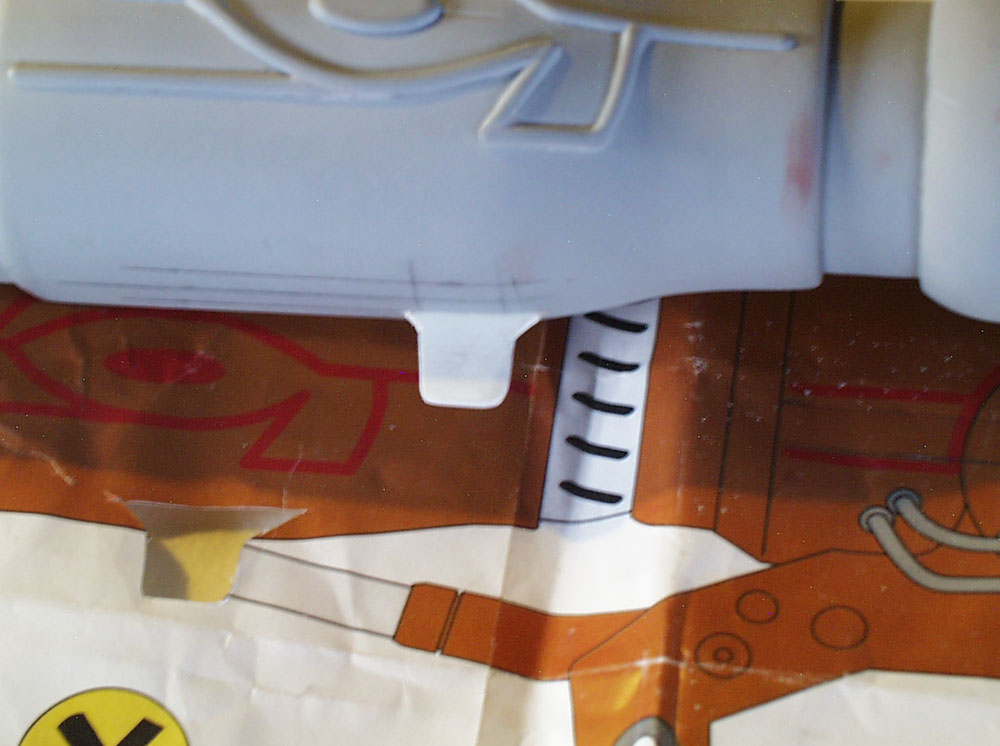
The brackets that hold the piston to the bottom of the barrel were made with thick styrene. To cut the slot in the barrel for the brackets, I sharpened a steel rod into a makeshift chisel.

I had to cut away part of the grip to make room for the trigger guards. It looks sloppy here but I was able to clean up the seam with putty.

The rear sight was made by drilling a hole in acrylic cabochons (domes) and gluing them to the ends of a brass rod.

The piston master was made with brass and aluminum tubing.
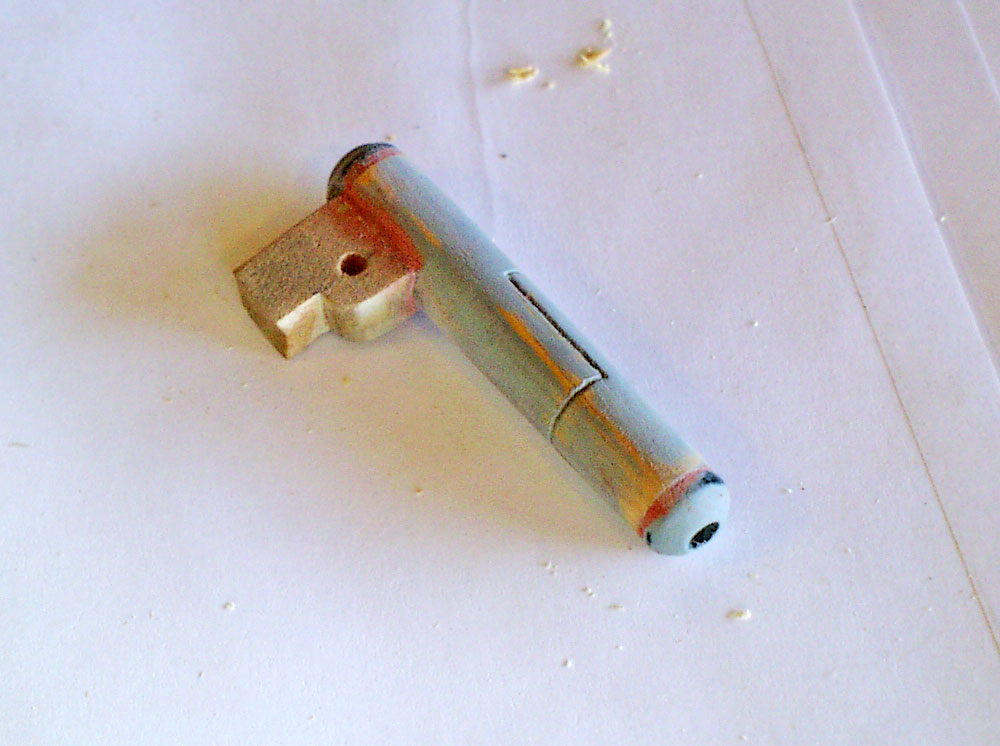
The rear sight was made by drilling a hole in acrylic cabochons (domes) and gluing them to the ends of a wooden dowel. The base is MDF.
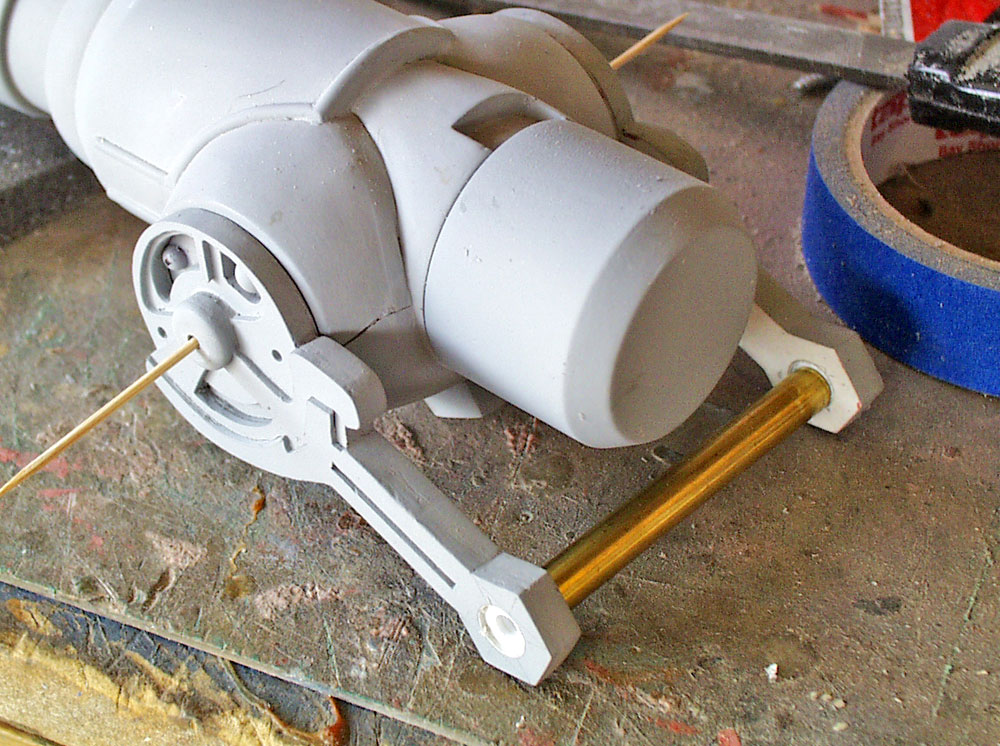
Test fitting the breach arms so I could place the small guide dome. Placed correctly. it limits the breach arm’s range of rotation.
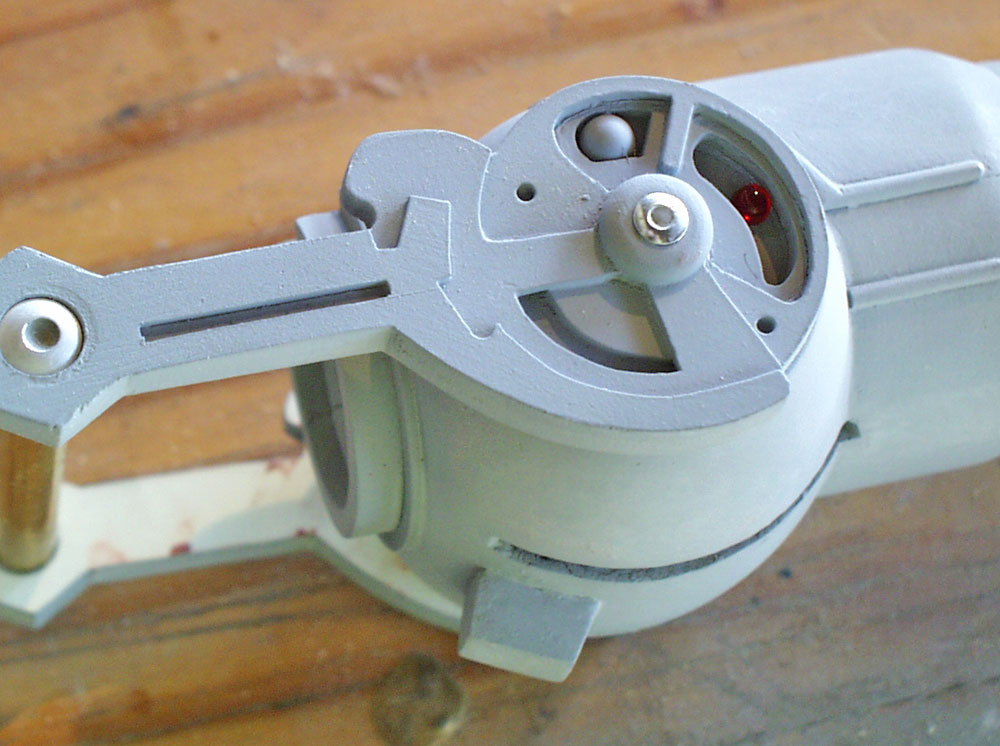
Test fitting the breach arms so I could place the small guide dome. Placed correctly it limits the breach arm’s range of rotation.
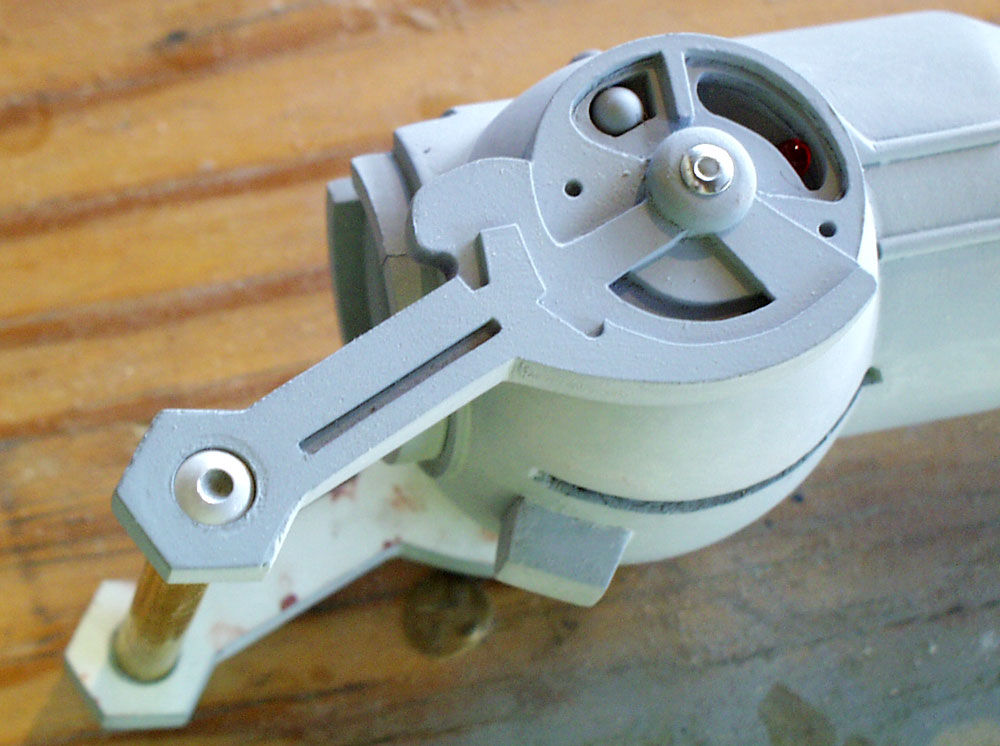
The lowered position. Note the guide dome is at the bottom of the slot.
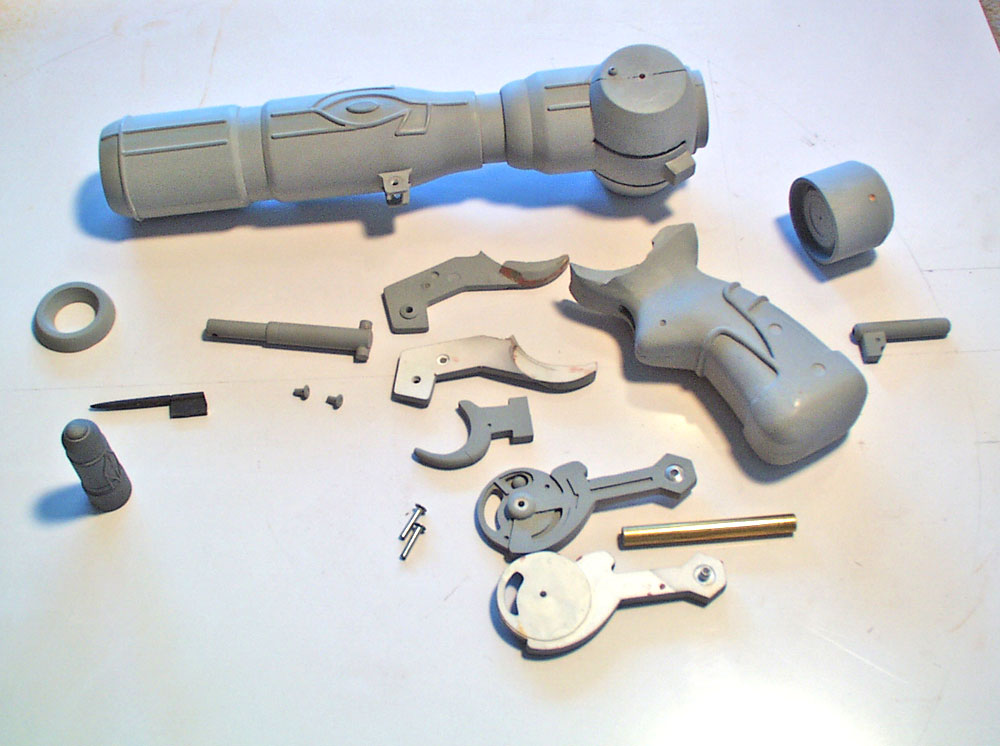
All the parts ready for molding.
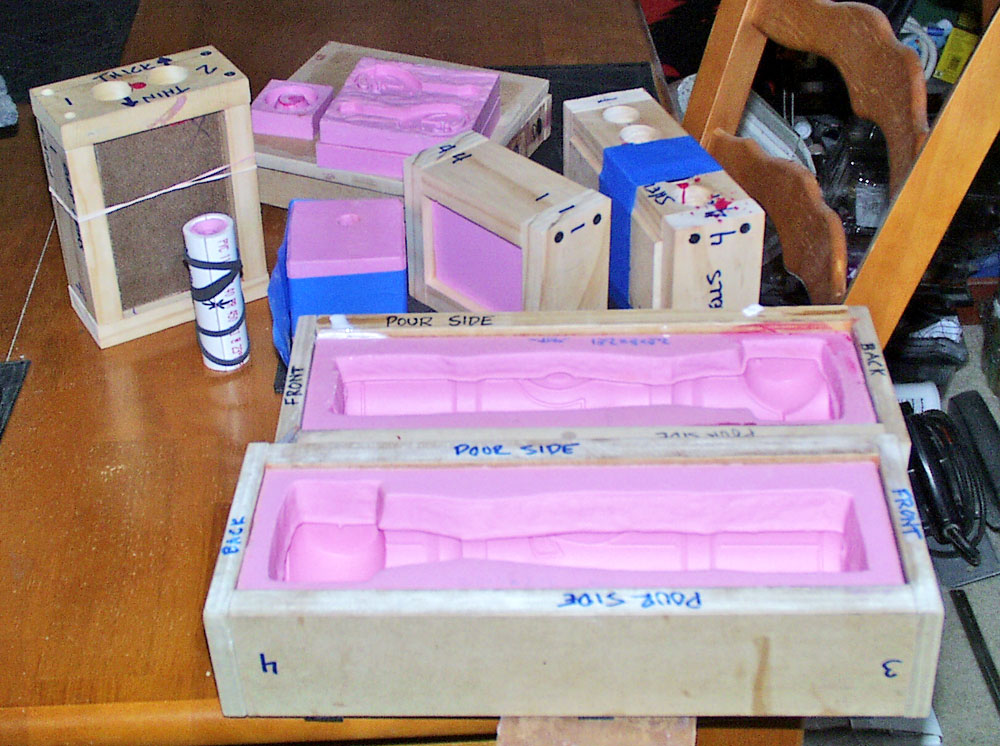
My friend Volpin volunteered to make the molds for this project. Thanks, dude!
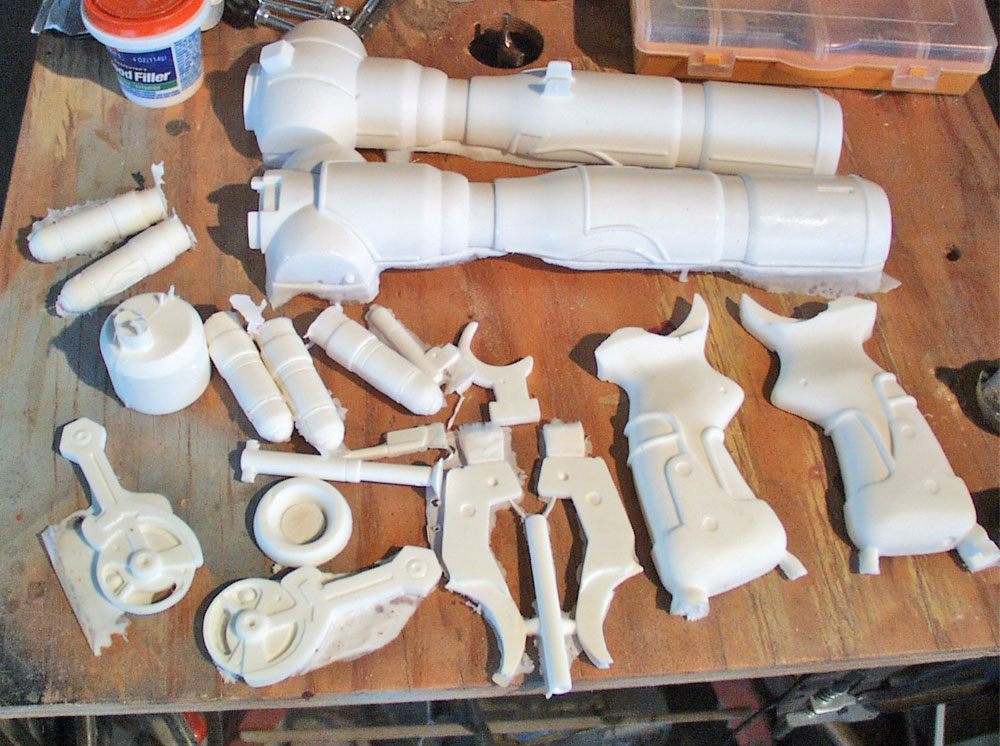
First set of resin copies from the molds.
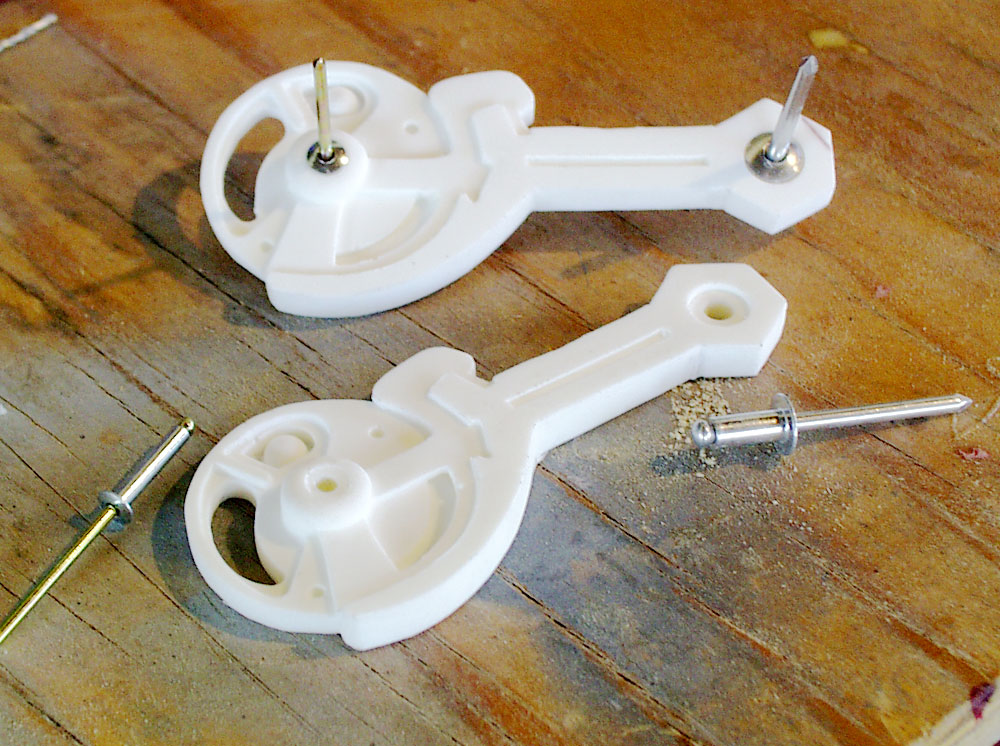
I drilled out the holes in the arms. I will be using the sleeves from pop rivets to connect parts and act as hinge pins.
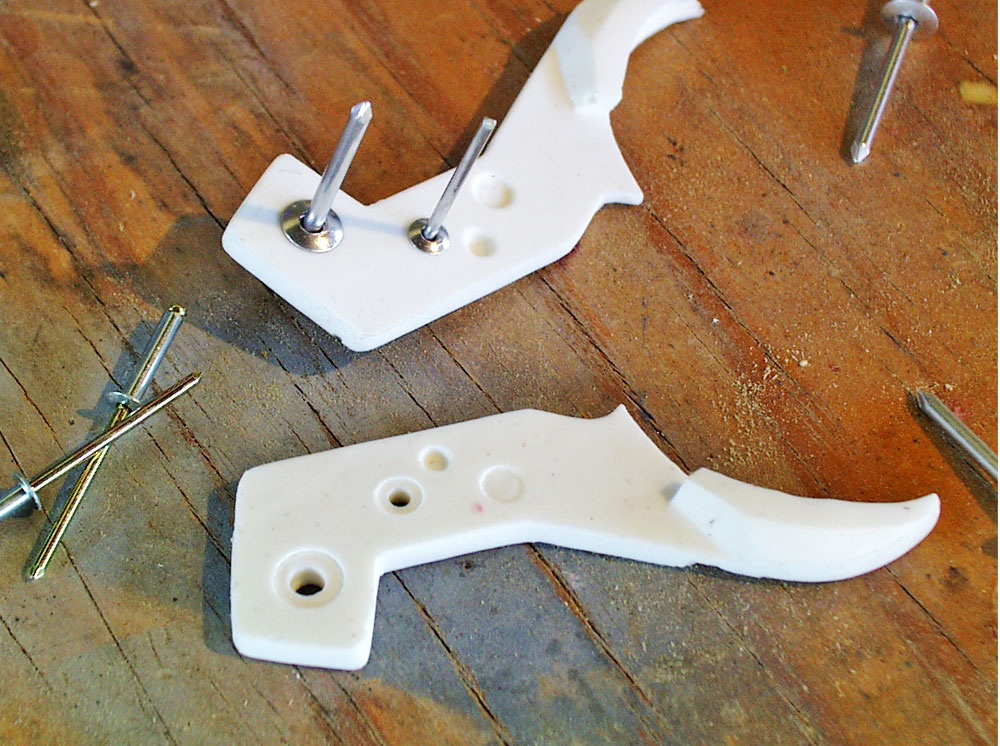
Holes drilled and test fitting of rivets for the trigger guard.
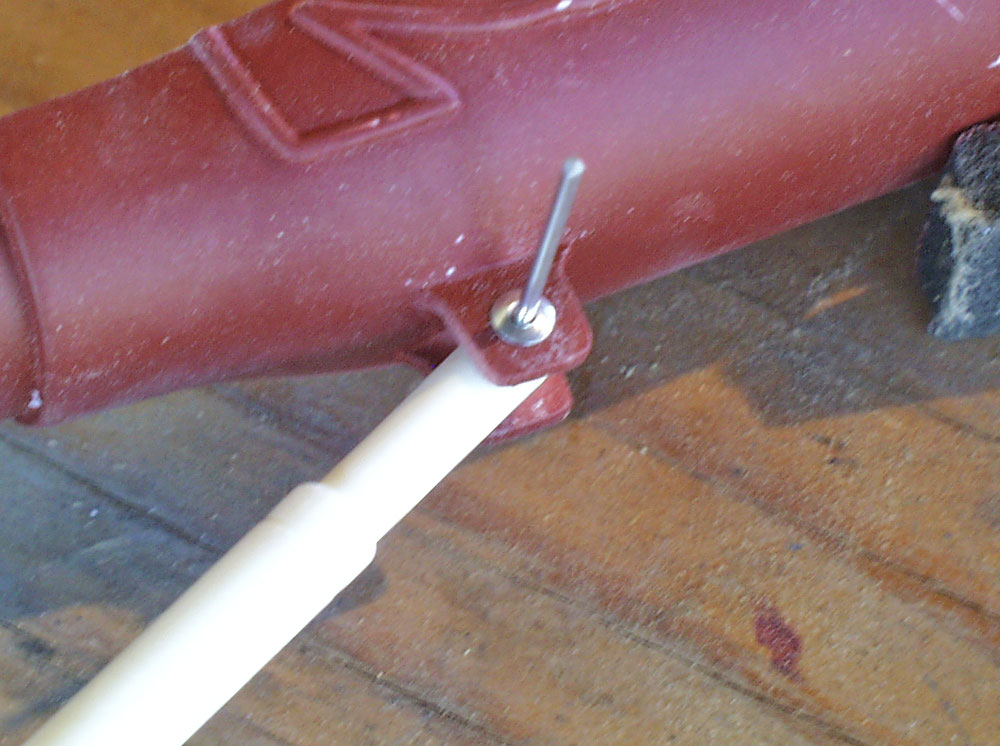
Hole drilled and test fit of the piston.
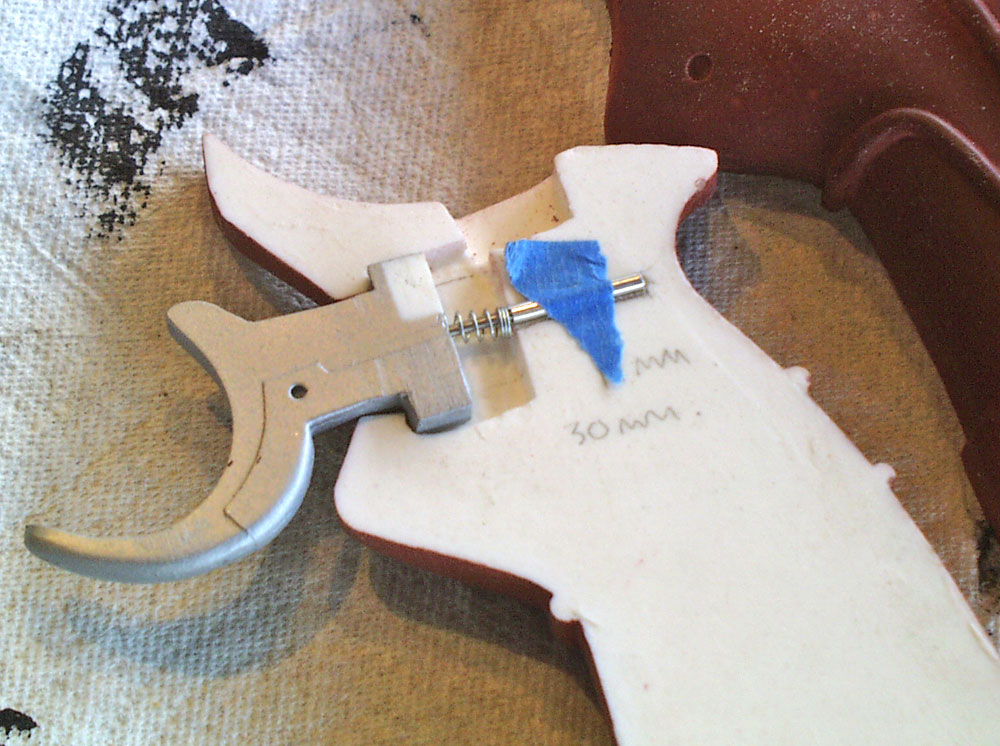
I didn’t plan the trigger very well so I had to do some adjustments to get it to slide properly. I inserted a steel rod into the back of the trigger that would slide into a tube, keeping the trigger movement smooth and linear. A small spring from an pen snaps it forward.
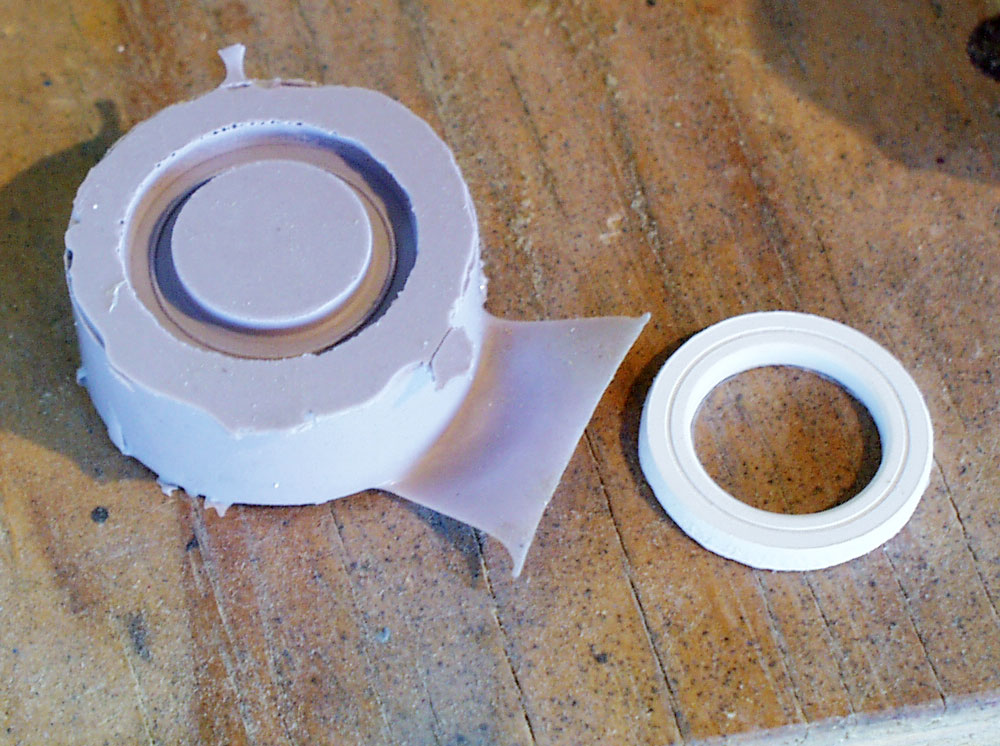
I had to make a breach insert that would keep the shell from falling down the barrel.
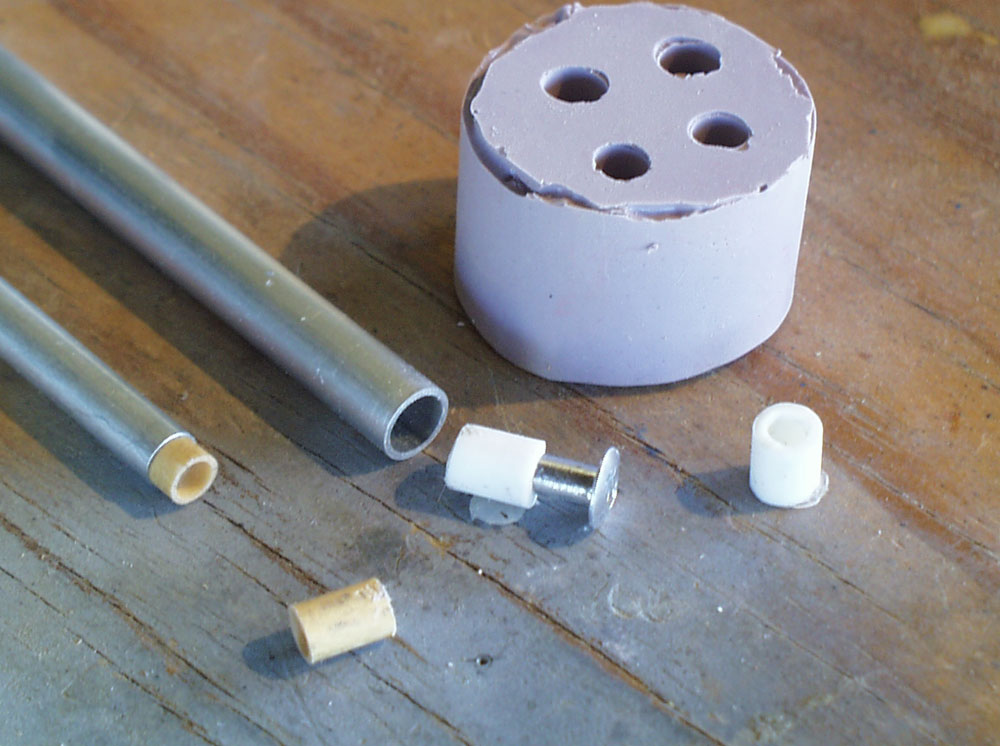
I wanted to use aluminum tubing for the trigger guard connector and the breach arm bar. Unfortunately the rivets are much smaller than the inner diameter of the tubes. I made and cast resin adapters to make them fit.
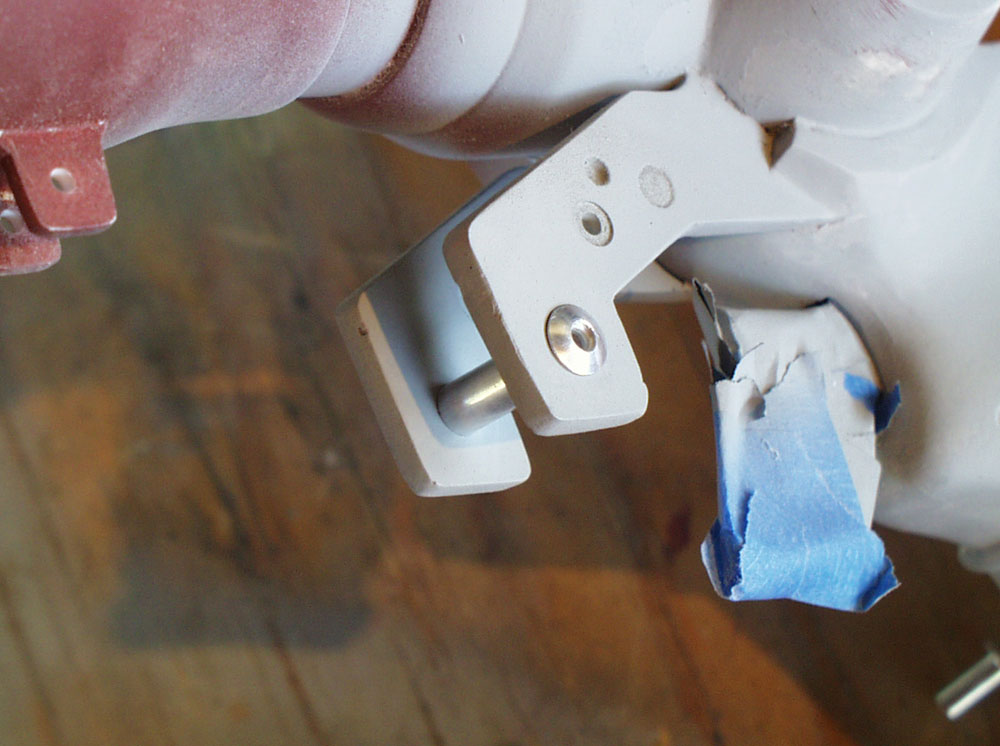
The trigger guard spacer in place.

I used a 3/4″ PVC pipe for the barrel of the caster. I painted the inside black and attached it to the lower barrel with epoxy putty.
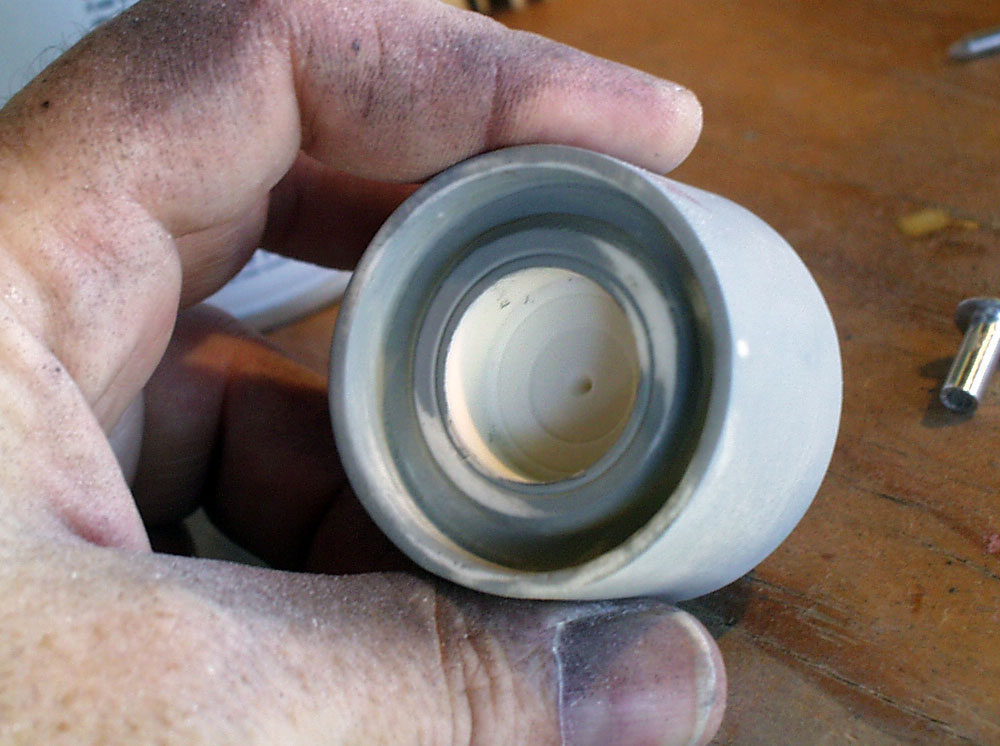
I had to drill out the breach cap to allow room for the shell when it’s seated in the breach.
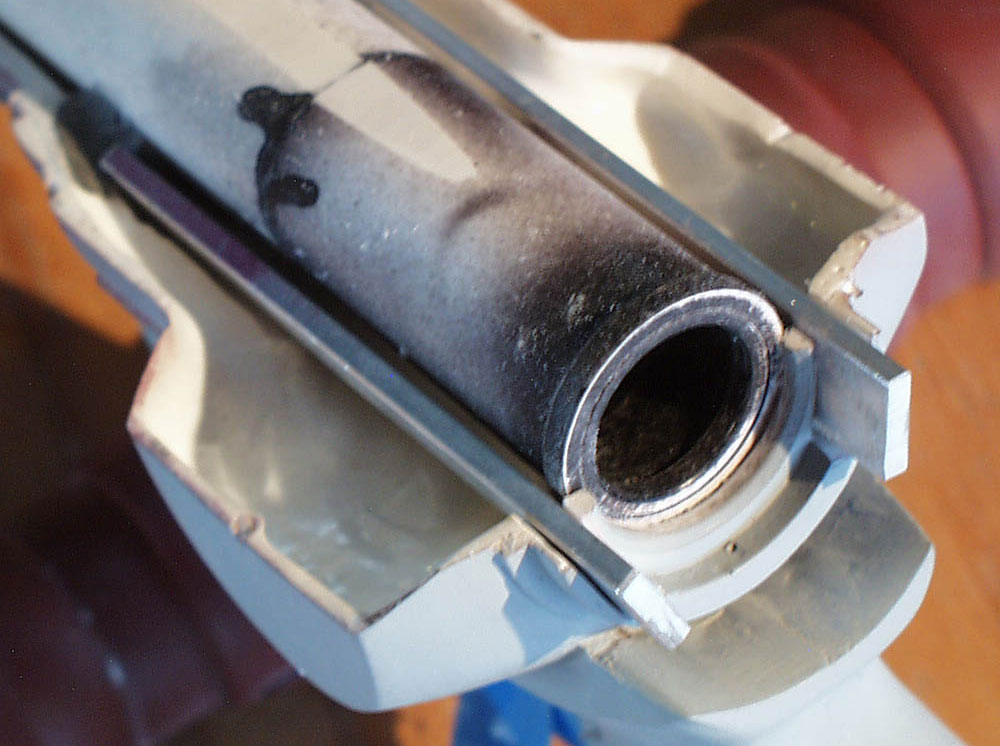
I cut aluminum bars that slid in resin sleeves to allow the breach to open.
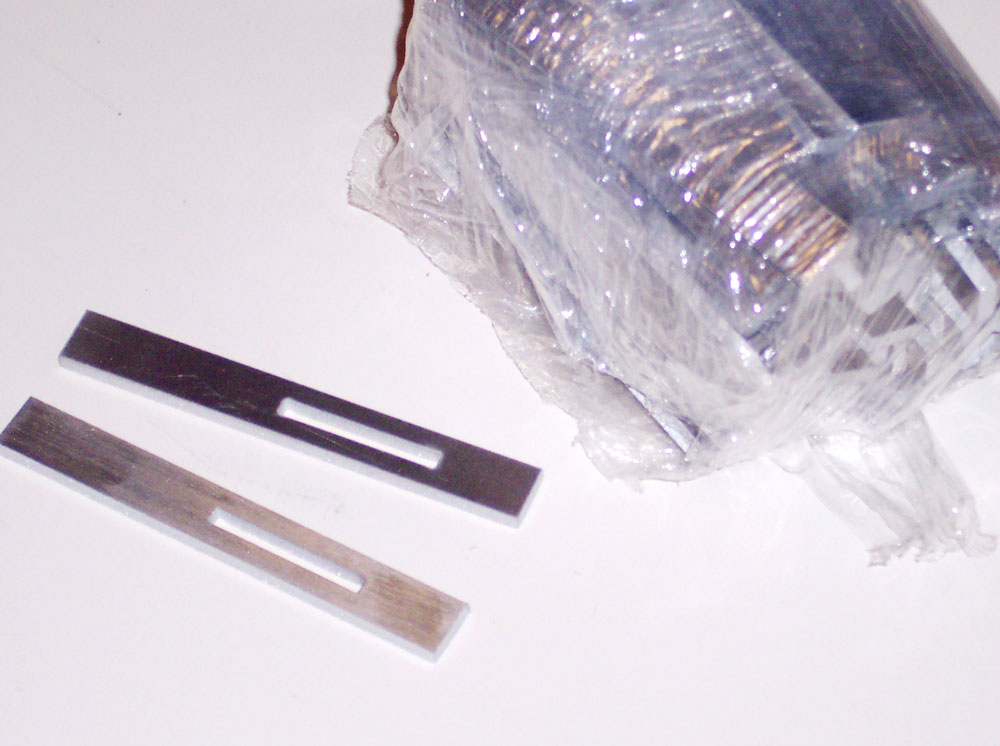
After several failed attempts to cut the hole with drill and file, I gave up and had rail guides cut with a high pressure water jet. Perfect!
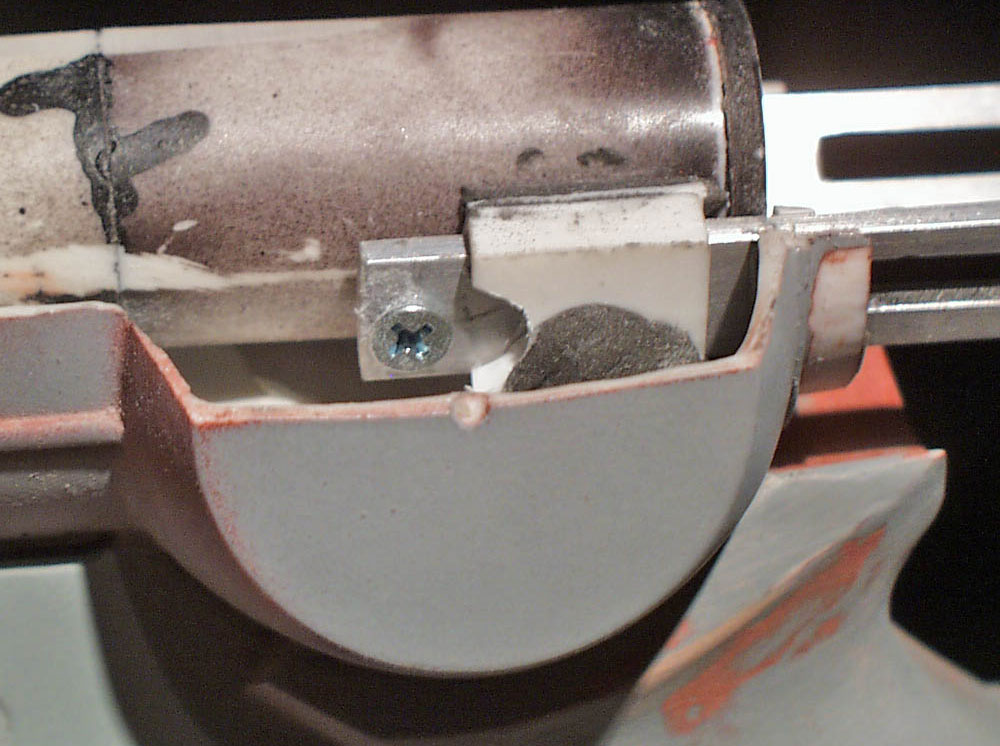
I used a screw to stop the rail from moving out too far. The rails needed a slot cut out of the center.
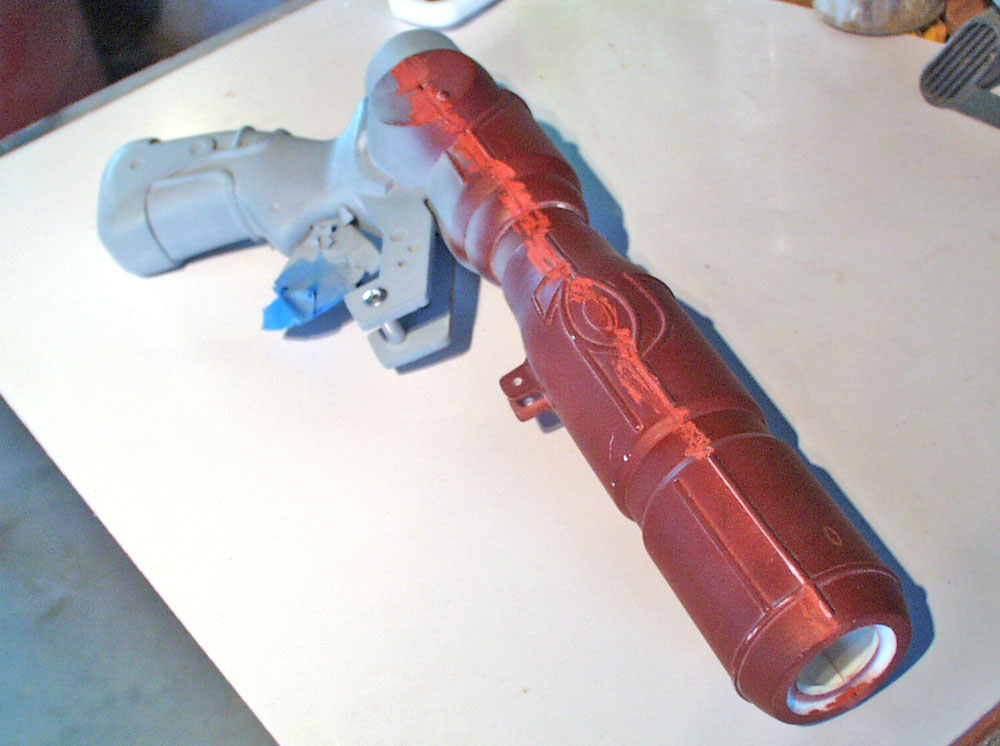
Now with the breach resolved, I could seal up the barrel.
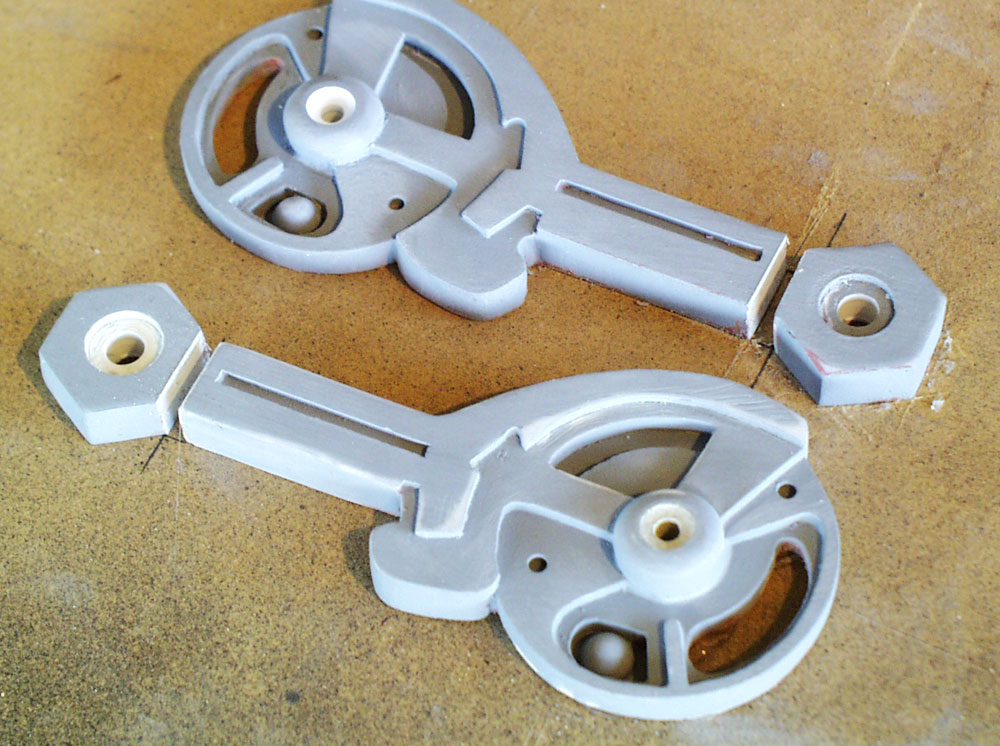
During a test fit, I discovered that I didn’t make the breach arms long enough for the bar to clear the edge of the cap. I took resin arms and cut off the ends. The gap was filled with Bondo, sanded smooth and then I made a new mold for the arms.
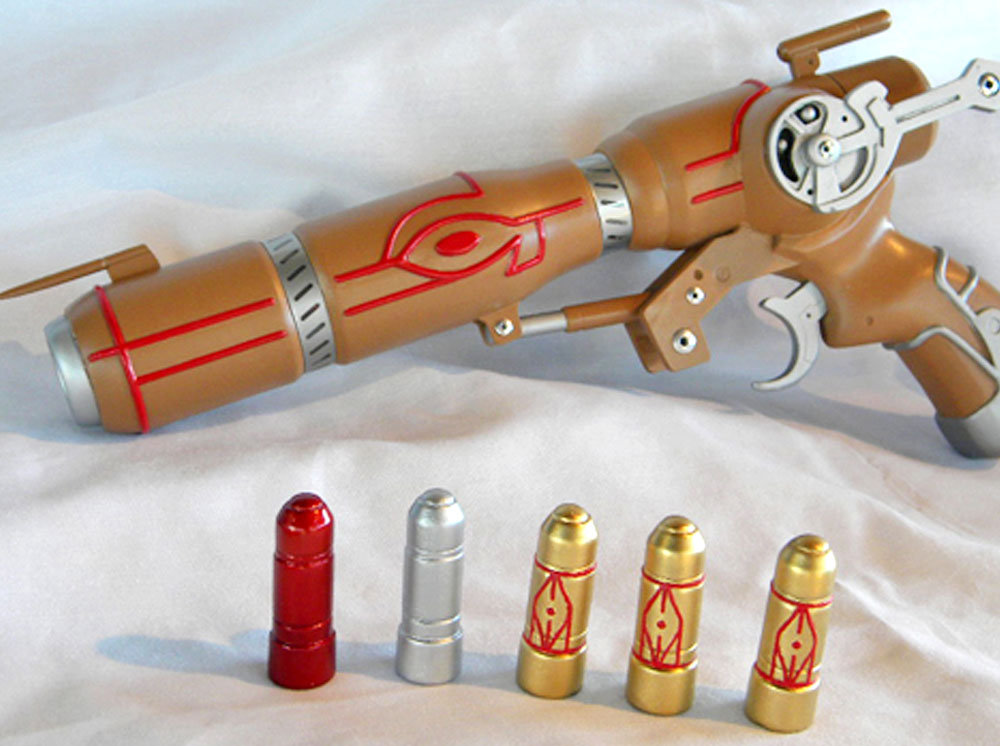
The final pained gun. After testing over a dozen different paints, I found the perfect Caster Gun brown! It has golden tints (that I mistook for gold on my original Caster) but is light enough to contrast nicely with the red piping.
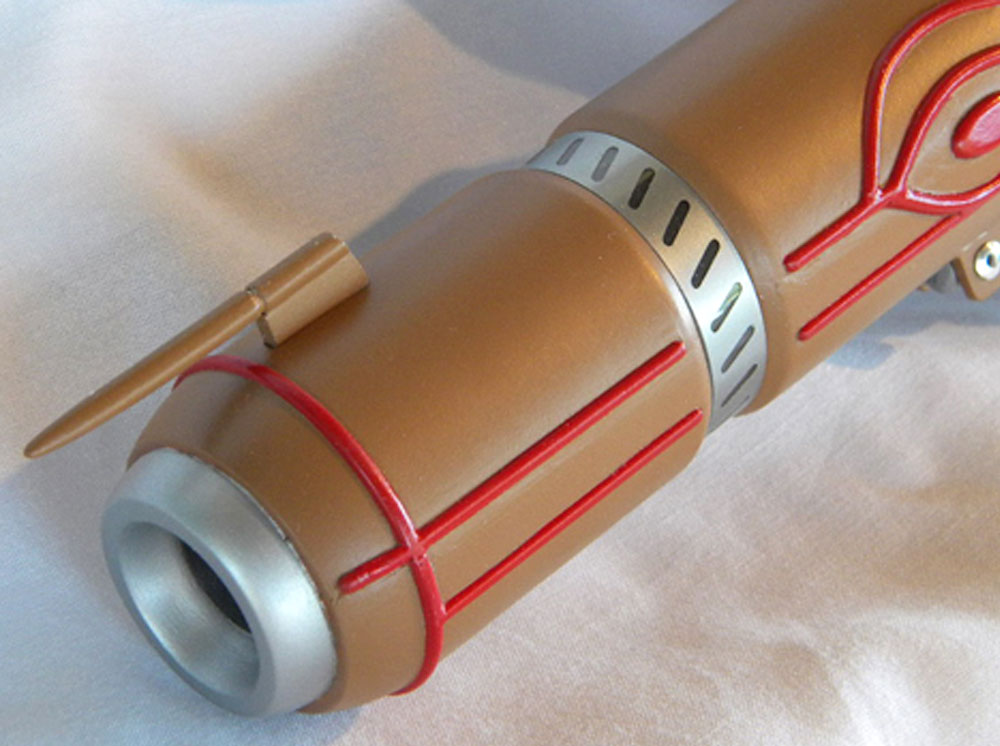
Muzzle detail.

Grip detail.
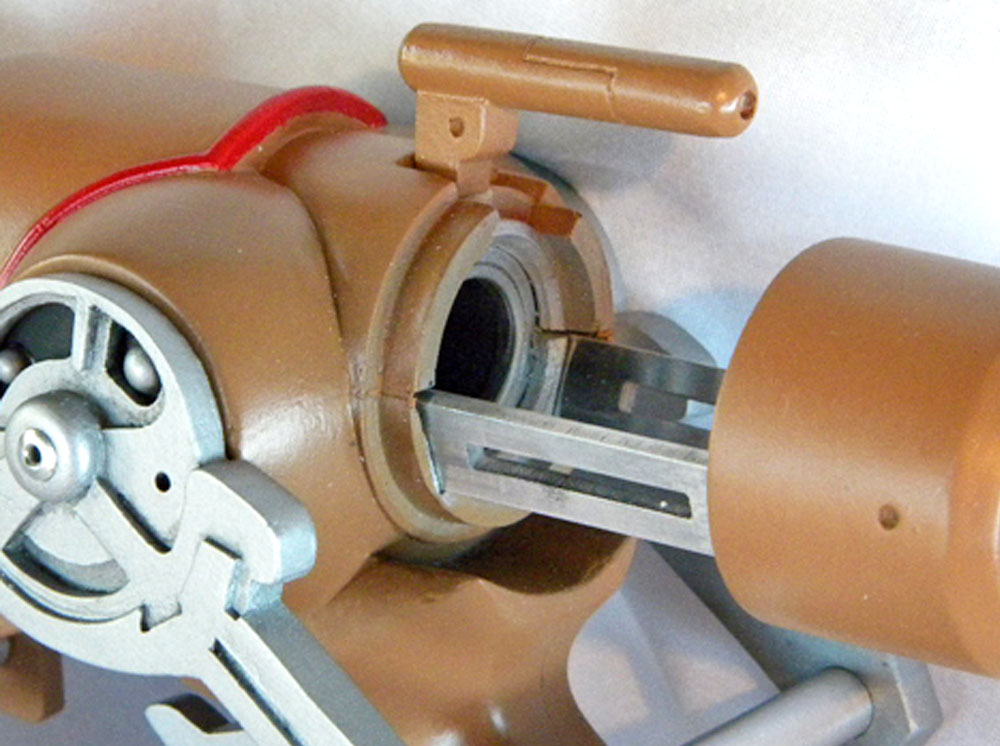
Open breach.
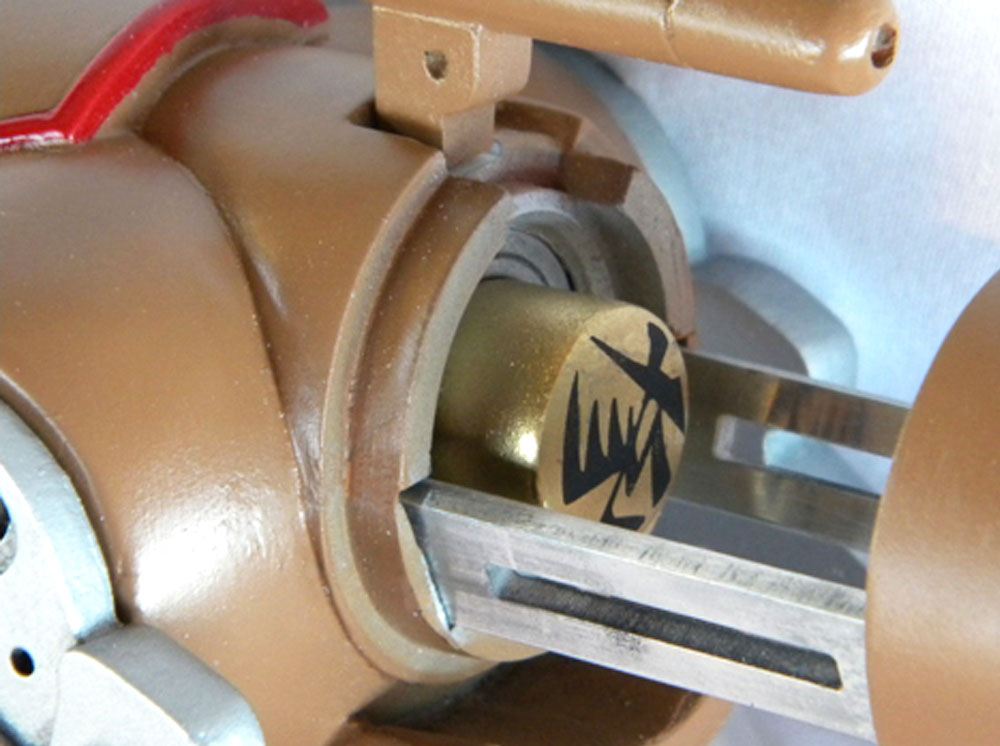
Shell loaded.
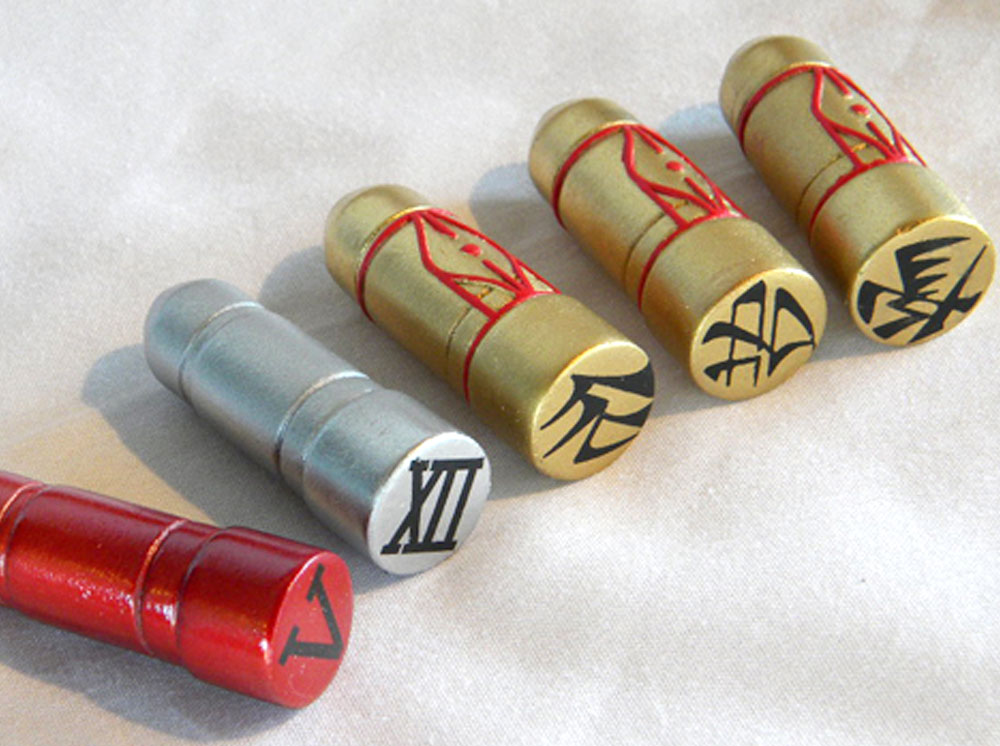
The final painted shells. Pictured (L-R) #5, #12, #4, #9, #13
