mr SPELL
june 2013
Mr. Spell, a supporting character in Toy Story and Toy Story 2, is a hand-held, computer keyboard-like toy based on the popular 1970s Speak and Spell toy by Texas Instruments.
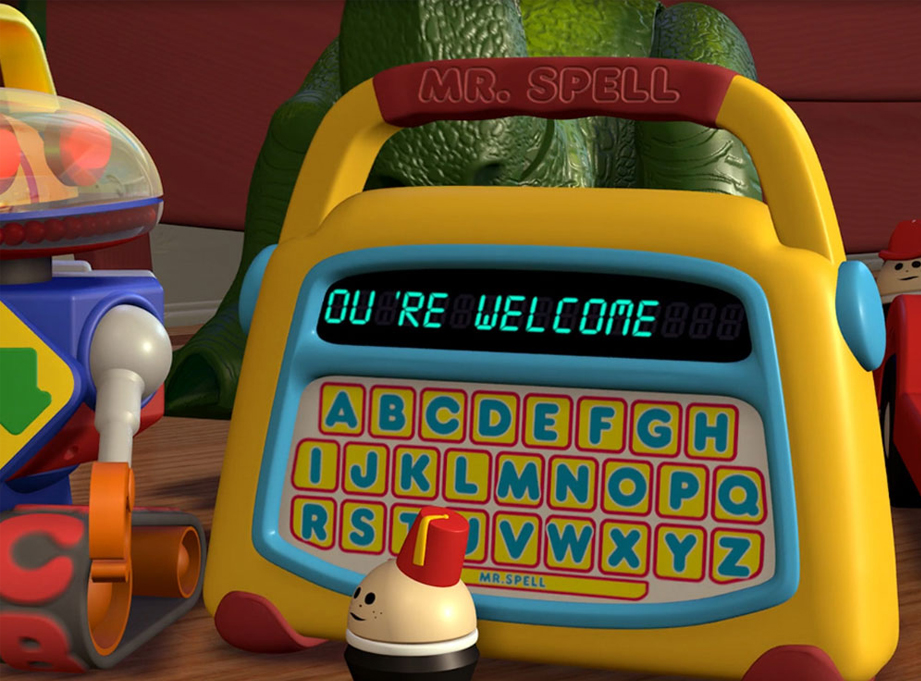
I was commissioned by a Toy Story collector in France to make a replica of Mr. Spell.
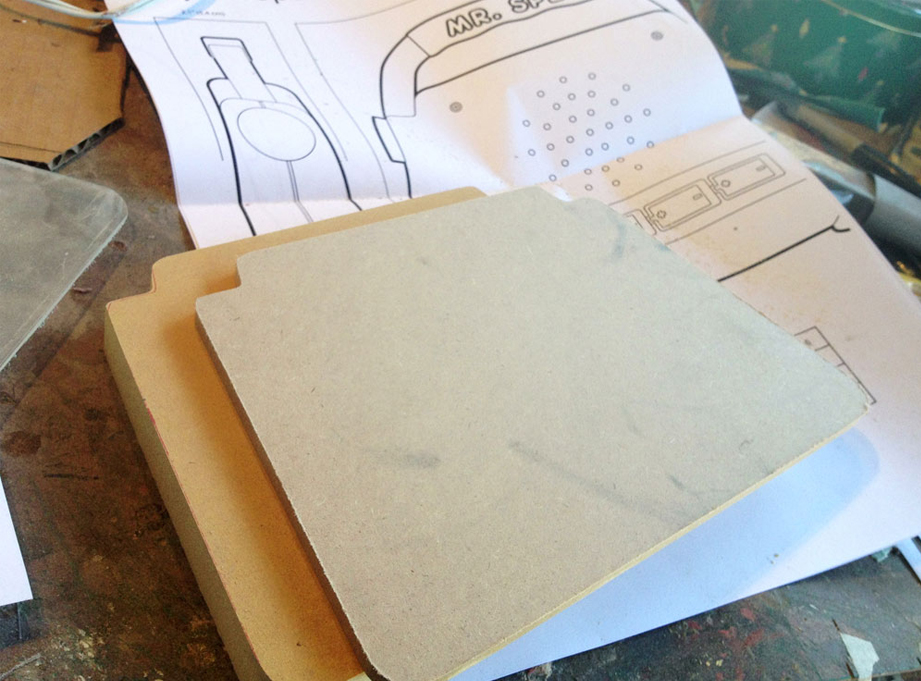
After drawing up plans, I started by cutting layer of MDF to make the thickness of the toy. Each side was made with a layer of 3/4″ MDF and a layer of 1/4″ MDF.
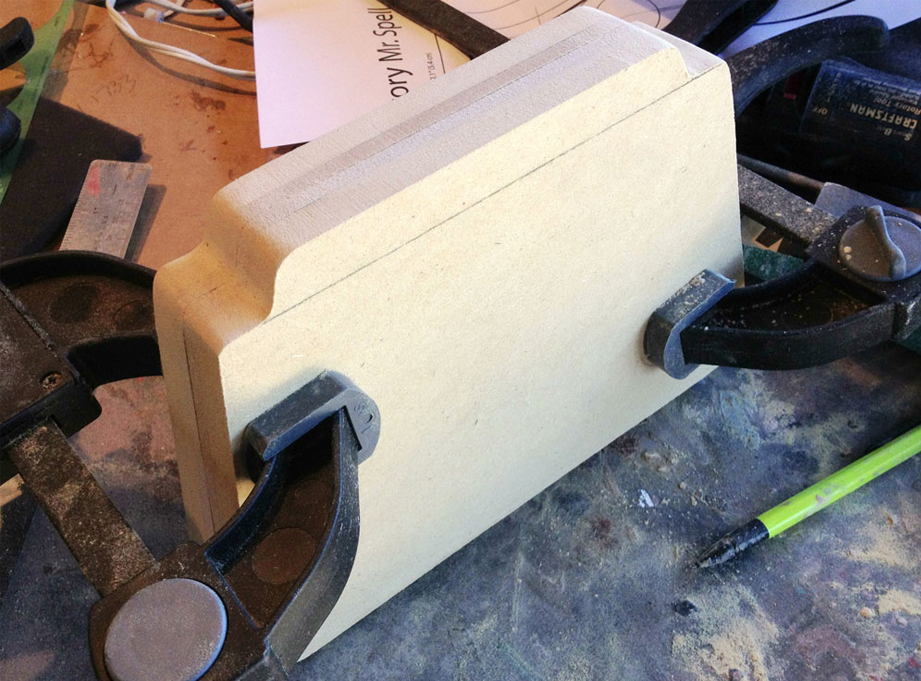
I glued the 3/4″ and 1/4″ pieces together to make two halves. Clamping both sides allowed me to sand the edges to make the fit perfect.
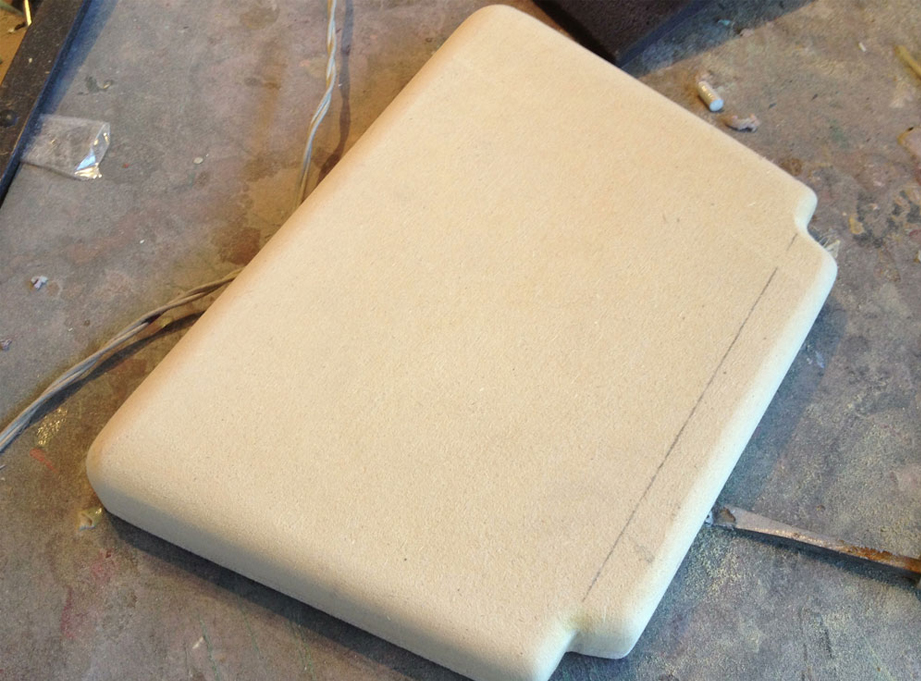
I used the belt sander to taper the body halves (narrower on top) and then rounded the front and back edges with a 1/2″ router bit.
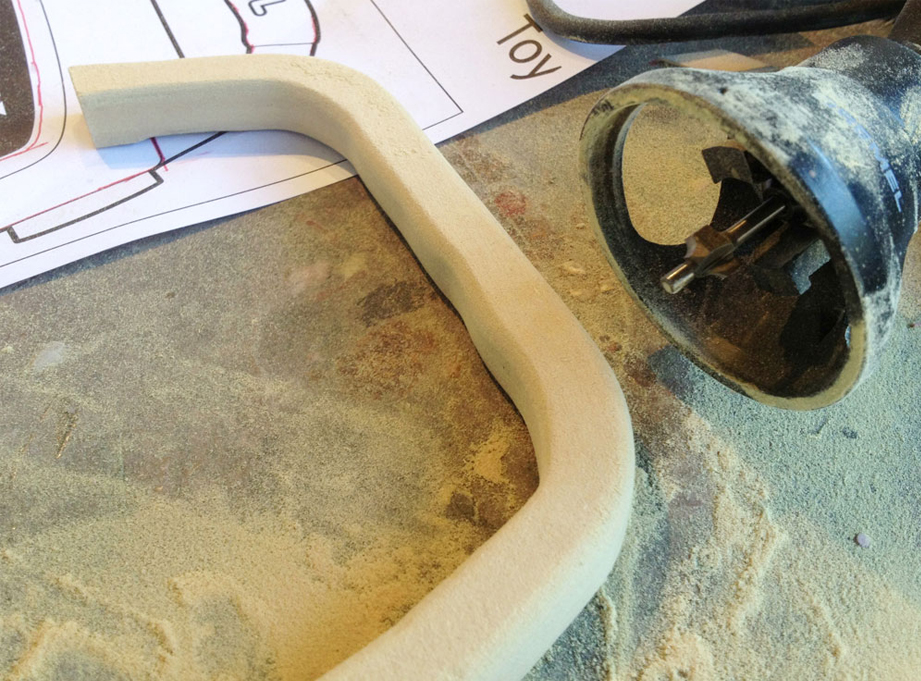
I then cut the handle from a single piece of 1.2″ MDF and rounded the edges with a 1/4″ router bit.
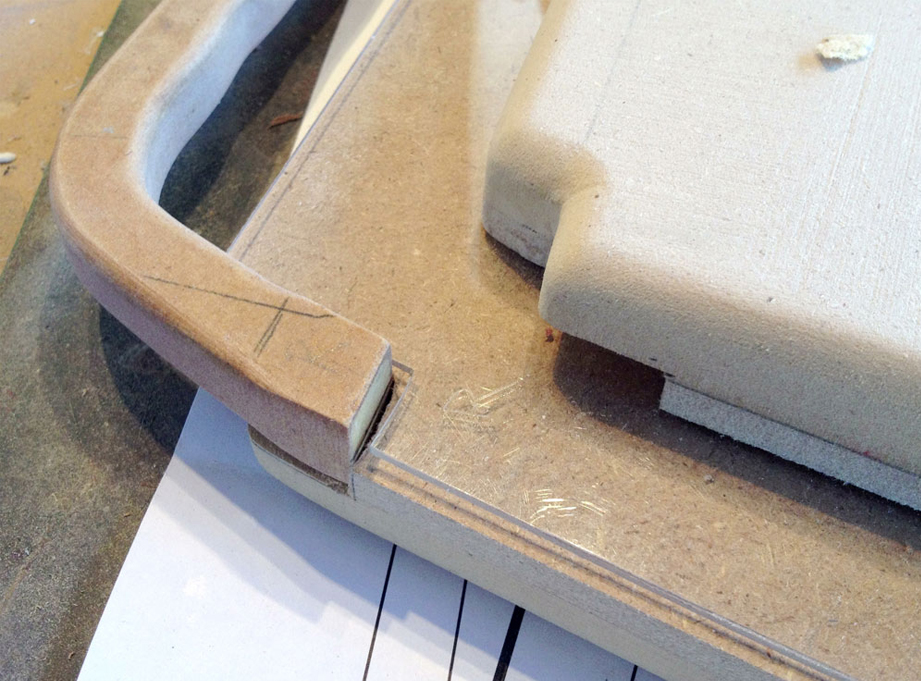
I cut slots on both sides of the body to fit the handle. Mr. Spell also has a recessed seam between the two body halves which I made by cutting a 1/8″ acrylic layer.
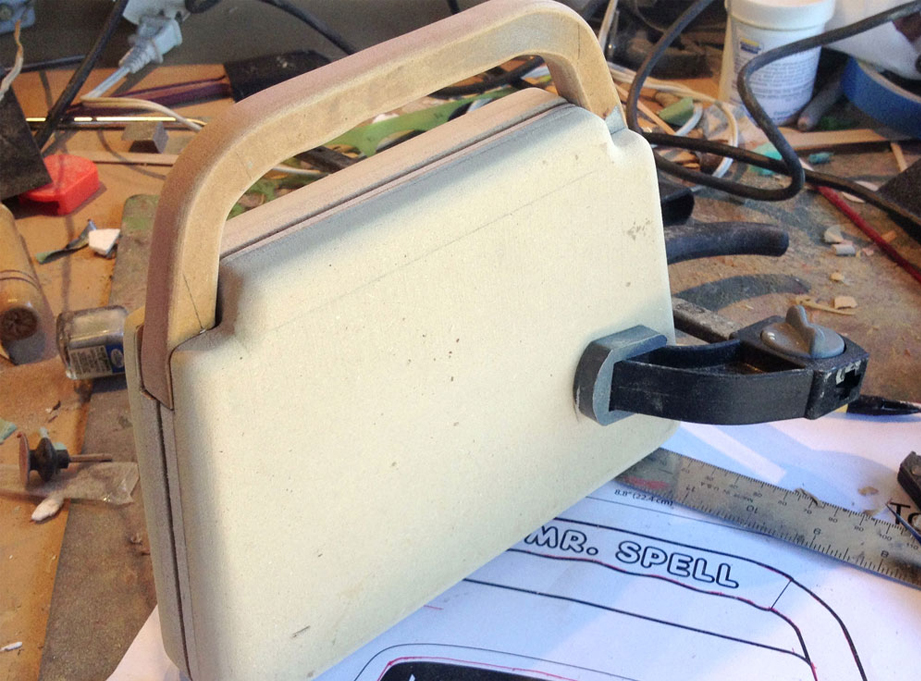
A quick test fit before I sealed the MDF.
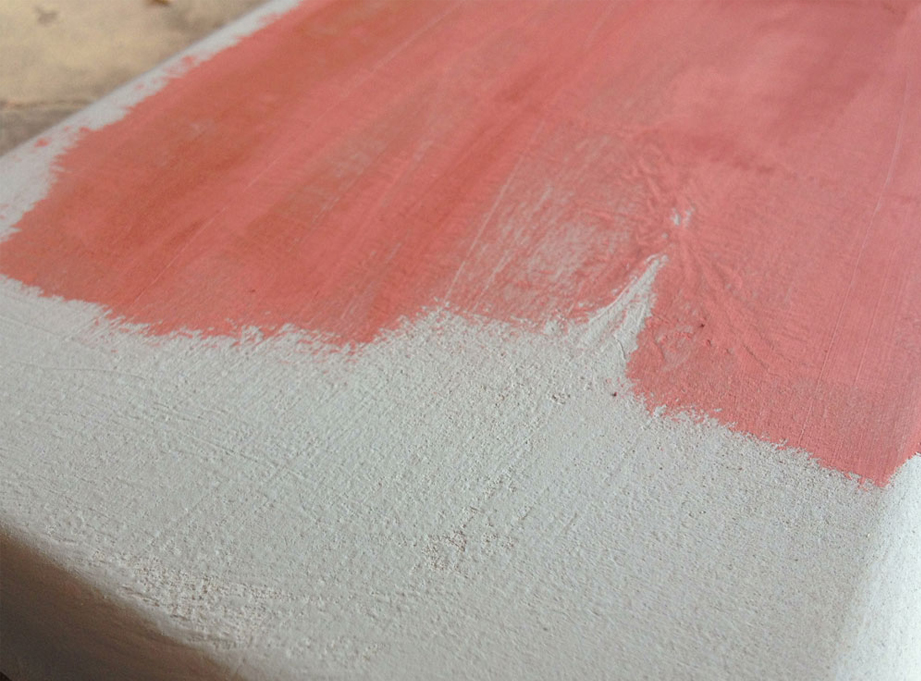
There’s nothing like a coat of primer to show you how much you have to fix! A layer of spot filler putty smooths out the surface.
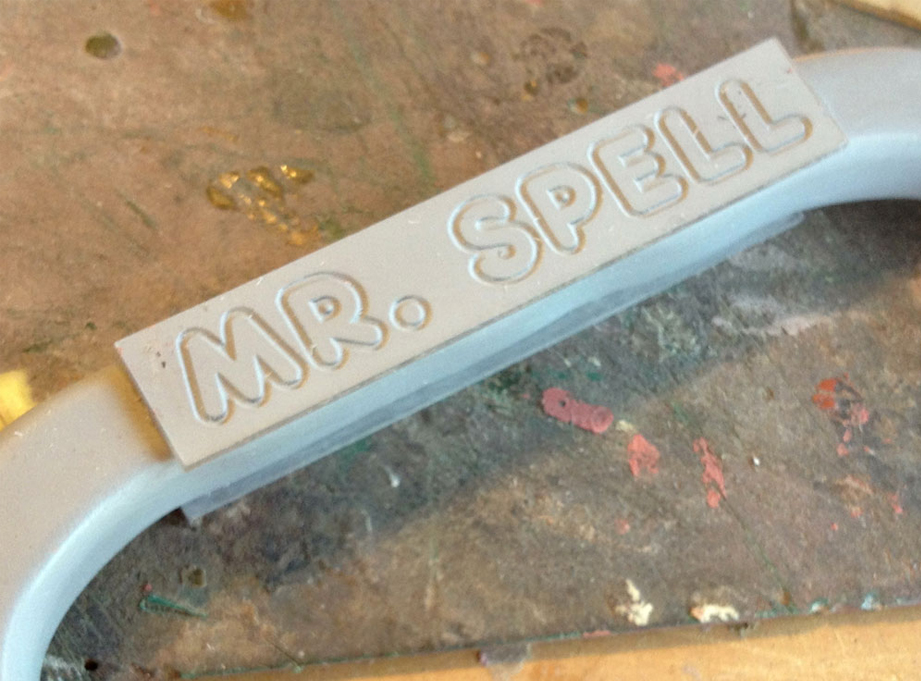
To make the engraved name plate on the handle, I had the letters cut into 1/8″ acrylic panels and glued them to both sides.
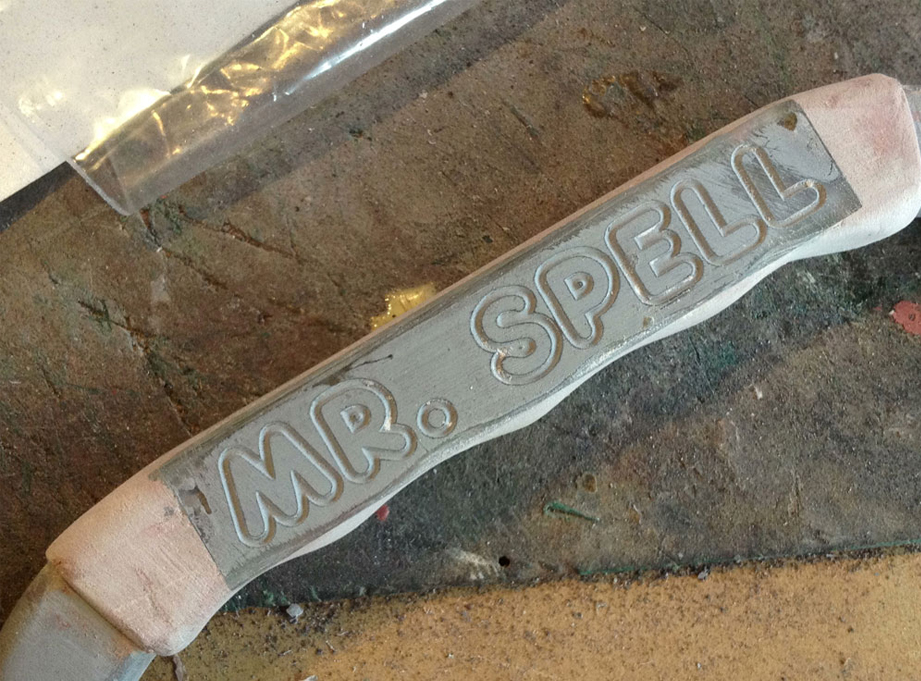
Using Bondo, I filled the corners and sculpted the bumps on the grip.
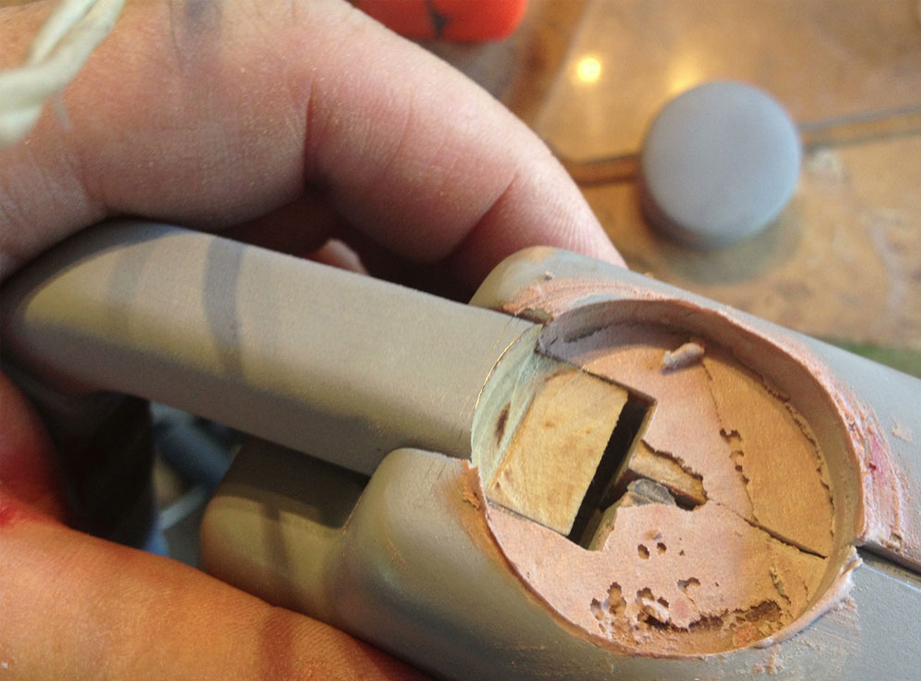
With the handle in place, I cut a recess for the side knobs. The knob master was lathed from a piece of basswood. Bondo was added to make an exact fit.
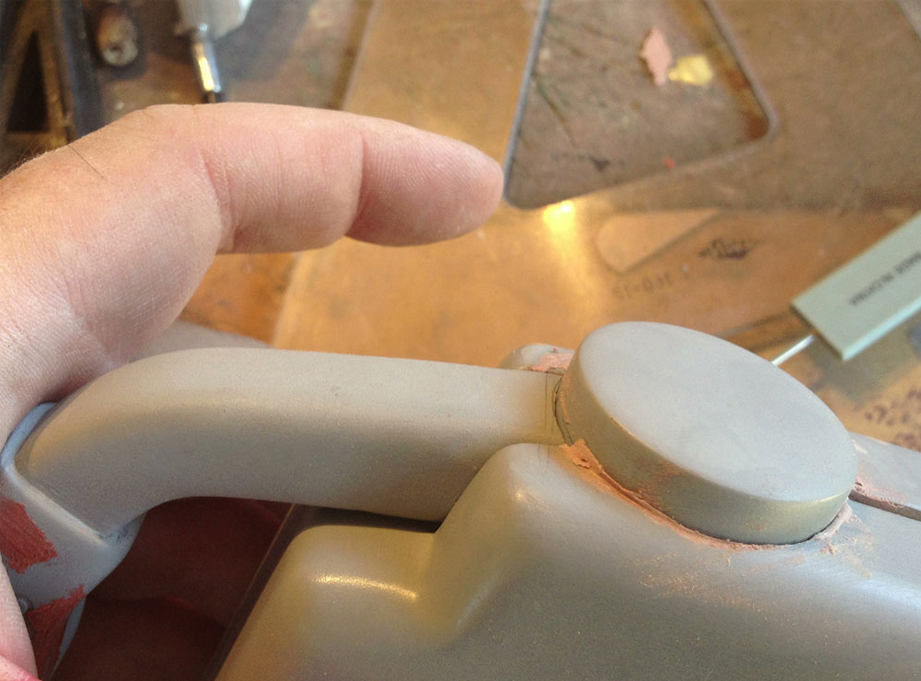
Test fit.
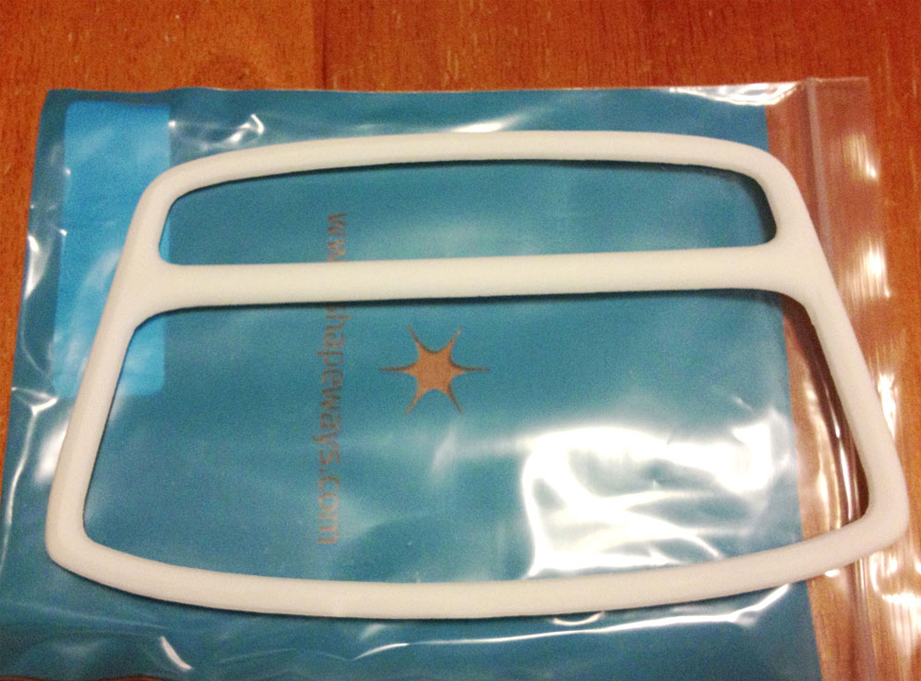
While all this was going on, I had ordered a 3D print from Shapeways of the front frame. It was much easier to get the geometry perfect in the computer than trying to sculpt those subtle curves by hand.
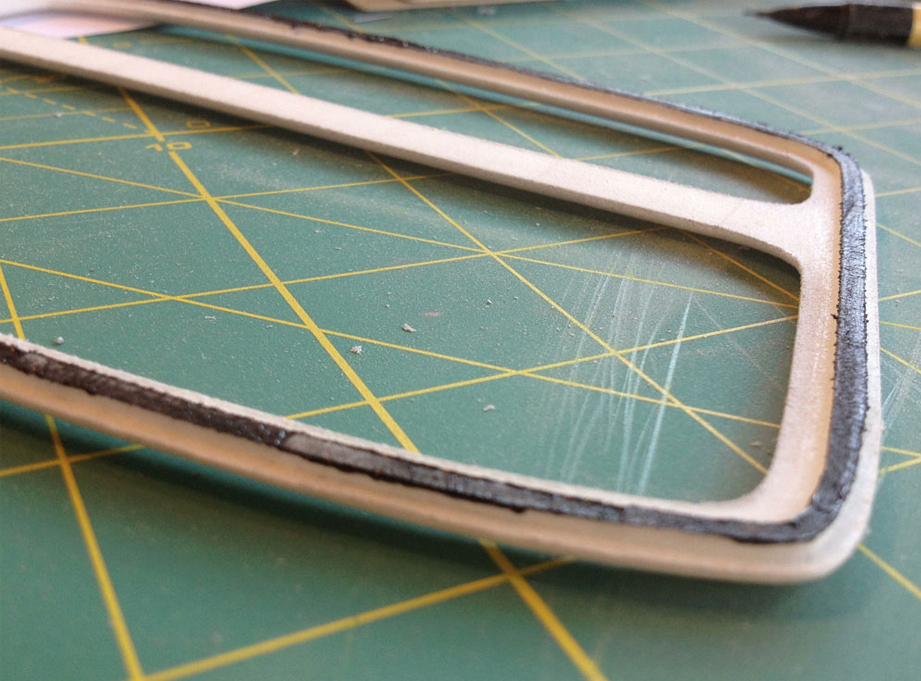
The back of the frame has a raised panel that should snap into the face. I painted the top so I could stamp where I needed to cut.
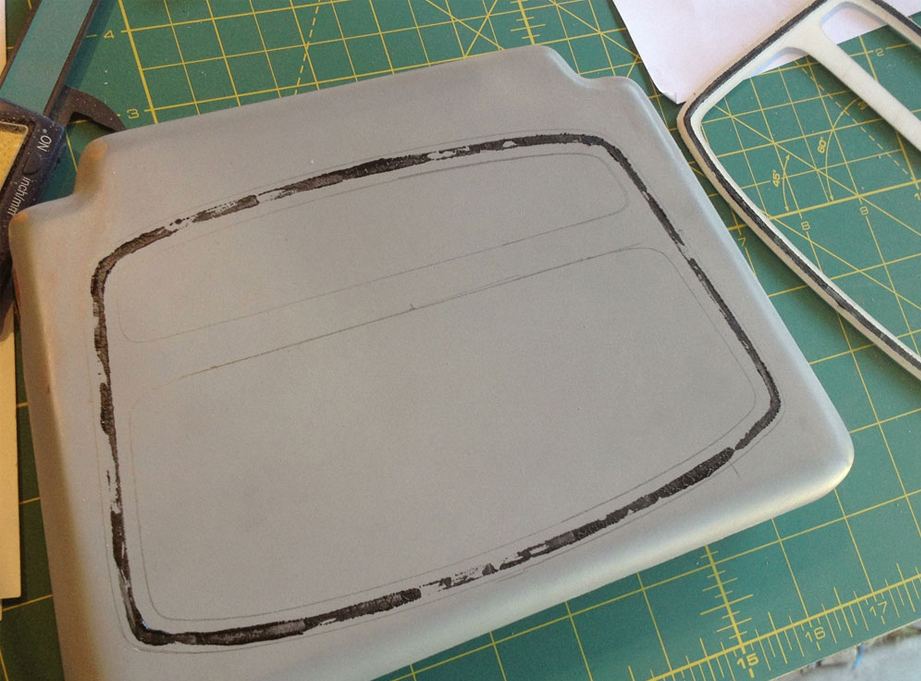
With the face marked, I could router out a channel.
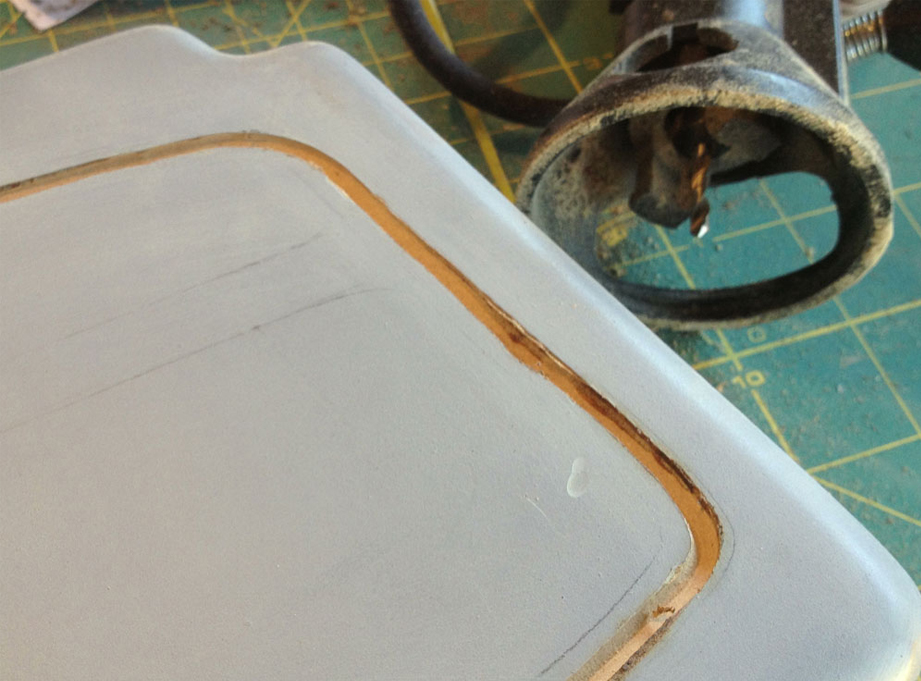
The track was cut using a drill bit in a Dremel tool with the tile-cutting attachment.
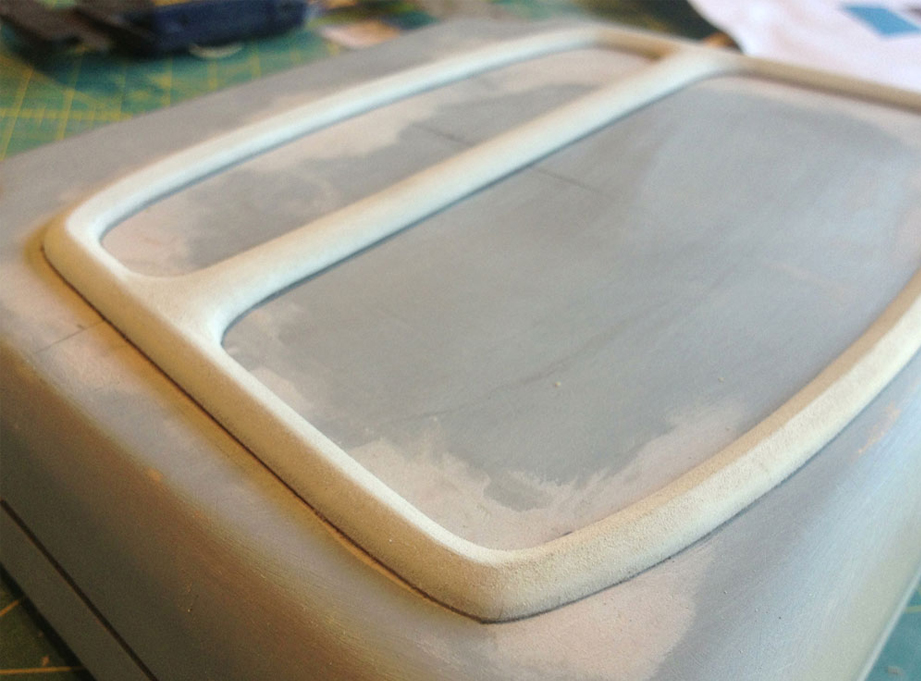
And the panel snaps right into place! This piece will eventually be held in place by magnets.
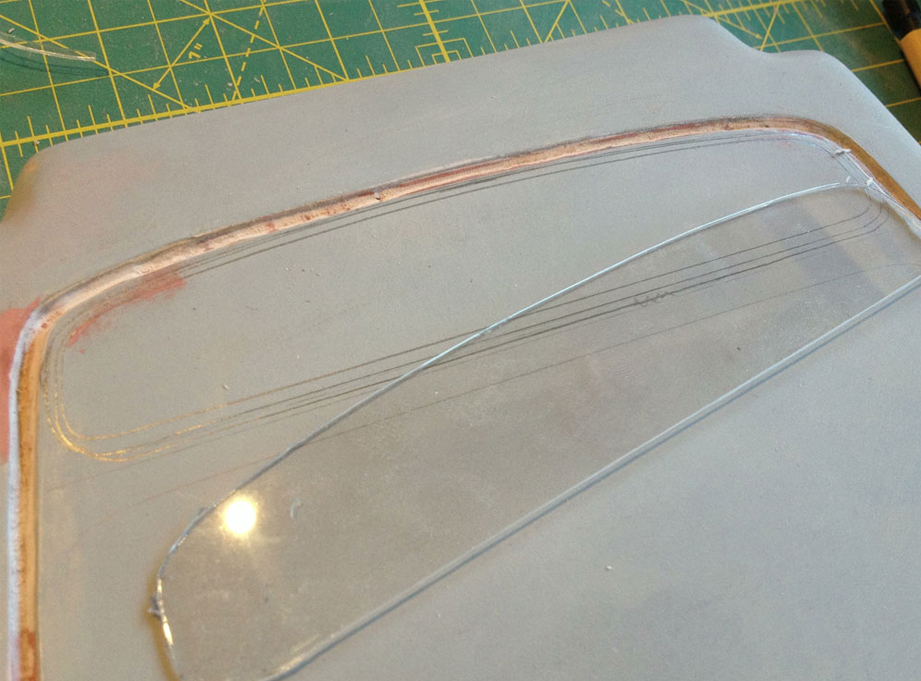
Next I marked where the display window would be.
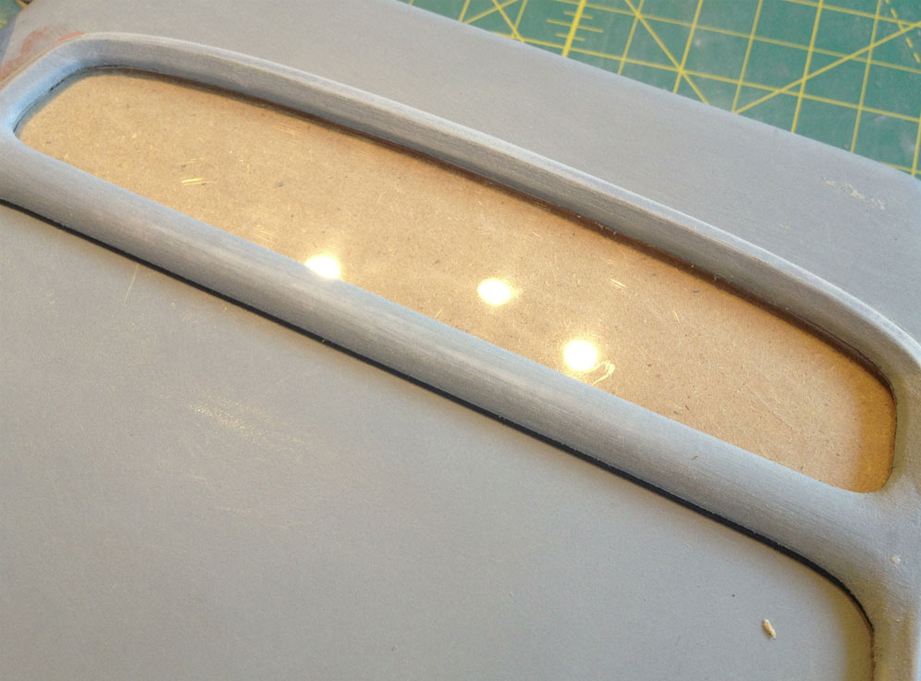
I cut a recess so that a thin acrylic panel would sit flush with the surface
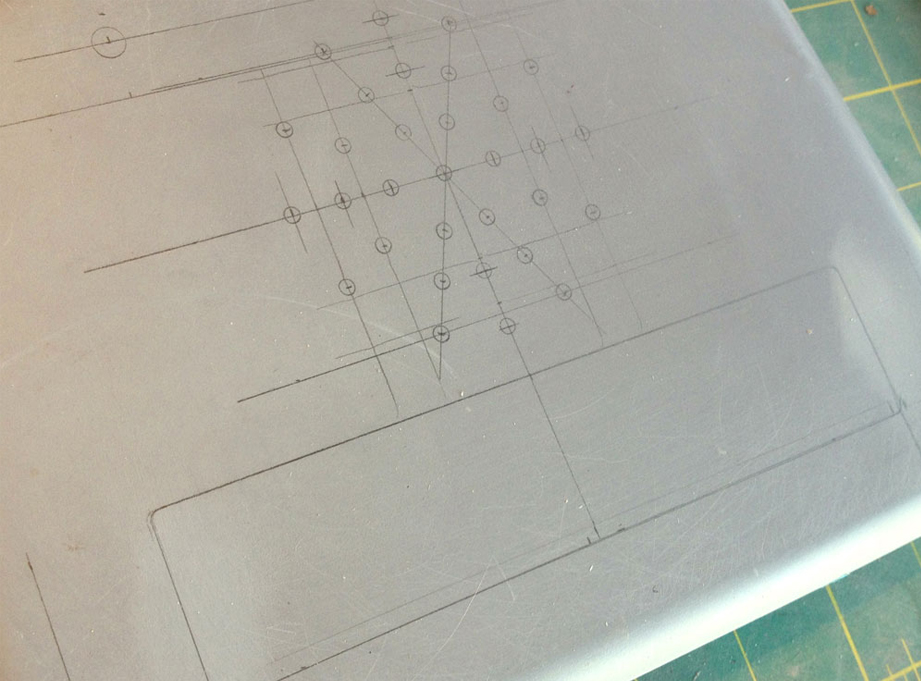
Utilizing my limited math-fu, I marked the location of all holes on the back ans well as the location of the battery door.
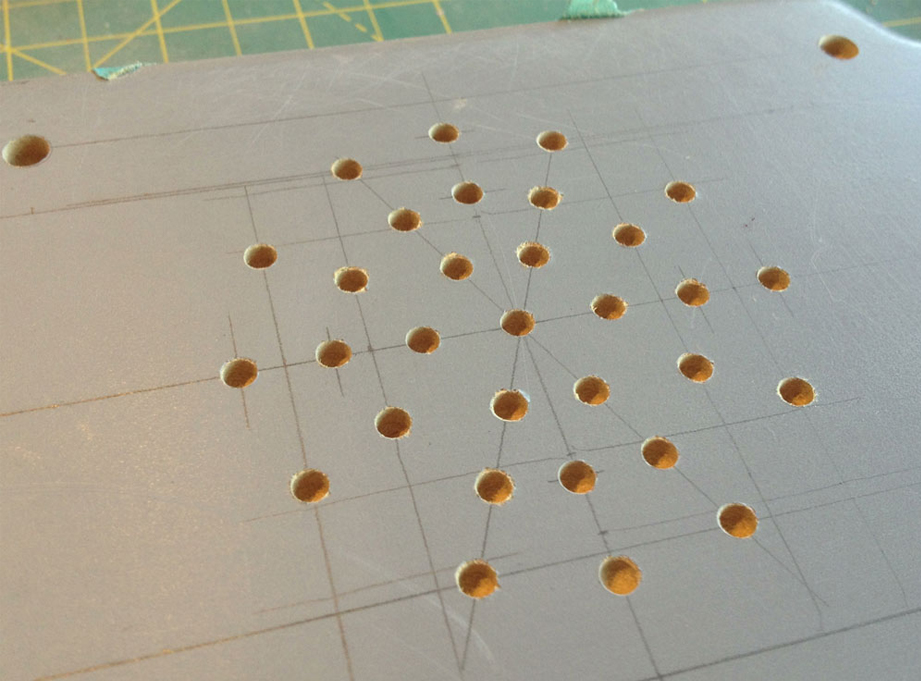
Holes drilled.
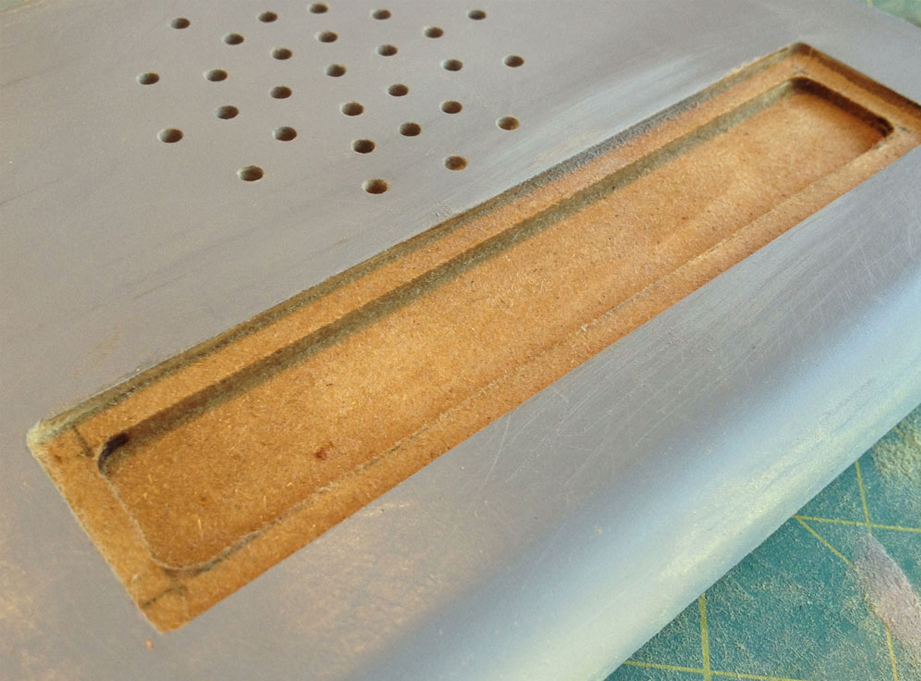
The battery opening was cut the same way as the display, with a recess so that the battery door would sit flush.
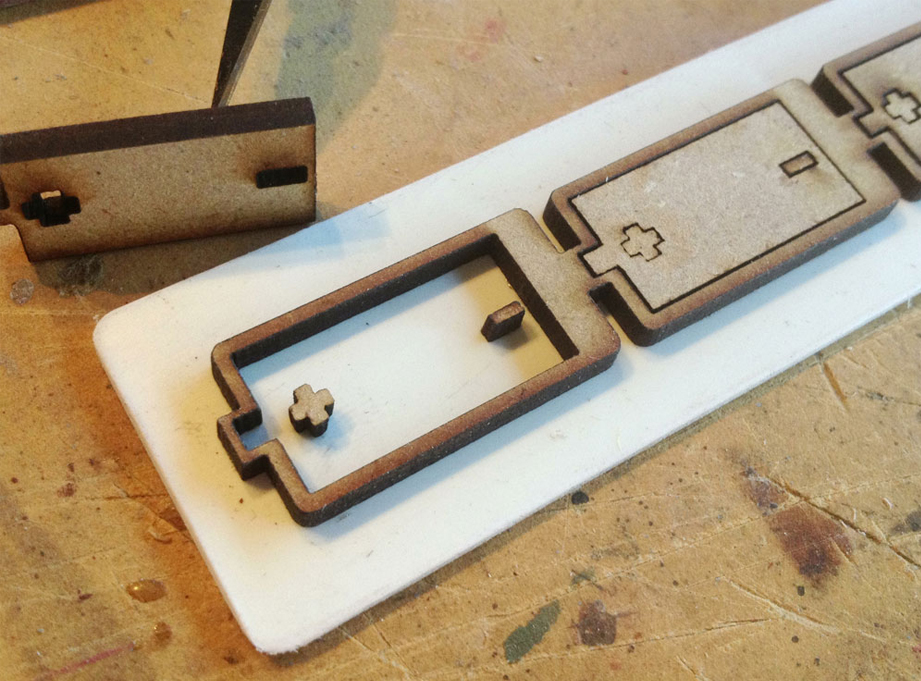
I made the master for the battery door with laser cut icons glued to a piece of plastic.
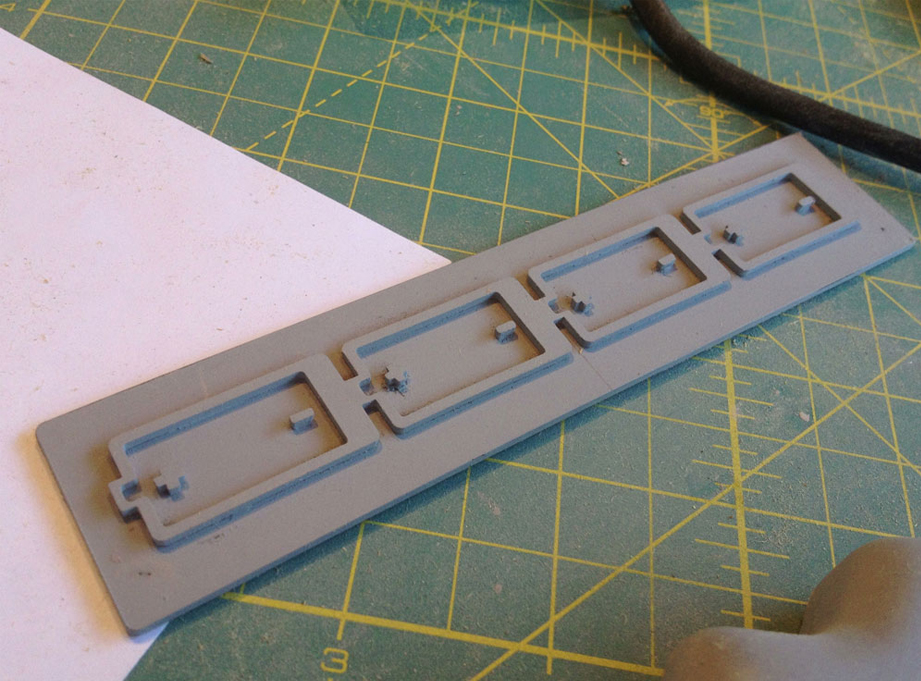
The completed door.
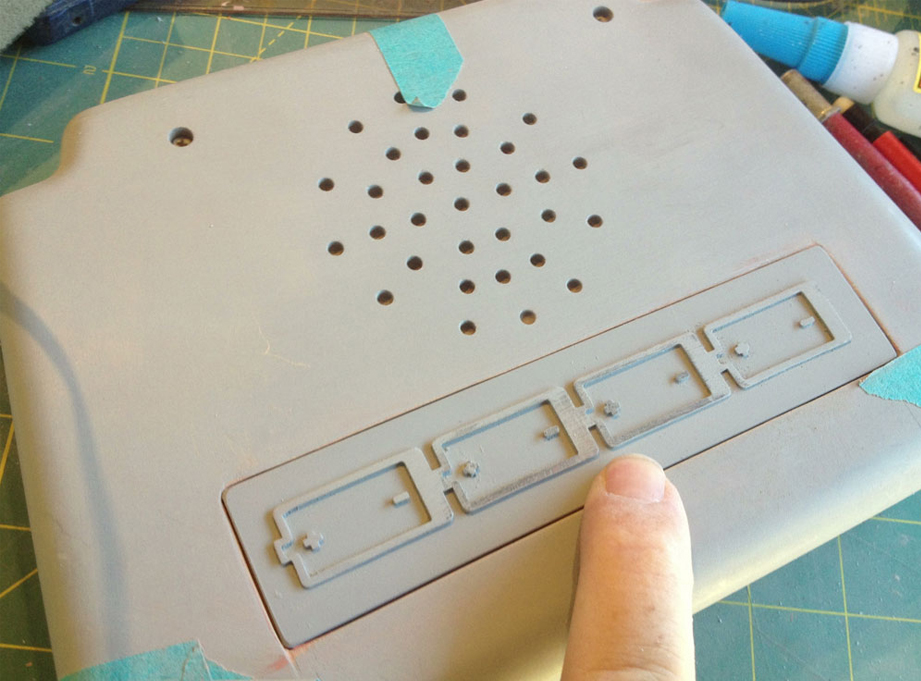
Test fit of the door.
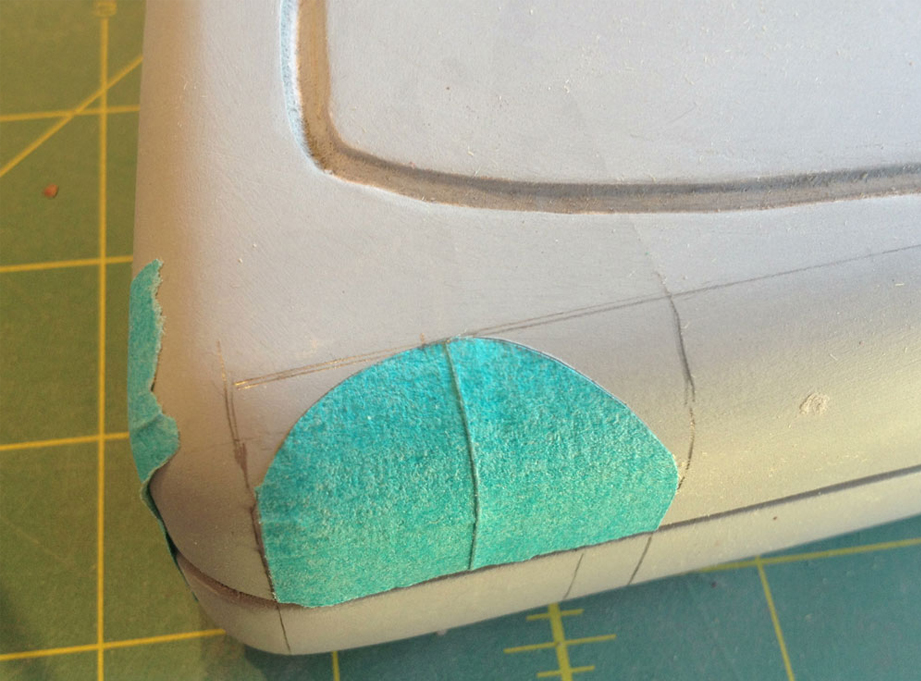
I cut a masking tape master to make a pattern for the feet.
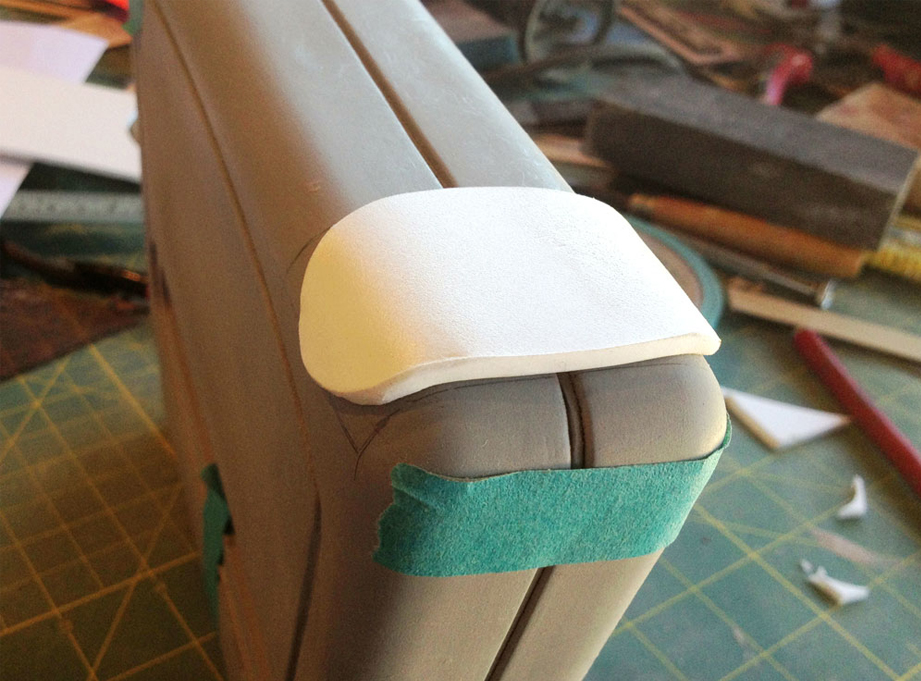
I then transferred the design to a sheet of 1/4″ Sintra. The Sintra was heated and bent over the base.
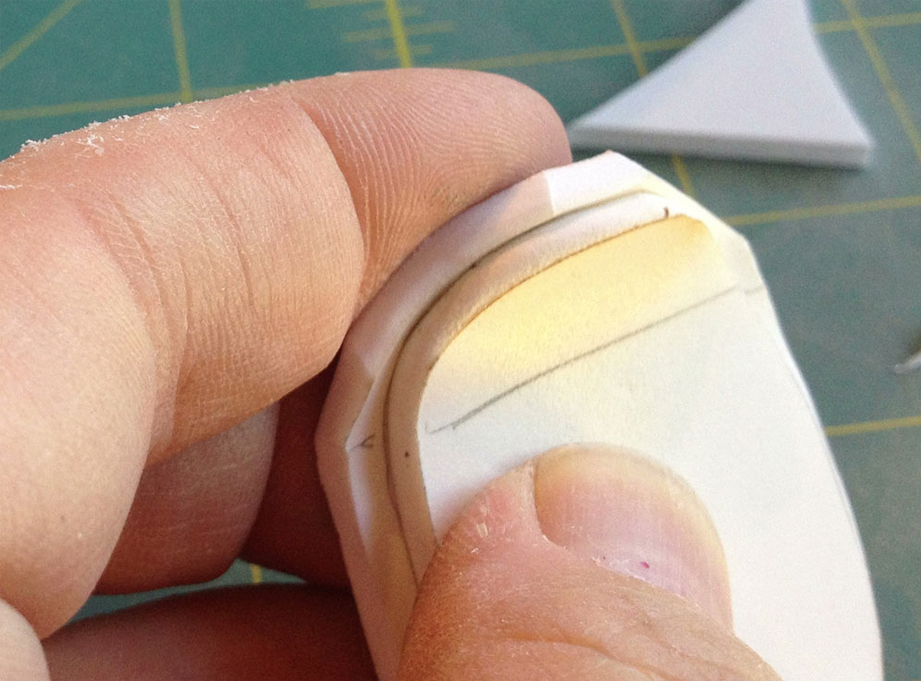
Once that cooled, I cut a second piece, heated it and formed it over the first.
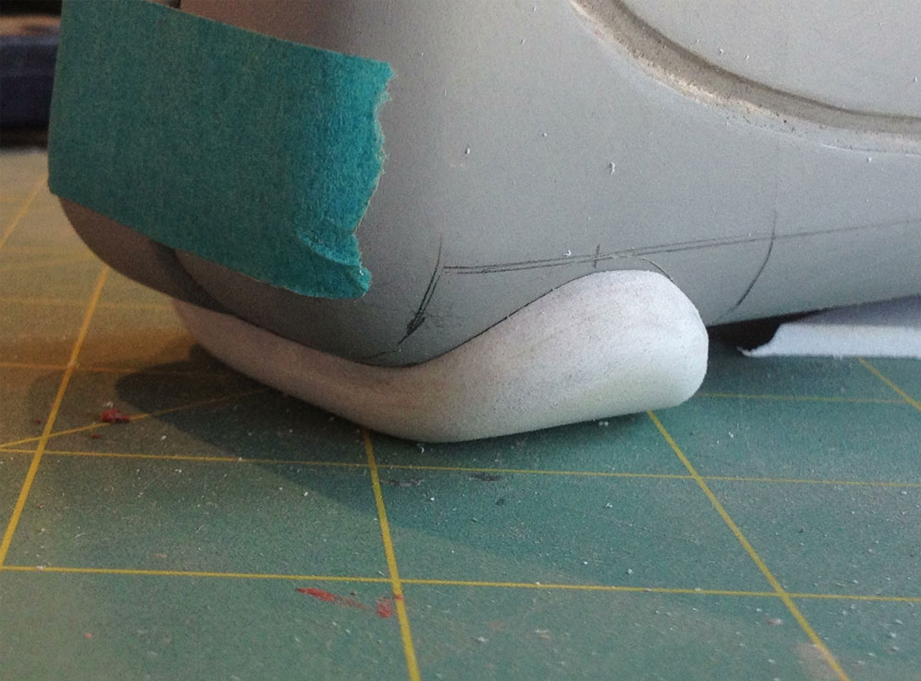
Once glued, I rounded the edges.
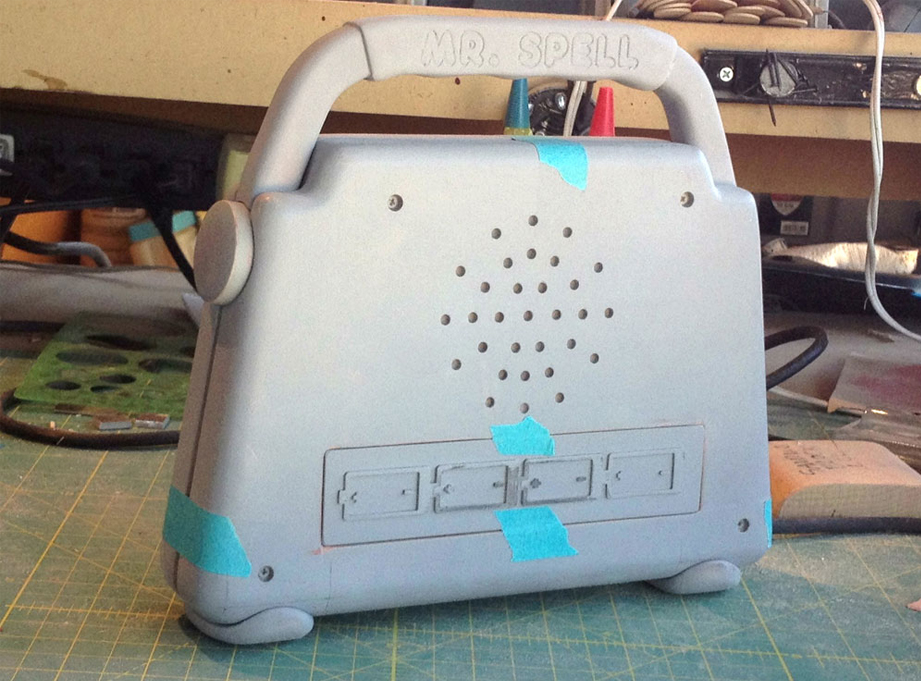
Test fit of all the parts.
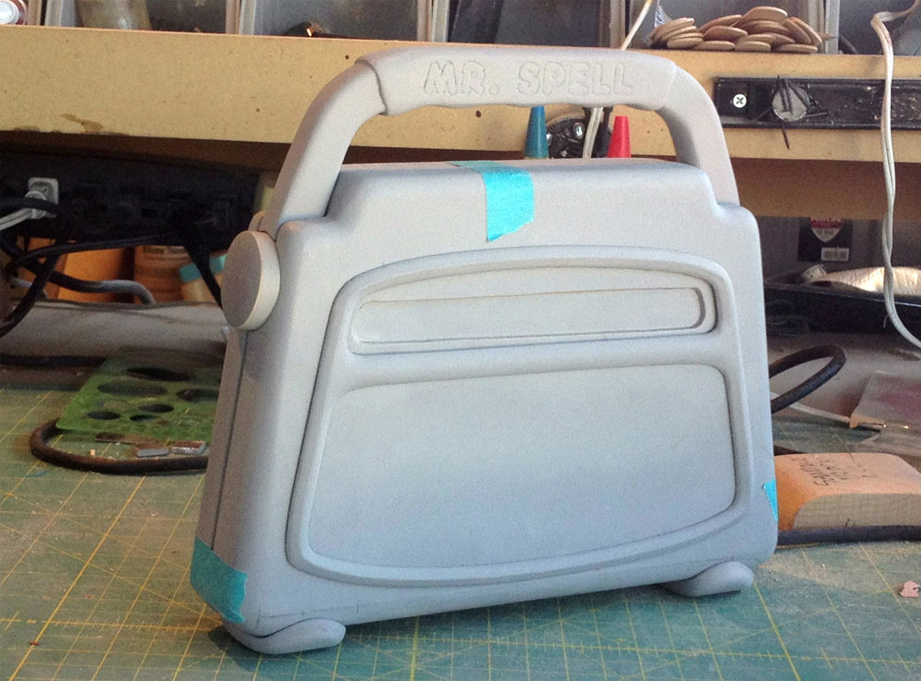
Test fit of all the parts, as seen from the front.
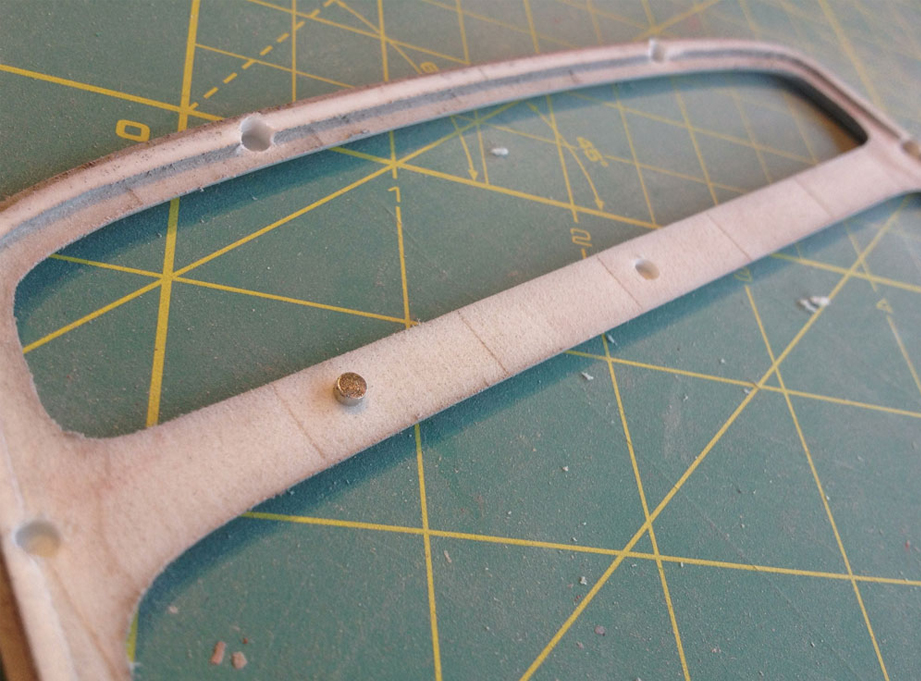
One last modification before molding was to drill small holes in the frame and body to house small magnets.
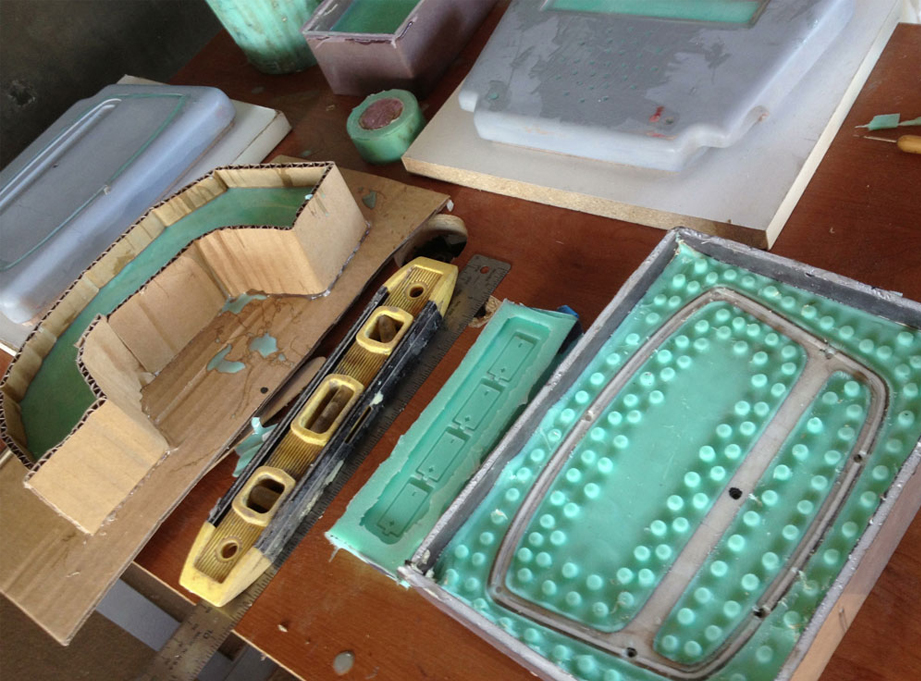
All parts were molded in Smooth-On MoldMax 40.
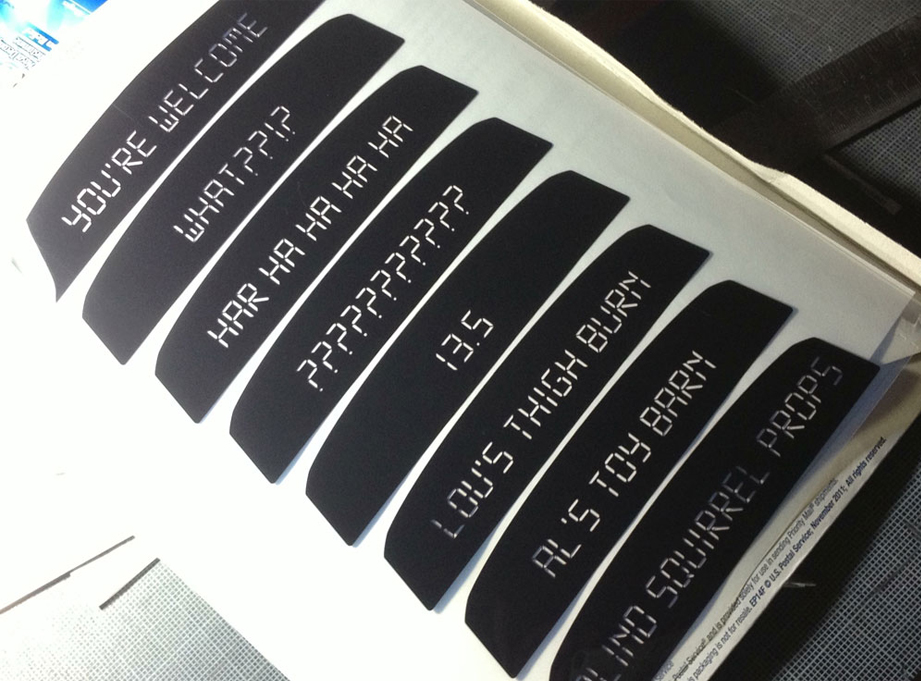
To make the different messages on the screen, I had film printed out at a silk screen supplier. On a standard 8″x10″ sheet, I was able to fit every piece of dialogue form the movies plus a bonus message! These would be cut out to be interchangeable.
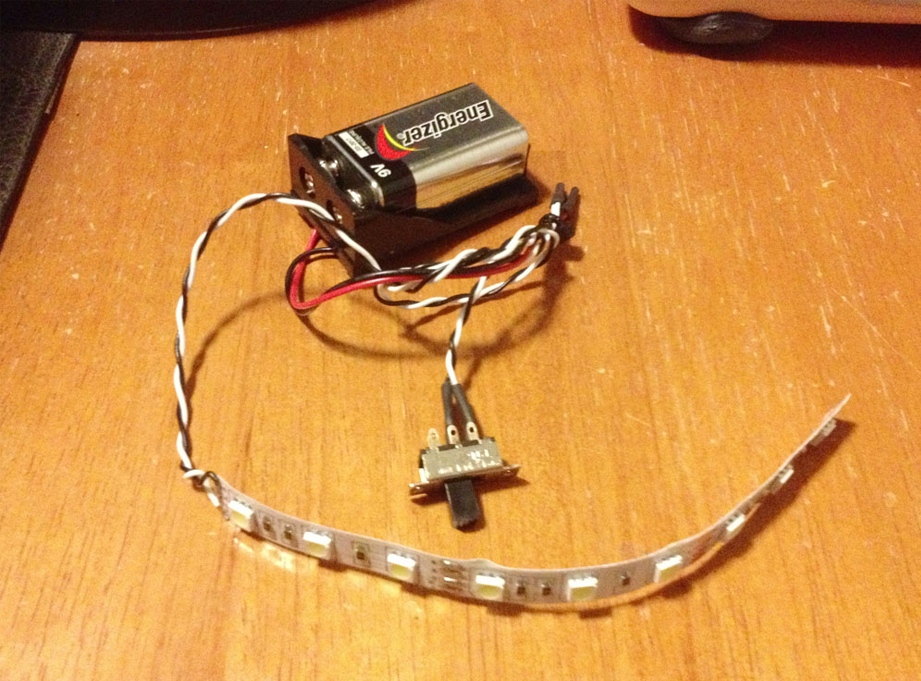
To light up the screen, I ordered a custom lighting rig from VooDooFX.
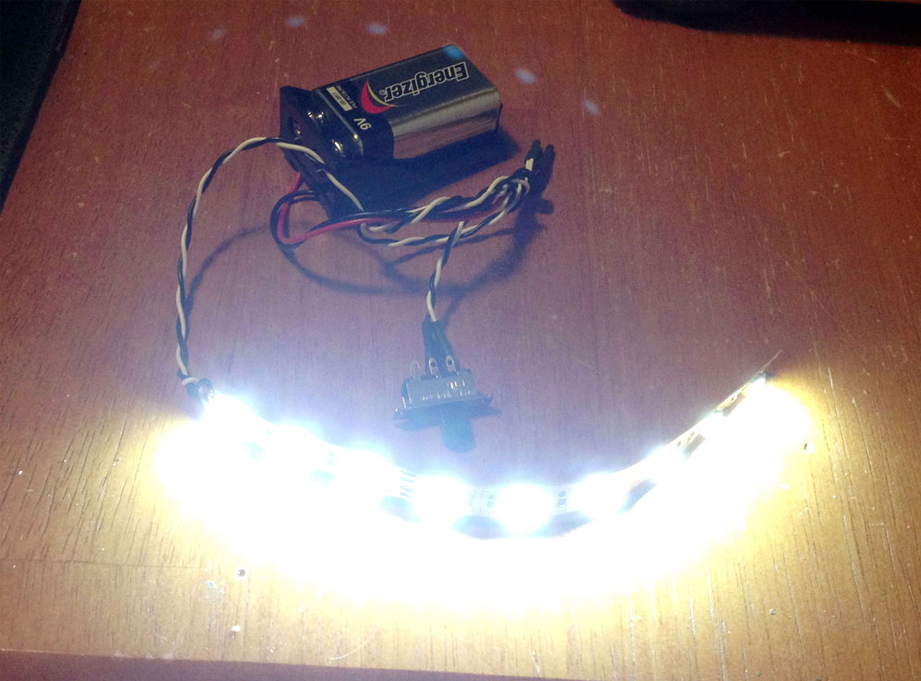
A 9v battery runs a bank of super bright LEDs on an adhesive strip!
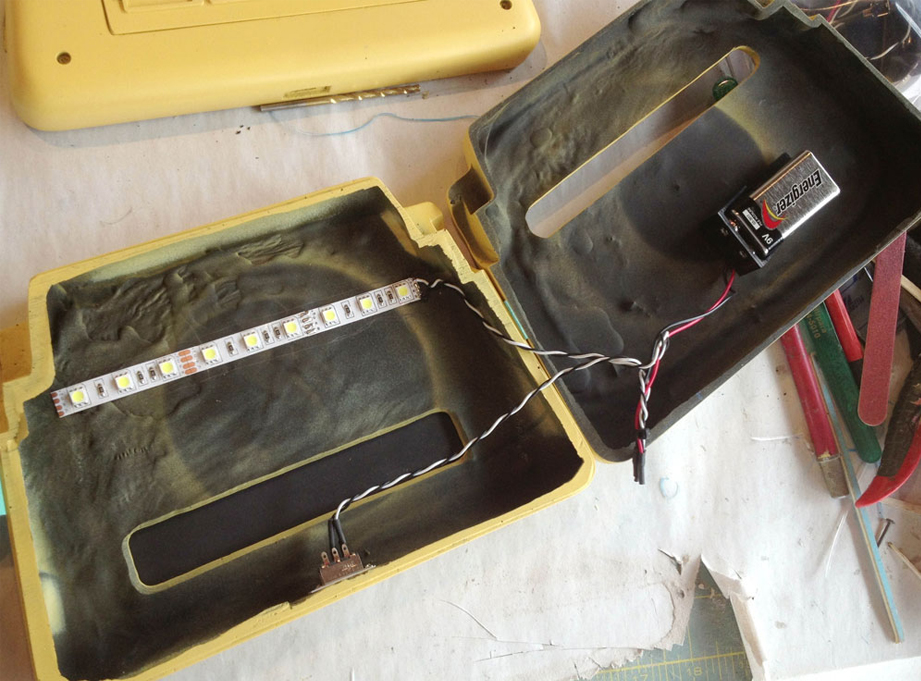
After the body was painted, I installed the lights and then sealed the body.
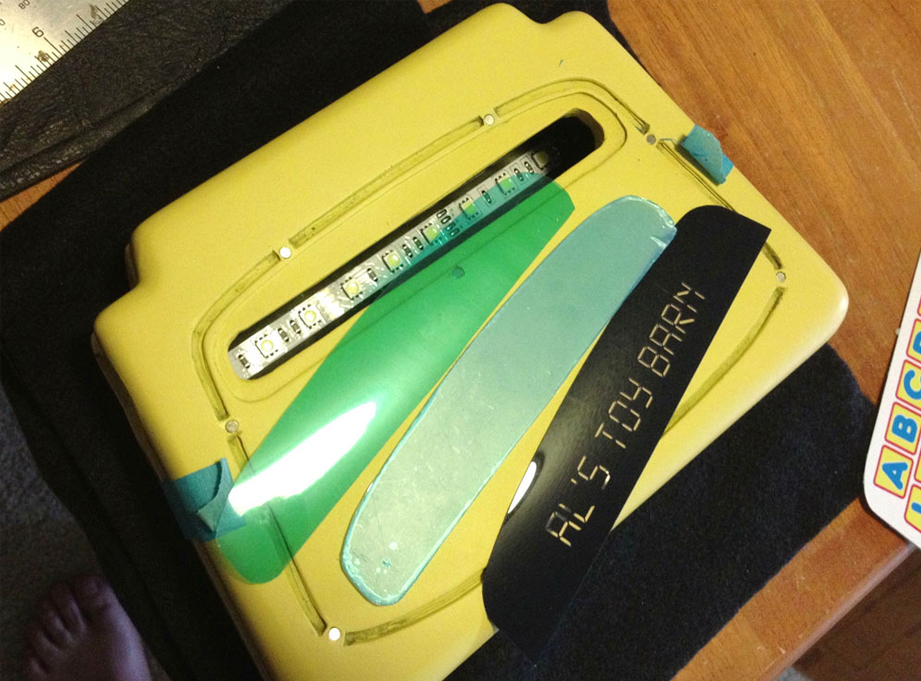
To get the proper color for the letters, I bought some aqua color acetate but it was looking too pale and green. I found that the blue plastic covering on the acrylic panel actually corrected the color!
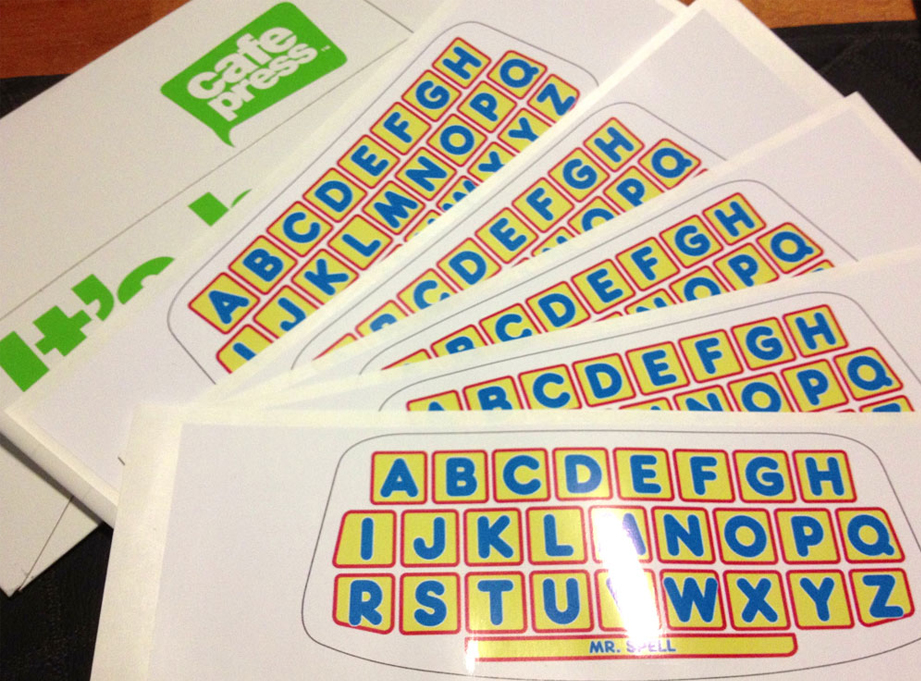
For the keyboard, I was able to fit the graphic on CafePress‘ large vinyl bumper sticker.
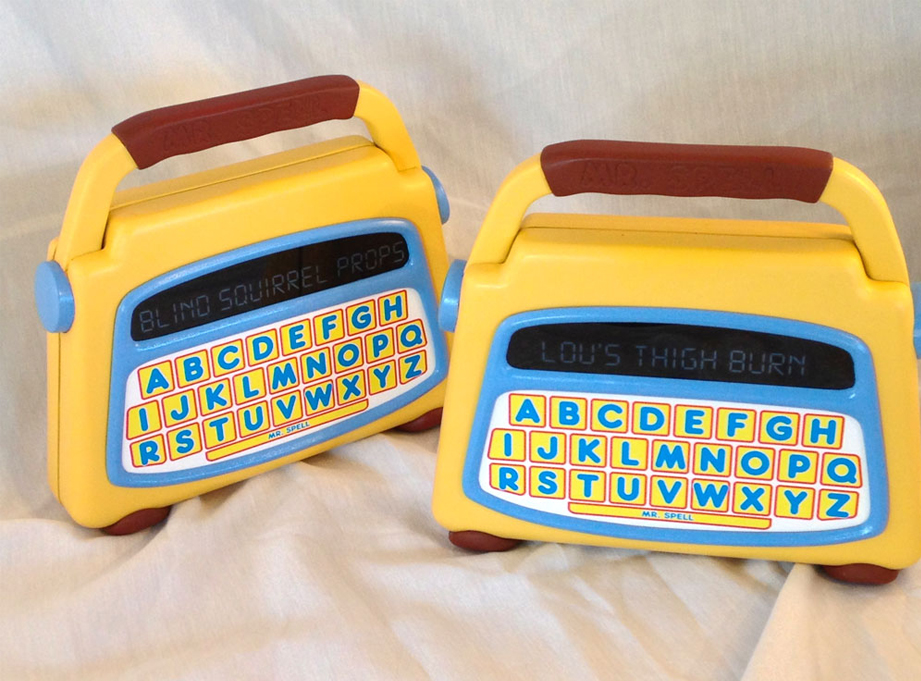
The final assembled copies.
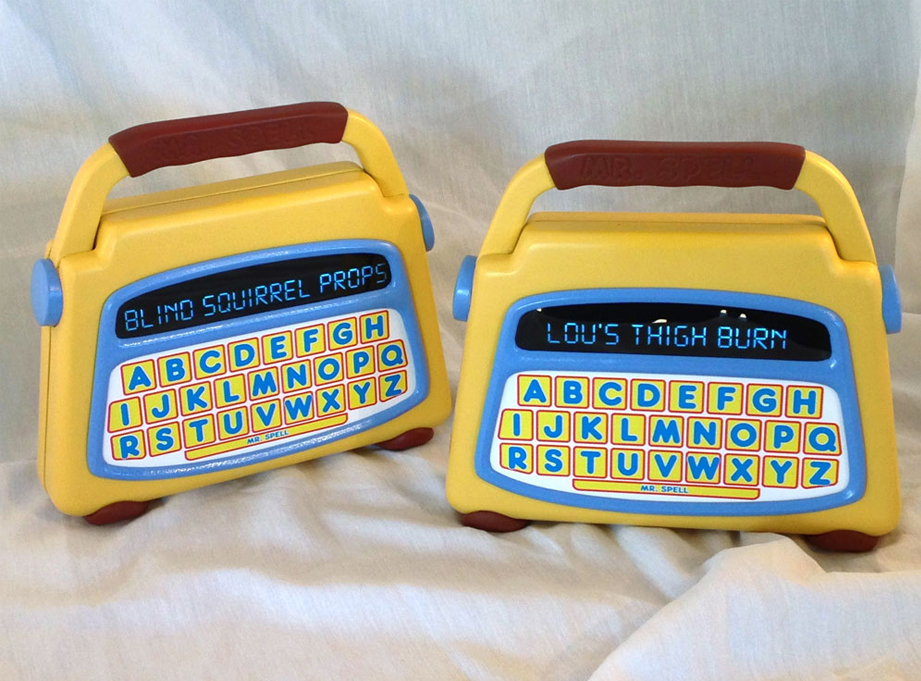
And the screens lit up!
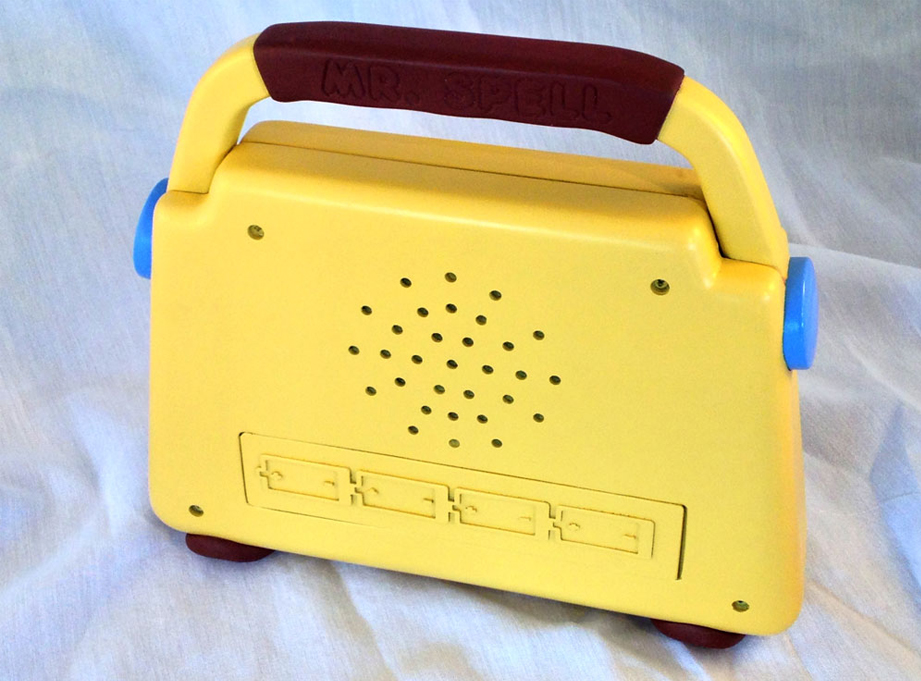
Back view.
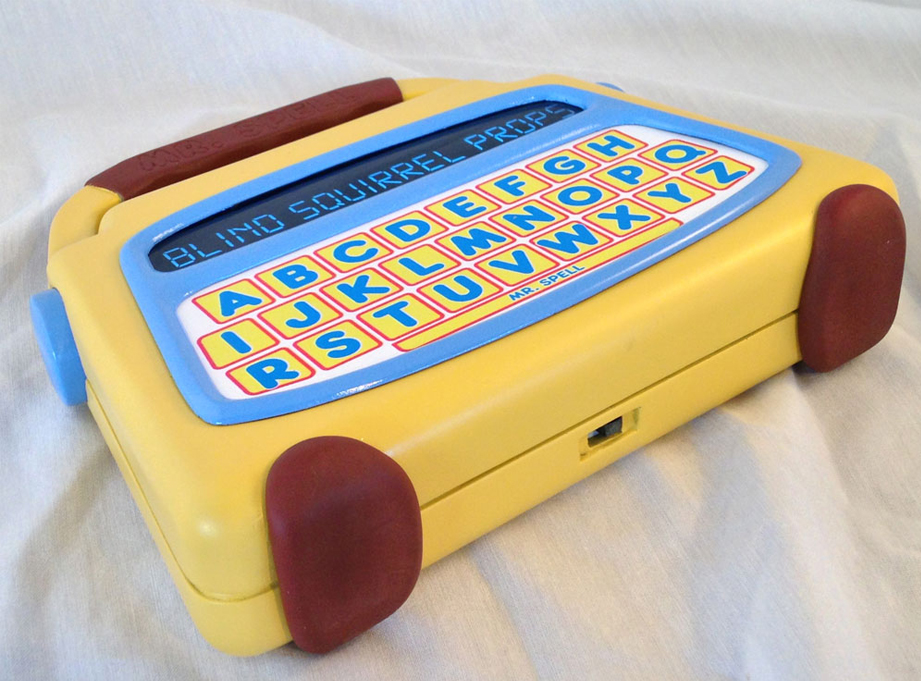
Bottom showing the battery switch.
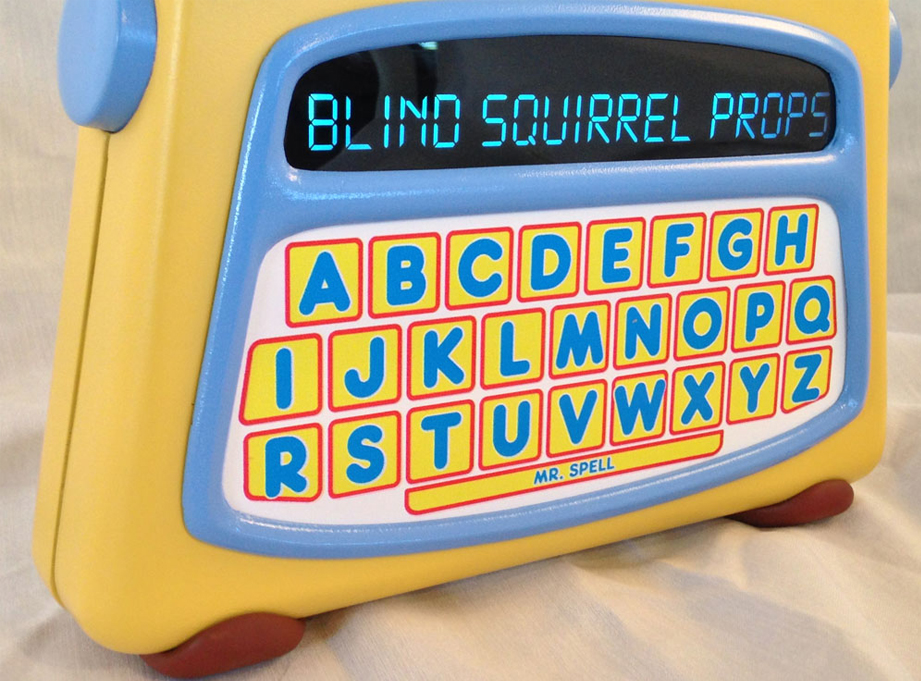
Front panel detail.
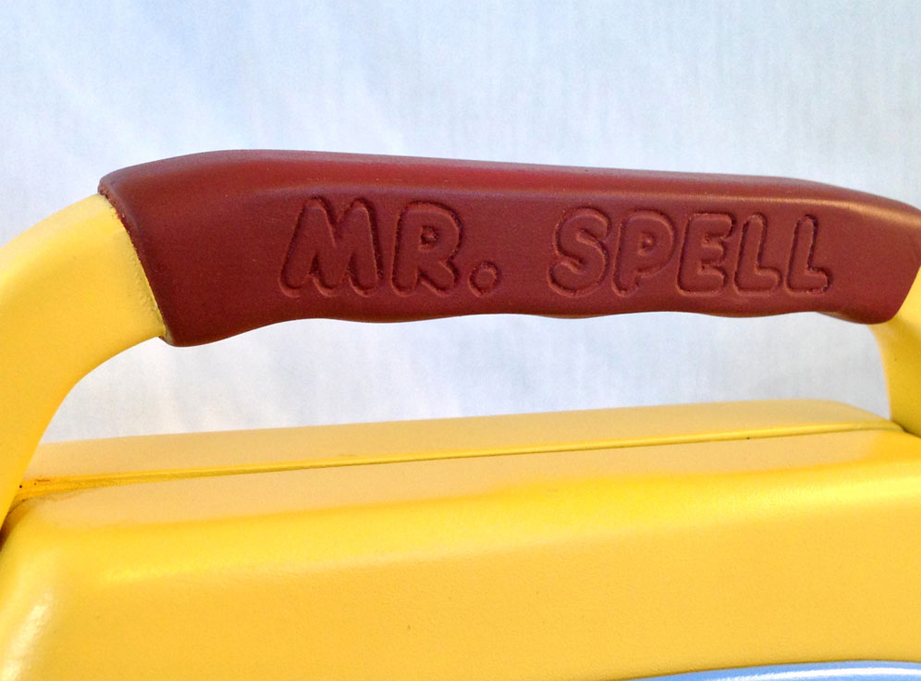
Handle detail.
