life-size tmnt Michelangelo
january 2016
Michelangelo or Mike/Mikey is one of the four main characters in Teenage Mutant Ninja Turtles. He is the youngest brother and the wild one of the team. In the 2012 series, Michelangelo uses both a kusarigama and nunchucku. His character design was updated as well, making him slightly shorter than his brothers, giving him dark freckles as well as shorter tails on his mask. Mikey is voiced by Greg Cipes.
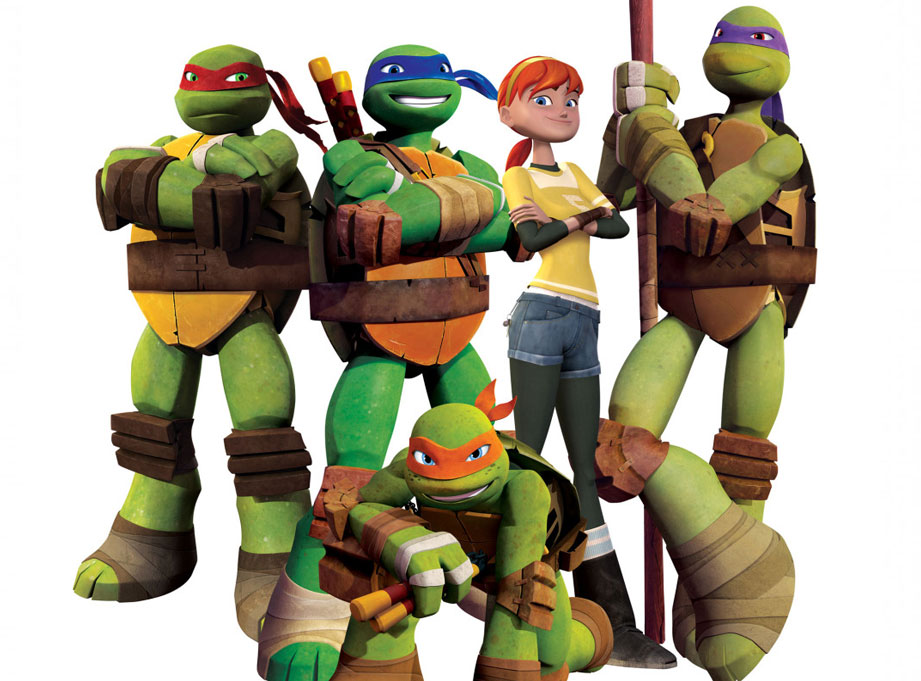
I absolutely love the 2012 Nickelodeon series Teenage Mutant Ninja Turtles. Beautiful animation, great designs and genuinely good, funny stories.
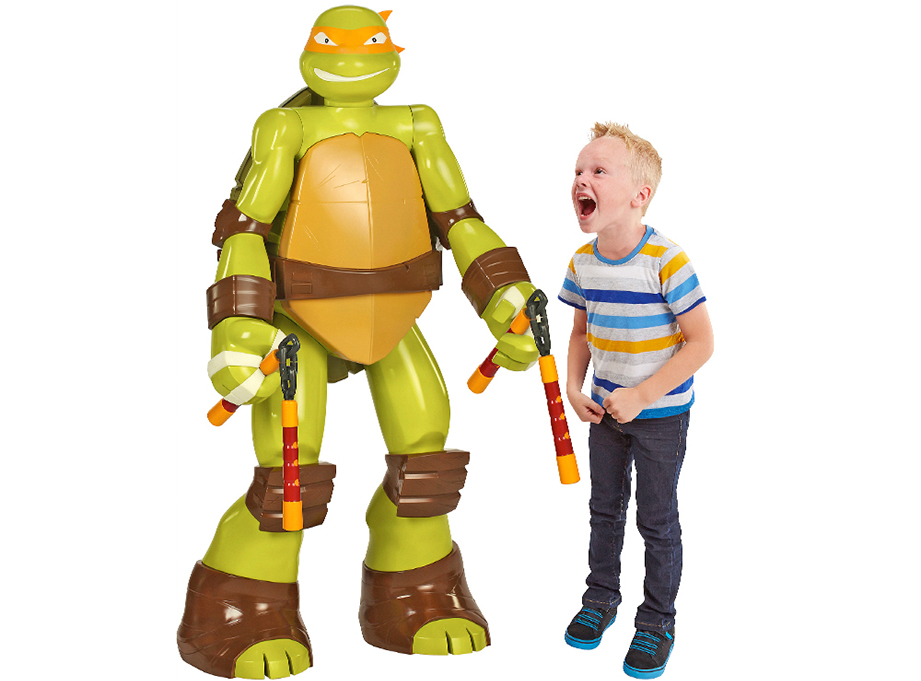
This is an accurate representation of me seeing the life-size Michelangelo toy. It just needed to be more accurate.
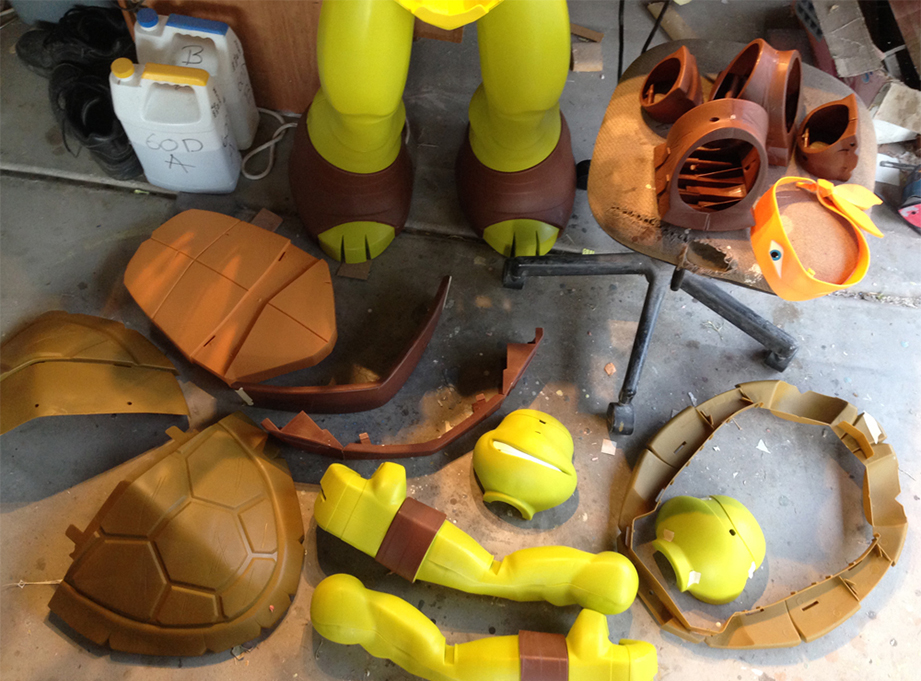
He disassembled pretty easily.
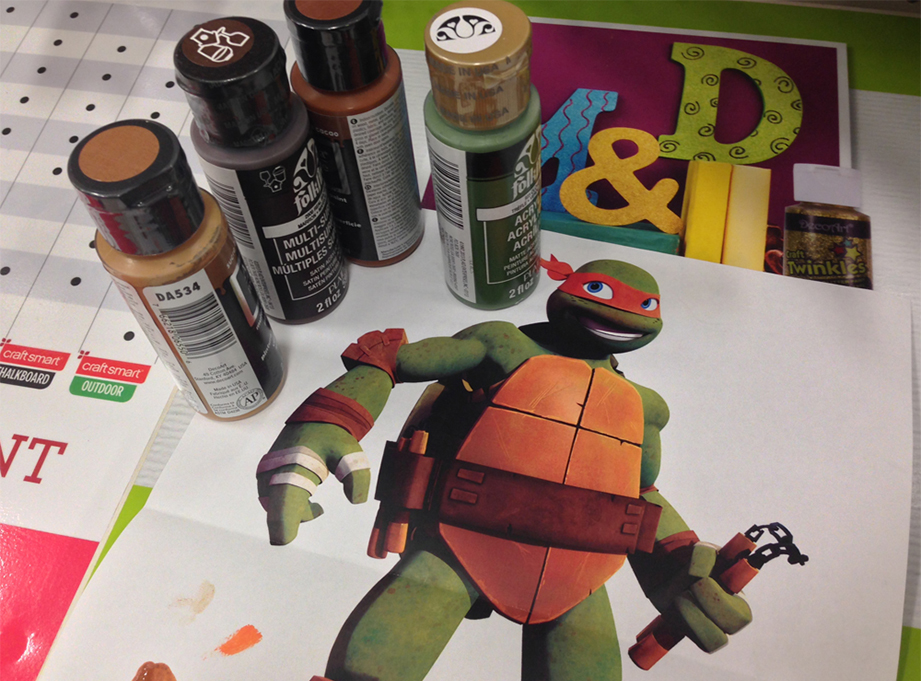
I found some close colors in standard acrylic craft paints.
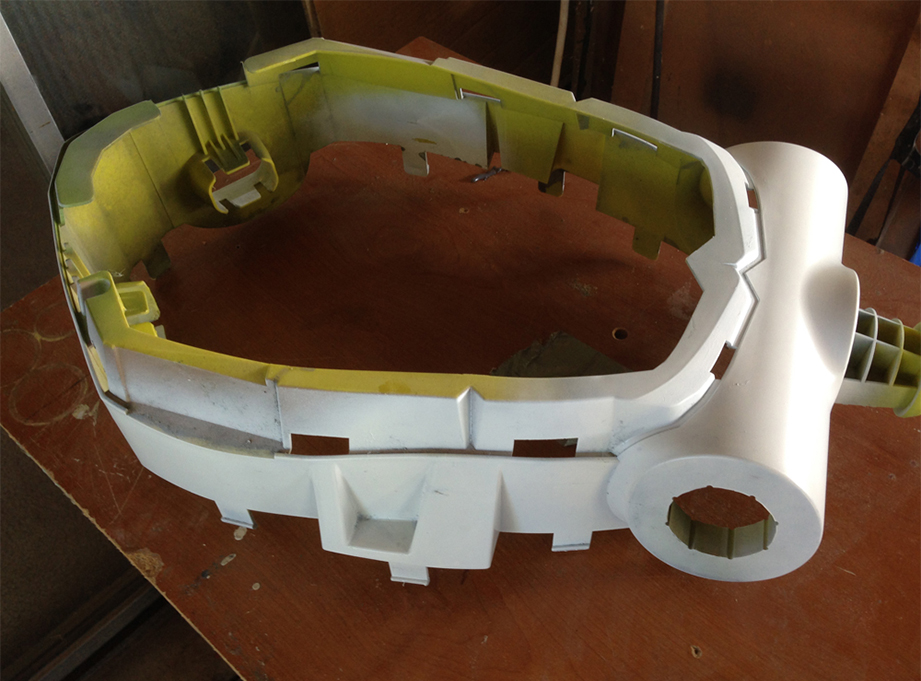
I used white Krylon Fusion spray paint as a primer. Its formula bites into the plastic.
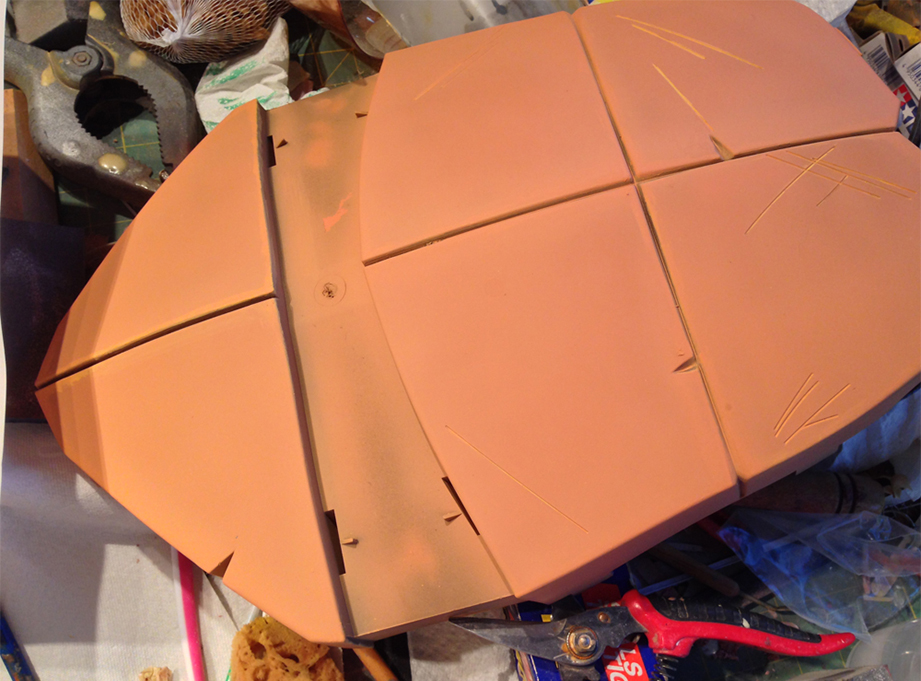
Base coat on the belly plates.
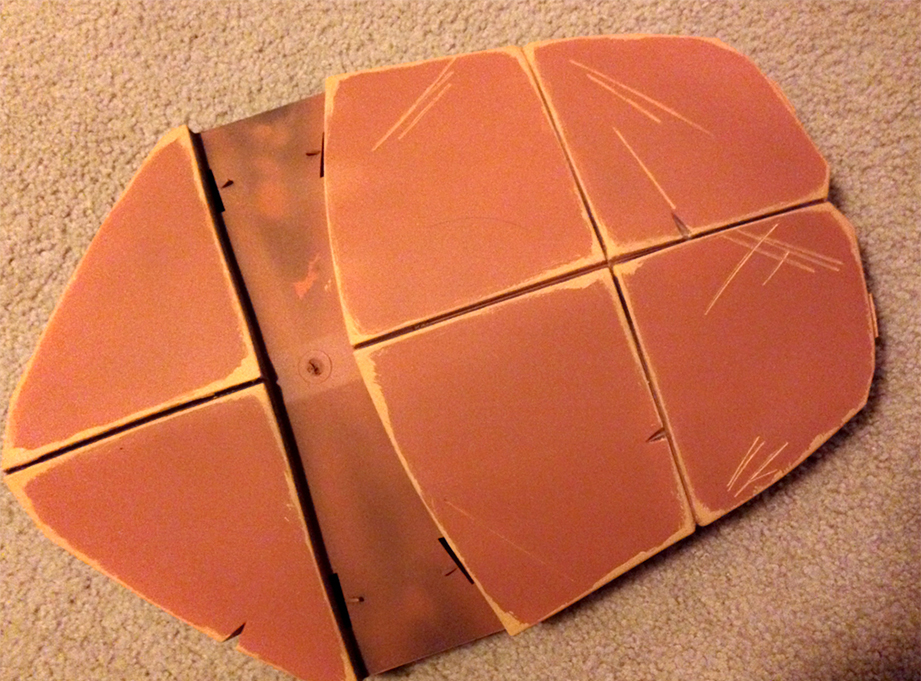
I applied a lighter color along the edges of each plate and in the scratches.
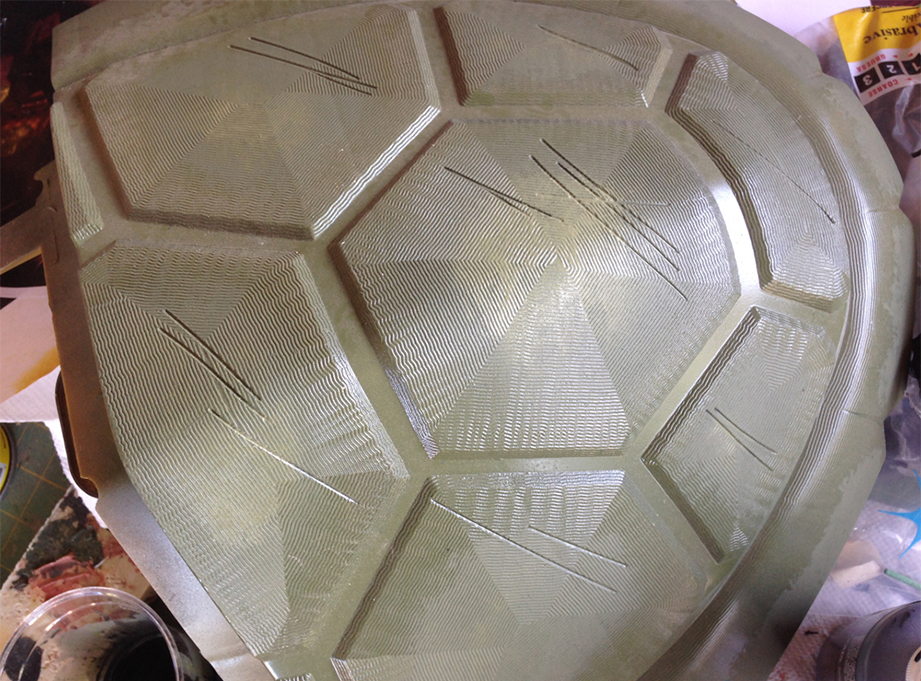
Base coat green on the shell. The plastic actually has some nice detail molded into it.
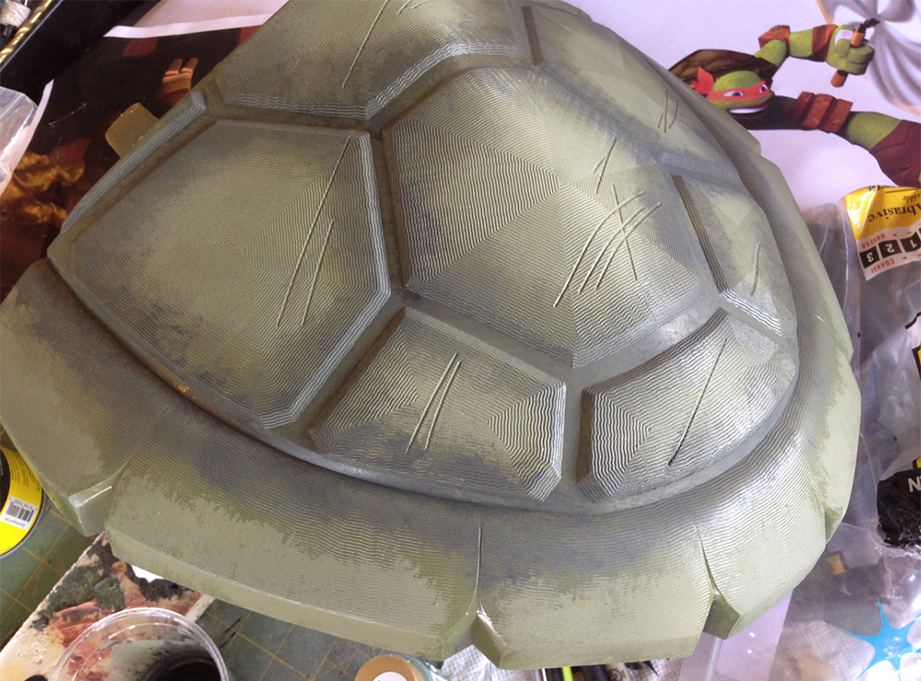
A couple of layers of shading gives the shell dimension.
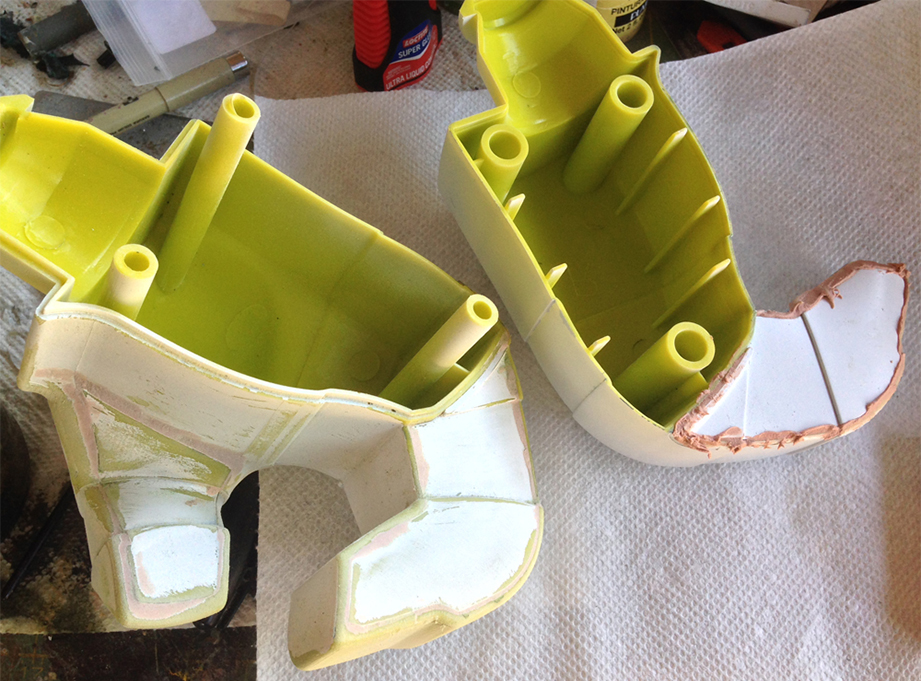
The inside of one of the fingers was missing a part. Since it was too late to return it, I patched the hole with styrene and Bondo.
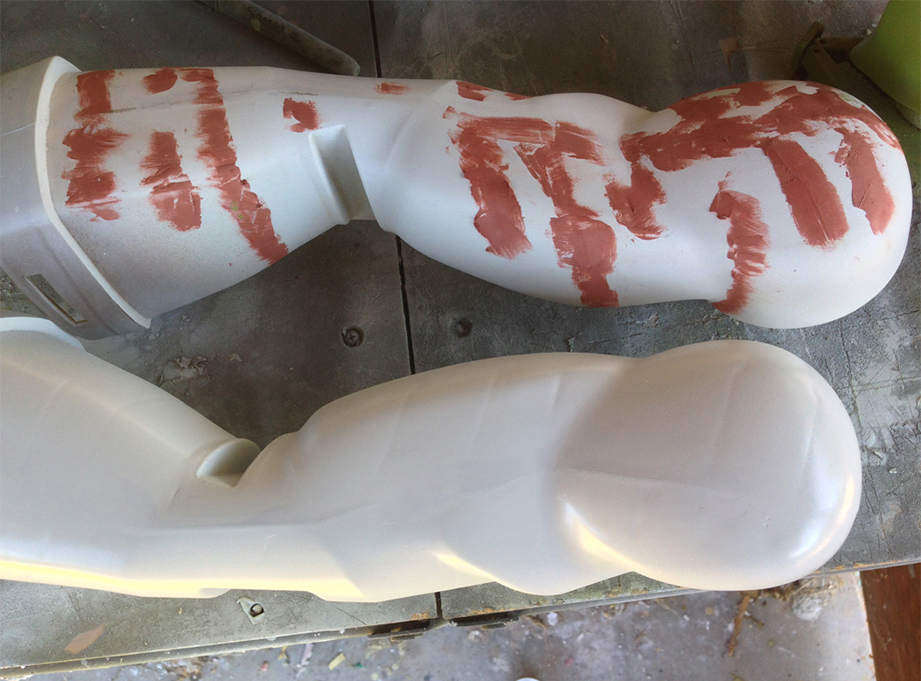
To remove the seam and mold marks, I sanded and used filler putty.
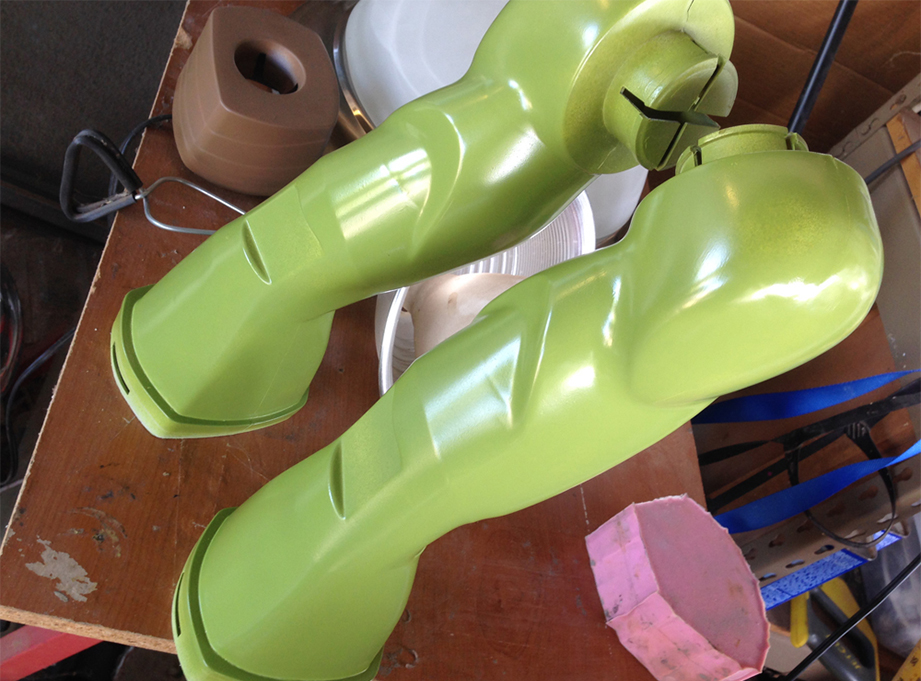
Base coat for Michelangelo's skin which I had custom mixed at an auto paint store. It's super expensive ($30/can) but sprays on so nicely!
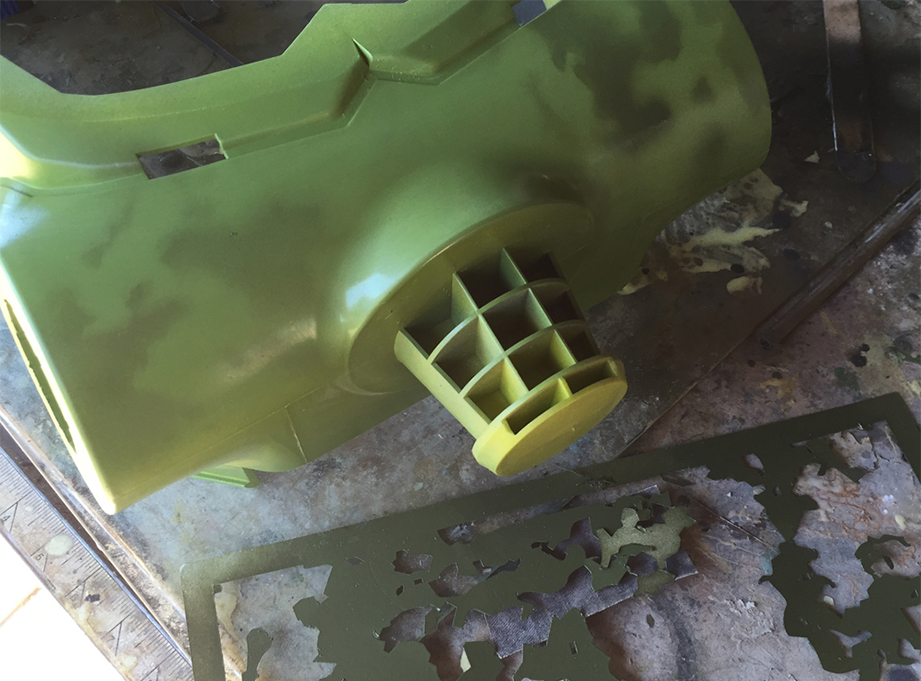
I cut stencils from card stock and used it to paint the soft splotches of green on his skin. If you hold the mask a few inches away, you get a soft edge.
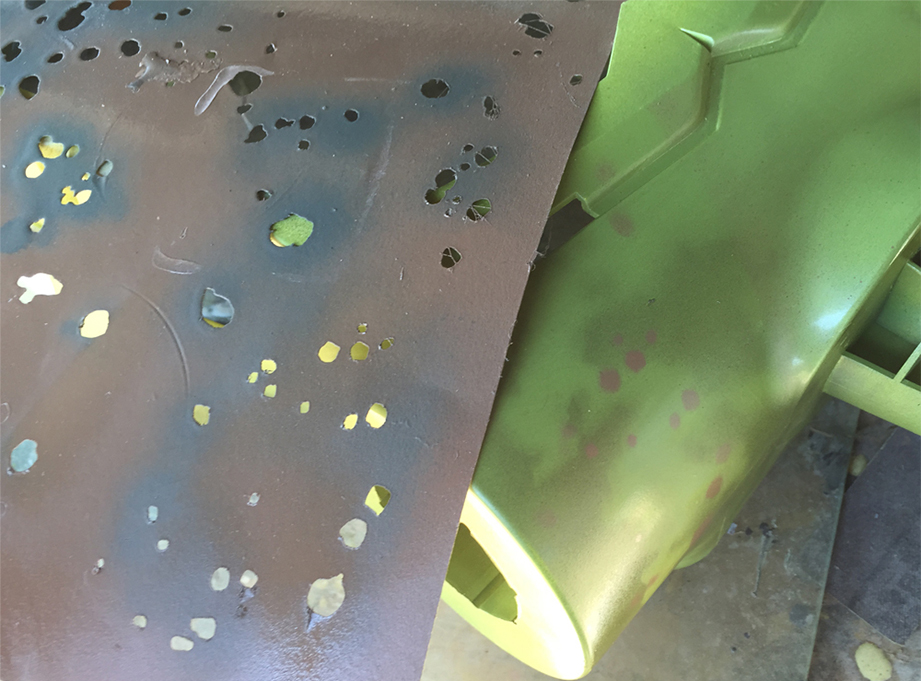
Another mask was used to paint the spots.
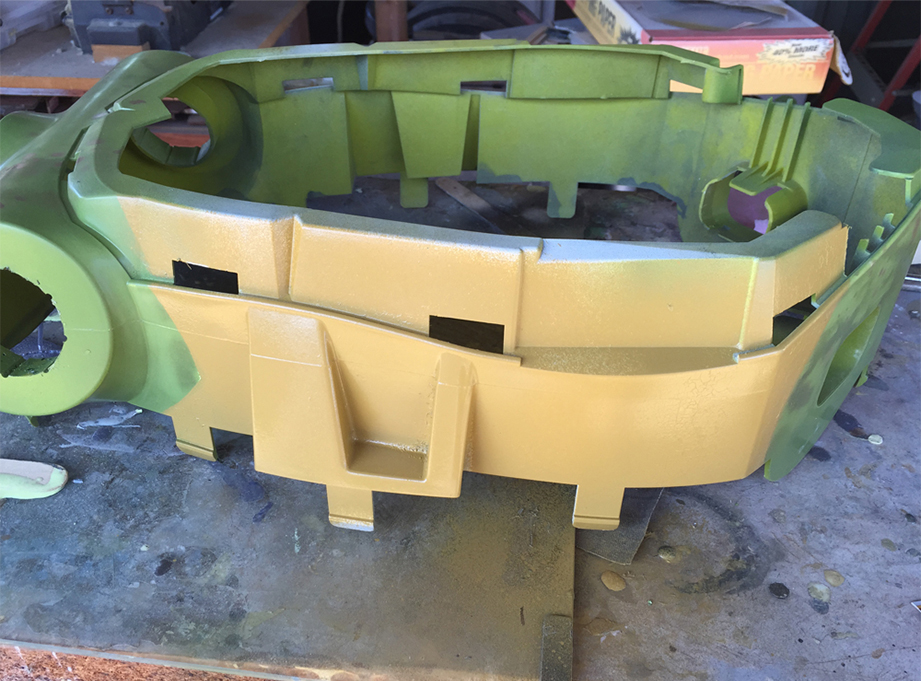
I masked off the side of the torso and painted the base color.
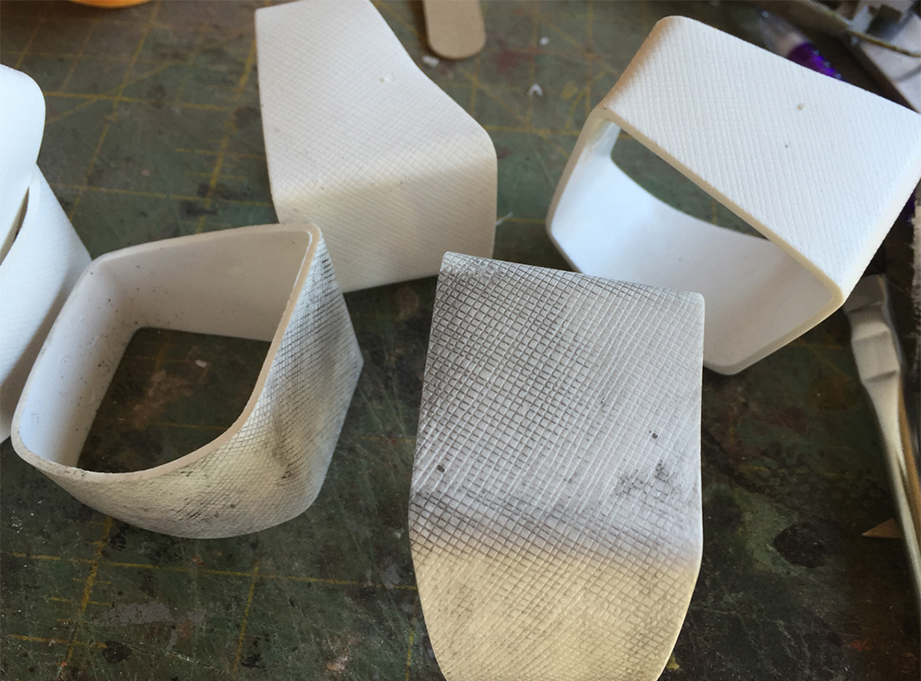
The finger wraps had a nice texture that I could bring out with a wash of black acrylic.
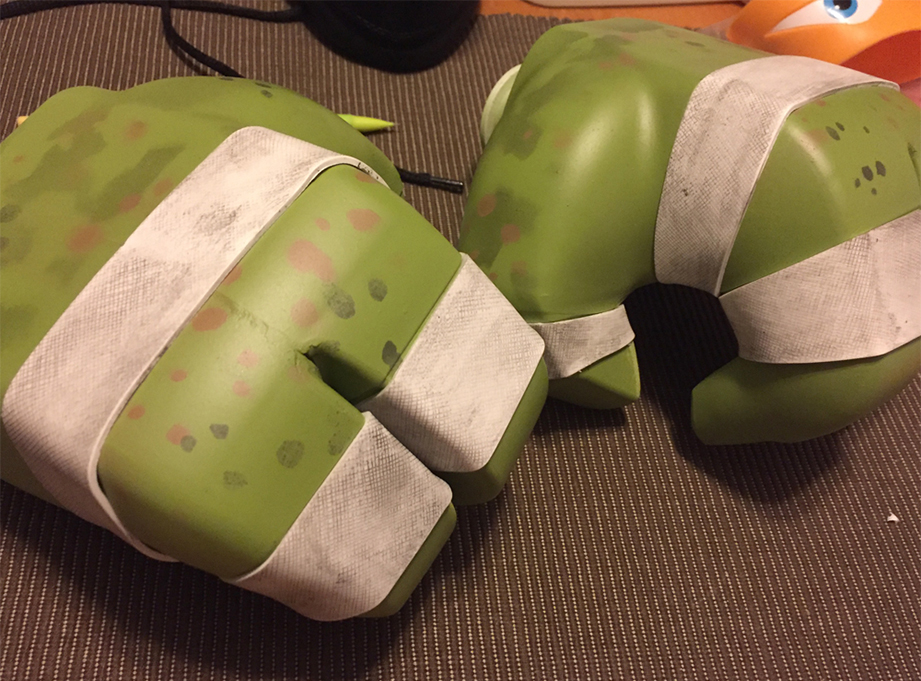
The wraps back on the painted hands.
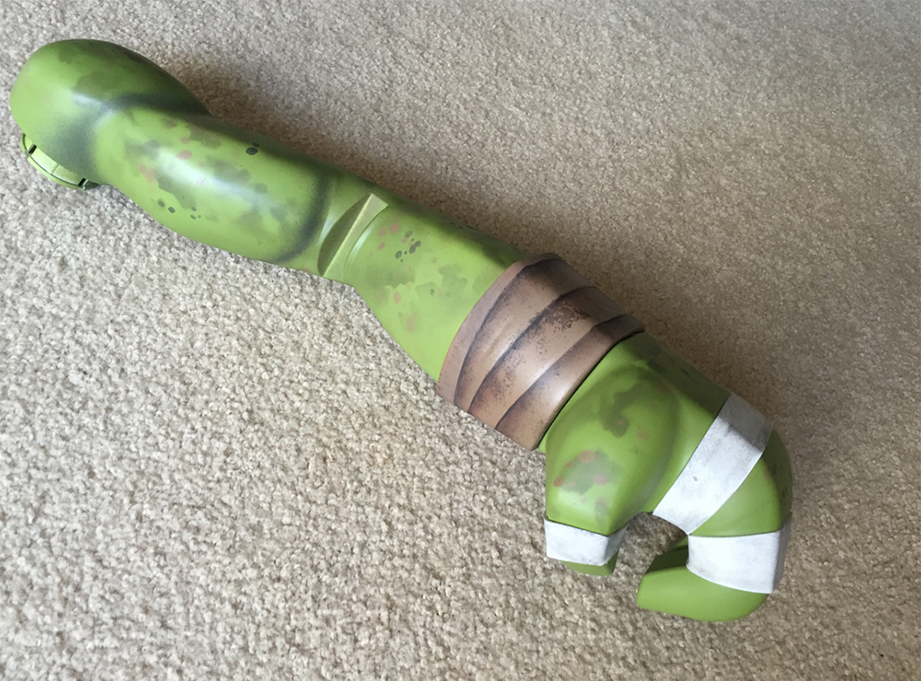
The wrist wraps were painted by masking the edges of the molded geometry then airbrushing and sponge texturing.
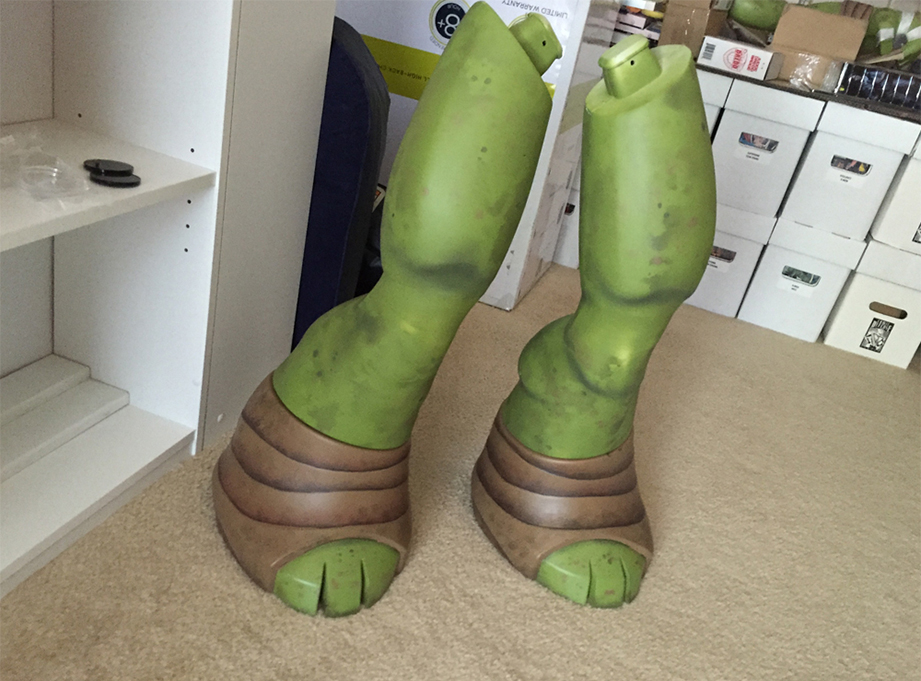
The painted and re-assembled legs.
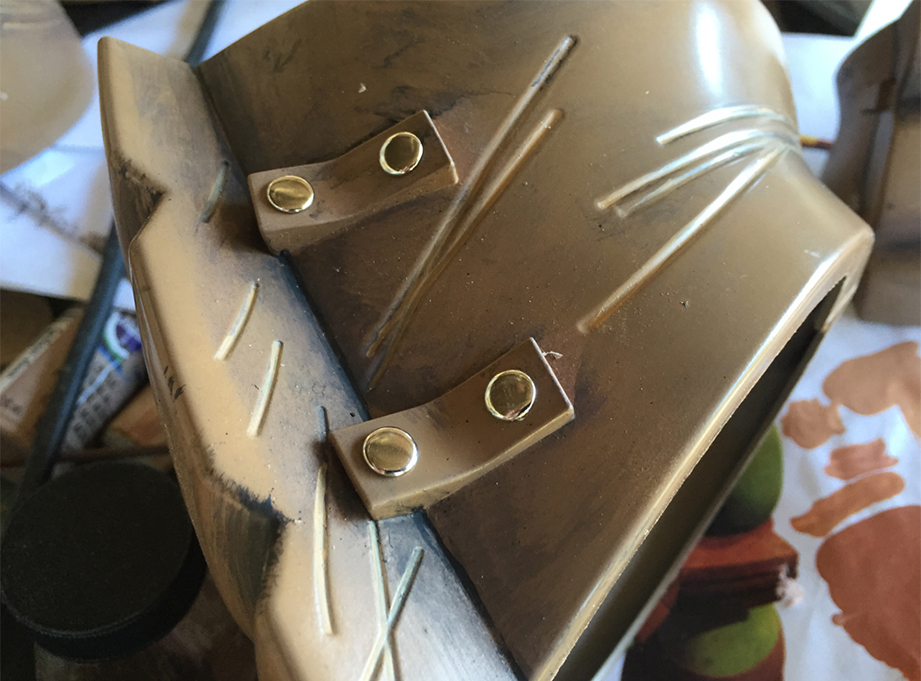
I added metal rivets to the elbow pads since they neglected that detail.
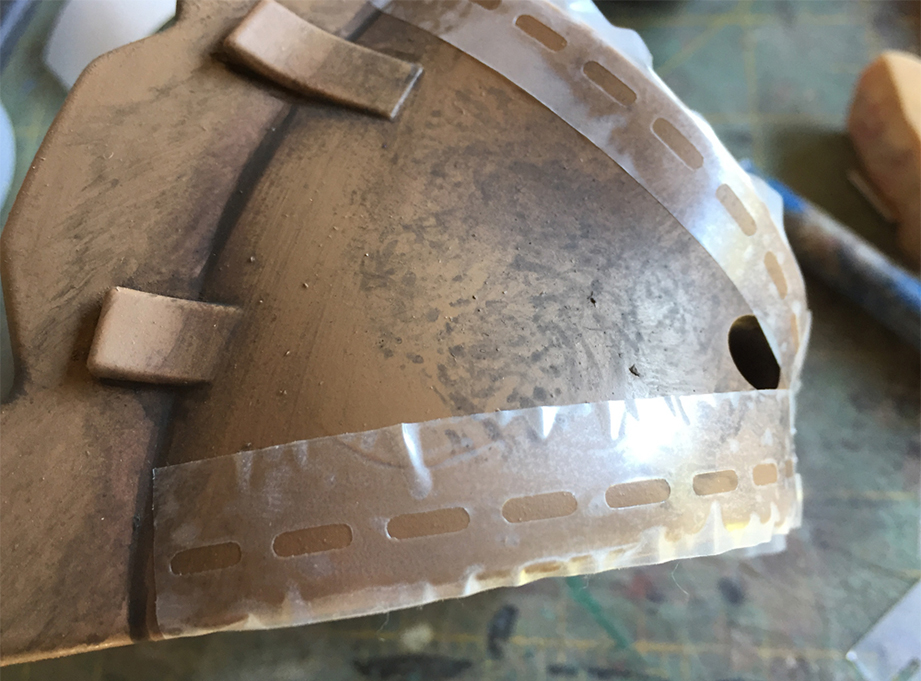
I cut stencils in Frisket for the stitching on the elbow pads.
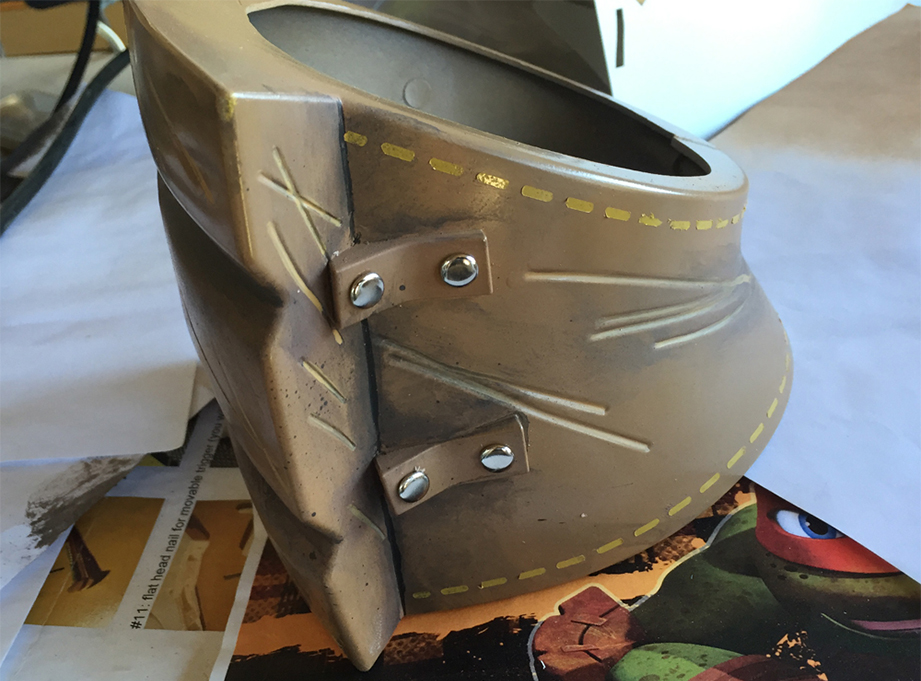
The final elbow pads.
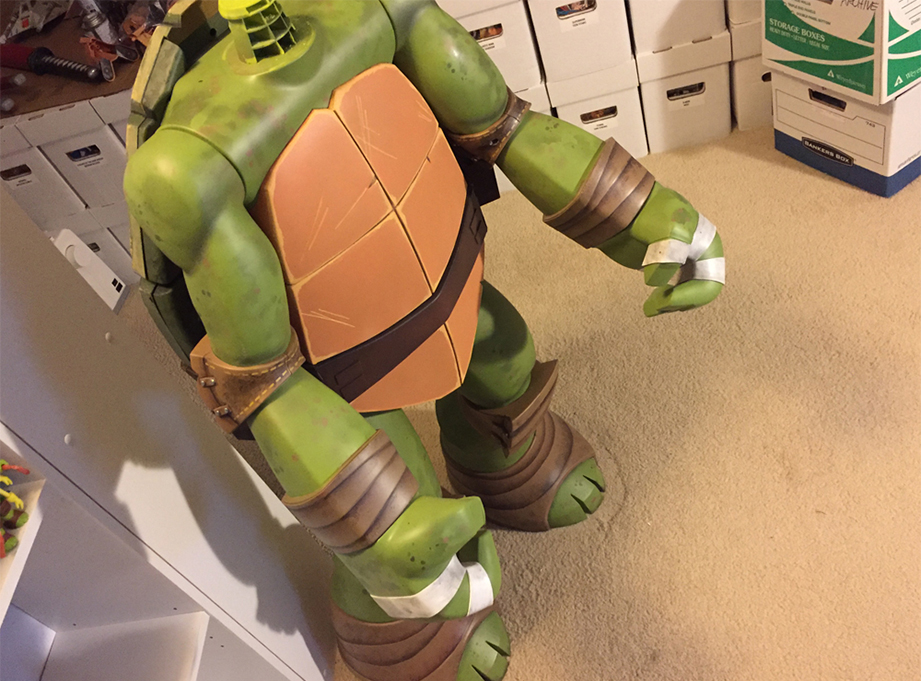
The completed body.
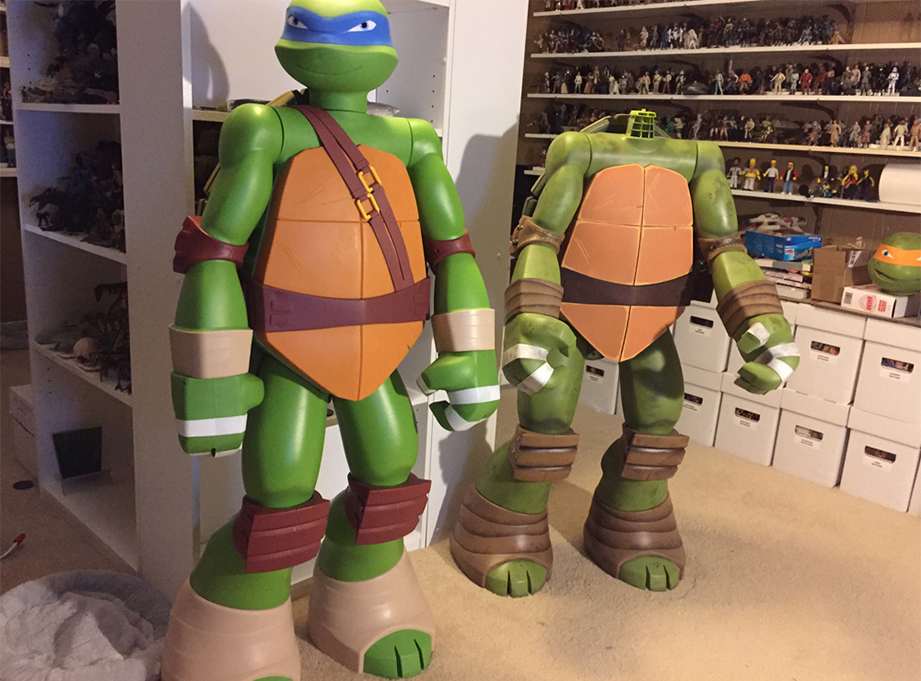
A year later, Jakks Pacific came out with Michelangelo's brother, Leonardo. As tempting as it was to work on him as well, I had to finish Mikey first.
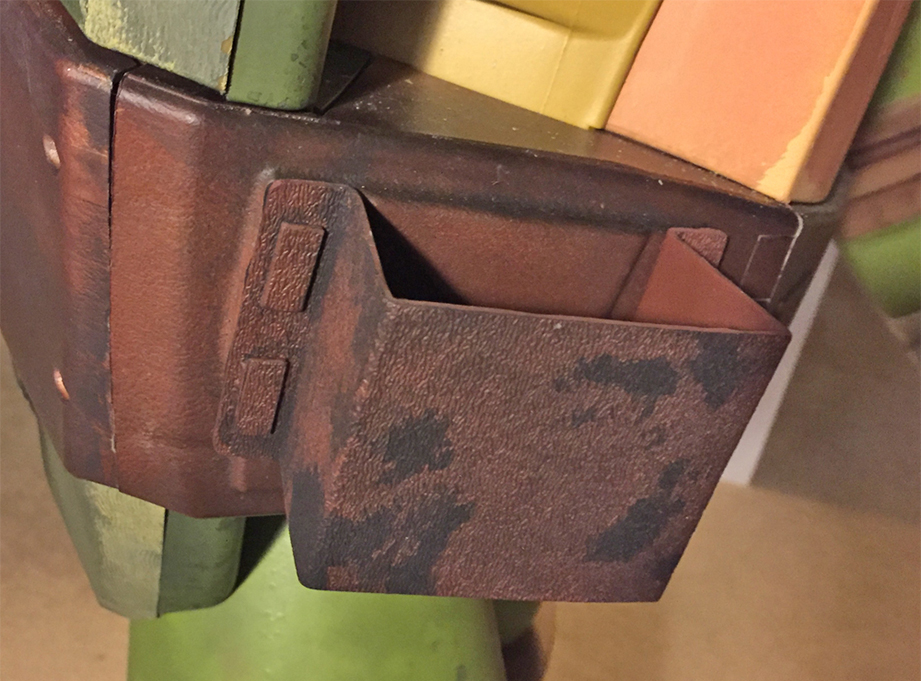
I had some scrap Kydex plastic that I was able to heat form into his nunchaku holsters.
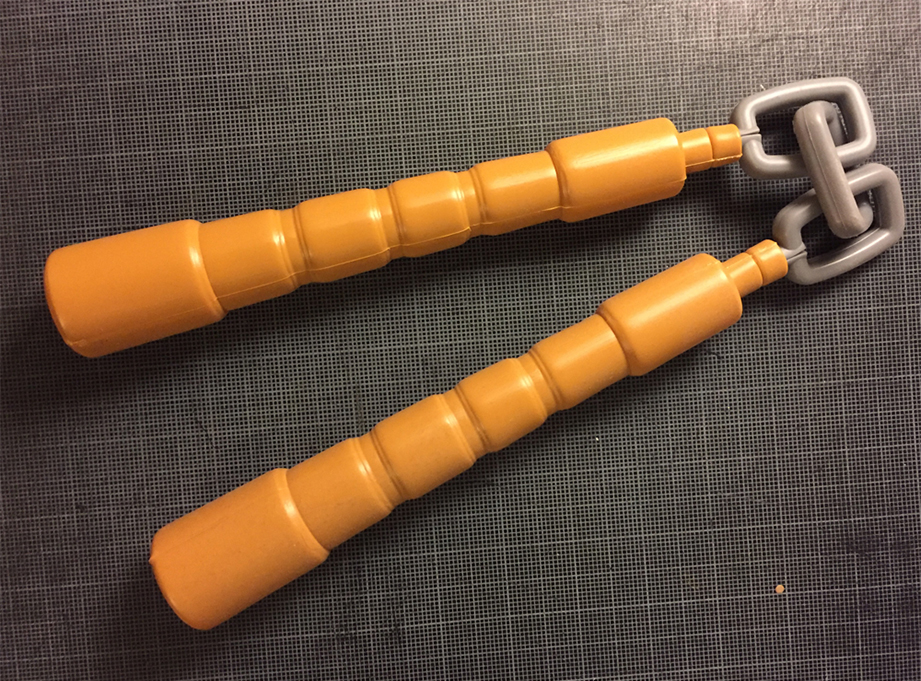
The supplied nunchucks were horrible! I had to re-build them from scratch.
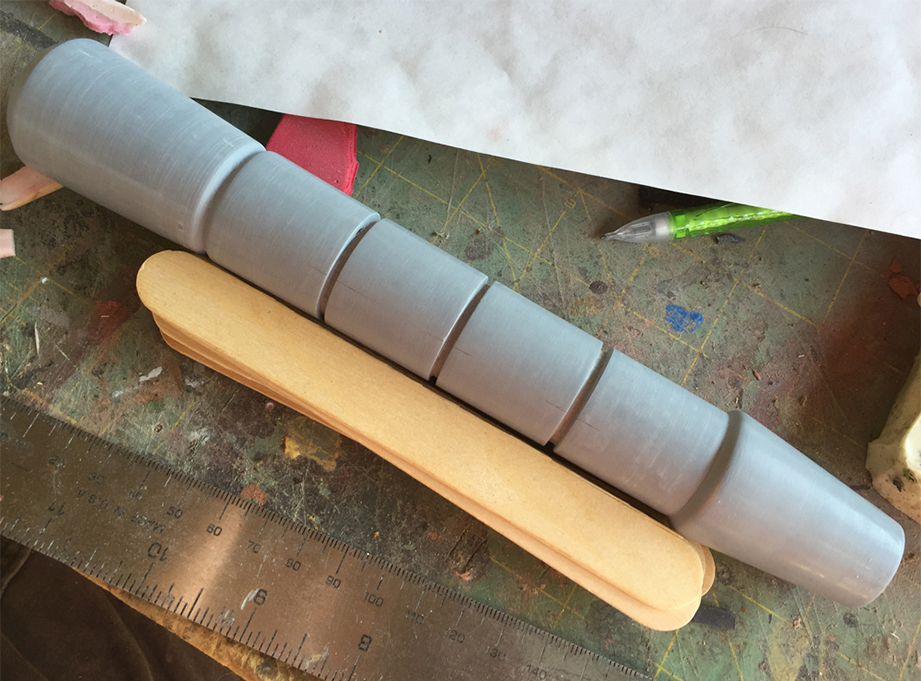
I lathed the new sticks from basswood.
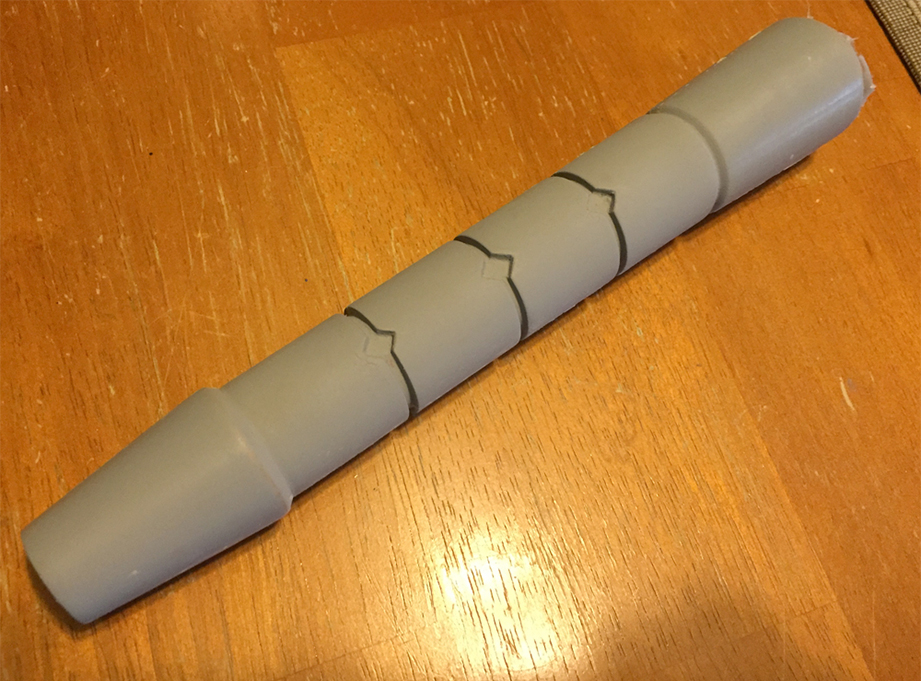
I carved out the diamond pattern with an Xacto blade.
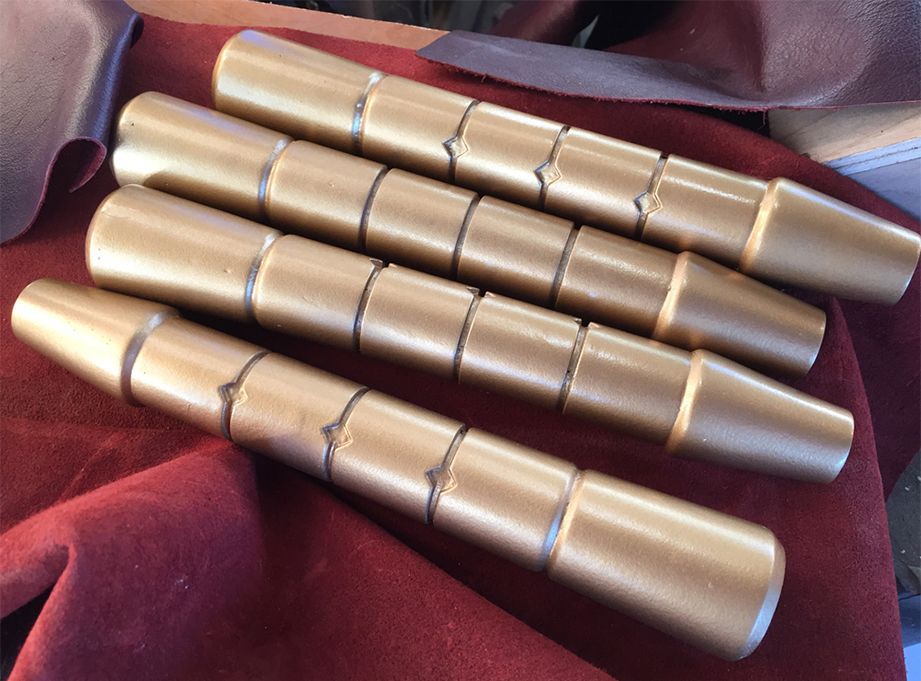
I made a mold from the master and cast resin copies. They were then painted gold.
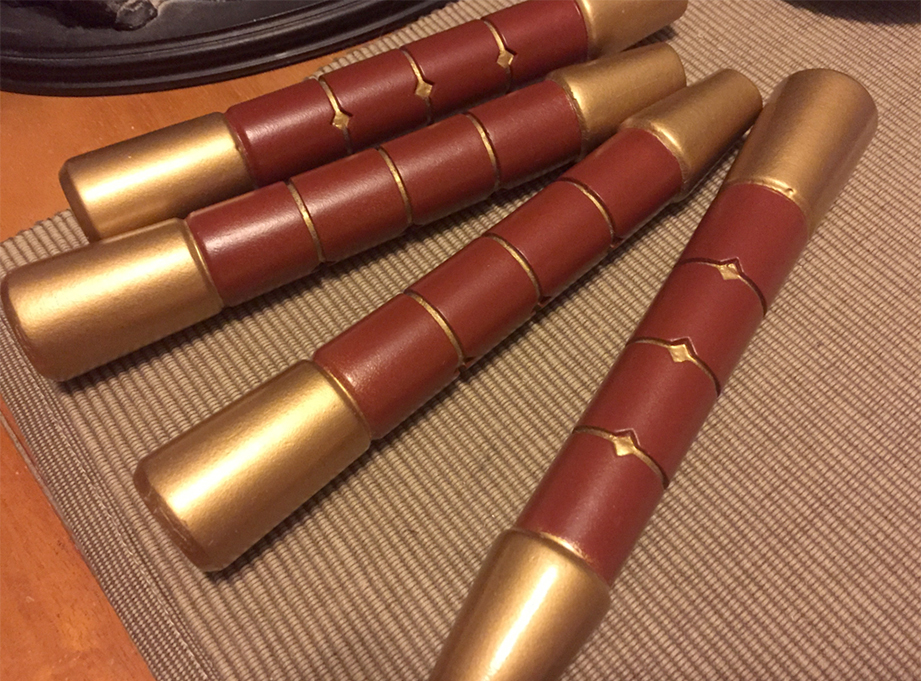
The gold areas were masked off and the brown leather areas were painted.
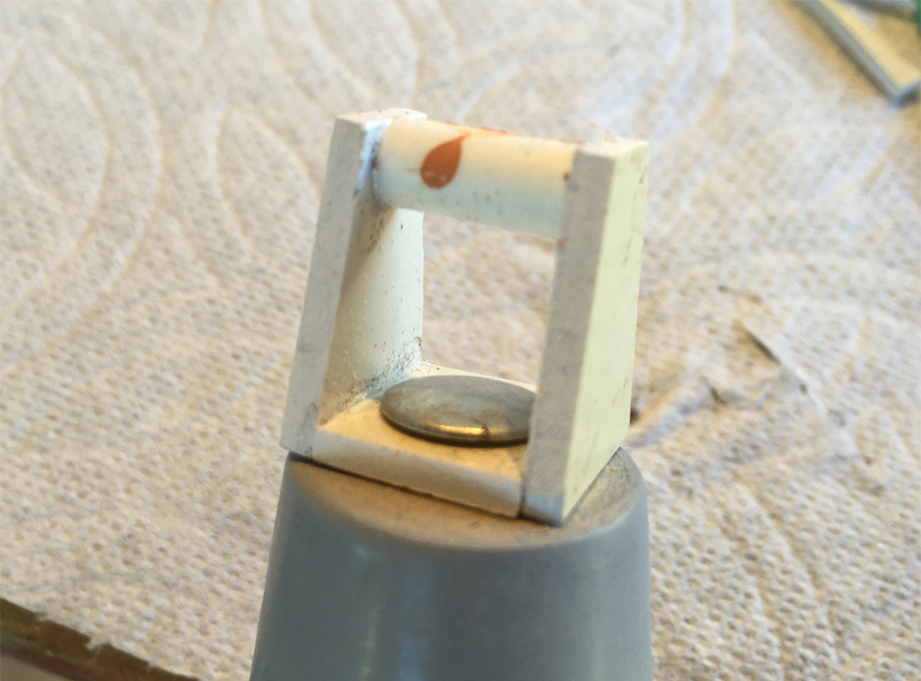
I made a chain swivel from styrene which would be connected with half of a chicago screw.
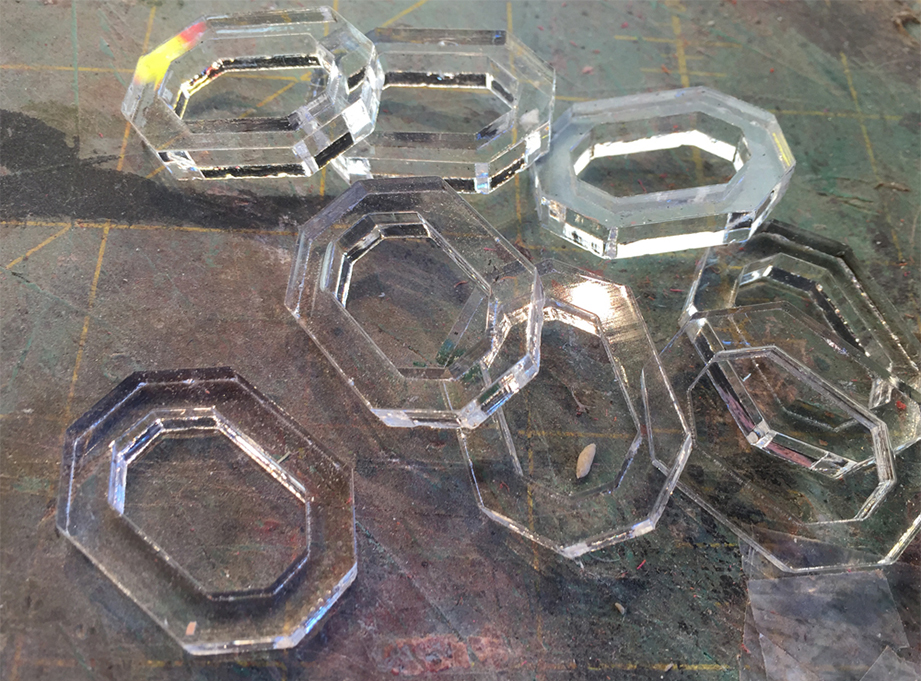
I had links laser cut from acrylic.

After making a mold, I cold cast aluminum copies. A bit of polishing gives the links a real metal sheen.
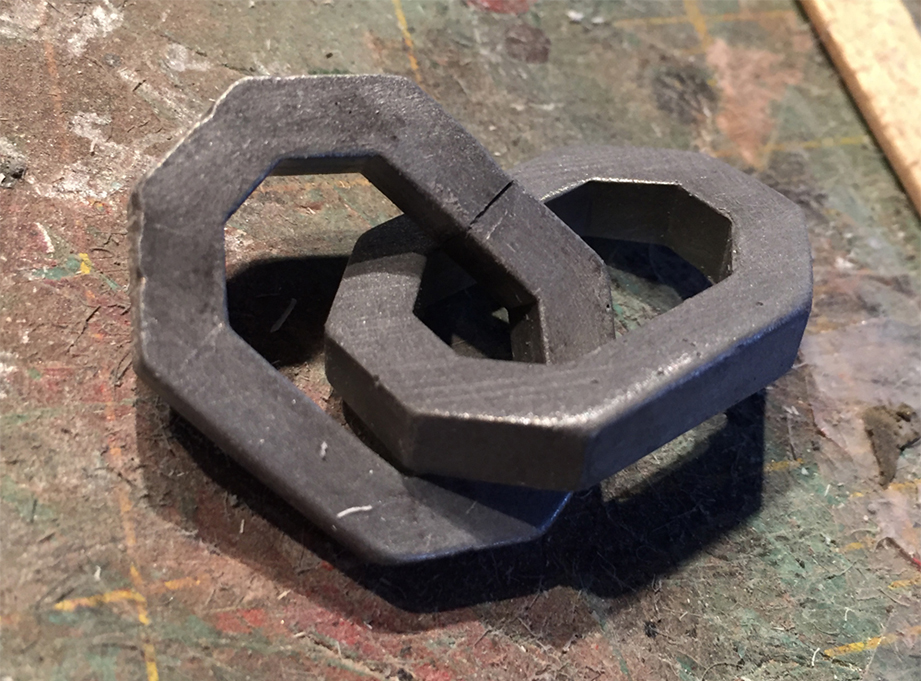
To link them into a chain, I heated the resin to soften it, cut it with a blade and then glued the joint.
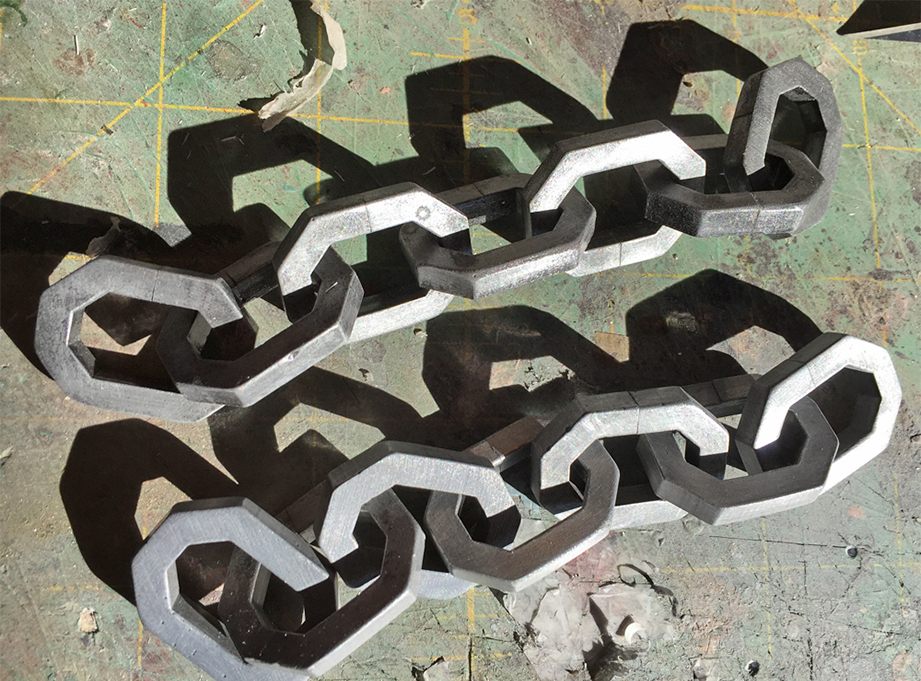
The completed chains.
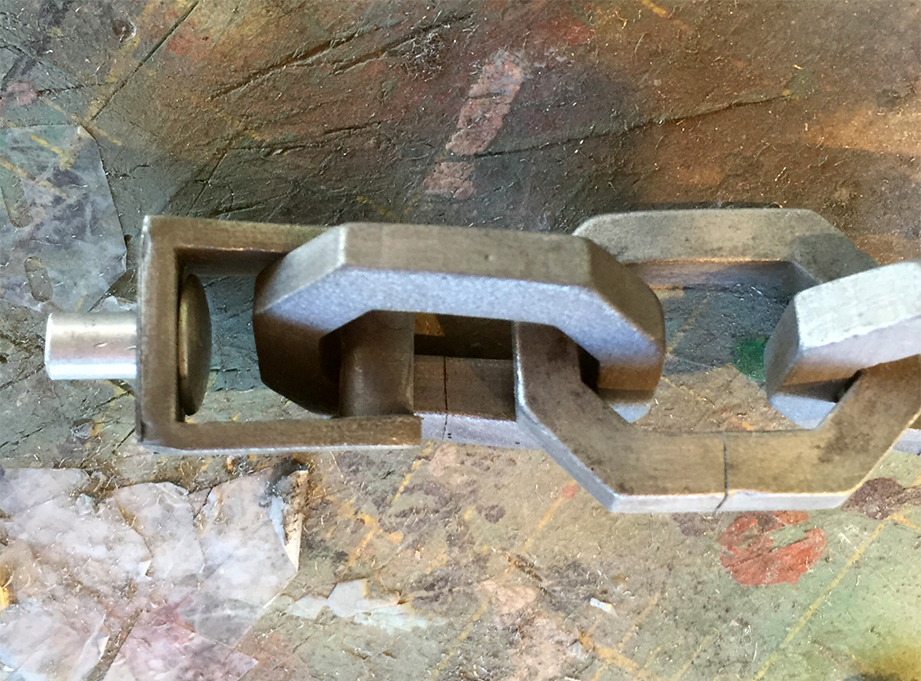
The last link on each end goes through the swivel.
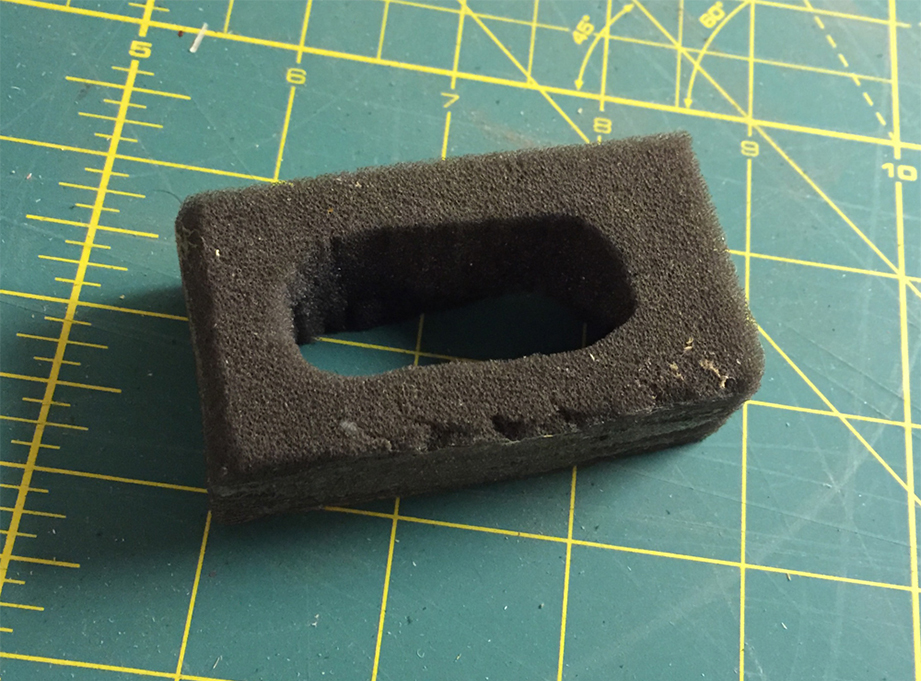
I cut a foam insert for the holsters.
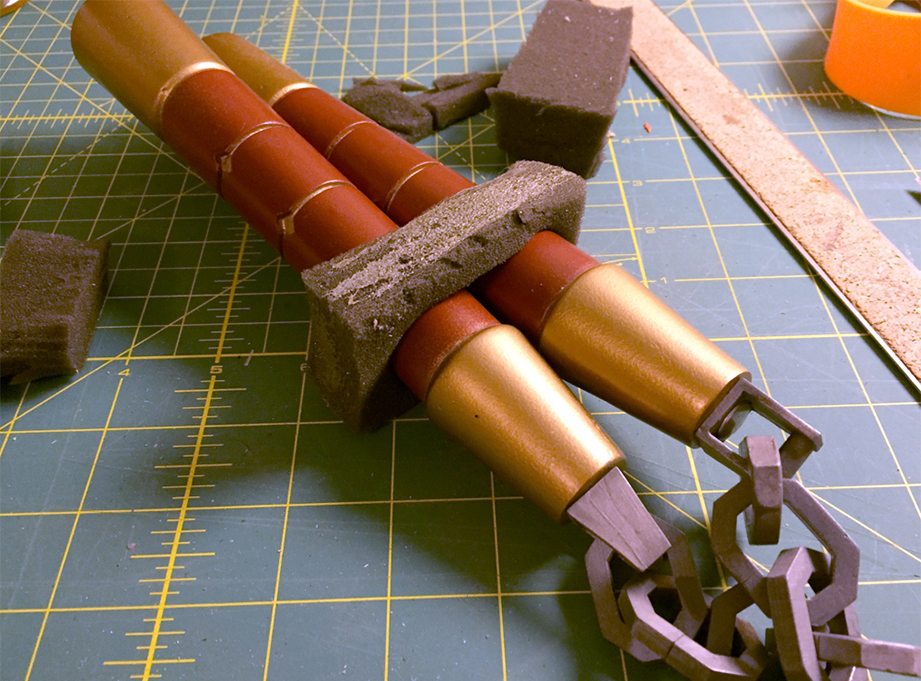
I cut a foam insert for each holster.
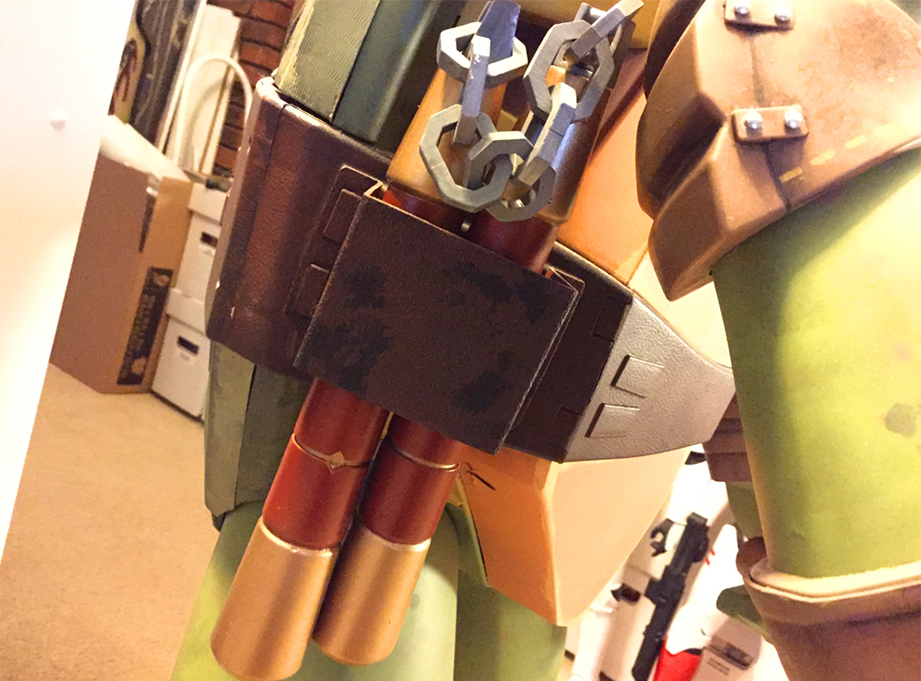
The nunchaku in the holster.
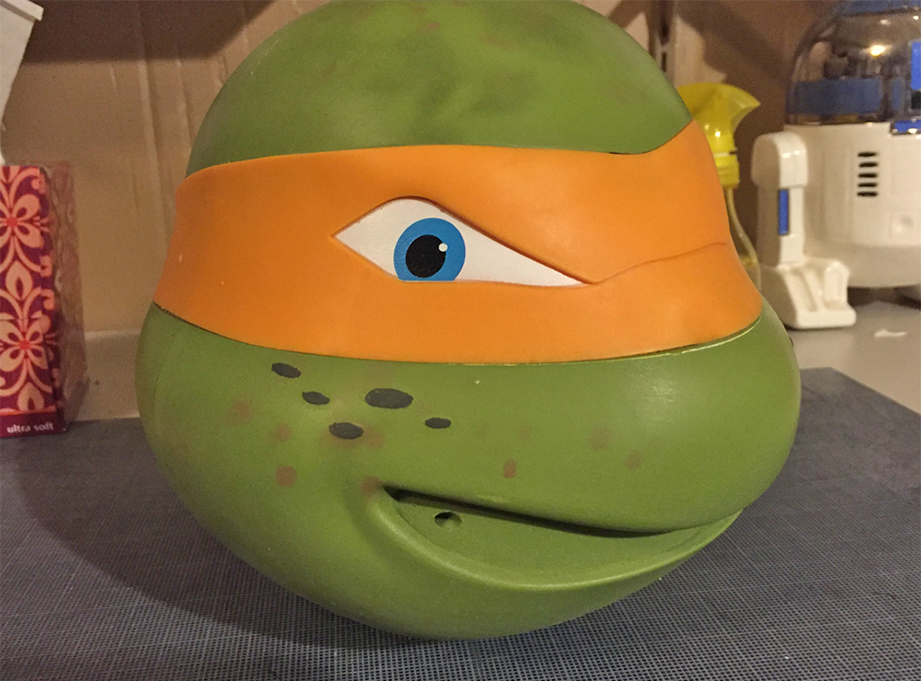
The head had horrible stickers for the eyes and a crummy rubber mask that would need to be replaced.
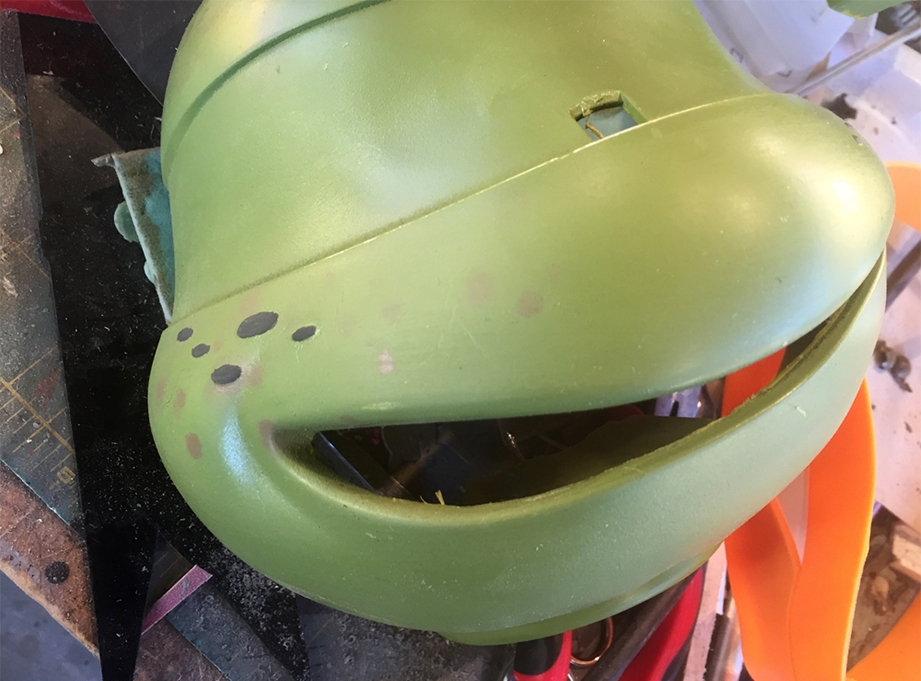
I trimmed out the mouth to make a more sculpted replacement.
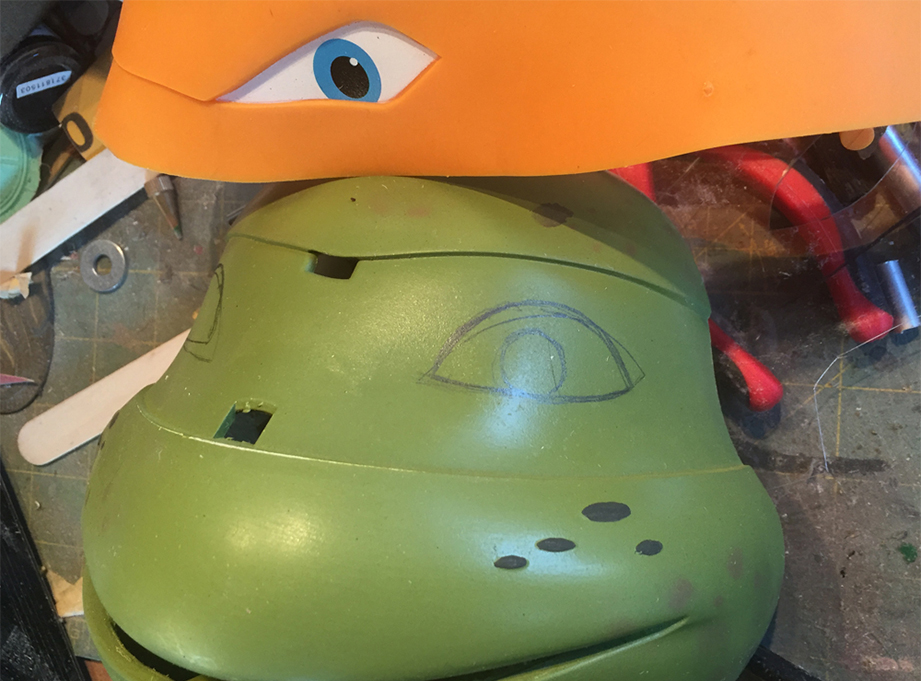
I drew in the areas where the new eyes would go.
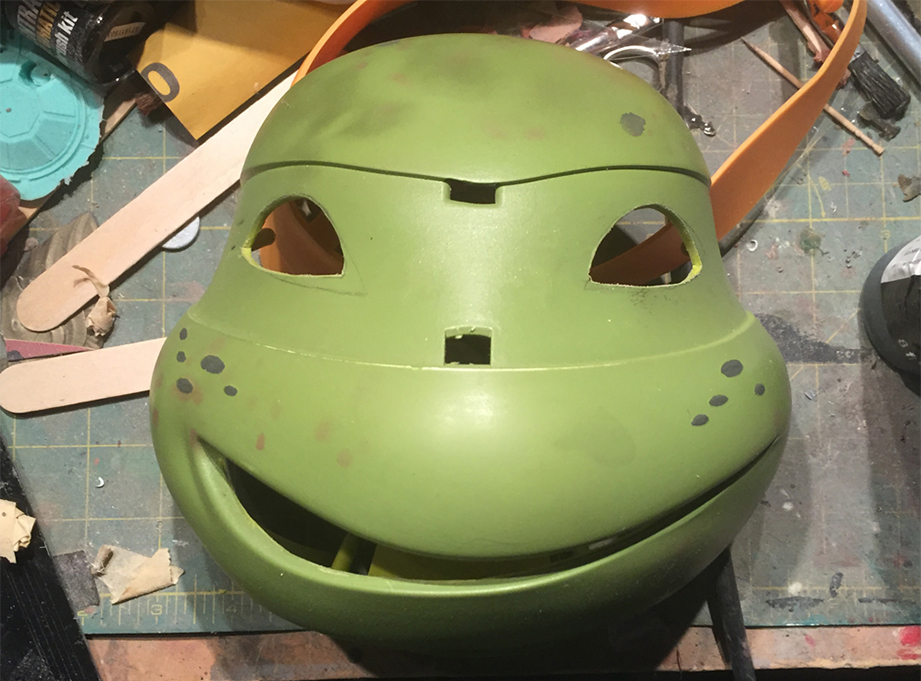
Eye holes trimmed out.
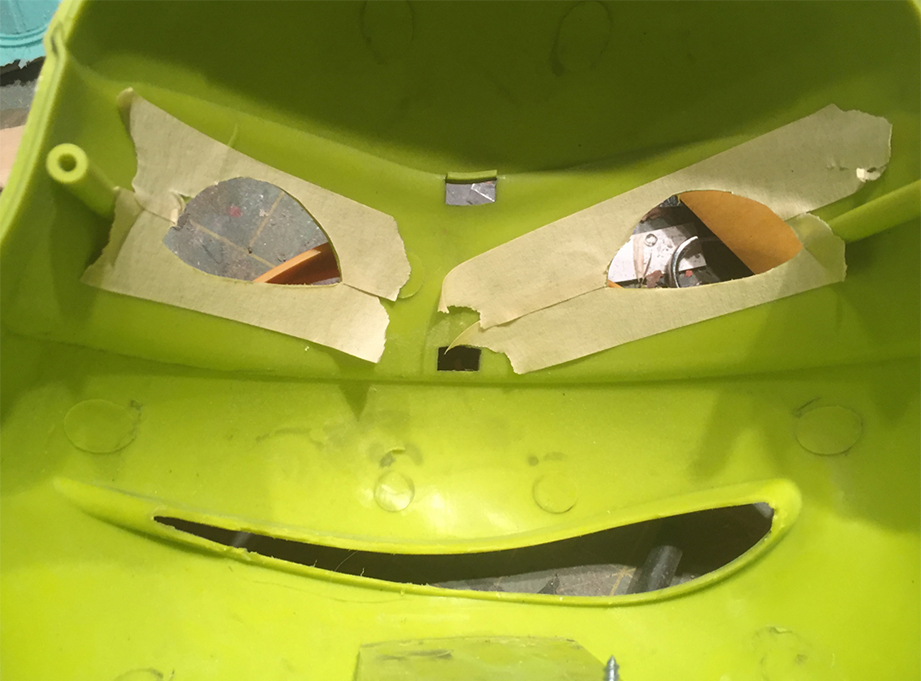
I added some masking tape behind the eye holes…
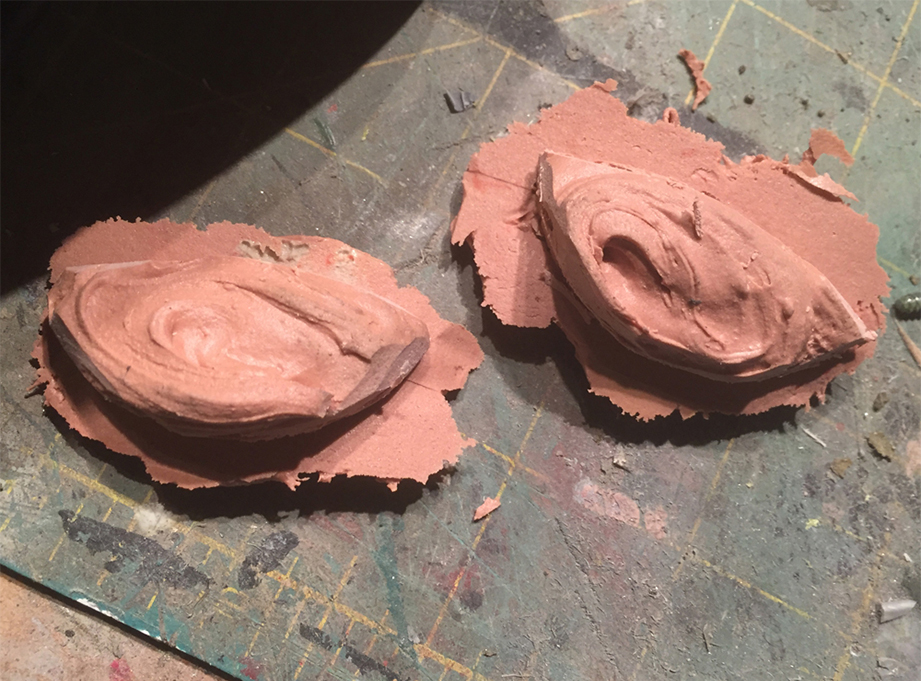
…which kept the Bondo from sticking to the head. The Bondo which squished through the holes would become the new eyes.
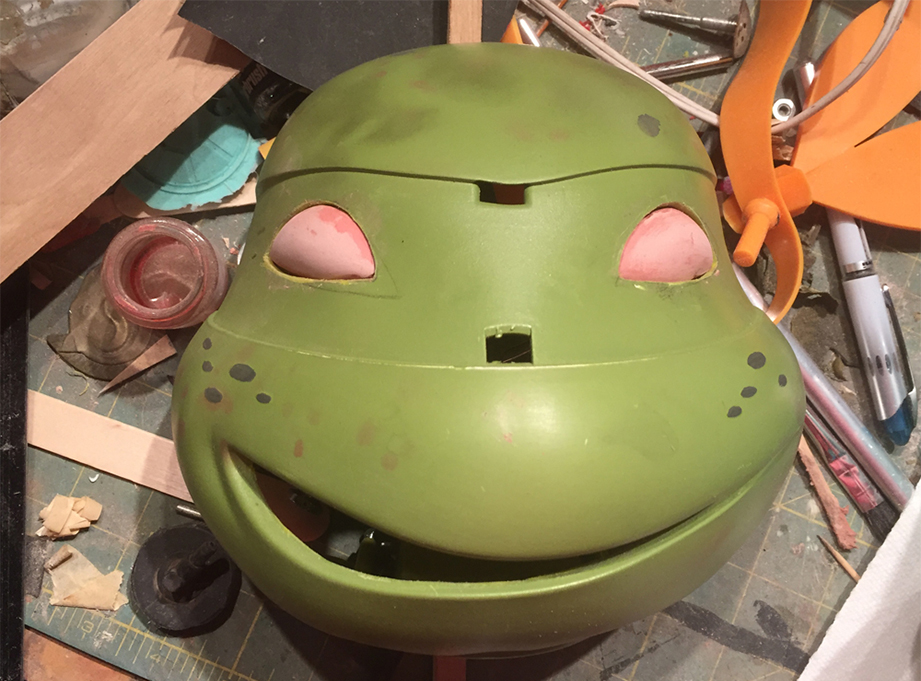
The new Bondo eyes after a bunch of sanding.
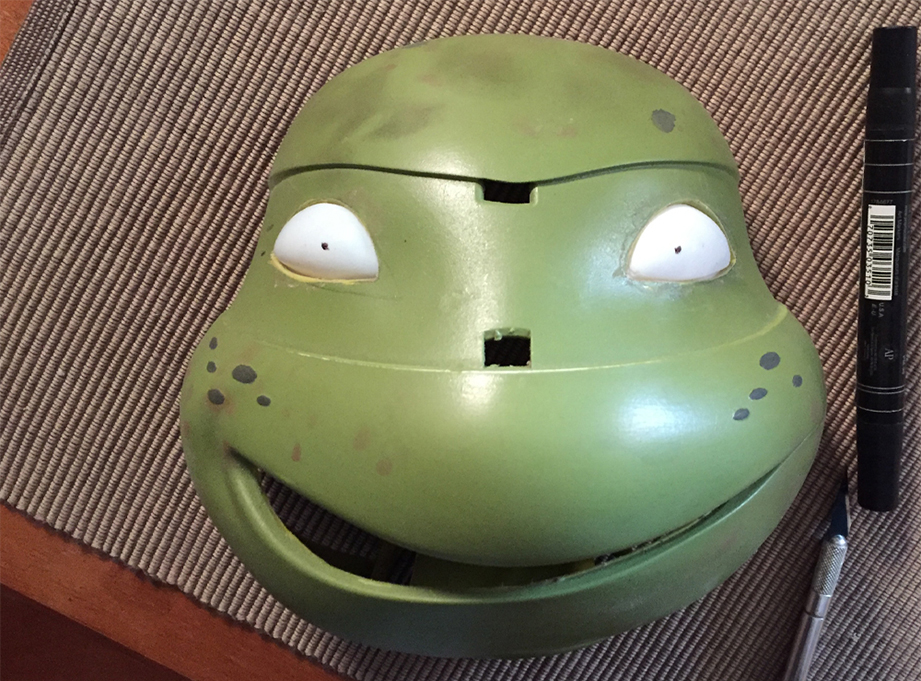
I cast some plastic eyeballs, placed them in the head and marked the location of the pupils.
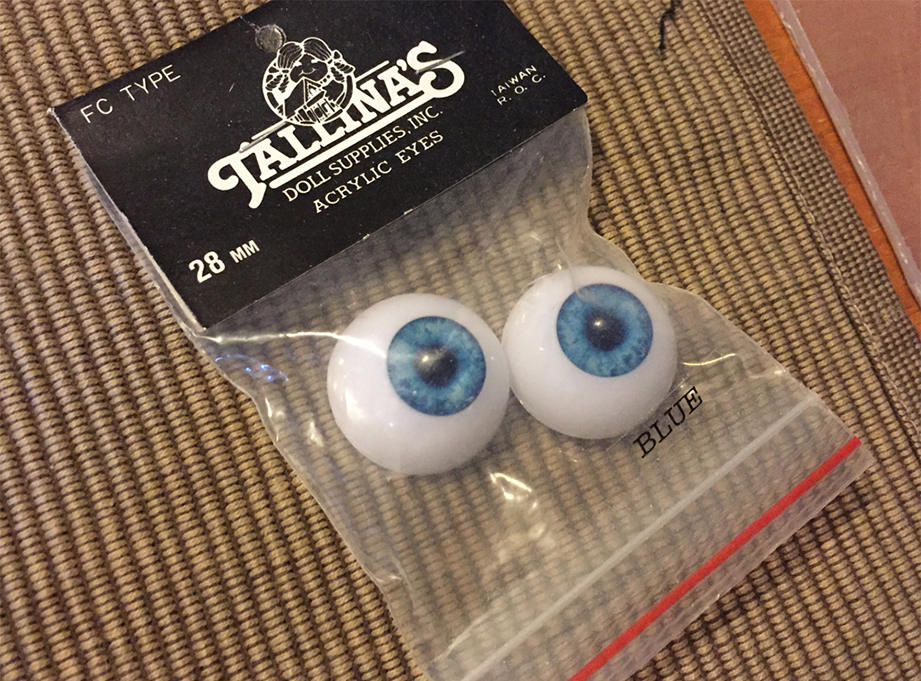
I bought some acrylic doll's eyes to use for the pupils.
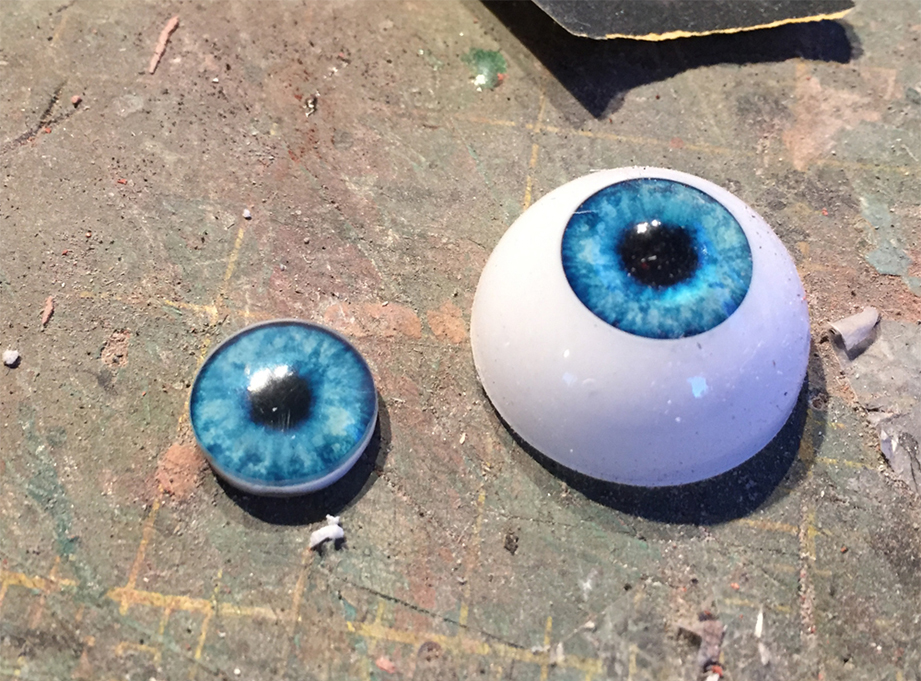
I trimmed off the old eyeball, keeping the pupils.
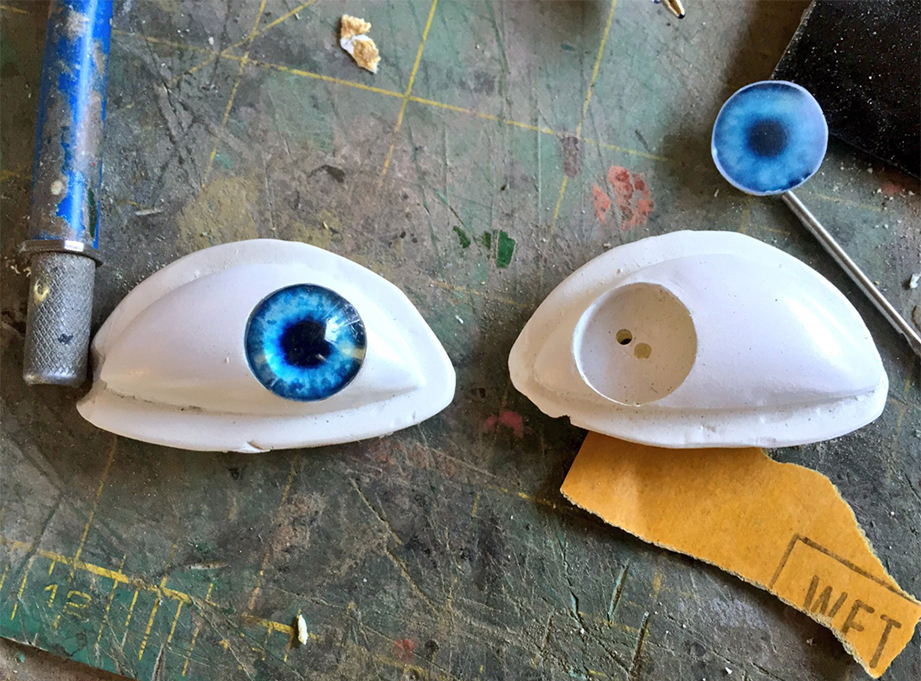
I used a forstner bit to drill a hole in each eyeball. The new pupil just slides in.
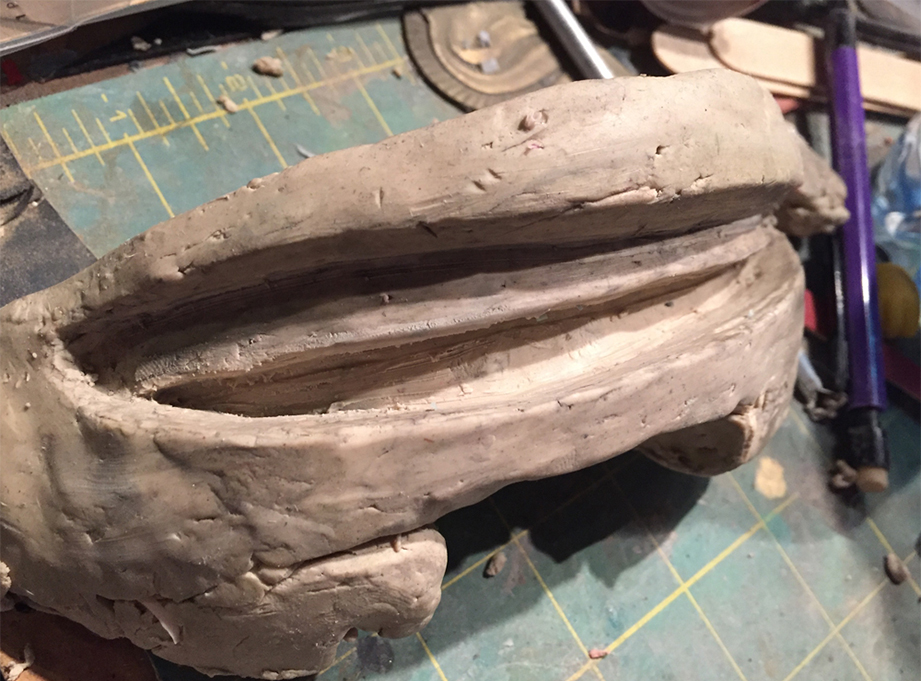
I smashed some clay inside the head and sculpted a new mouth and teeth.
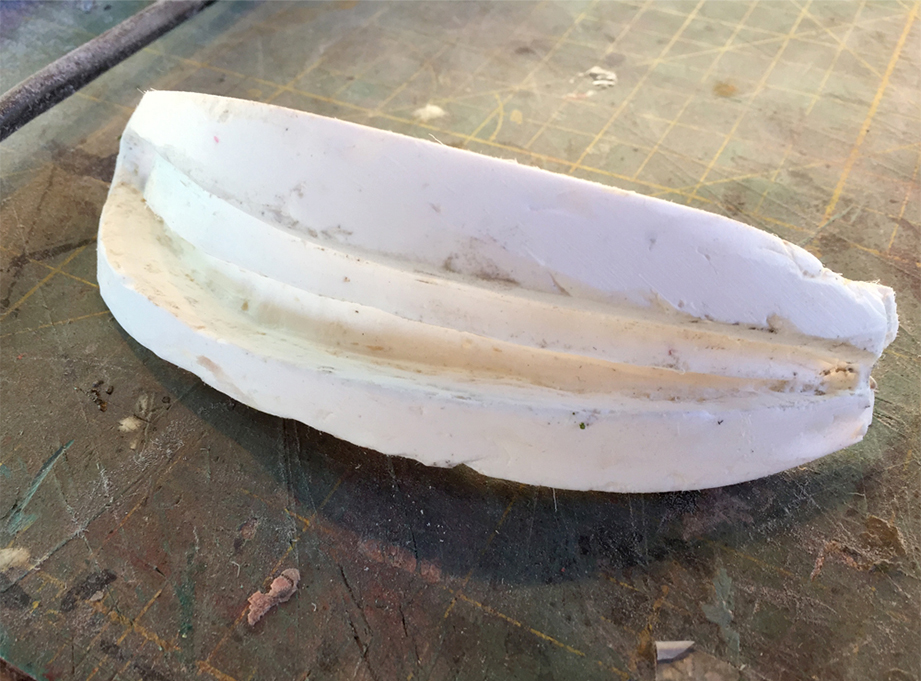
The plastic copy from a waste mold.
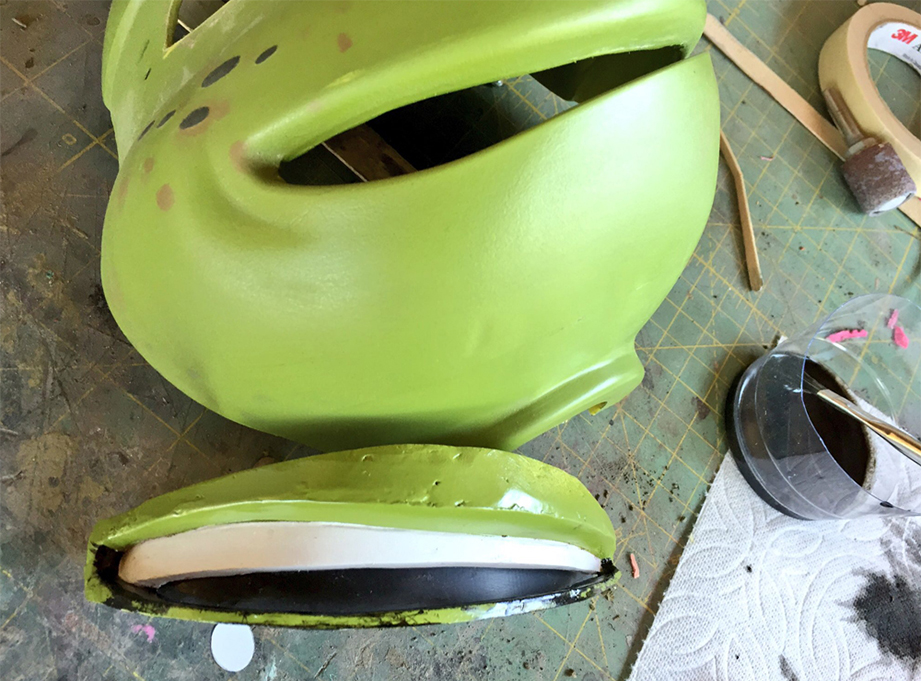
After a lot of cleanup, I painted the replacement mouth.
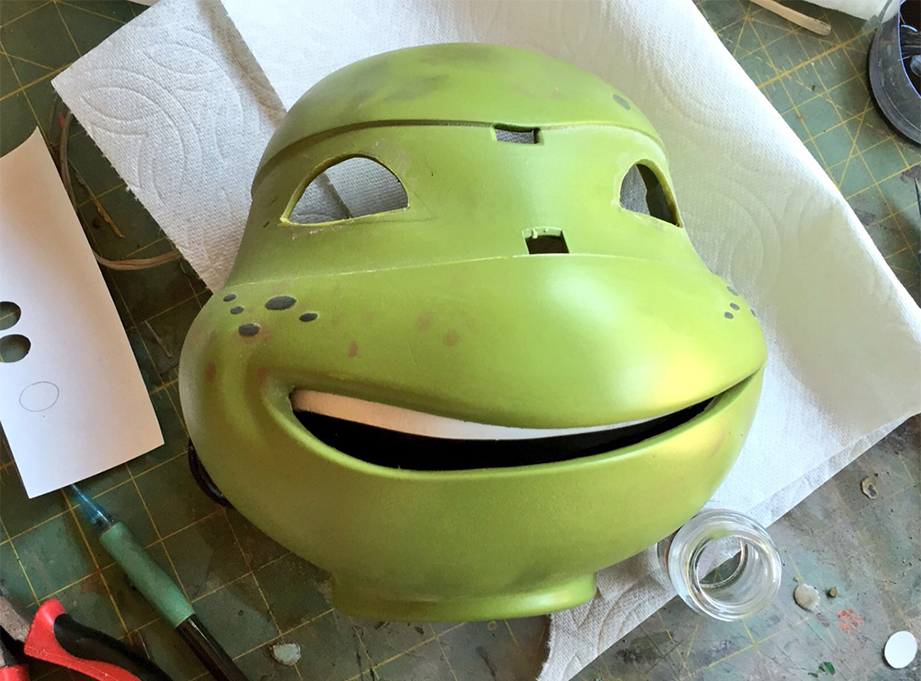
The new mouth glued in place.
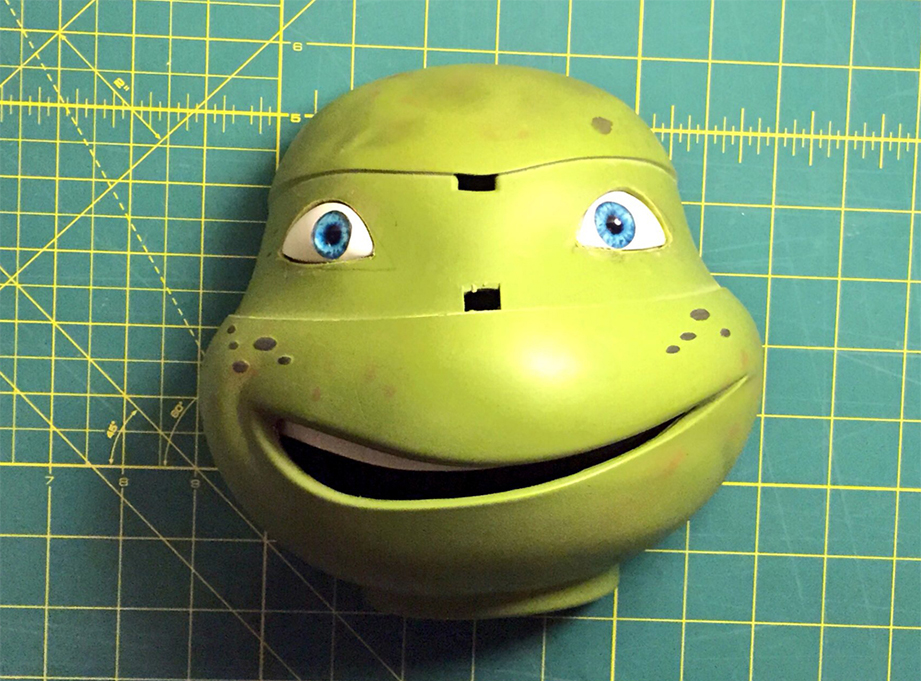
And the head now with new eyeballs.
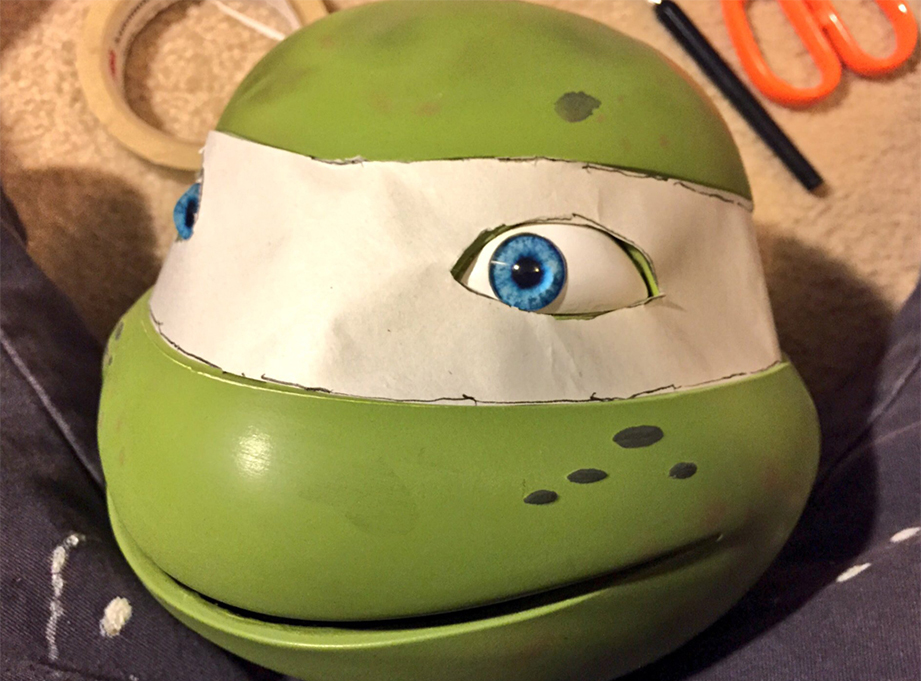
I used some newsprint to make a template for the mask.
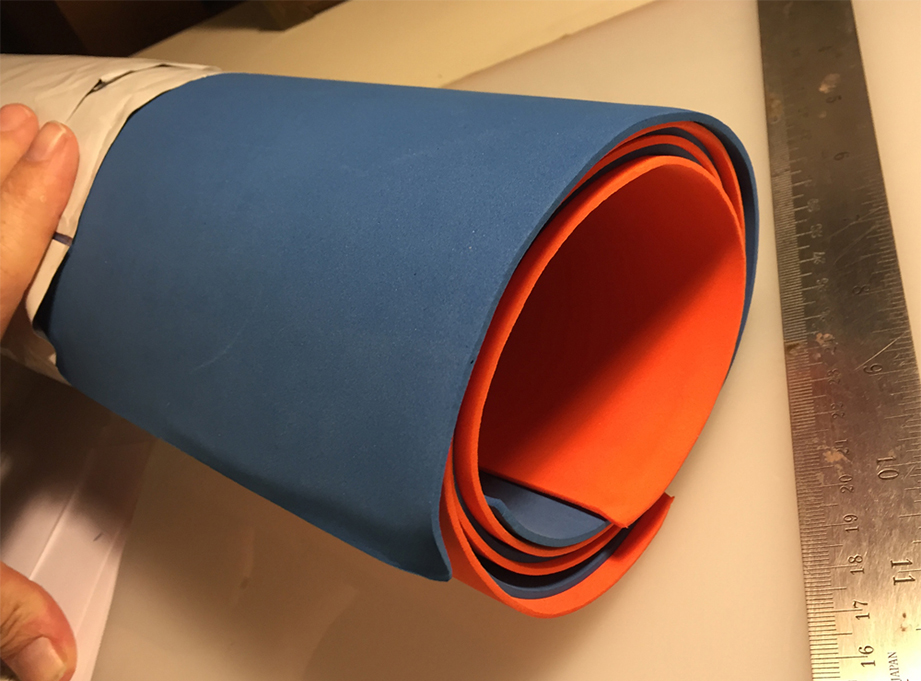
I bought some EVA foam to make the new mask.
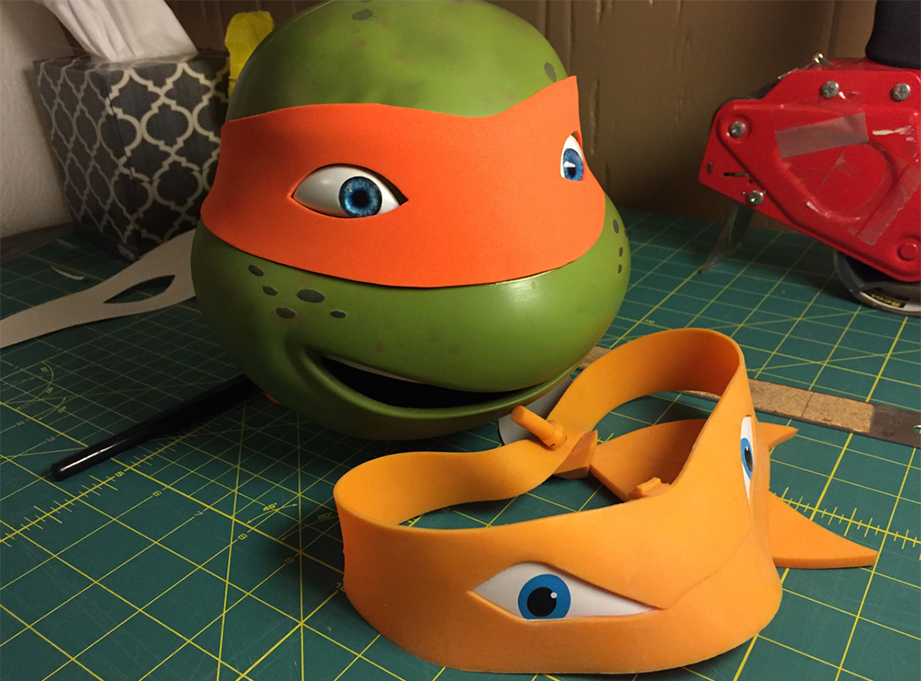
The new mask.
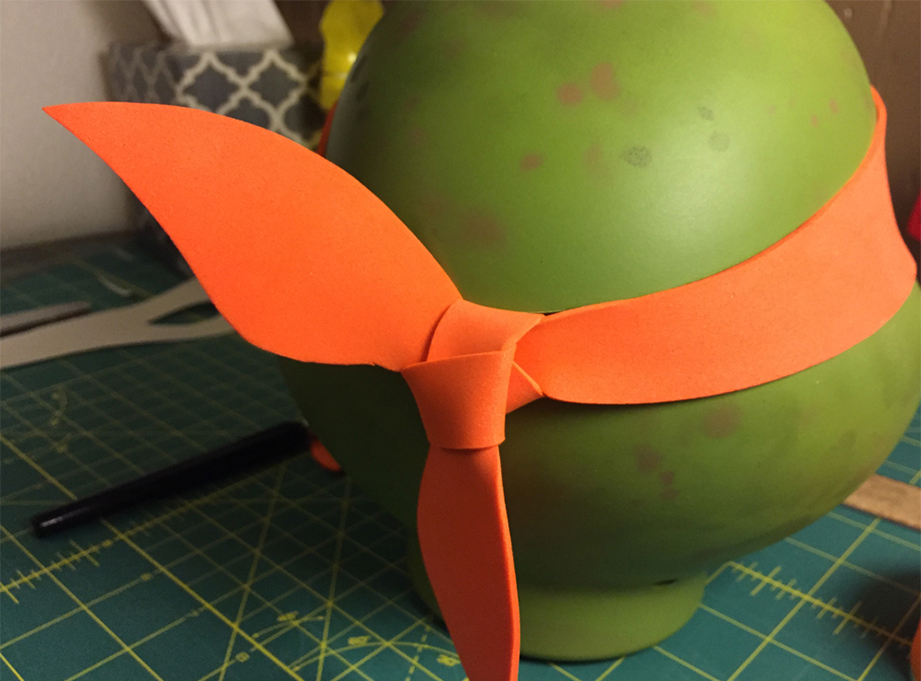
As simple knot holds the mask on.
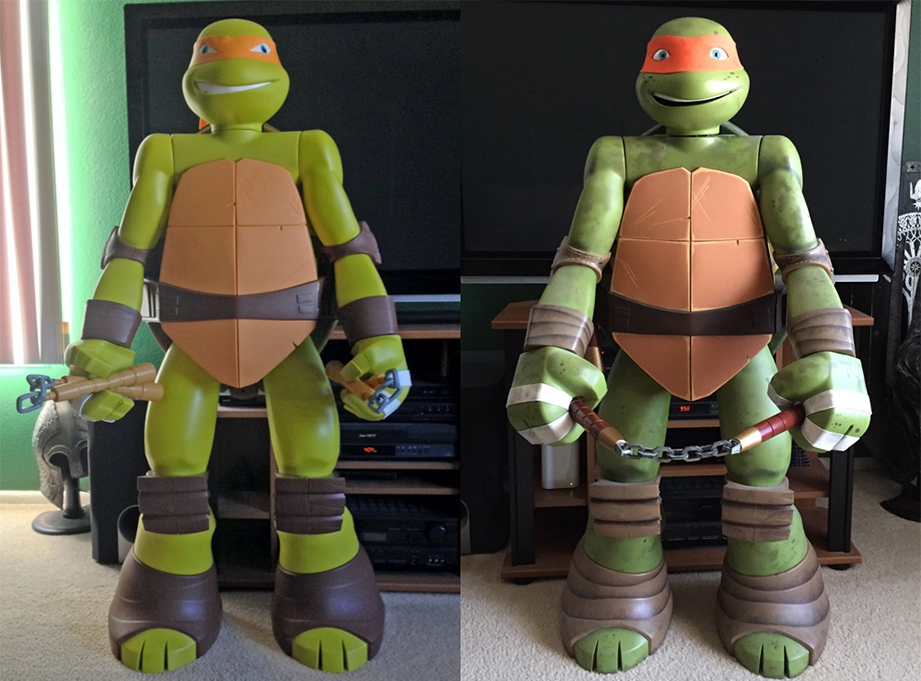
Before and after.
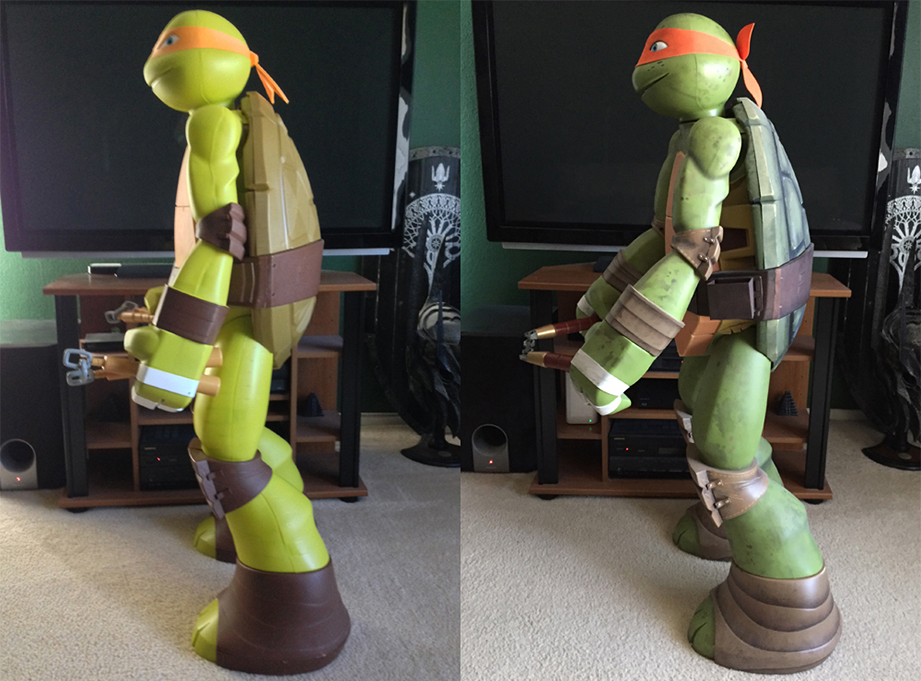
Before and after.
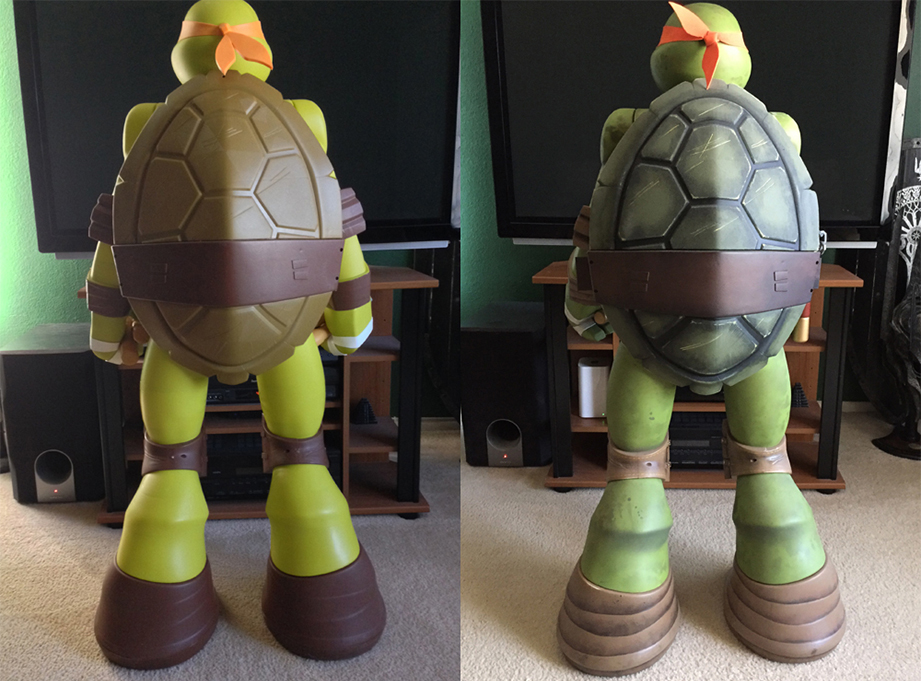
Before and after.
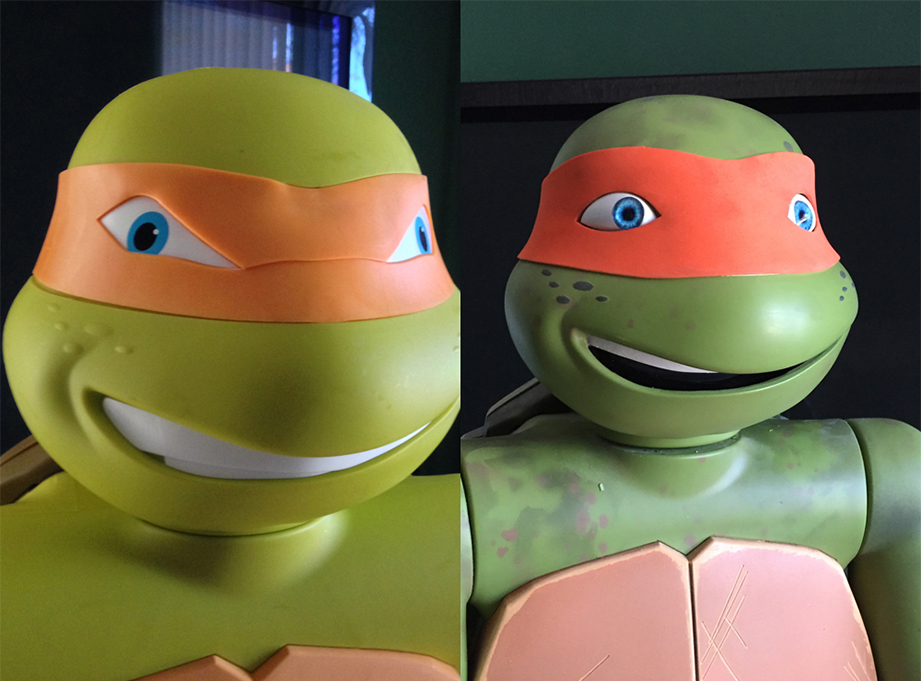
Before and after.
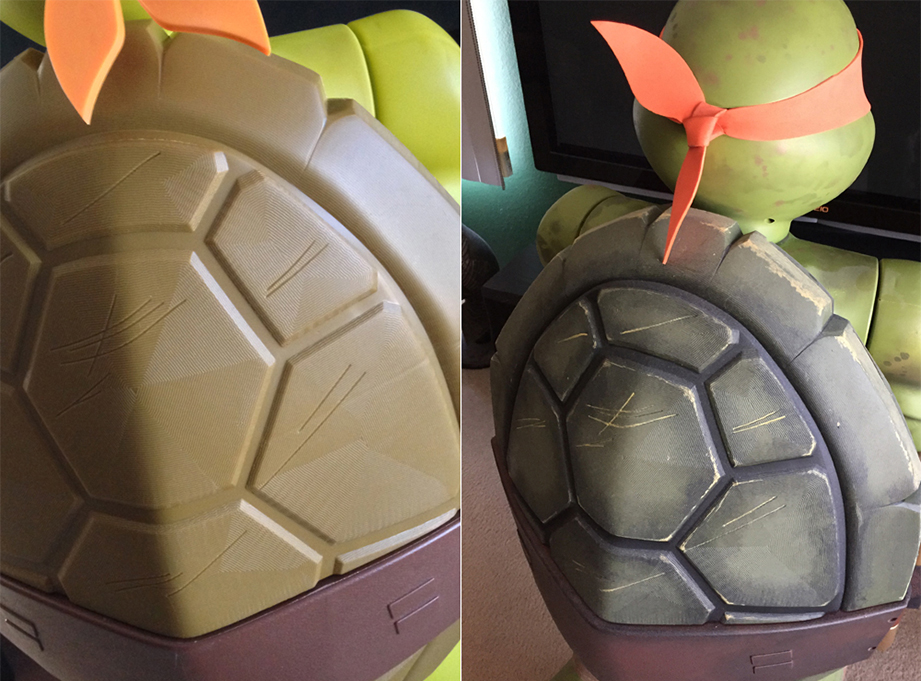
Before and after.
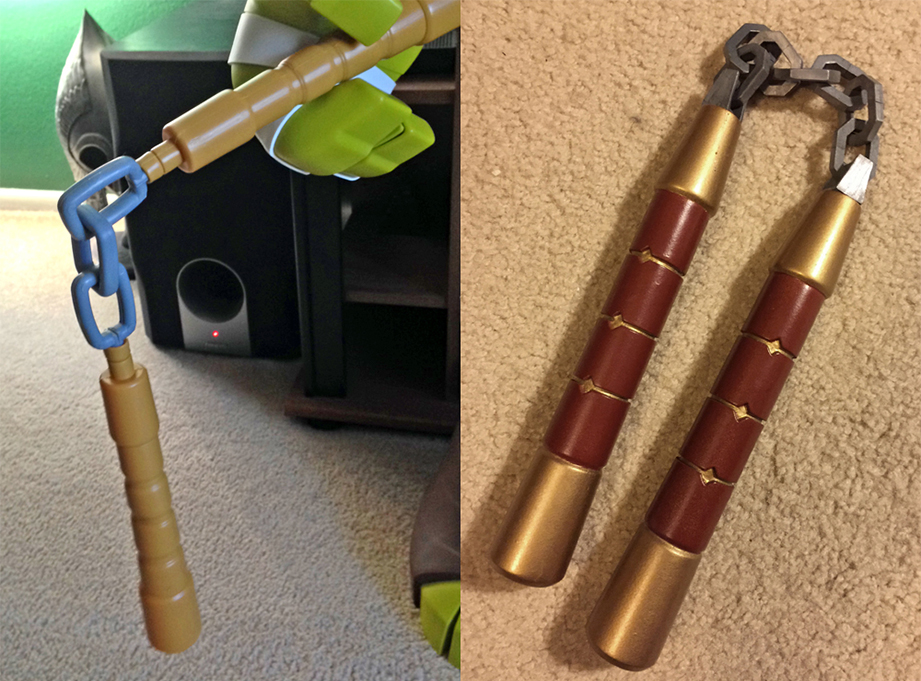
Before and after.
