MEGA-city judge uniform
june 2014
Dredd is a 2012 science-fiction action film, based on the 2000 AD comic book. Karl Urban stars as Judge Dredd, a law enforcer given the power of judge, jury and executioner in a vast, dystopic metropolis called Mega-City One that lies in a post-apocalyptic wasteland.

Even thought the film wasn’t a box office hit, Dredd 3D had a strong fan following, especially among us prop builders. My friend Paul was also building his uniform at the same time so you’ll see duplicate parts in the working photos (I did not buy two of everything!).
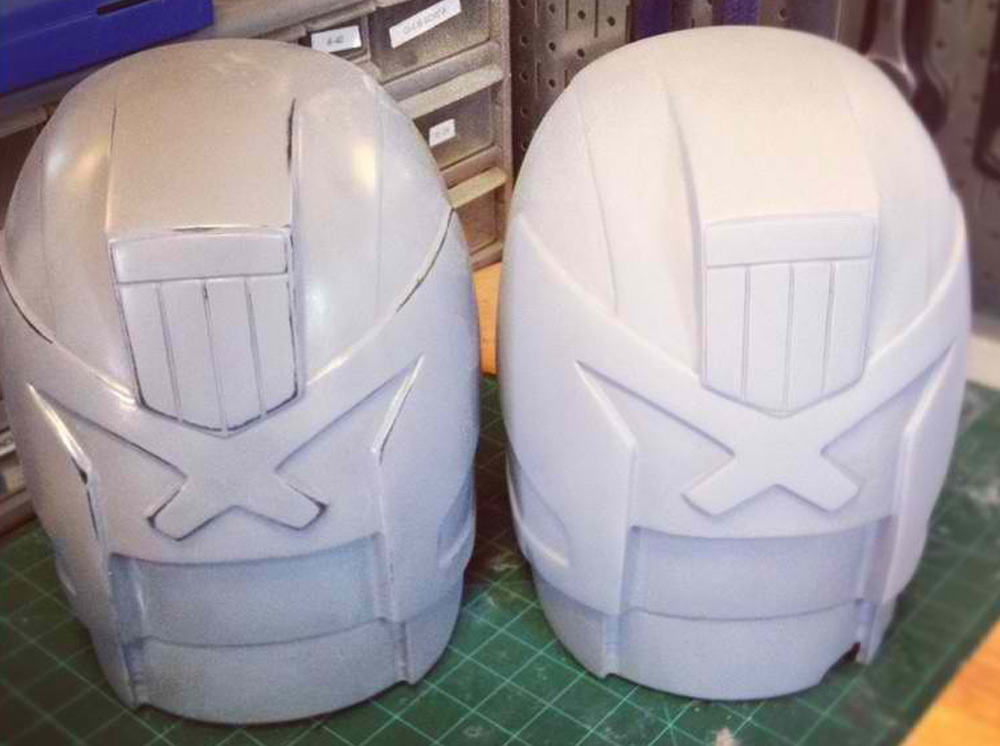
Paul and I bought copies of Blue Realm Studios’ Judge helmet replica. This replica is amazingly accurate considering it was produced months before any of the screen-used helmets were auctioned off.
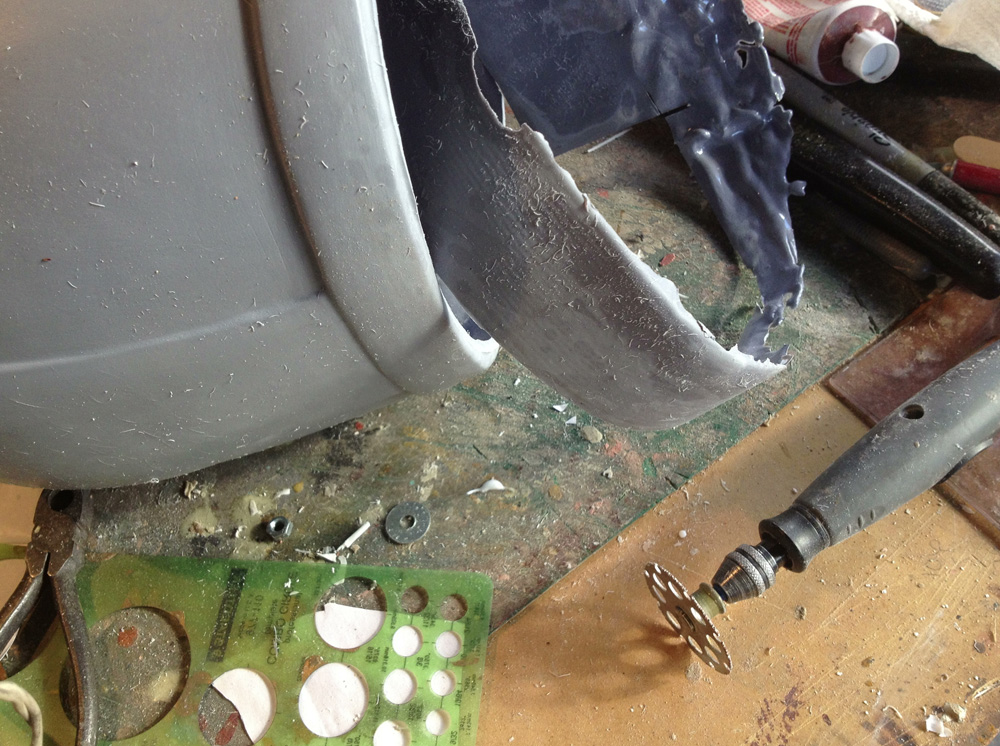
The first step was to cut away the flash (extra plastic) from the edge.
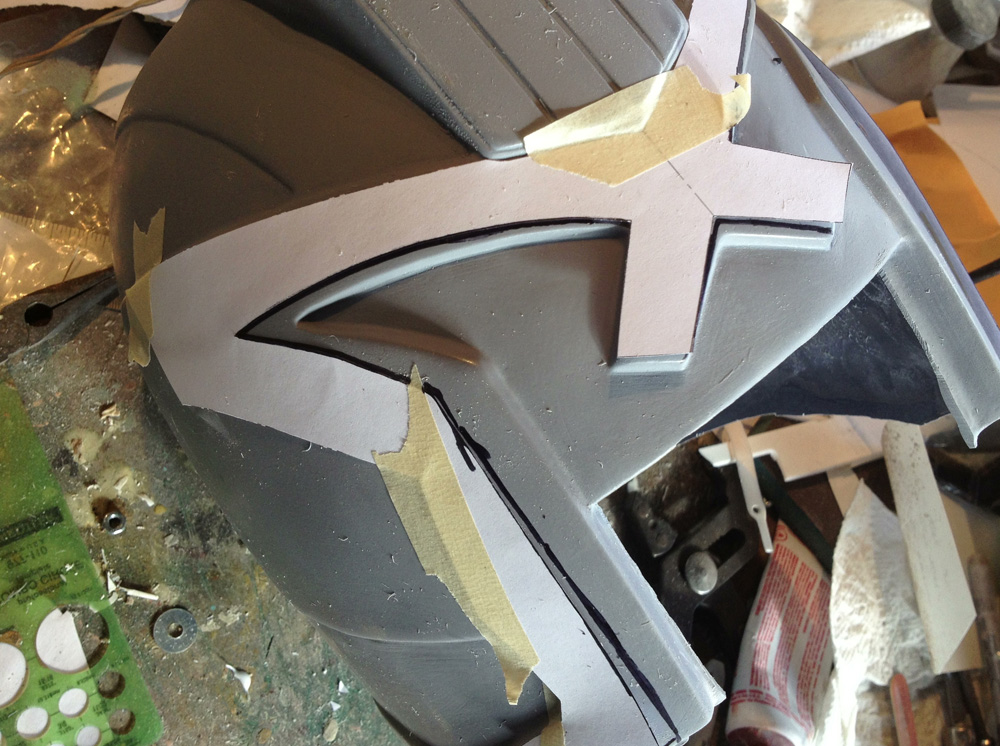
They also included paper templates for making some final corrections around the face opening. After taping them in place, I used a Sharpie to mark where I needed to cut.
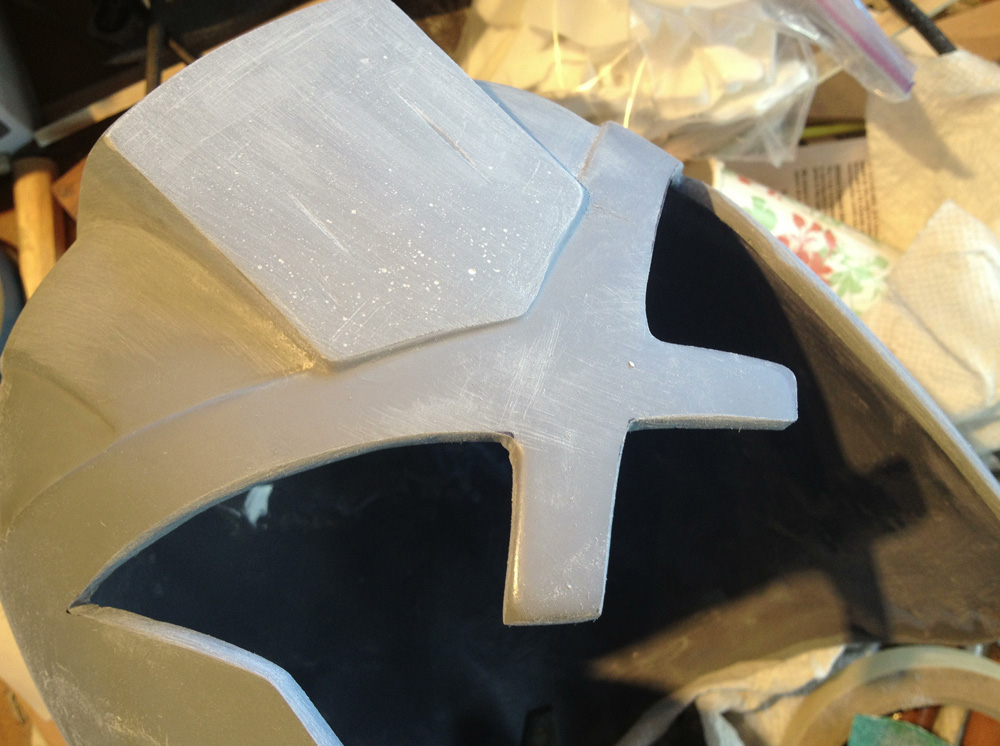
Next I took a palm sander and removed the shield from the forehead. These would be replaced by pieces of Kydex plastic that would form a crisper, more perfect shield.
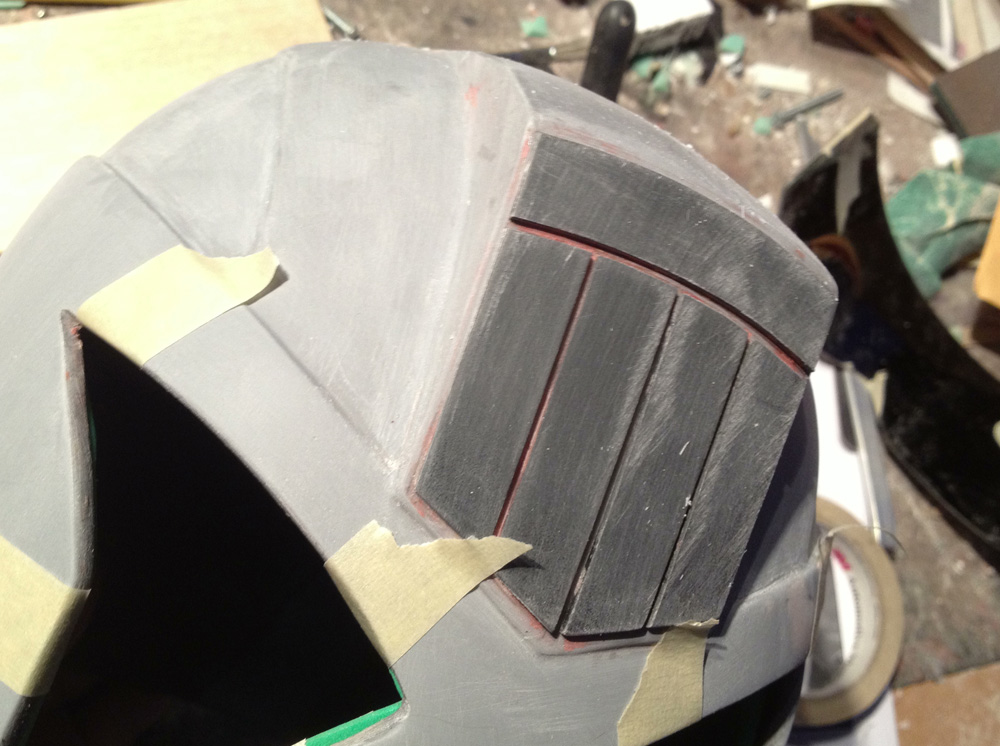
The new Kydex replacement shield.
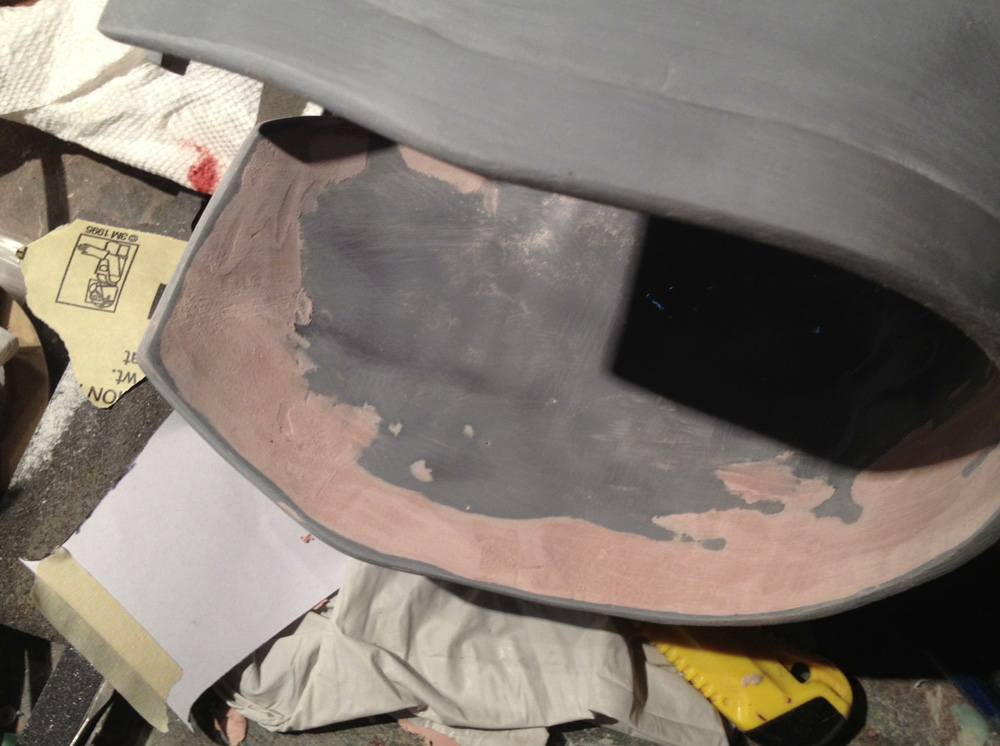
I used Bondo to make the edge a more uniform thickness.
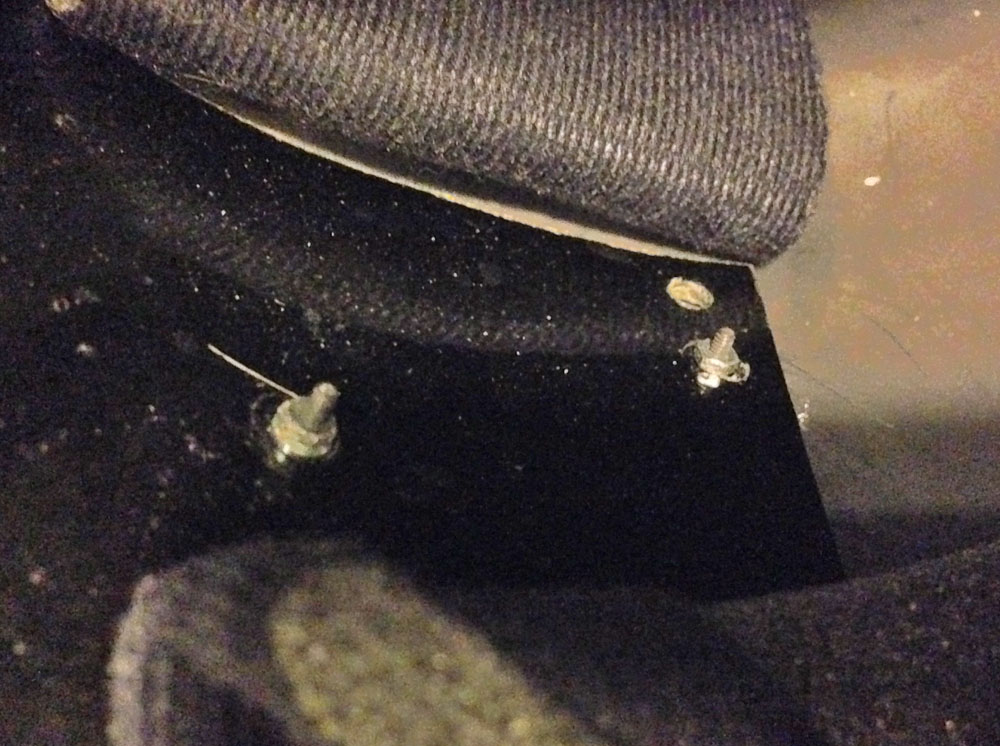
The supplied visor was a piece of Shade 3 plastic welding shield. Because it was so thick,it was difficult to securely mount it in the helmet. Eventually, I glued small RC card bolts countersunk from the outside to secure the visor with washers and nuts on the inside
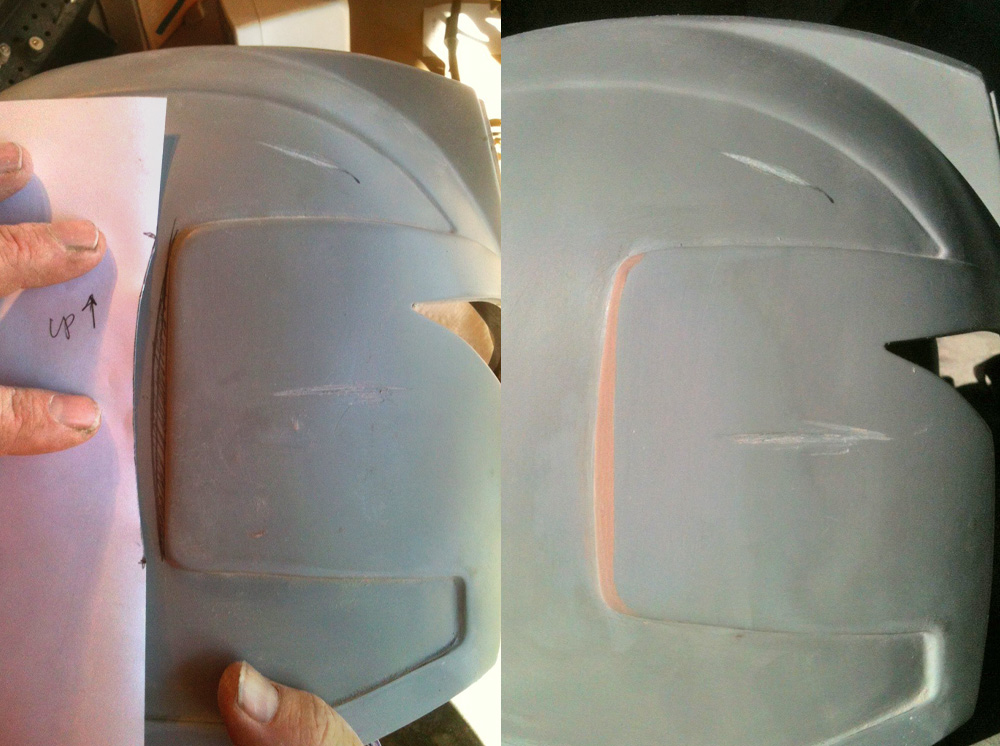
After looking at screen shots, I further modified the helmet by rounding the back edge of the trim, thinning the thickness of the border and rounded corners. They are subtle details that nobody else might notice but once I saw them, I had to change the helmet.
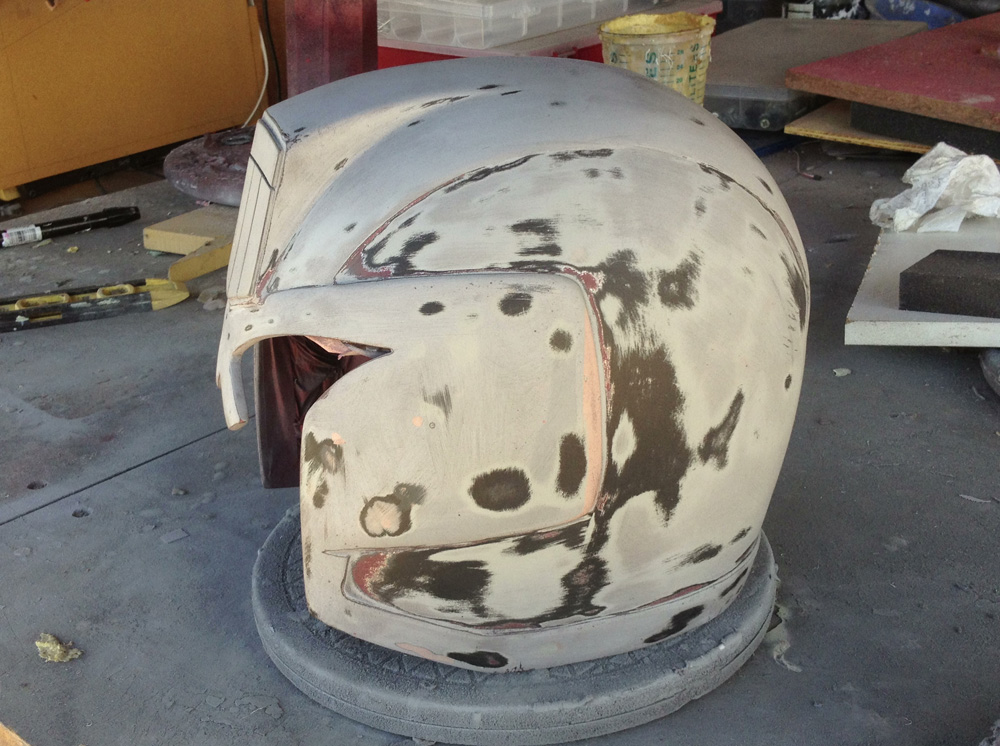
Filler primer showed imperfections that I sanded down or corrected with putty.
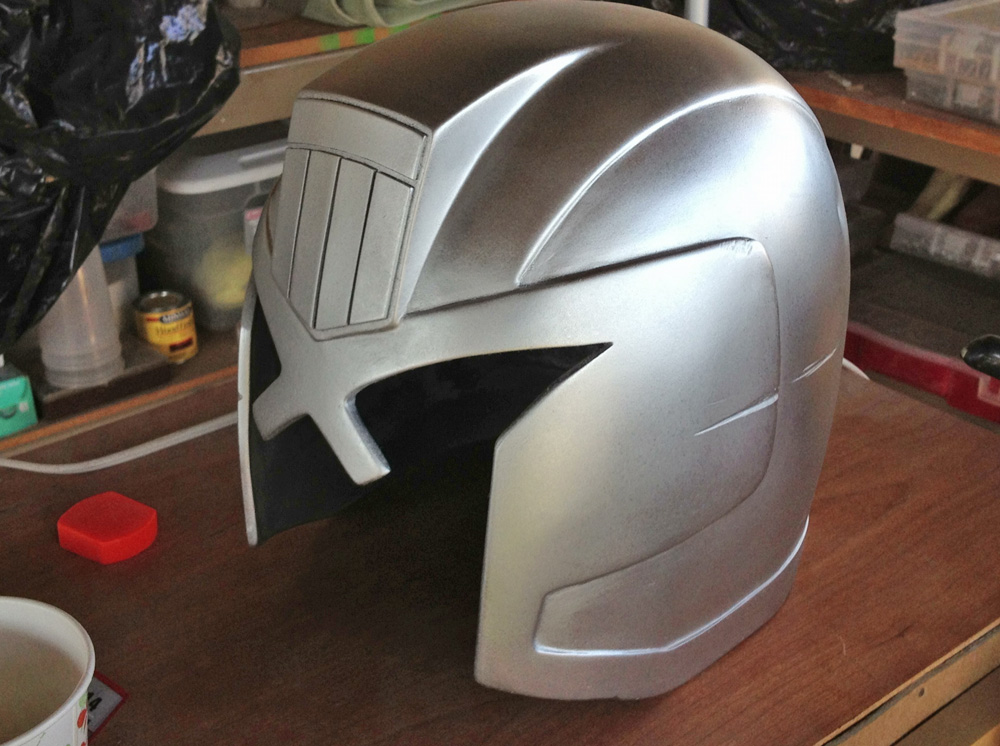
I applied a base coat of silver so that scuffing would reveal a different color under the paint job.
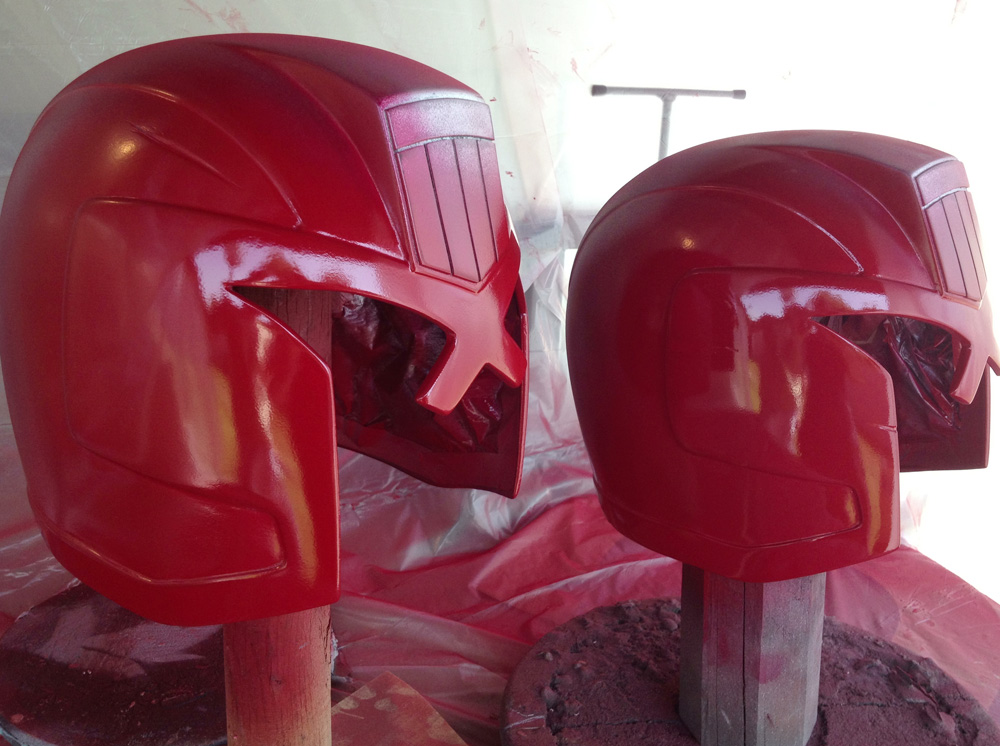
Next layer was the special "Dredd red".
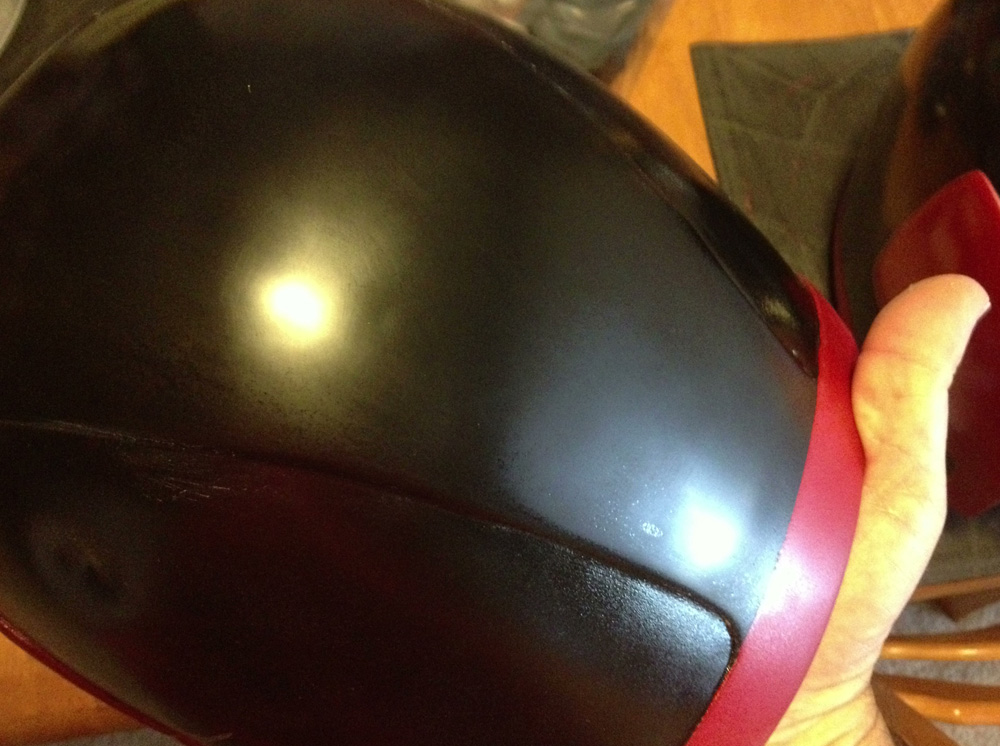
The red areas were masked off so that the gloss black could be painted. The center shown here has already been fine sanded to a smooth surface.
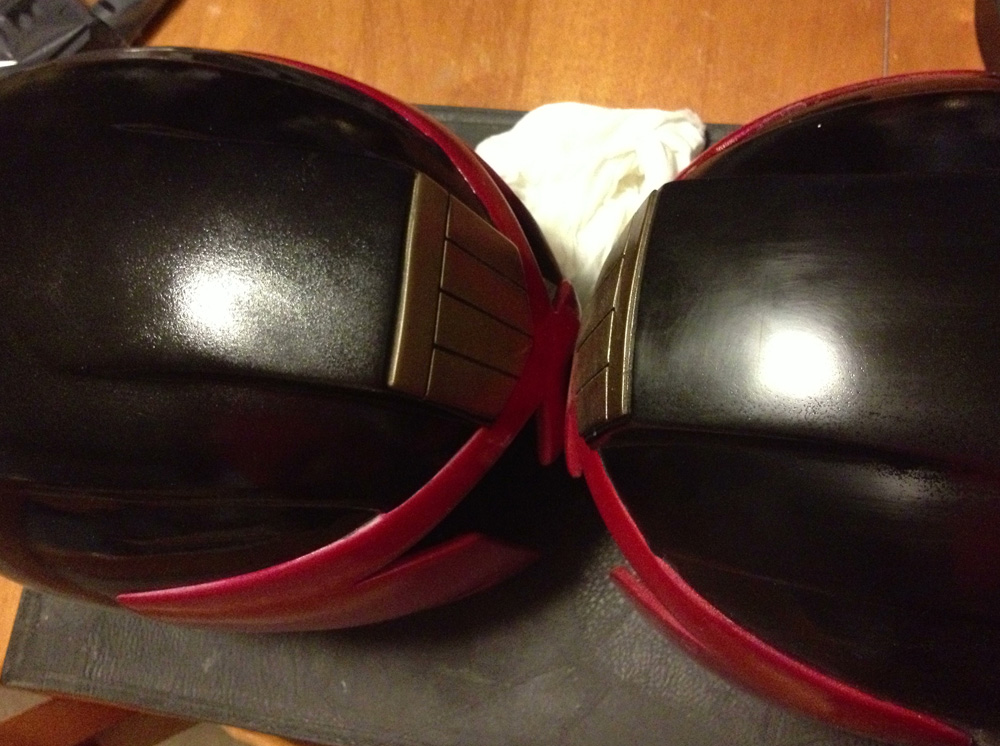
The black was sanded until smooth. You can see the results in the helmet on the right.
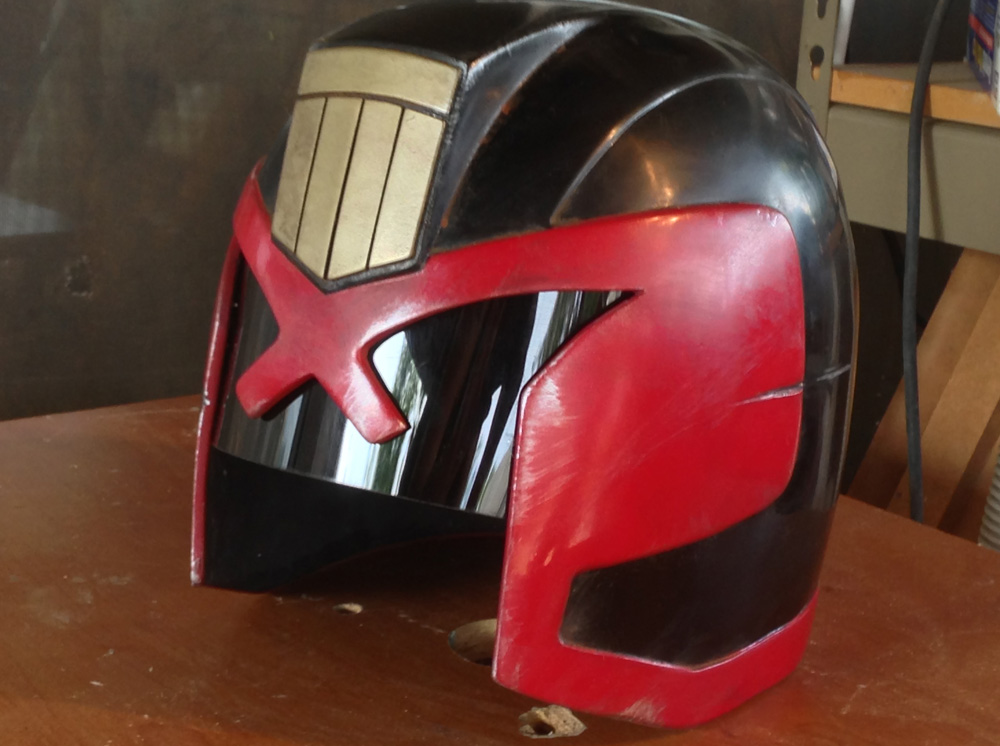
After achieving a rookie-clean helmet, it was time to weather it. I applied washes of acrylic browns and blacks for a general level of grime, used acrylic silver for edge scuffs and used a rasp for more extreme nicks and damage.
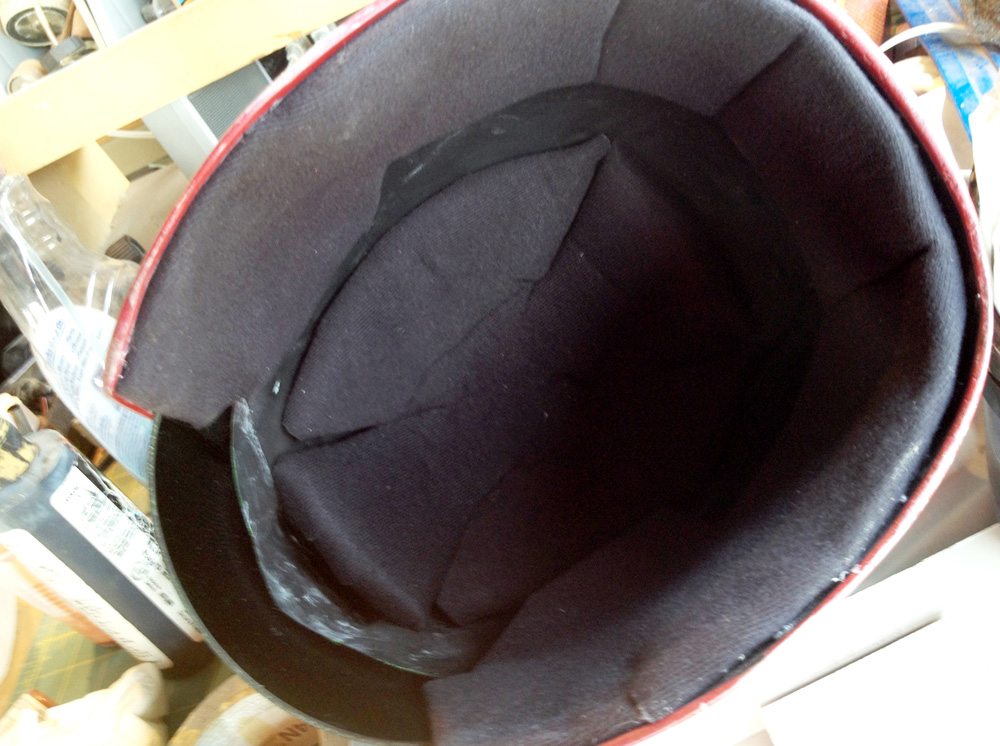
I made a padded helmet liner by covering 1/4” foam with black headliner material.
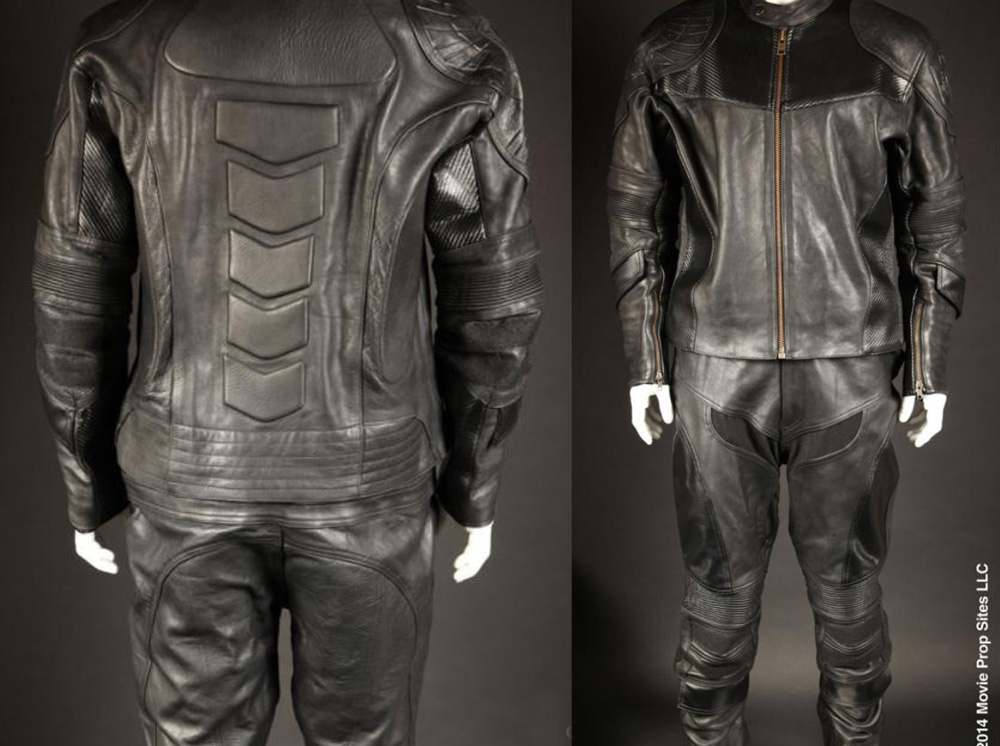
The jacket, pants and vest were part of a custom run initiated by Kurt Struss for the Judge Dredd Costume Group on Facebook. Based on a screen-used costume, it was reverse-engineered in Pakistan to produce an accurate replica suit.
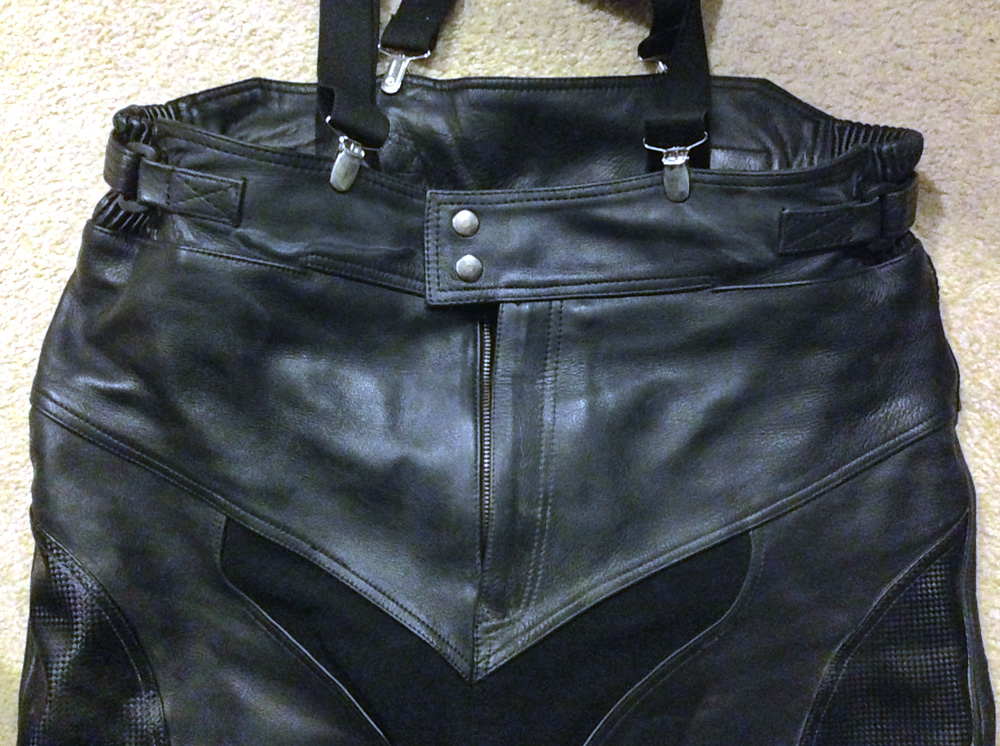
Even though the pants have Velcro tabs to adjust the waist, I found that the pants work best using suspenders to keep them up. They are all leather thus heavier than normal pants.
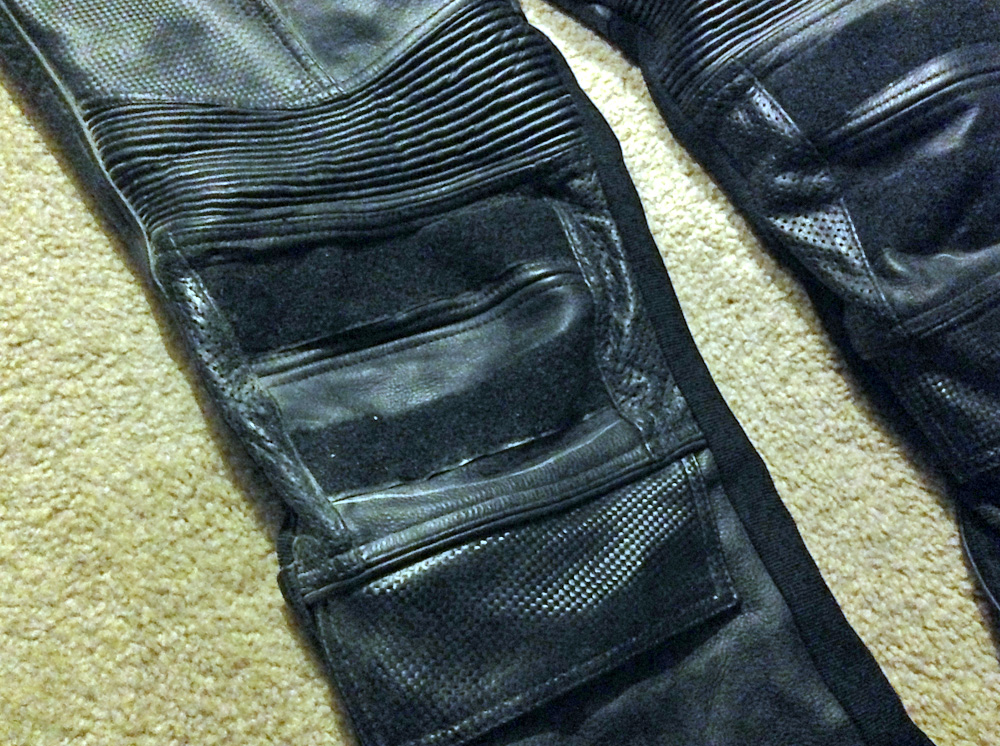
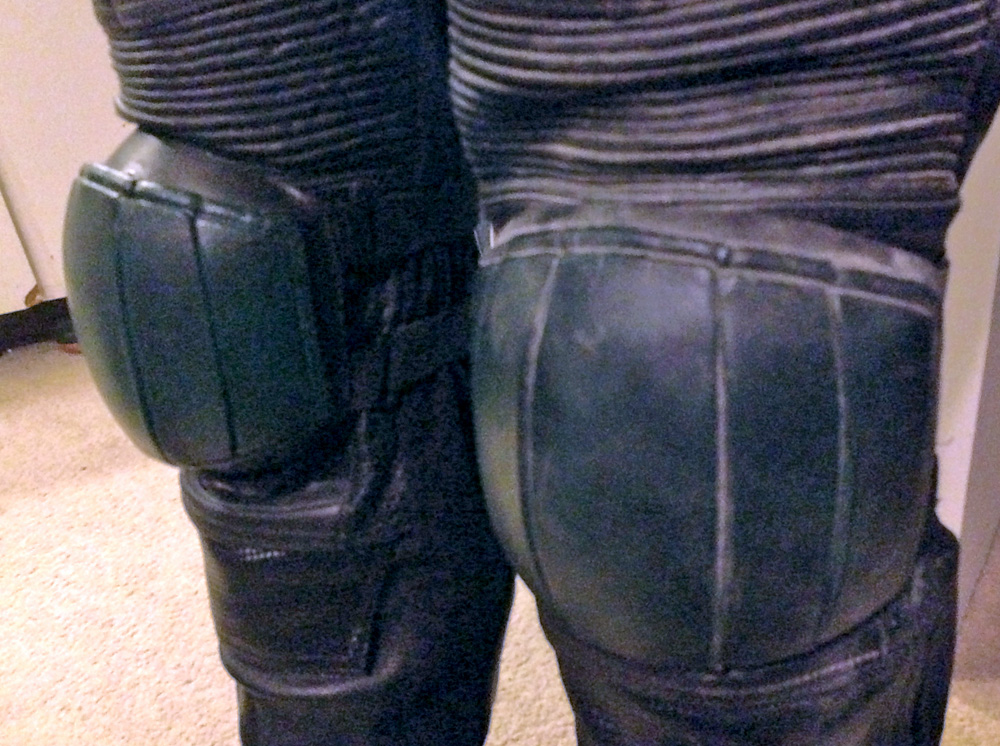
The knees have velcro in place to secure the knee pads.
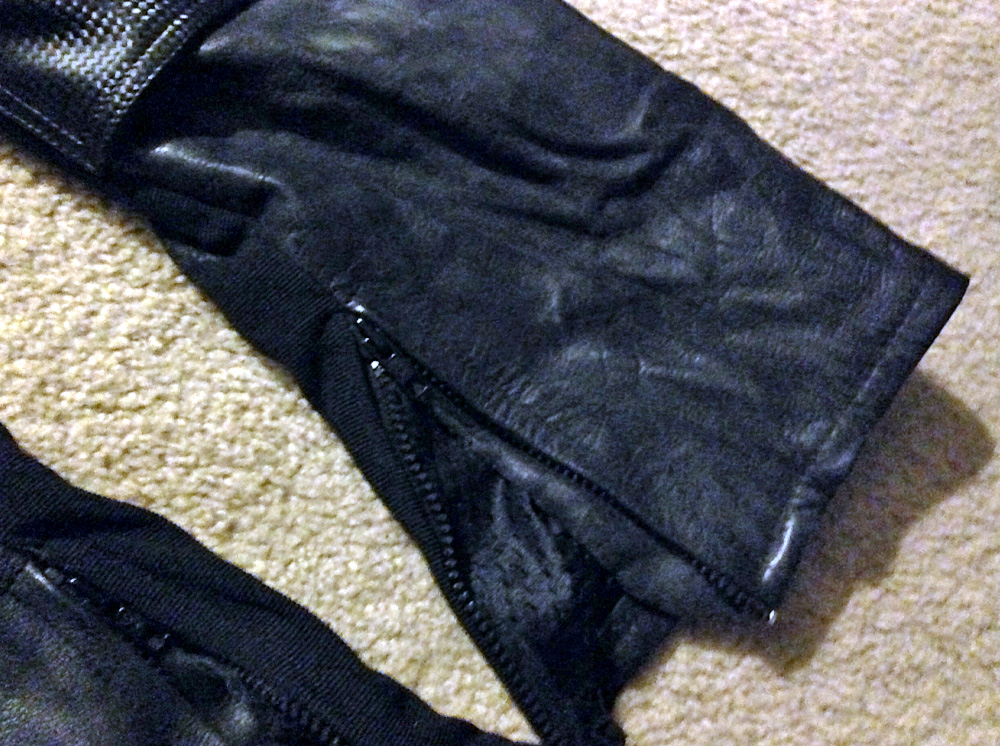
Zippers at the cuffs keep the ankles snug. Personally, the metal zipper pulls press into my ankle when worn with the boots so I leave them unzipped.
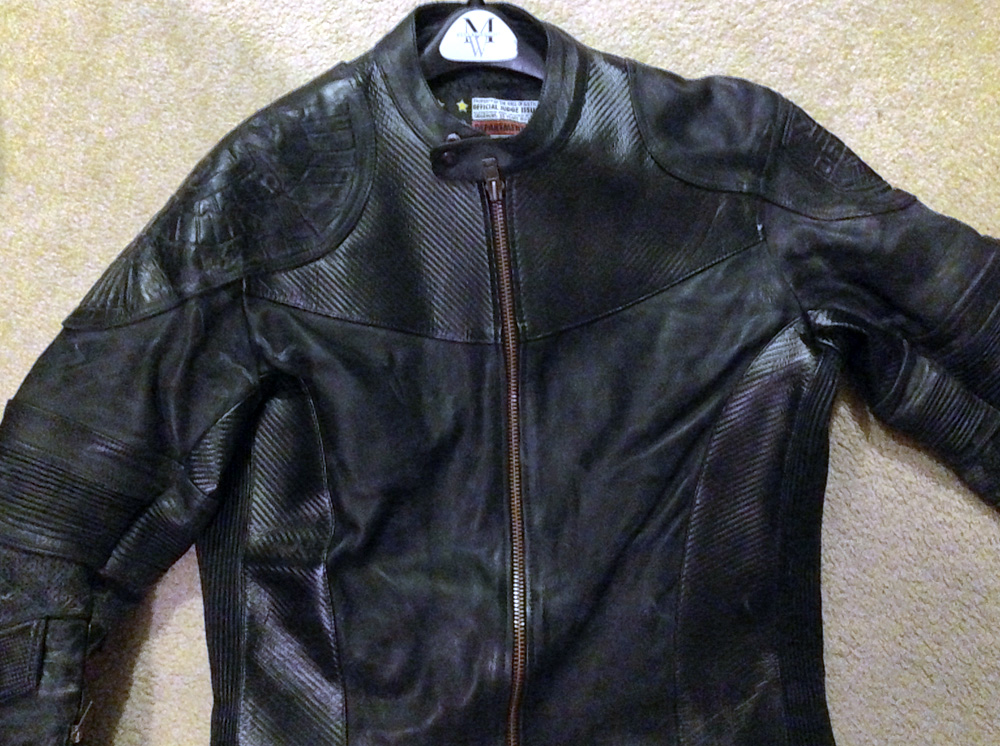
I love this jacket! It was the jacket I wore daily until it got too warm. By the time I got the rest of the suit together for conventions, it was well broken in.
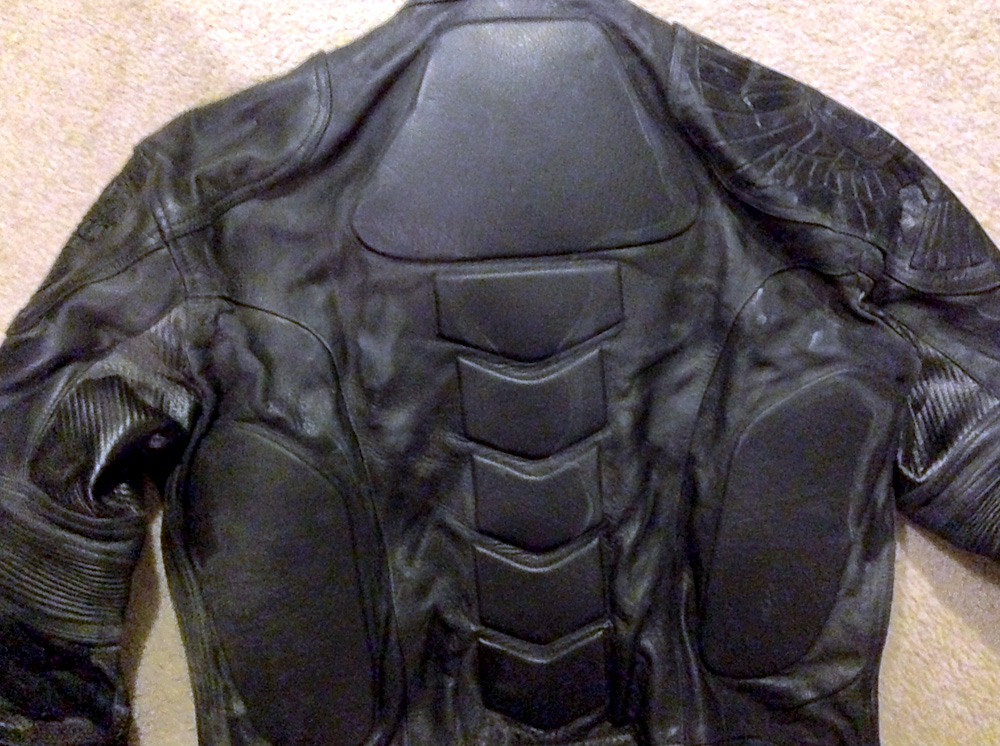
The back has thick padding that's completely hidden by the armor.
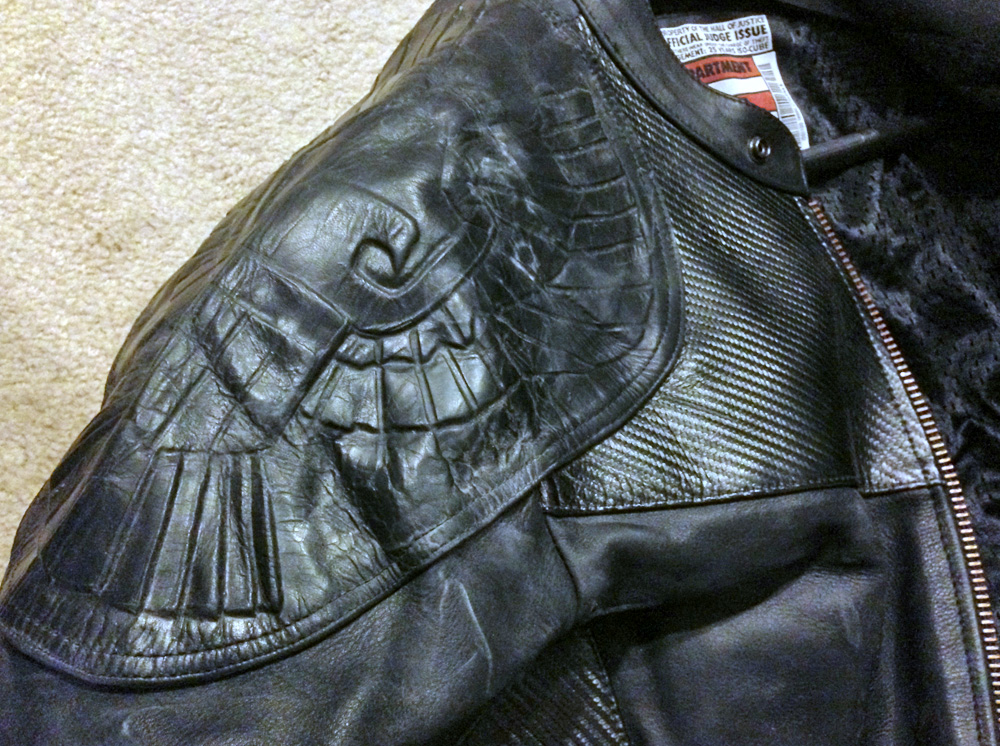
Not only does it have this cool embossed eagle on the right shoulder (which can’t be seen when you’re wearing armor)…
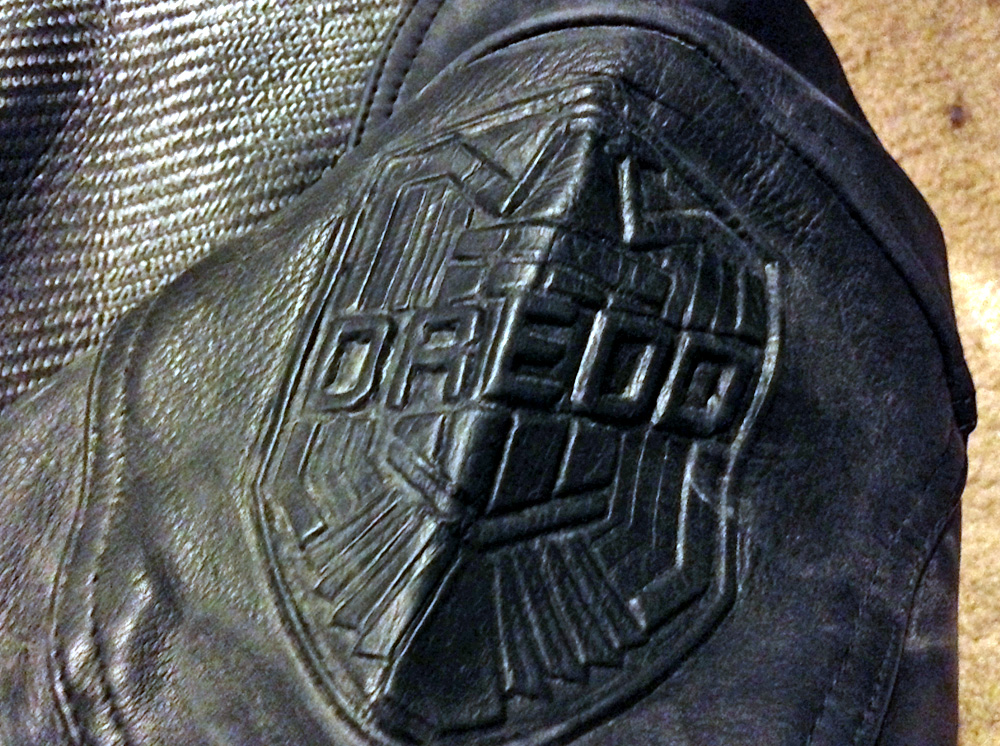
…it has Dredd’s badge on the left shoulder. It would be nice to have my name on it, but as it’s unseen as well, no harm done. It matches Dredd’s jacket from the movie.
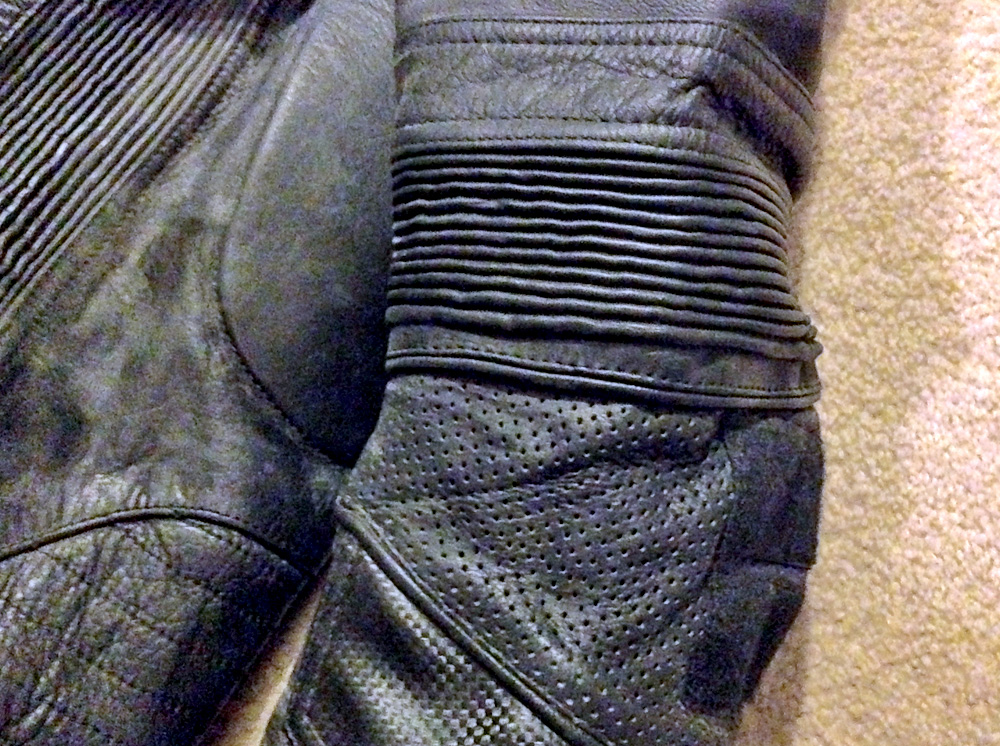
Check out all the cool detail on the sleeve!
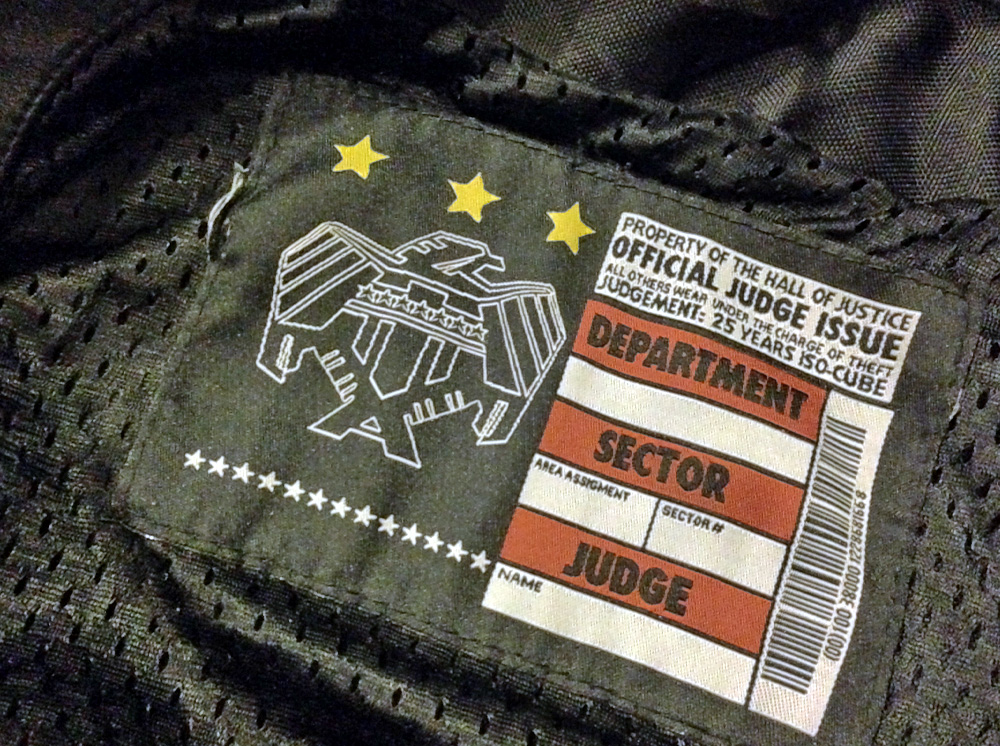
And to top it off, it has a Justice Department tag inside! How cool is that?!
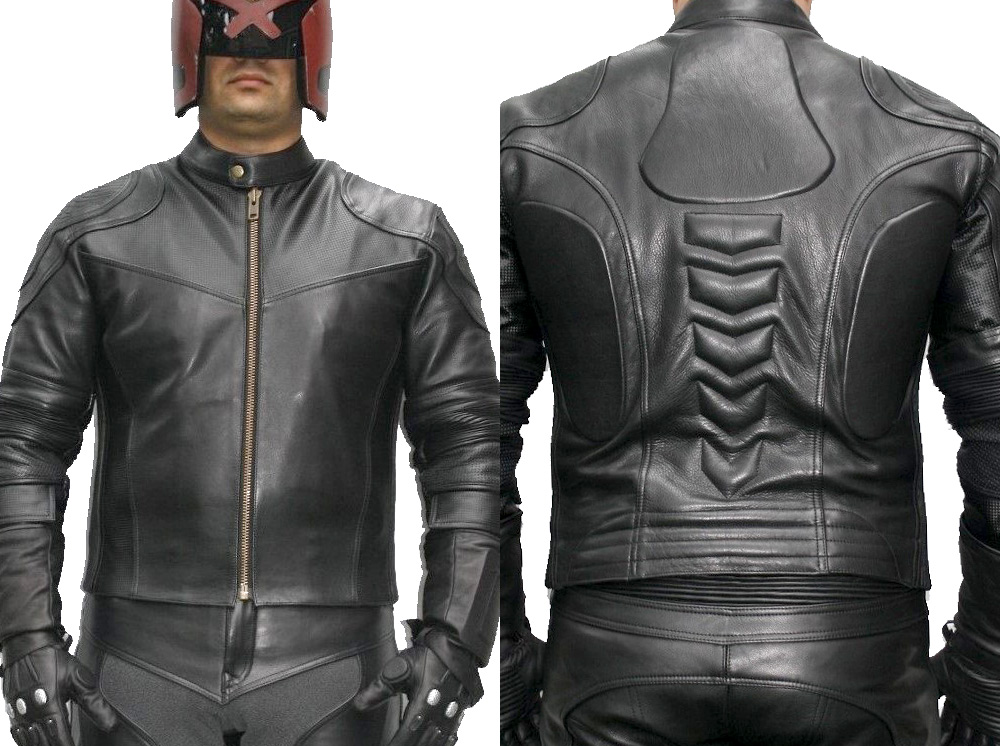
A British vendor, LeatherNext, also sells a replica suit and armor. I later replaced my leathers for a set of these. There are very minor differences between the two.
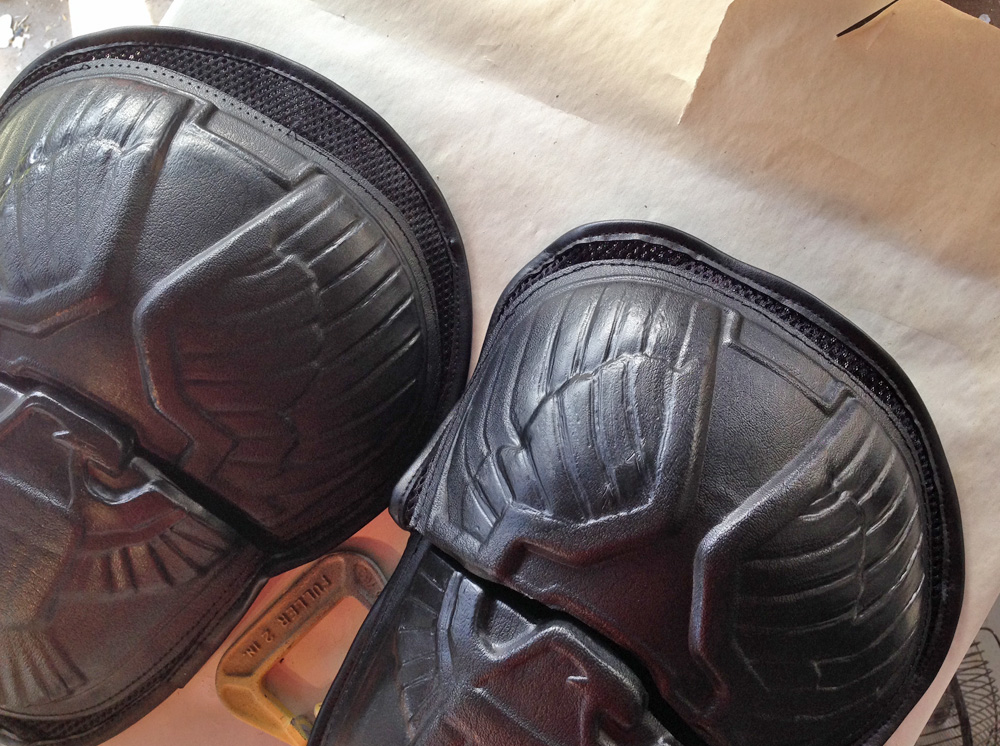
I made the most modifications to the armored vest. I started by re-stitching the amount of border from around the shoulder plates so that it was a narrower, more consistent edge.
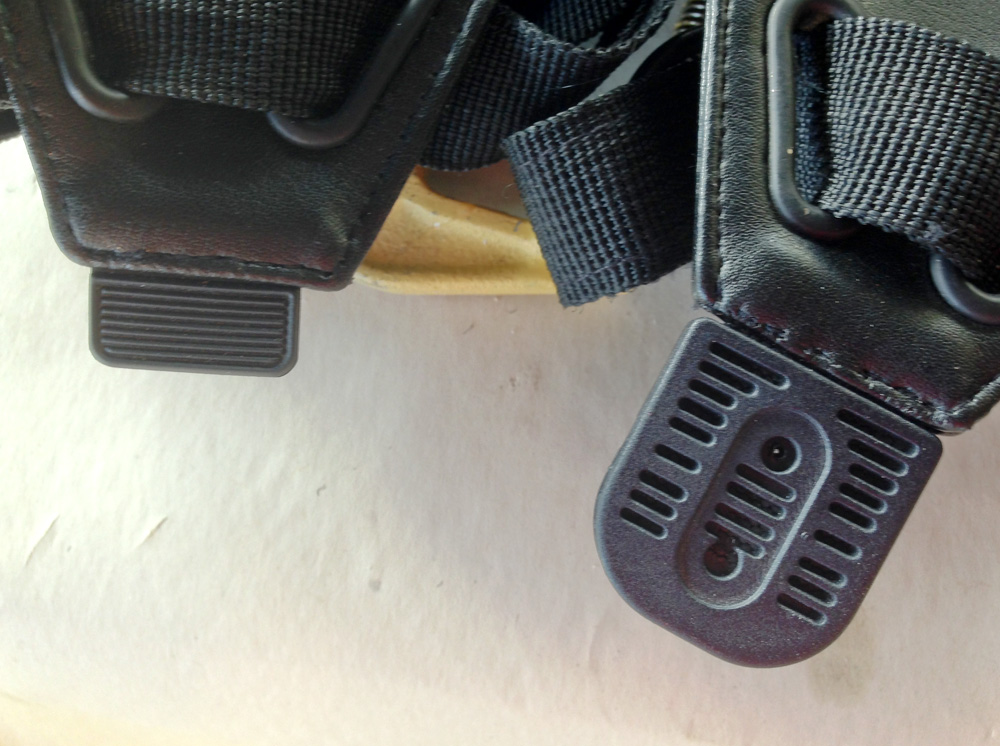
The stock vests come with a plastic tab at the base of the shoulder armor that needed to be replaced by an accurate luggage handle (right).
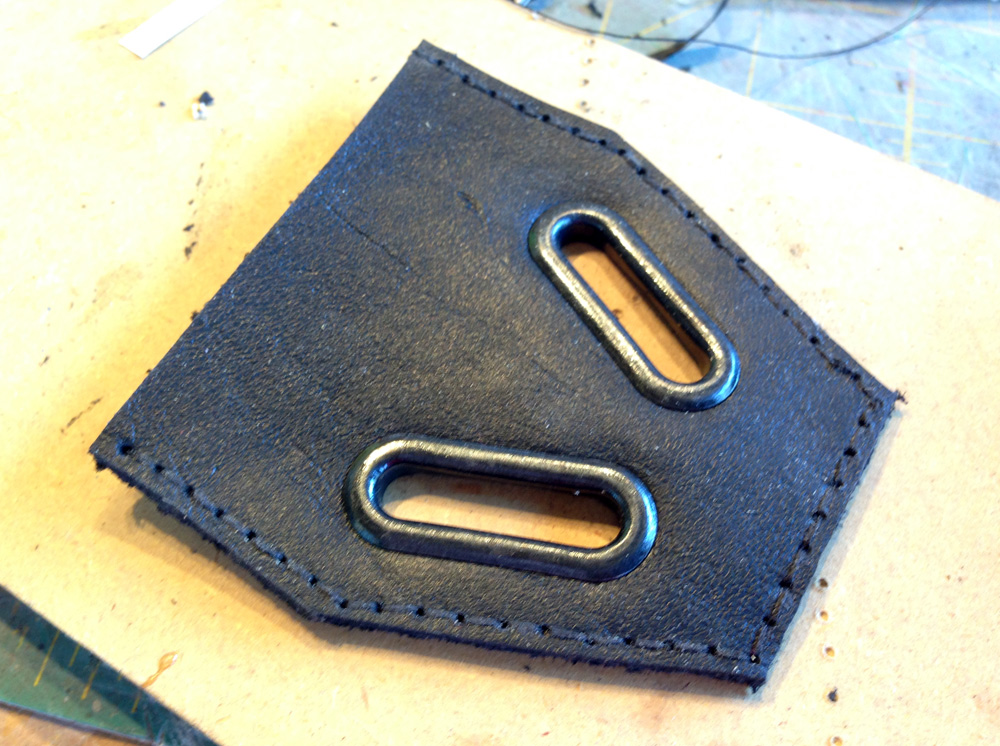
Shortly after, I decided to completely replace the entire piece at the bottom of the shoulder armor. I cut and stitched a new leather piece to replace the vinyl one, added accurate metal grommets and transplanted my accurate tabs.
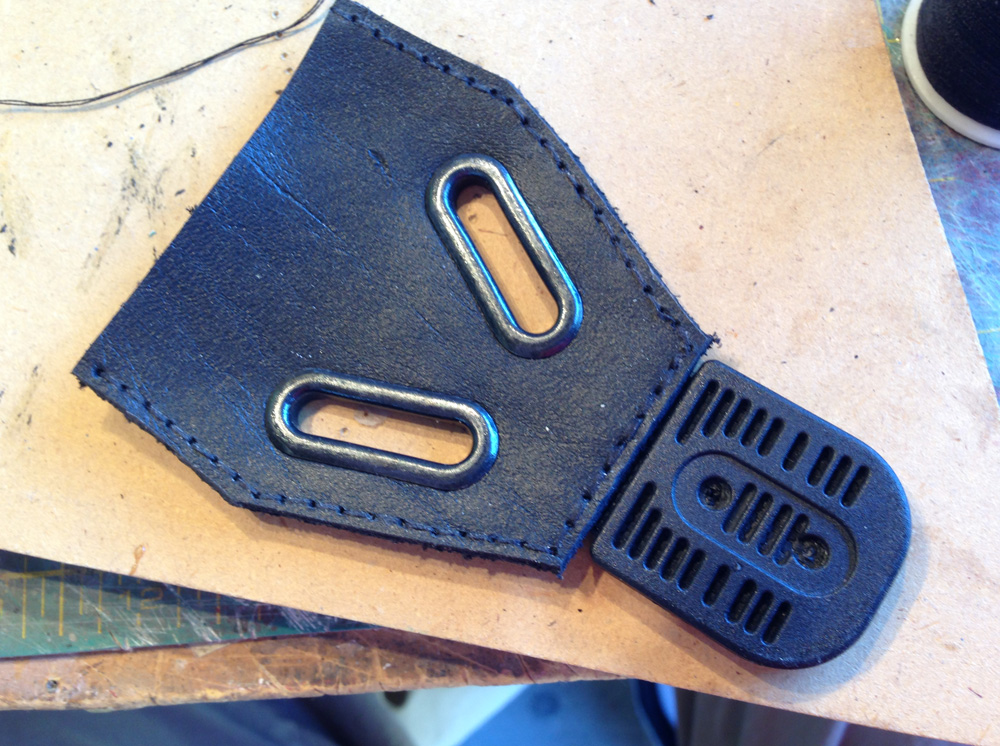
You know, I never thought that I’d be “that guy” who worries about some little detail that very few would even notice or care about….but I guess I am.
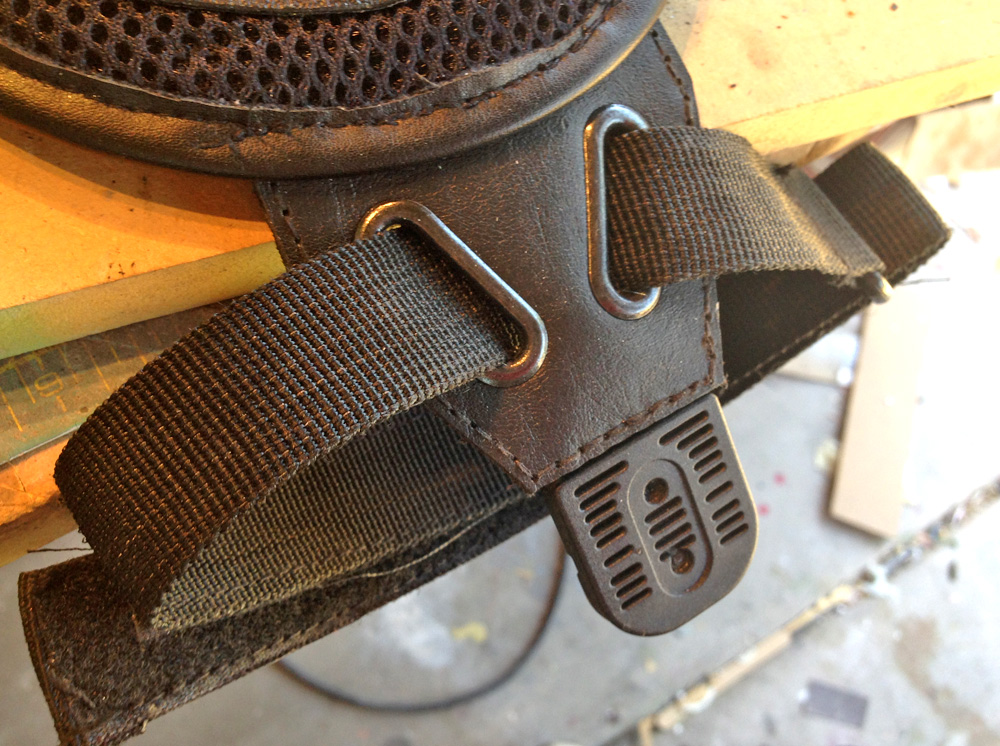
These were attached to the base of each shoulder.
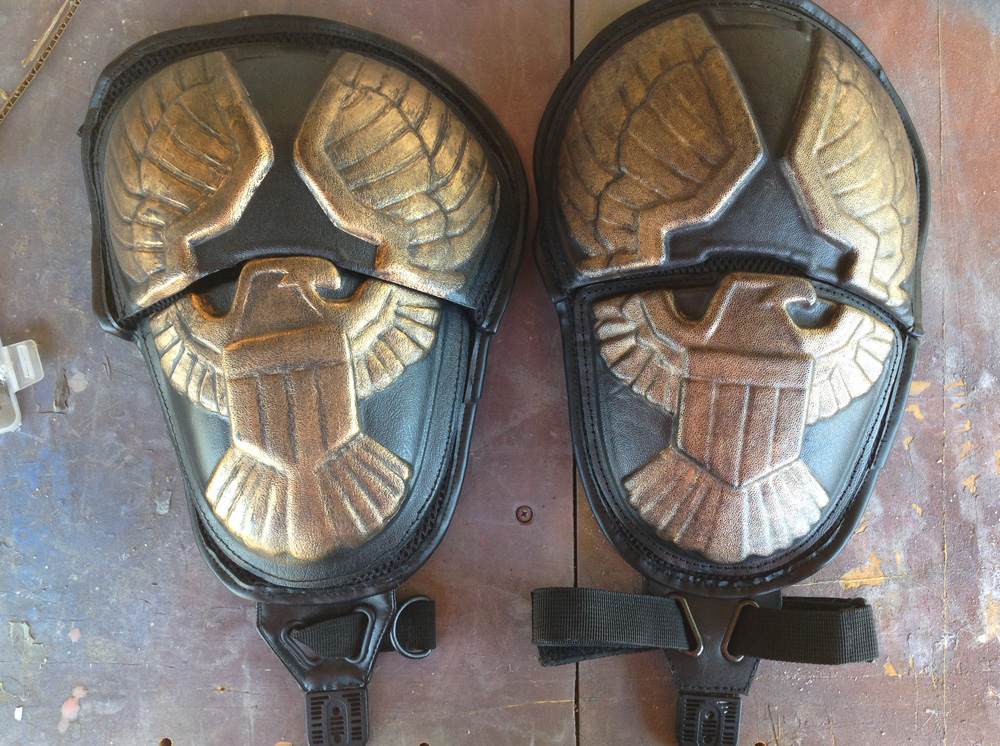
I transplanted new shoulder armor from Studio Creations to the mesh panels of the vest. The replacement armor had better definition and better contour. The gold (on both versions) was painted using Goldfinger-brand “Sovereign Gold”.
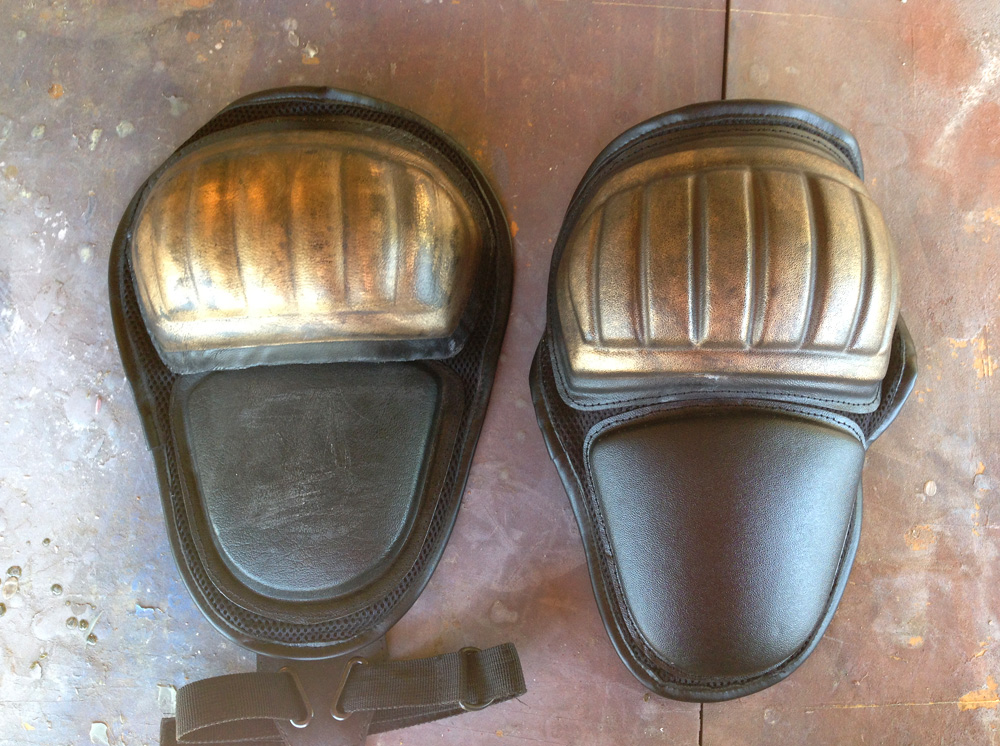
The other shoulder also got a movie-accurate replacement plate. The new one on the right has much better definition.
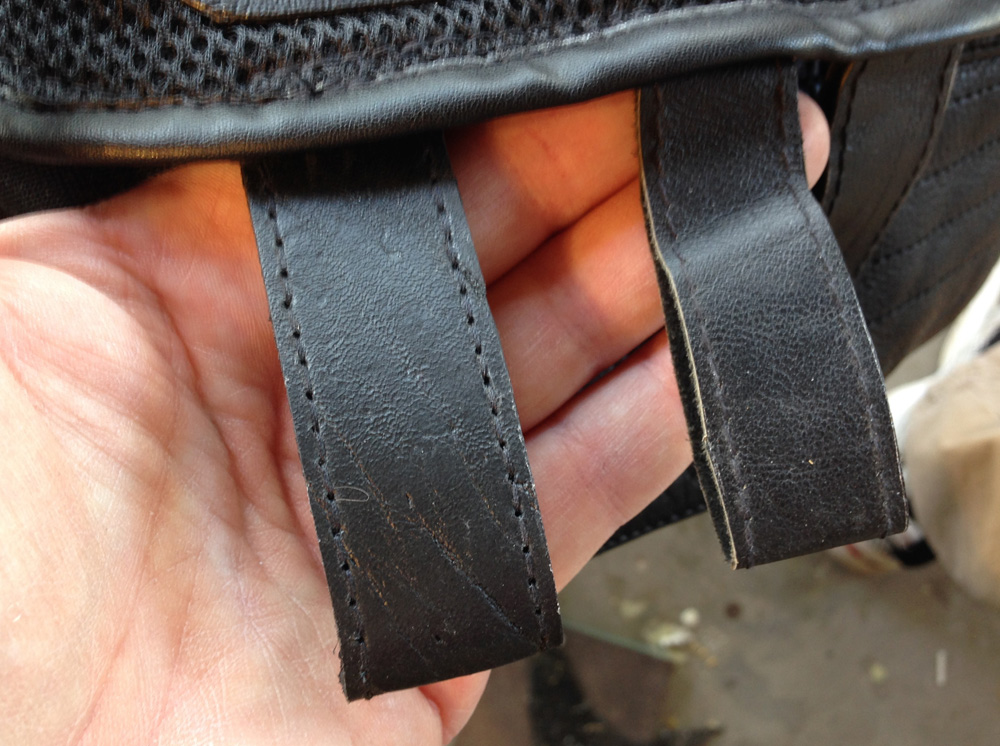
Lastly, I replaced the floppy vinyl belt loops (right) with thicker leather loops.
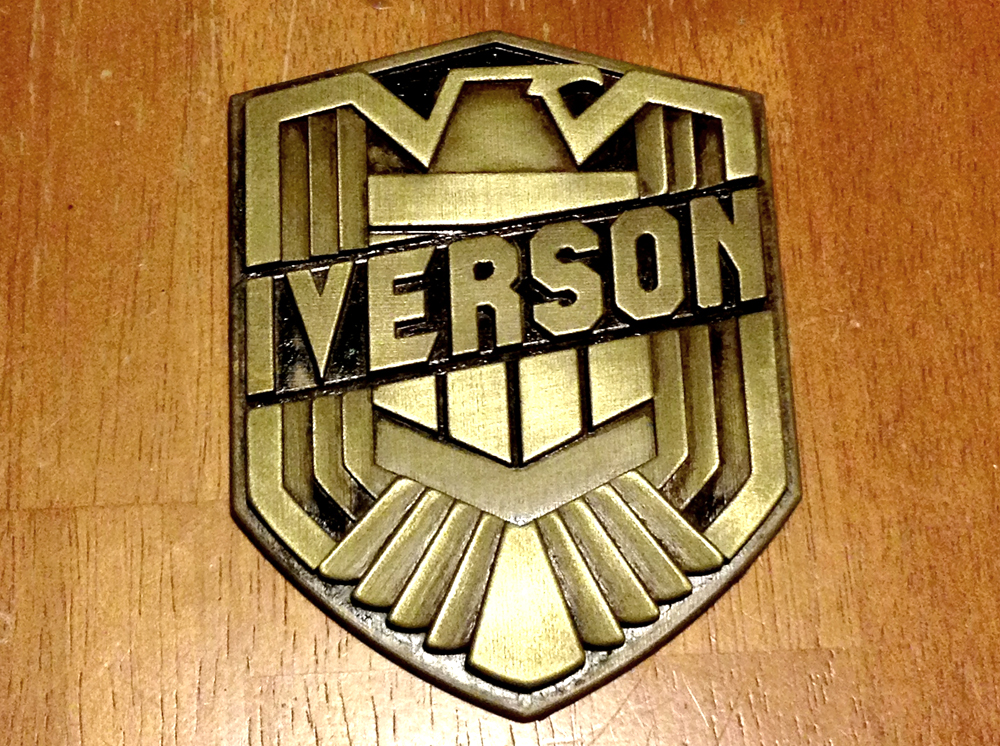
In addition to a Dredd badge that I bought for the collection, I was able to get a custom badge with my name from Sean Cho via the Facebook group!!
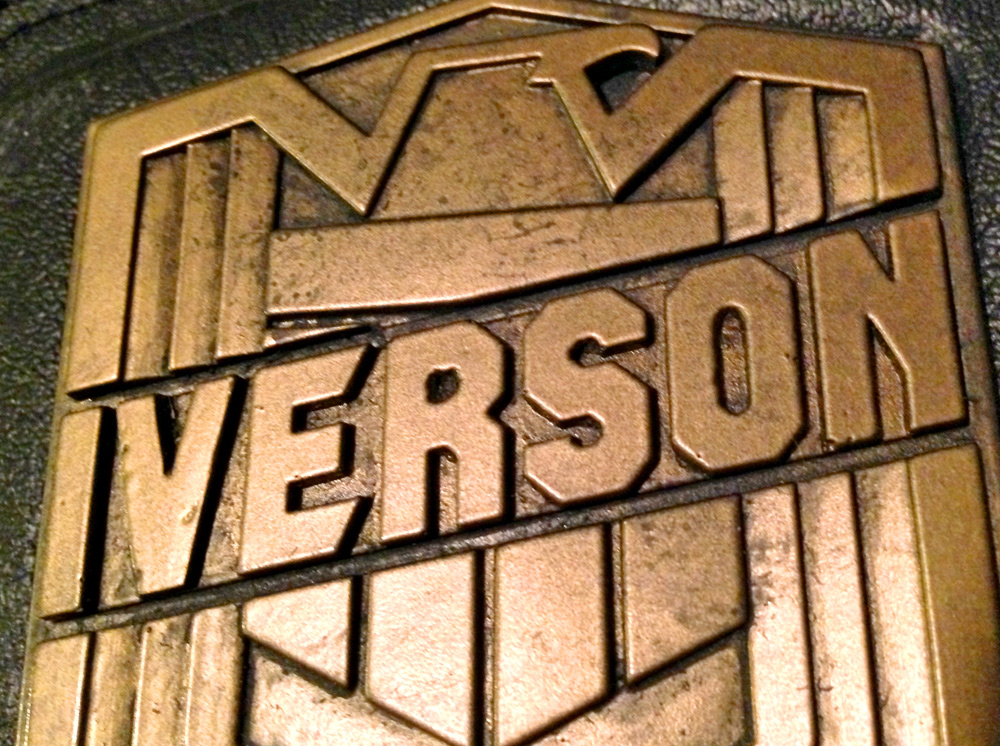
Of course, being a graphic designer, I was compelled to tweak the “V” to match the blockiness of the other characters.
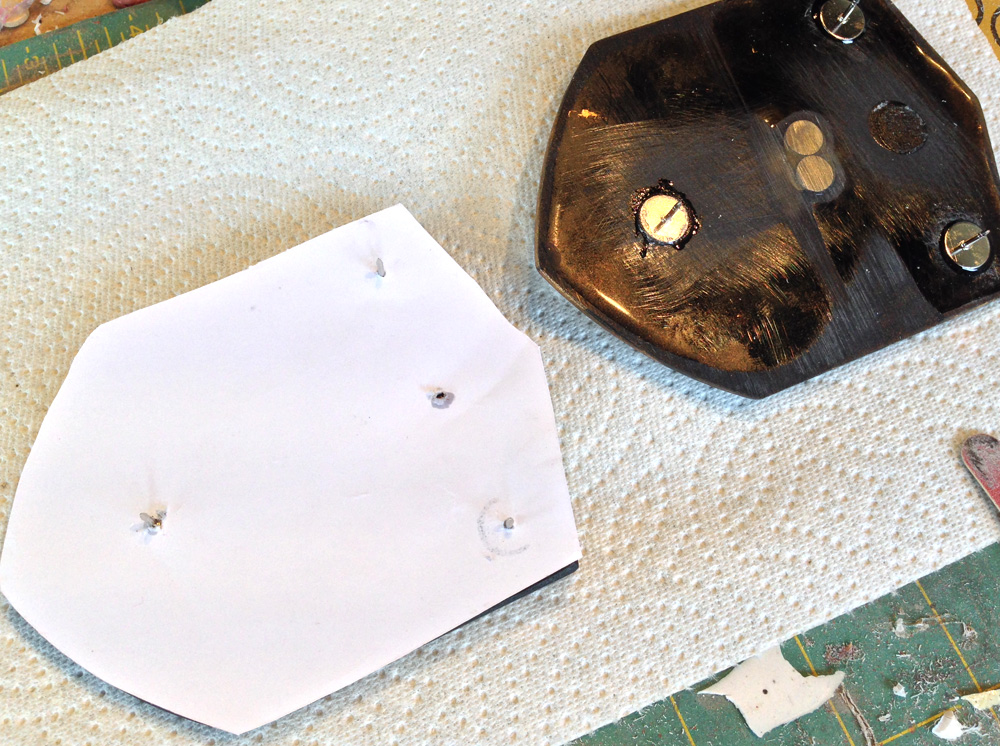
To connect it to the vest, I bought some pin backs which were epoxied into shallow holes that I drilled in the back. I used a paper template to set the pin holes in the chest armor.
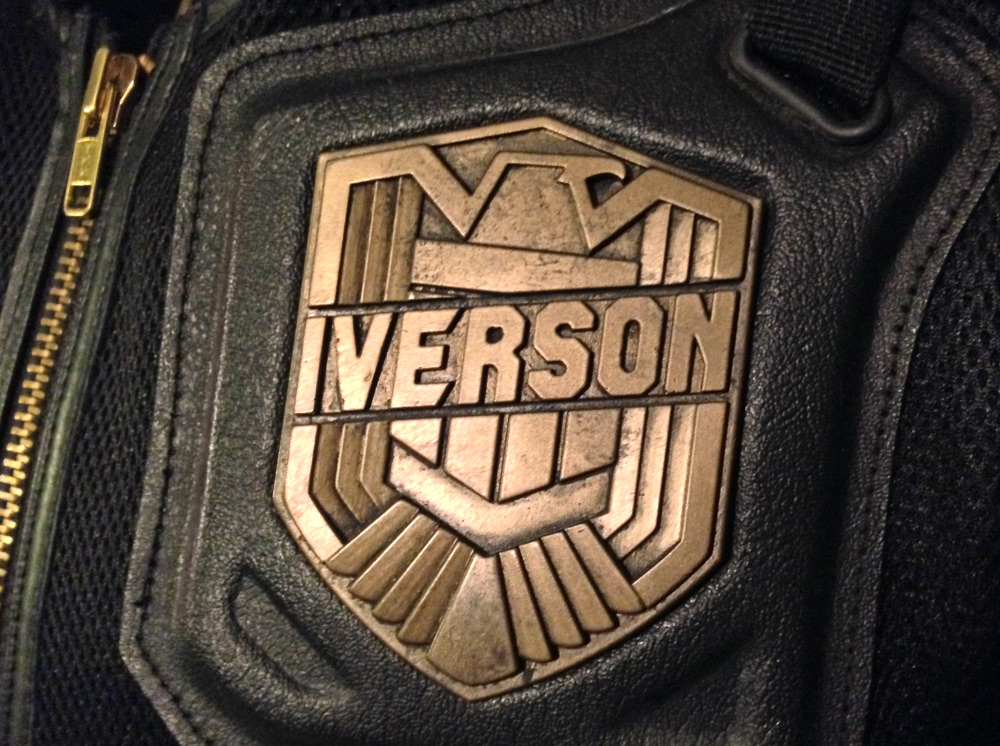
The badge was then weathered and attached to the vest.
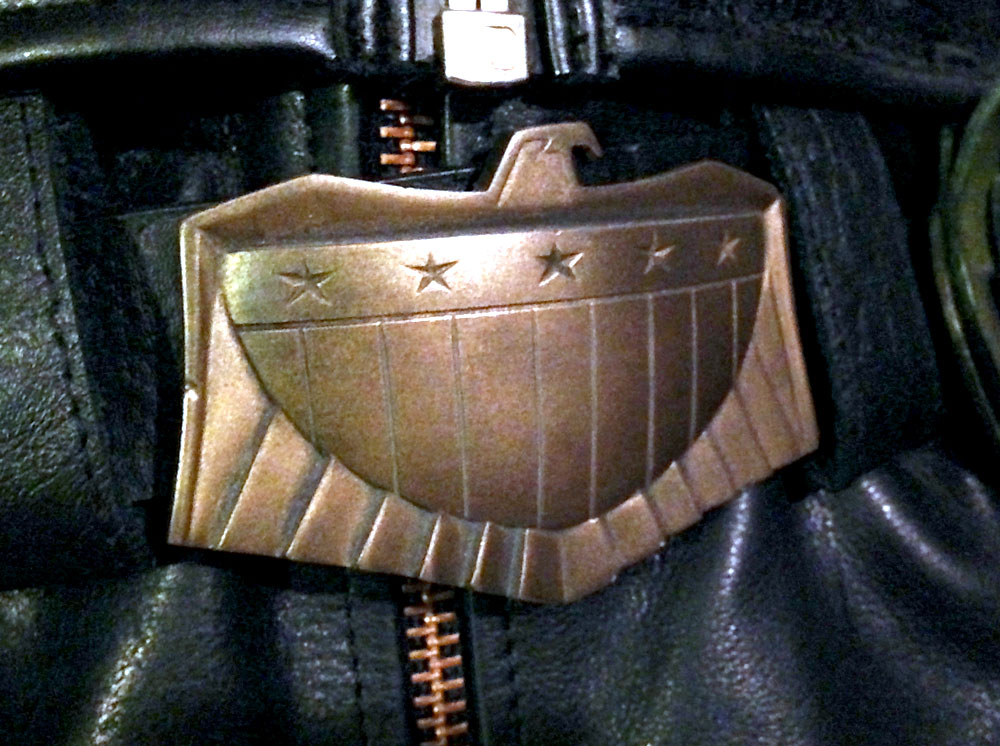
I bought my belt from someone on the RPF (Sorry, I don’t remember who). The buckle is cold cast in brass from a screen-used piece and came attached to the belt.
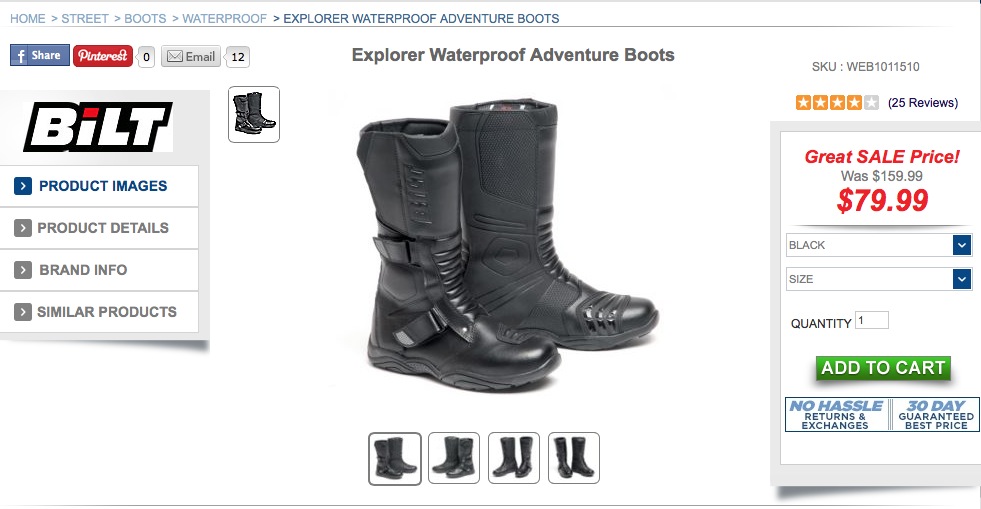
Until I was able to get film accurate replica boots, I bought a pair of Bilt Explorers that were on sale at Cyclegear. They’re a comfortable but cheap motorcycle boot that passes the “close enough” test.
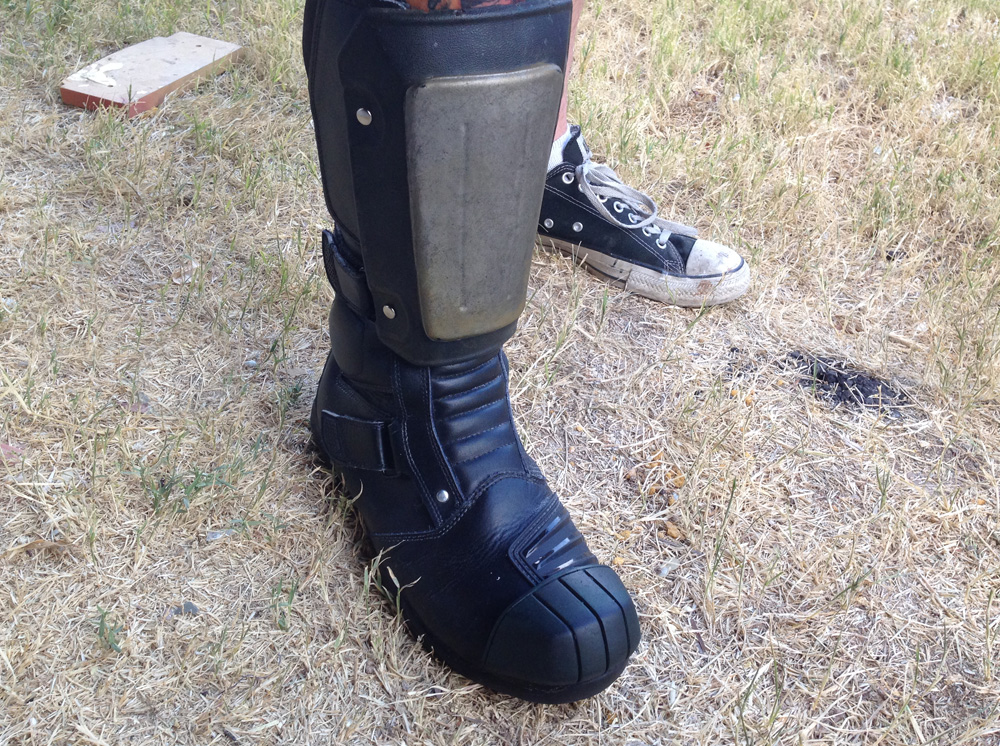
After using acrylic paint to cover any of the reflectors and removing a few tags, I attached copies of screen-used shin guards with pop rivets. I cut through the liner to attach the anchors and the ample padding protected me from feeling the rivets.
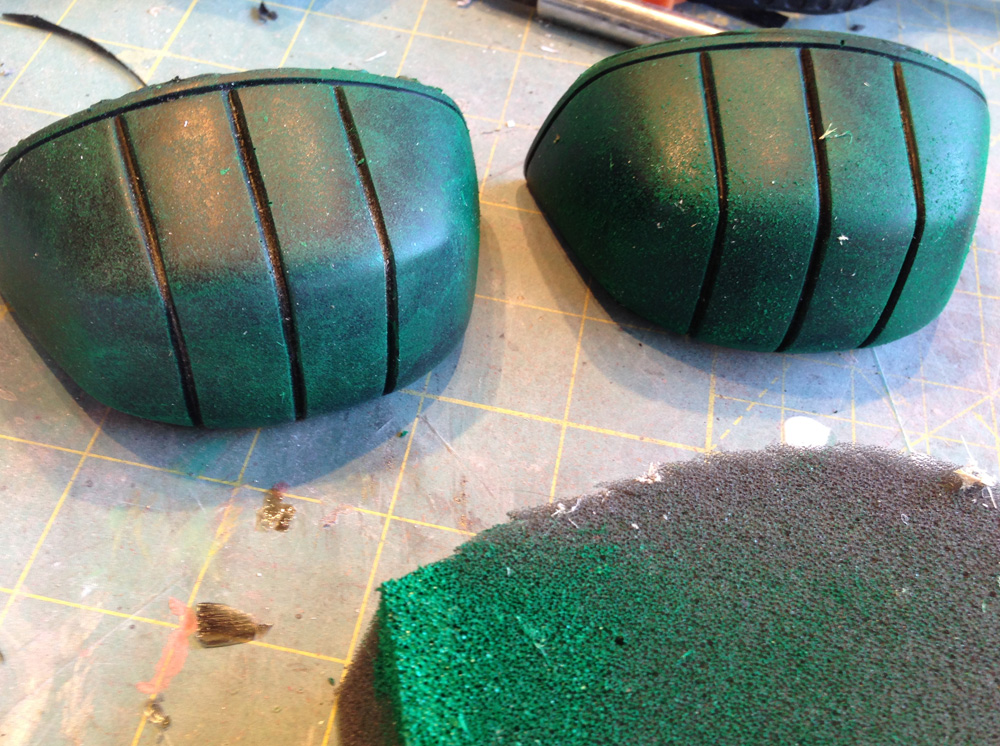
I bought copies of screen-used toes cast in a black urethane rubber. I sponged on green paint to make it look like the paint had worn off with use. Both toes were glued to the boots with Loctite 380 glue.
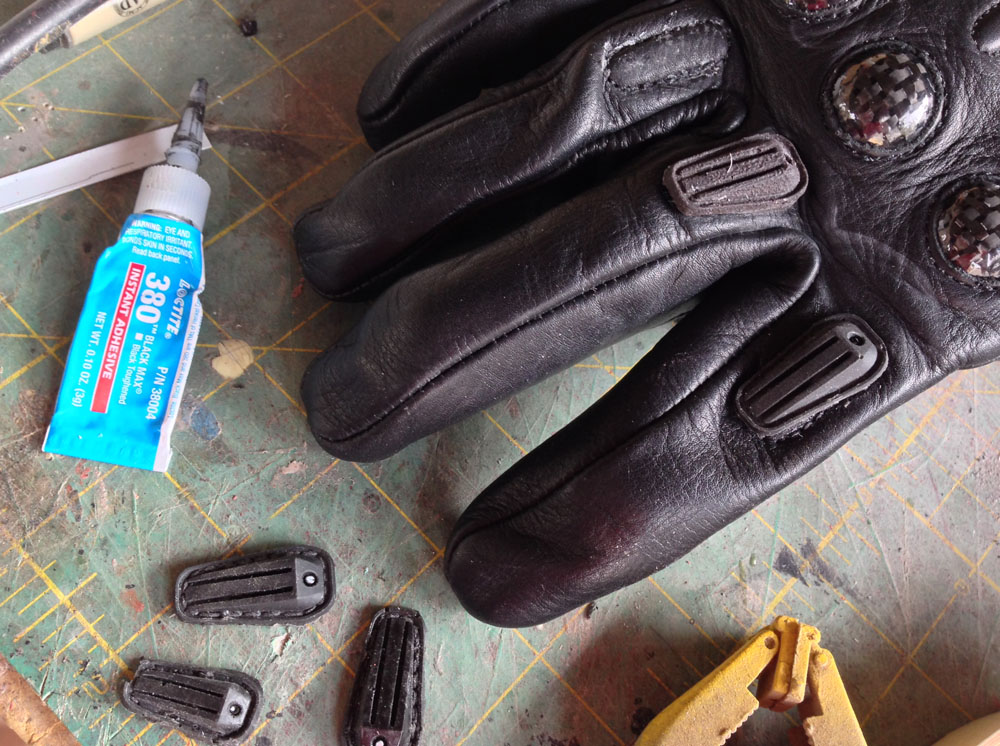
I purchased a pair of LeatherNext’s version 1 gloves which had to be modified for accuracy. I bought some rubber knuckle plates online and glued them to each finger.
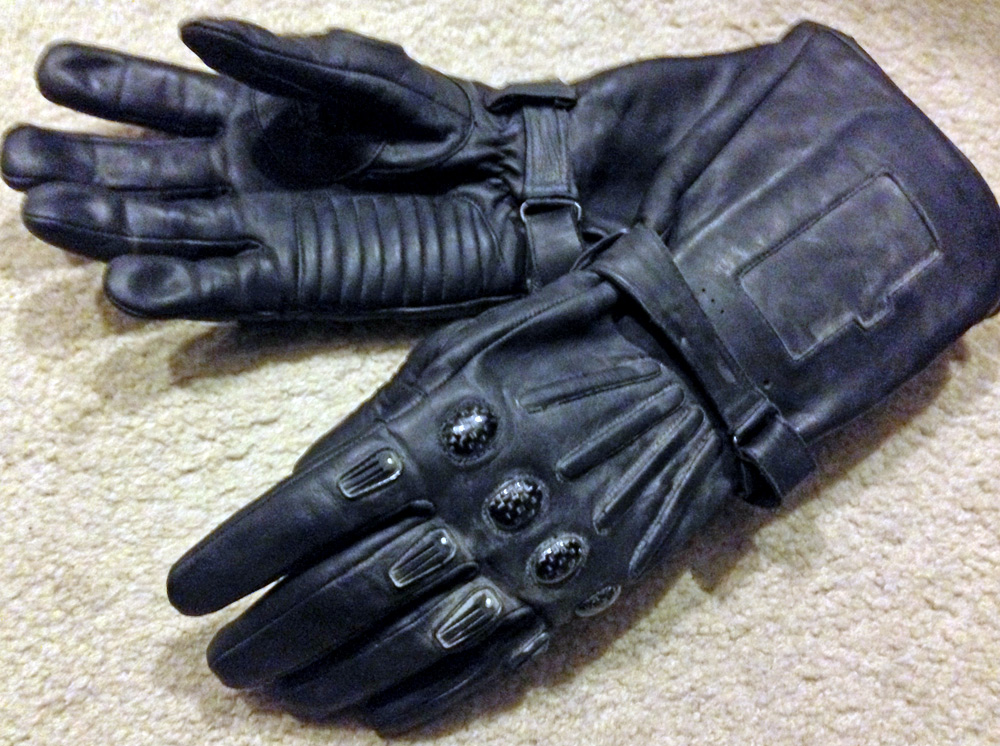
I eventually replaced these with LeatherNext’s v.5 gloves which have the right finger plates, the comm built into the left glove cuff and more accurate styling.
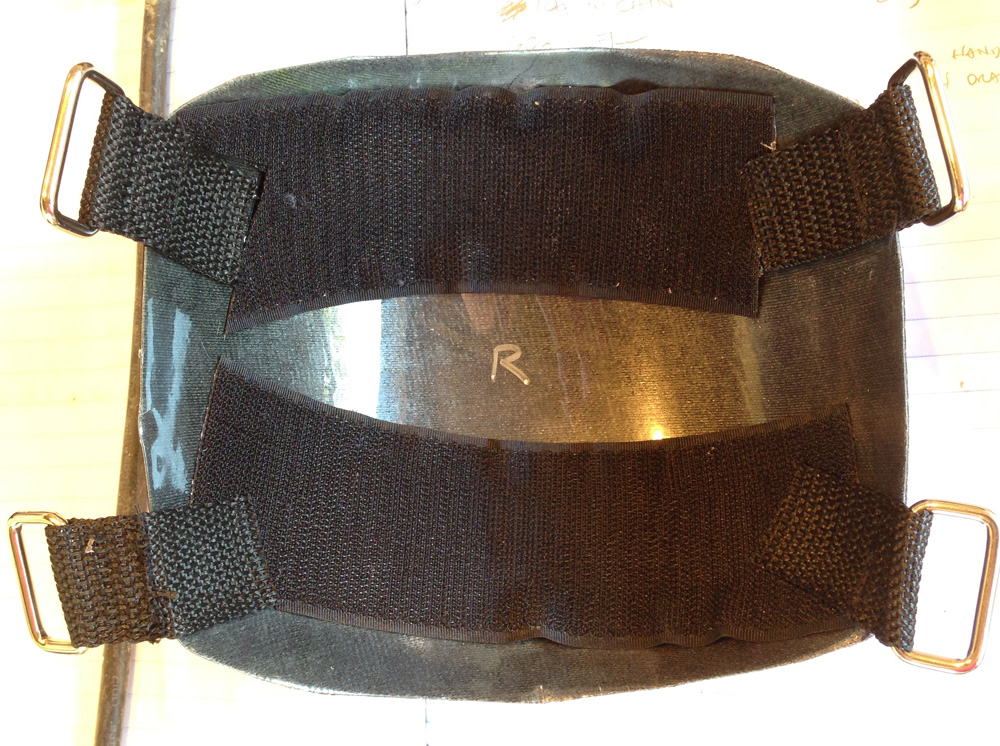
The ReelImages suit also came with elbow and knee pads which were made by forming padding over a rigid plastic shell. They came with velcro that matched up to strips on the suit. I wasn’t sure how well that would hold , so I glued some straps inside.
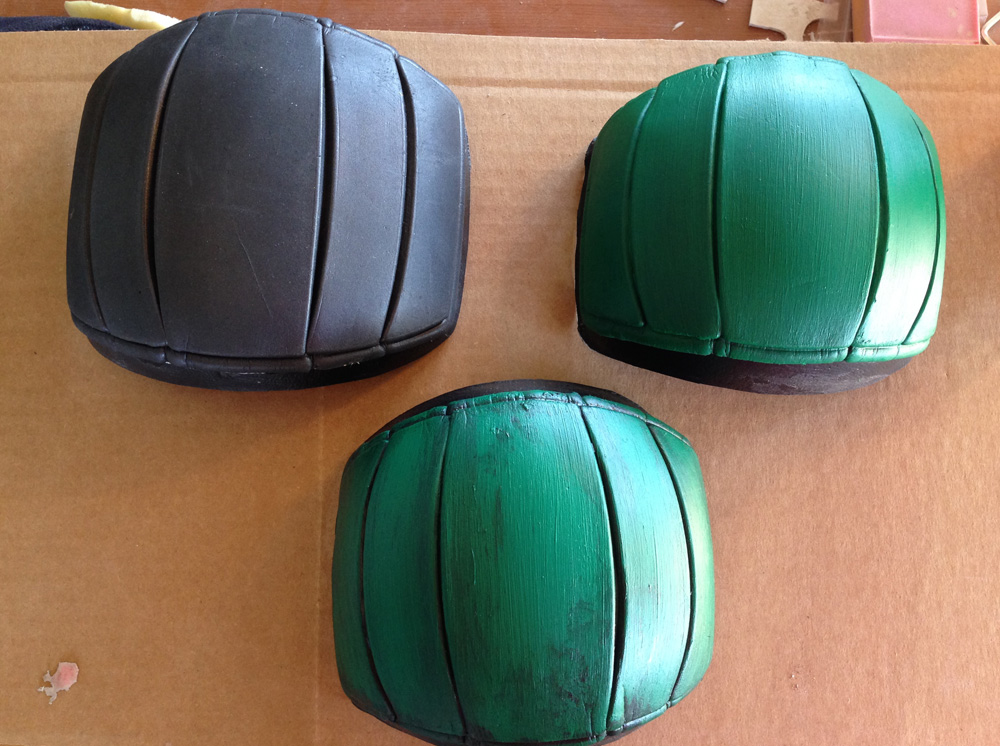
The pads themselves came in black so I had to apply some green acrylic paint to get them to movie spec. The paint out of the tube was pretty bright so I added layers of black wash to tone down the paint and add a visually level of wear and grime.
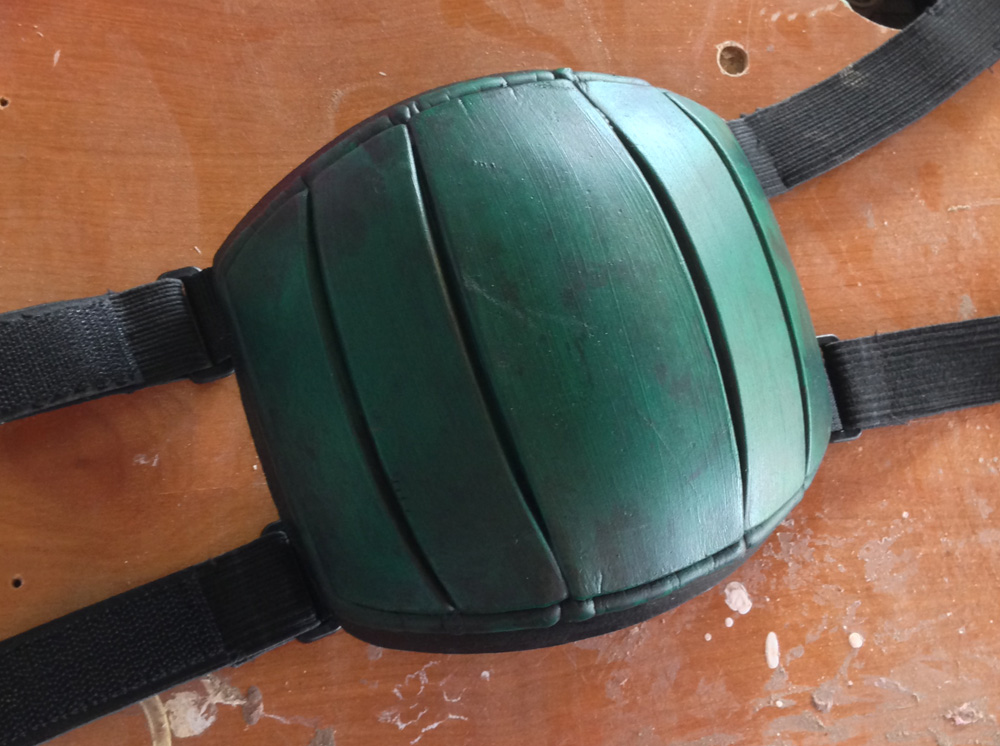
In anything less than direct light, the color is quite subdued.
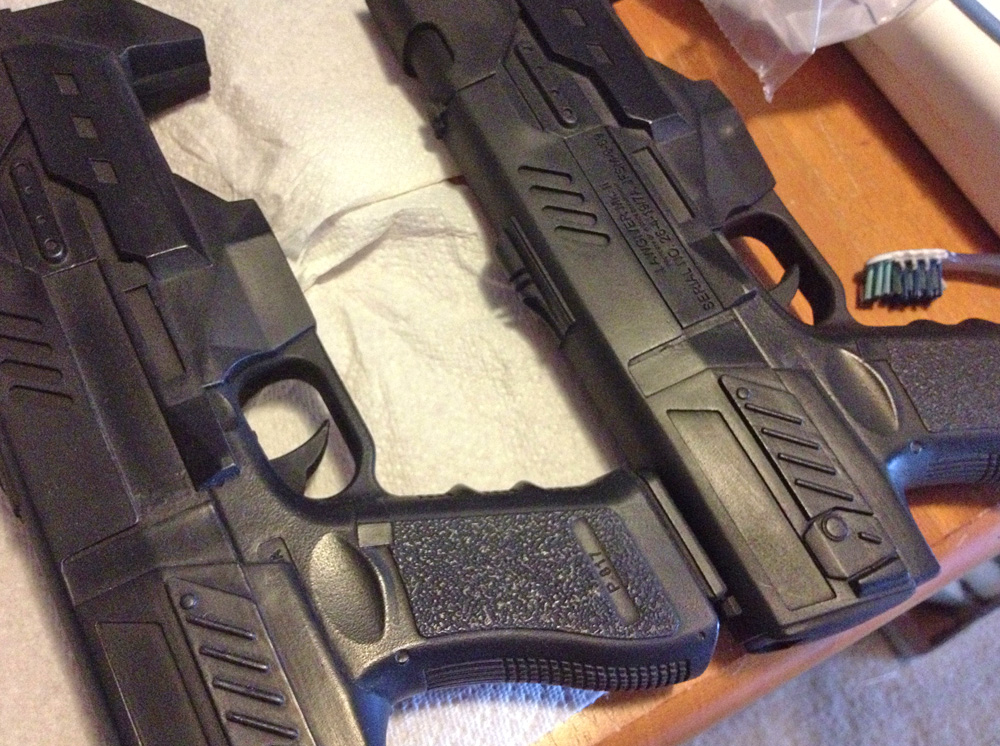
A Judge’s sidearm, the Lawgiver, was purchased as a foam filled, resin casting of a 3D printed model
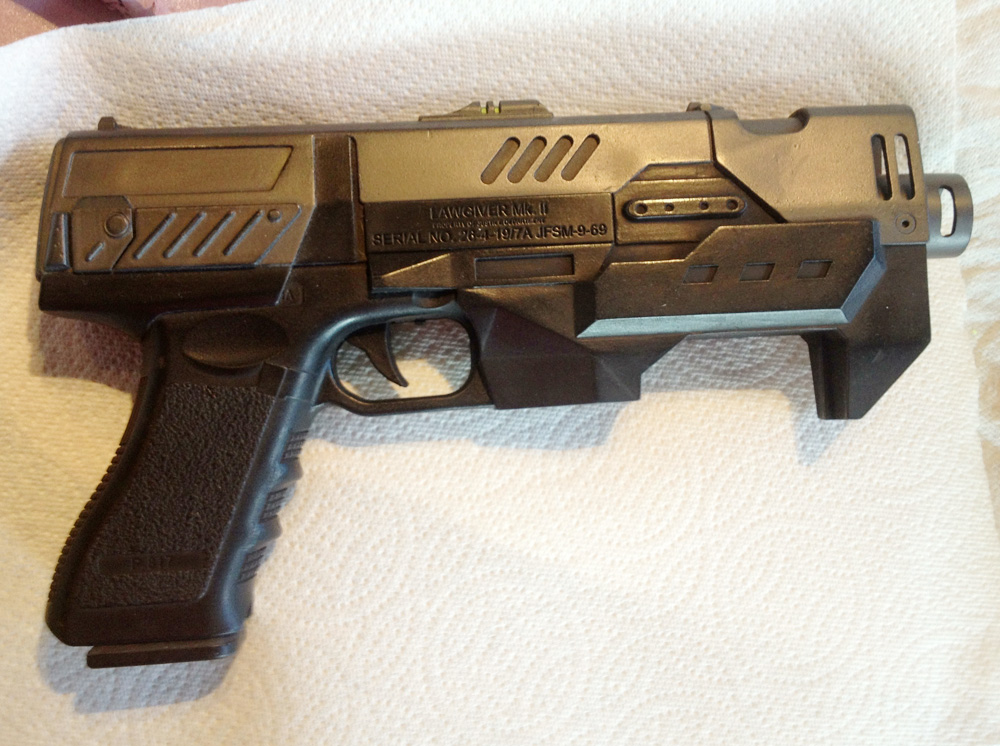
Since the gun is build around a Glock pistol, I decided to paint it like one. The polymer frame was painted in a satin black and the parts that would be metal on the real gun, the slide and barrel, were painted with Testor’s Metallizer Gun Metal which buffs to a realistic metal shine.
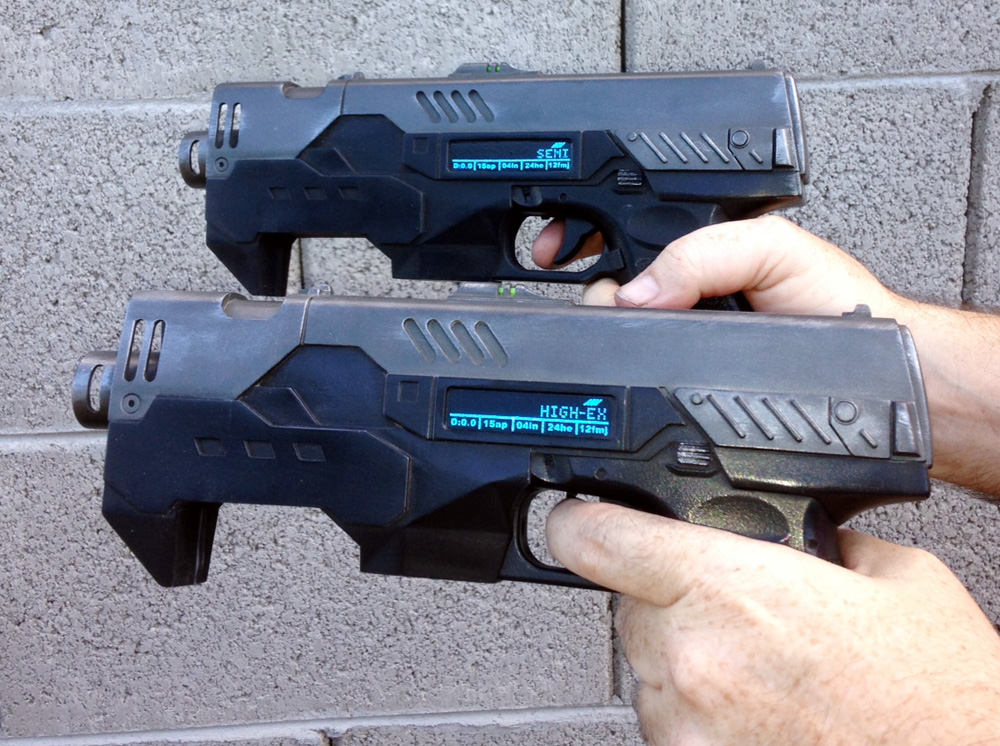
I also bought a set of reflective stickers for the selector screen of the gun. Once you throw a camera flash on it, it lights up just like you spent time and money to add electronics!
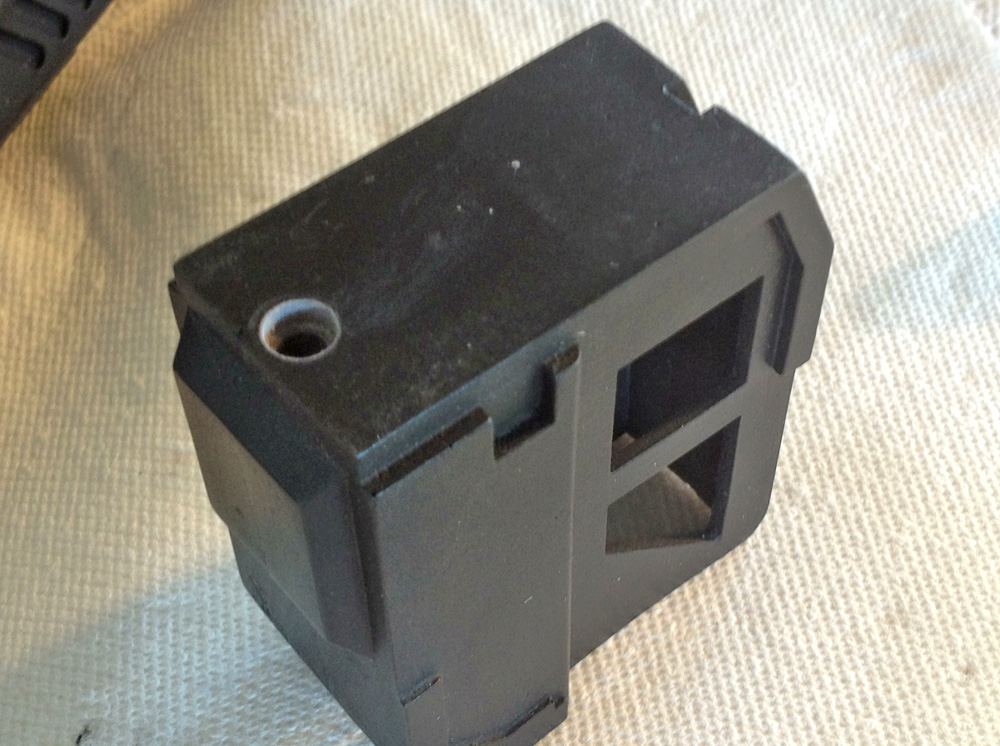
To connect the front magazine, I countersunk a hole in the base…
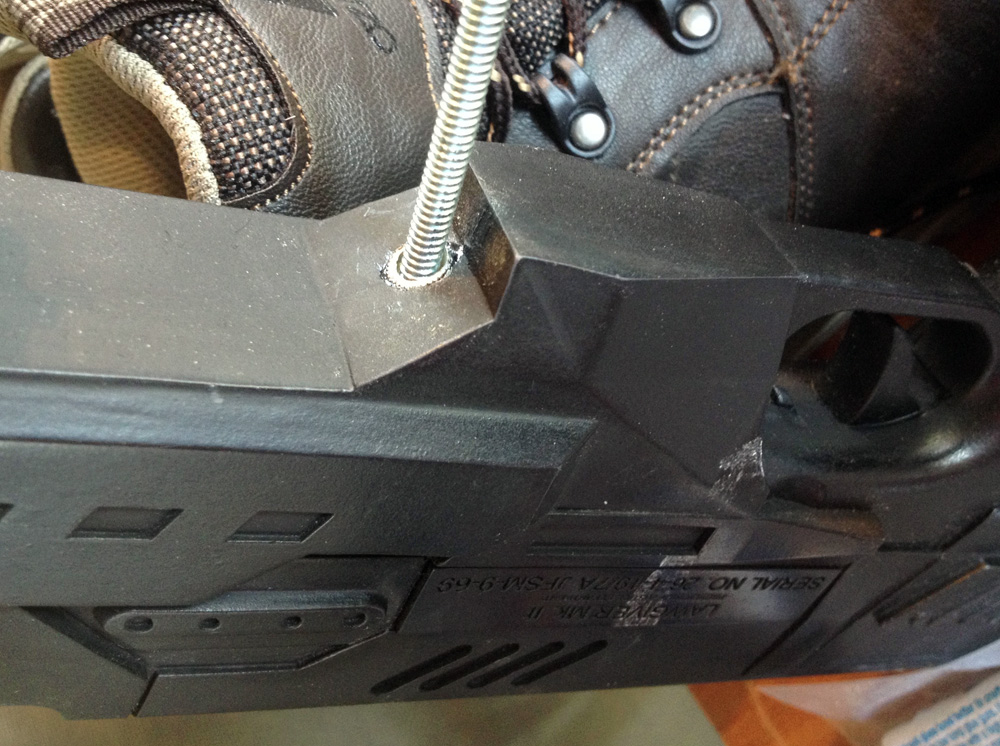
…to accept a threaded bolt that would connect to a threaded insert glued into the bottom of the mag well.
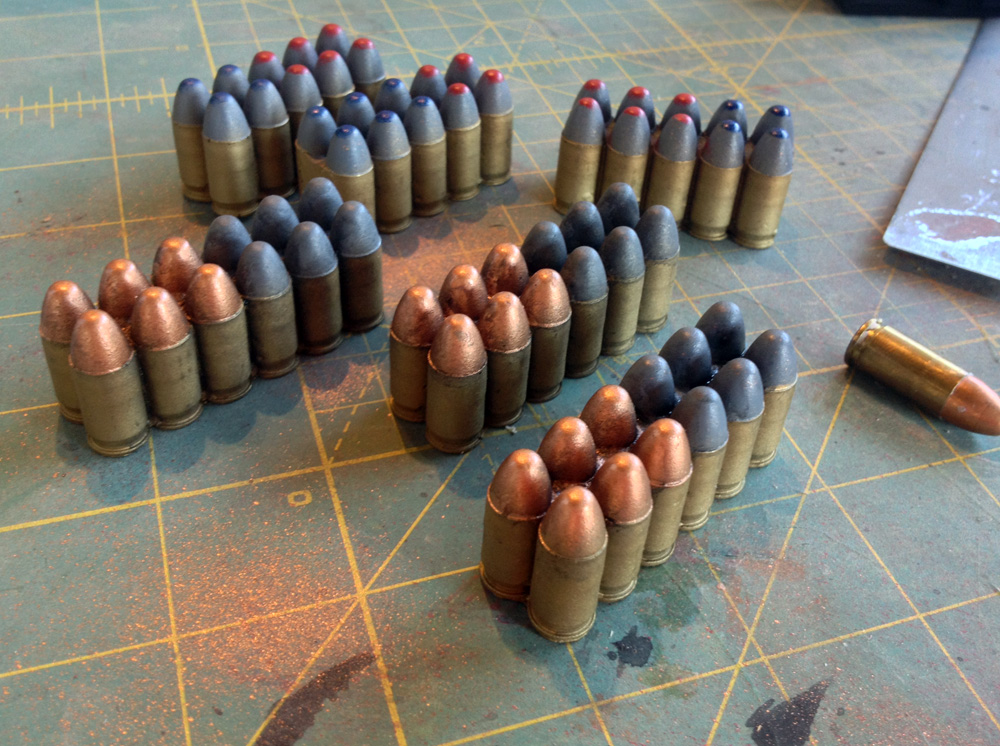
Since the shells are visible in the front magazine, they needed to be painted. The film version looked silver but I opted for a more real world color scheme of brass for the shells and color-coded tips for each type of round.
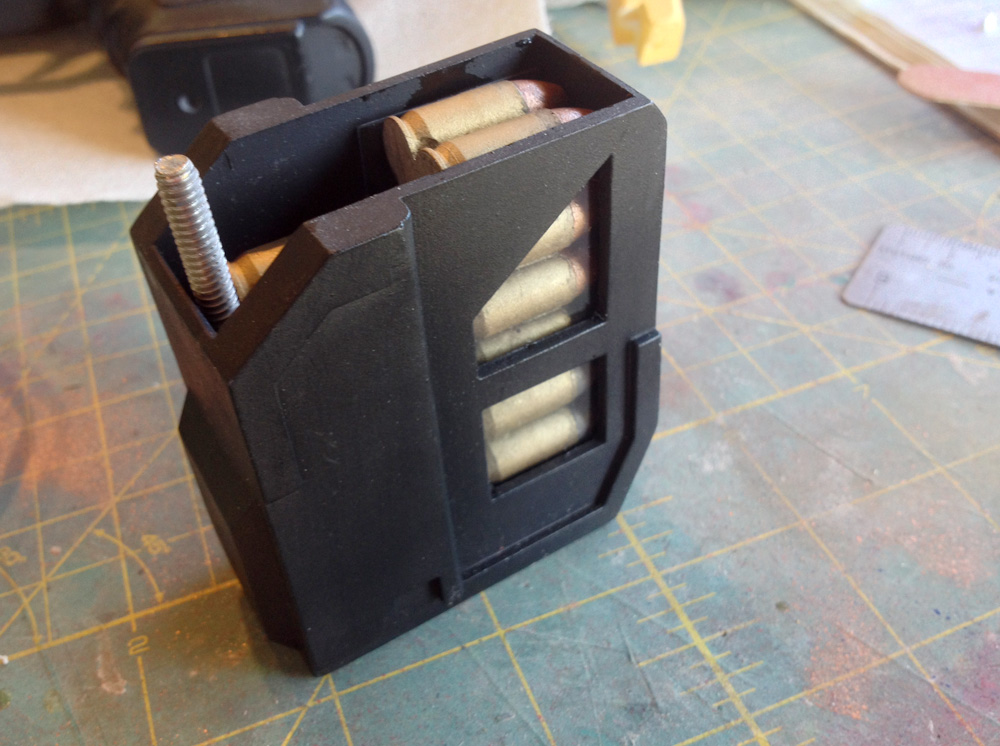
The front magazine loaded with the mounting bolt sitting behind the rounds.
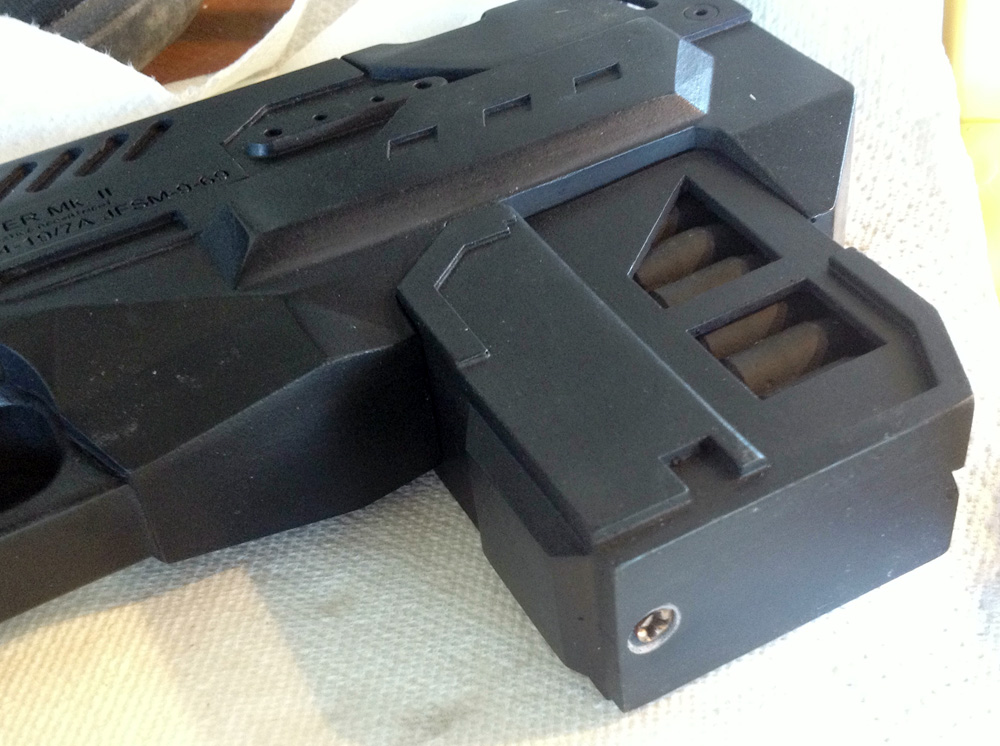
In place and secure.
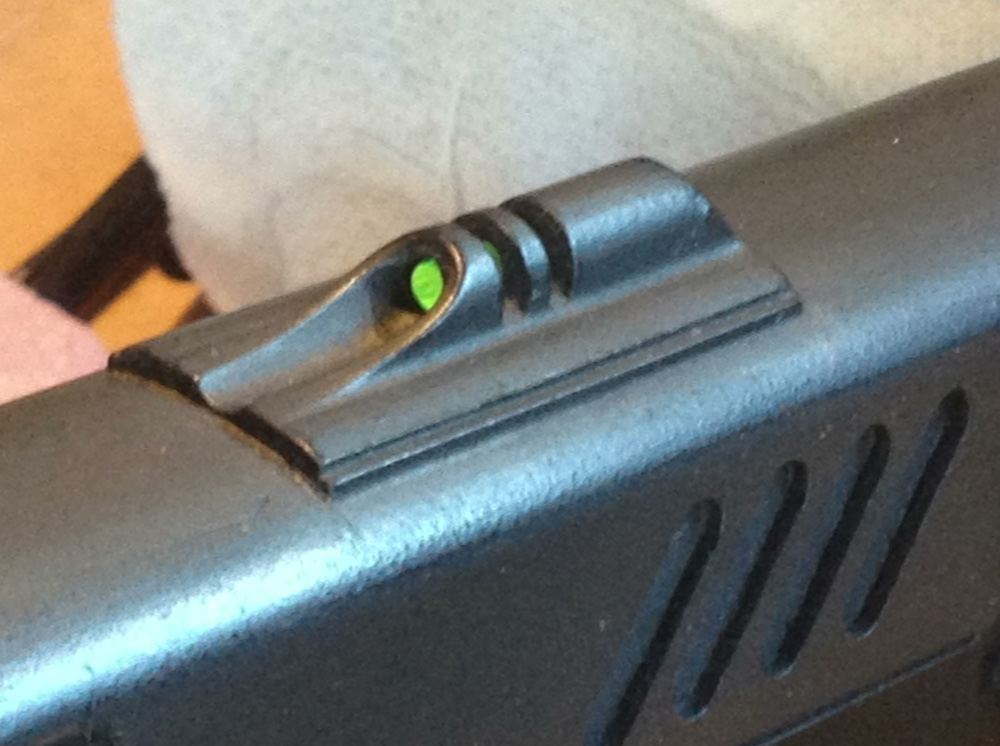
I also drilled out the rear sight and glued in a fiber optic shotgun sight. Not movie accurate but I think it’s cool and makes some real-world sense.
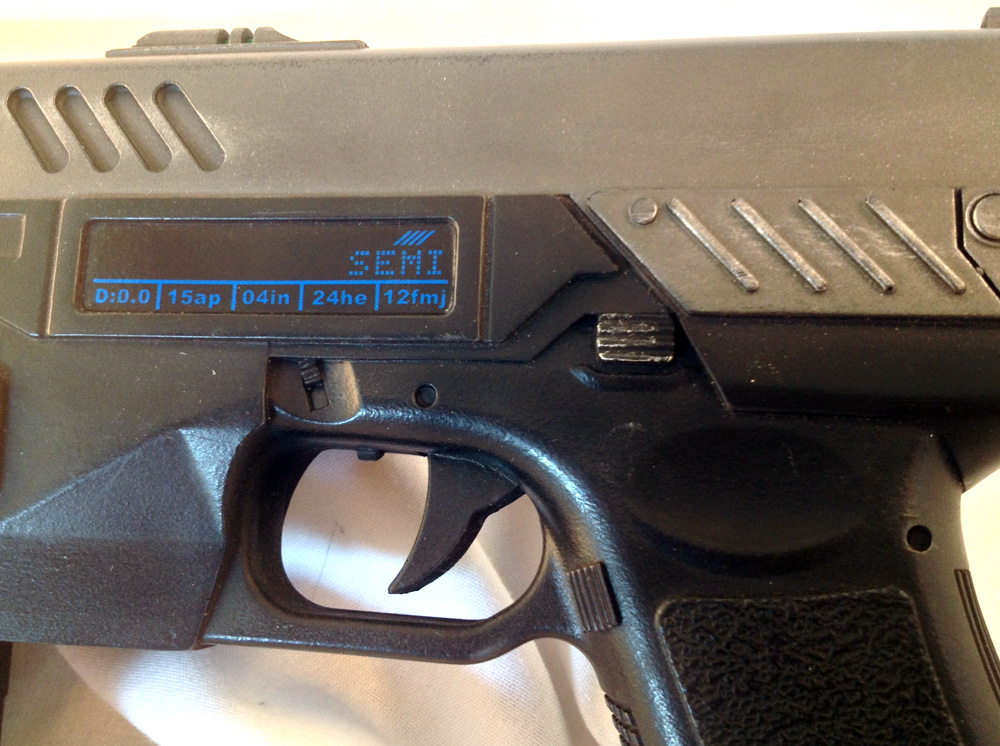
The final gun.
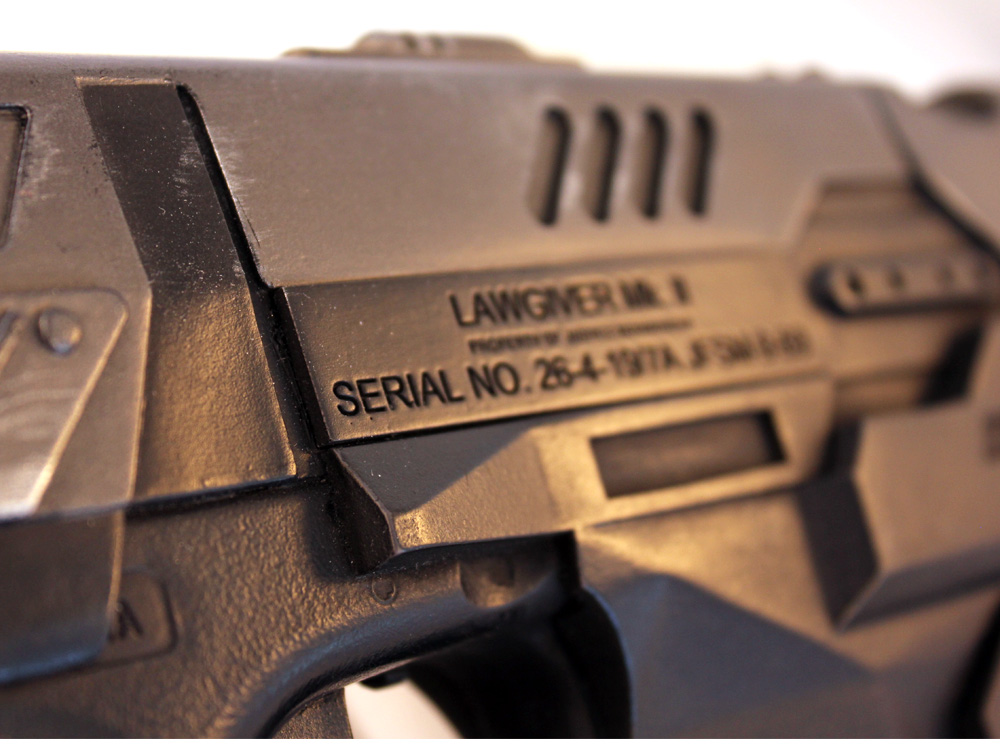
The model even has Dredd's serial number.
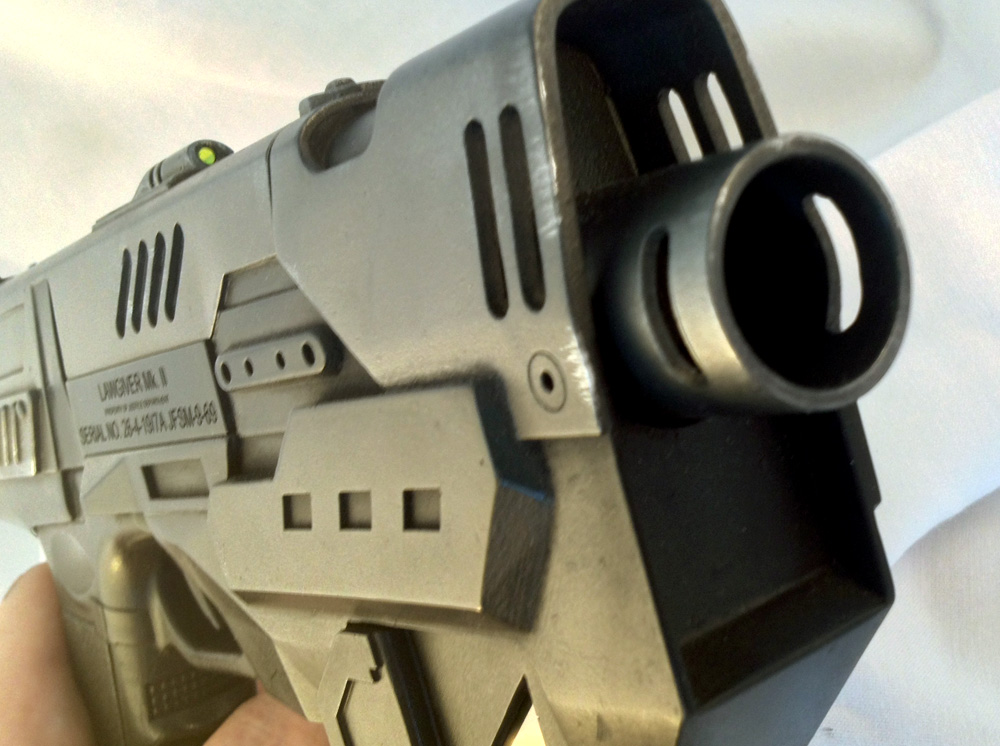
I used some silver to add some subtle weathering.
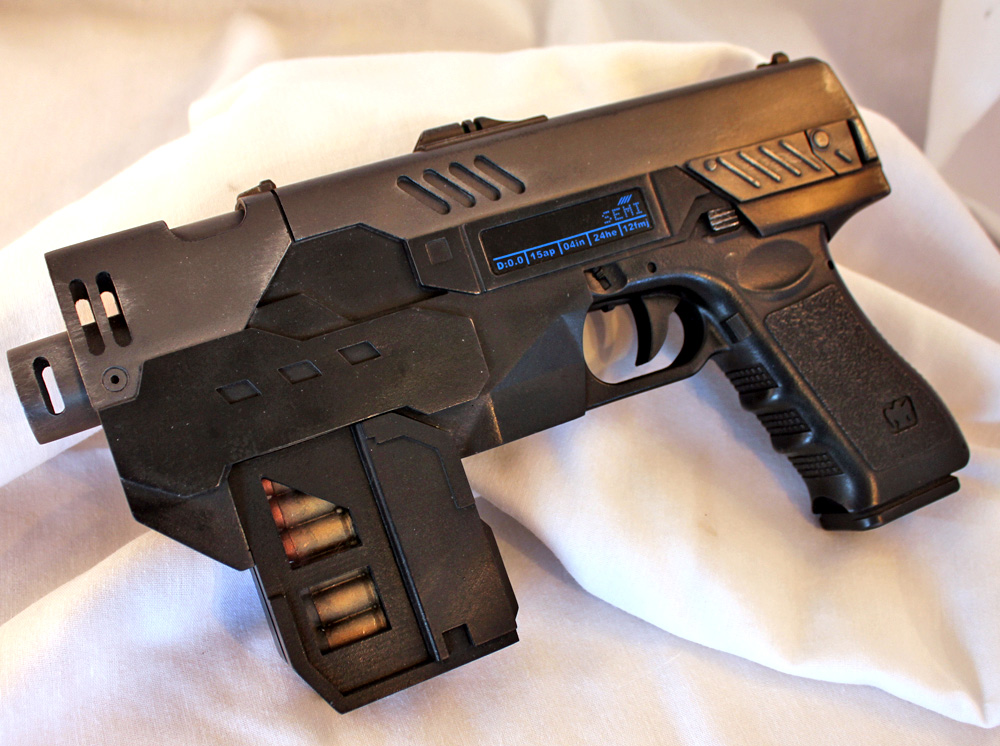
Final.
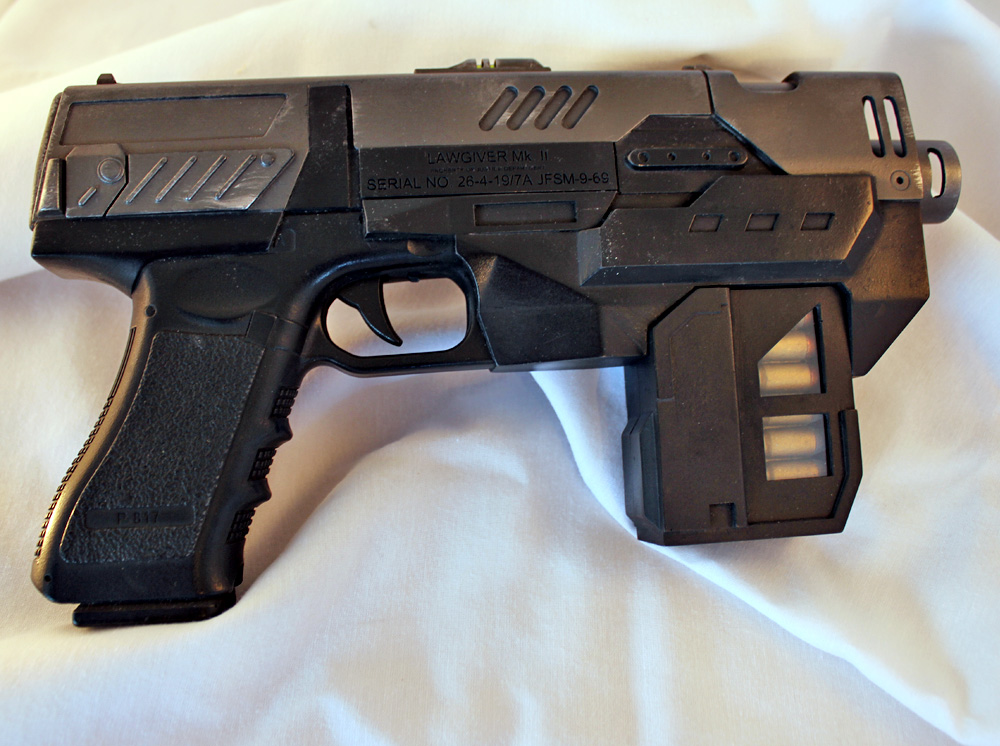
Final.
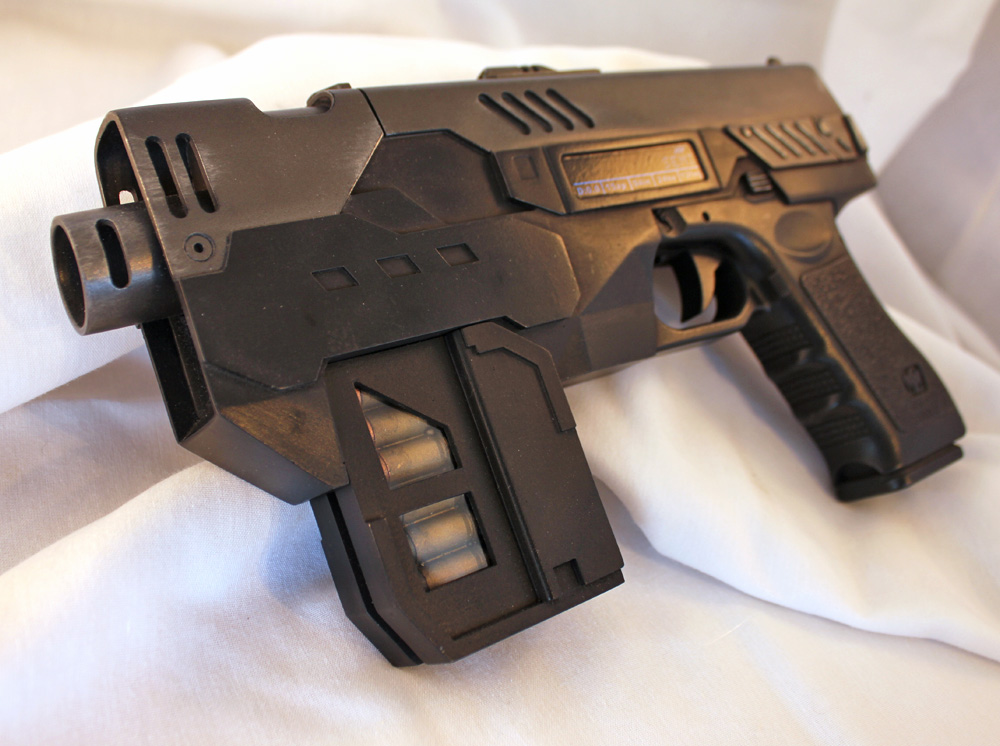
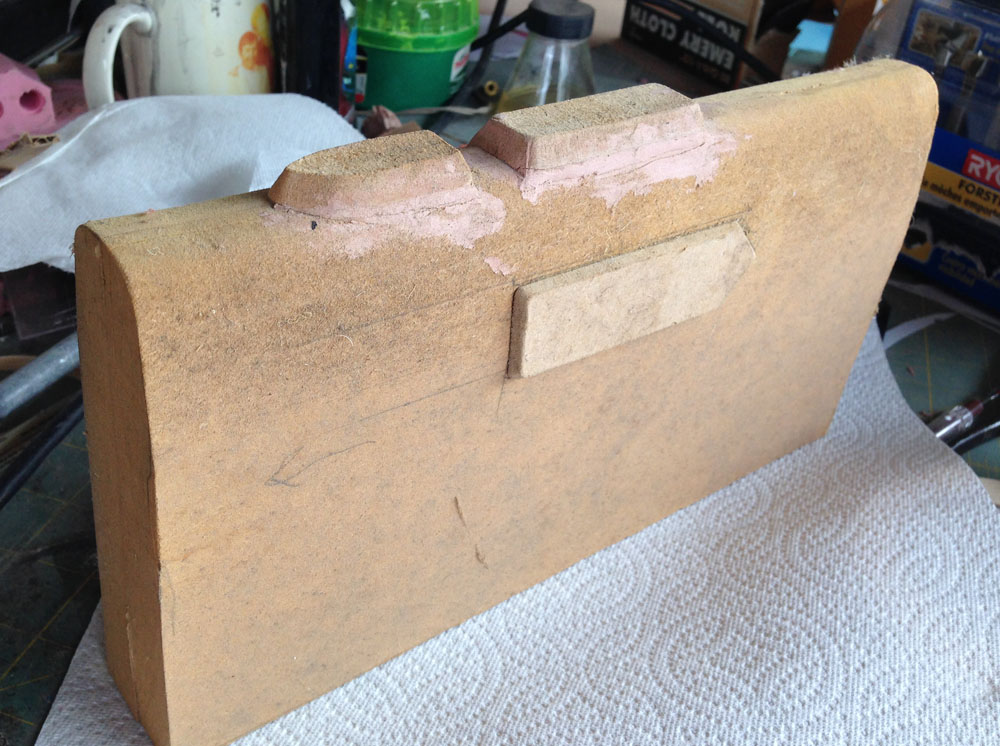
To make the holster, I bought some .09″ Kydex plastic on eBay. This plastic is widely used for heat formed holsters for real guns and is what they used in the movie as well. I measured the Lawgiver and used MDF to make a master to form around.
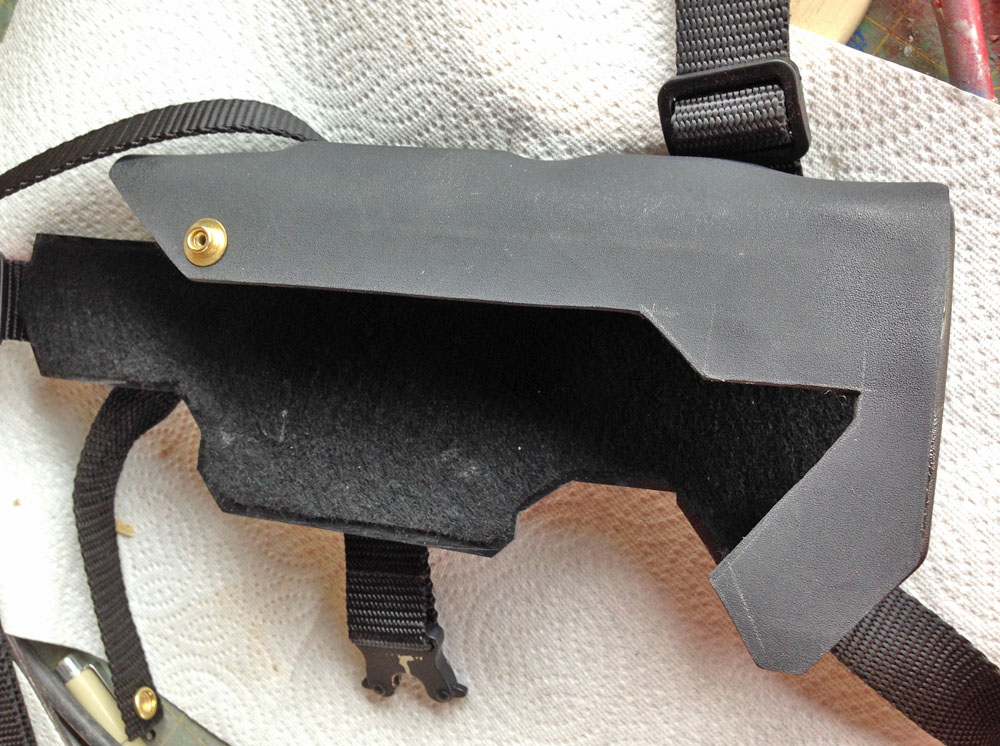
Using a heat gun, I bent the Kydex around the MDF to make a three sided piece with lumps to accommodate the sights. The profile was then cut out (oops, you can still see the pencil marks!) and the interior was lined with felt to protect the paint on the gun.
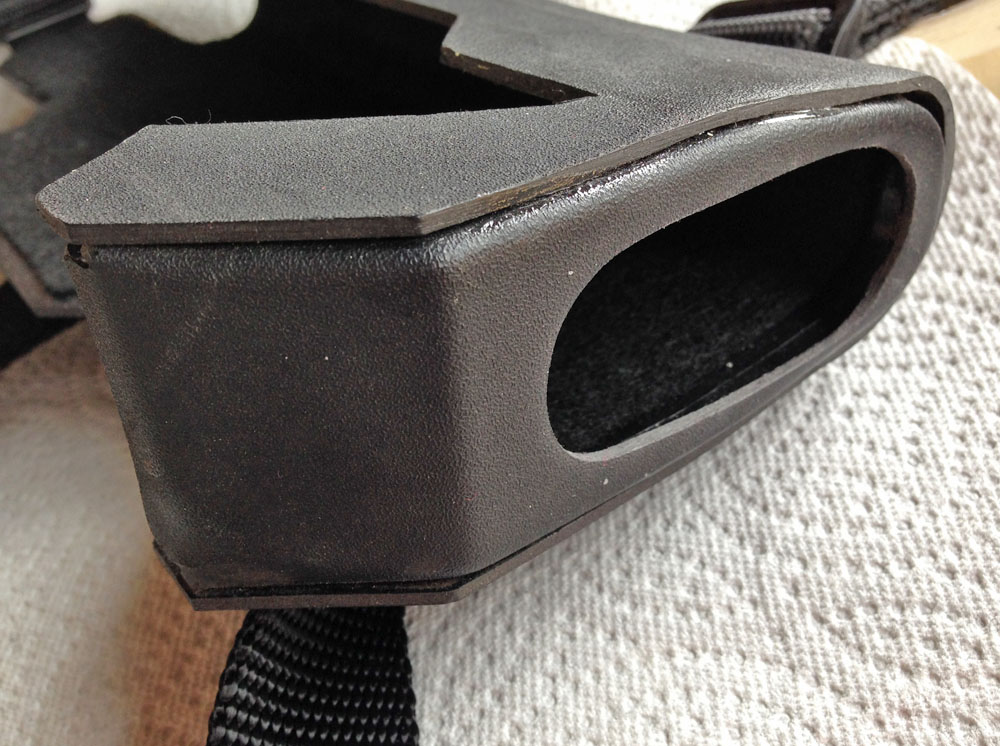
A second part was formed and glued into the tip of the holster, holding together two of the sides and keeping the gun from sliding out the bottom.
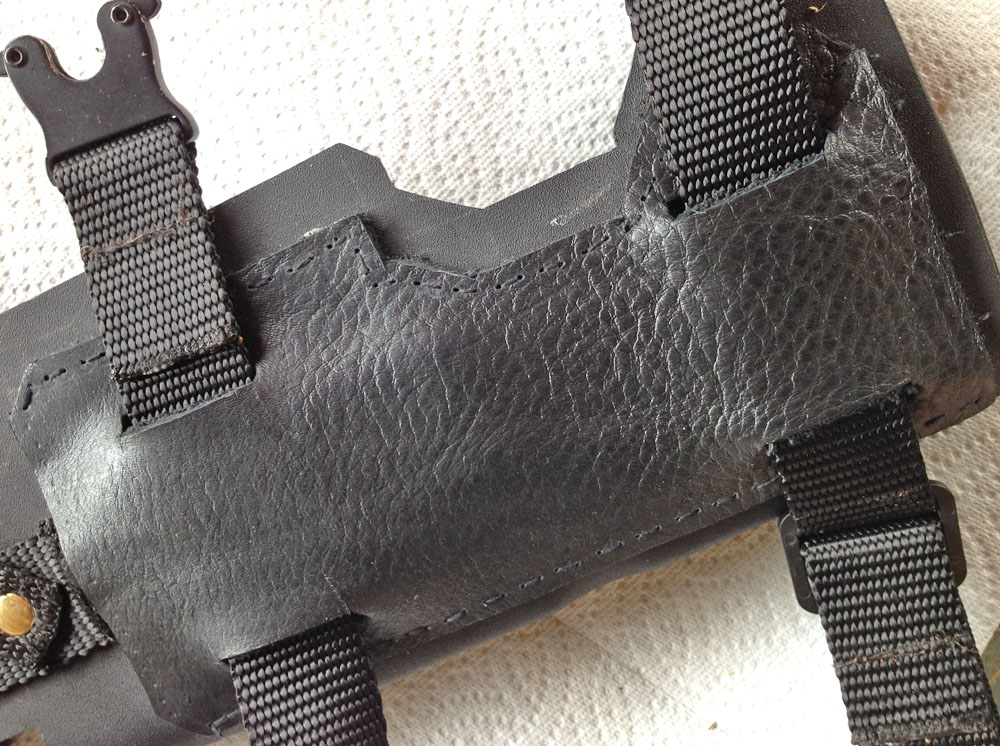
I glued and stitched a panel of thick leather to make a belt mounting system for the thigh straps.
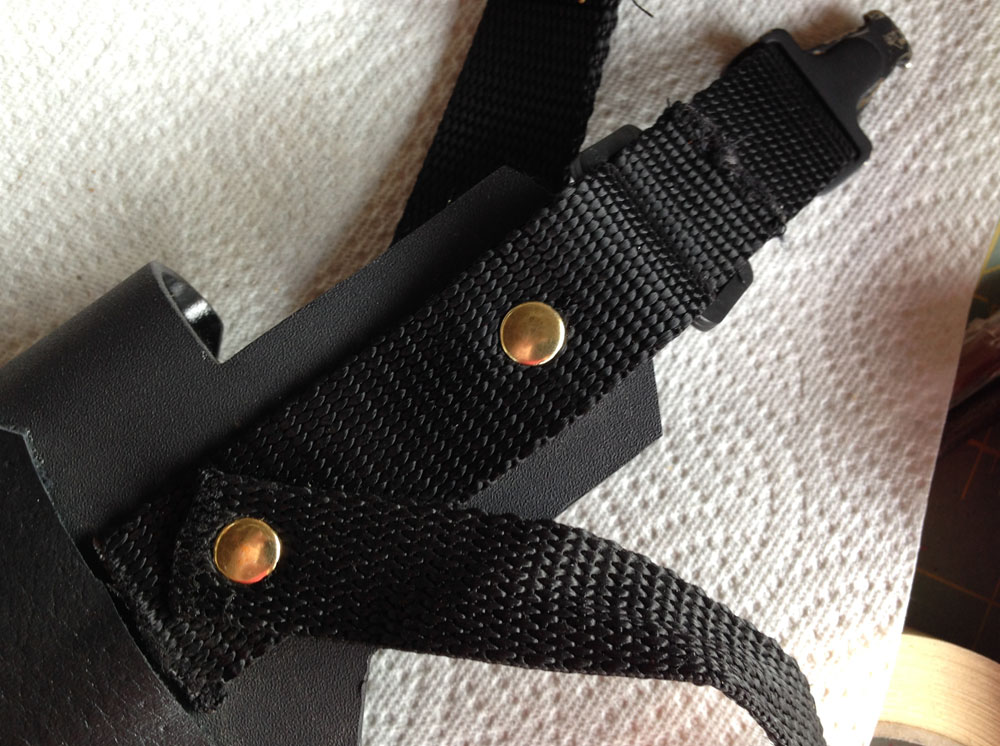
The strap was riveted to the back of the kydex along with a retaining strap.
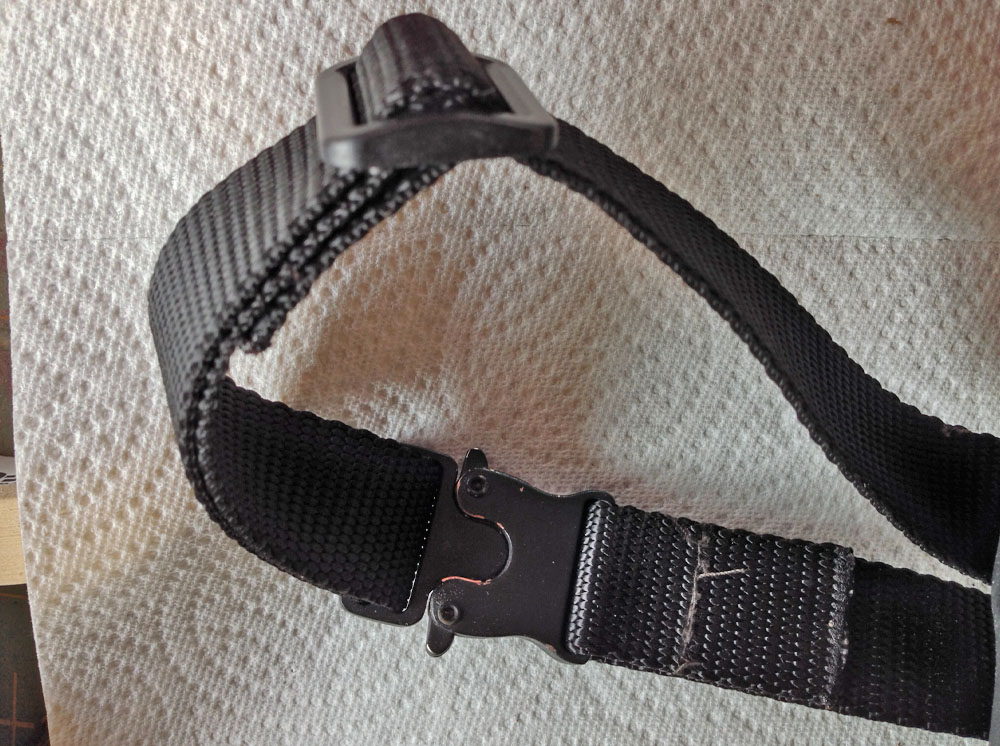
I attached nylon glides to the strap that attaches it to the belt so that there would be room for adjustment.
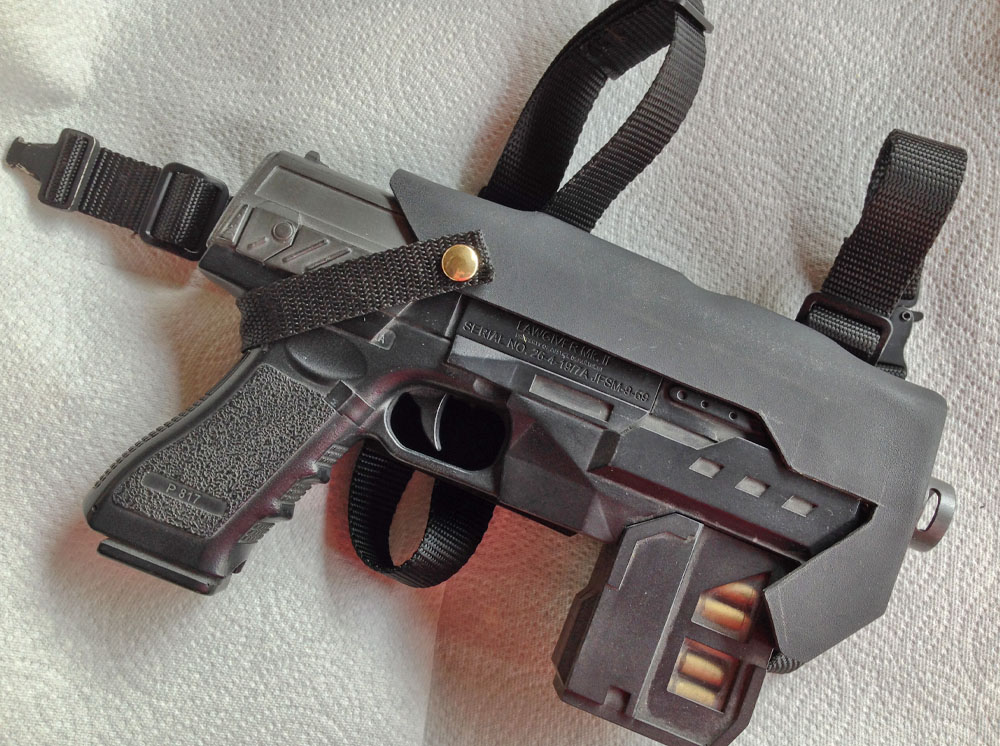
The final holster.
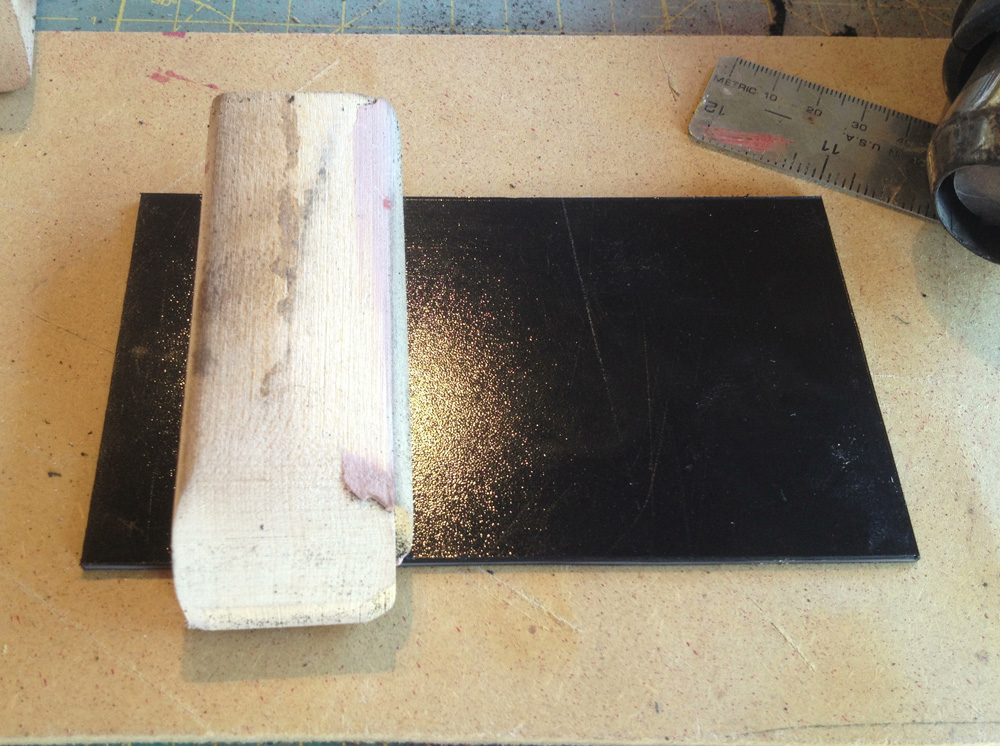
The movie magazine holders were made from 0.09 Kydex plastic so I used some leftover from the holster build. Working from my plans, I cut wooden blocks to help form the pieces.
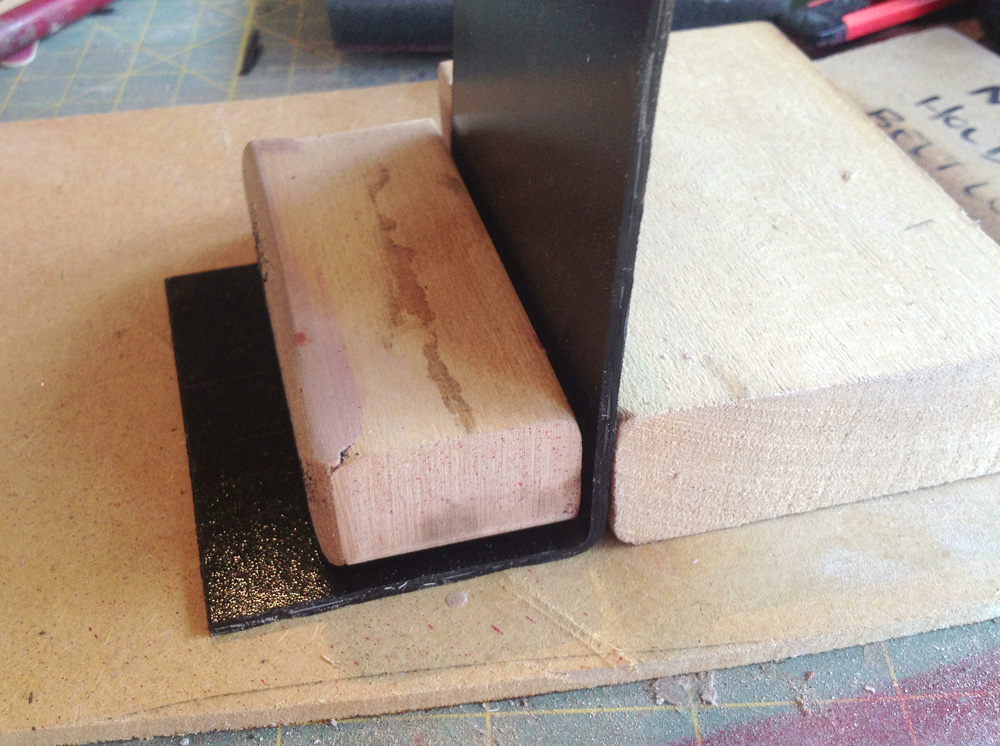
Starting with a piece of Kydex cut to the proper height of the magazine holder, I positioned a piece of wood that I cut to the actual size of the Glock magazine. After heating up the corner with the heat gun, I used another piece of wood to form a clean bend.
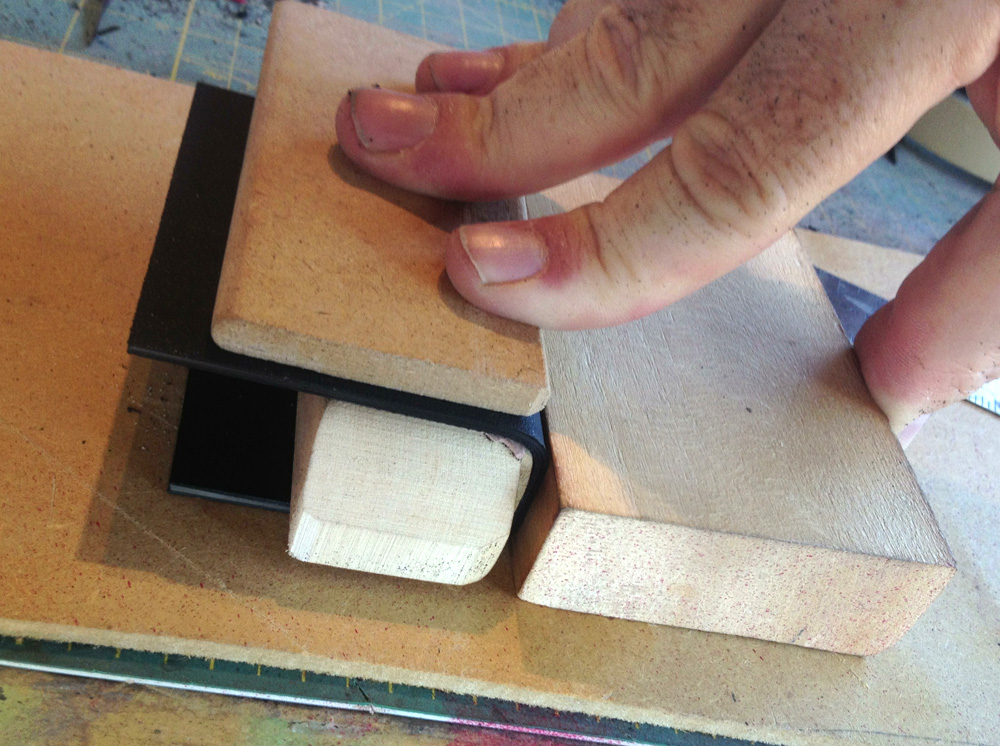
I worked around the magazine using blocks to make each bend.
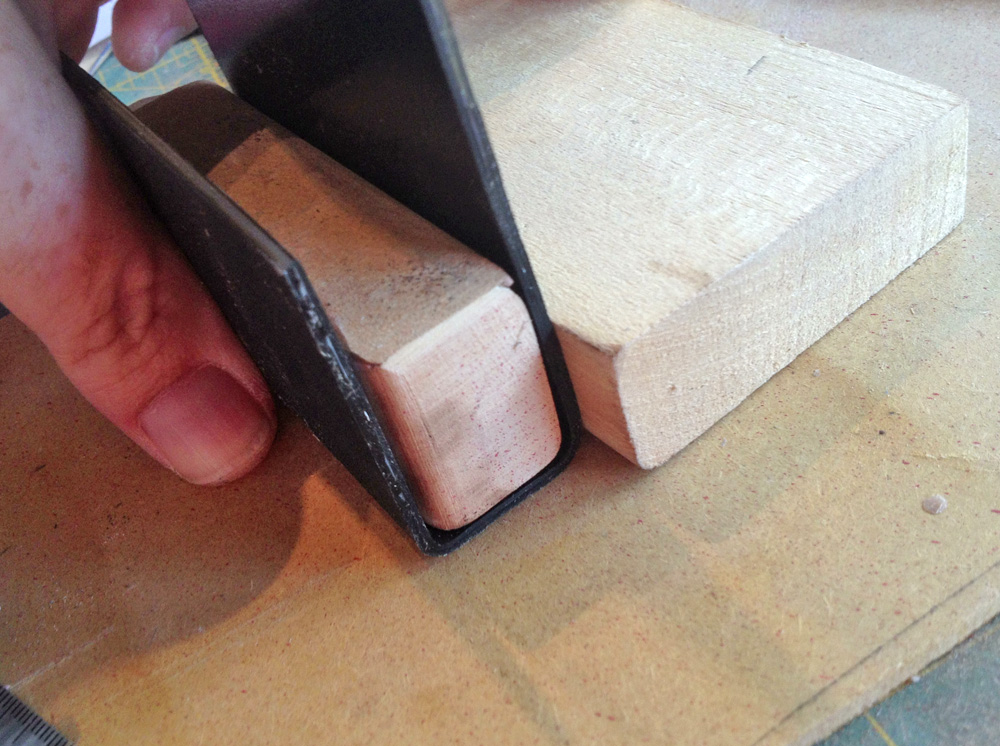
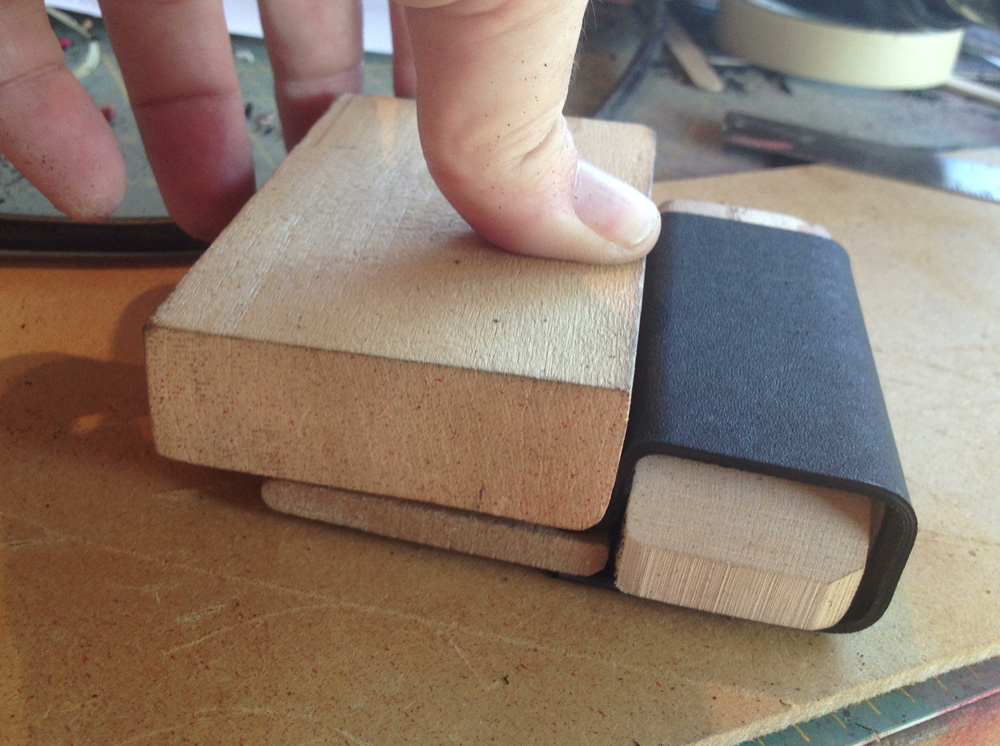
One more bend.
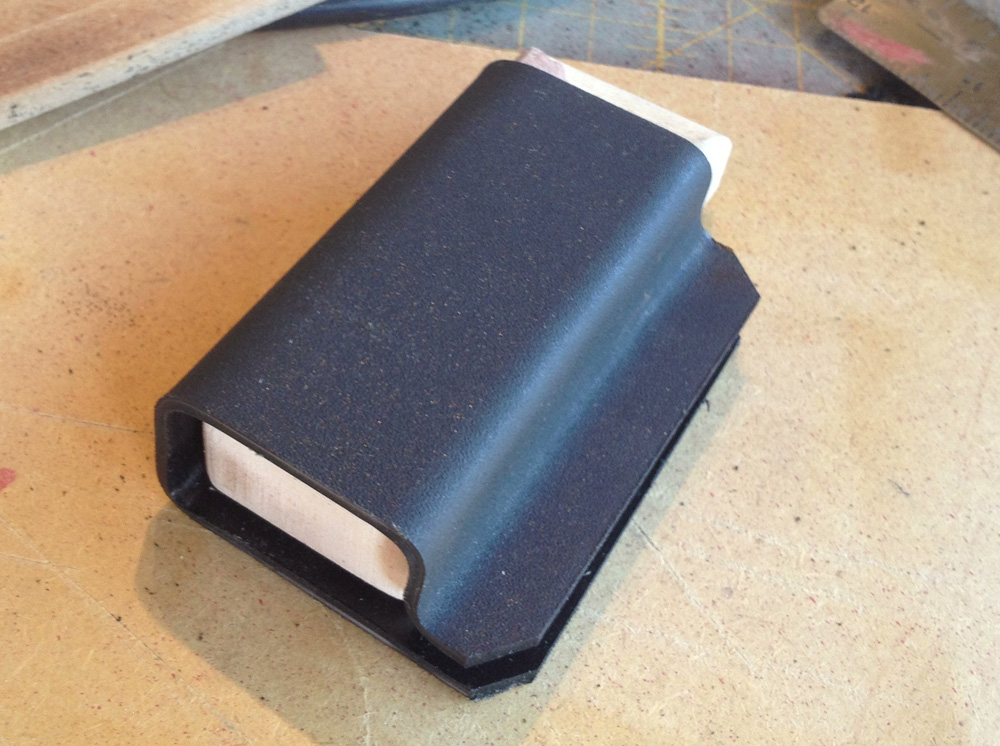
The bottom is bent at the edges to keep the magazine from slipping down too far.
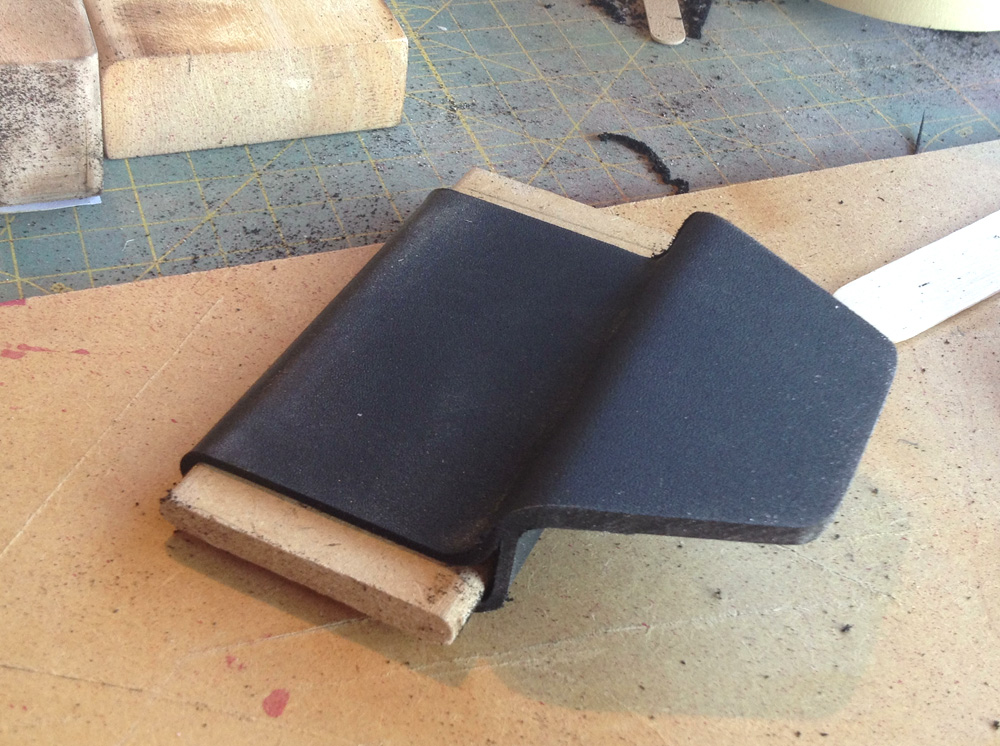
The part that attaches to the belt was formed in a similar fashion, by carefully heating and folding edges.
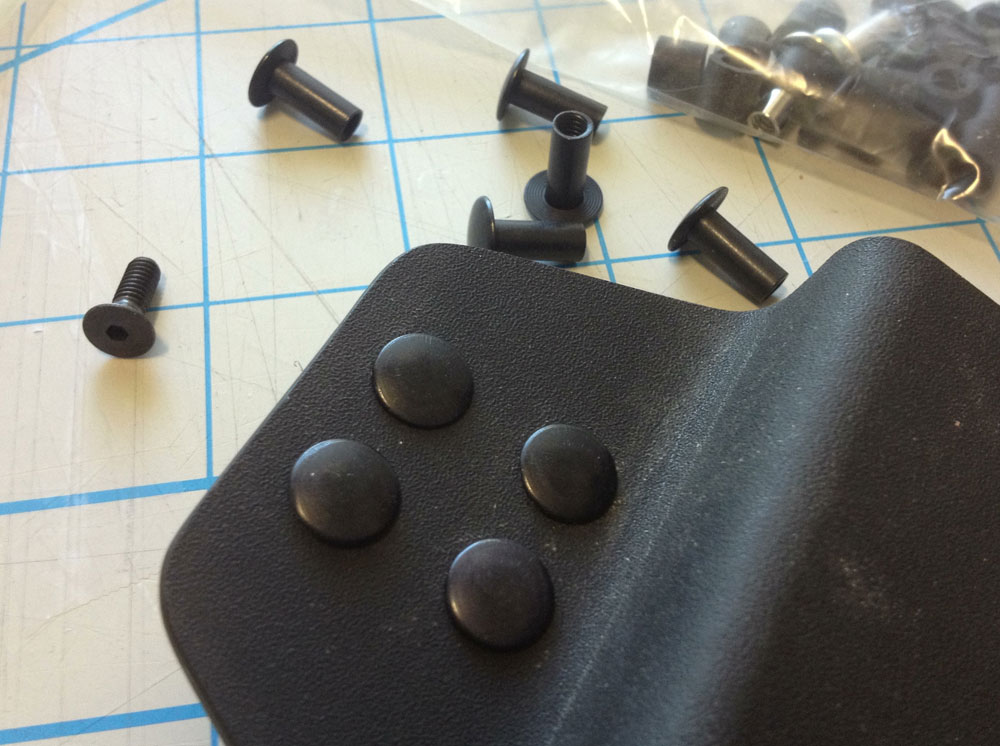
Each magazine holder was attached to the base with chicago screws.
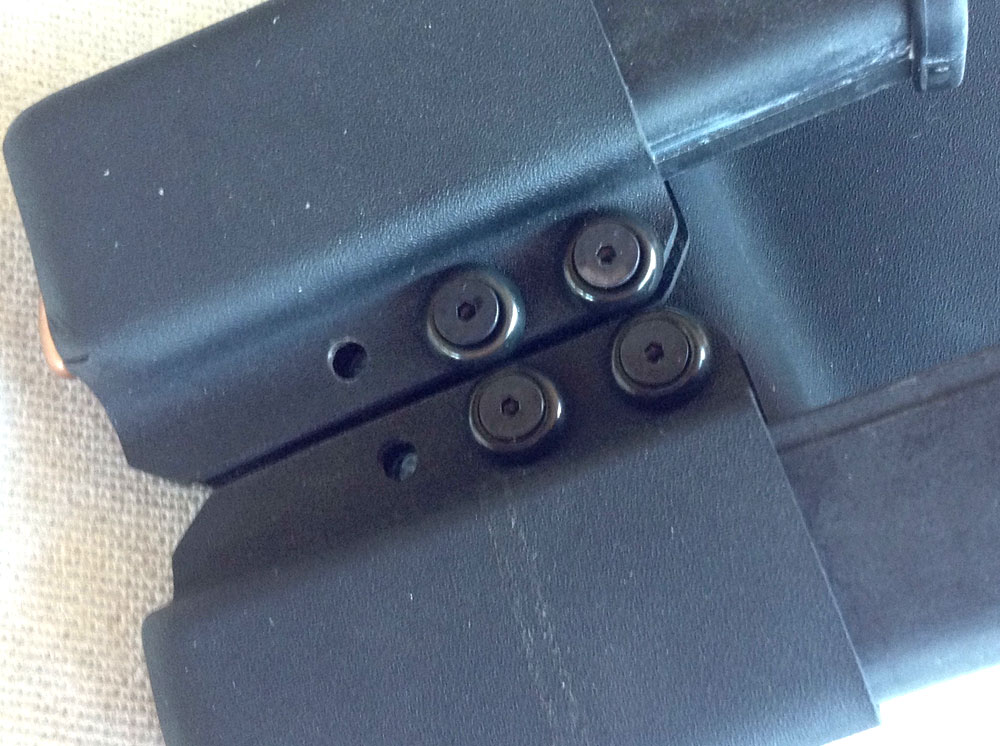
Two magazine pouches are attached.
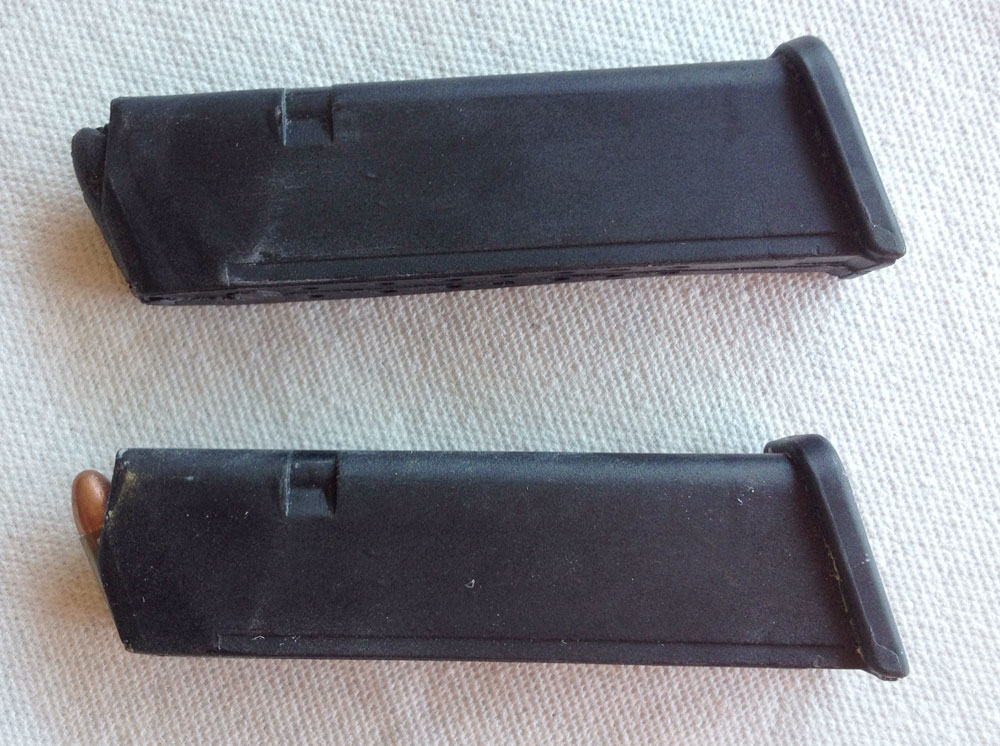
I needed four 19-round Glock magazines but they don’t exactly come cheap! I bought one magazine, inserted a round and molded it. Using Smooth-On Onyx, I made four passable copies with foam cores to save on weight (copy on top).
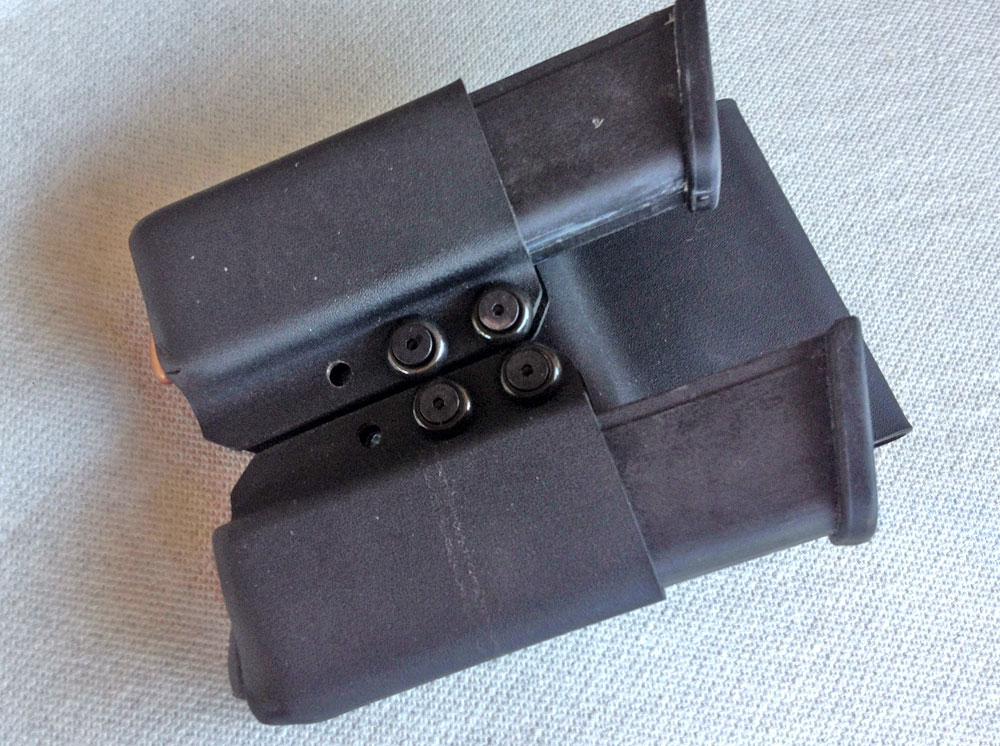
The pouches loaded.
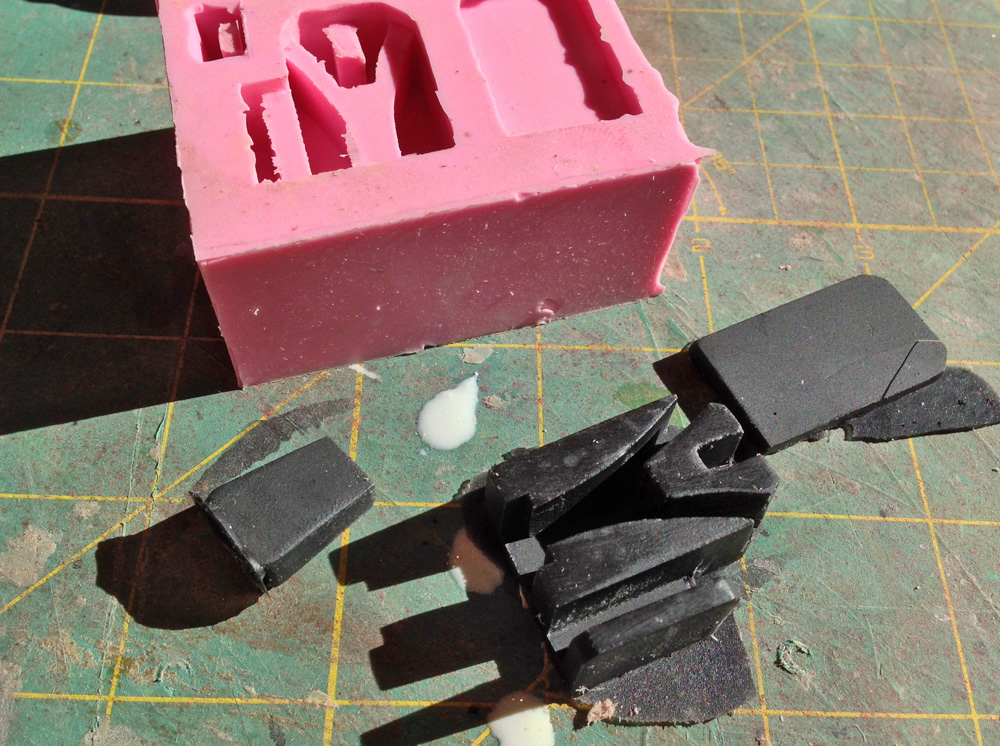
By looking at photos of screen used props and other people’s cuff builds, I built the parts for the zip cuffs and made a mold of them. The cuff mechanism consists of an end cap, the cuff lock box and a cover plate. Here is an Onyx cast resin copy.
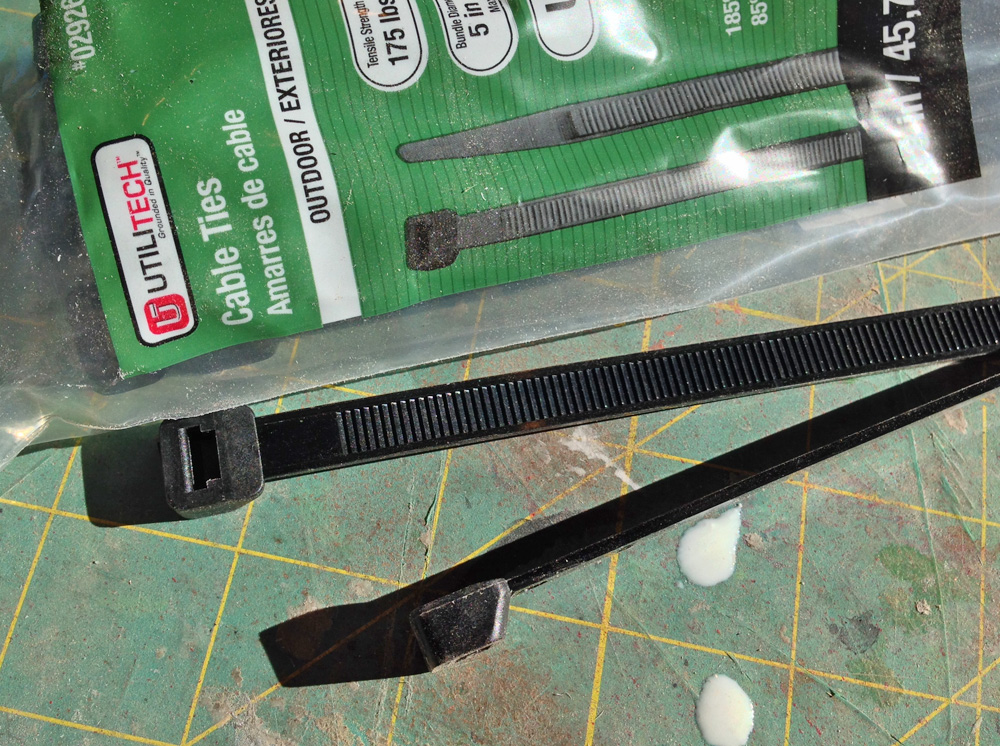
The cuff part was made using 14” black zip ties from Lowes.
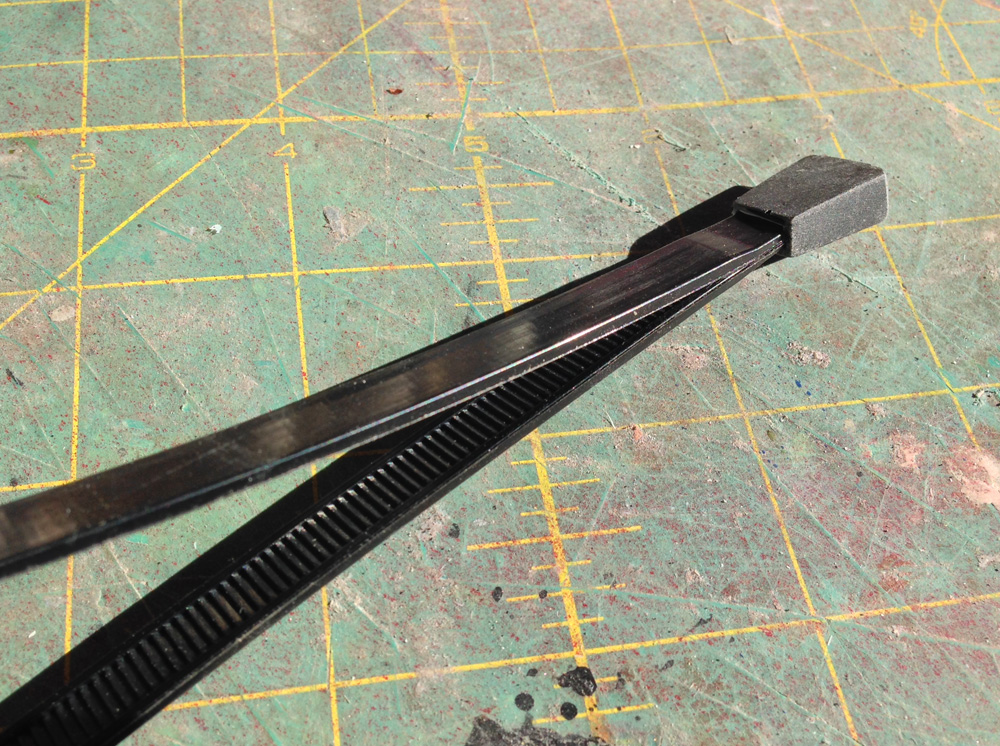
Both of the pointed ends were trimmed and glued into the end tab with the serrated side facing inward.
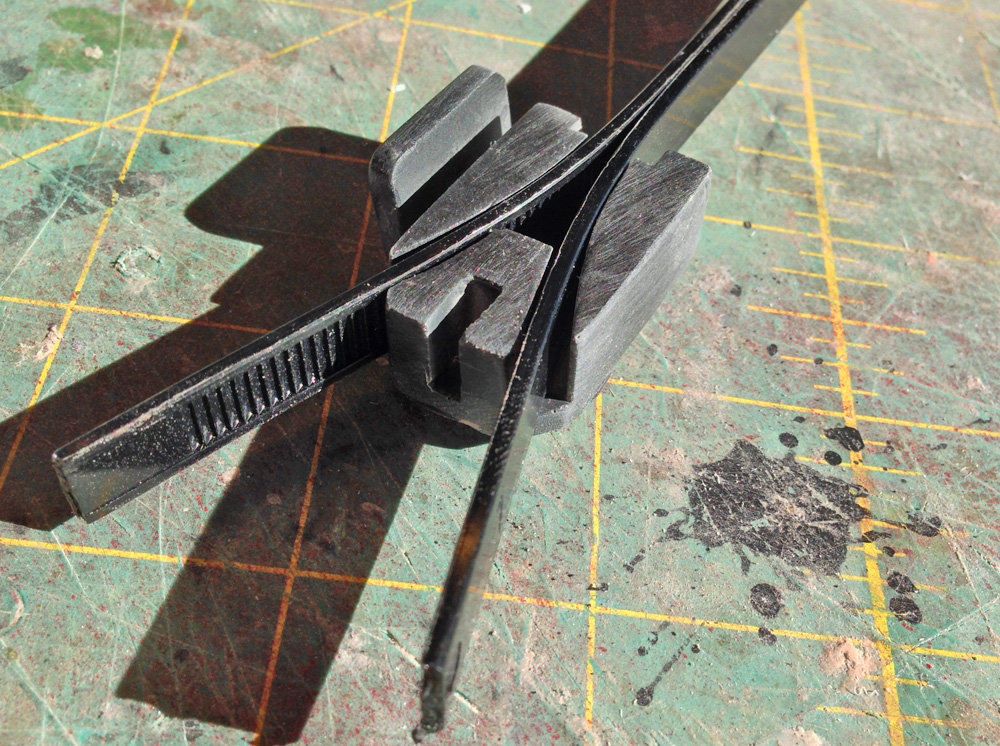
I trimmed off the lock off the other end of the zip tie and threaded it through the mechanism.
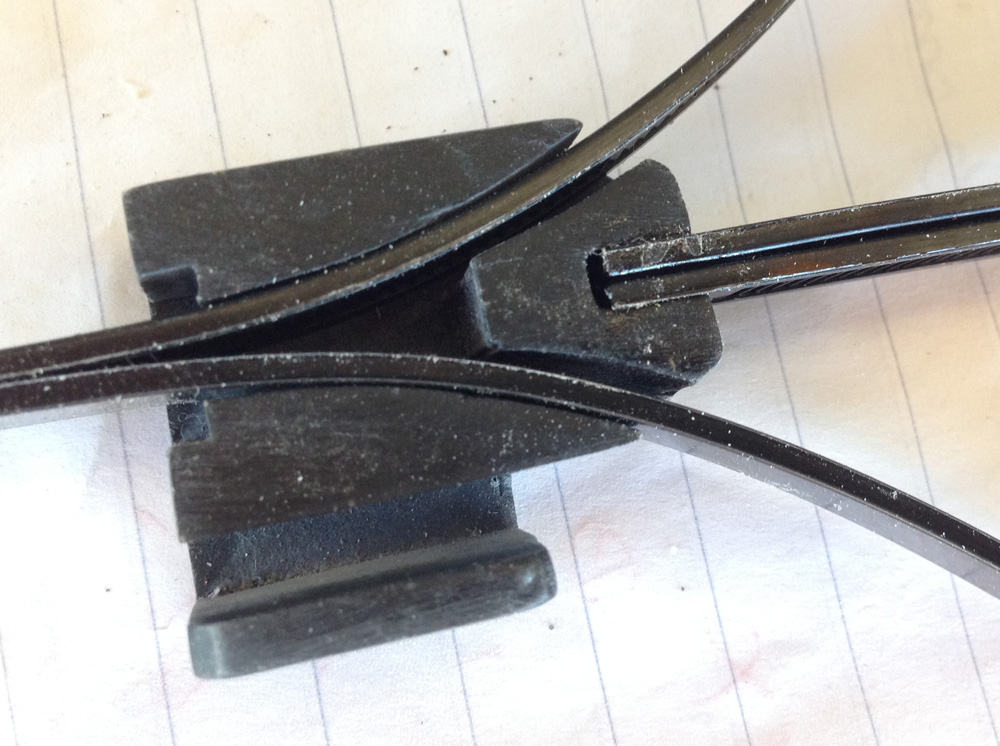
The ends were then looped around and glued into the top of the mechanism.
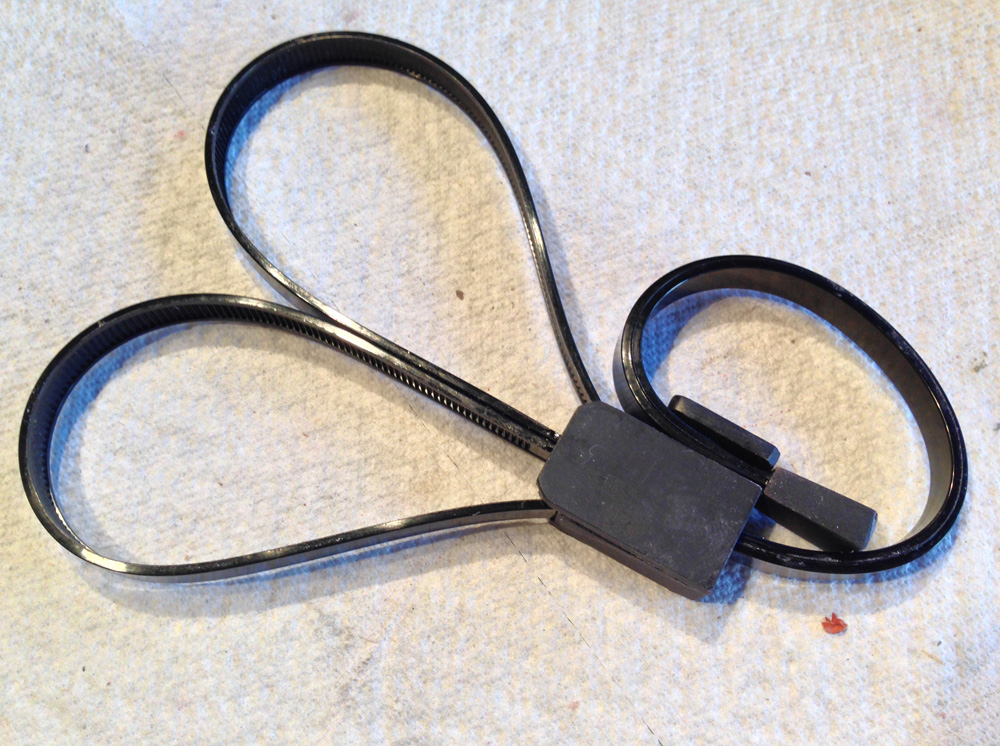
The cover plate was glued over the mechanism box, locking the ties inside. The loops of the cuff are full adjustable but don’t lock in place. I heated the other end so it could be locked into the side clip without too much tension placed on it.
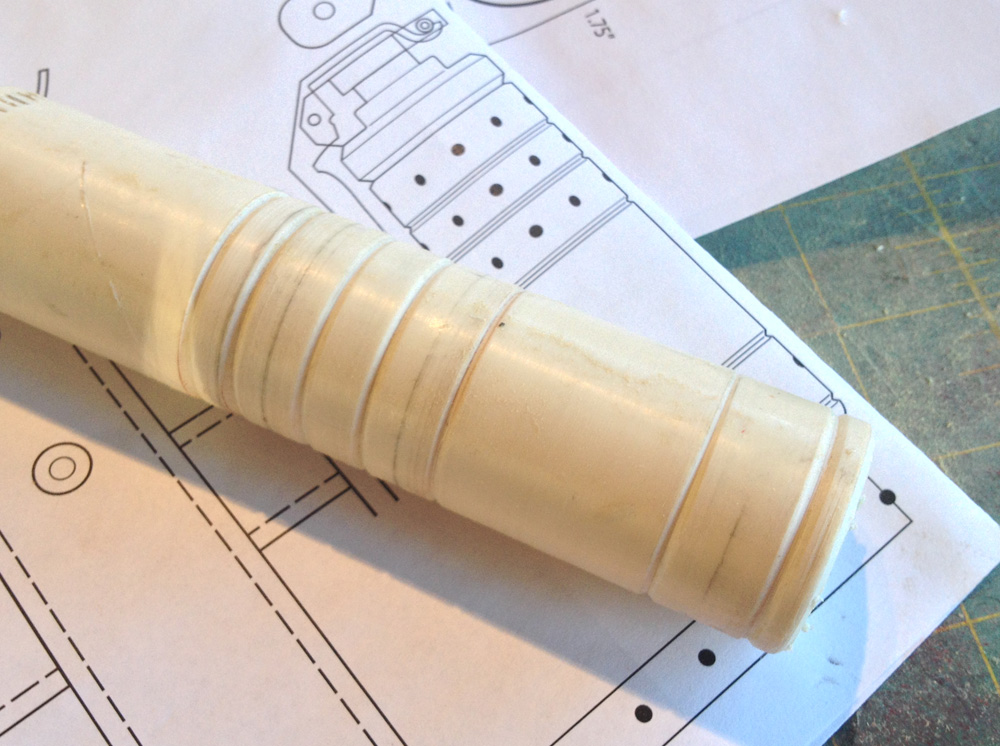
To make the Stumm (tear gas, in the Dredd universe) gas grenade, I started with a 1” PVC pipe. I chucked it to the lathe and scribed in the horizontal grooves.
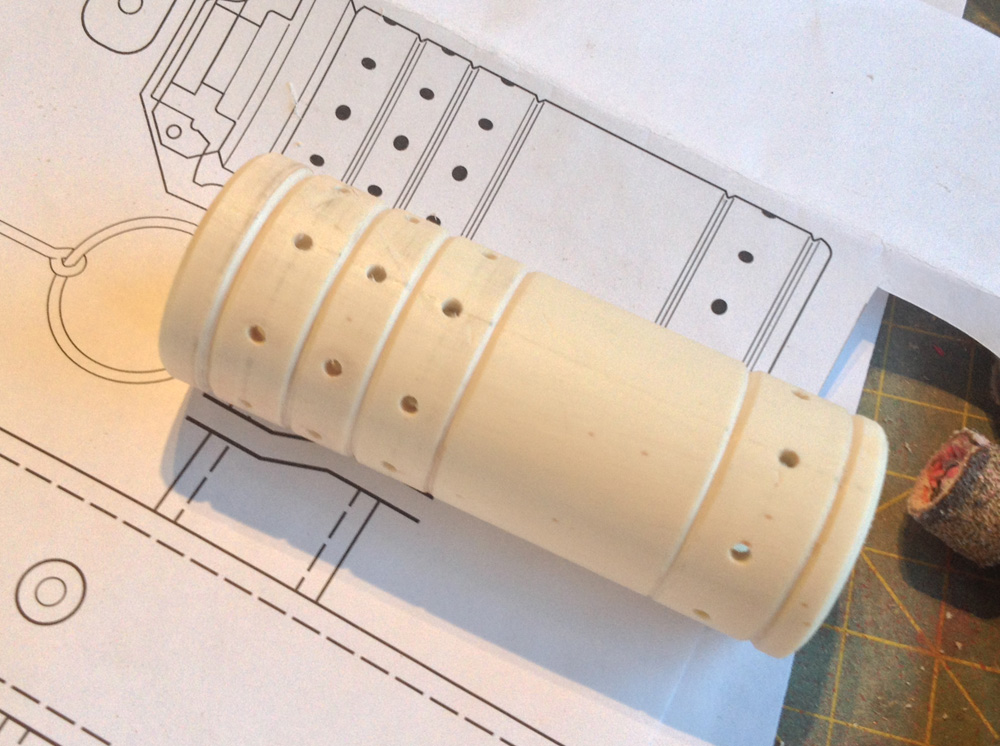
I cut off the excess and drilled the holes.
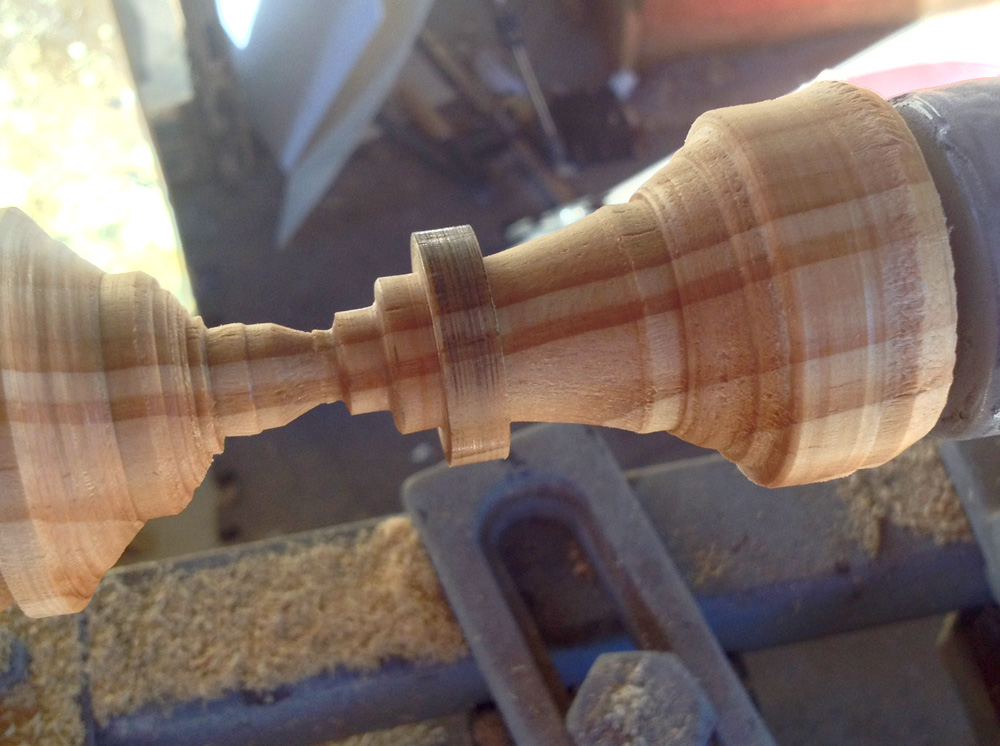
I made the top of the grenade by turning some scrap pine.
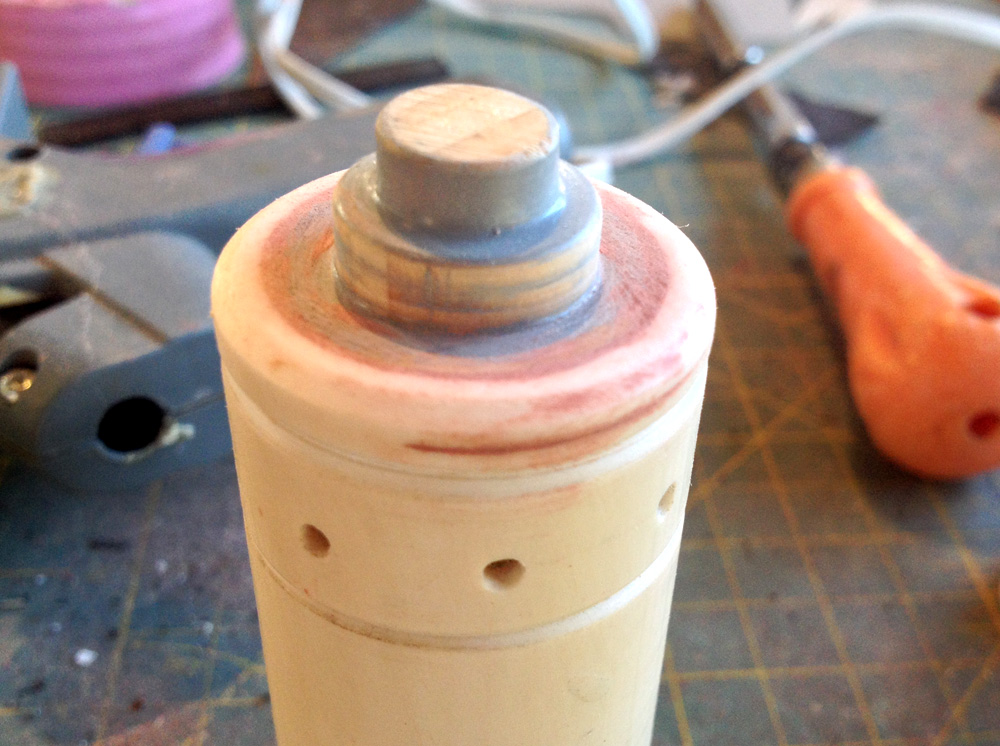
The top.
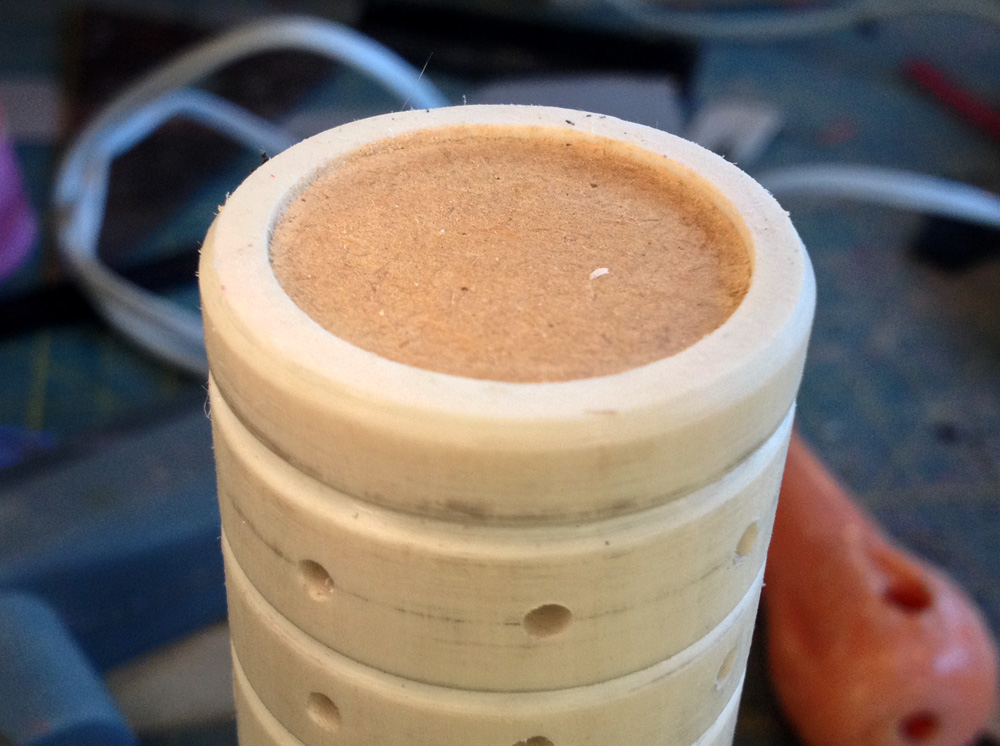
The other end of the grenade was plugged with a piece of MDF. I recessed the cap a bit to mimic what I saw on real gas grenades.
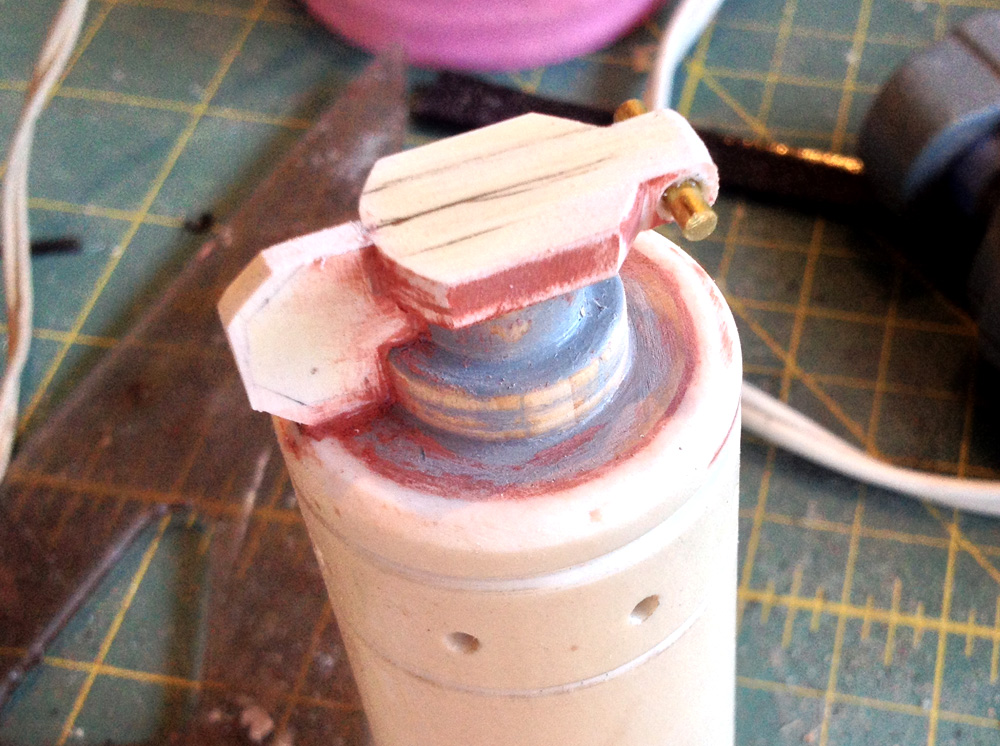
The rest of the detail on top was made with bits of wood and plastic. The tabs that allow the spoon to lock into place were made with a brass rod.
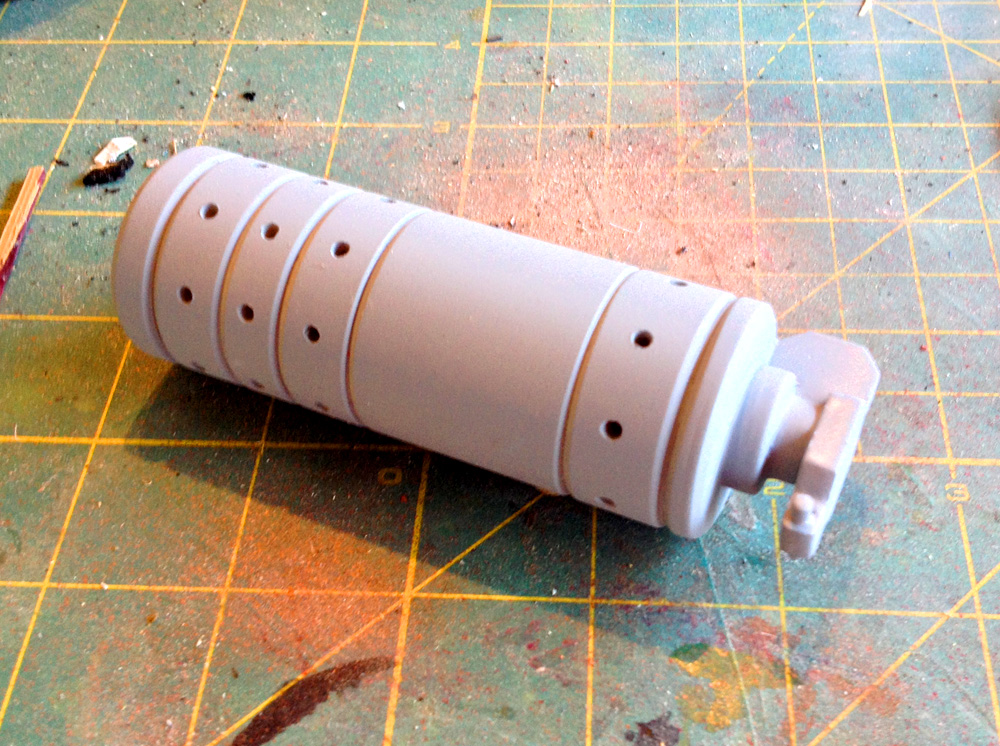
The final grenade with a coat of primer.
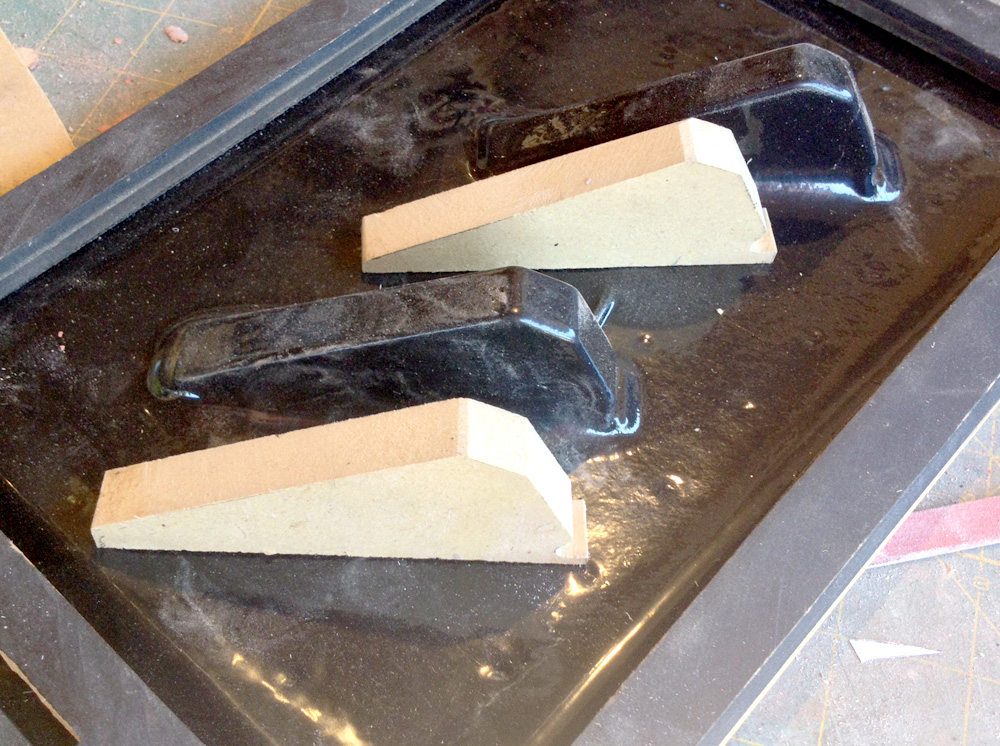
To make the spoon, I vacuum formed the rough profile over blocks of wood using scrap ABS plastic.
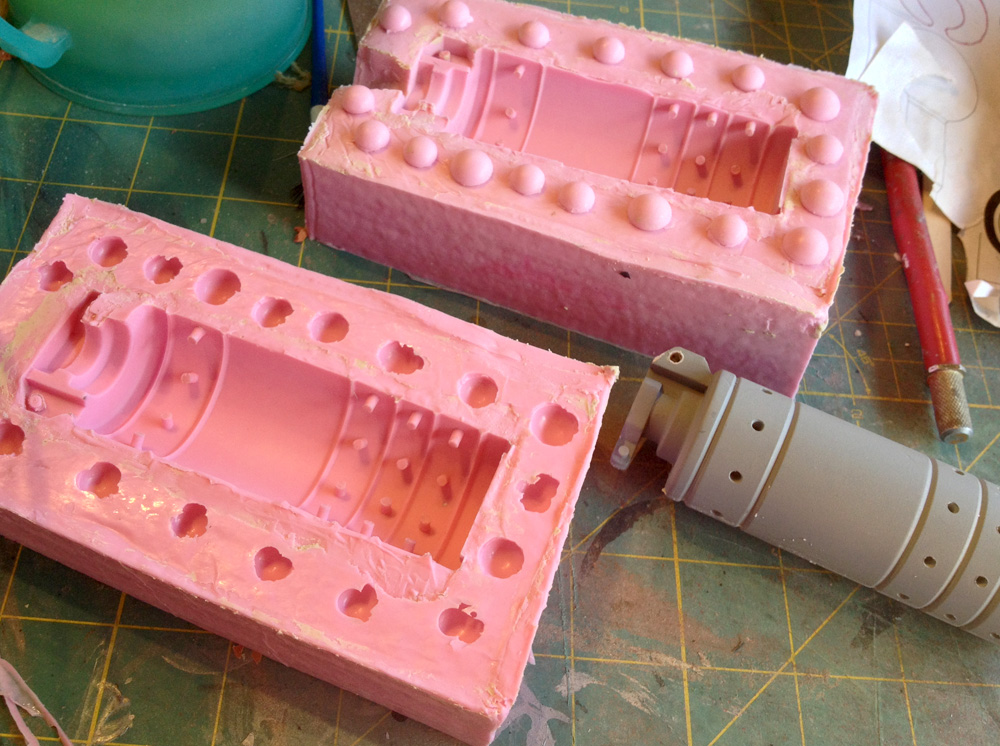
I made a silicone mold and cast a resin copy of the grenade with a foam core.
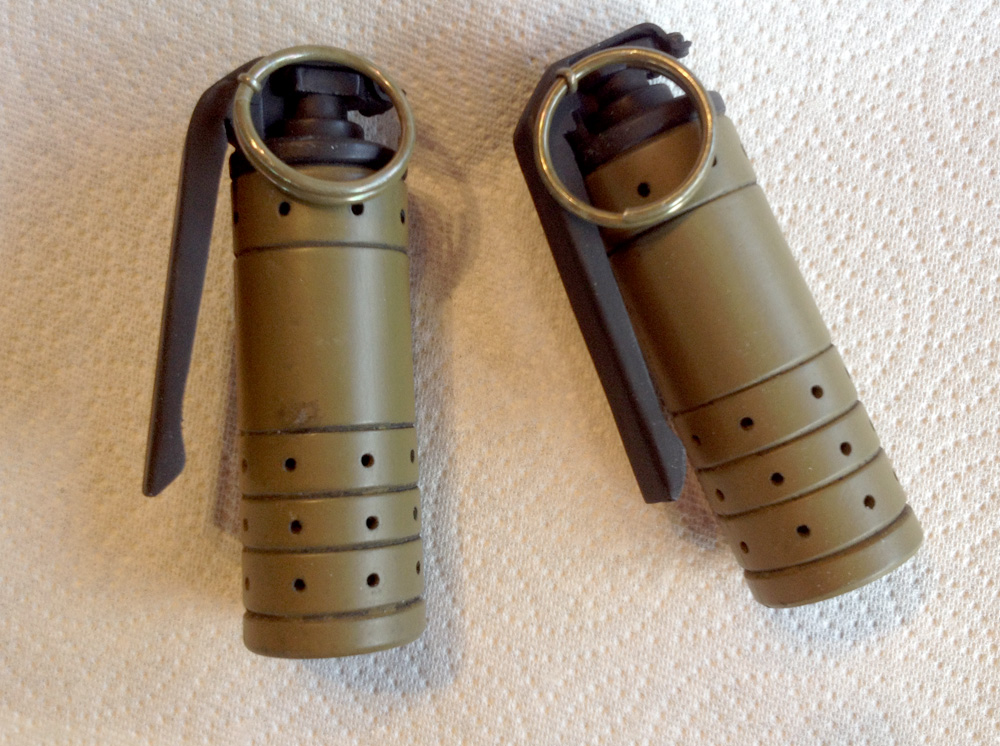
Spoons and pins attached and a wash of black acrylic to weather them.
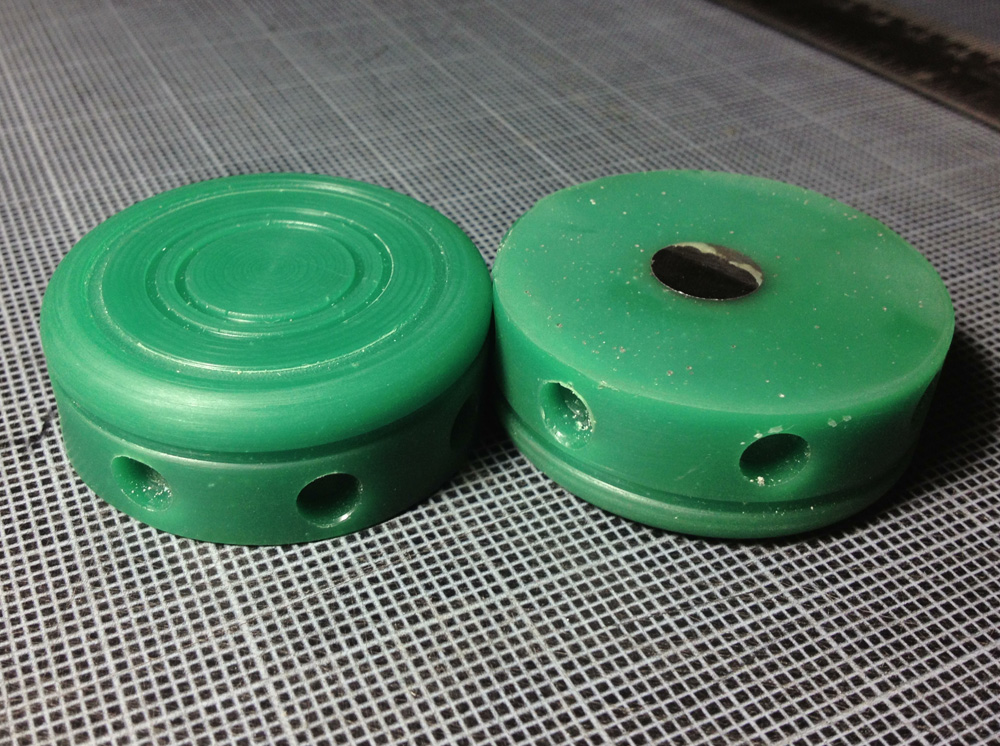
I bought these breaching mines from someone on the Judge Dredd Facebook Group. They are copied from screen-used props and cast in hard rubber. They even came with a magnet embedded so you can stick it to a metal door.
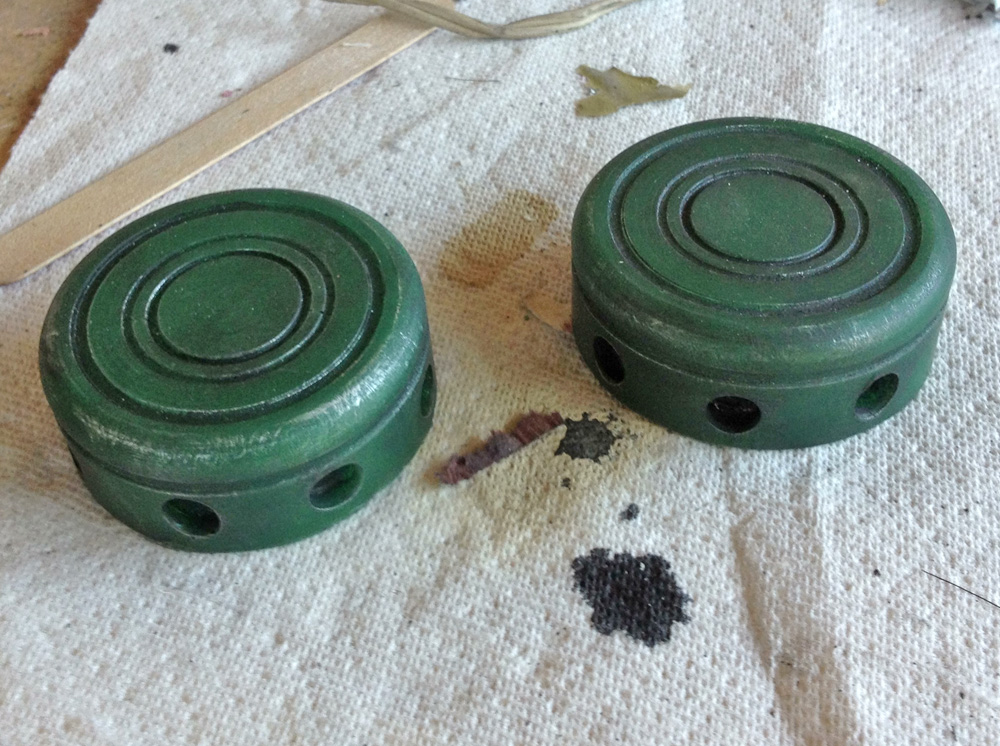
I applied a wash of black acrylic to knock down the brightness of the green and dry brushed silver scuffs along the edges.
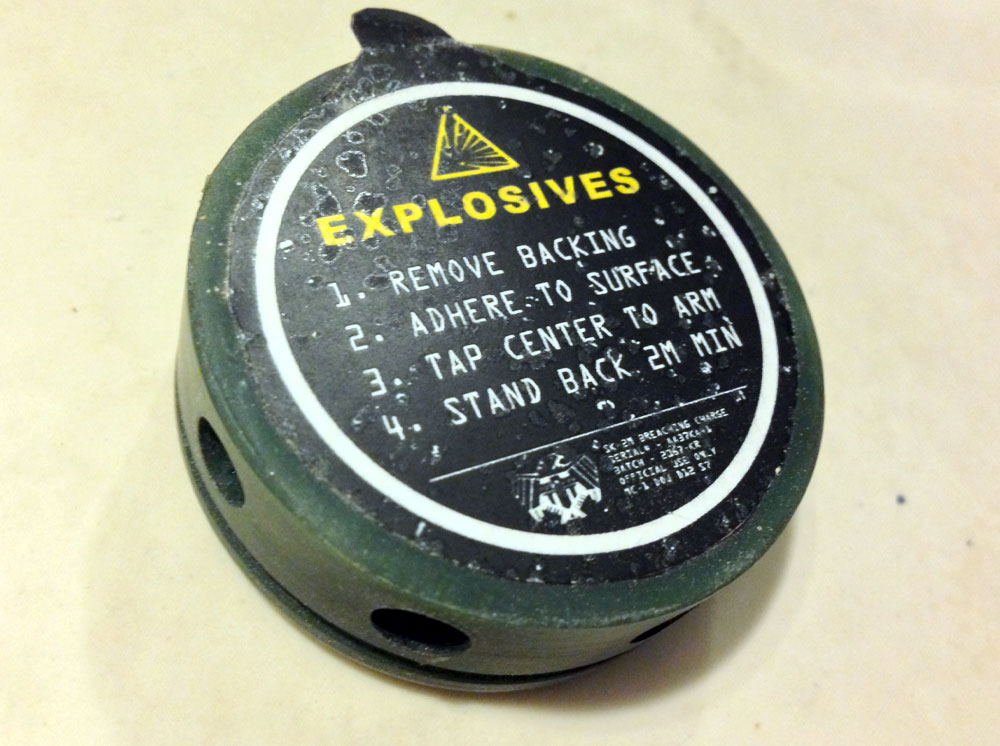
Someone online was nice enough to re-construct the backing label on the mine so I just printed it on label stock and applied it to the back.
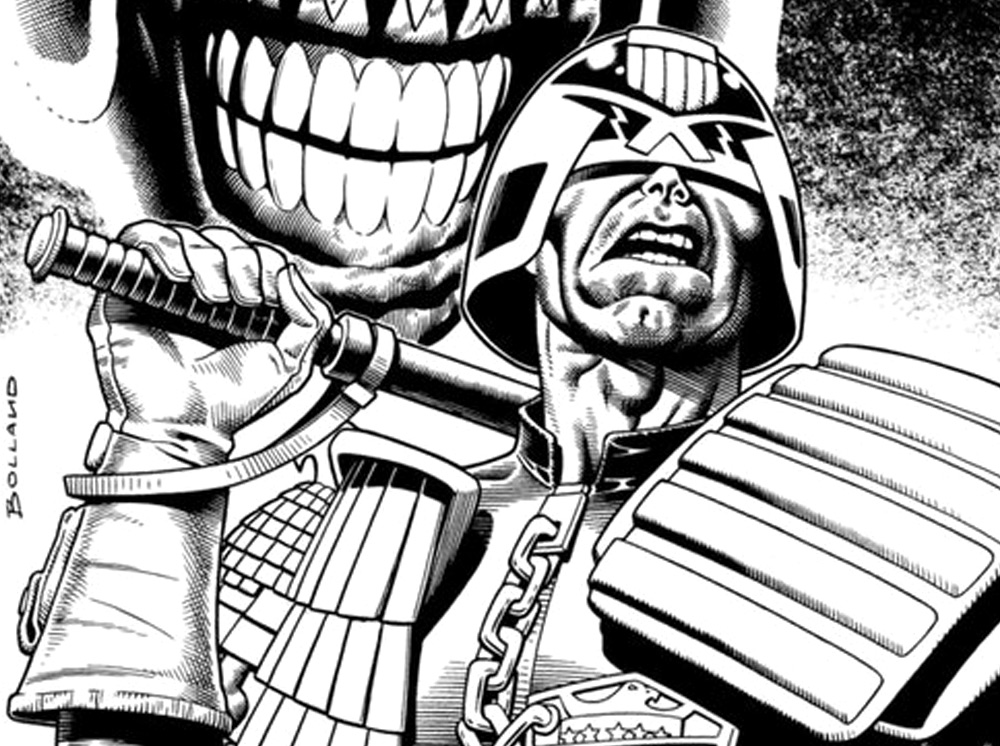
While not in the movie, a signature piece of a Judge’s equipment in the comic is his truncheon, or “daystick”.
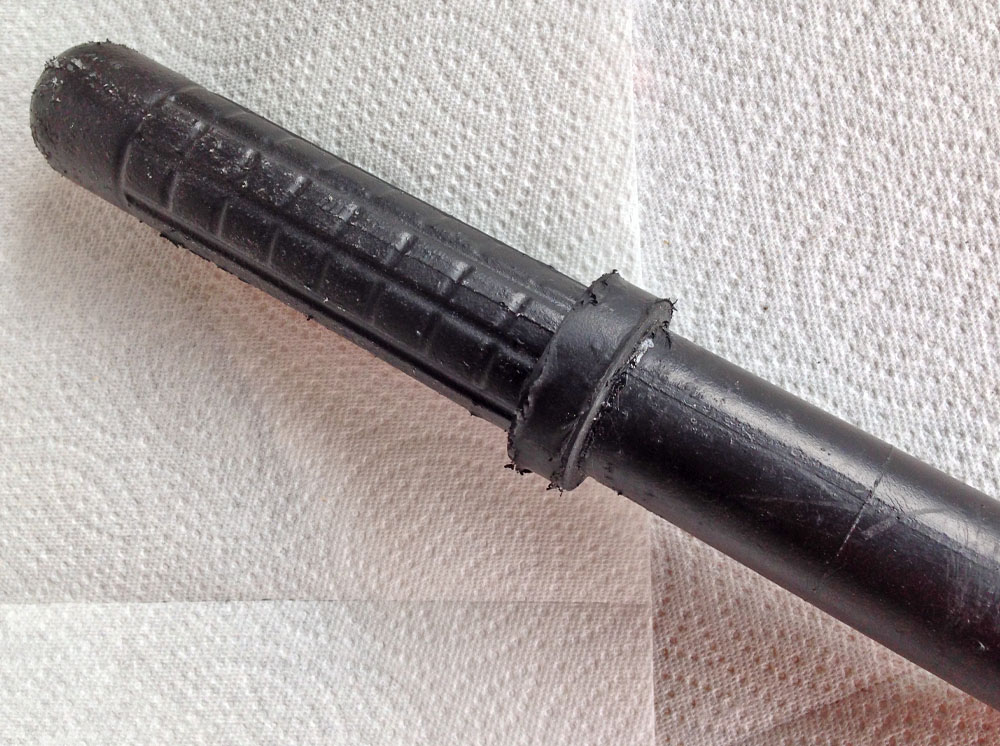
I bought this hard foam training baton online and spray coated it with Plasti-dip.
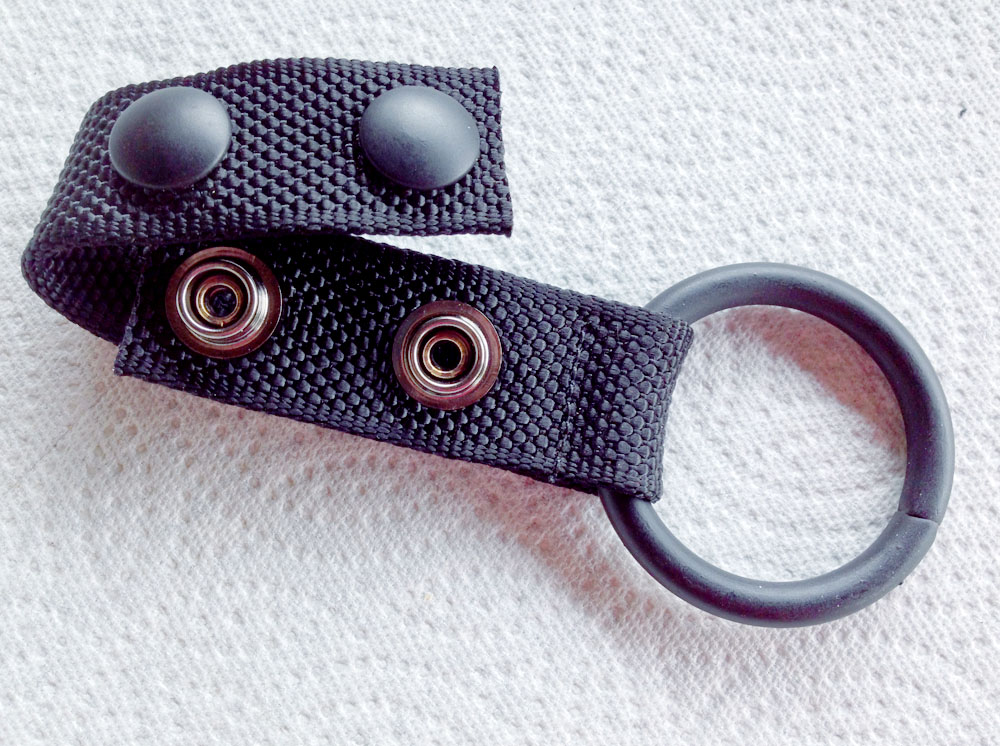
I also bought this ring holder to hang it from my belt.
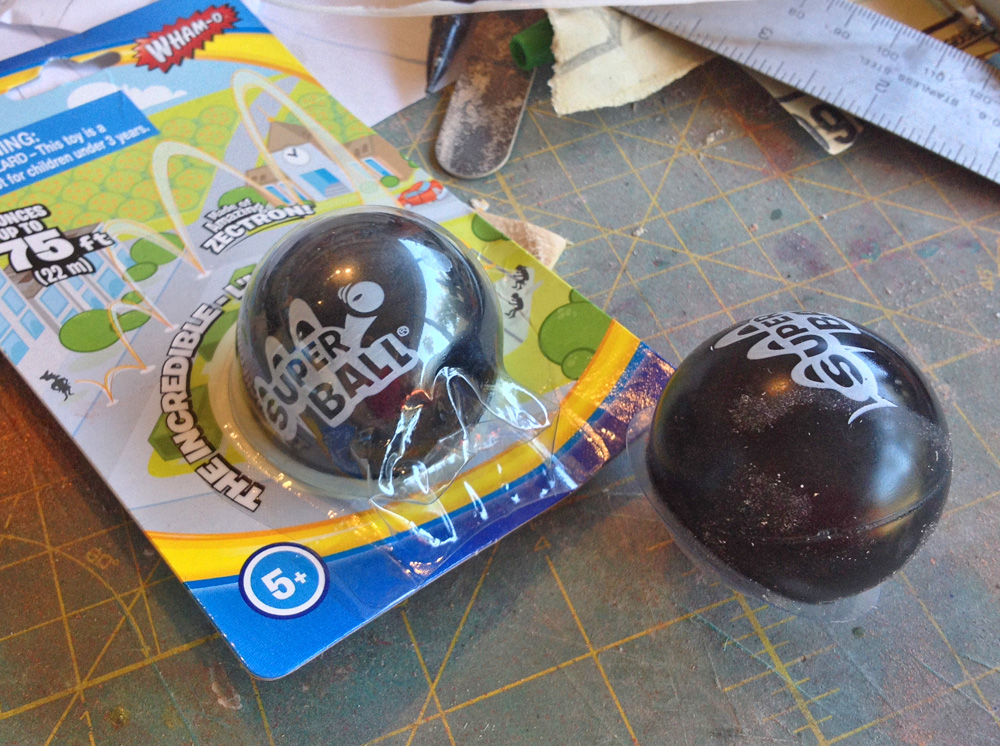
To make flash-bang grenades, I found a rubber ball of the right diameter at the dollar store.
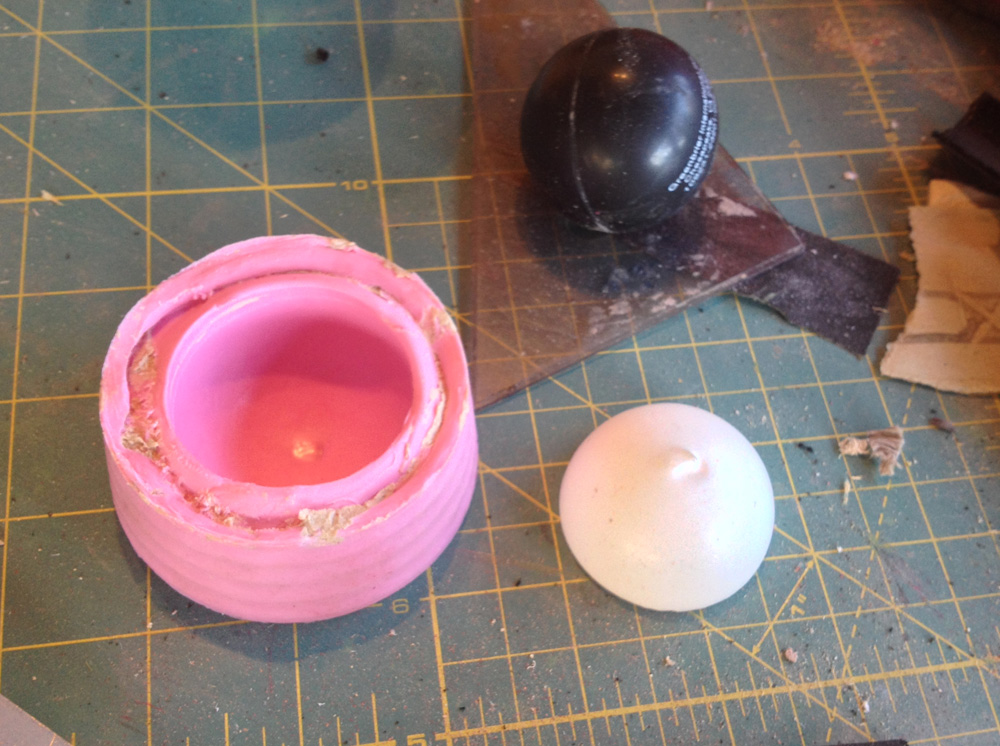
I made a quick mold of half of the ball and cast two copies.
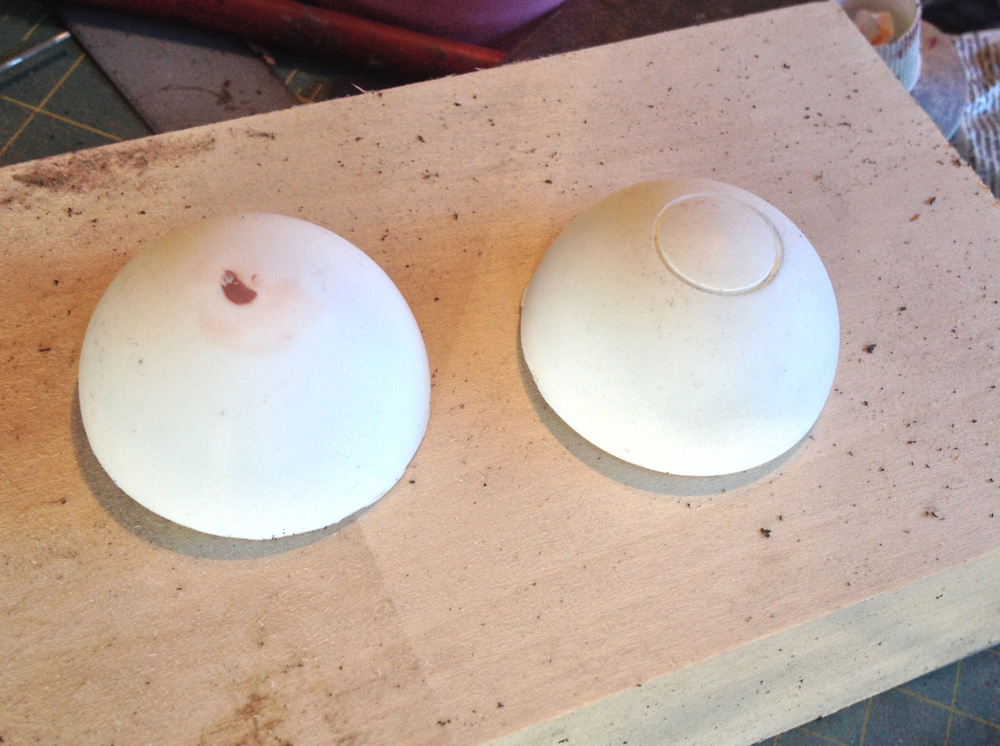
I chucked one half to the lathe and scribed a “button” line.
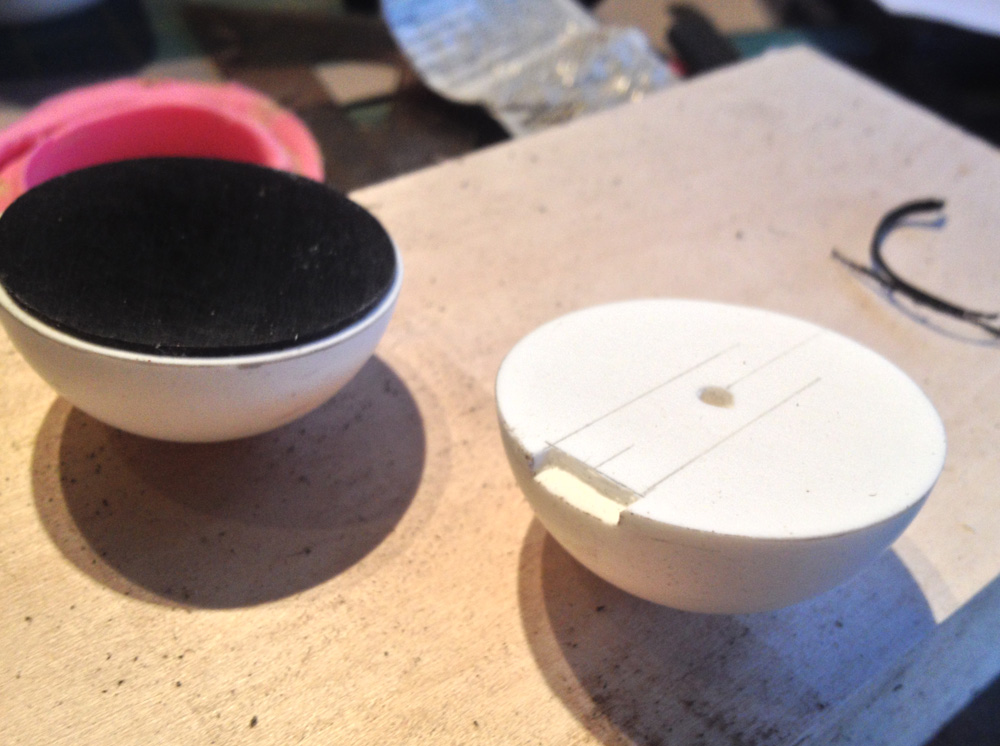
Both halves were sanded at the flat side to make room for a inset disk and I cut a space for a indicator light.
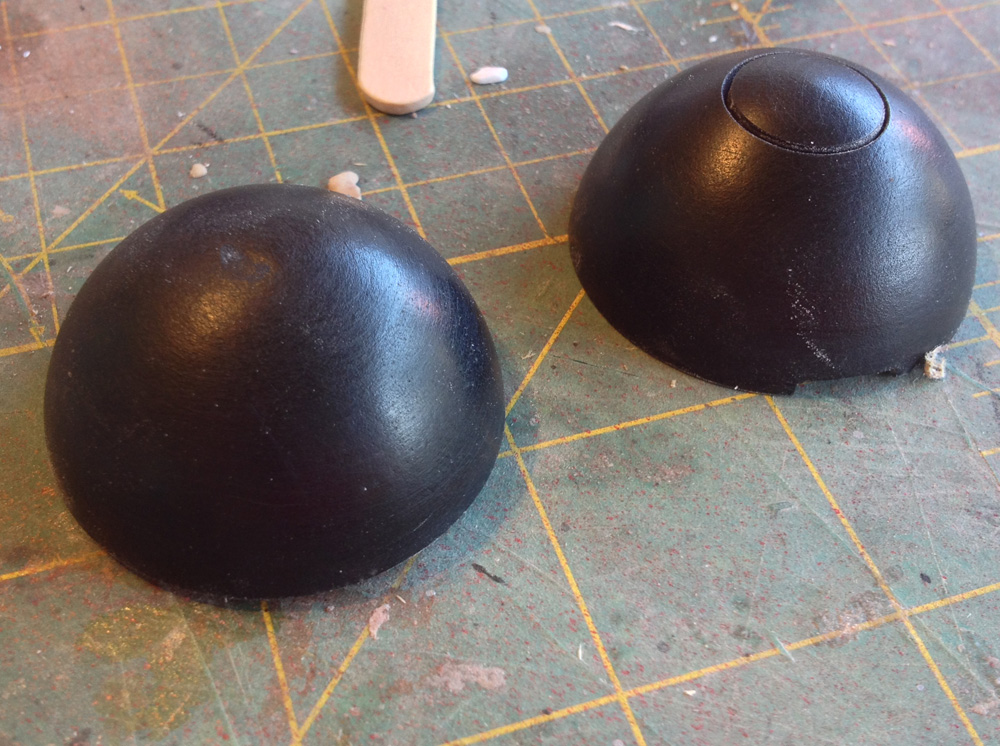
Two halves were cast in Onyx resin and glued together.
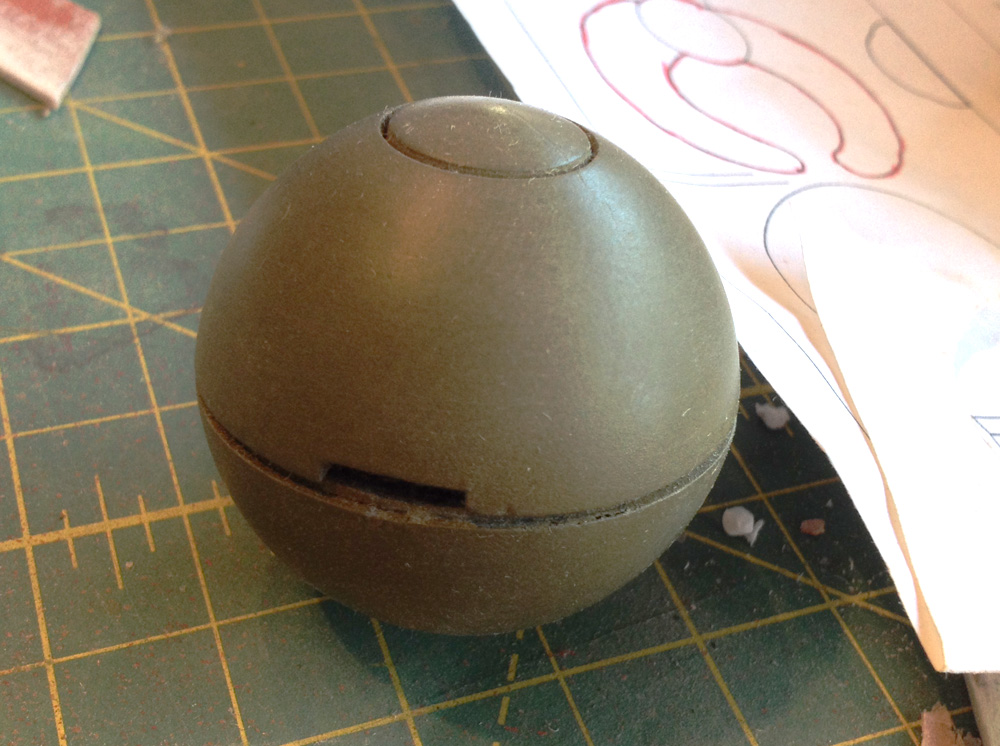
The grenade was painted olive drab.
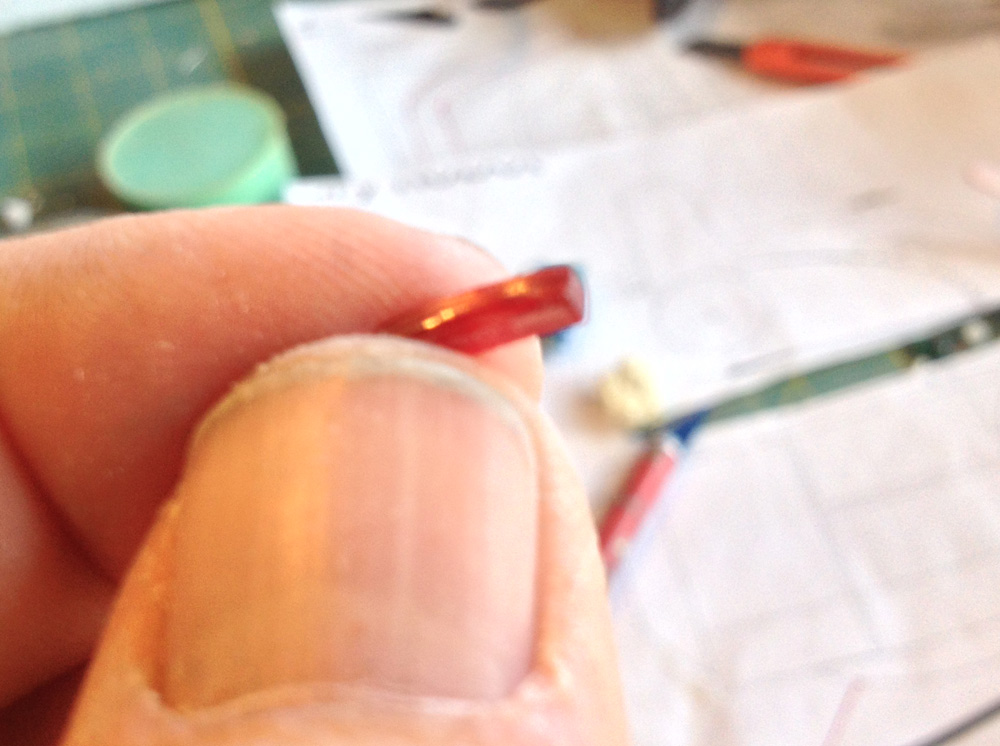
I cut a small piece of red acrylic for the indicator.
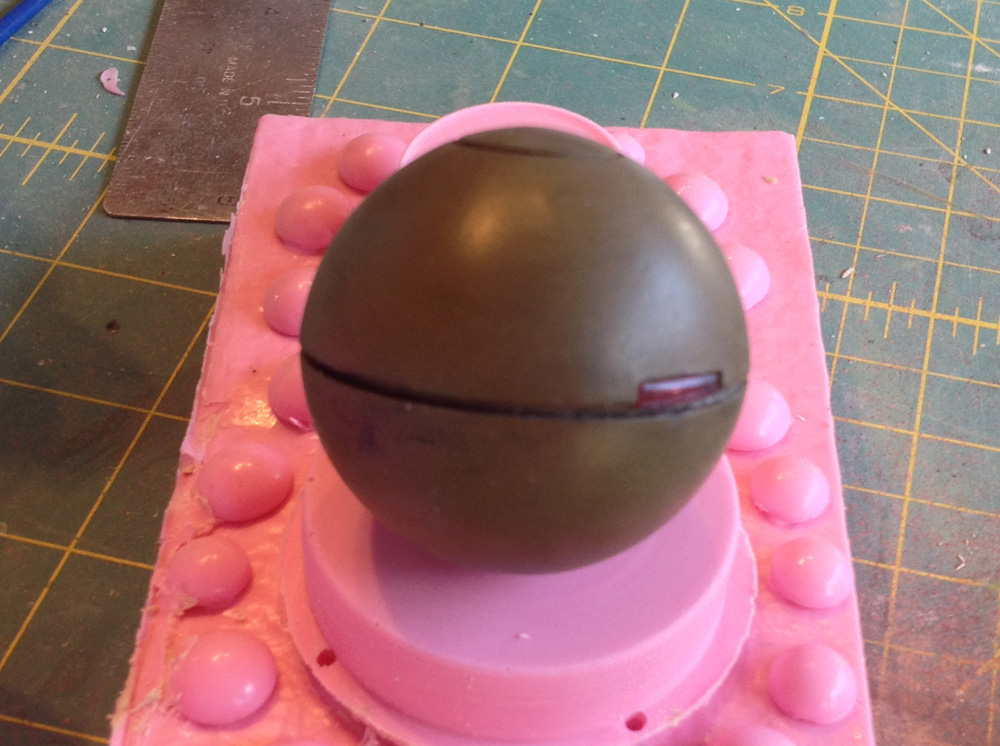
A wash of black acrylic finishes the grenade.
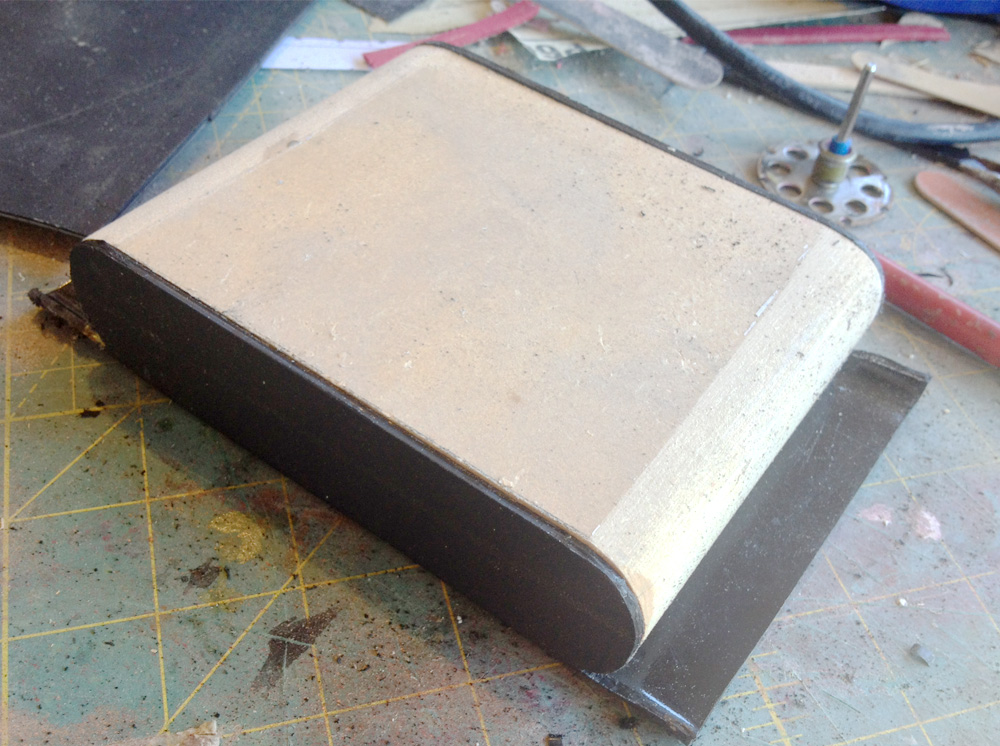
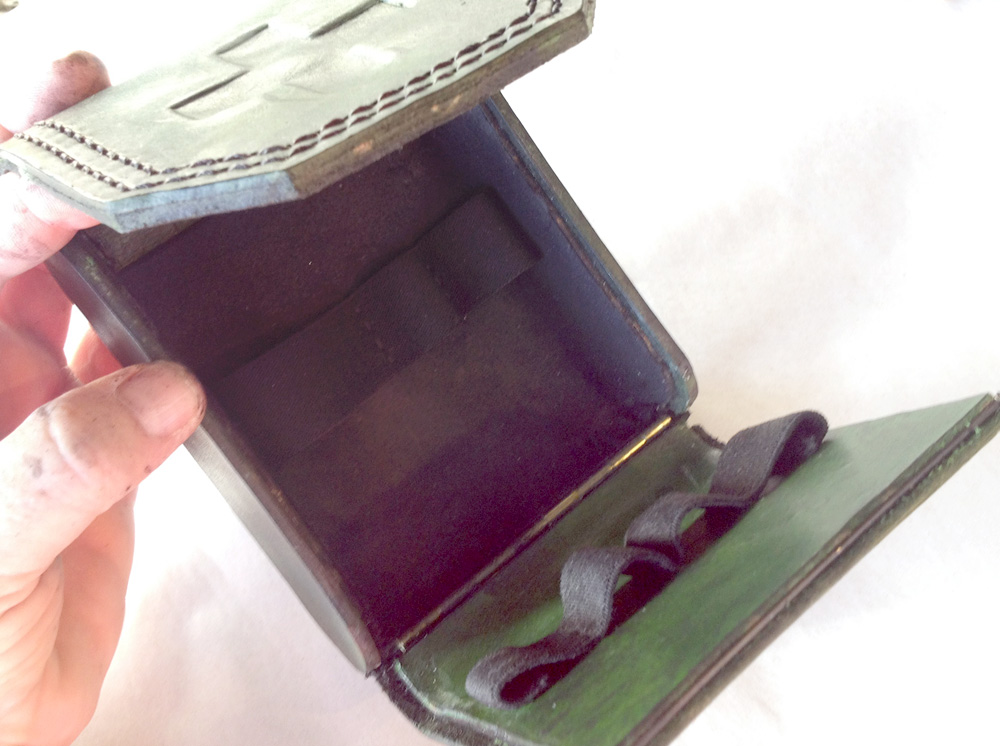
Since I don’t know how to work leather, I commissioned Fevereon to make the leather equipment pouches. One thing I could do was to build the underlying structure of the med pouch. I used the leftover Kydex and heat formed the main box and lower door.
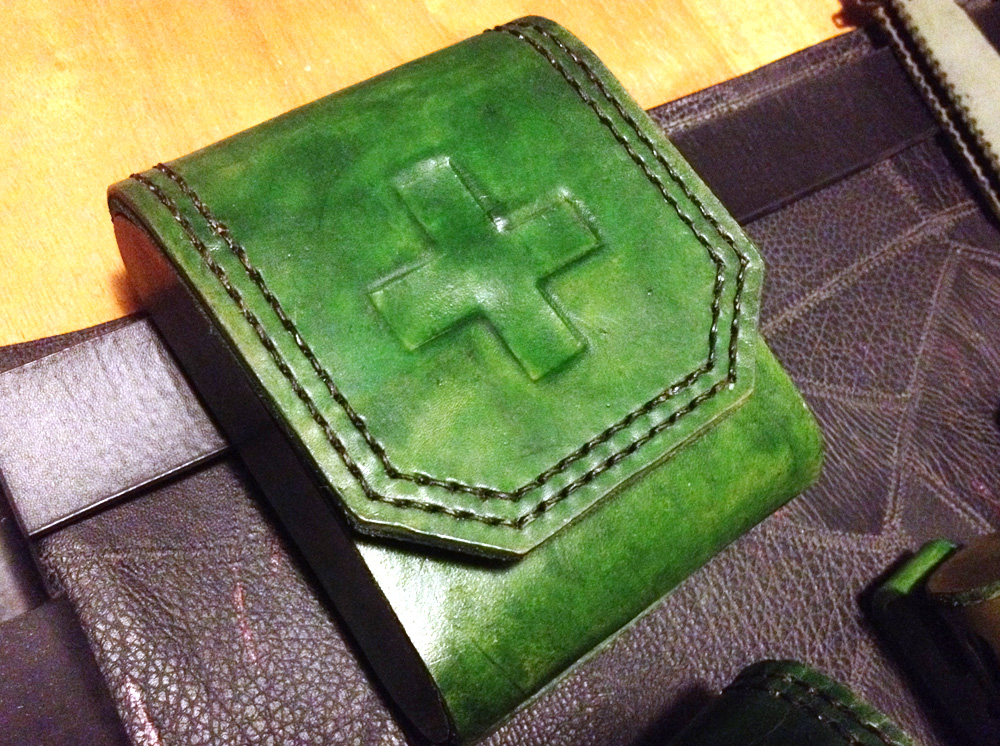
I sent them to Fev and she magically transformed them into a perfect replica!
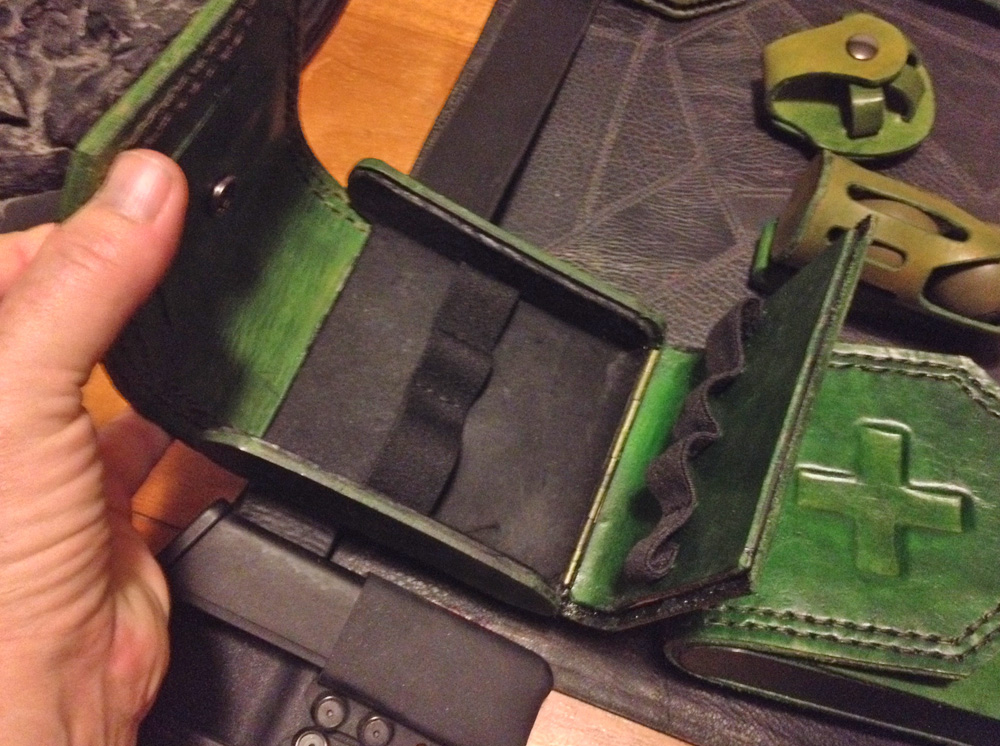
The inside also had all the elastic loops for the medical equipment (still to come!)
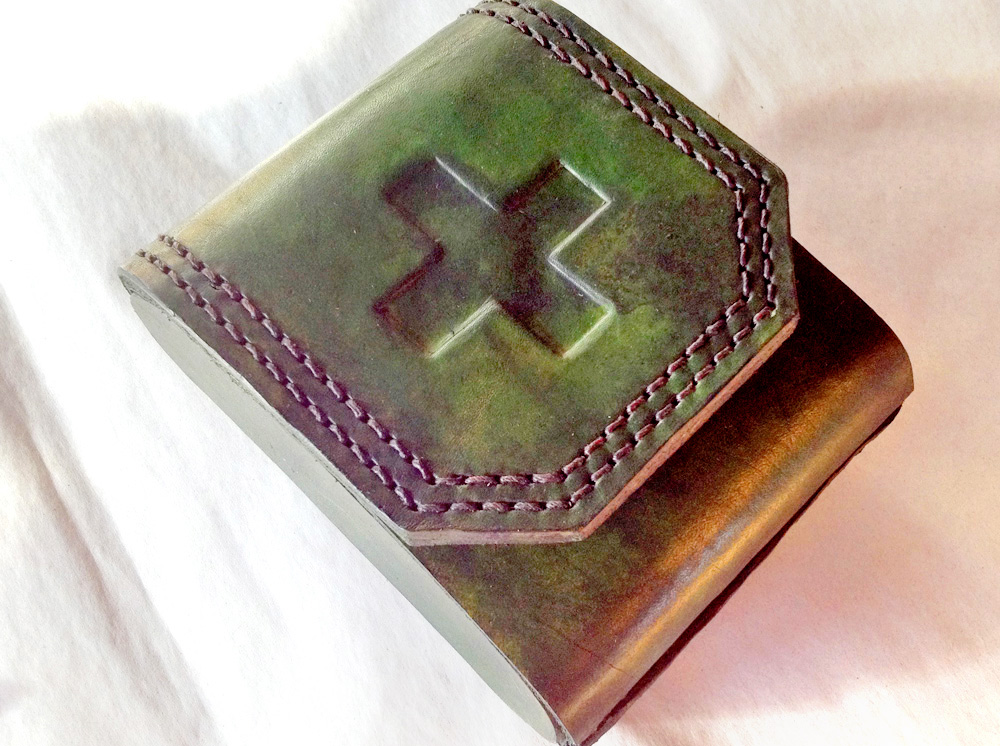
I applied a wash to add Mega-City grime and to knock down the brightness of the green.
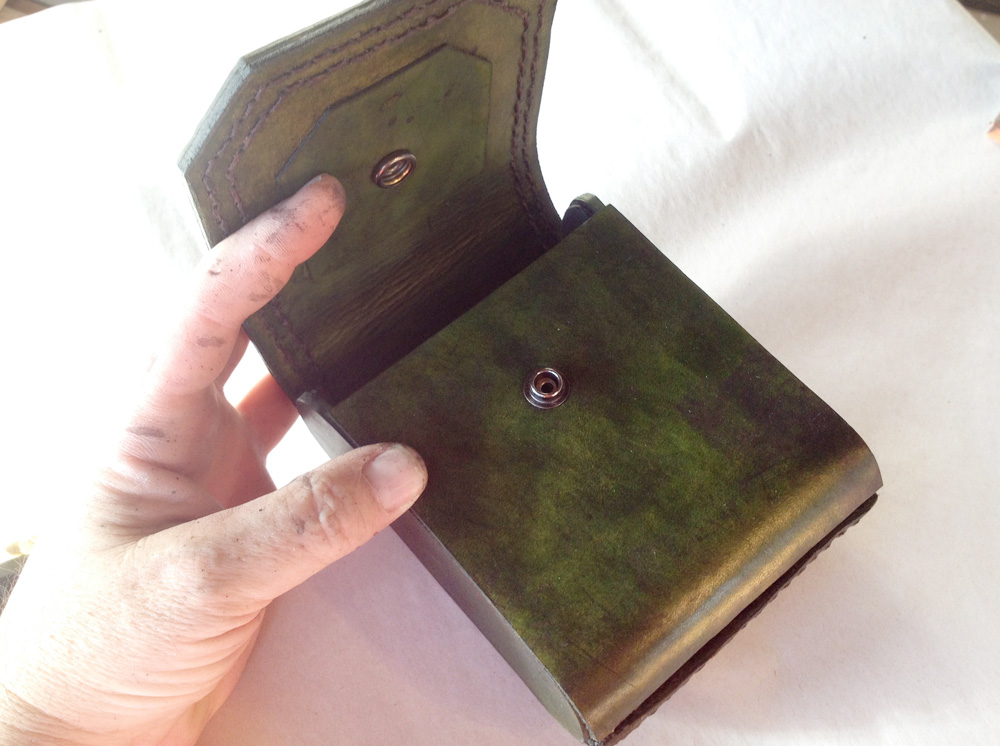
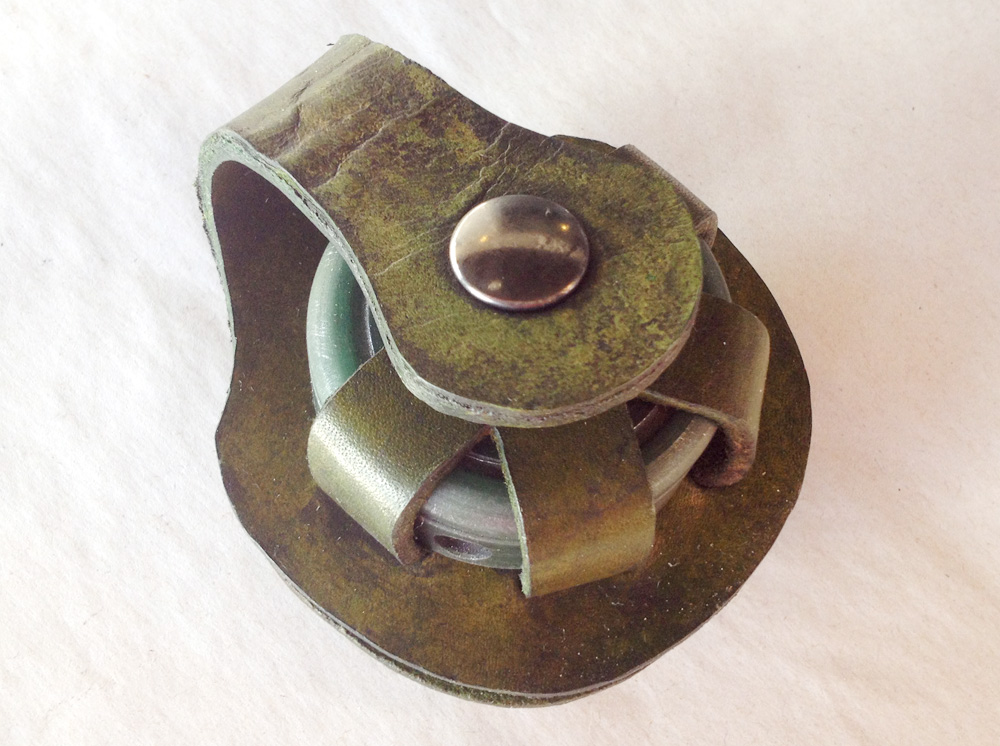
Fev also made the breaching mine pouch…
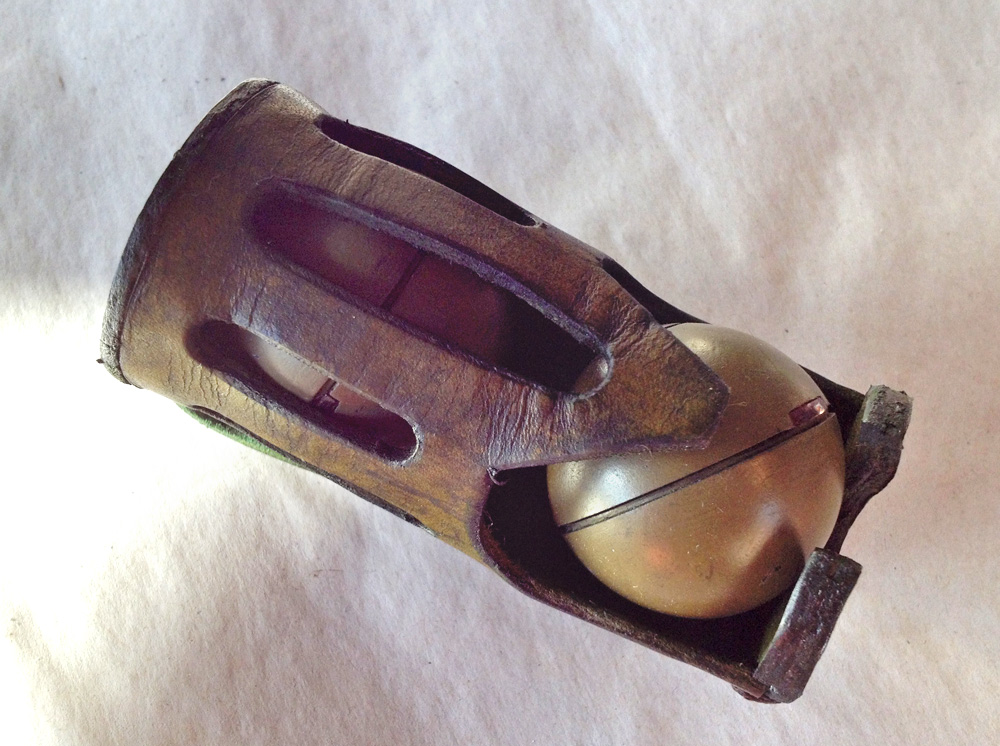
…the flash bang pouch,…
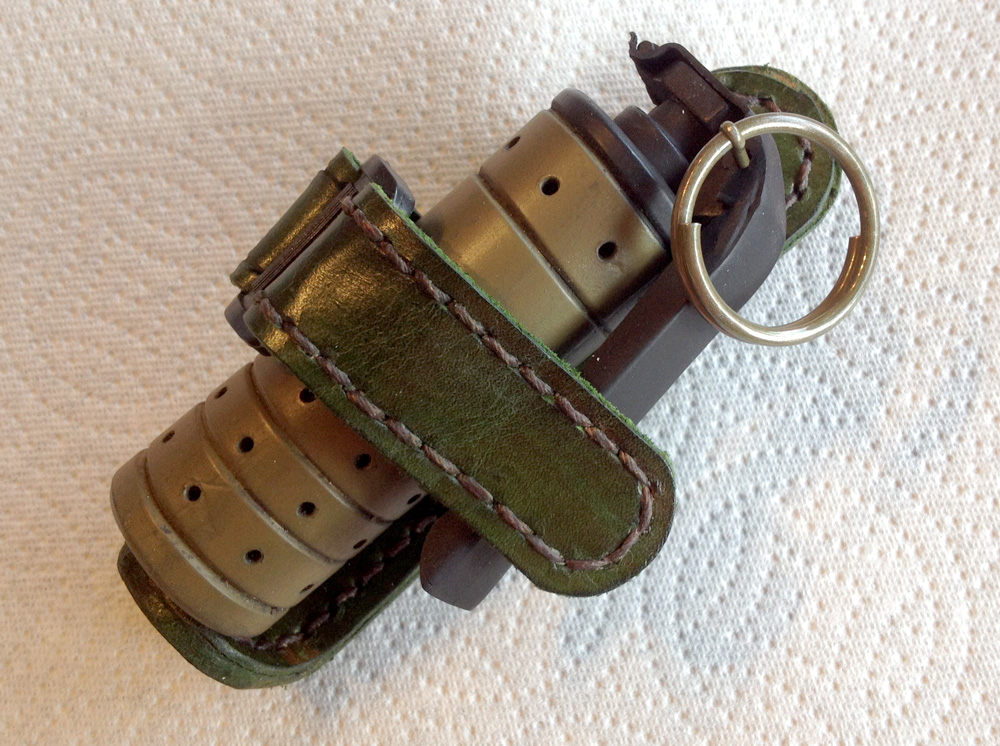
Grenade in its belt pouch.
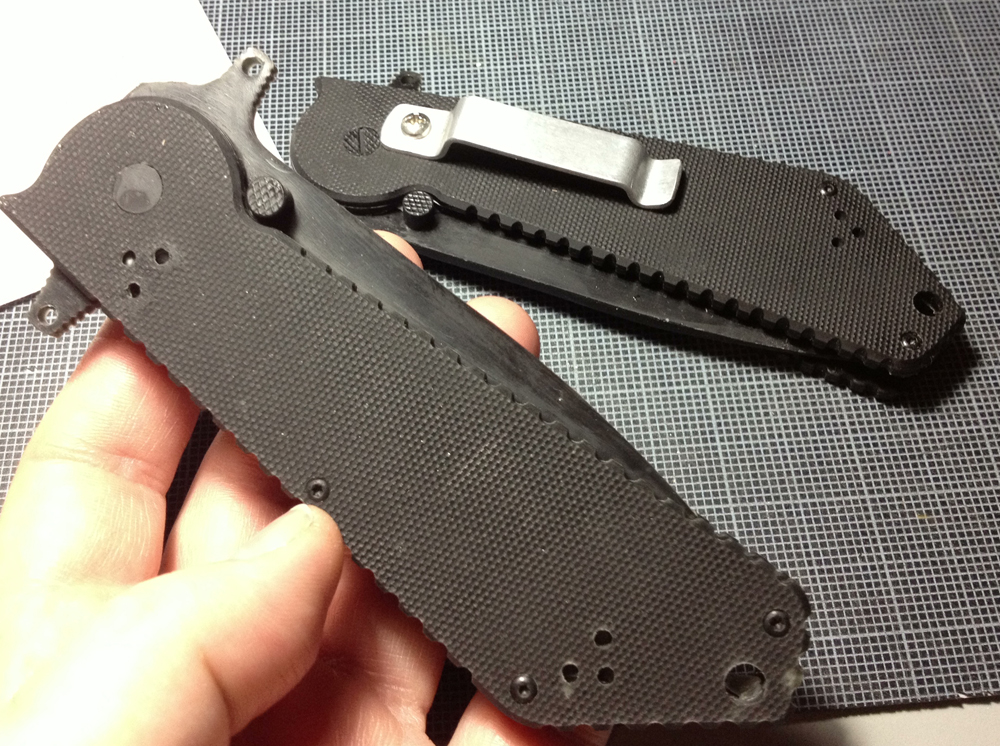
I bought a hard rubber copy of a real Boker folding knife from someone on the Facebook group.
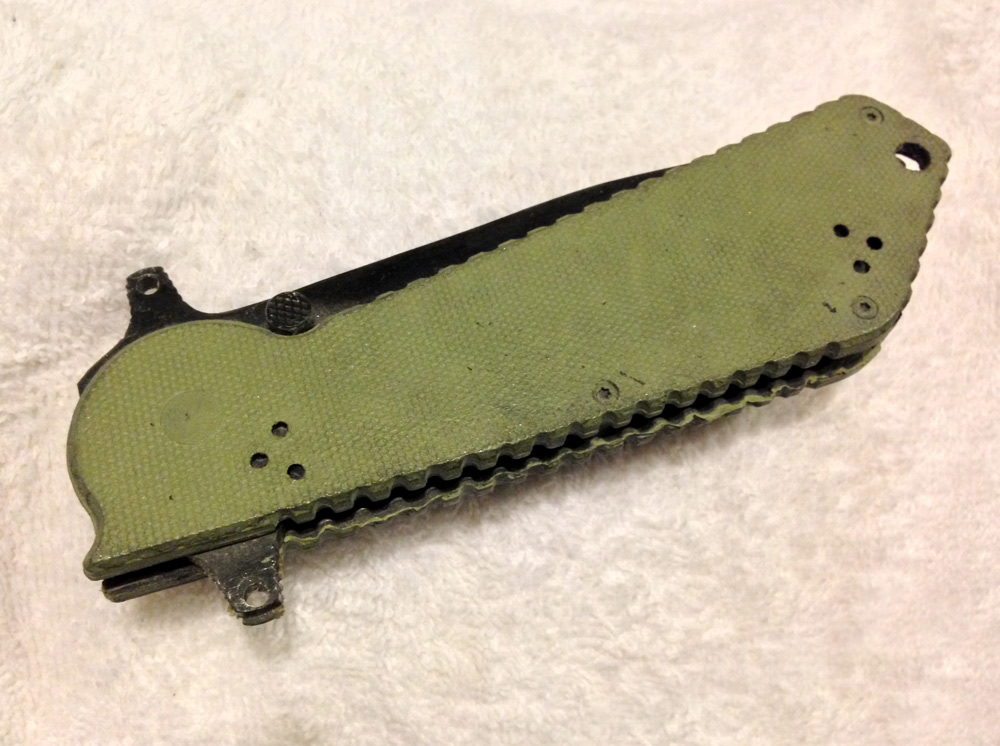
I painted the case green and weathered it with black acrylic washes.
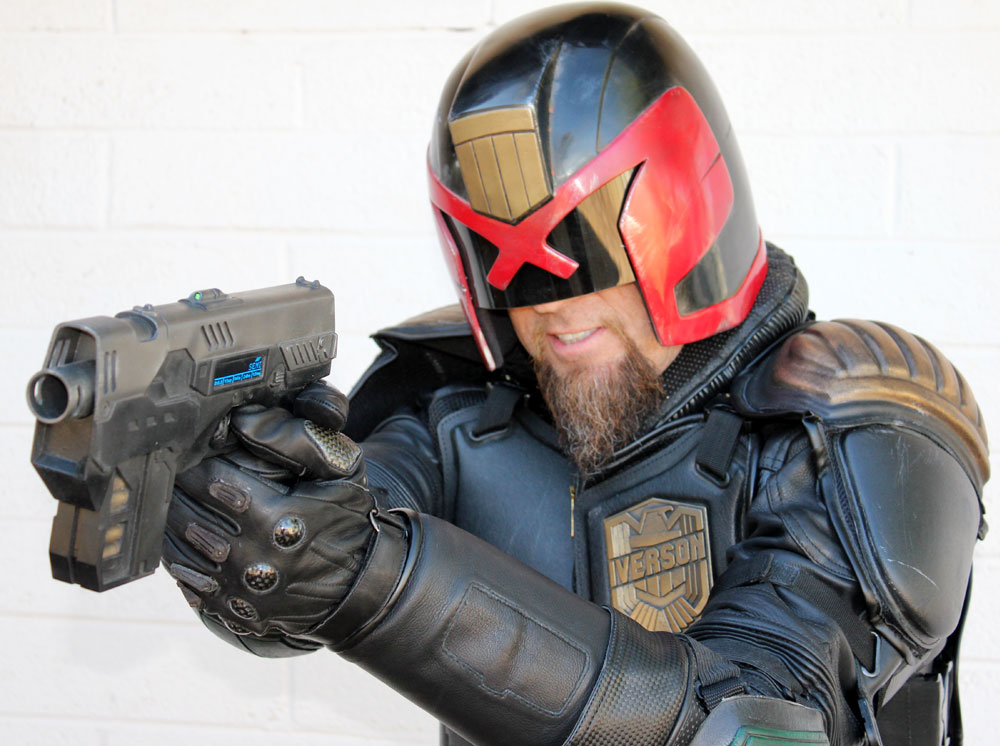
The final suit in action.
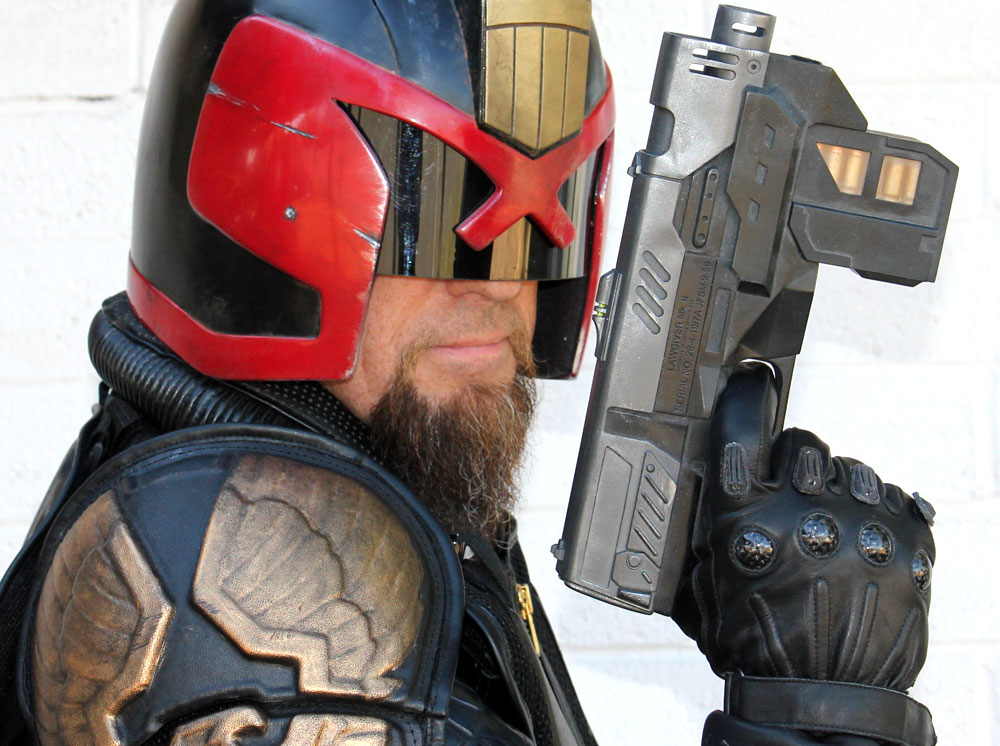
Me and my Lawgiver.
