izanAgi-no-okami
september 2012
Izanagi-no-okami is the The ultimate Persona of the protagonist in the video game Persona 4
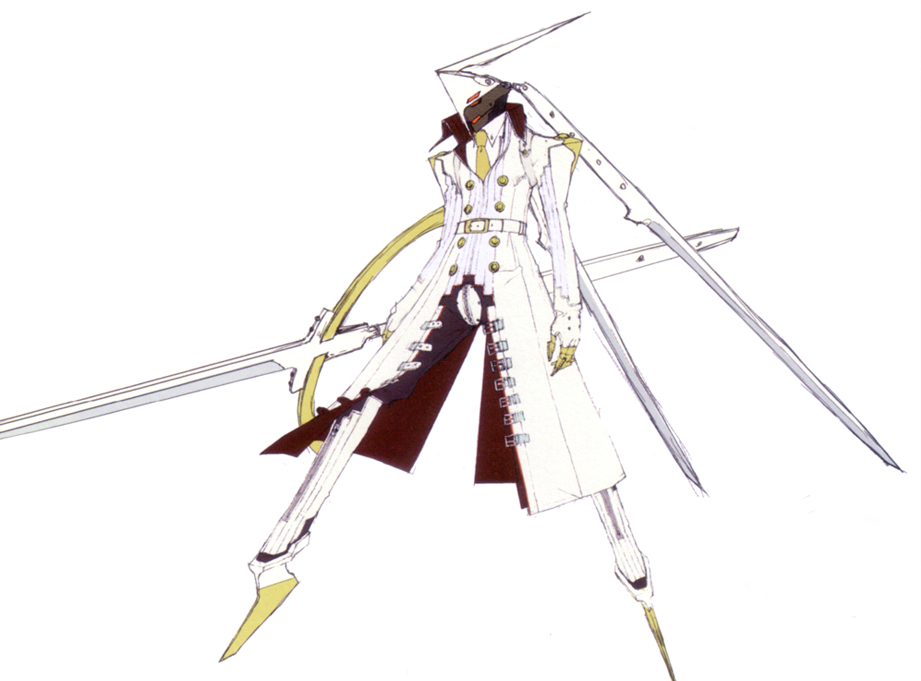
I was commissioned to build the helmet of Izangi-no-Okami from the game Persona 4.
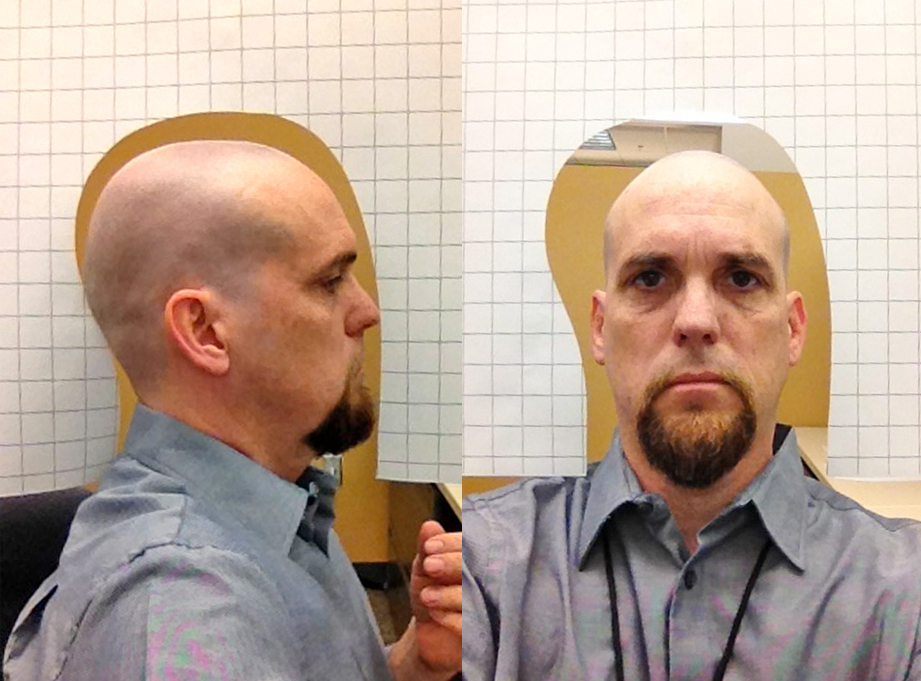
Rather than a clay sculpt or Pepakura model, I decided to try something new this time. My friend Volpin uses a method where you print out a sheet of 1″ grid squares, cut a hole for your head and then take front and side photos with your head centered in the grid. Once imported, the images give you a scale guide for the size and dimensions of your head.
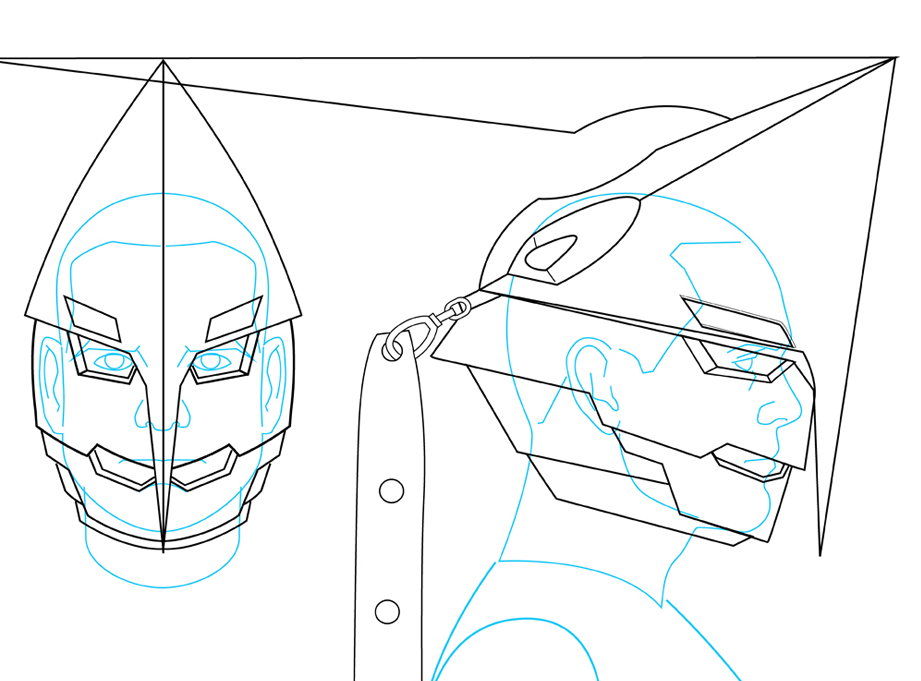
I traced the scale photo and then built the helmet around it. I tried to build in 1/2″ around my head to account for the thickness of the plastic. The risk in sizing it that tight is if you’re off, you can spand a lot of time, money and materials on a helmet that may not it when you’re done. On the positive side, since I’m using my oversized melon as the model, it should fit anyone else fine.
There wasn’t much reference to go on…only a few production drawings and screen caps. Working with the client, I was able to work out the details and made changes to make it more practical in the real world. I shortened the blades hanging off the back of the helmet to a little over 4 feet and shorted the head spike by about 8″. It still has the basic look and now it will be more functional.
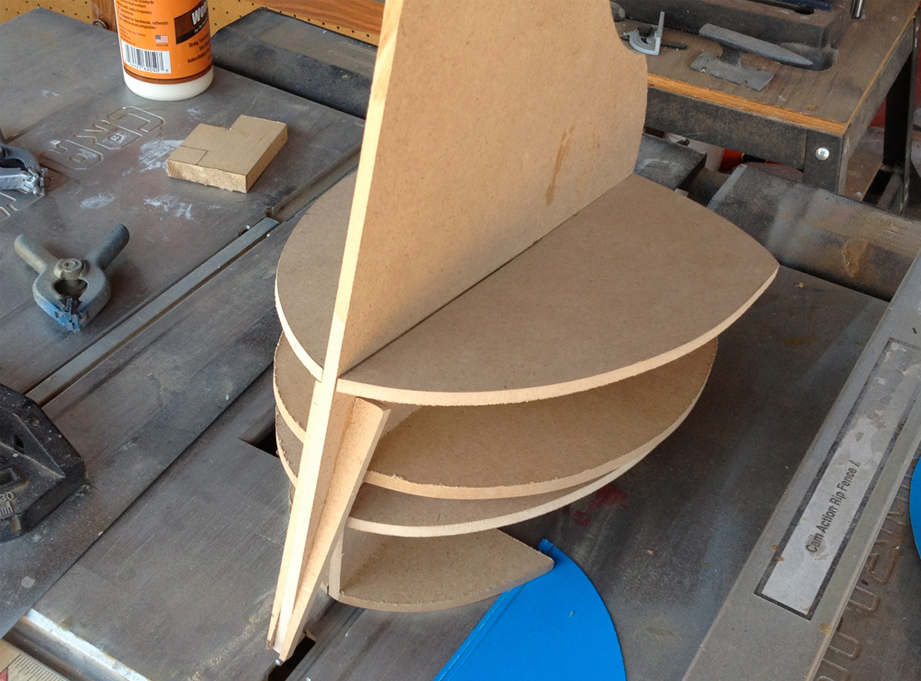
Using the printed plans, I cut profiles in 1/4″ MDF of the basic shapes of the helmet to guide the sculpt. This will keep the helmet symmetrical and proportional.
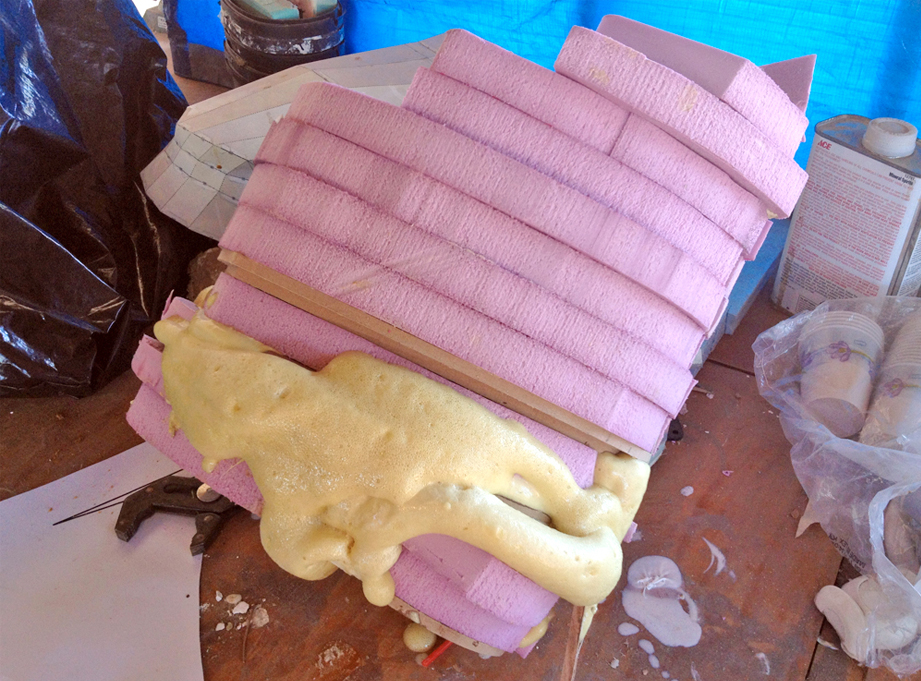
I cut sheets of pink insulation foam and spray glued them into the framework. Small areas were filled with Smooth-On Expanding Urethane foam. It expands gently, filling all pockets. The aerosol expanding foams as found in hardware stores is pretty aggressive, and can push pieces apart. It is also crazy sticky and takes forever to cure.
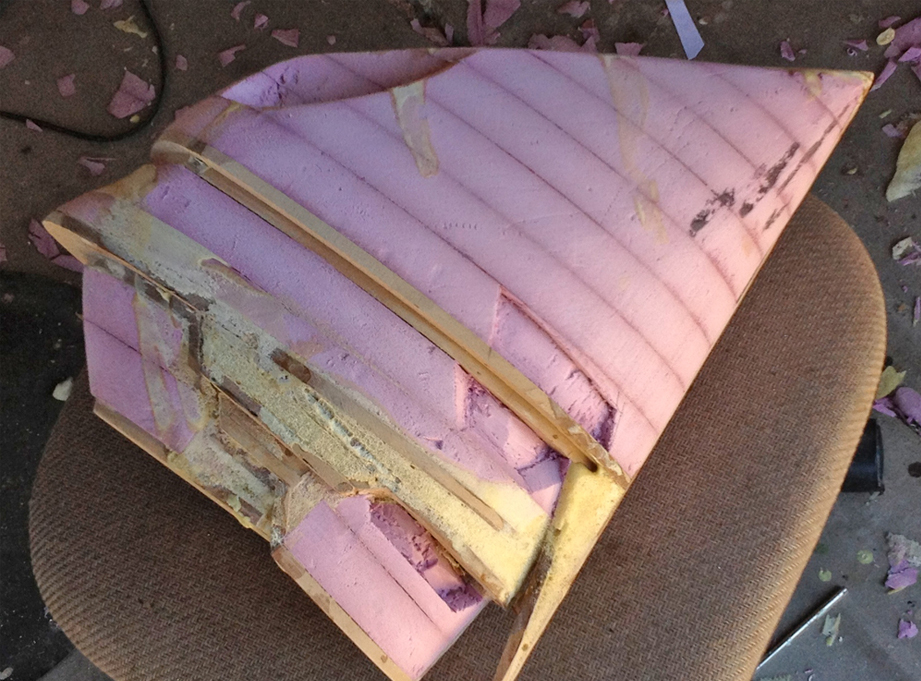
Next comes the fun part…carving the foam to shape! Using a utility knife and the belt sander, I carved away all excess foam until I hit my MDF guides. Suddenly you can see what it’s going to look like!
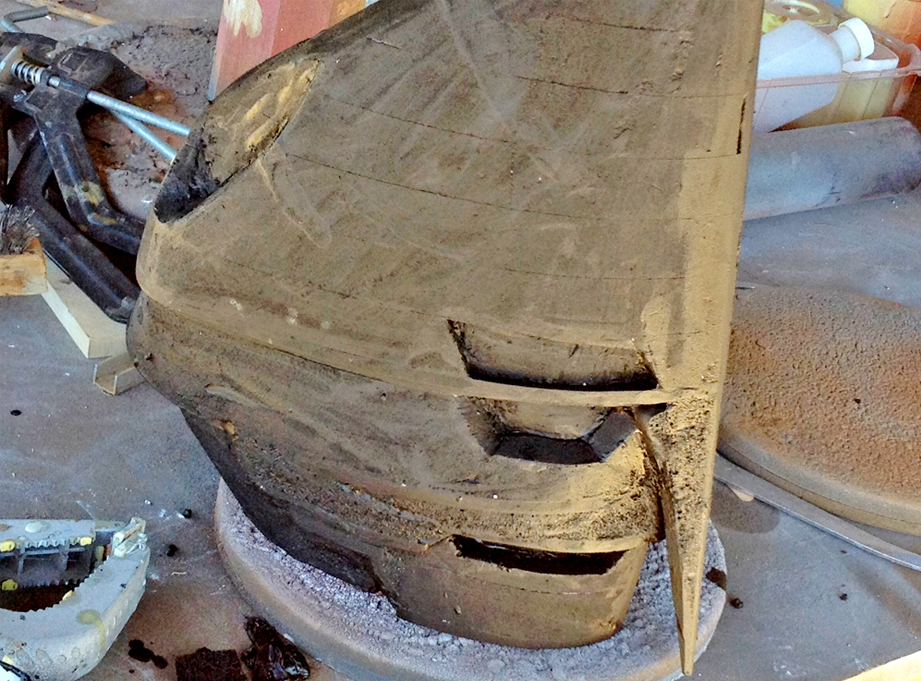
Since Bondo will eat into foam, I sealed it with a generous coat of acrylic craft paint. I also cut plastic inserts to fit in the eye and mouth areas. A small recess like that is hard to work in. The insert eliminates that effort and gives you a nice smooth surface.
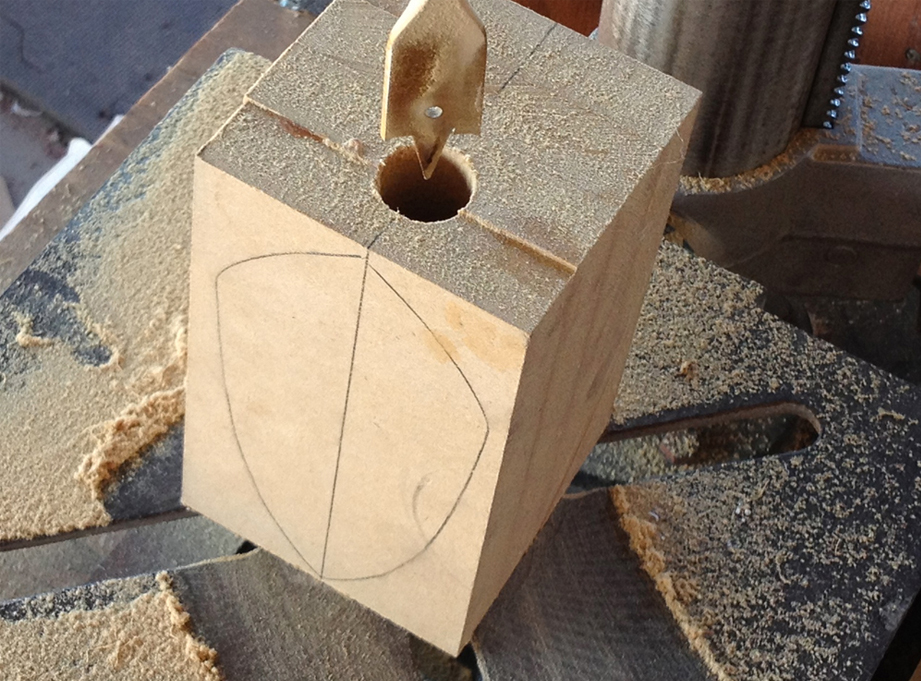
Since the dimples would be difficult to get perfect by hand, I decided to make vacuformed plastic inserts to define their inner contour. Hold on to your brains…this gets tricky! The side dimples have a cylinder running through the center of the depression. To form this, I would need to make the opposite shape…a dome with a cylindrical cutout.I glued up a block of MDF, drew in the contours of the dome and then drilled out the location of the cylinder.
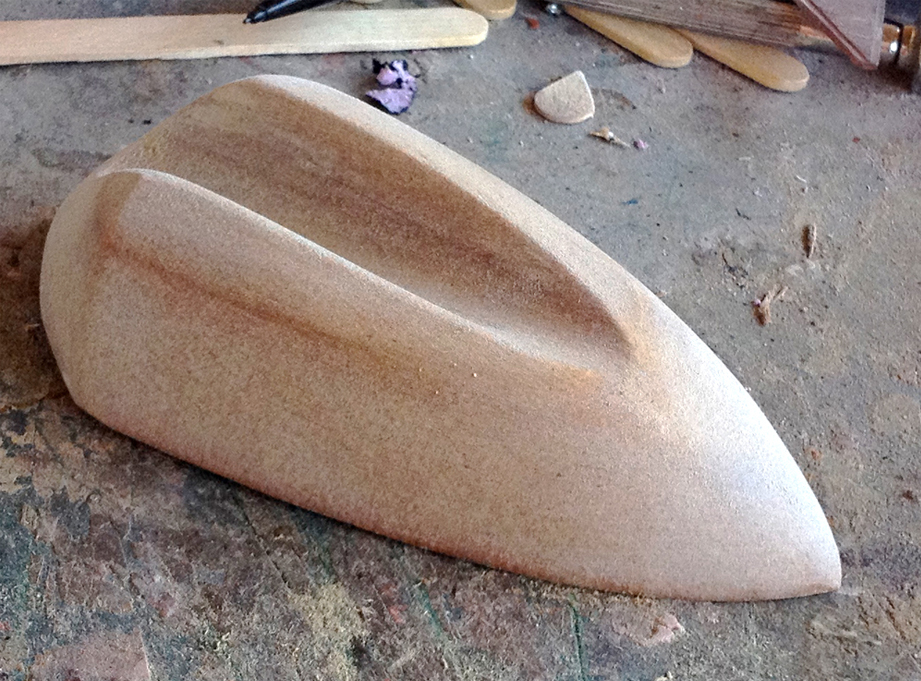
Once the MDF was sanded to shape, I had a perfect cylinder already cut through the surface! This would have been difficult to cut after the dome was formed and would have demanded some cleanup. I sealed the MDF and then sanded it smooth.
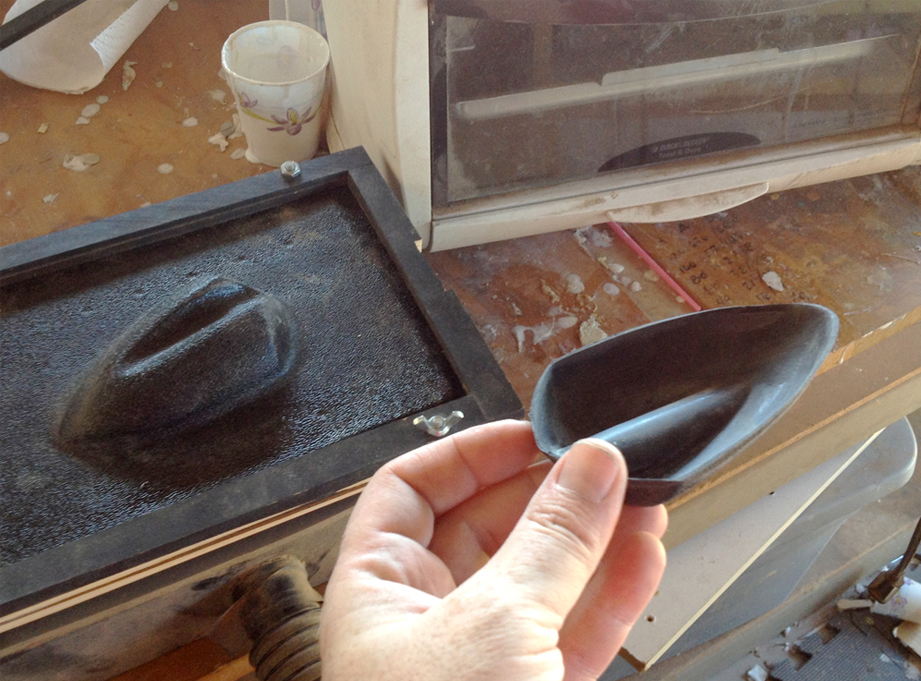
Using ABS sheets (textured side away from the master) in my mini-vacformer, I made perfect inserts for both sides of the helmet. A similar insert was vacuformed for the smaller, center dimple.
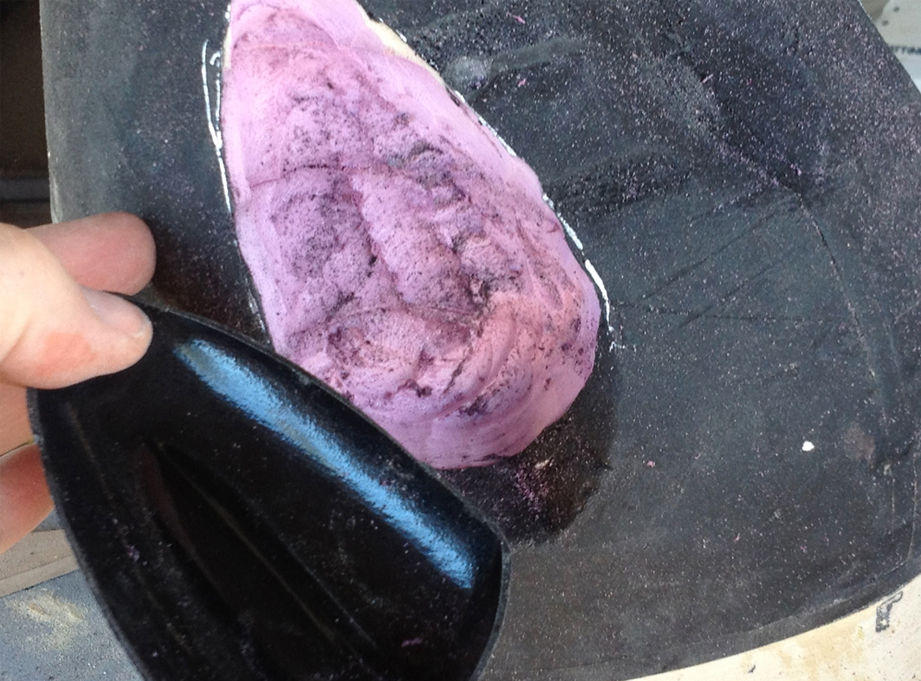
I sealed the dimple foam and then glued the inserts into the helmet with 2-part epoxy.
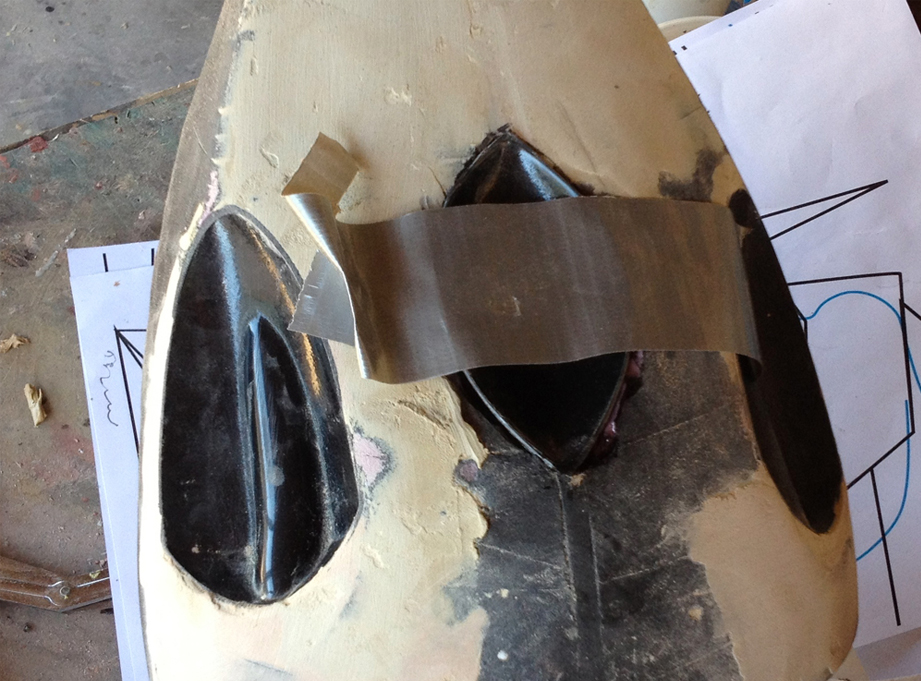
Duct tape is handy to keep parts in place as the glue sets!
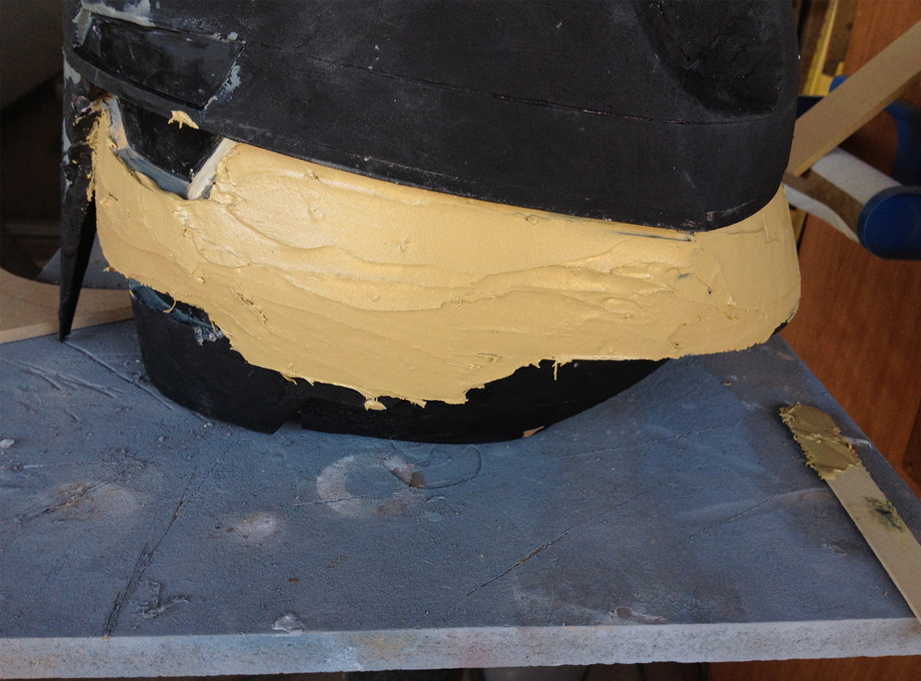
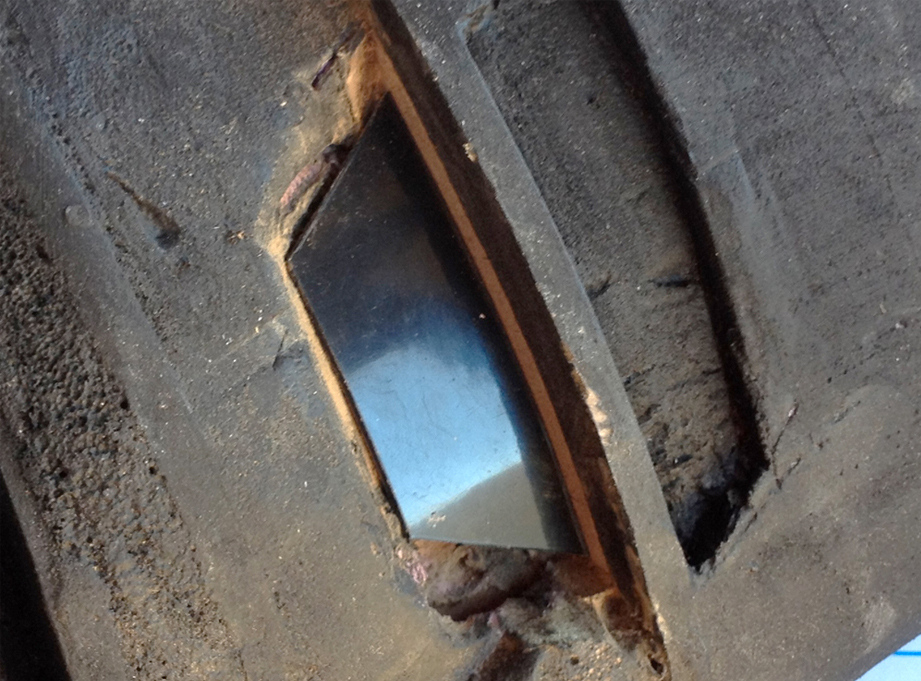
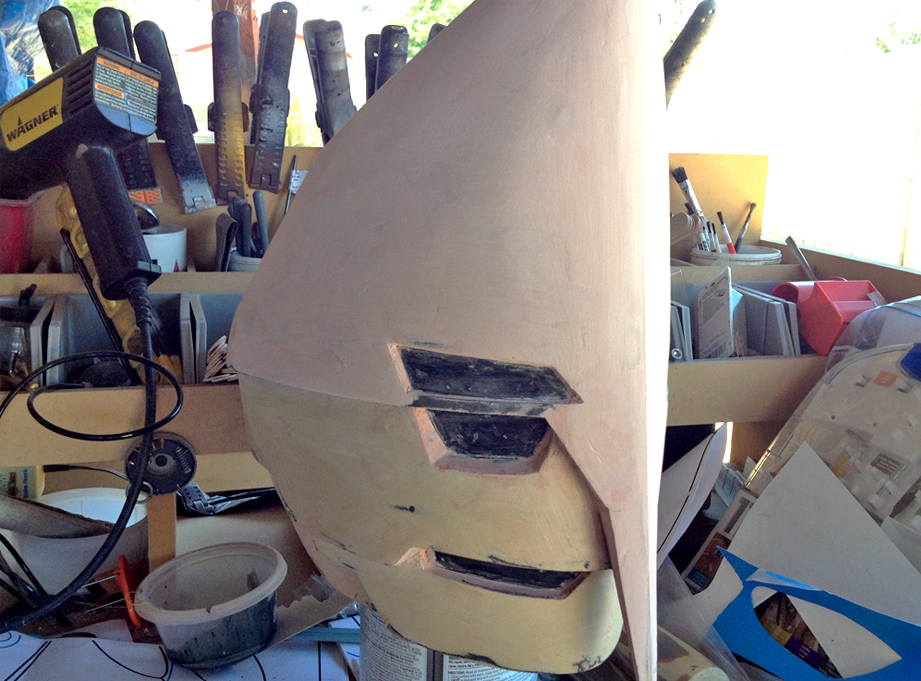
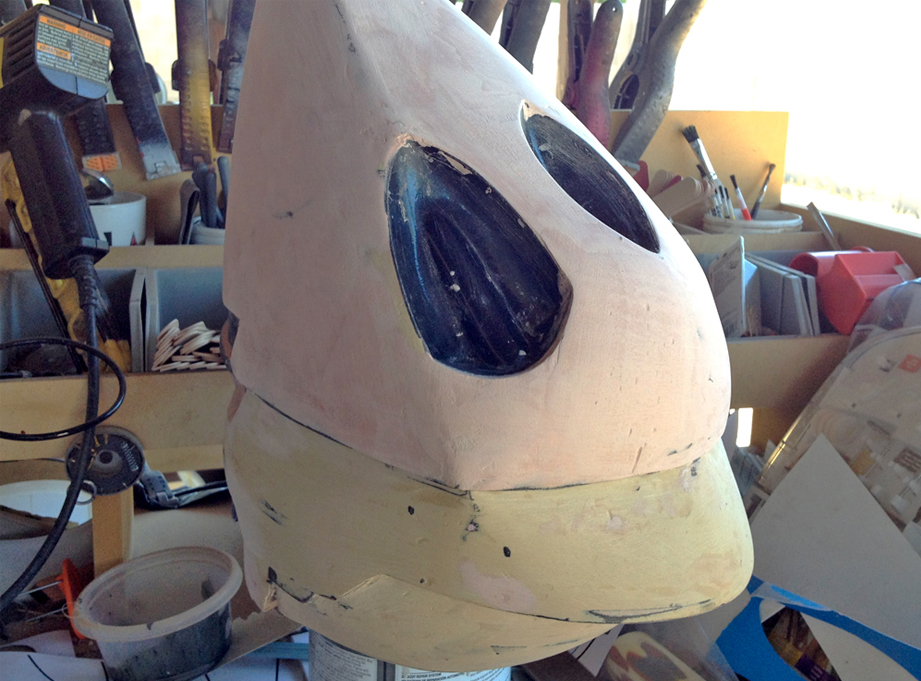
I spread a thin coat of Bondo Auto Body Filler over the sealed foam, working for complete coverage as opposed to trying to smooth it with the first pass.
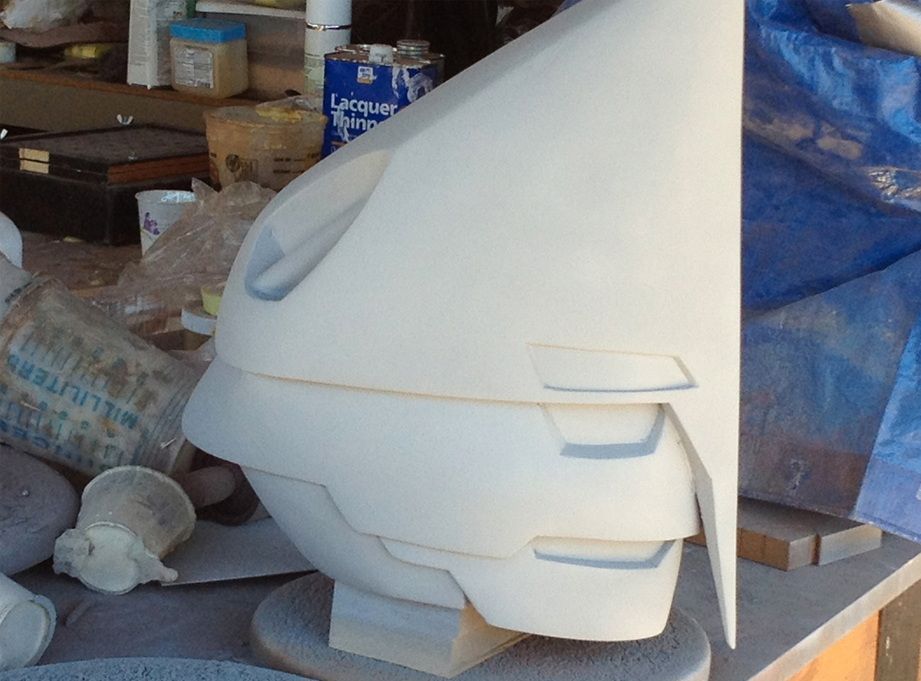
Much sanding and more Bondo later, I sprayed the entire surface with Filler Primer. This shows all the other surface perfections that you have to smooth out with more Bondo.
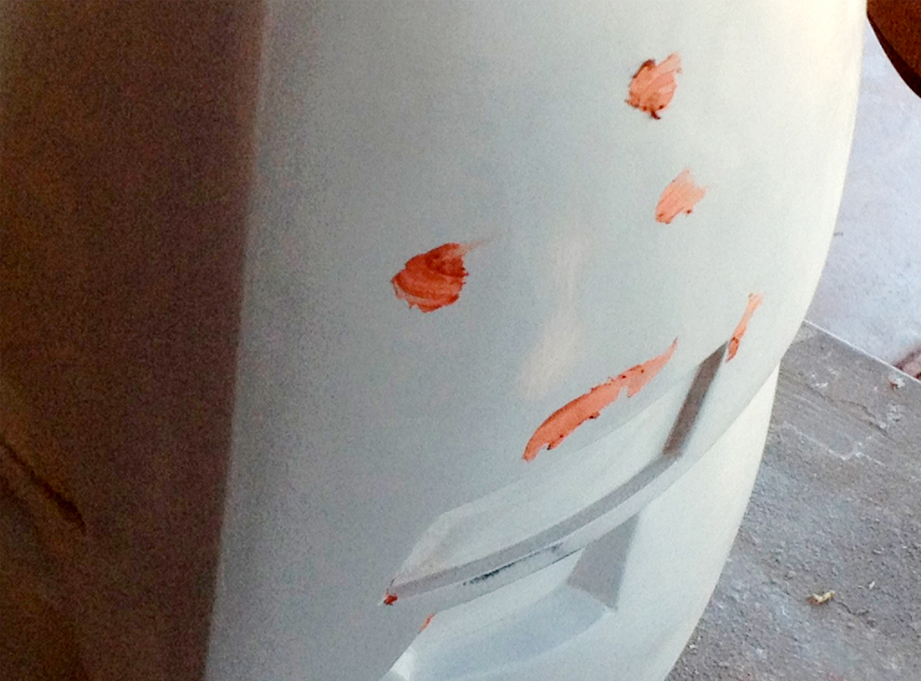
After I got all the big dents out, I filled the small holes with Bondo Spot Filler Putty.
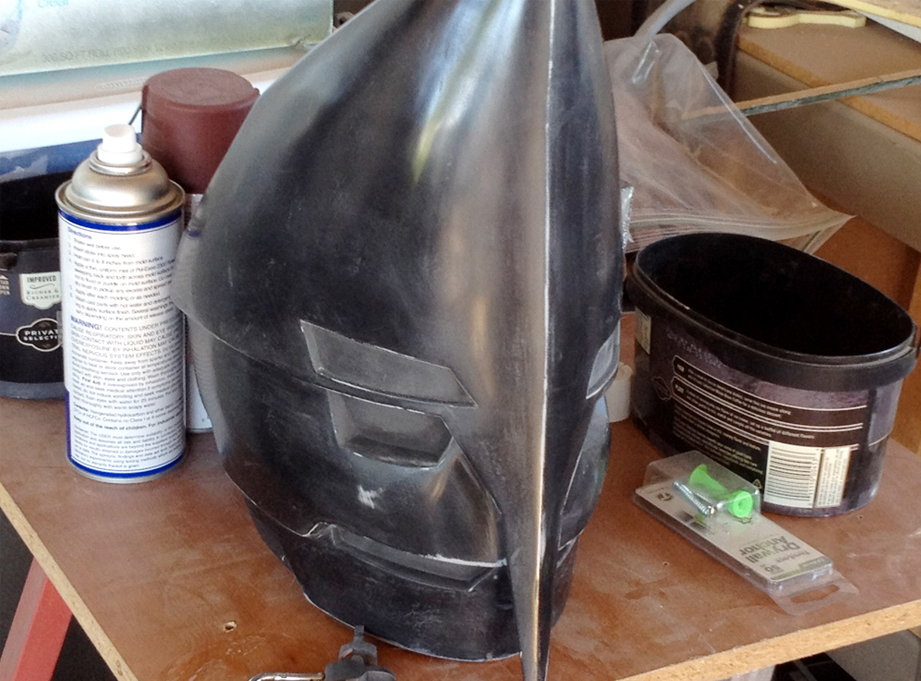
After the putty stages, I sprayed the helmet several coats of primer and then sanded it up to 1000 grit.
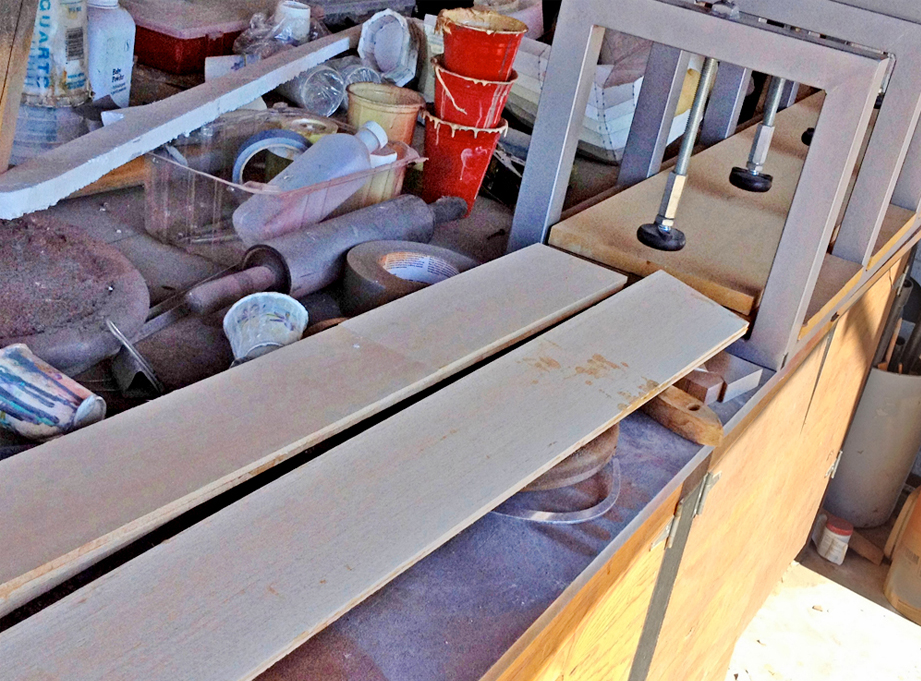
While I was working on the helmet, I was also building the blades that hang from the back of the helmet. Since the blades were over 4 feet long, they needed to be as light as possible but still strong. I finally decided to laminate two 1/4″ sheets of balsa wood together with fiberglass resin (pressed flat by my long press “Grond”).
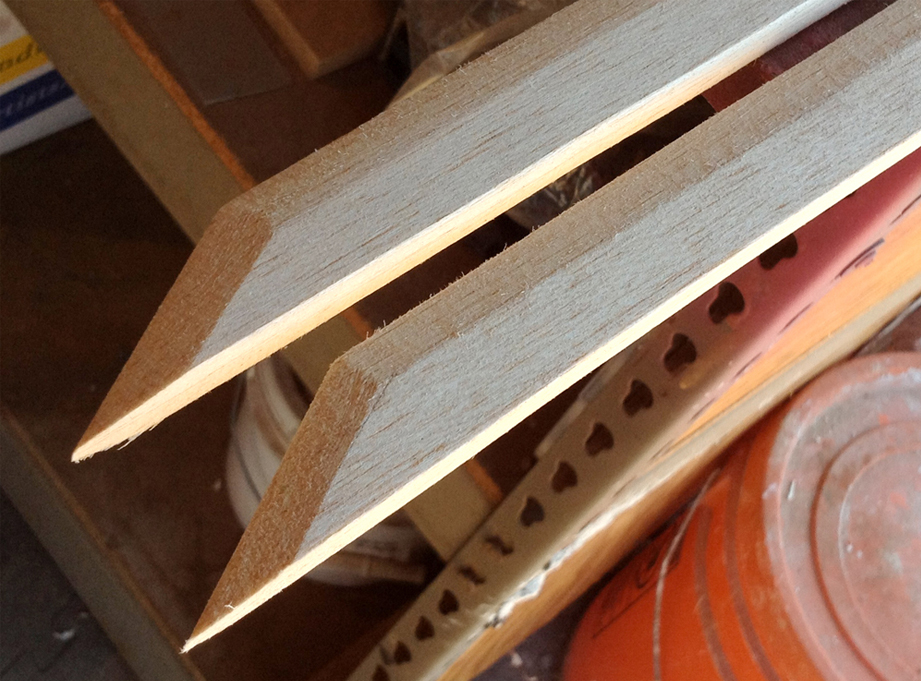
Once the resin set, I could trim out the blade profile and shape the cutting edge. Since balsa is so soft, I could cut it with a utility knife and plane the edge with a sanding block! These were the fastest swords I’ve ever made!
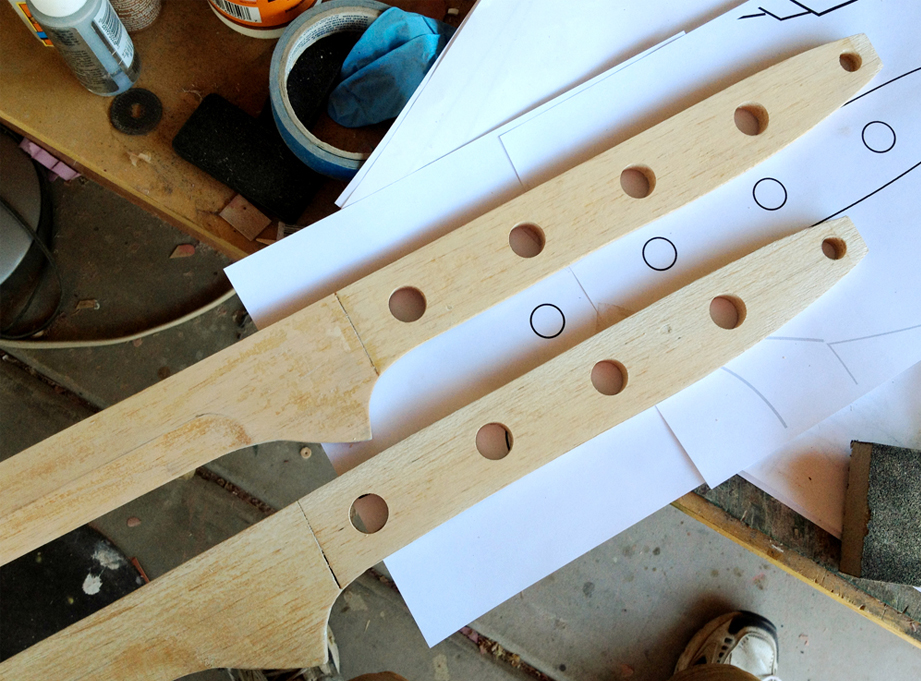
I drilled the holes in the handle which removed more weight. Now that the shaping was done, I coated the entire thing in more fiberglass resin. It soaks into the wood and significantly hardens it. The dried surface was then sanded smooth, with any pits filled by spot filler putty. By the time I was done, the 4 foot blade only weighted 4 ounces!
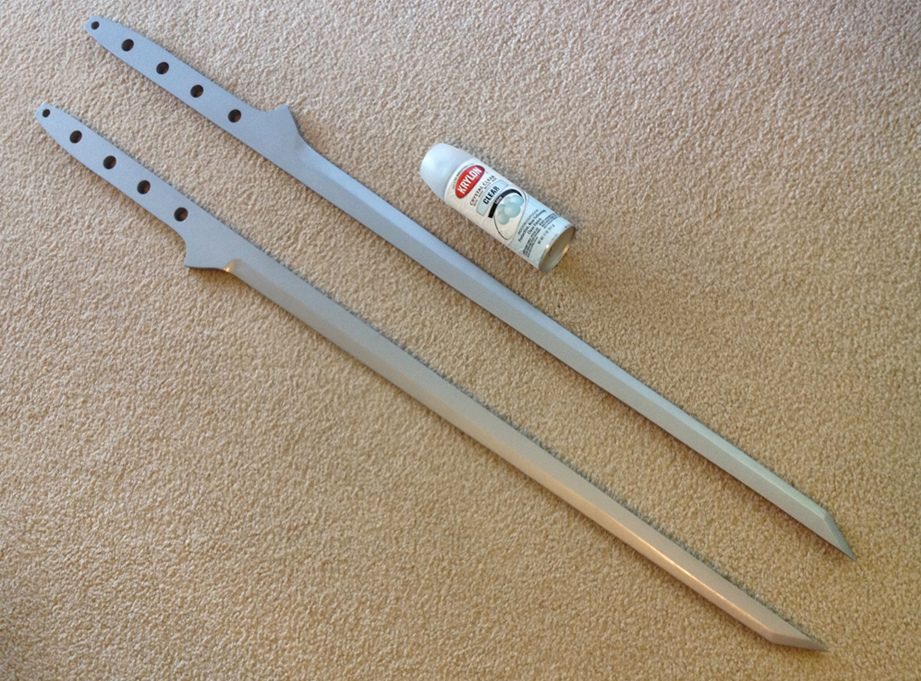
The blades were painted with several light coats of Rustoleum Hammered Silver…light coats allow the paint to be applied without the hammered effect. The can is there for scale only.
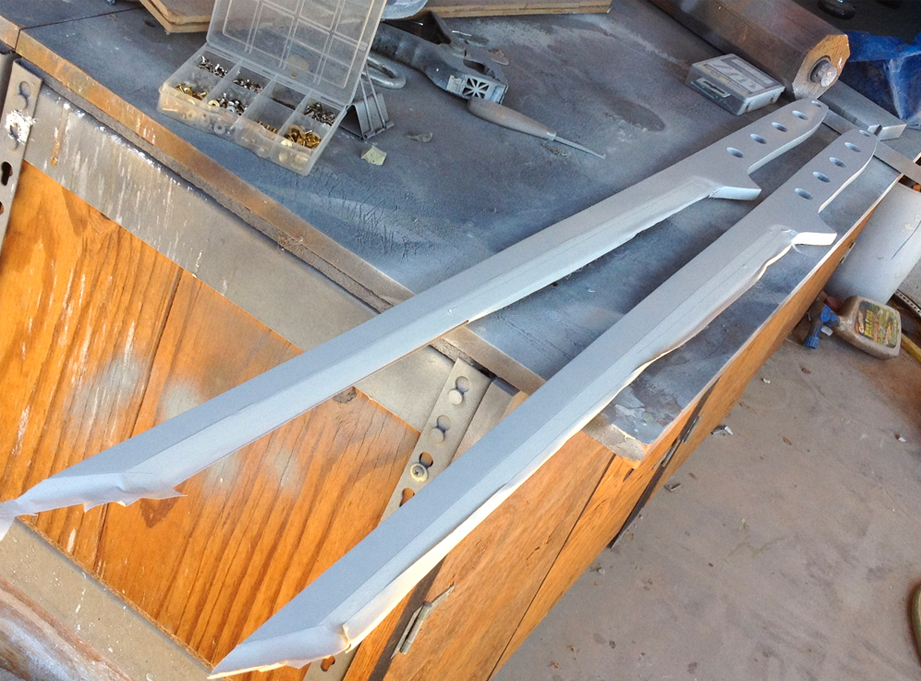
The cutting edge was masked off so that the flat areas could be painted white. You’ll see the final product at the end.
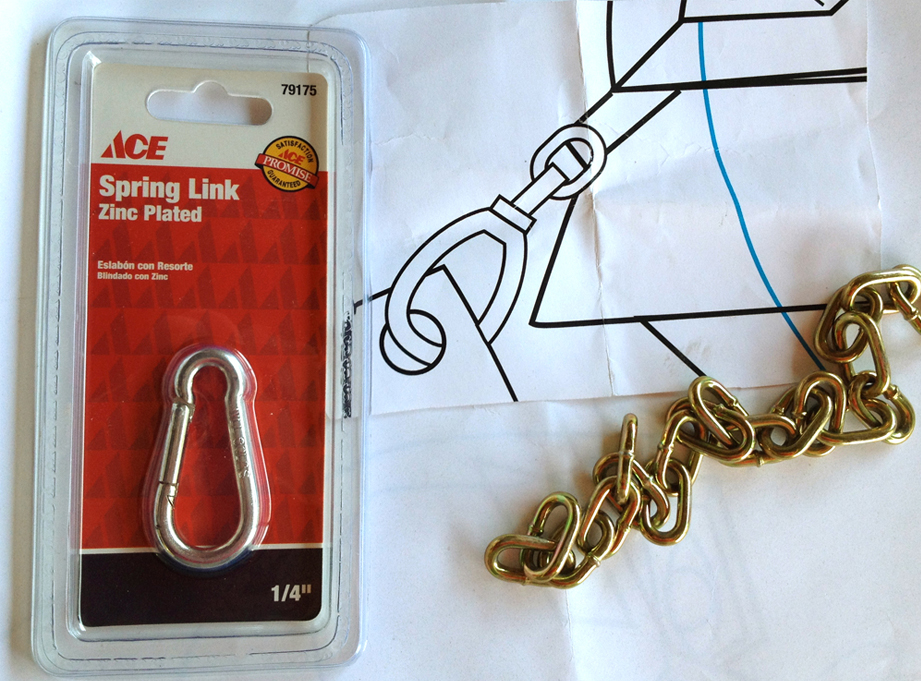
To attach the blades to the helmet and, more importantly, to allow them to be removed, I bought a spring link and a bit of chain to harvest links.
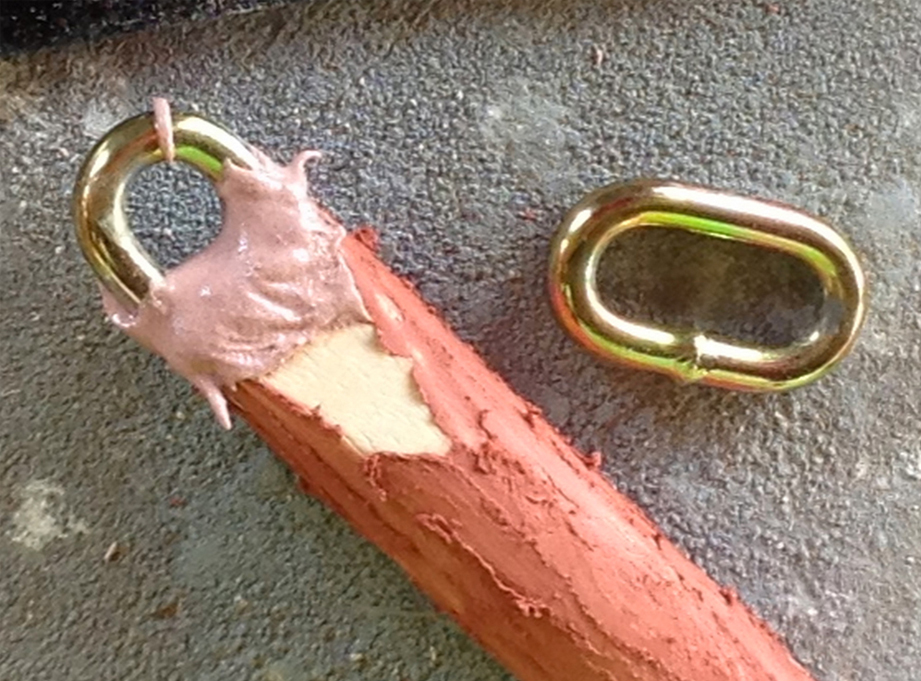
I cut off one of the links and glued it into a dowel, the intersection smoothed with Bondo.
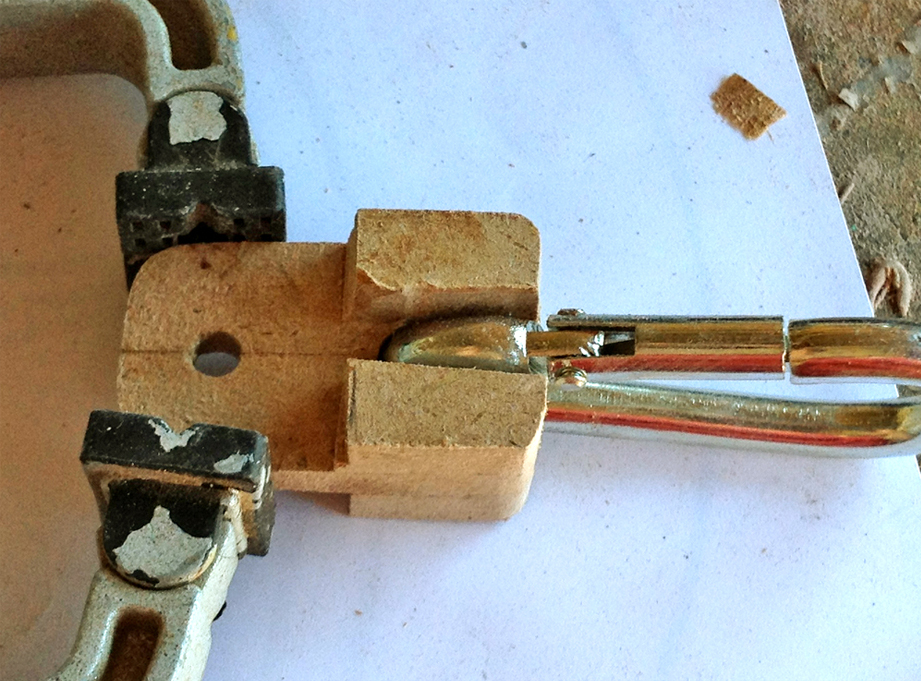
I made a containing bracket for the spring link out of MDF. I knew I was going to mold this so I made it in two halves.
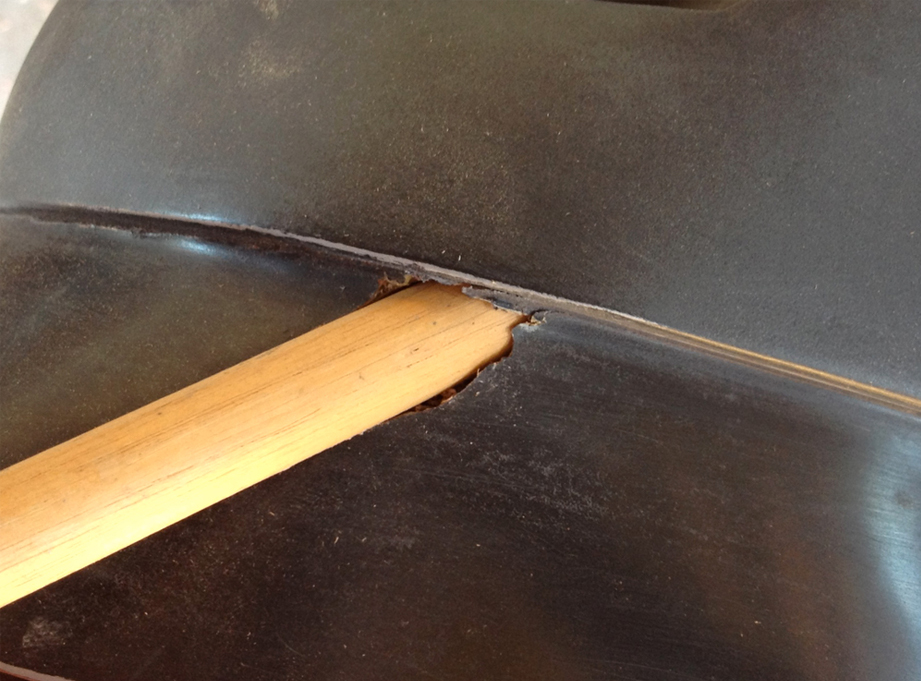
I forgot to make holes in the helmet for the hanging hardware so I had to (carefully) drill cavities in each side, using dowels to ensure that they were protruding at the same angle.
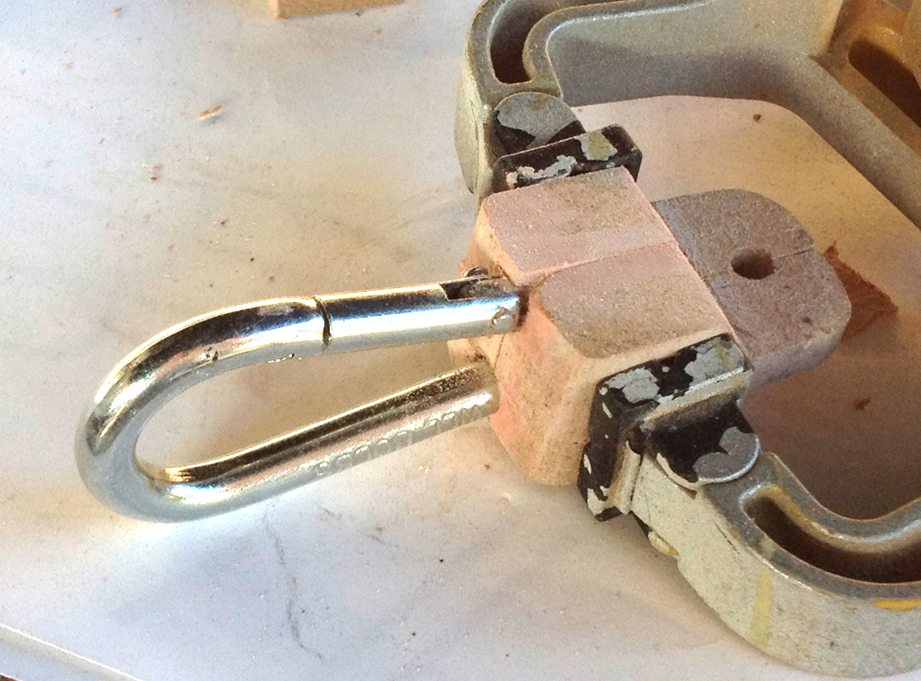
Meanwhile I used Bondo to blend the bracket into the spring link.
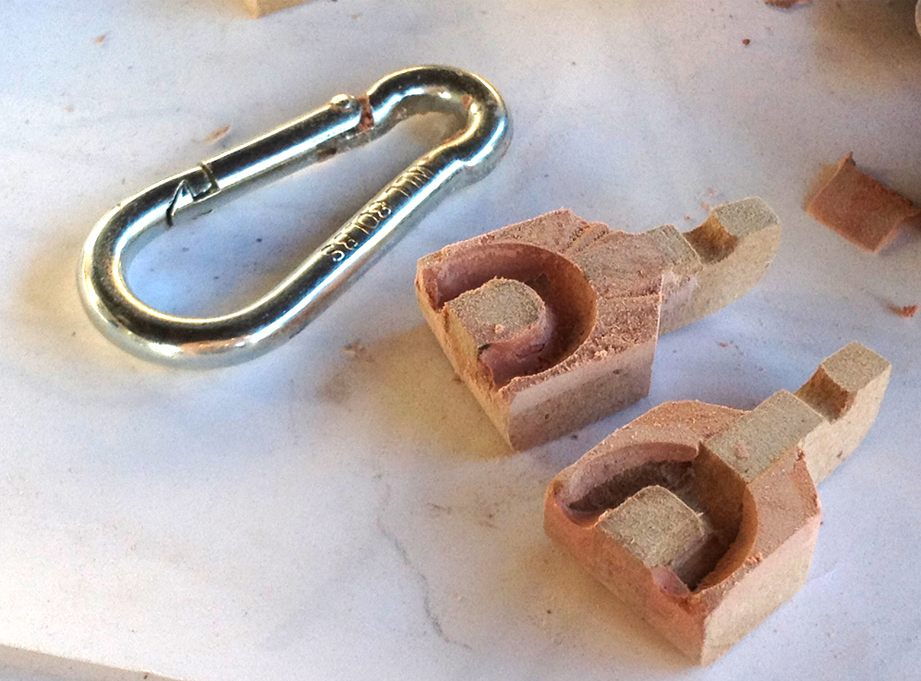
By coating the link with mold release, I could remove each half of the bracket and have perfectly fitting cavities
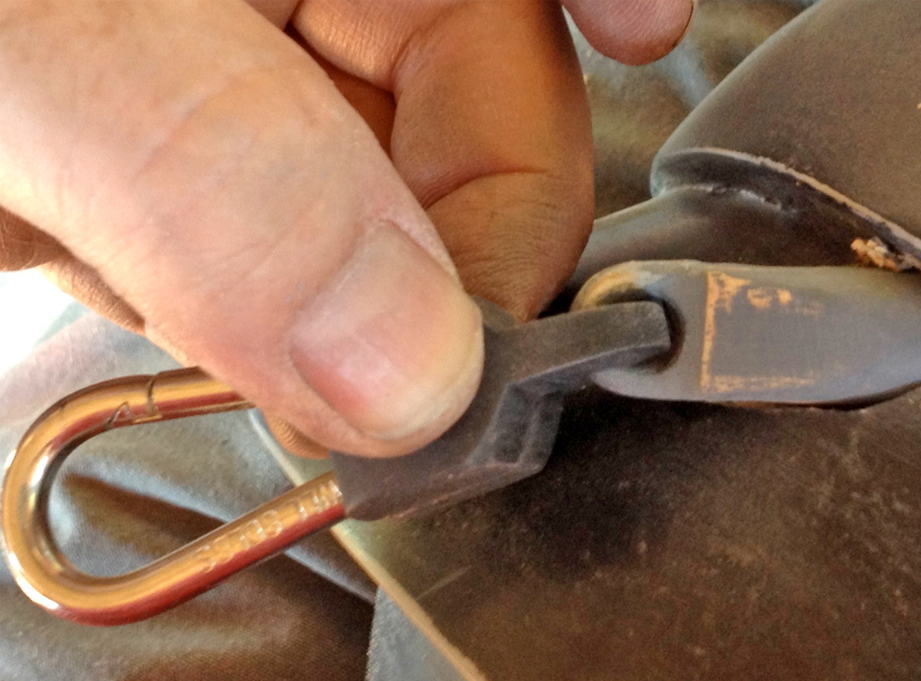
A quick test fit of all the hanging hardware. So far so good!
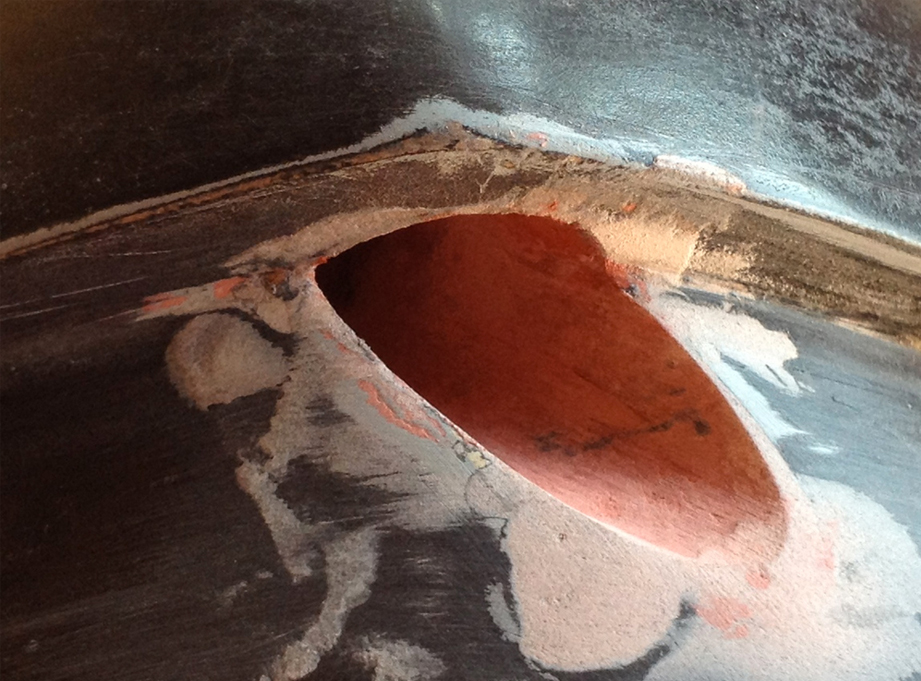
I used Bondo to smooth out the inside of the hanger holes.
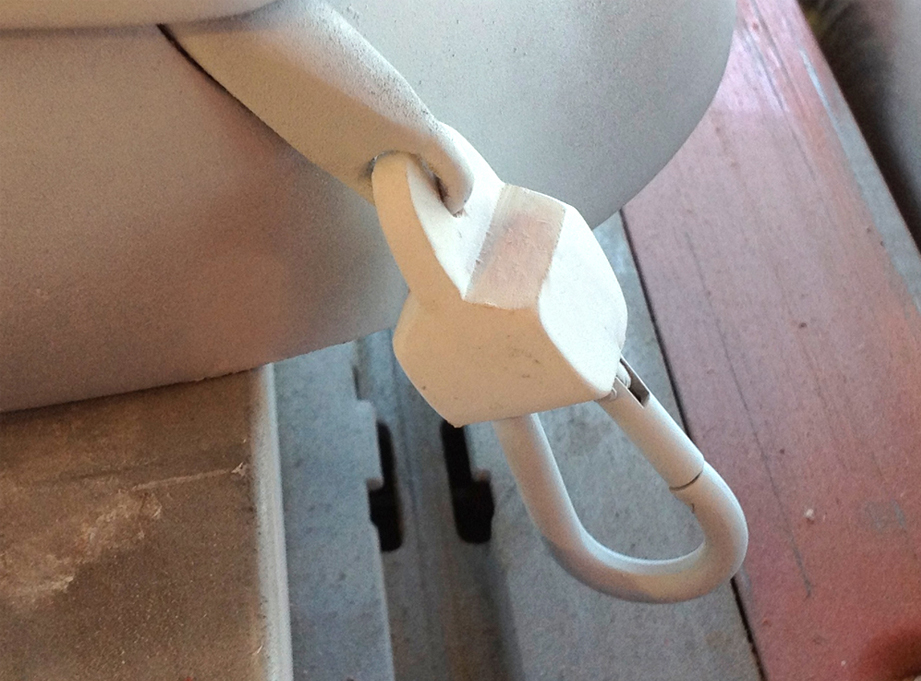
The final assembly.
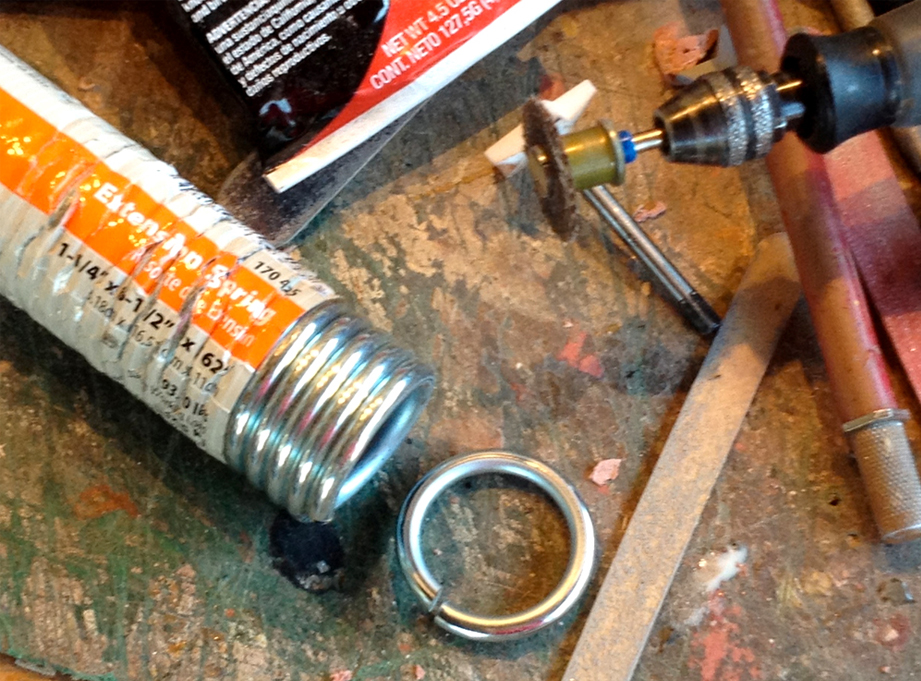
To attach the blades to the helmet, I needed a metal ring of a specific size. I looked and looked at every hardware store I could find but no luck. Then I remembered the old “cut-a-spring-into-links” trick! Exactly what I needed!
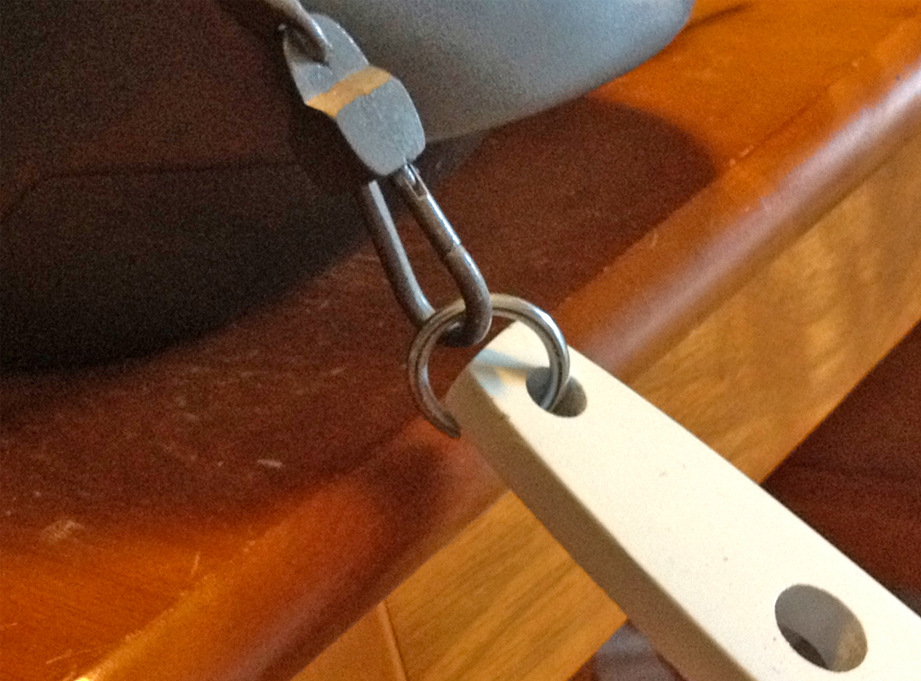
The ring was threaded into the blade hole with pliers and then it snaps right into the spring link!
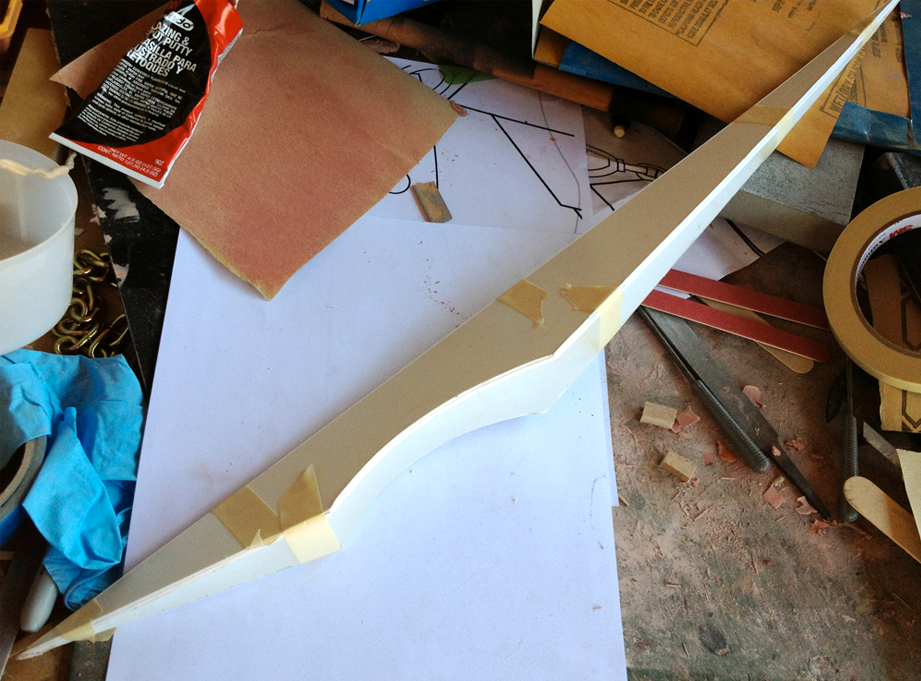
I cut the sides of the head spike from 1/16″ styrene and glued them together at the proper angle.
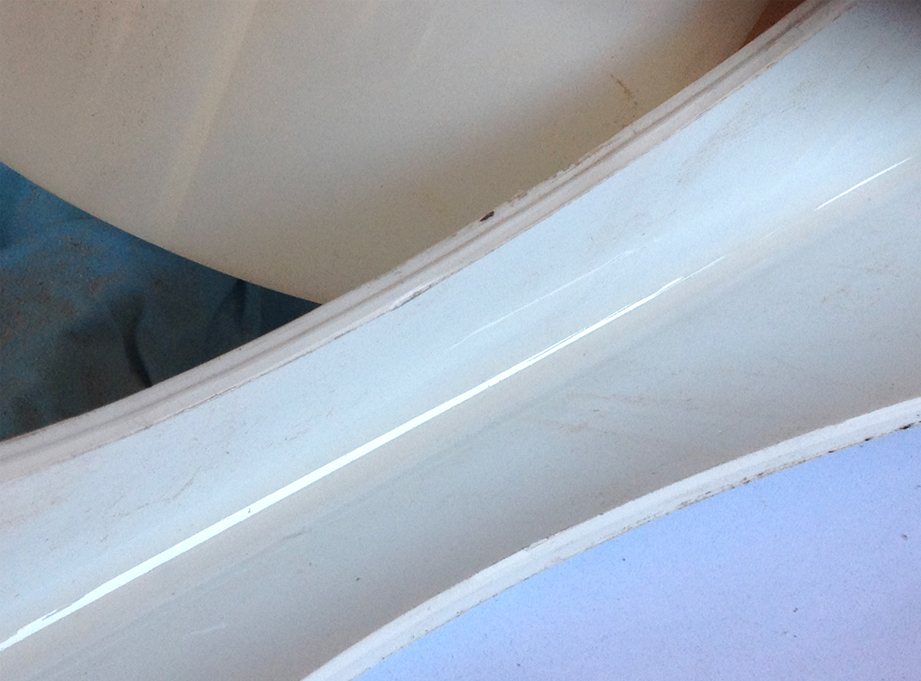
To get a nice strong seam, I poured Smooth-On Smooth Cast 65D into the intersection.
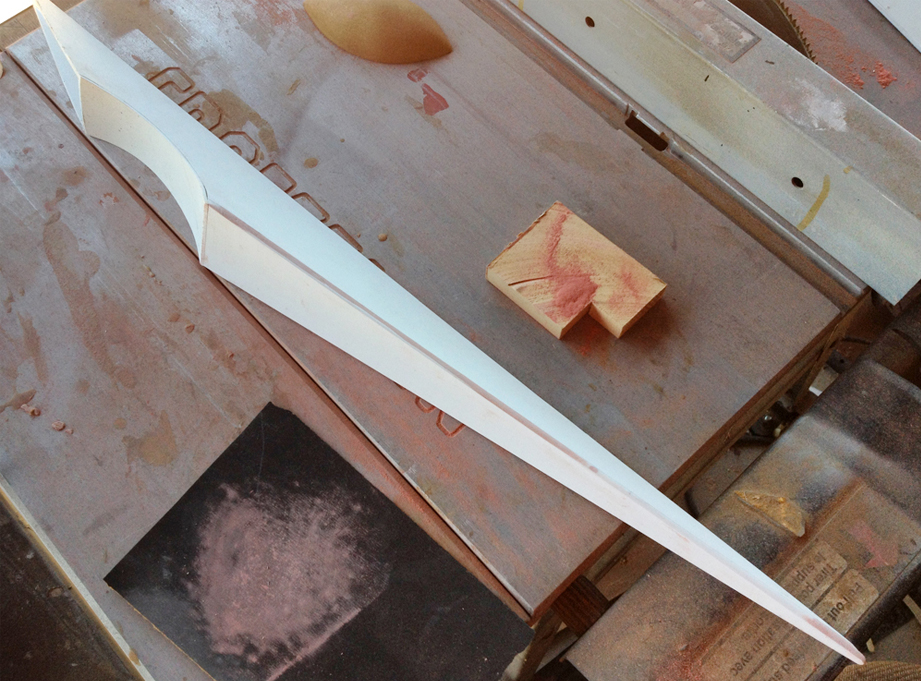
I used more styrene to seal up the spike.
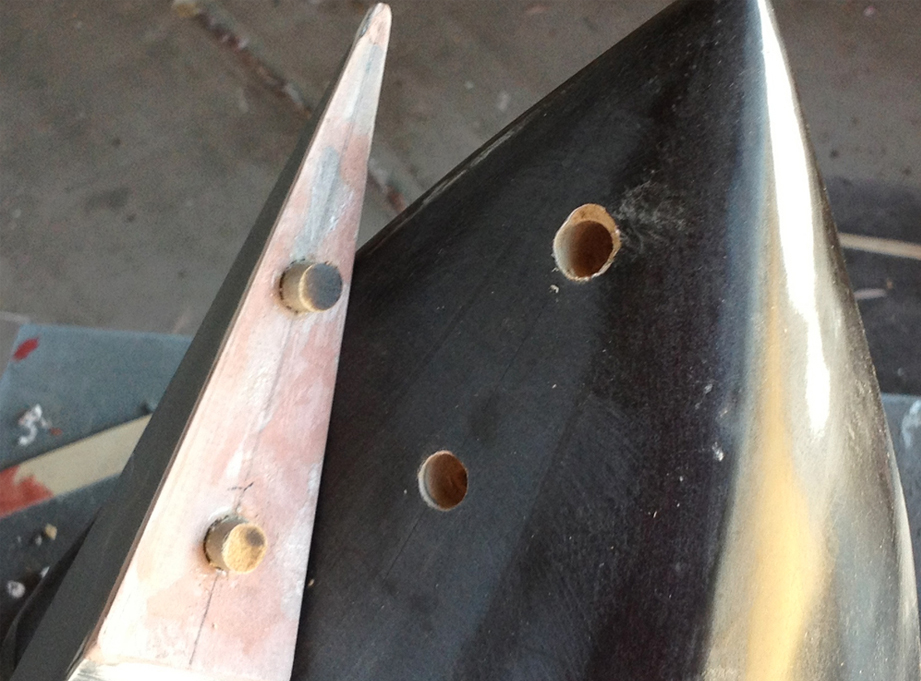
I added wooden dowels as glue pegs so that the spike could be easily attached to the helmet.
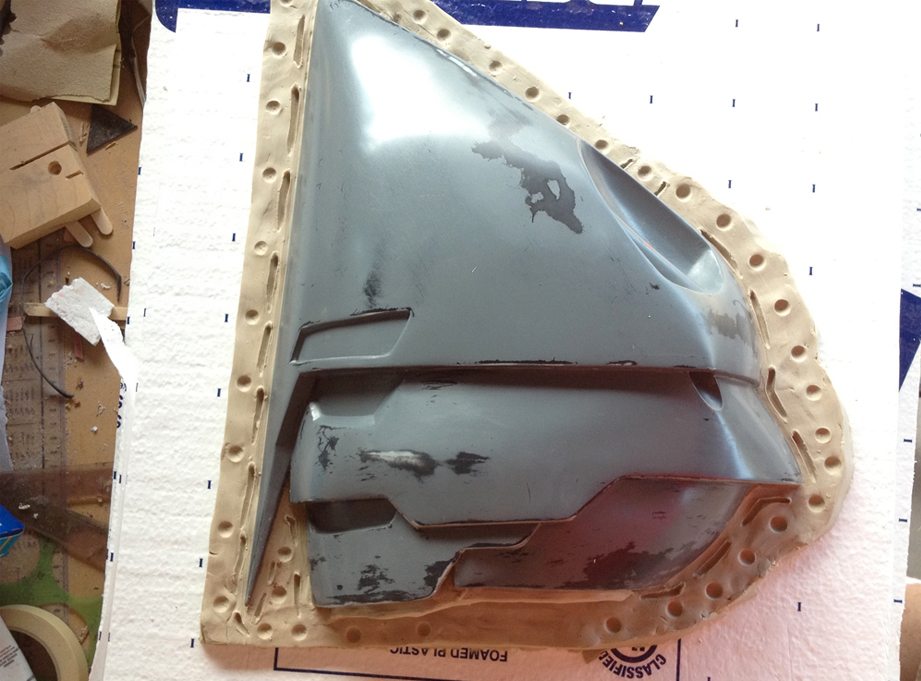
Now that everything was built and sanded smooth, it was time to make the mold of the helmet. I cut a hole the shape of the helmet’s profile in 2″ insulation foam and sealed the seam line with clay.
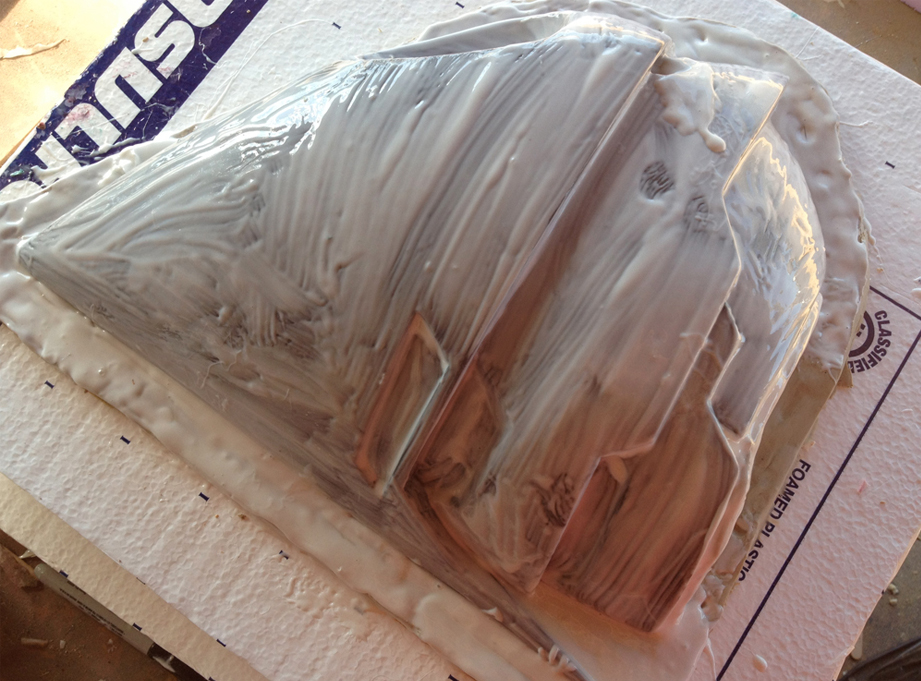
I brushed on a thinned print coat of Mold Max Stroke brushable silicone rubber to preserve the surface detail.
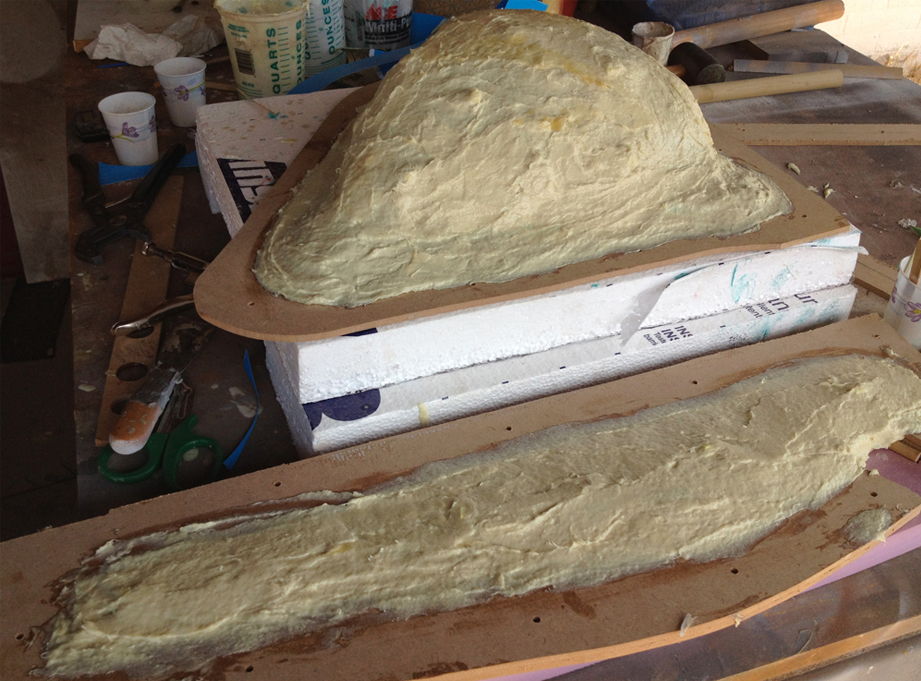
After the molds on the helmet and spike were built to a good thickness, I made support shells with Plasti-Paste II.
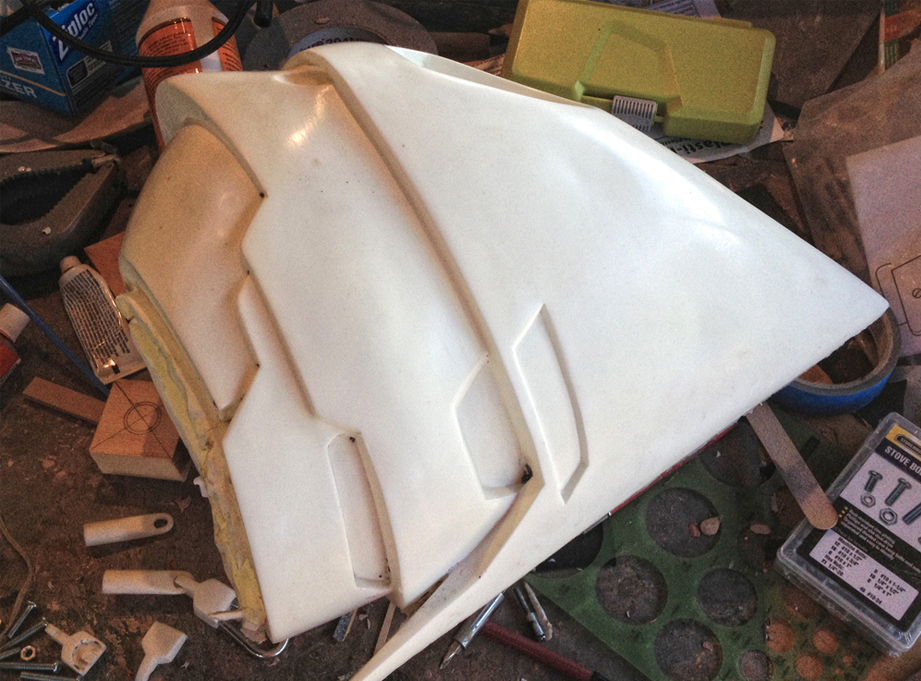
I slush cast 65D resin in the mold and popped out a beautiful copy of the helmet.
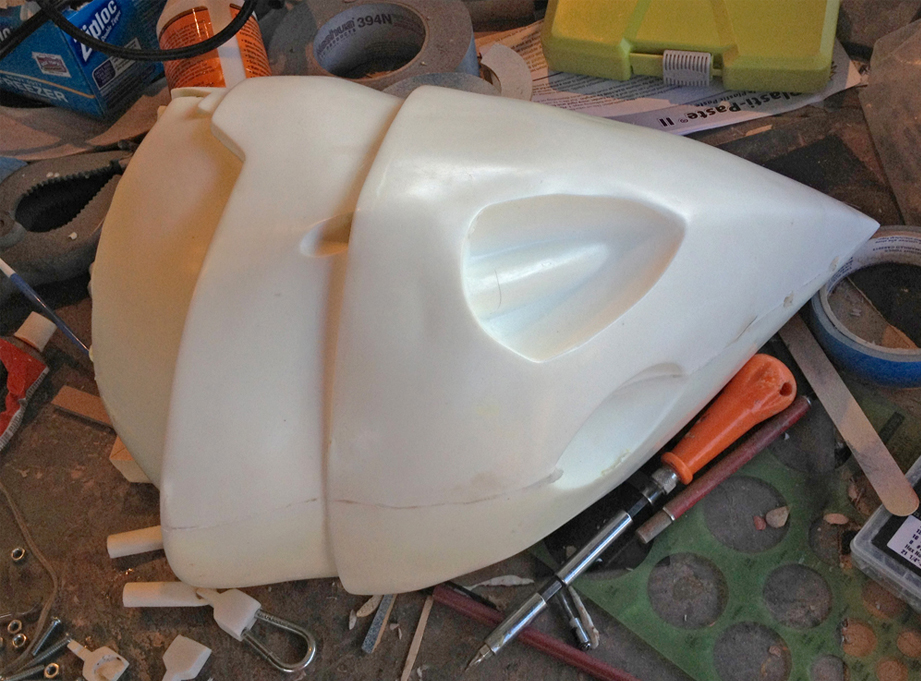
The back of the helmet.
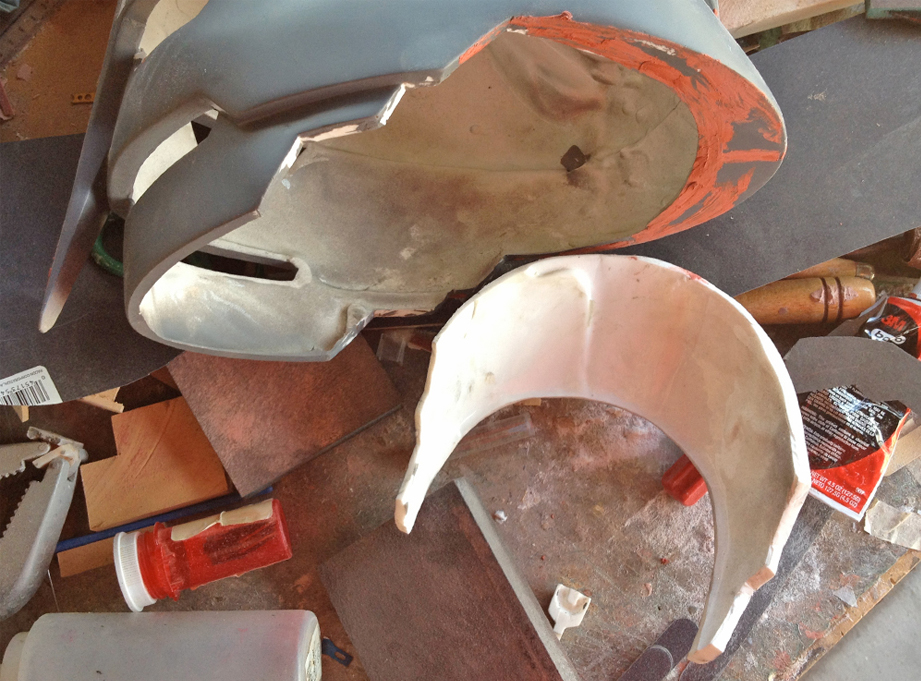
Since the neck hole is too small for the helmet to fit over the head, I had to cut off the lower plate and clean up the edges with putty.
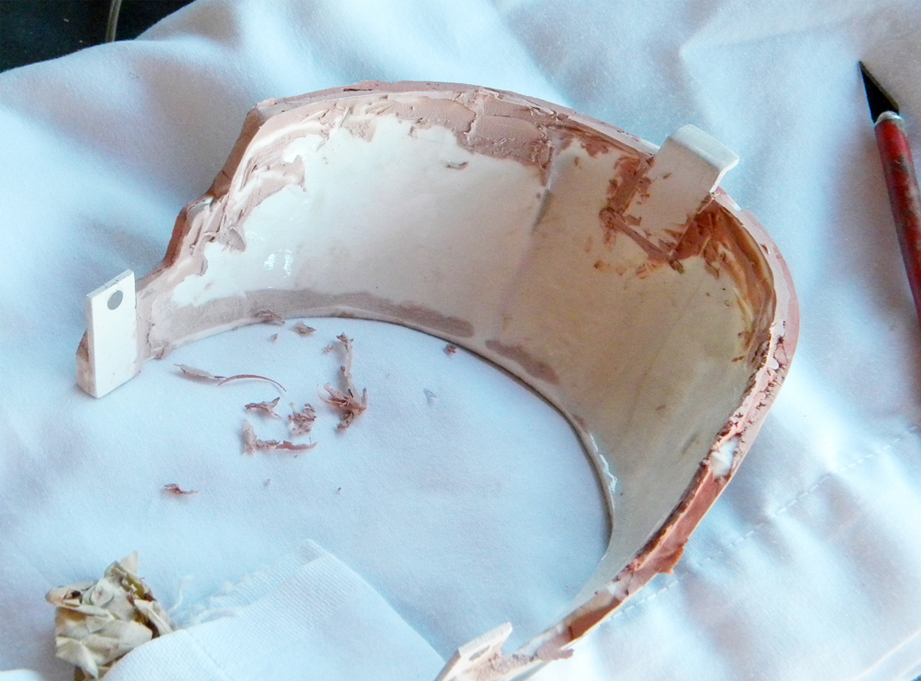
To re-attach it, I added a styrene hook to the back and tabs with rare-earth magnets at the front corners.
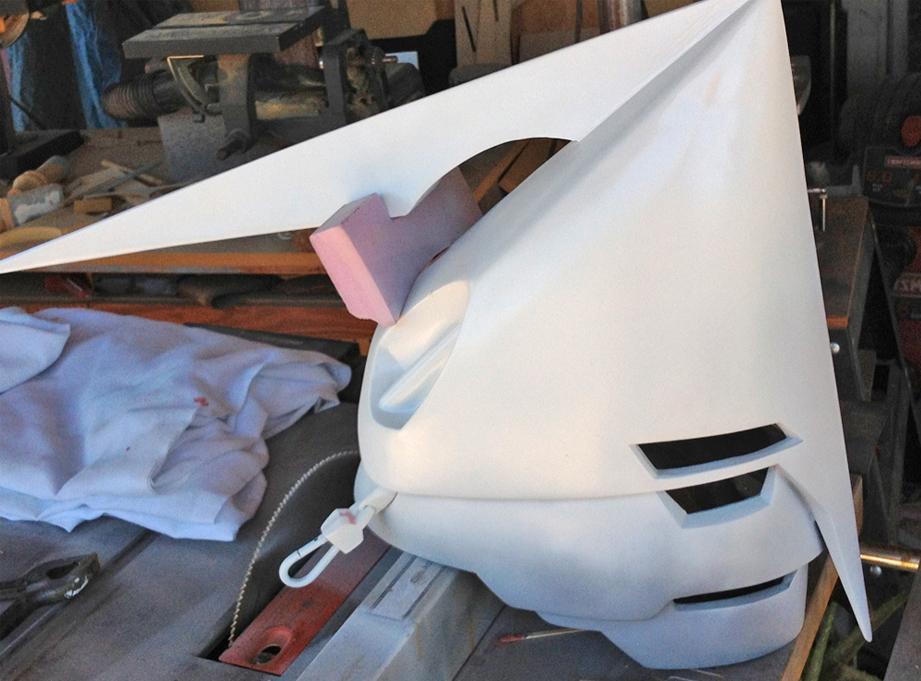
With the head spike attached, I gave the helmet a coat of white paint.
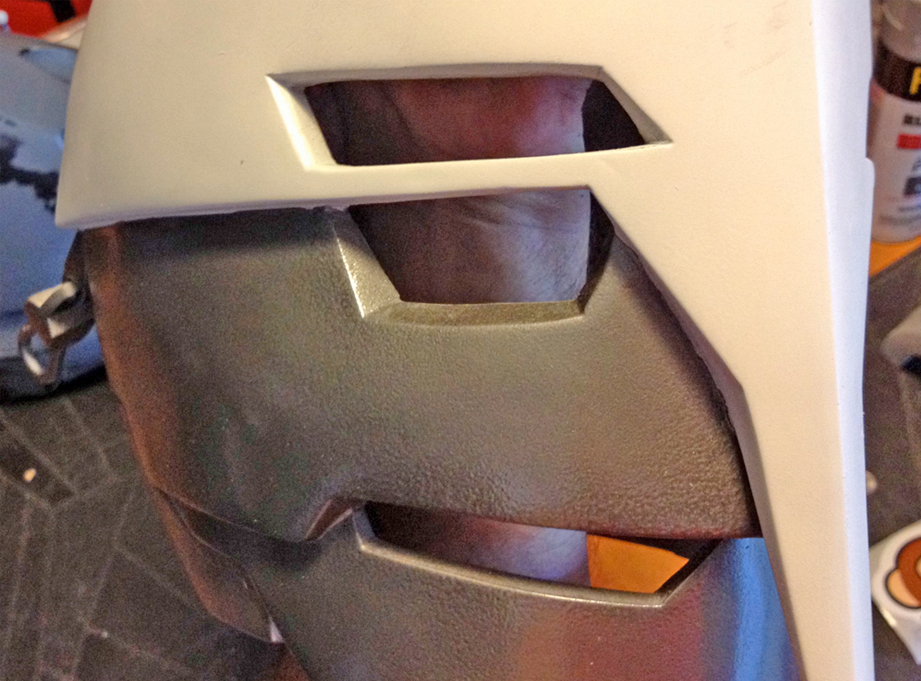
Next I masked off the white areas and painted the lower half with Hammered Grey paint.
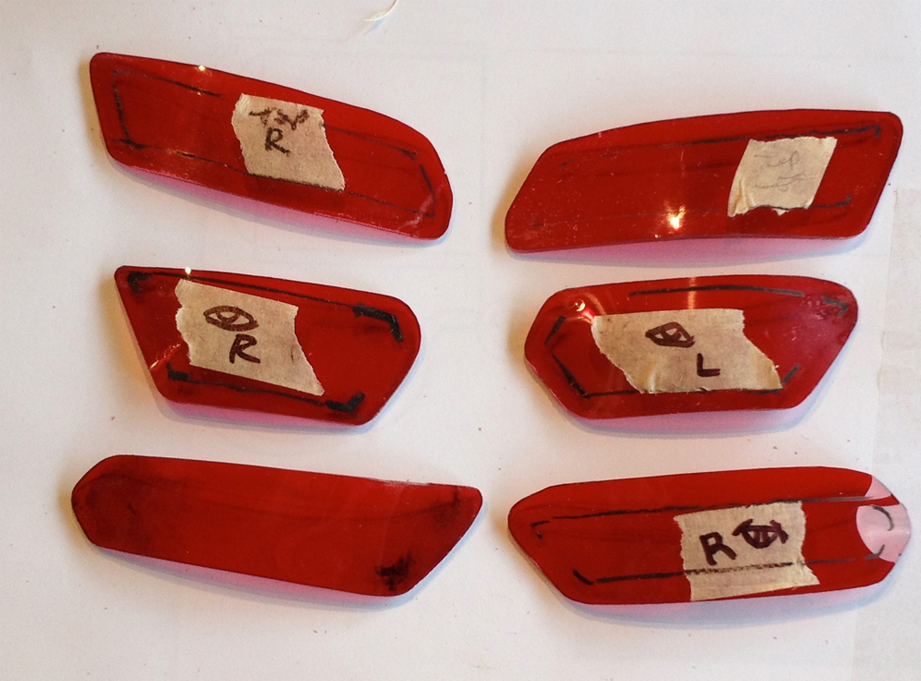
To fit the lenses, I cut some 1/8″ red acrylic to roughly the size, softened it with a heat gun and pressed them to fit from the inside of the holes. Since the fit was specific to each hole, I marked their identity with a black China Marker (which is a wax pencil).
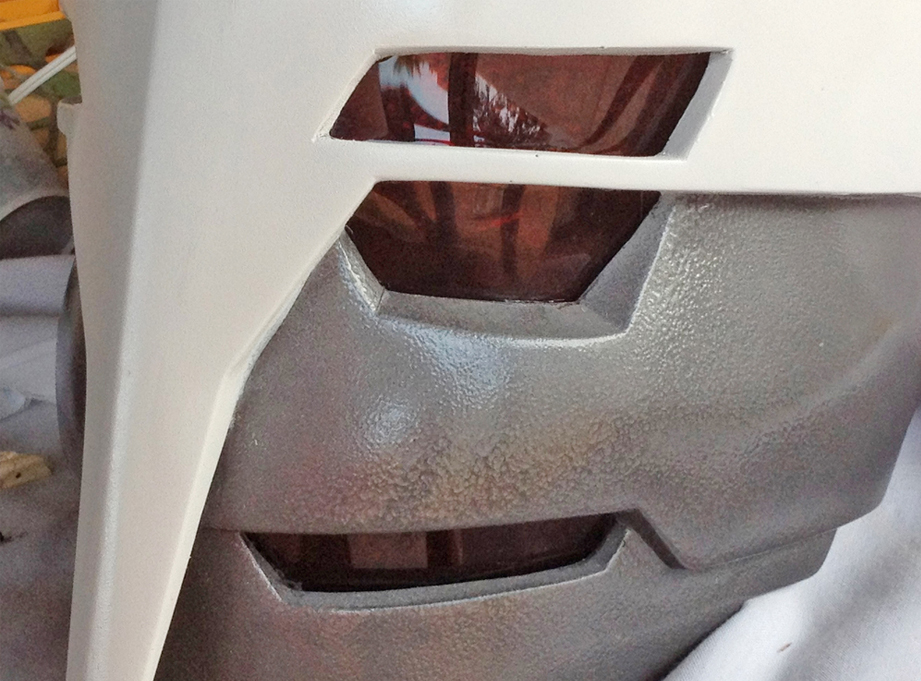
The lenses were backed with mirrored window tint so hide the eyes inside and then were attached with hot glue.
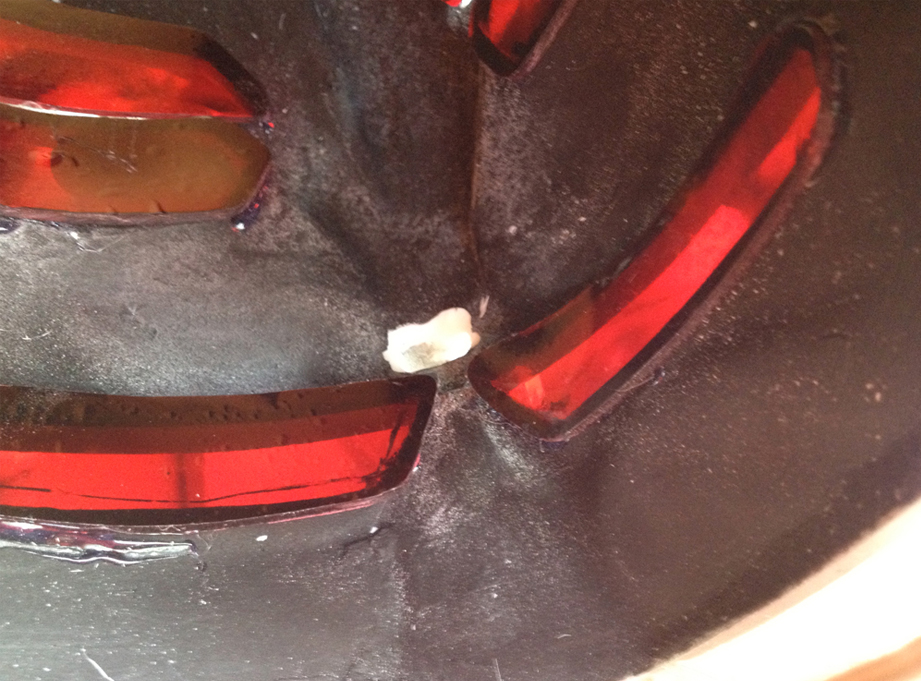
After a quick test fit, I discovered that there wasn’t much air coming into it. I cut a hole under the nose so the wearer could breathe.
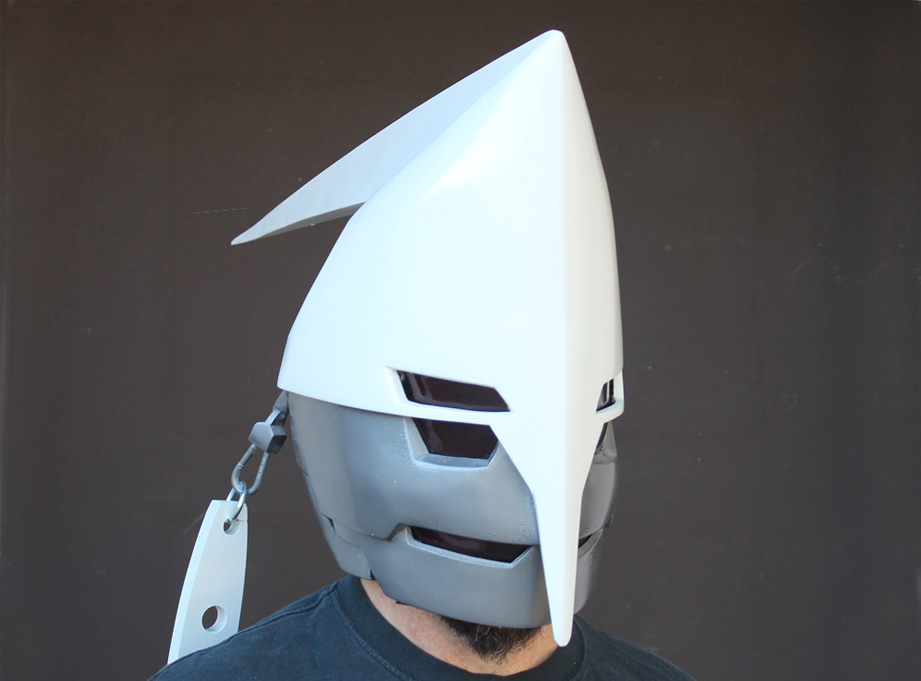
The final helmet!
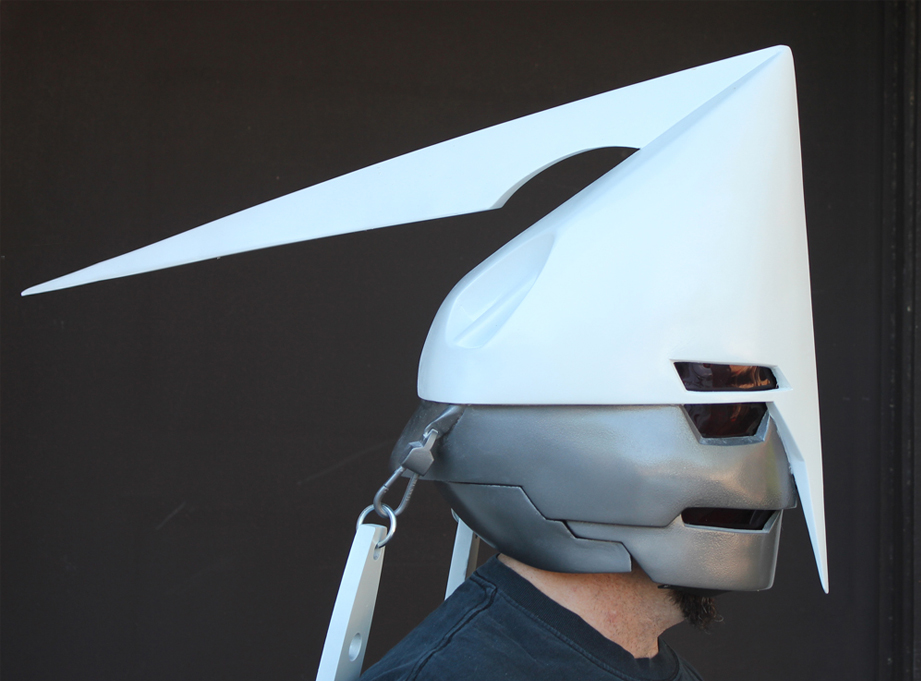
Here’s me wearing the helmet. Not much beard room but the visibility is pretty good!
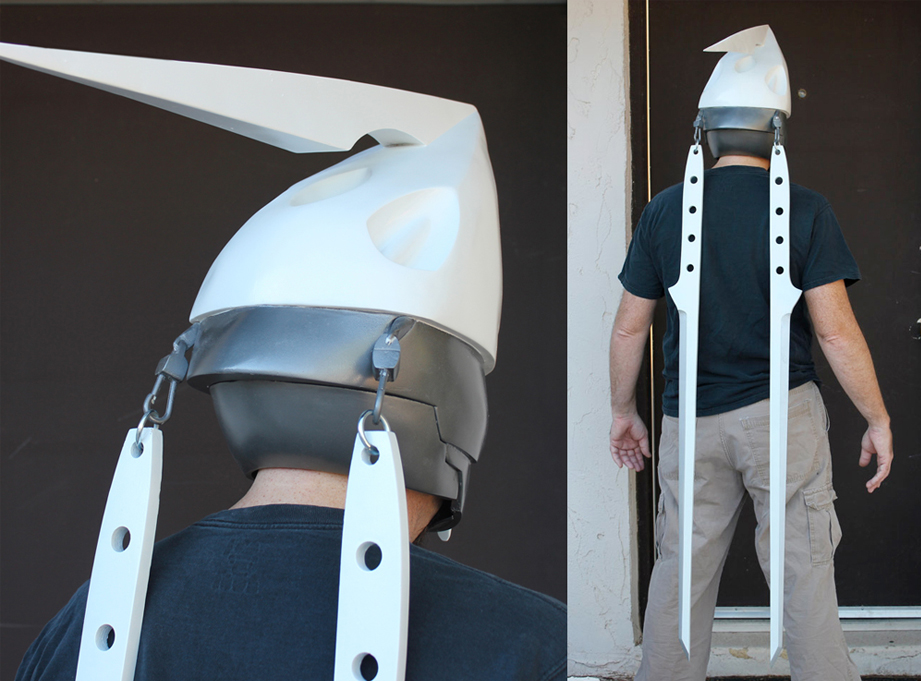
The blades are so light you can’t tell that they’re back there. Just don’t forget and sit down!
