interstella helmet
October 2010
Interstella 5555: The 5tory of the 5ecret 5tar 5ystem is a Japanese-French anime science fiction musical film based on Discovery, the second studio album by Daft Punk. Interstella 5555 tells the story of the abduction and rescue of an interstellar pop band.
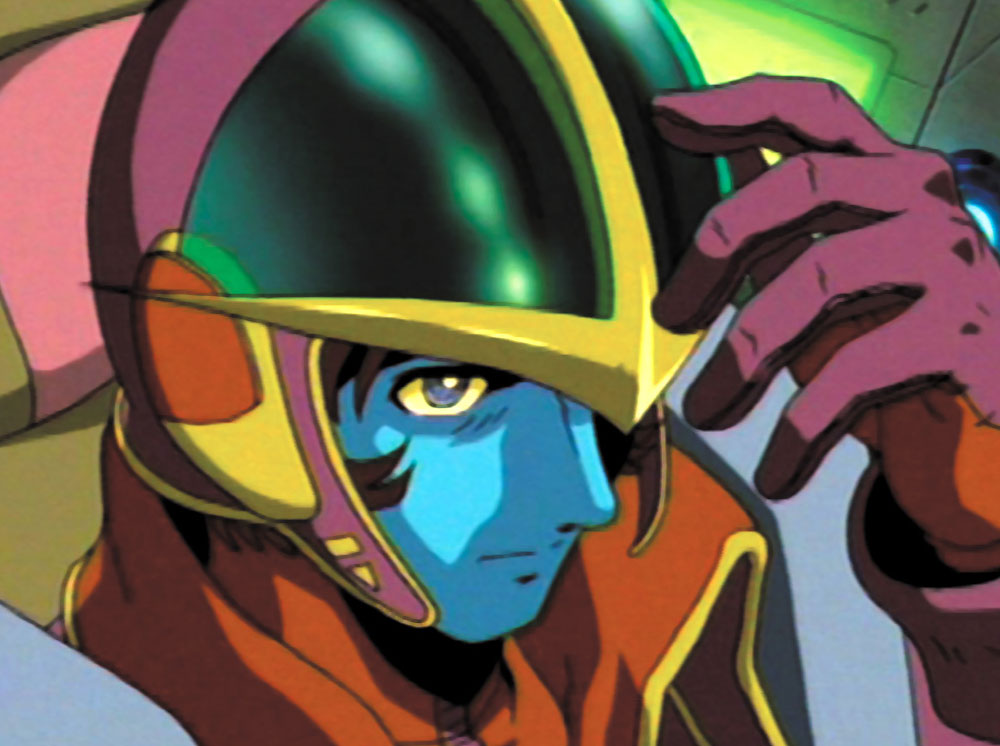
I was commissioned to make Shep’s helmet from the Daft Punk animated film Interstella 5555. The Helmet would need to have a working movable visor
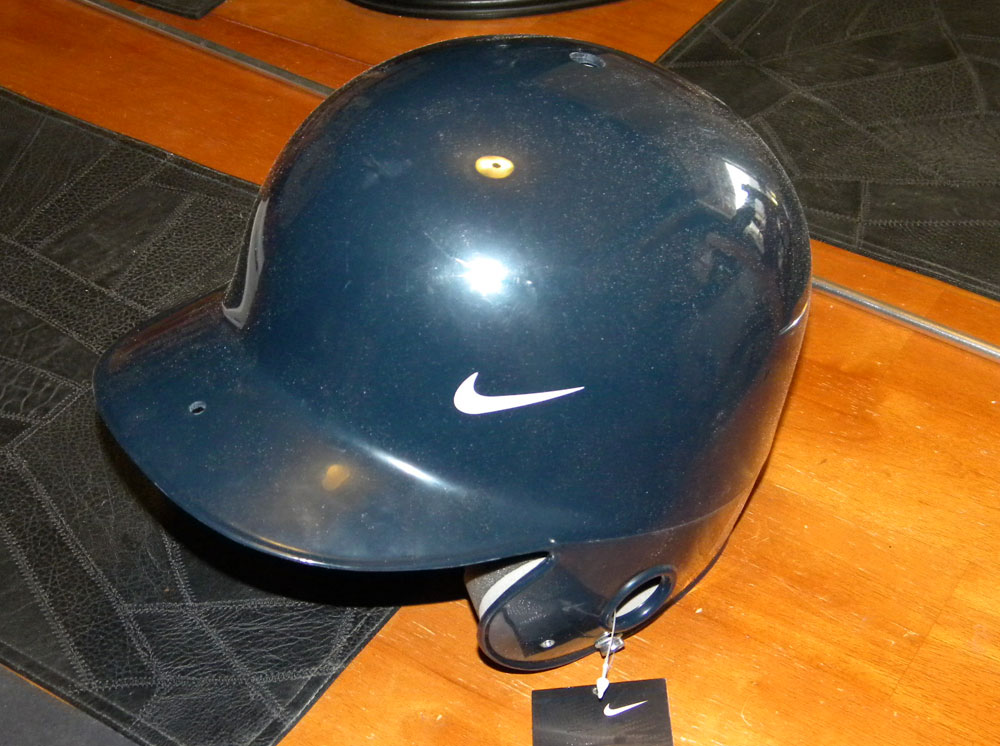
I started with a client supplied batting helmet so we knew it would fit the them.
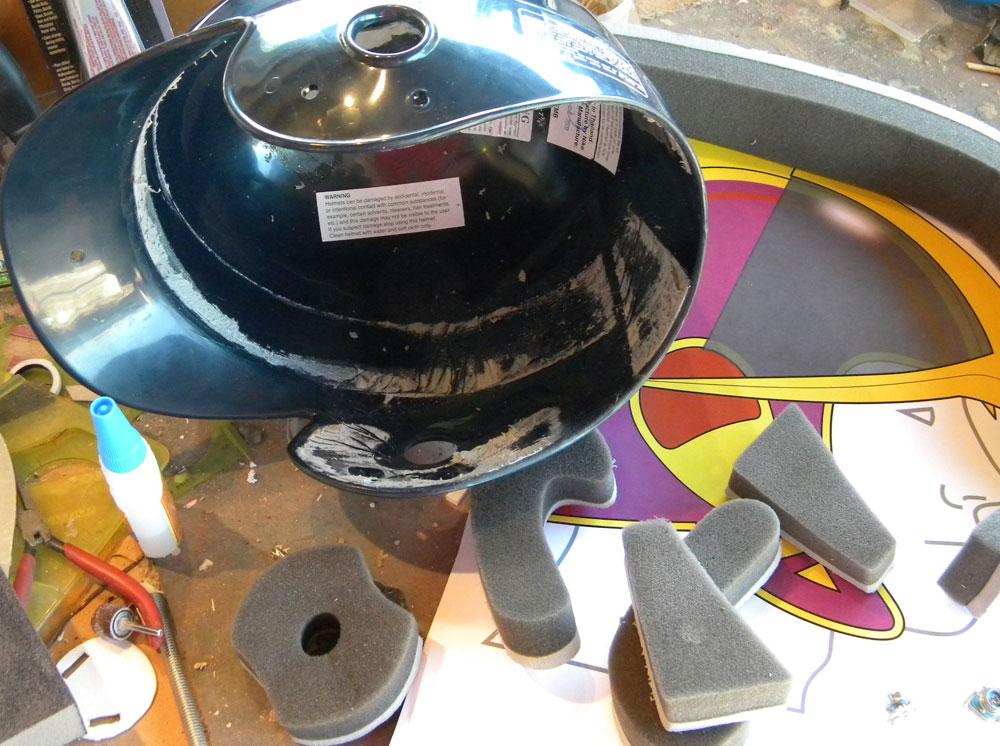
I removed all the interior padding so it could be transplanted into the final finished helmet.
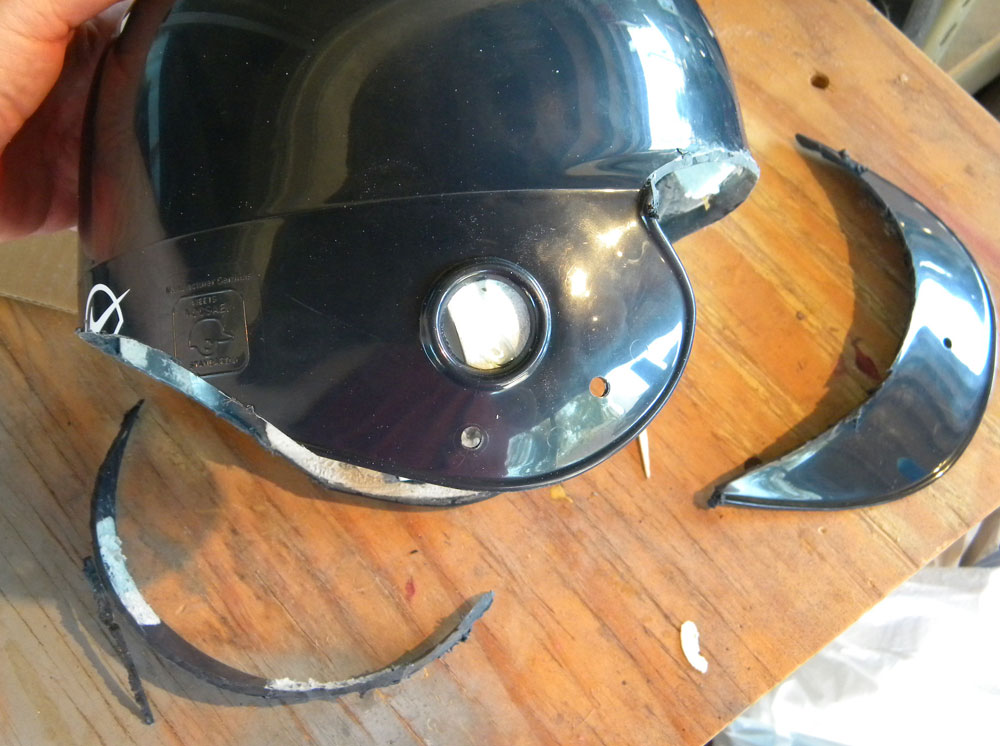
I cut off any geometry that didn’t conform to the final helmet.
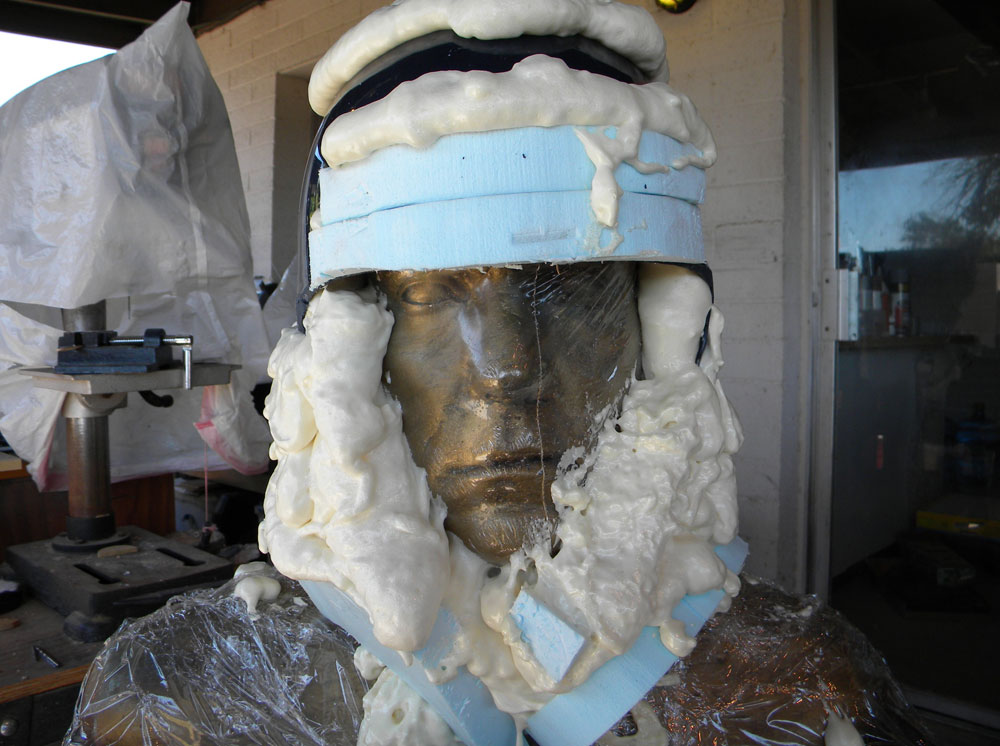
I added sheet insulation foam to block out the new dimensions and used expanding foam to fill in the gaps. What a mess!
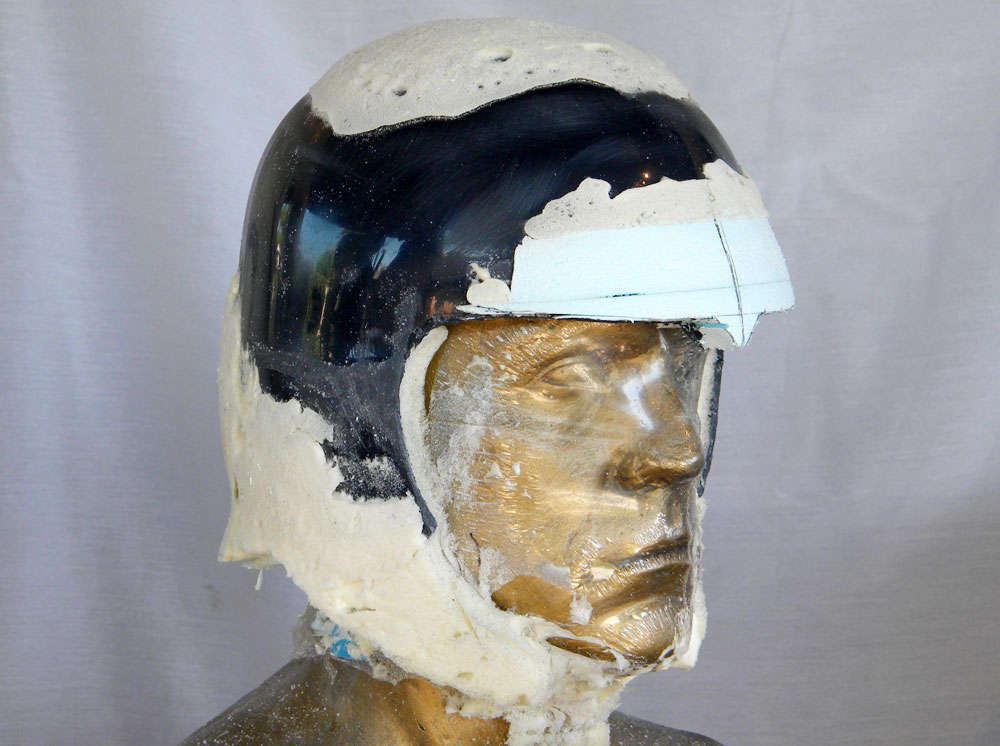
Once cured, I filed/cut/sanded the foam to the dimensions of my plans.
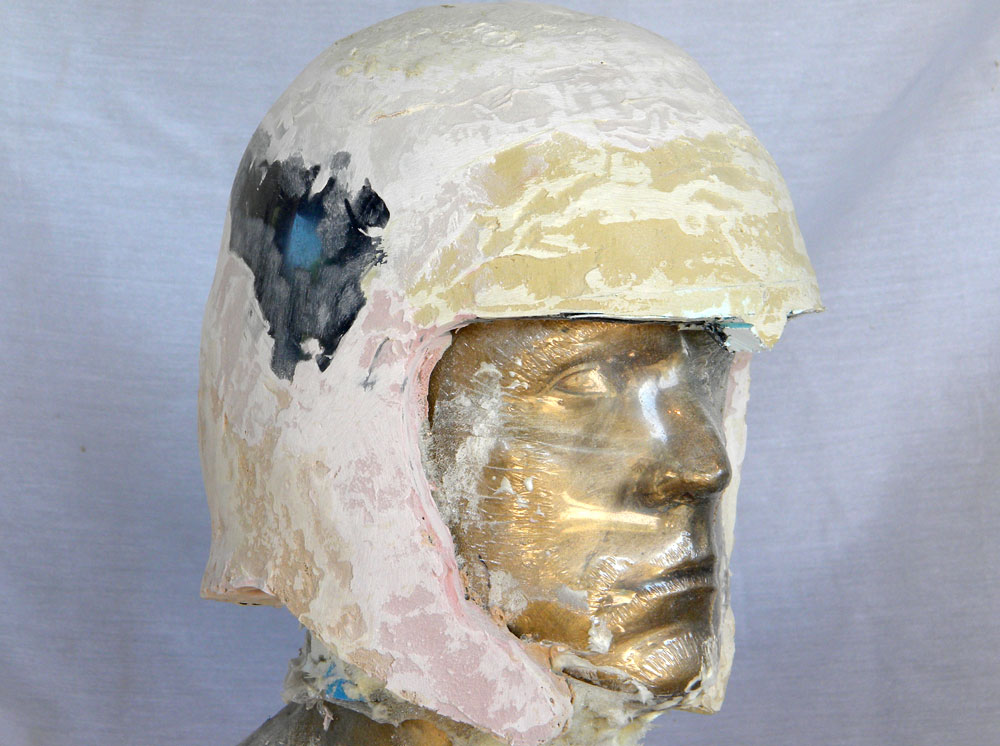
I added Bondo to further shape the helmet, fill holes and coat the foam.
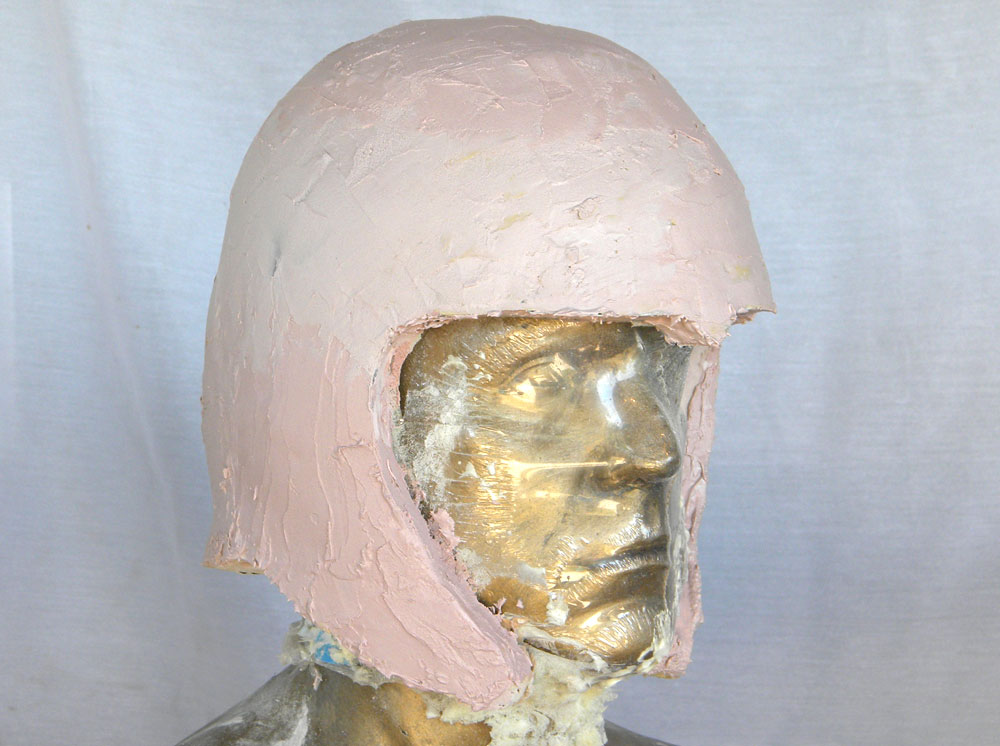
I applied a coat of Bondo over the entire helmet to prep the final surface.
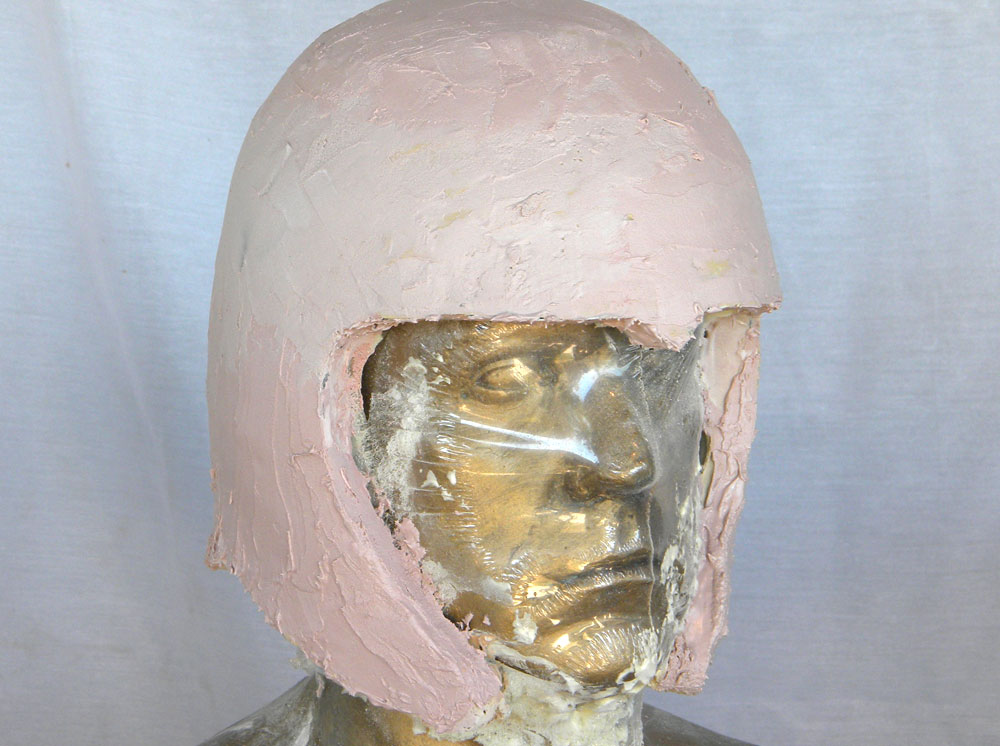
After much sanding and additional Bondo patches, a smooth suface starts to take shape.
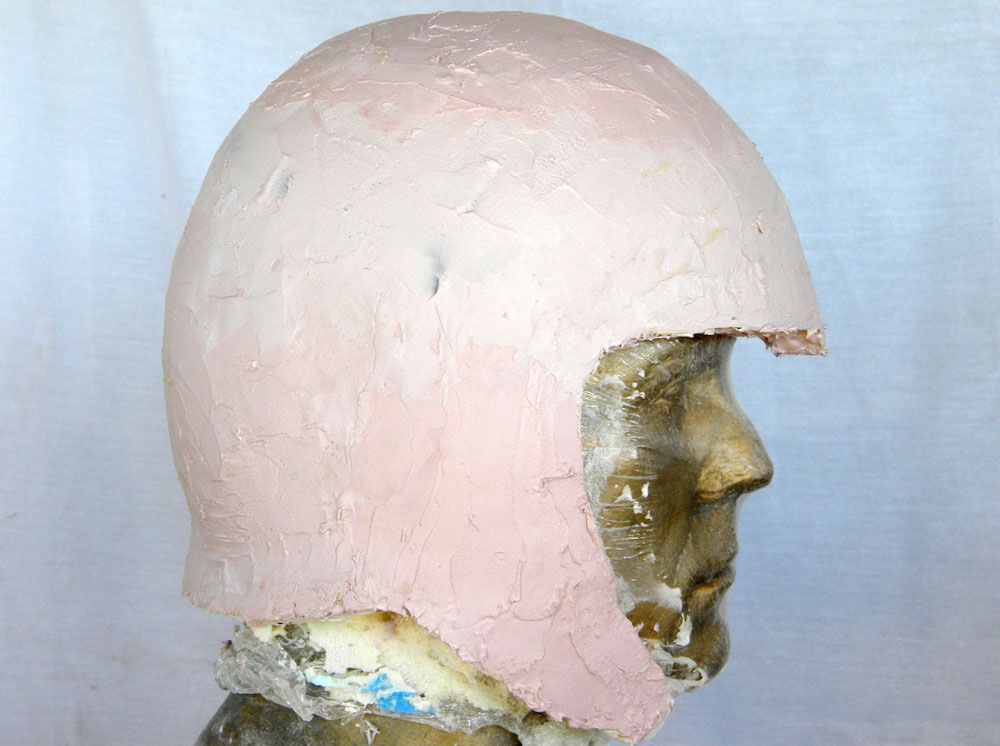
Comparing the helmet to the plans, I noticed that the front profile wasn’t round enough on top, the side slightly slanting inward.
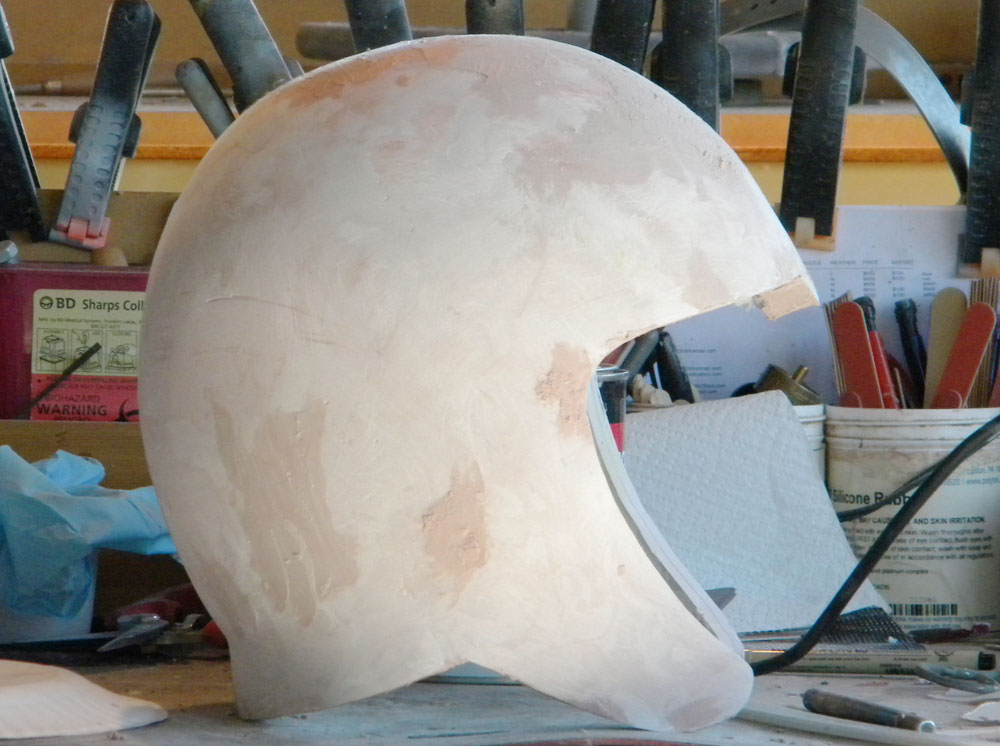
I added more Bondo to build out the sides and eventually smoothed it to a more accurate profile.
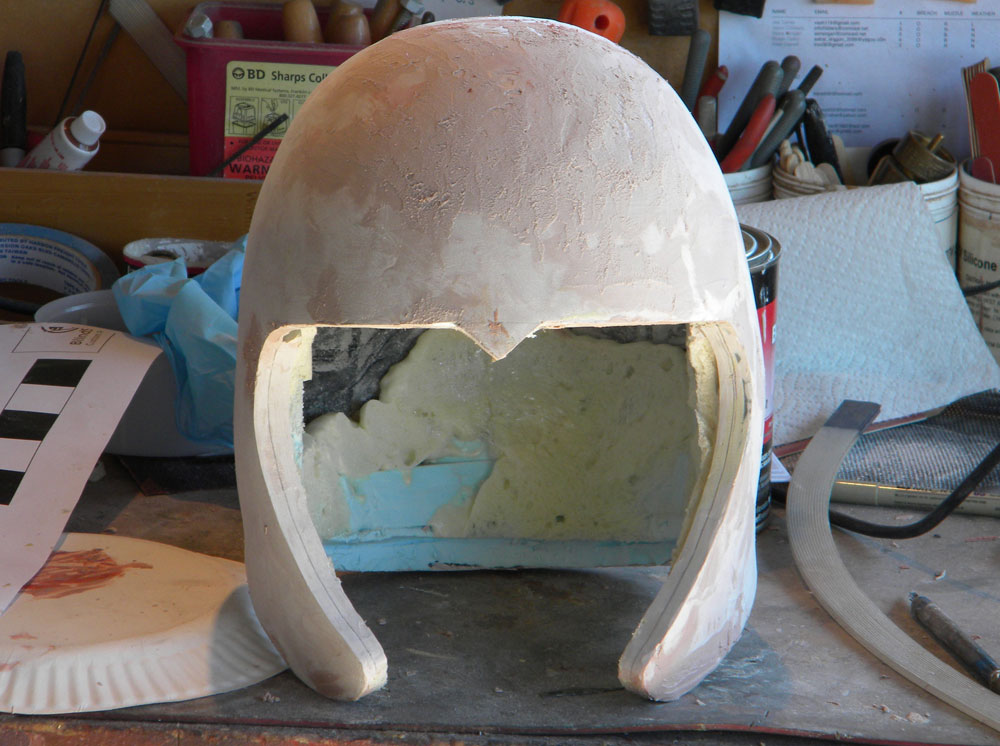
From the front, I could see that the shape of the helmet wasn’t quite right.
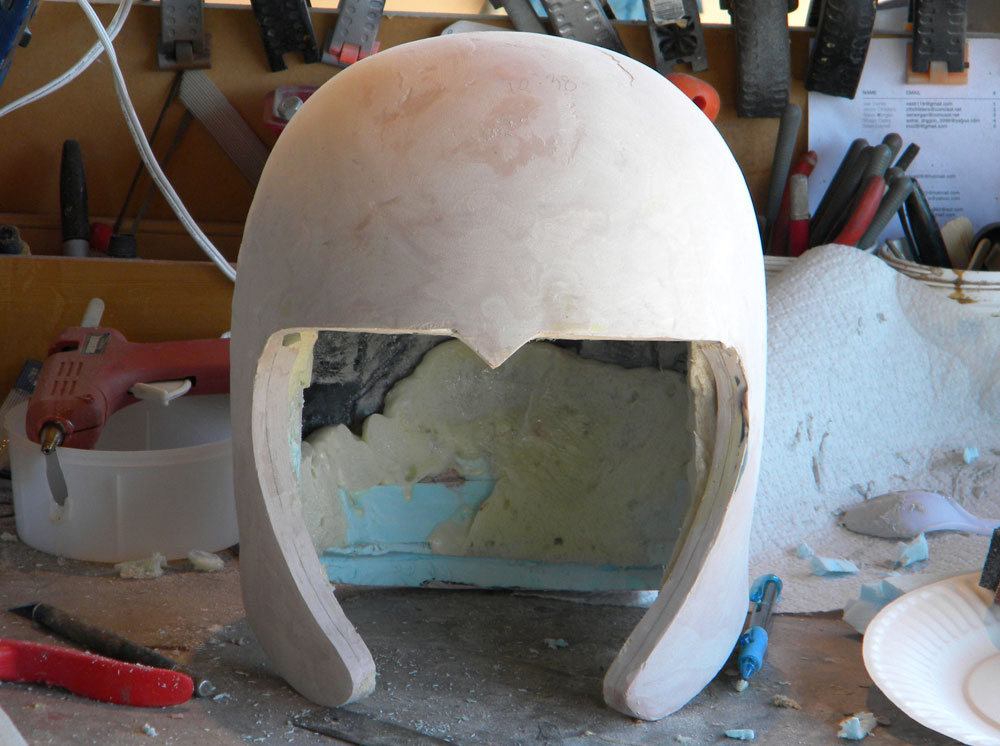
Additional Bondo rounded out the form.
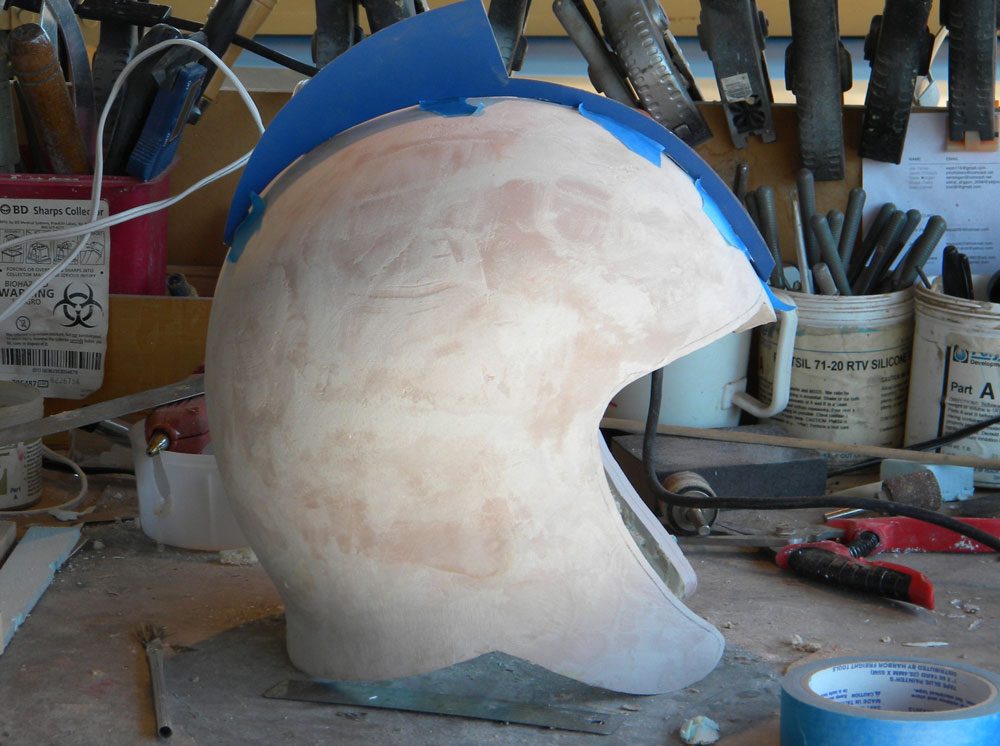
I transferred the crest profile to poster board so I could see how it fit on the actual helmet. Once the pattern was adjusted to fit, I had a template to cut the crest.
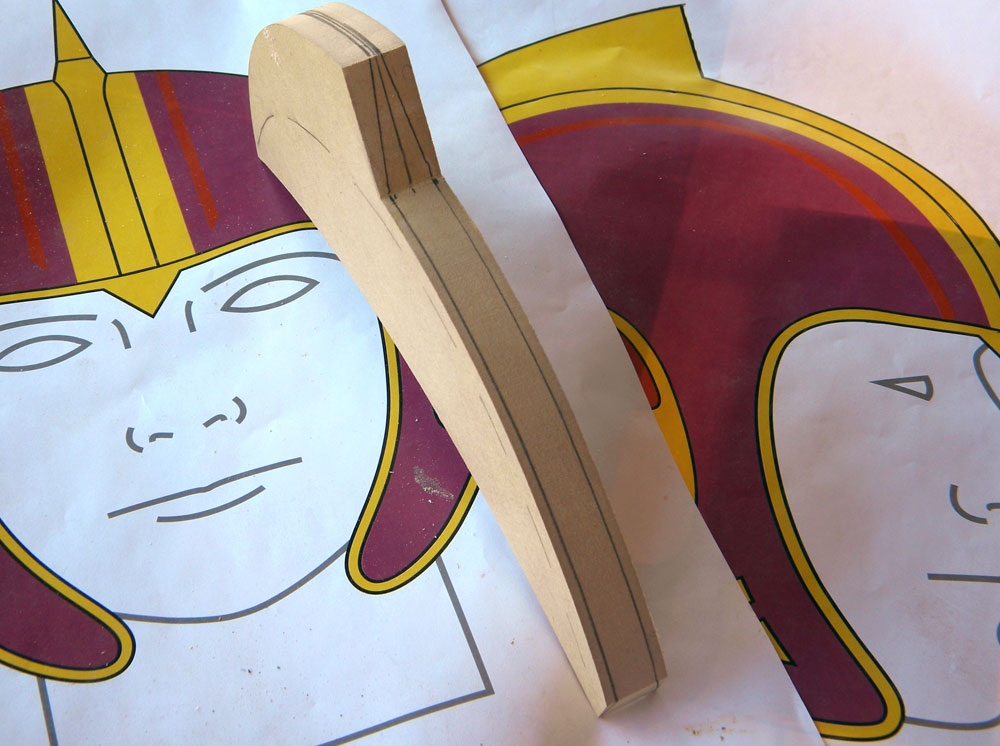
I cut the crest profile out of 3/4” MDF, and marked where it would need to be sanded to match the taper of the plans.
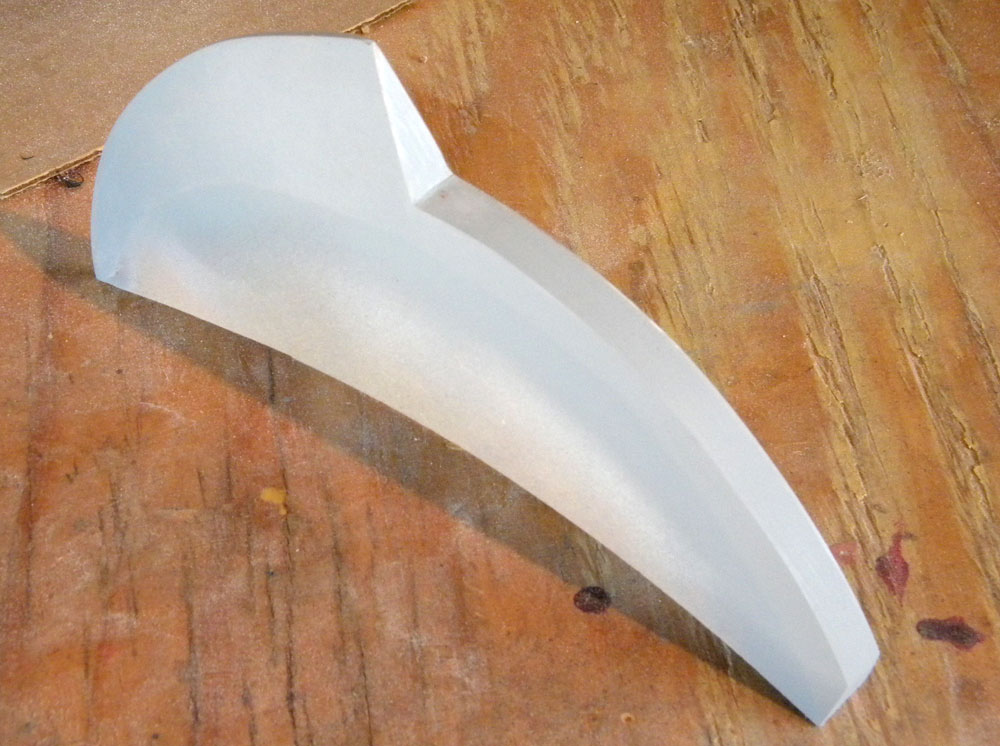
The final crest.
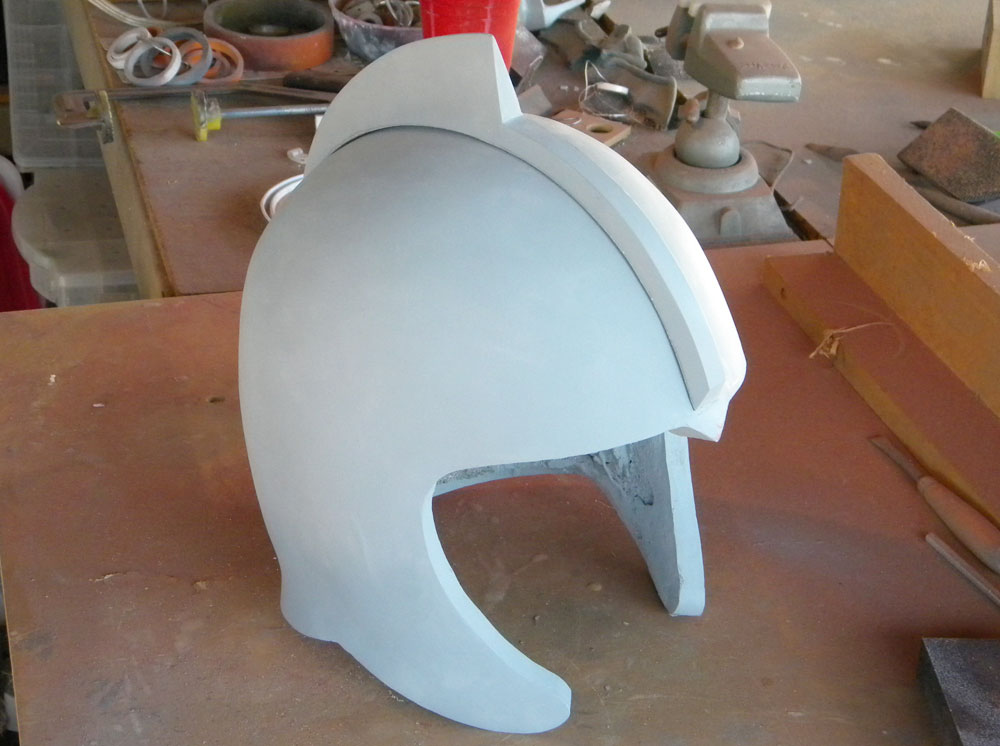
To prevent the crest popping off during construction, I attached it with epoxy and screws from inside the helmet.
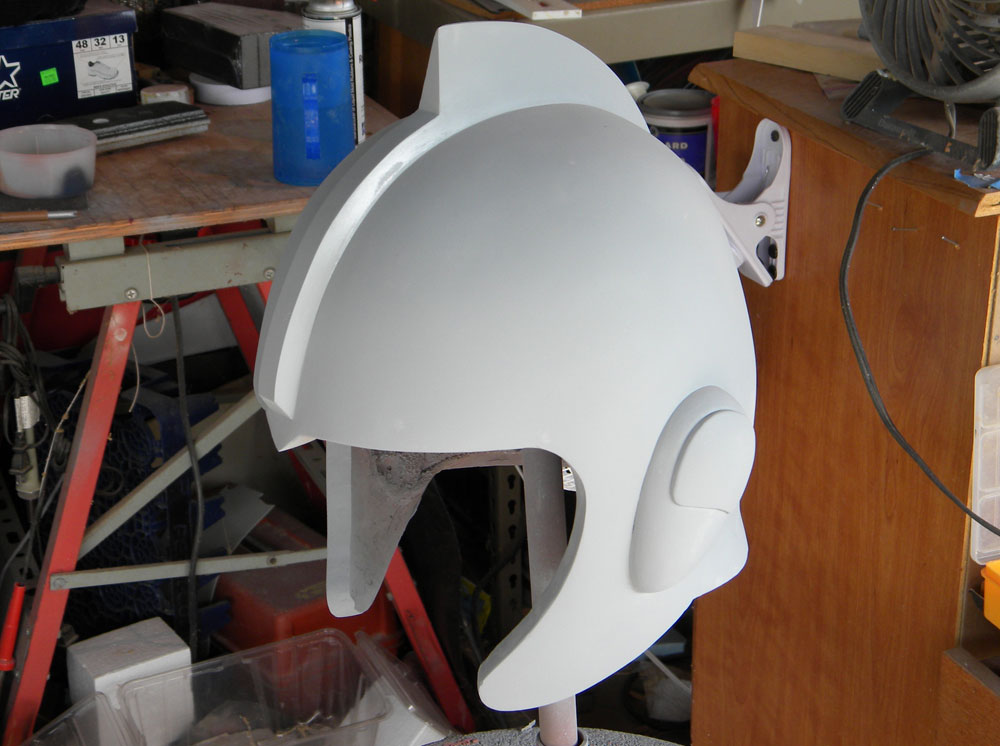
The final crest blended into the helmet.
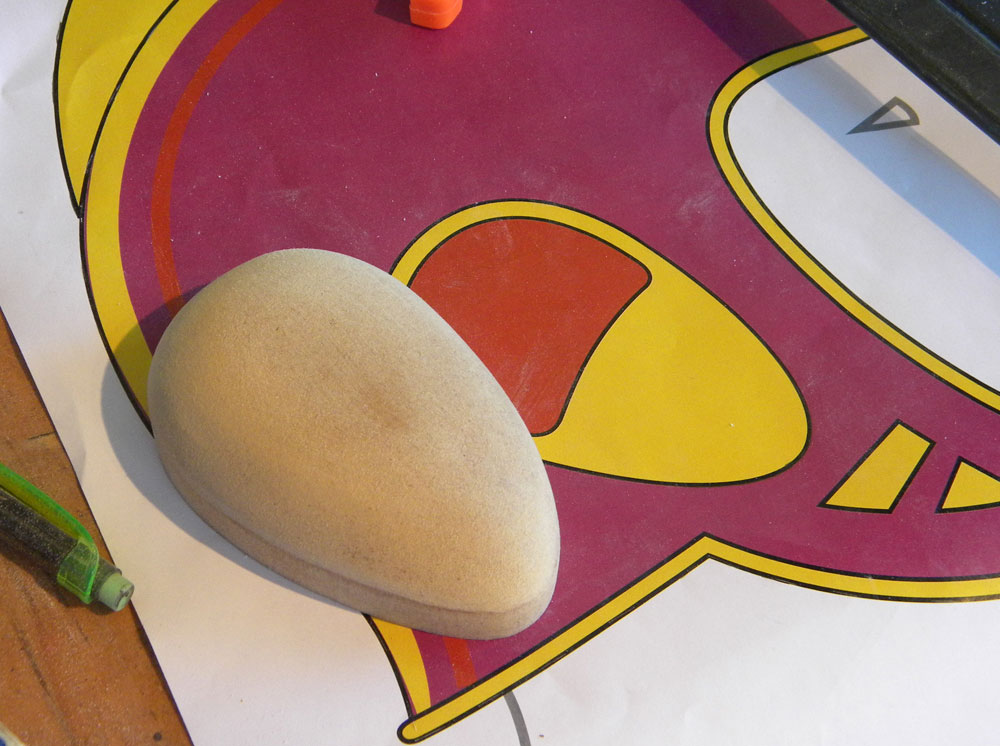
I formed the master for the ear cups from several pieces of MDF glued together.
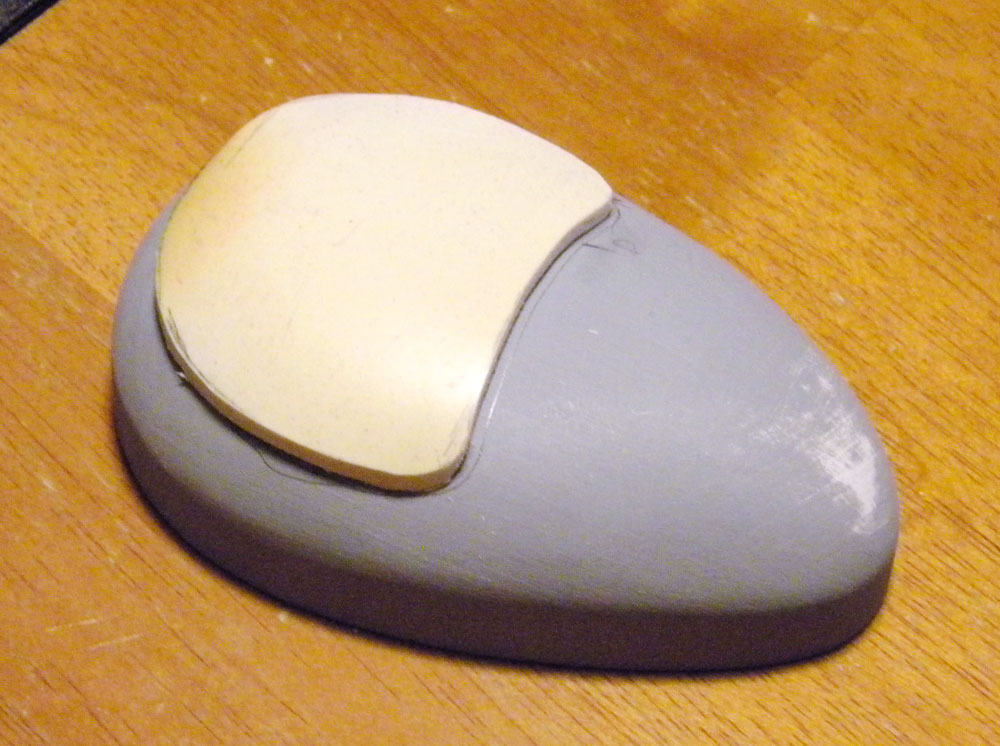
I decided to make the red semicircle on the ear cup raised to hide the slot for the visor. I heat formed .125” styrene over the cup base.
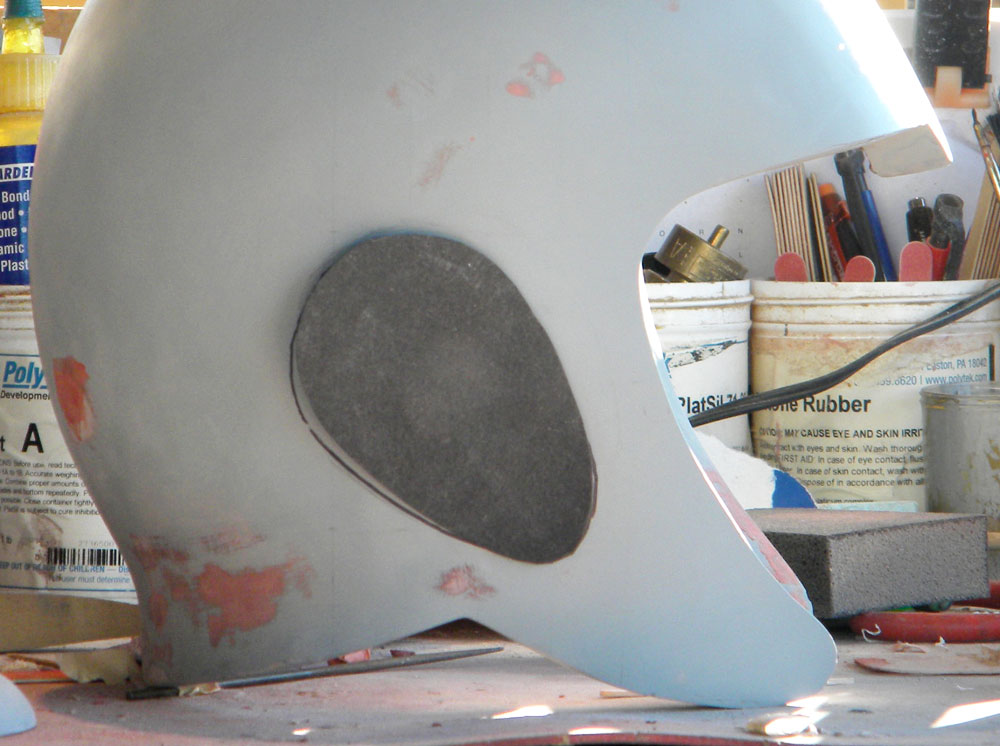
I used poster board templates of the ear cup to mark their placement on both sides of the helmet. This allowed me to match the location and rotation of the cups so that the helmet would be symmetrical.
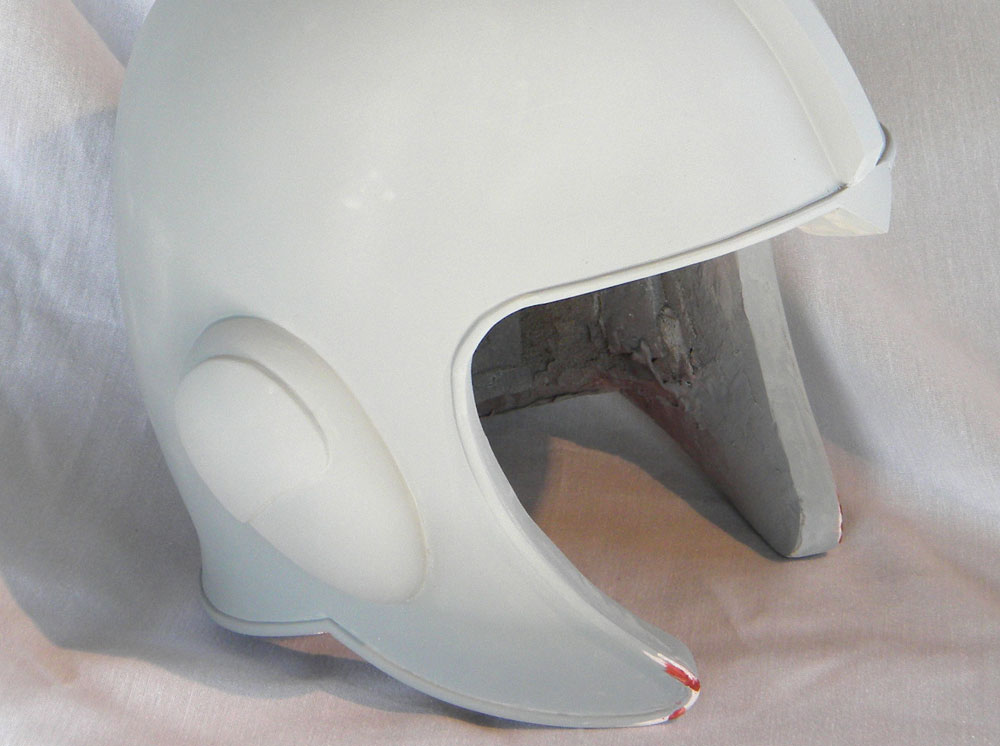
I molded and made resin copies of the ear cups and glued them to each side.
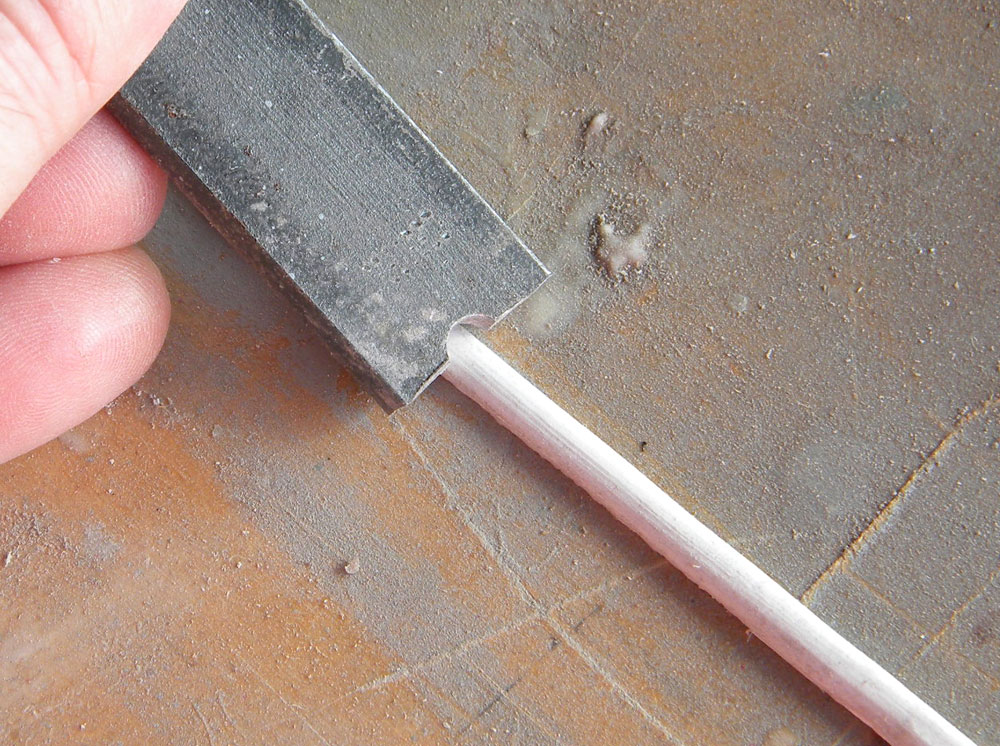
I needed half round styrene strips for the trim on the helmet, but no one made it thick enough. I cut thick styrene into strip and used a block of steel with the half round profile cut into it to shave the strips into shape.
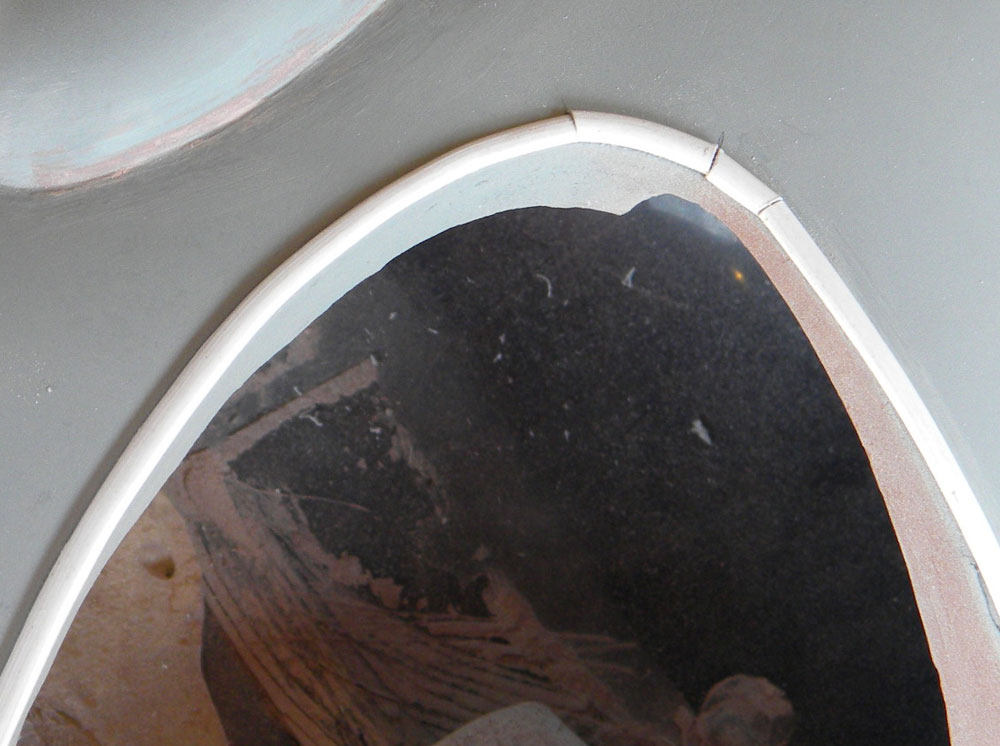
I glued the half round styrene around the border of the helmet. Thick styrene is hard to bend without distortion so I cut smaller pieces to make the tighter curves. After a coat of primer, I could smooth out any kinks or putty over any gaps.
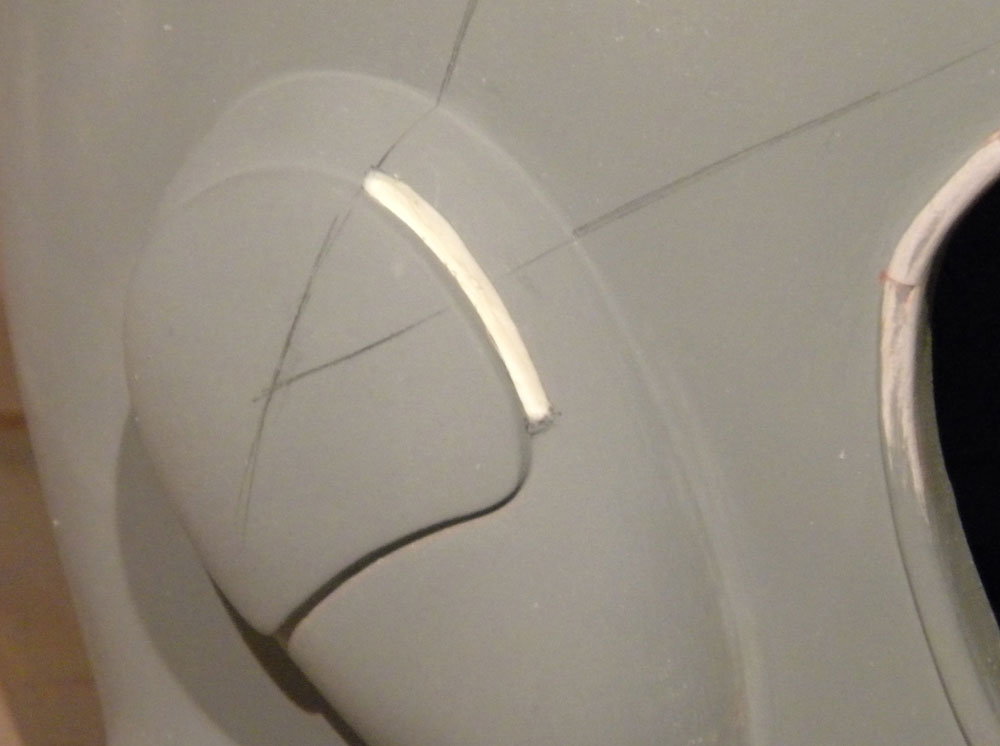
Based on the angles that the visor would need move in both up and down positions, I cut a slot in the ear cups for the visor to picot through.
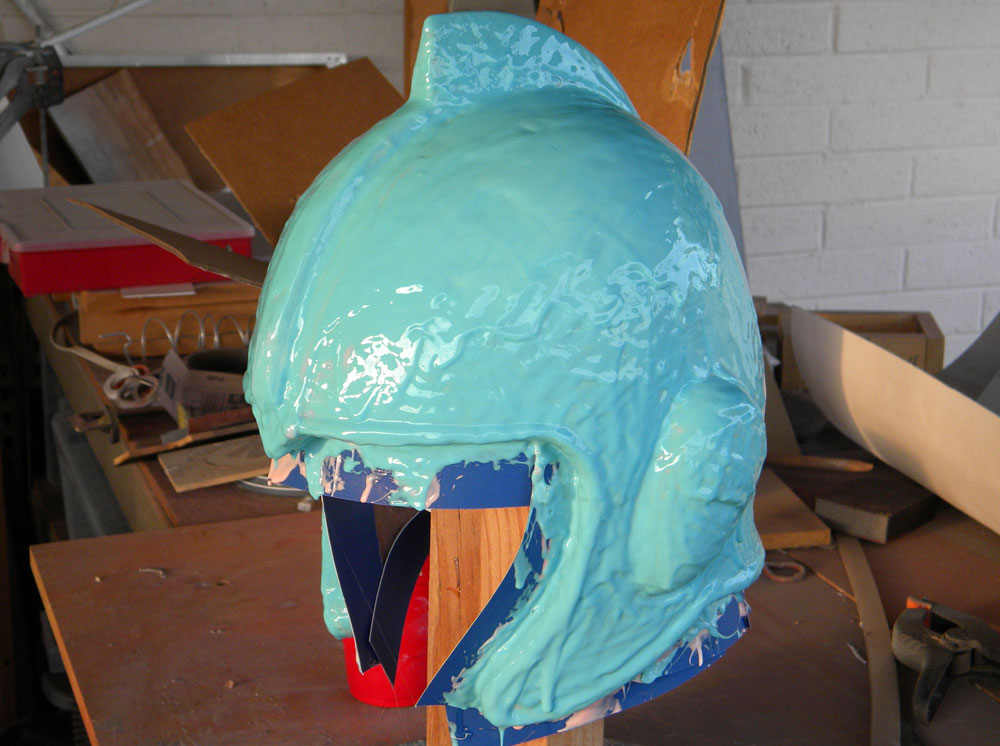
I applied a thinned coating of Smooth-On MoldMax Stroke to capture the surface details.
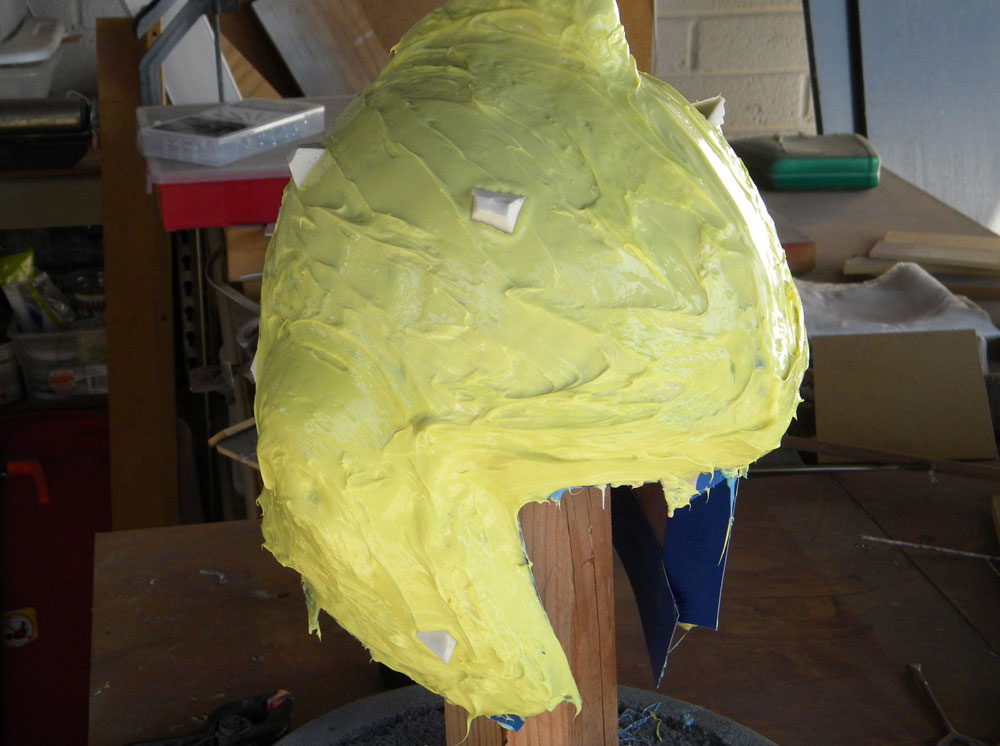
After that cured I applied more Stroke layers to build up a thick mold wall.
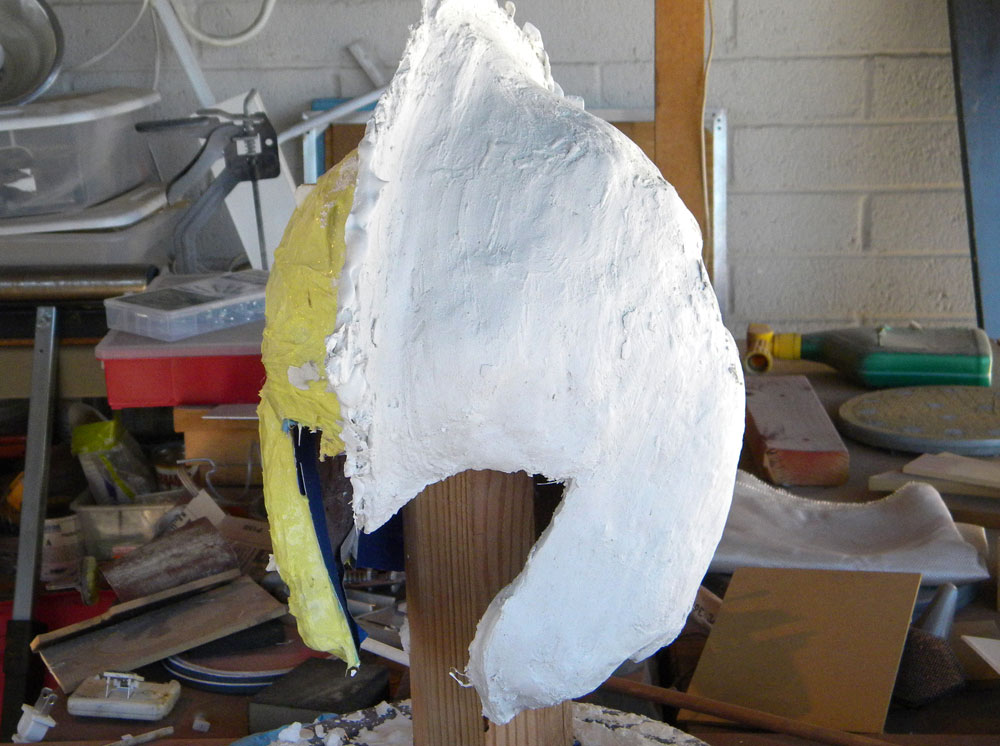
The next day, I applied a plaster mother mold in halves to the mold.
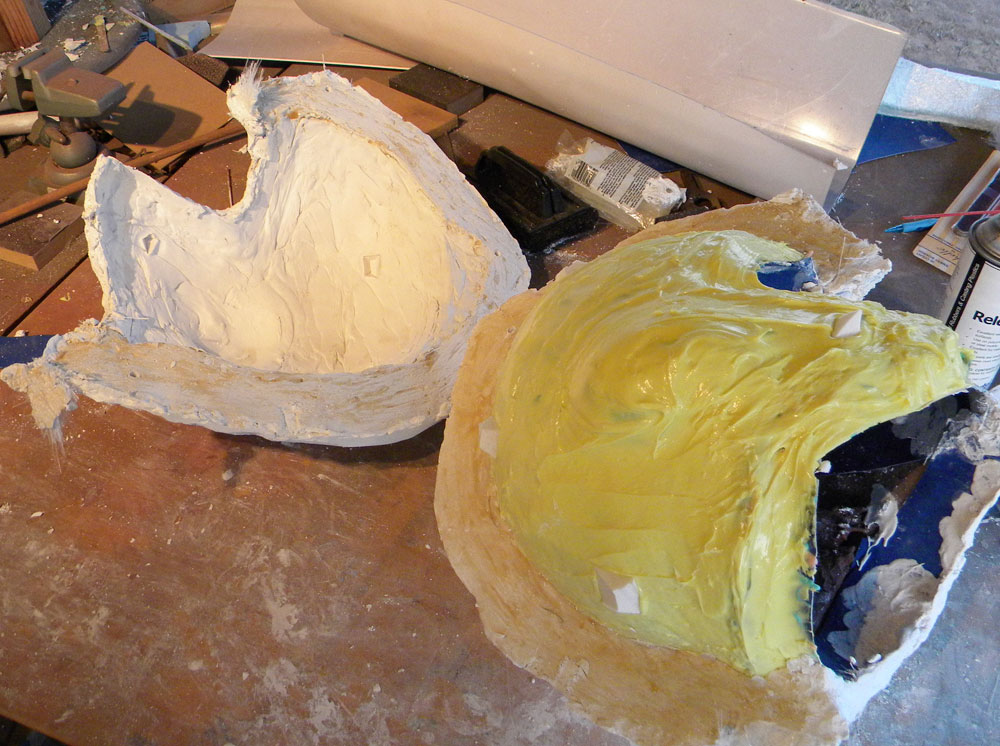
Once the plaster dried thoroughly, I was able to remove it and demold the helmet master.
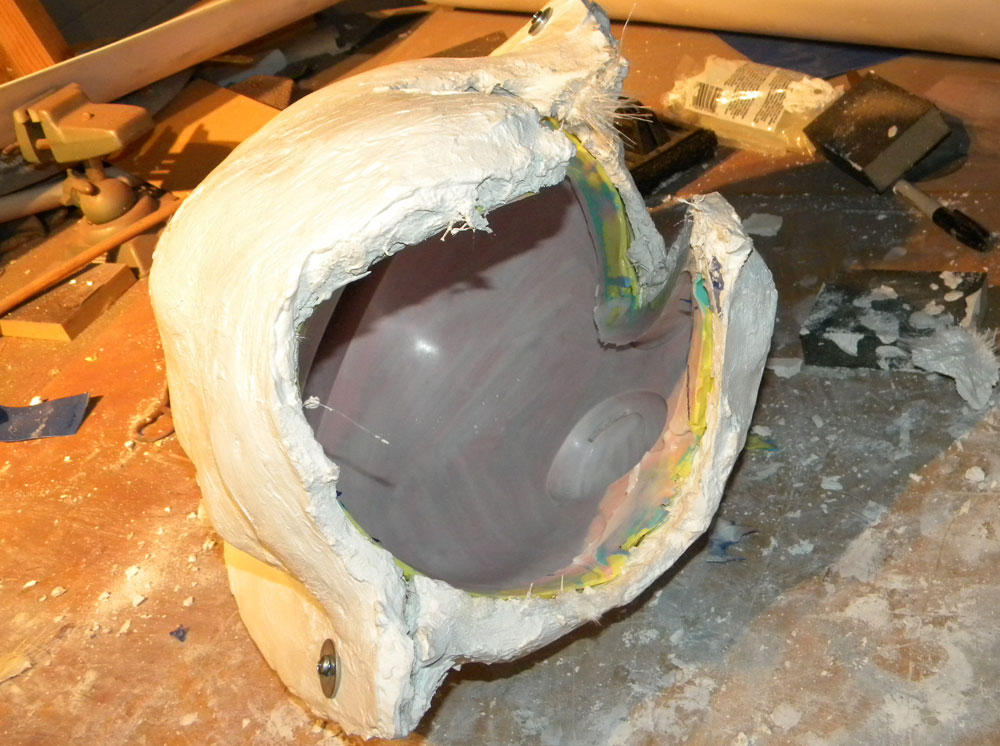
The silicone mold was replaced in the mother mold so that it was ready for slush casting.
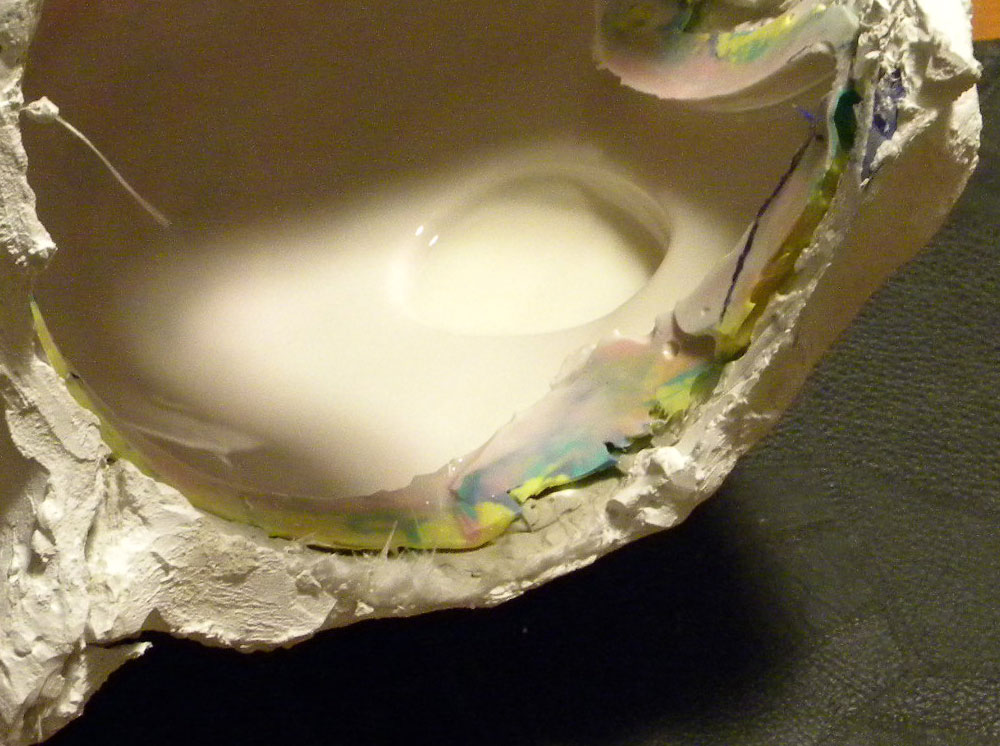
I poured a small amount of Smooth-On 65D into the helmet and slushed it around until it hardened (usually in 3-5 minutes). I worked in sections and built up several coats to make a stable helmet shell.
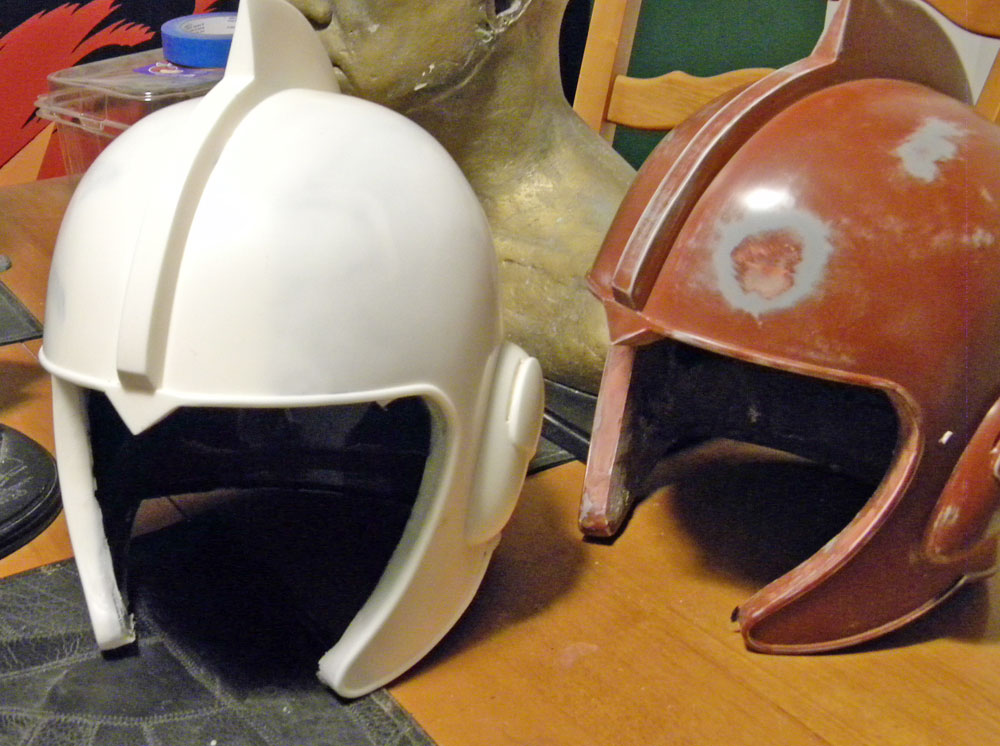
The demolded resin helmet copy. The master sits behind it.
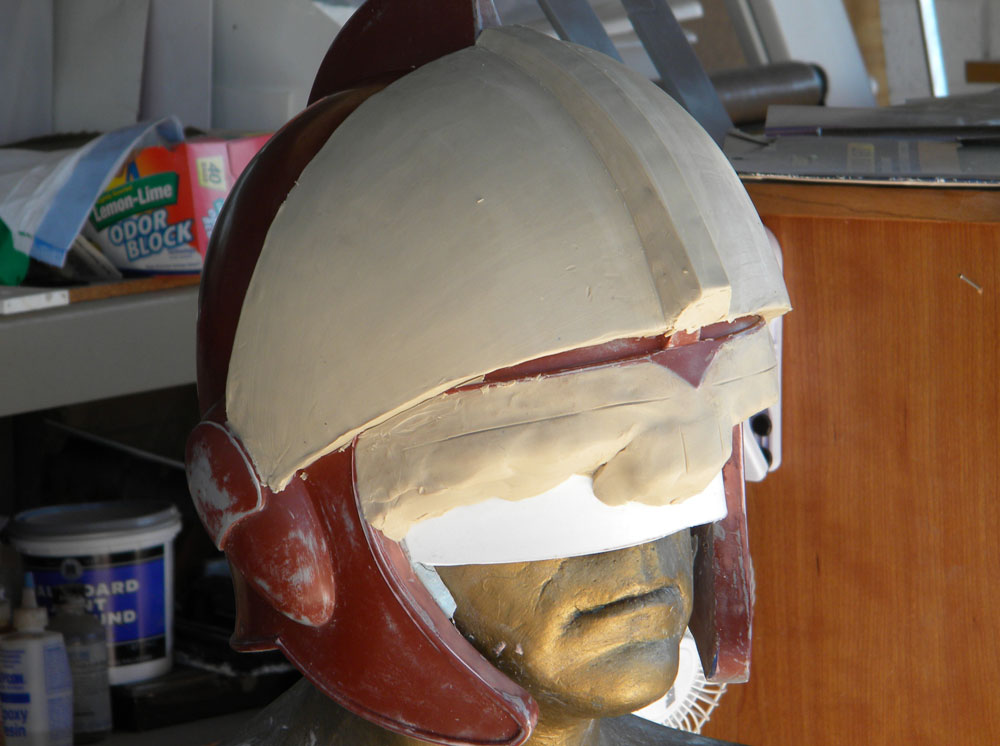
To make the visor, I placed the helmet master back on my plaster head and sculpted the visor lens as smoothly as I could.
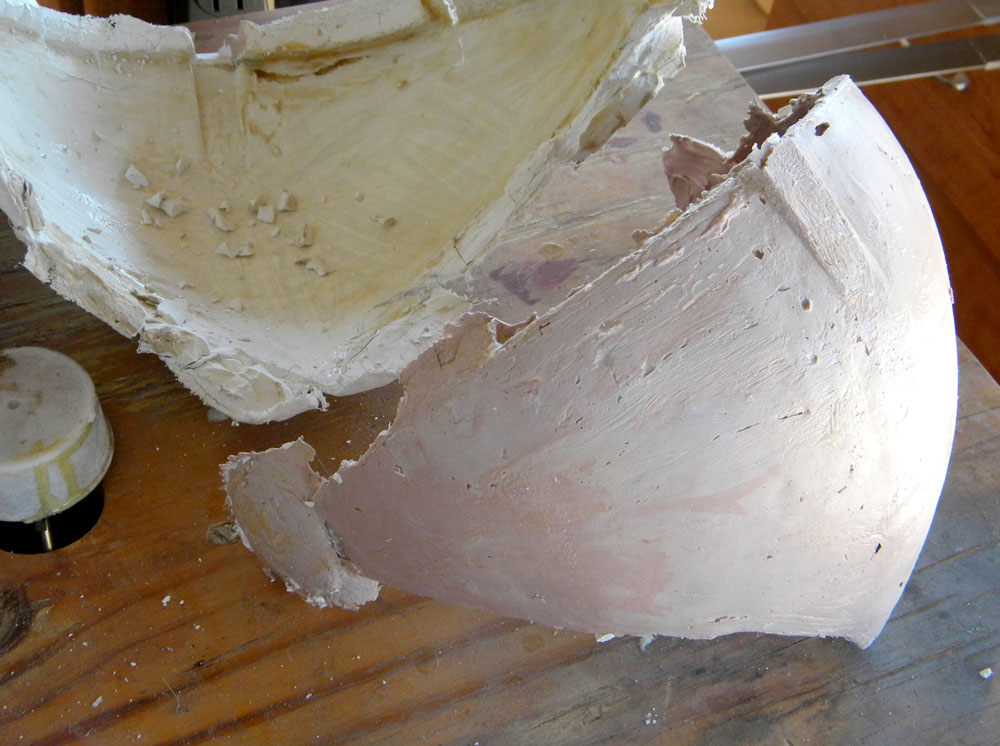
To conserve silicone, I made a plaster waste mold of the lens. I sealed the plaster, applied mold release and used Bondo to make a copy of the lens sculpt.
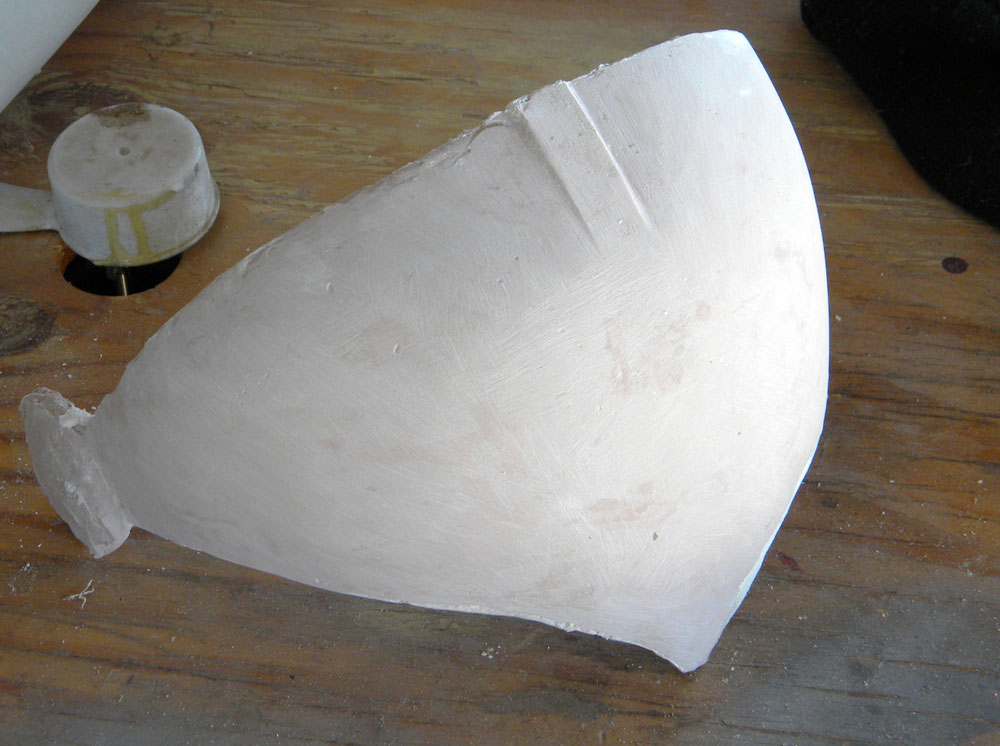
The Bondo lens was sanded smooth(er than the original sculpt), and glued to a wooden support.
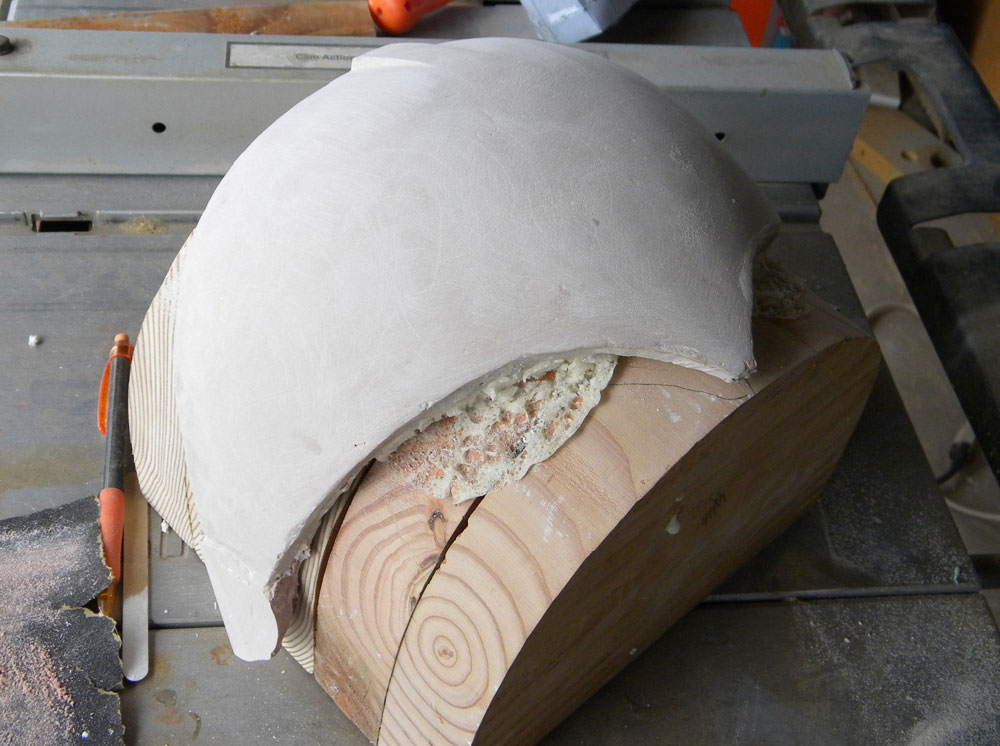
The lens master was further smoothed until it was ready for vacuum forming.
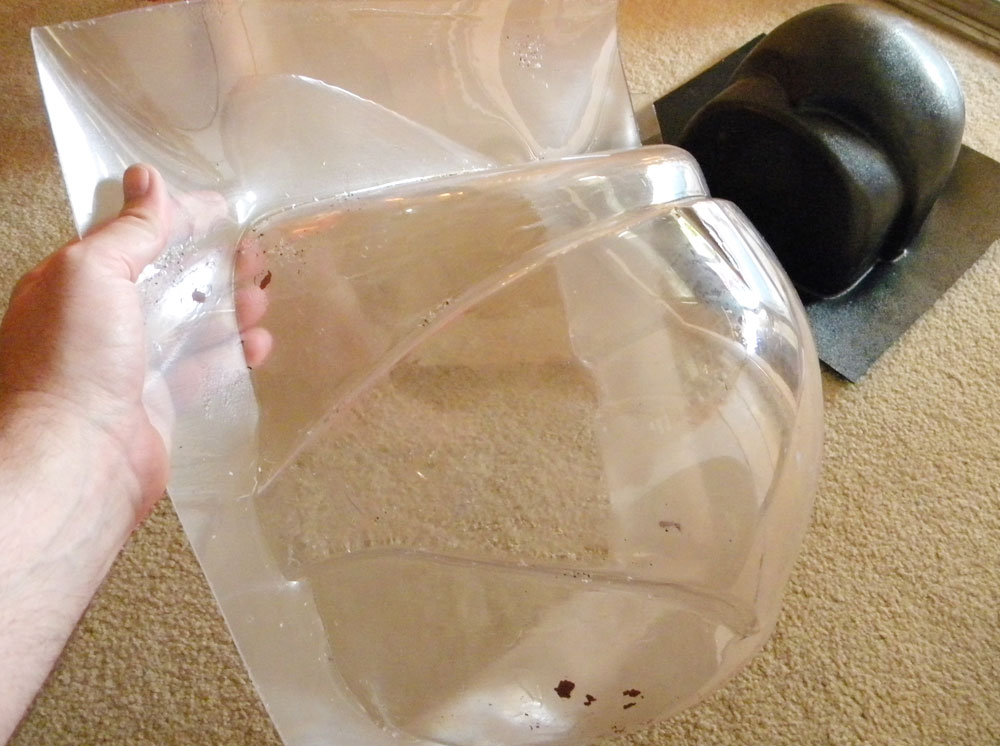
I bought my plastic, got set up to vacuum form it and my machine wouldn’t start! Rather than spend the afternoon disassembling and rebuilding the oven, I took the lens buck down to my local plastic supply/fabricators Plastifab and let them pull copies from 1/8” clear PETG.
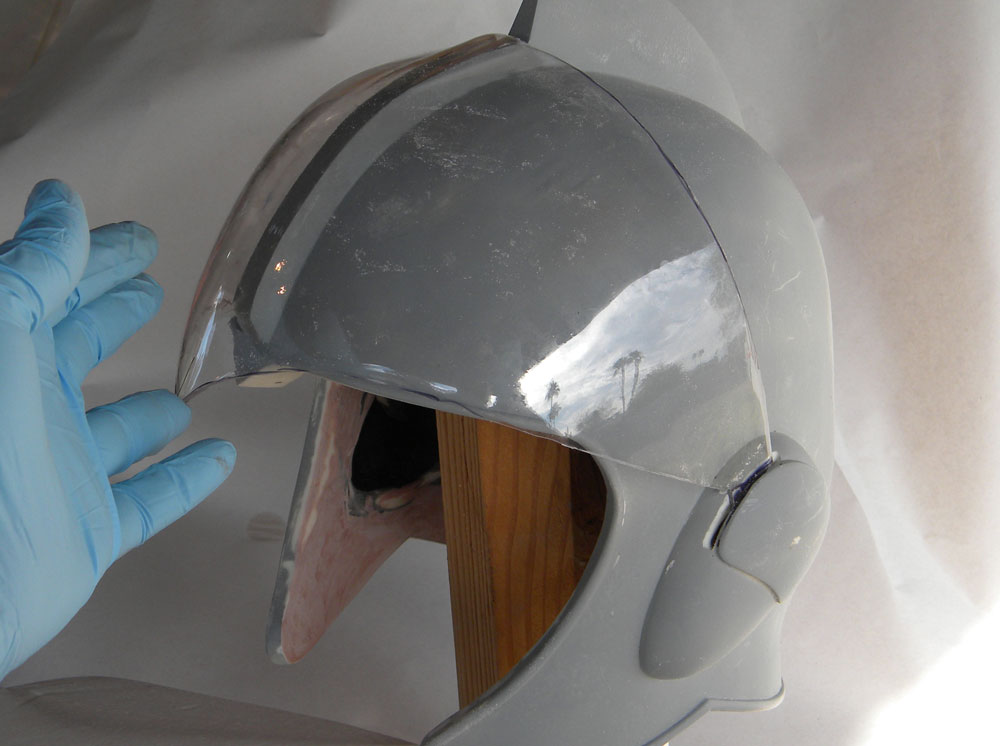
I rough cut one of the visors to check how it would fit.
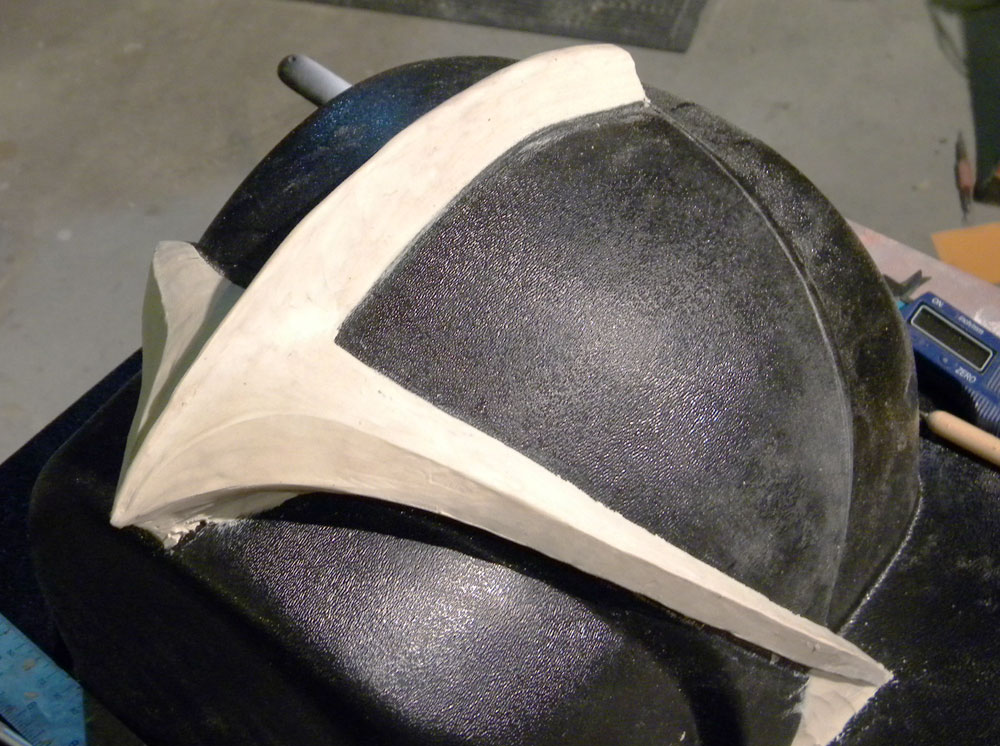
When I had the clear visor pulled, I also had them make an ABS copy that I could use as a sculpting form for the visor trim. I used clay to shape the visor and got it as smooth as I could (which isn’t very smooth, as you can see)
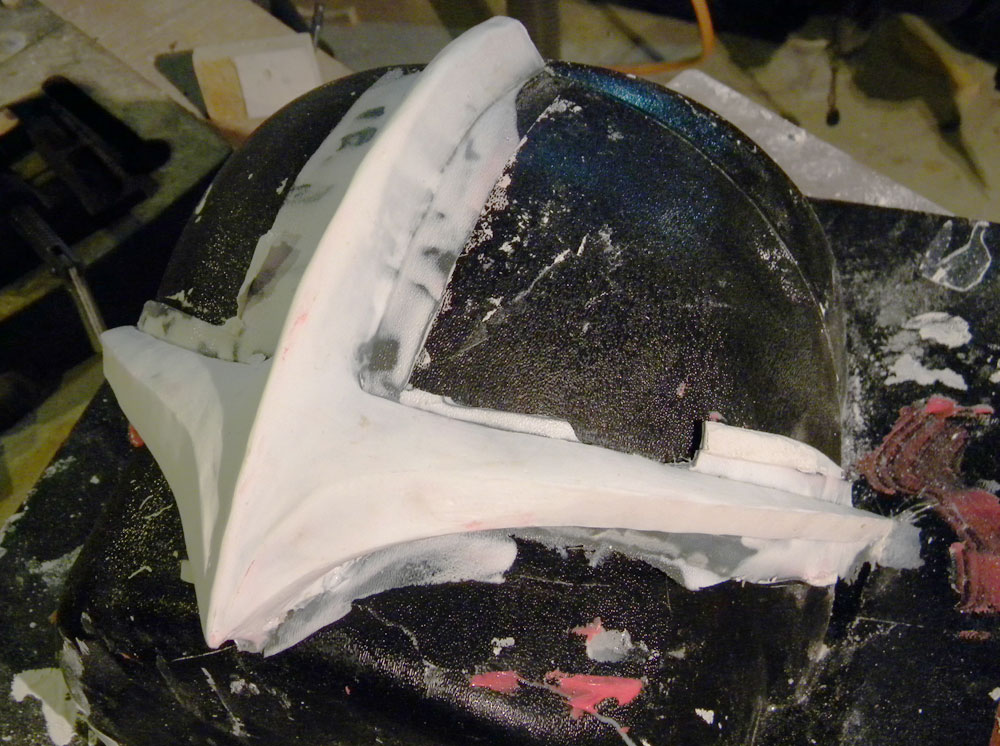
I made a silicone mold of the clay and cast a resin trim so that it could be smoothed and refined.
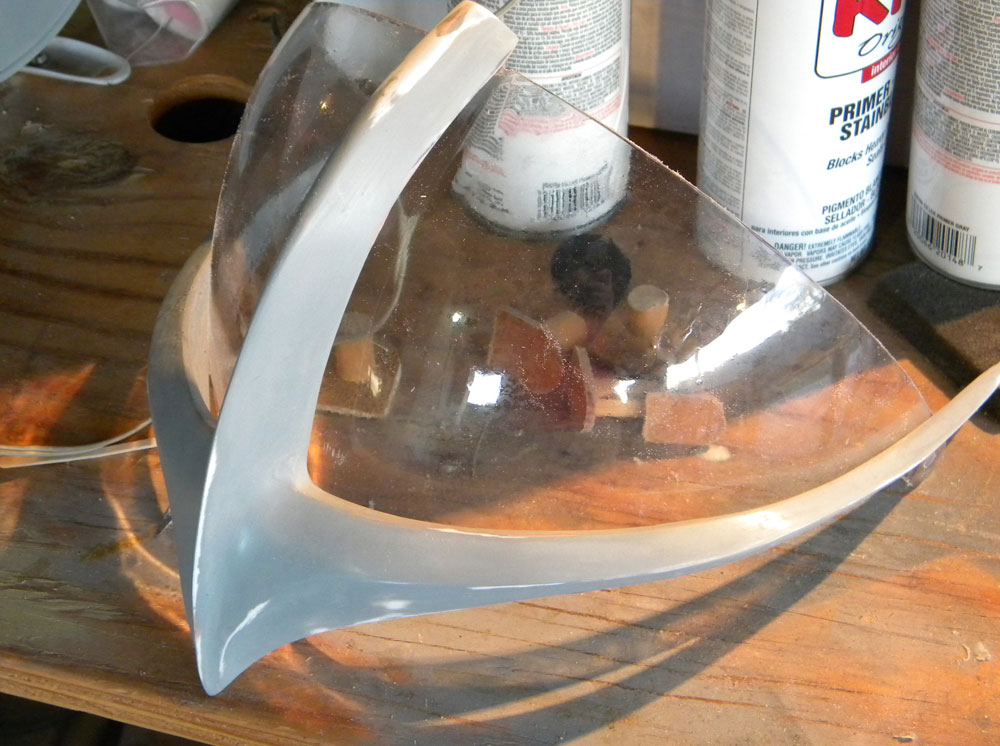
The resin trim test fit over the visor.
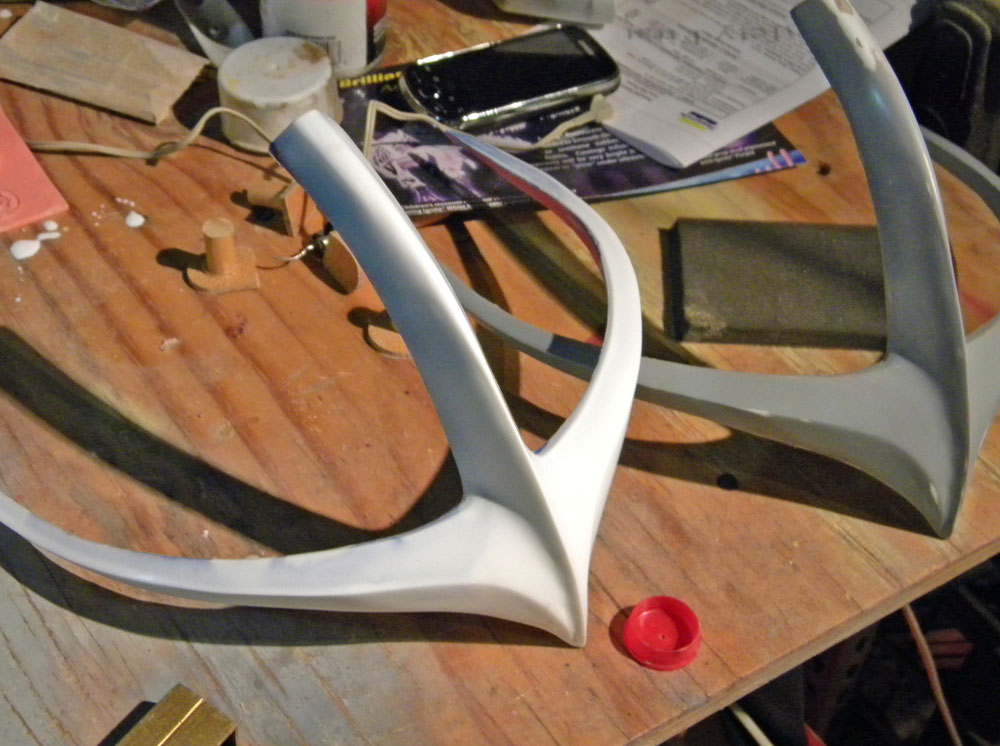
I made a second mold of the trim and slush cast a hollow resin copy (to keep it light.
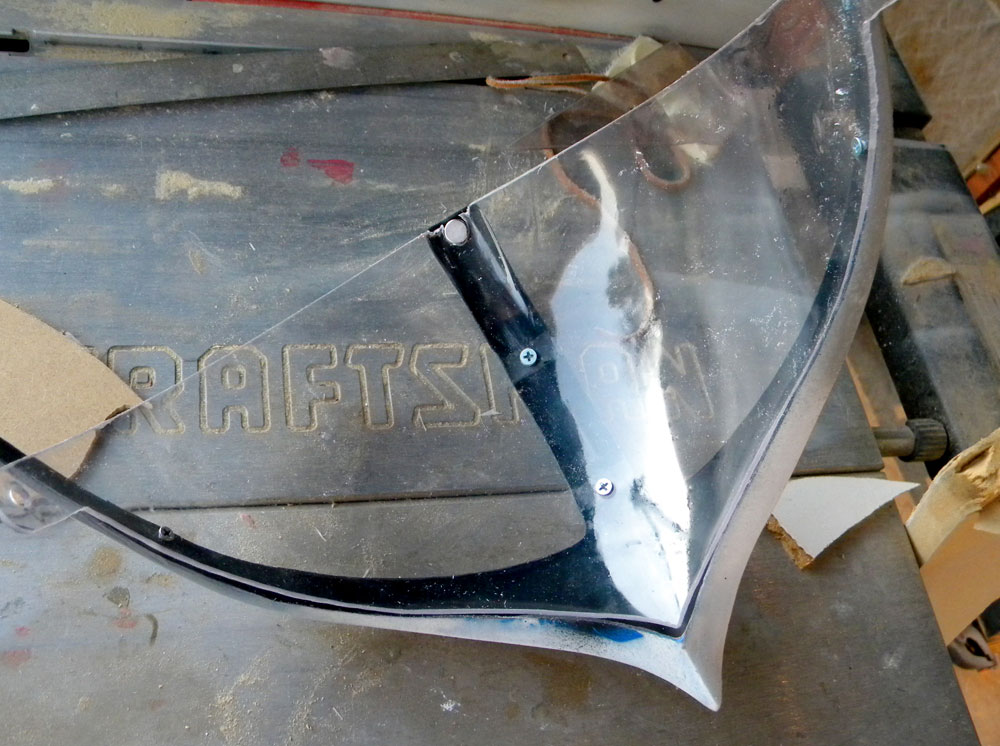
Many glues will haze or melt clear plastics, so I secured the visor to the trim with screws. I glued in rare earth magnets at the top to allow the visor to stay up.
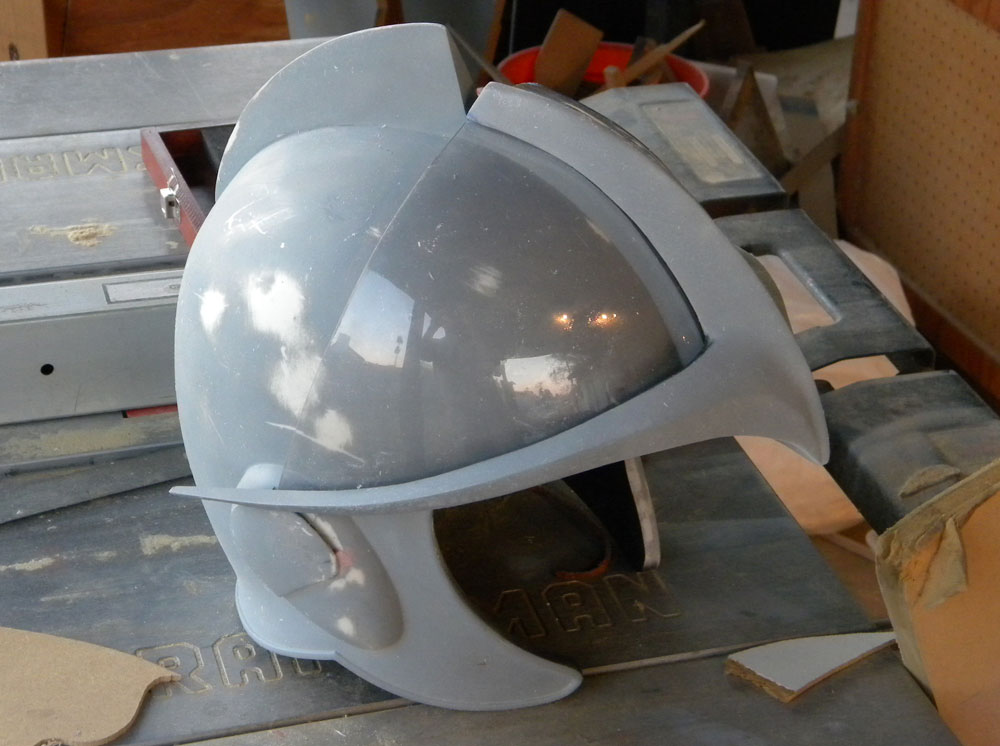
I drilled a hole inside the helmet for more magnets that would allow the visor to remain up. This is a test of that theory.
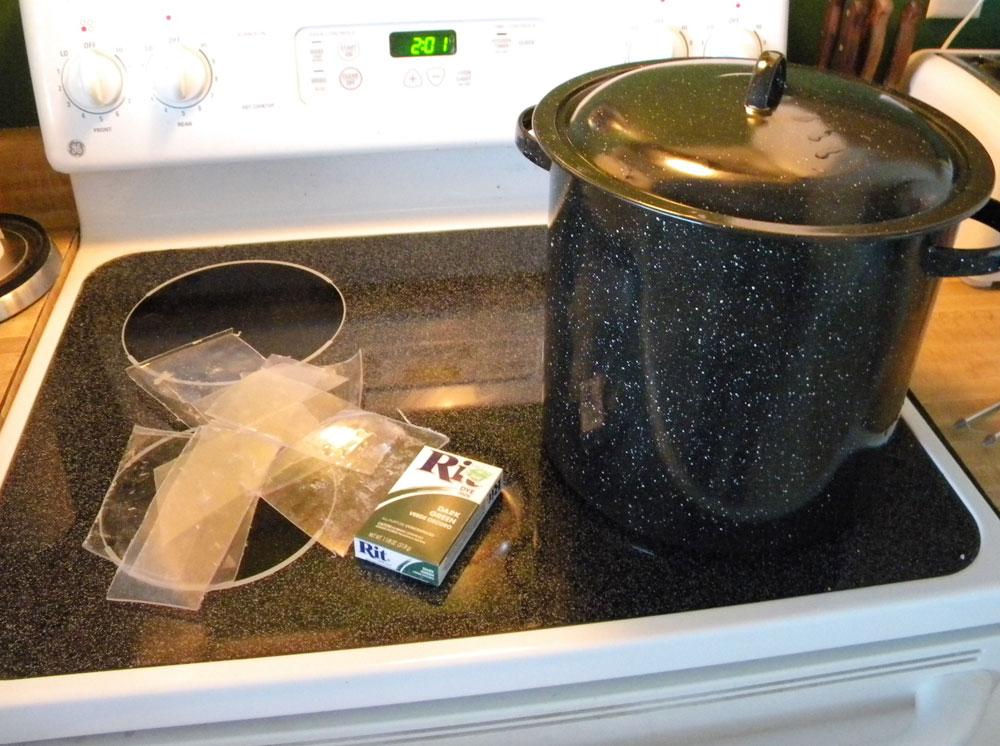
To tint the visor, I bought a giant pot and dumped in several packets of RIT dye.
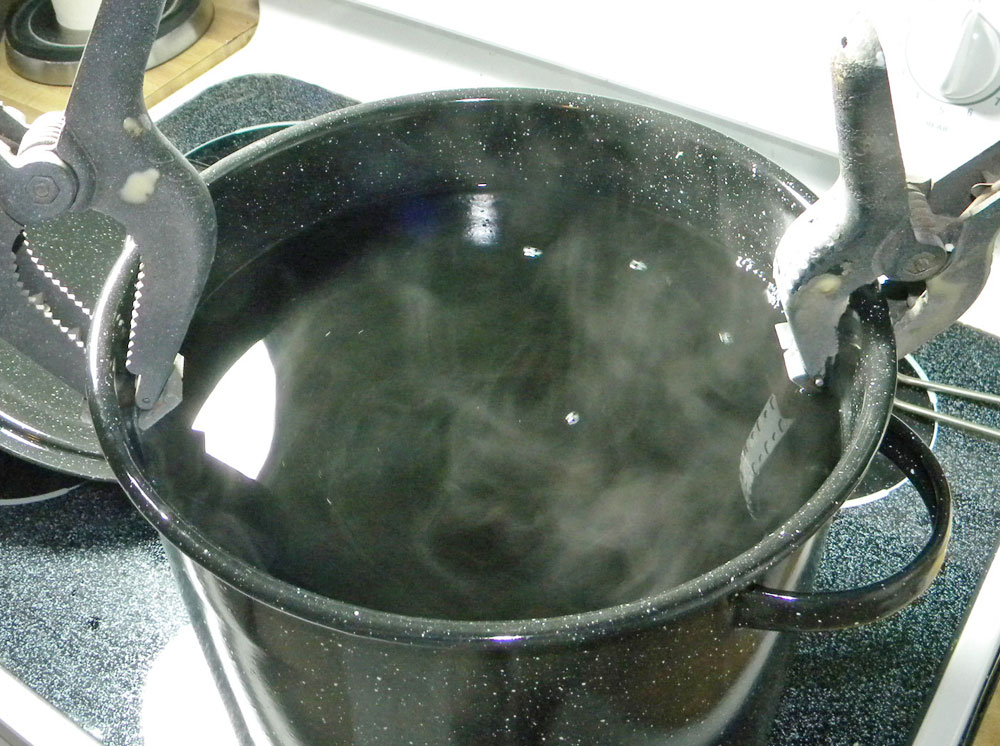
I brought the water to 150º and immersed the visor into the dye. The heat allows the dye to get into the plastic’s surface but it’s not hot enough to melt or deform the PETG
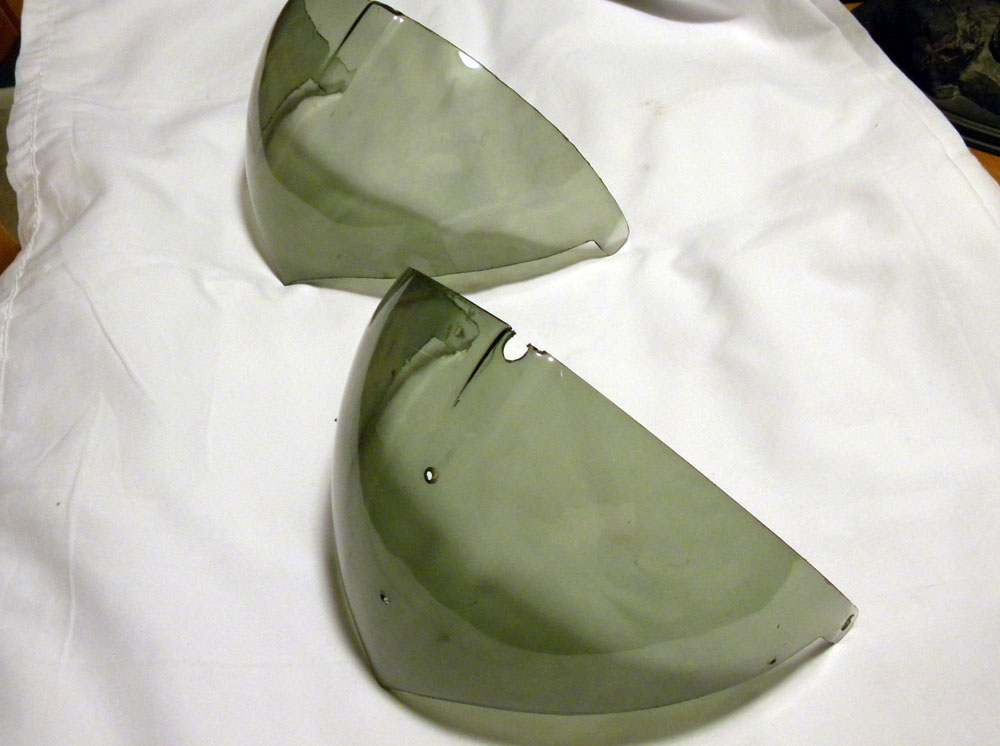
The final dye job. The dye didn’t affect visibility at all!
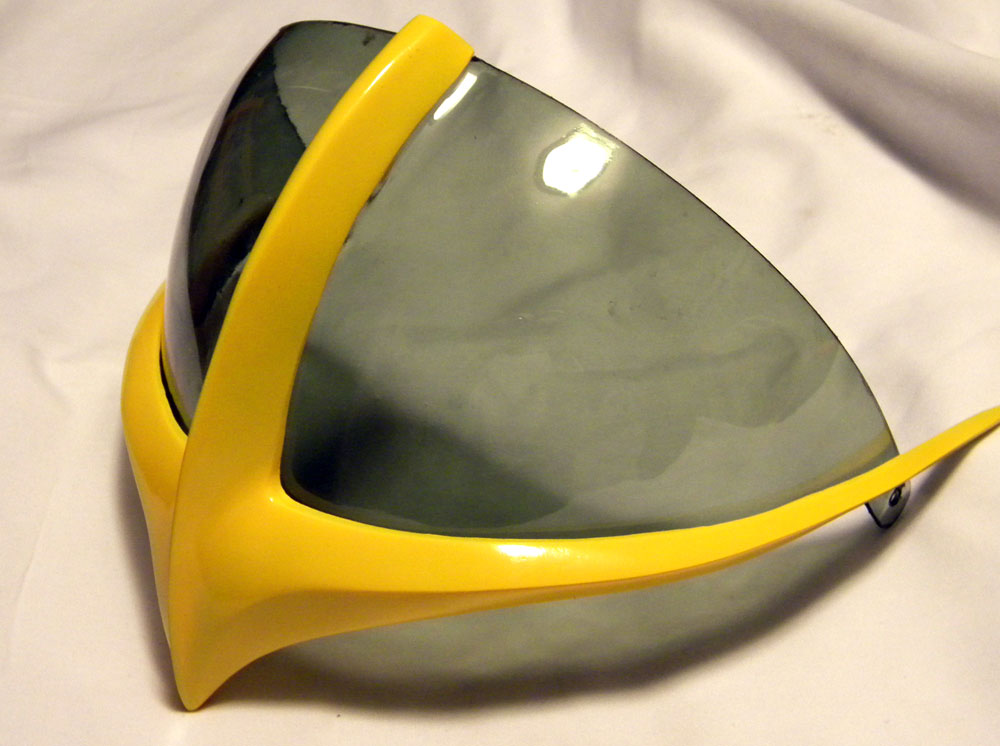
The painted trim mounted to the visor
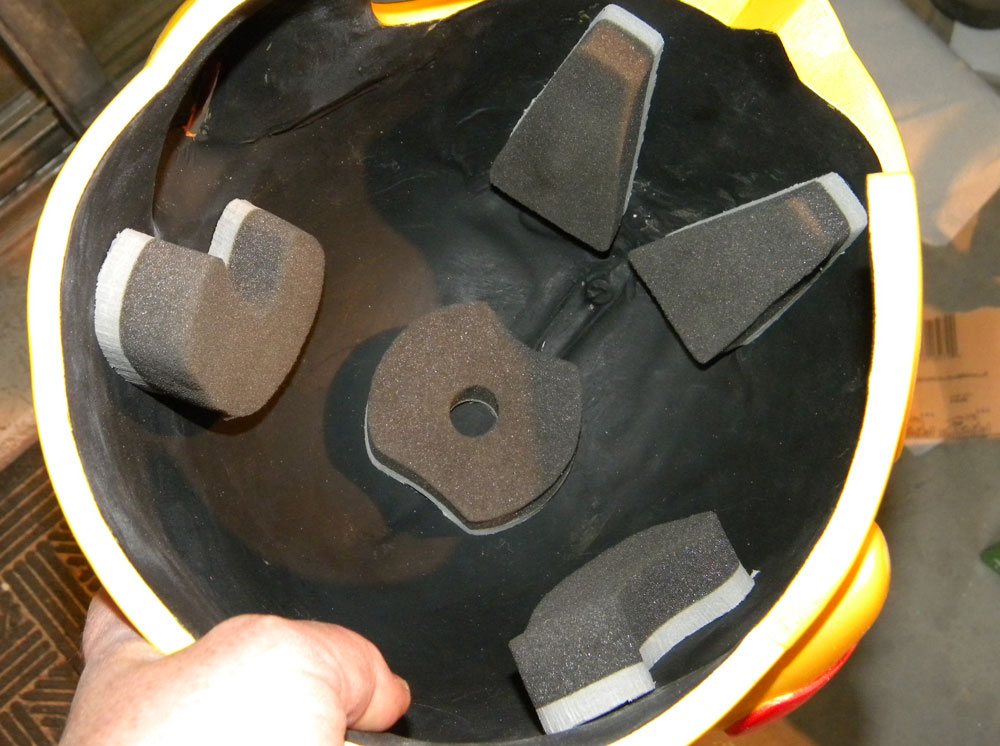
I hot glued the padding into the final helmet
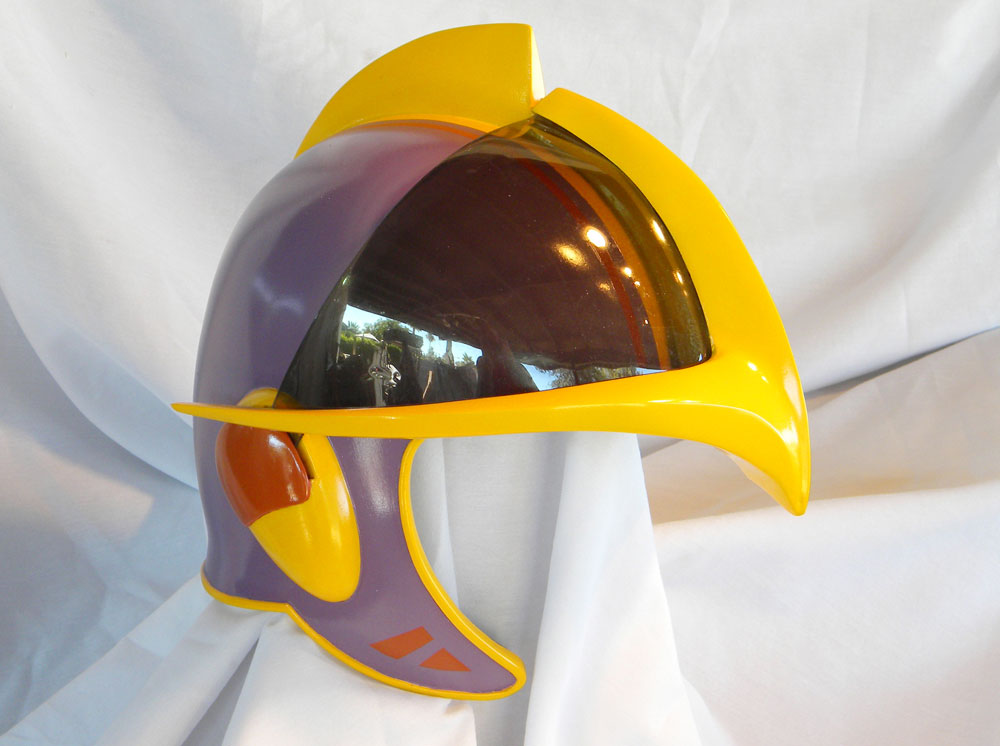
The final painted helmet.
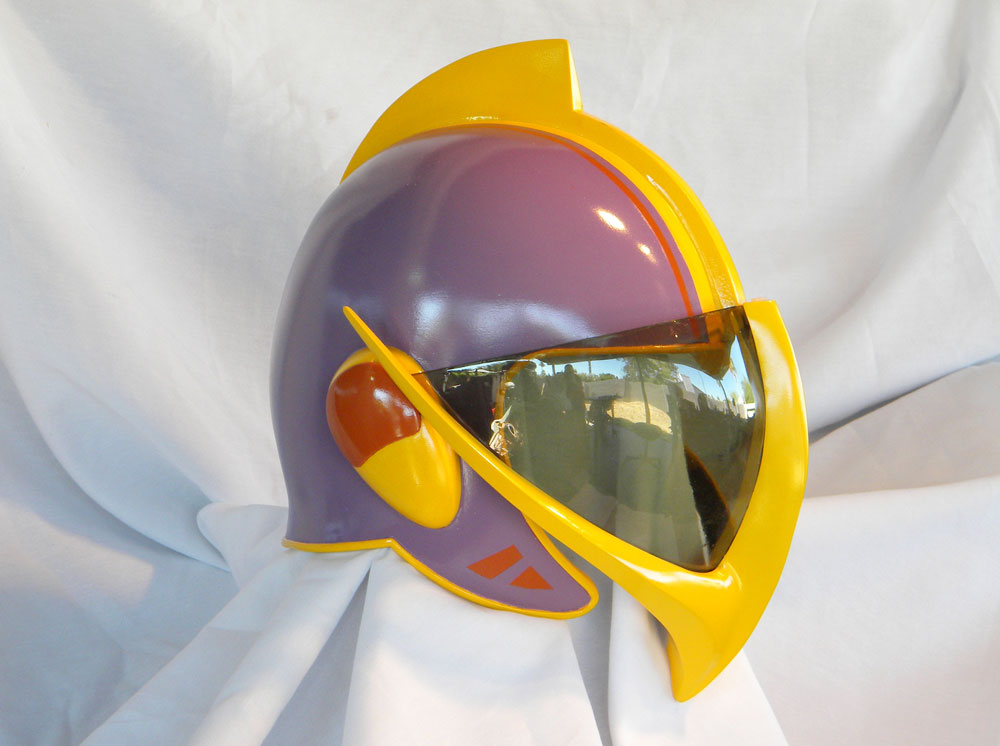
With visor down
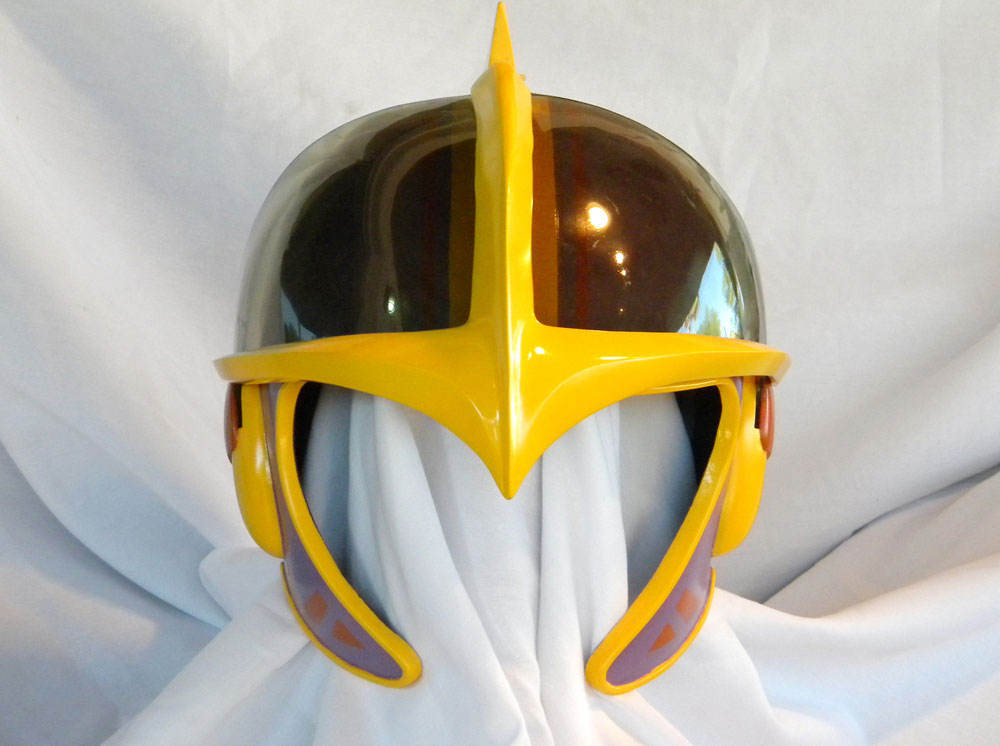
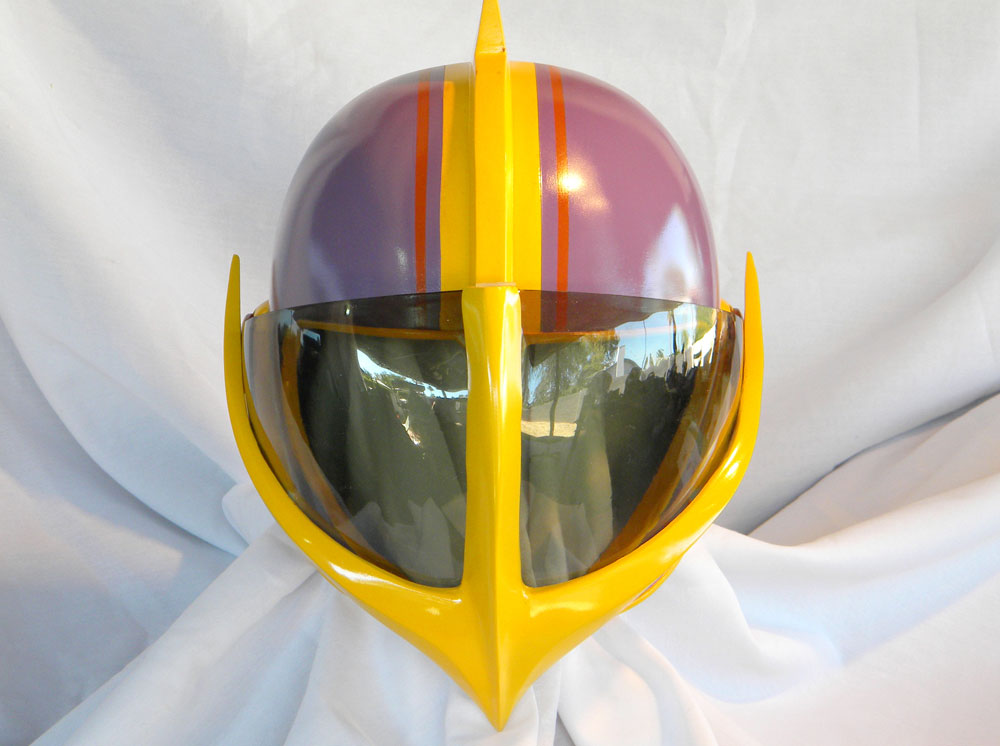
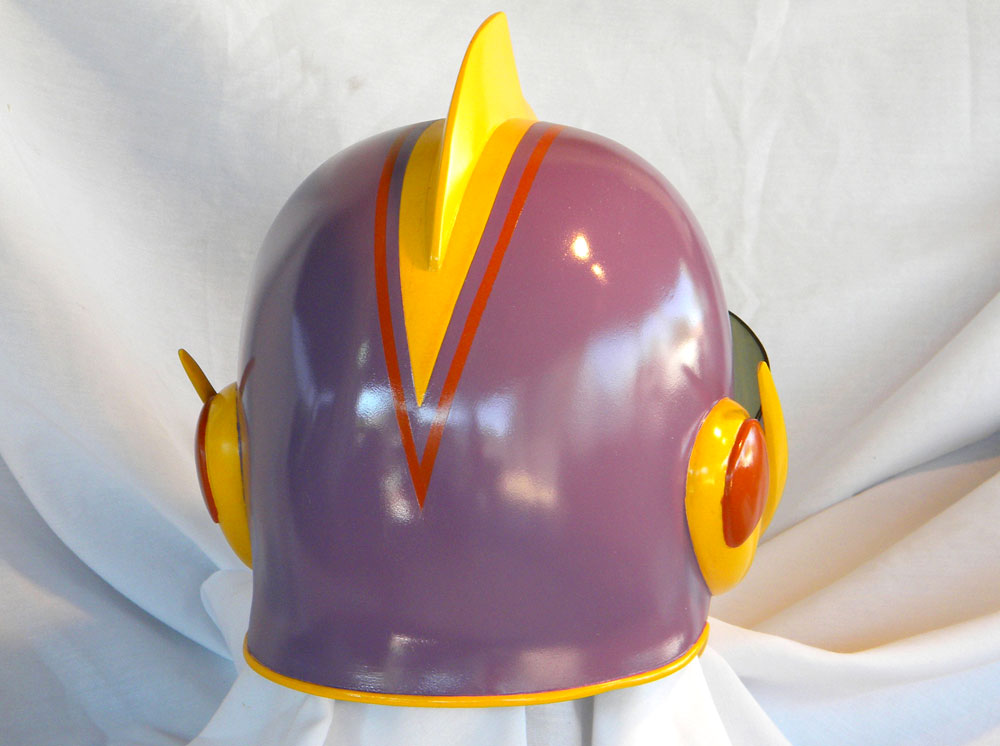
and from the back.
