Horn of Gondor
december 2006
The Horn of Gondor is a horn that Boromir carried with him during the events in The Fellowship of the Rings.
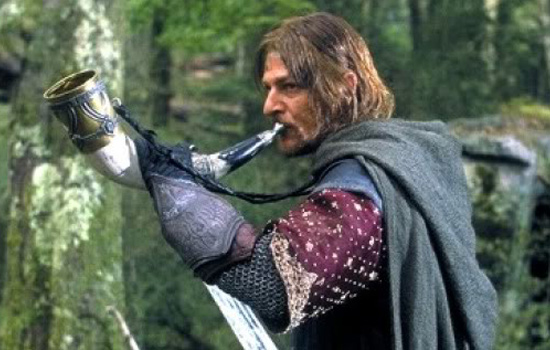
I was commissioned to build Boromir’s Horn of Gondor. This just happens to be one of the props on the top of my build list so WIN-WIN!
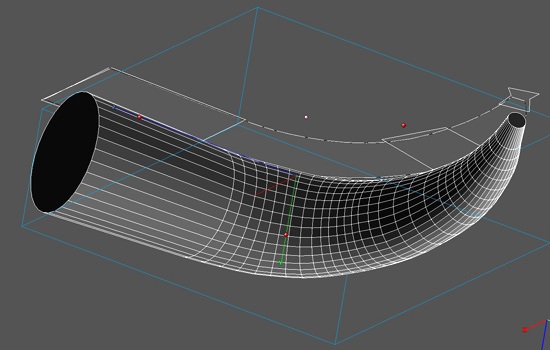
I considered using a real horn as a base but couldn’t be sure that I could get one the right size with the right curves. I decided to model the horn in 3-D to control these factors.
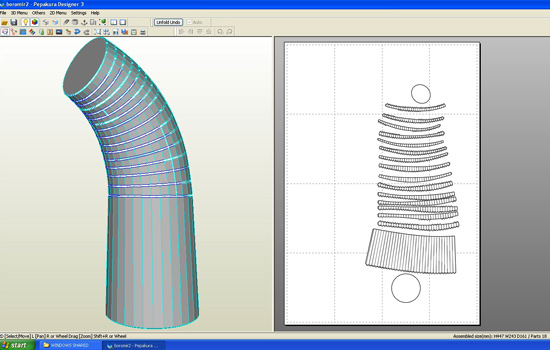
I pulled the file into Pepakura and exported it as a paper model that I could assemble.
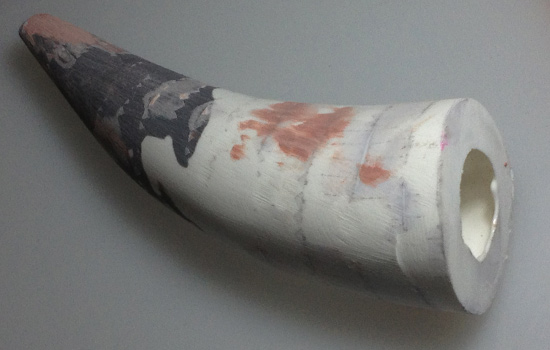
I slush cast some Smooth-On SmoothCast 65D into the paper building up a thick shell.
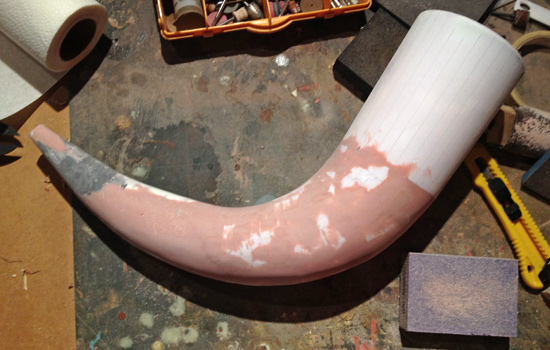
Once the entire horn was cast, I smoothed out the folds by sanding and adding Bondo.
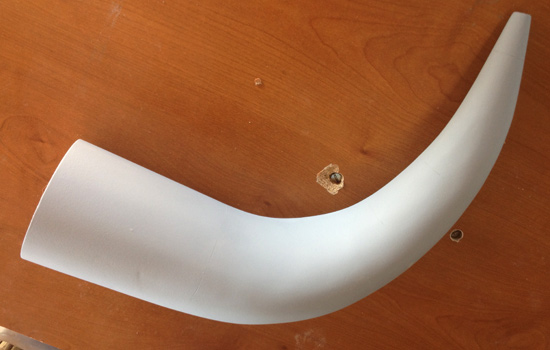
The completed horn.
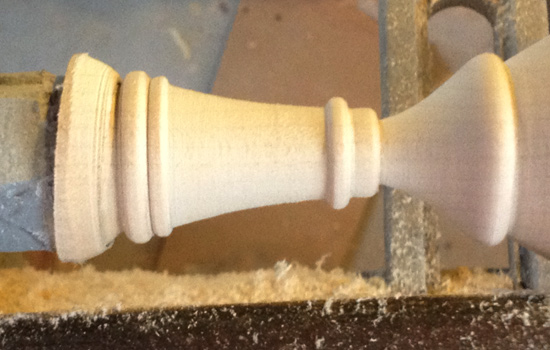
I lathed the mouthpiece from a block of basswood.
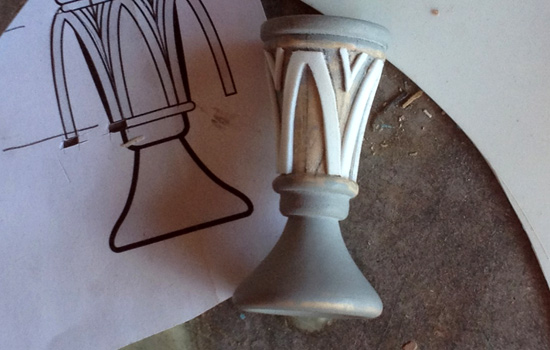
After a few false starts, I got the decoration drawn out correctly and started to apply styrene piece to the mouthpiece.
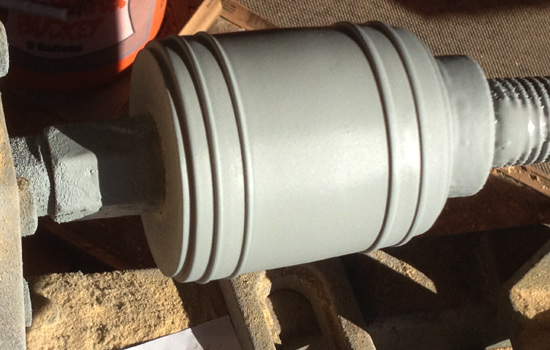
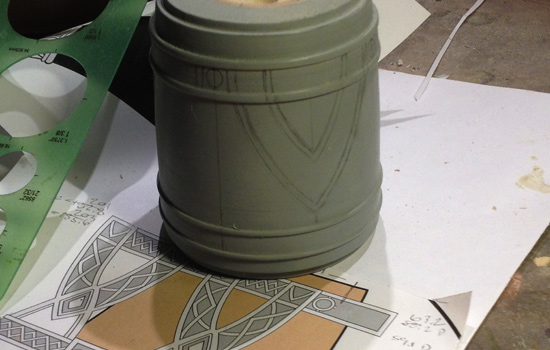
I lathed the mid band from another piece of basswood, carving in the raised strips on either end.
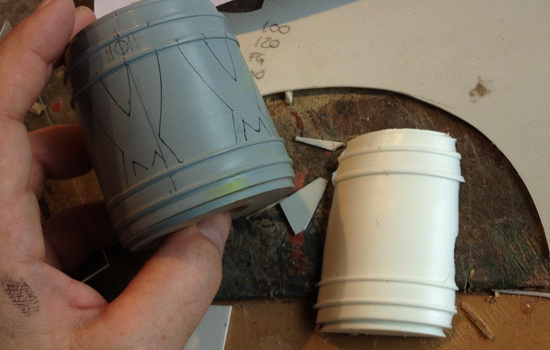
Since this band has a repeated pattern, I decided to cast a portion of the band and apply the decoration to it. This completed section would be molded and multiple resin copies would then be applied to the full basswood master.
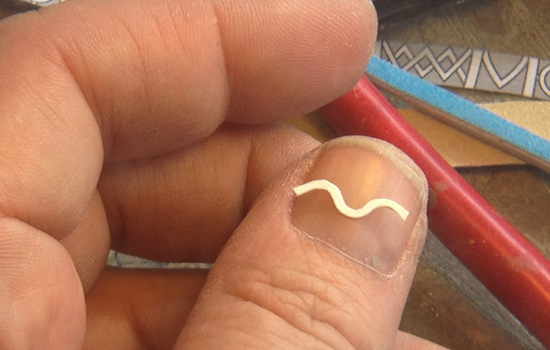
To show you the size of styrene pieces I had to carve, here’s a small piece of detail. I was cutting these under a magnifying glass.
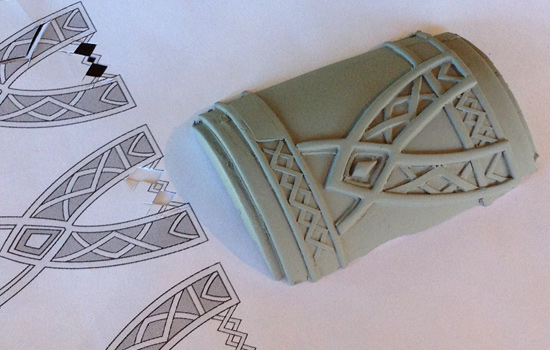
The final mid band pattern underway!
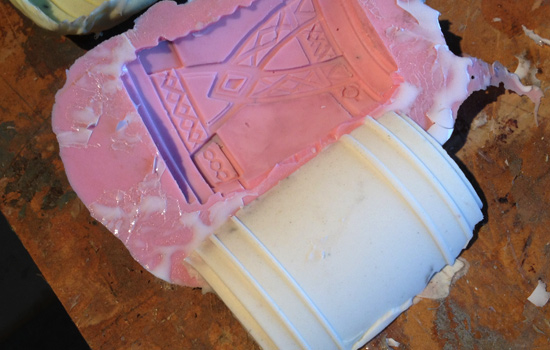
I made a mold of this pattern piece (the pink one) and a silicone positive (the white one) of the band section.
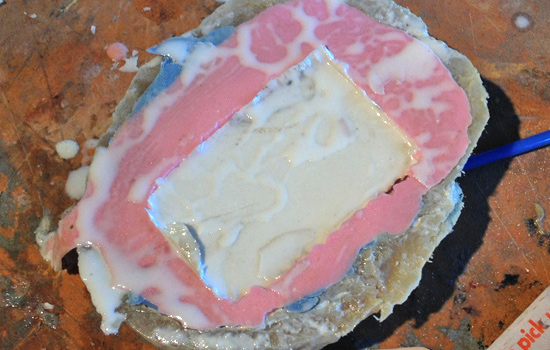
I would mix up a small amount of resin, drop it in the pink mold and then press in the positive white mold, squeezing out any excess.
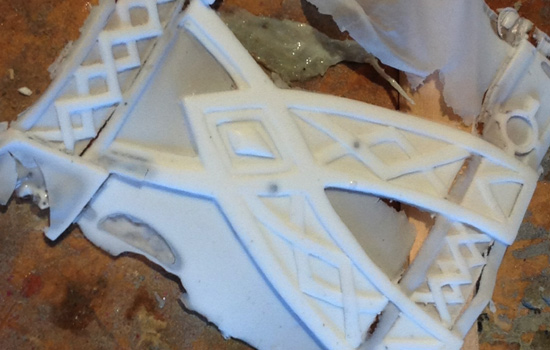
The result (with varying degrees of success) was a copy of just the detail parts that can be glued onto the band master.
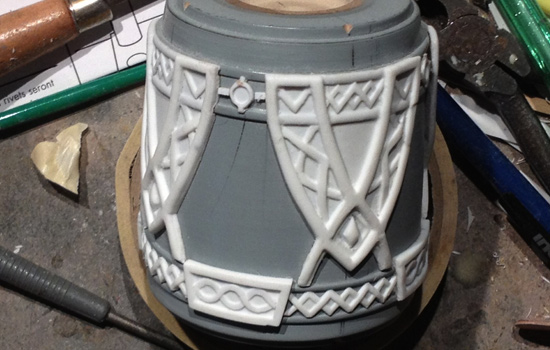
The completed mid band master.
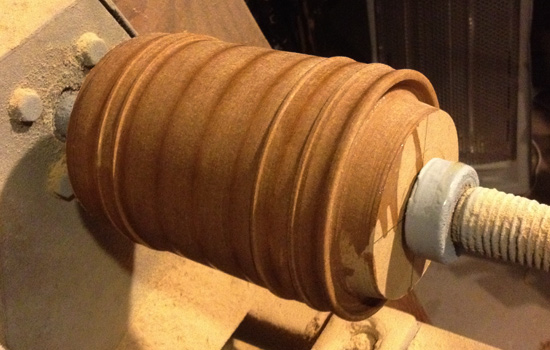
The end band was too big for basswood so I glued a bunch of MDF together and shaped it on the lathe.
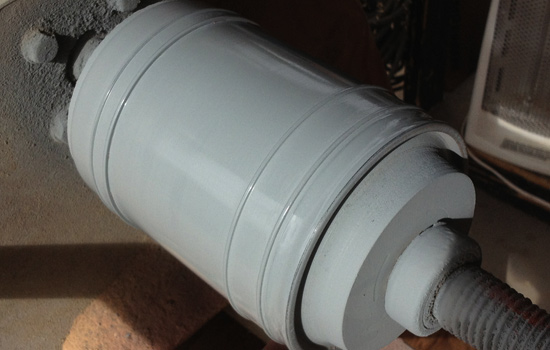
After shaping, I sealed the MDF with shellac, applied coats of primer and sanded it smooth. I was able to achieve a glass smooth finish by buffing it with a paper towel.
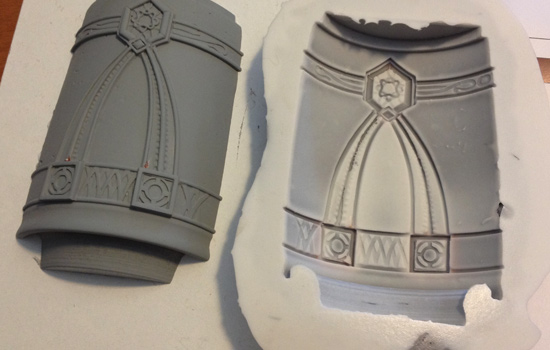
I used the same strategy to detail the end band, applying styrene to a cast resin section of the band.
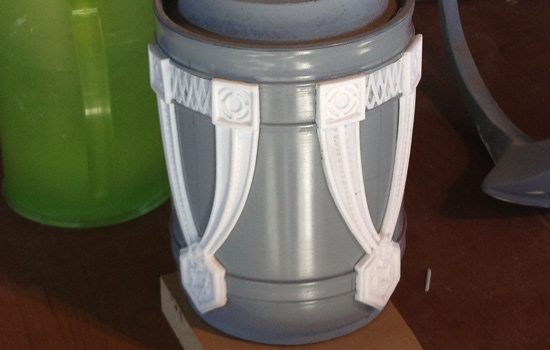
After casting copies of the detail, I started gluing them to the end band.
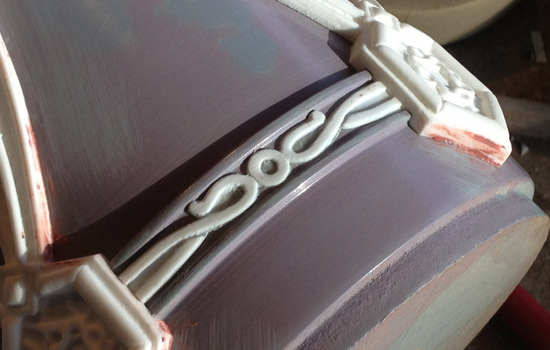
Time to show off some of the fine detail on this piece. What a pain!
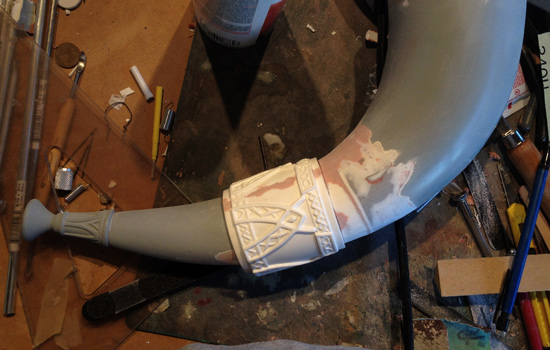
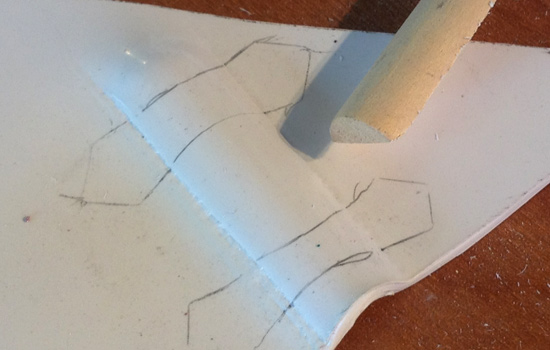
To make the strap loops, I cut a dowel and heat formed thick styrene over it.
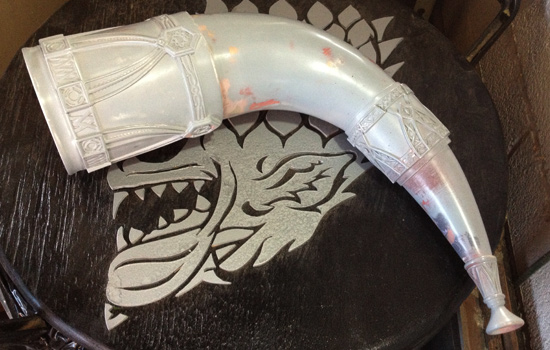
The final finished horn! I got to enjoy it for a few days before…
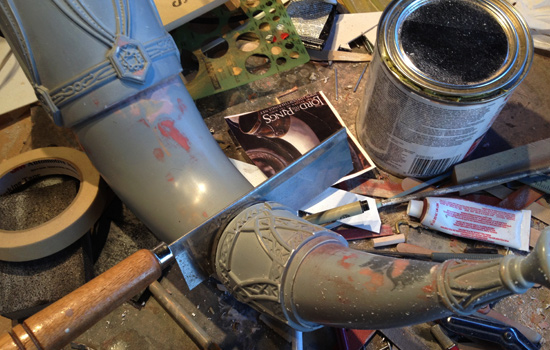
…I had to cut it in half for molding! I did not enjoy doing this.
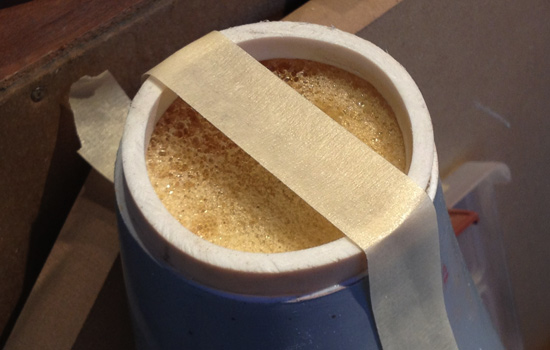
To make sure the two halves went back together correctly, I glued a PVC ring to one side.
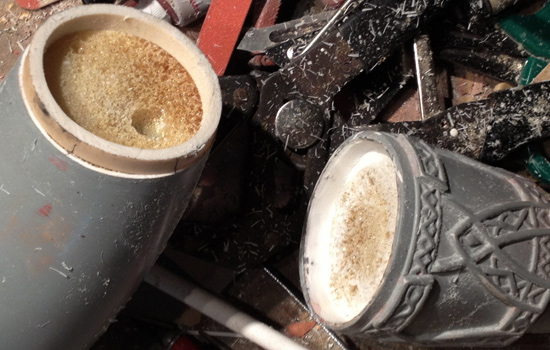
I Dremeled out the other side so the PVC ring would fit inside.
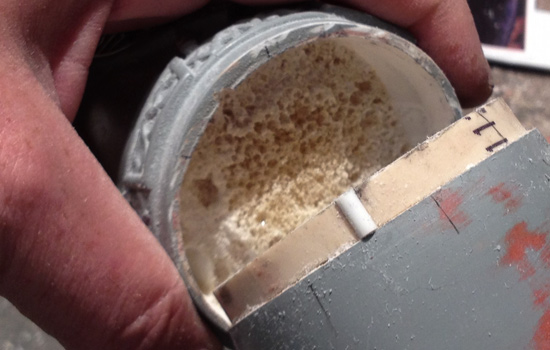
I glued on a piece of half round styrene to act as a registration key.
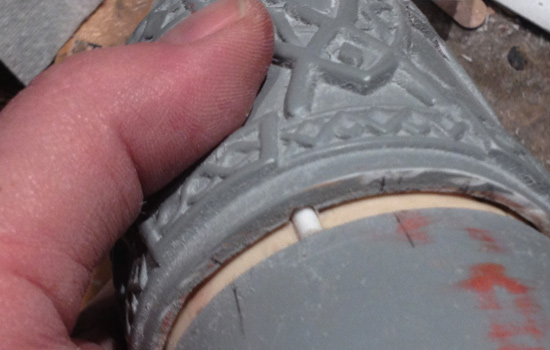
It slides into a slot on the other side so that the parts will always line up correctly.
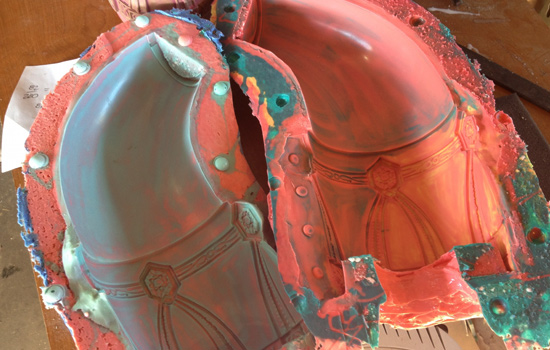
I made two-part molds of both of these parts so I can slush cast hollow copies
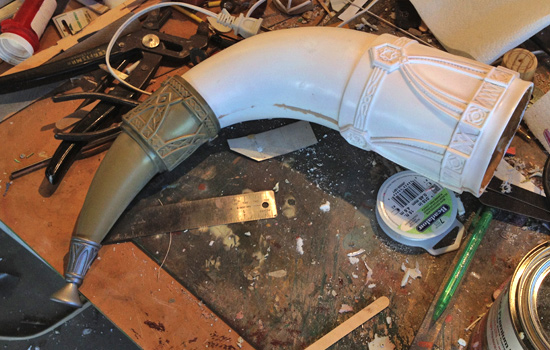
A test fit of the cast copy.
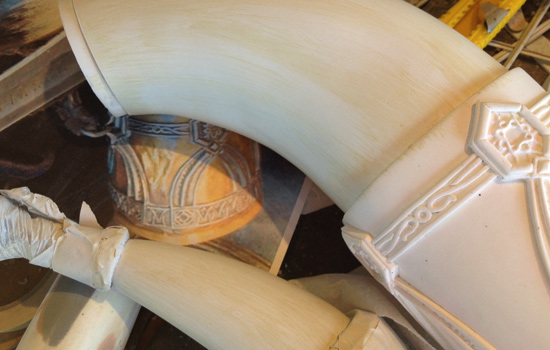
I sprayed a base coat of white for the horn sections and then dry brushed acrylic (“Buttermilk”) to add some texture.
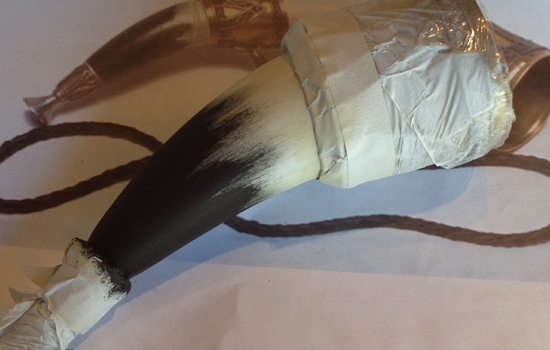
I dry brushed the tip of the horn with a flat black acrylic.
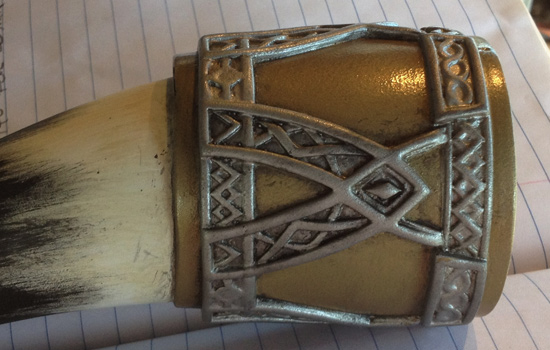
The metal parts were painted with metallic gold and silver and given a wash of black to bring out the detail.
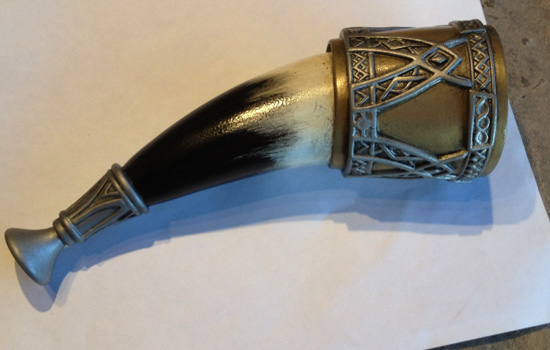
Finally, I masked off the metal and sprayed a gloss coat over the horn parts.
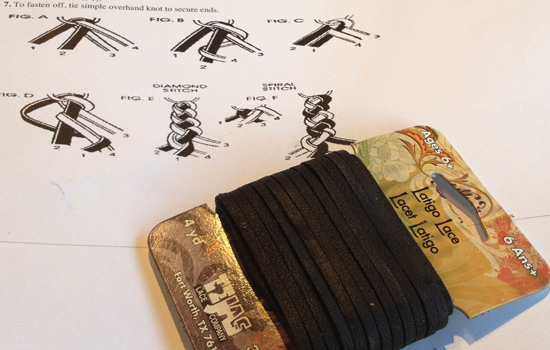
To make the strap I bought some black leather Latigo lace.
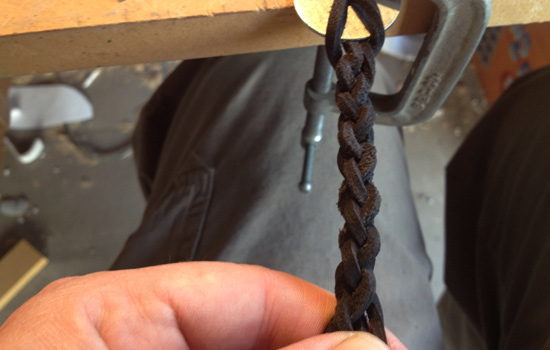
I used a round braid (I found instructions online) to weave the strap. After a few attempts I finally got it.
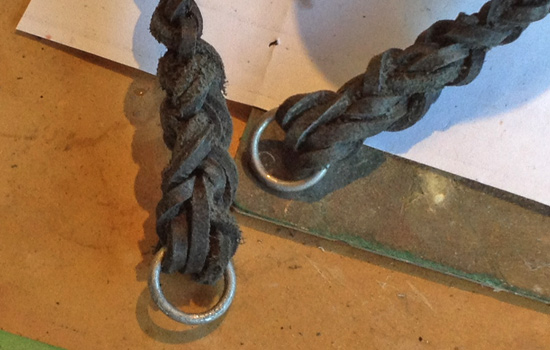
To complete the strap, I attached them to the rings and back braided (the lace goes back through the loops) the lace to tie it off.
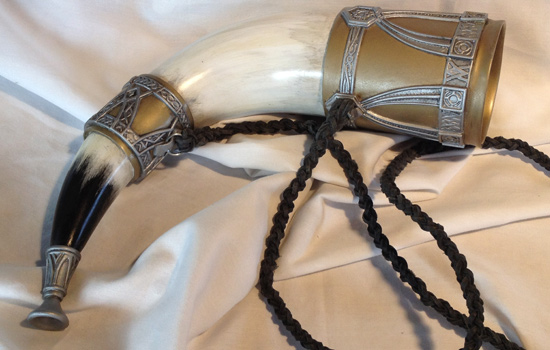
The completed horn! I drilled out the mouthpiece so it will make noise. I guess I don’t have the lip for it as all I could get out of it sounded like a constipated bugle. I guess that might confuse the Uruk-Hai long enough to run away!
