herugrim scabbard
july 2012
Herugrim (Old English: Fierce Sword) is the sword that belonged to King Théoden of Rohan in the Lord of the Rings movies.
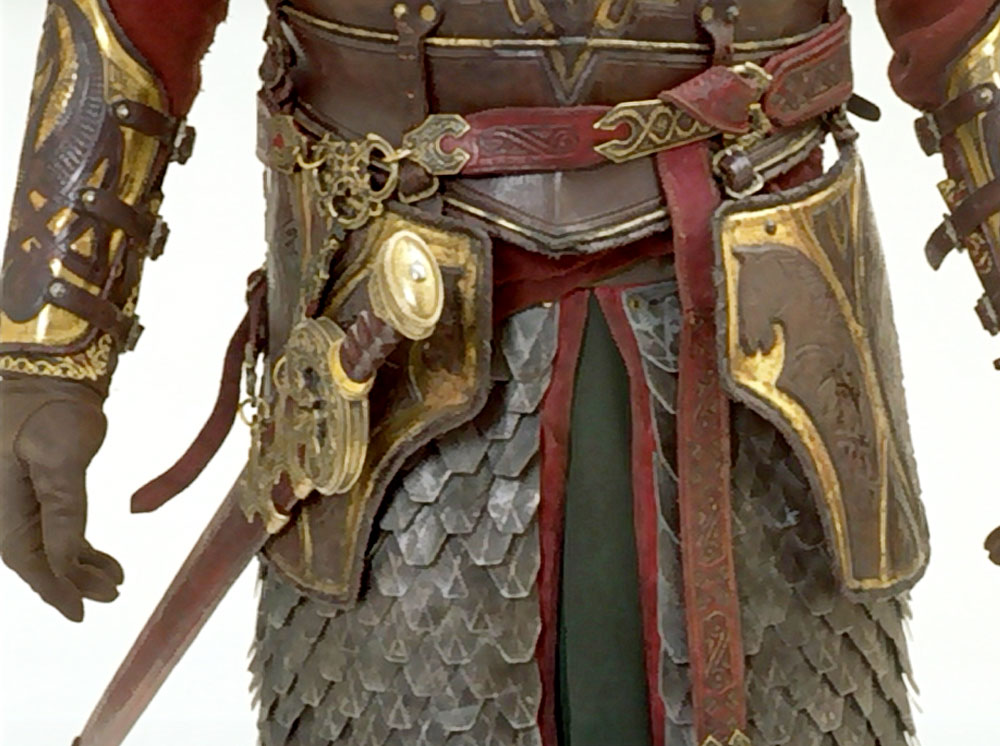
I was commissioned to build a scabbard to fit the United Cutlery replica of King Thèoden‘s sword Herugrim for a collector in Canada. Since I also own the sword, I jumped at the chance!
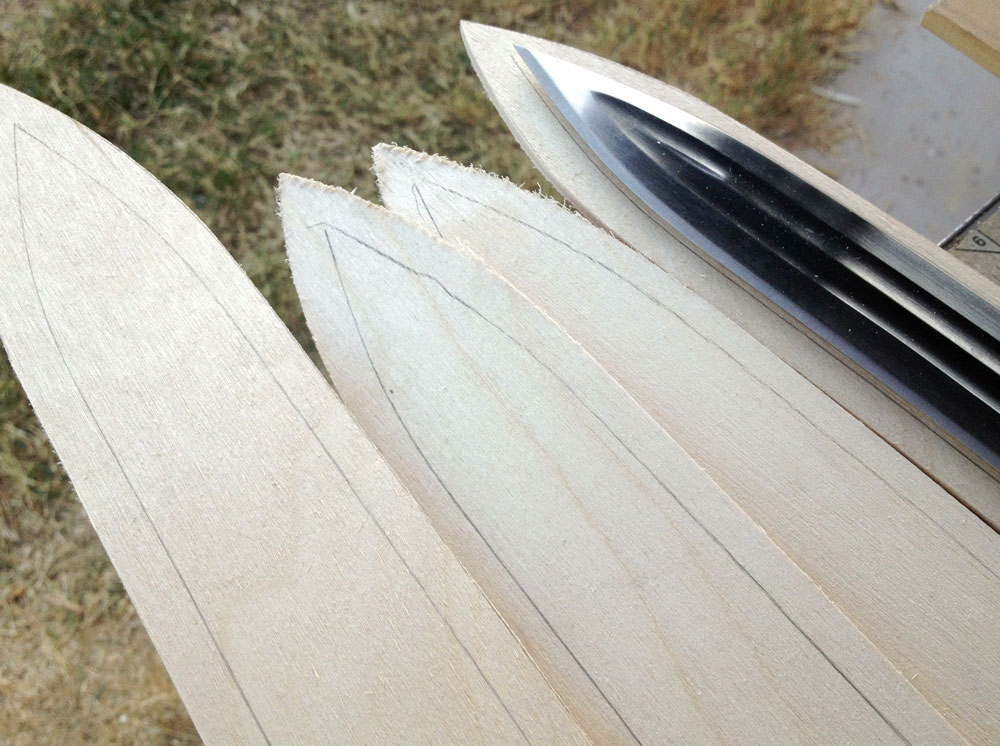
After drawing up plans based on the available reference, I cut the sides of the scabbard from 1/8″ Baltic Birch plywood, adding a 1/4″ around the blade.
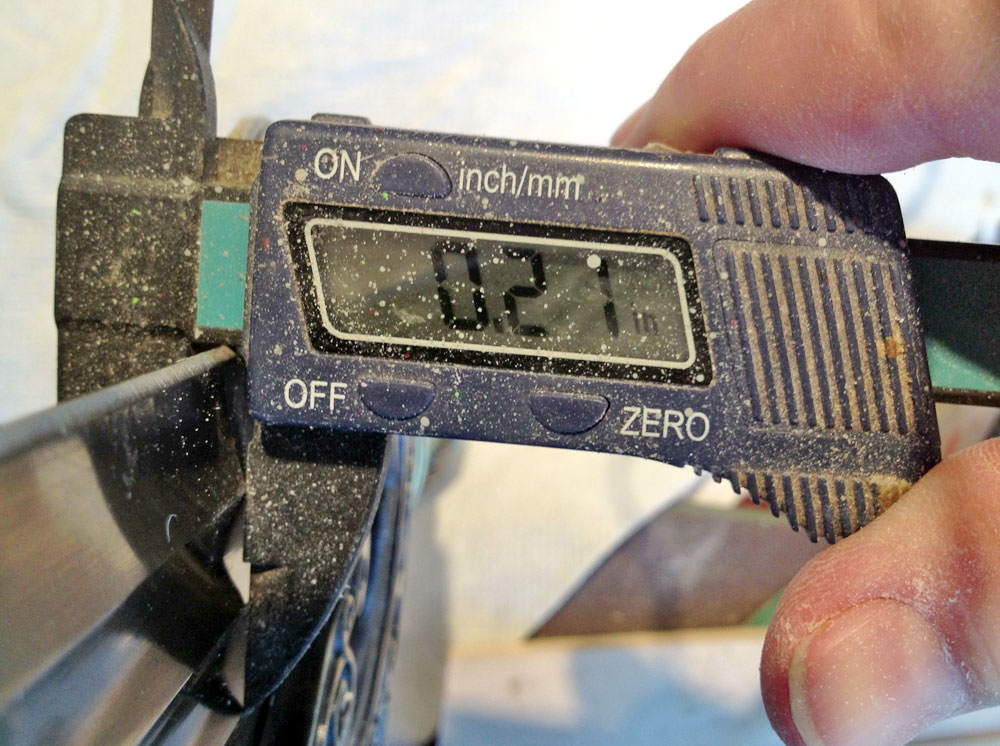
I measured the thickness of the blade to gauge how much space needs to be inside the scabbard. You want the scabbard to be snug enough so the blade won’t rattle but not too tight where it can’t be easily drawn. In addition to the blade itself, you also need room to add cloth to protect the finish of the steel.
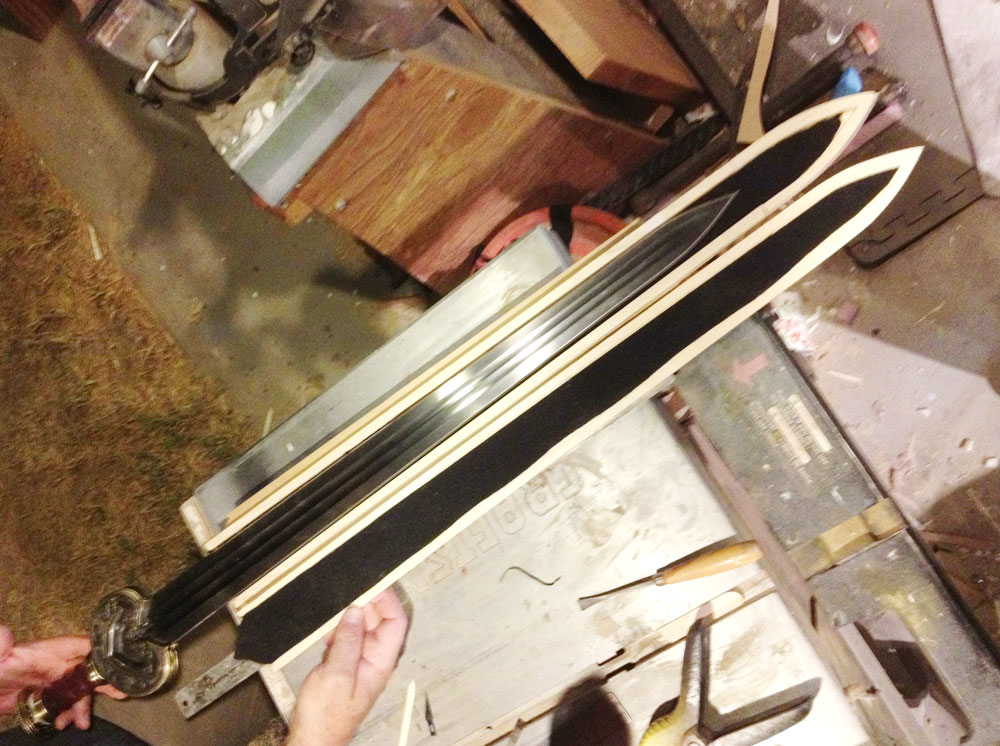
I cut strips of poplar to make the sides of the scabbard and glued them to one side. I glued in panels of black moleskin to each side of the scabbard. The moleskin (not real skin of moles) is very thin but soft.
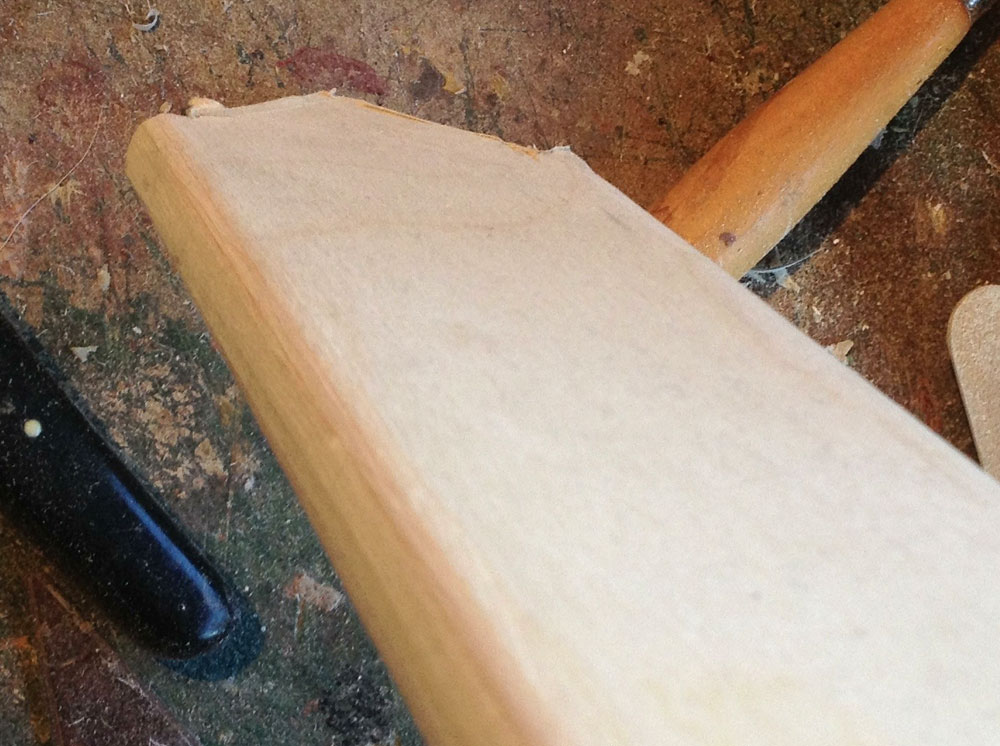
The scabbard “box” was glued shut and then the edge was rounded with a router.
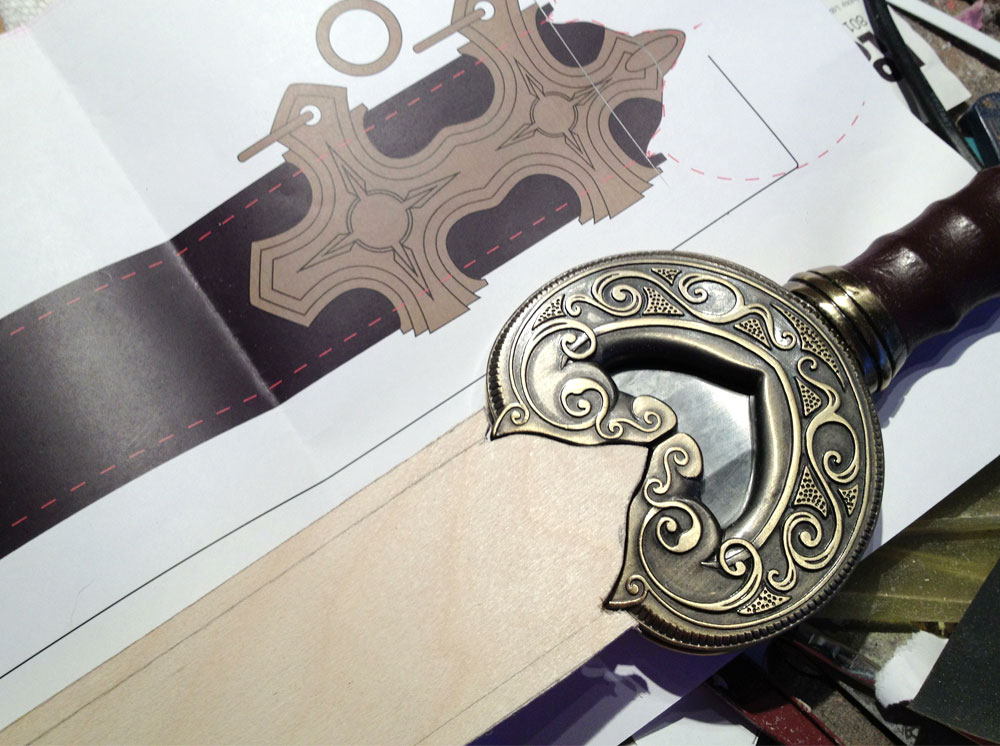
A quick test makes sure the sword fits. I used Bondo to fill any gaps along the edge.
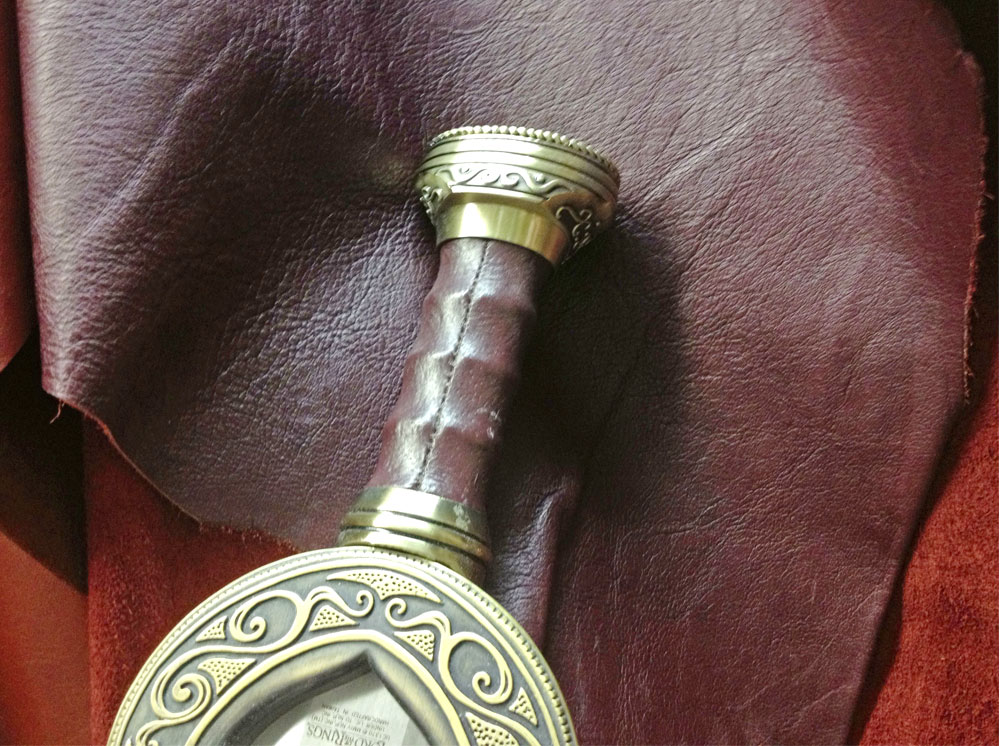
I found some leather in a local upholstery shop that turned out to be a perfect match! Strangely enough, the employees were not shocked that I walked in with a sword.
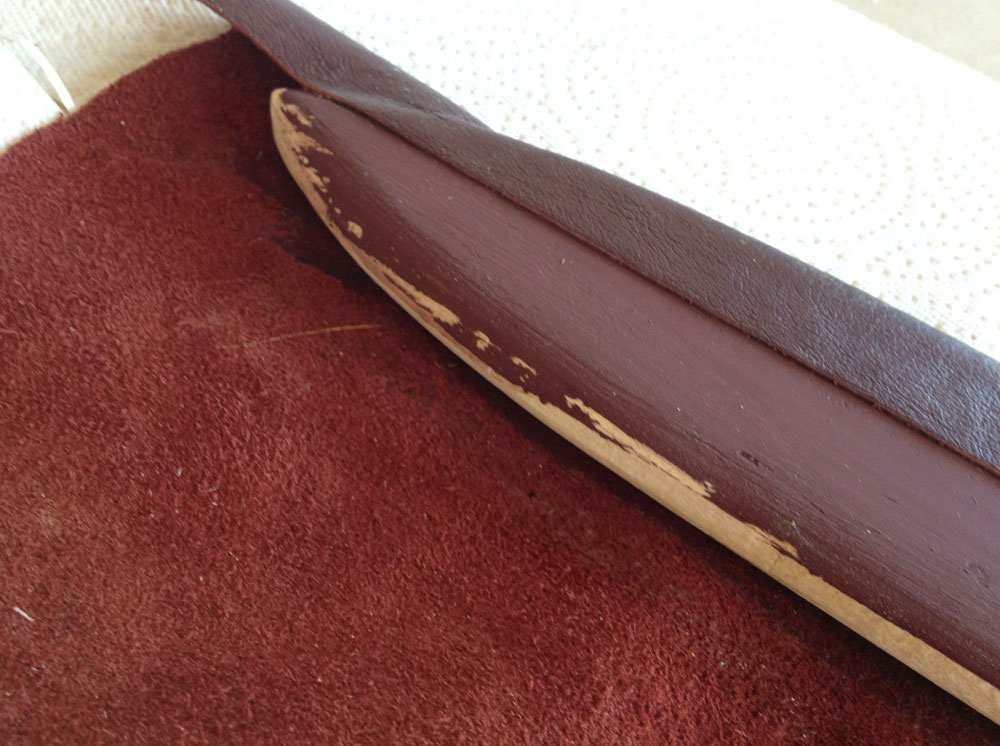
After a few failed attempts at stitching the leather on the scabbard, I decided to just glue it so that it would have a perfect seam. Just in case there was a gap in the seam, I pre-painted the wood a reddish brown to disguise the seam.
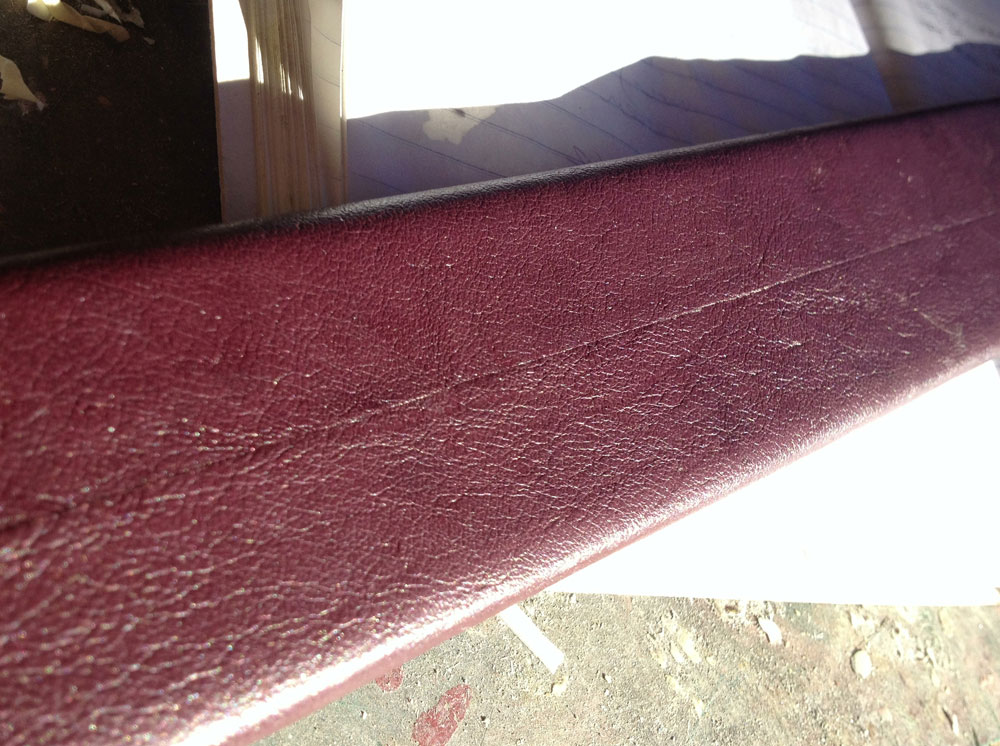
I glued each side and slowly worked the leather around the scabbard. The leather stretches so it was not hard to get a nearly invisible seam.
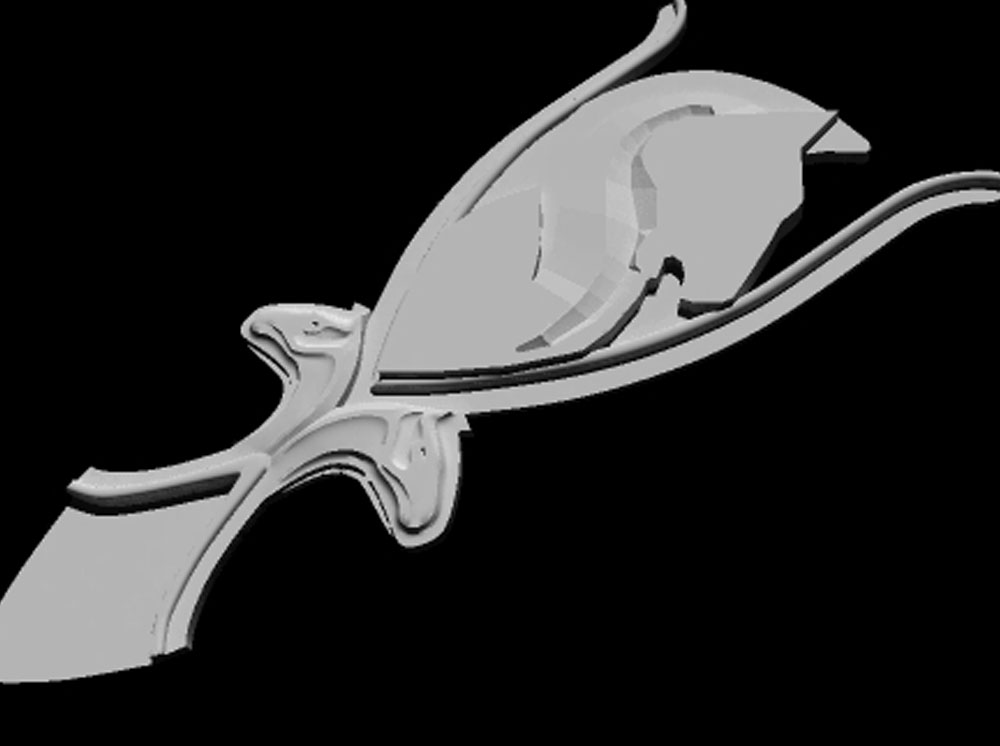
I broke the part down into sections for modeling. The large horse is the same on both sides so I built it as one piece. The trim and the two smaller horses is symmetrical so I could work one side and let the software duplicate it. The edges were left for last.
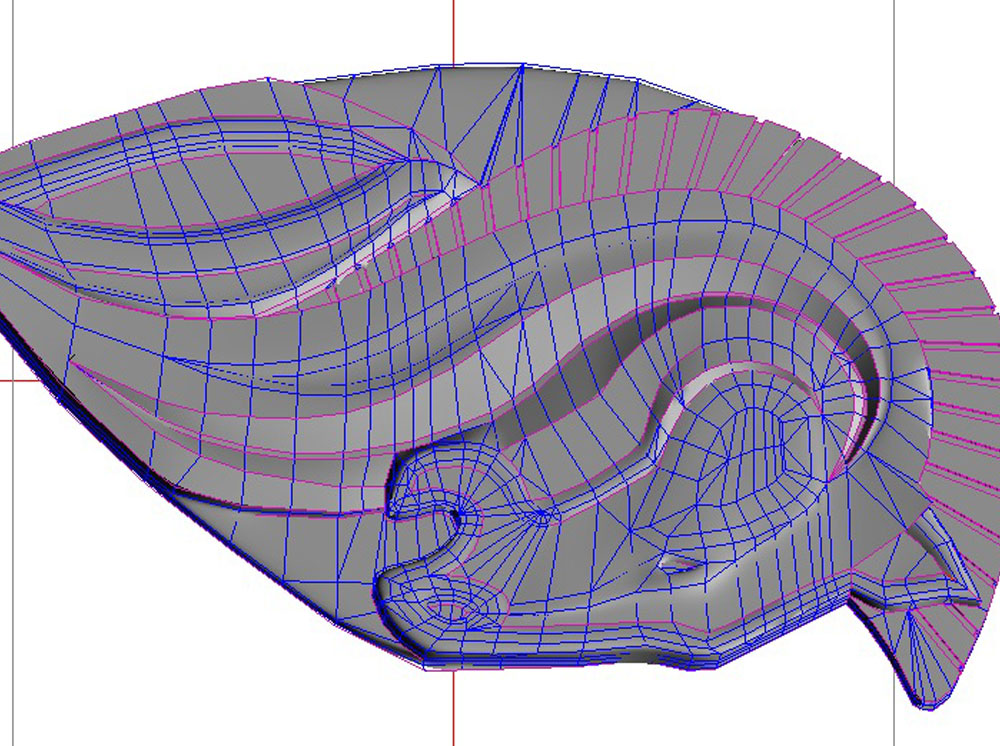
In sculpting the main horse, the software smooths the edges between polygons so you can describe curves with simple geometry. The purple lines are designated as hard edges.
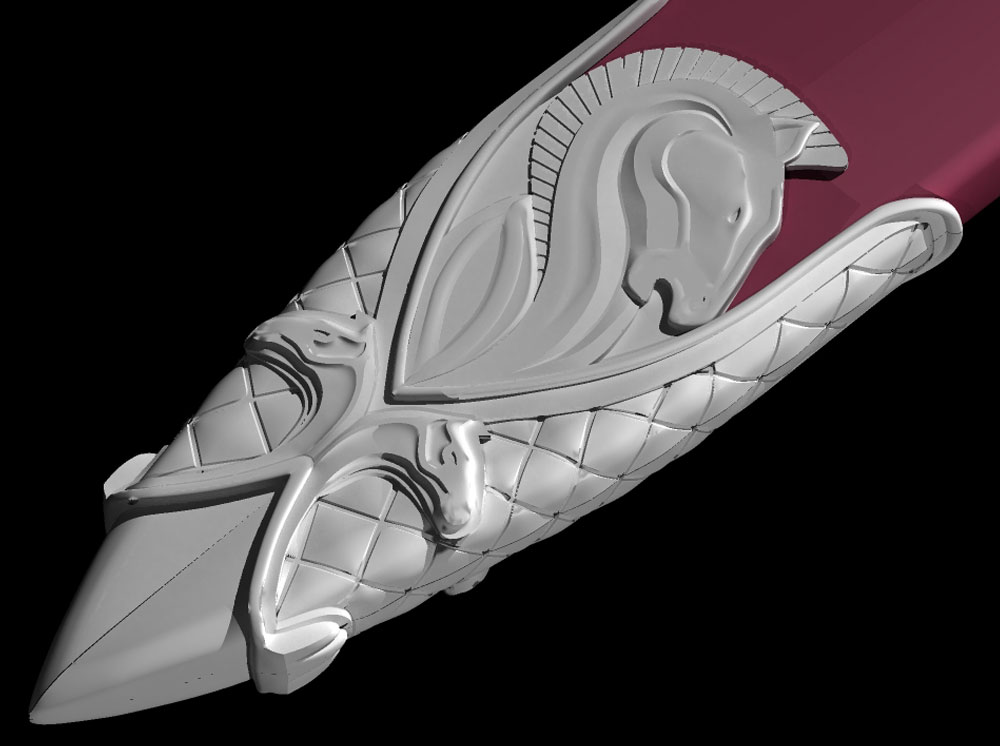
The final model.
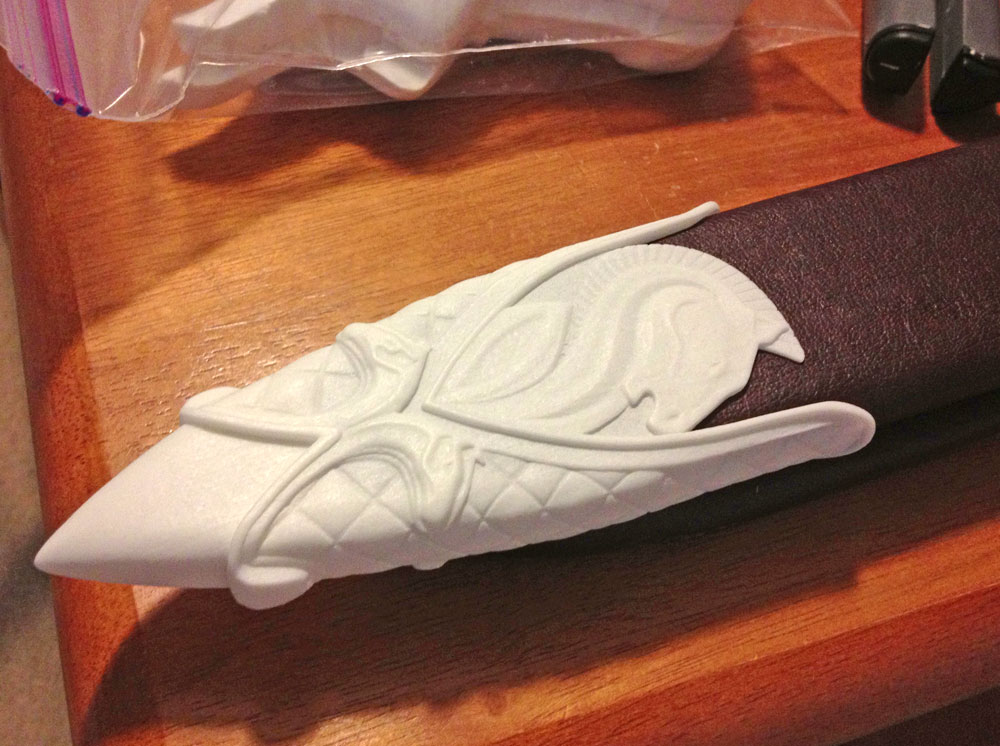
Two weeks later, I had a 3D print of the tip. I also printed up a reverse model of the main horse. Bernard Hill (and King Thèoden) is left handed so when he wears the scabbard (on his right side), the main horse faces down. The client is right handed but he wanted the horse to also face downward. I made this reverse horse as a replacement to address this issue. My copy will be as the King wears it.
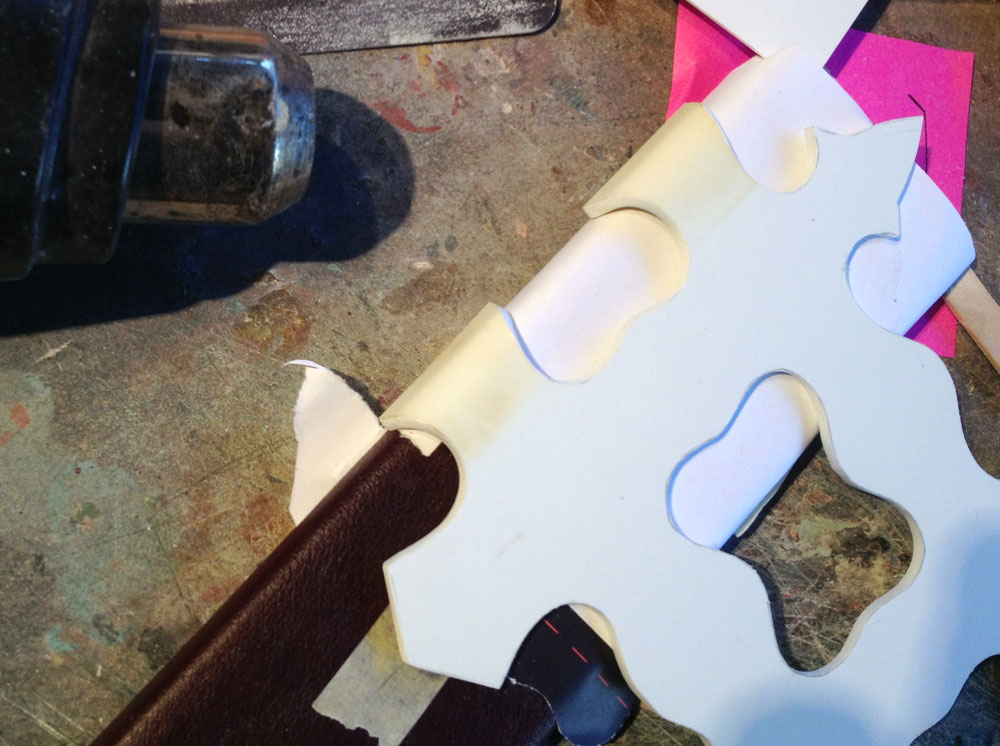
Concurrently, I started working on the cuff at the opening of the scabbard. I cut thick styrene to shape and heat formed it around the scabbard.
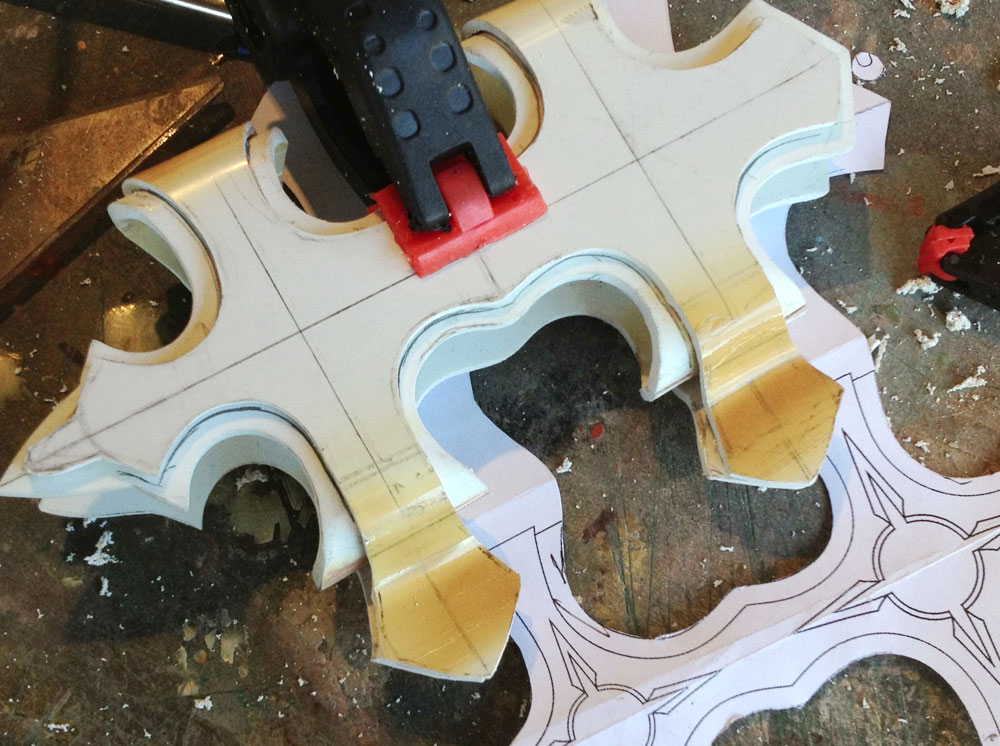
A second layer of thinner styrene was cut out and heat formed around the first layer.
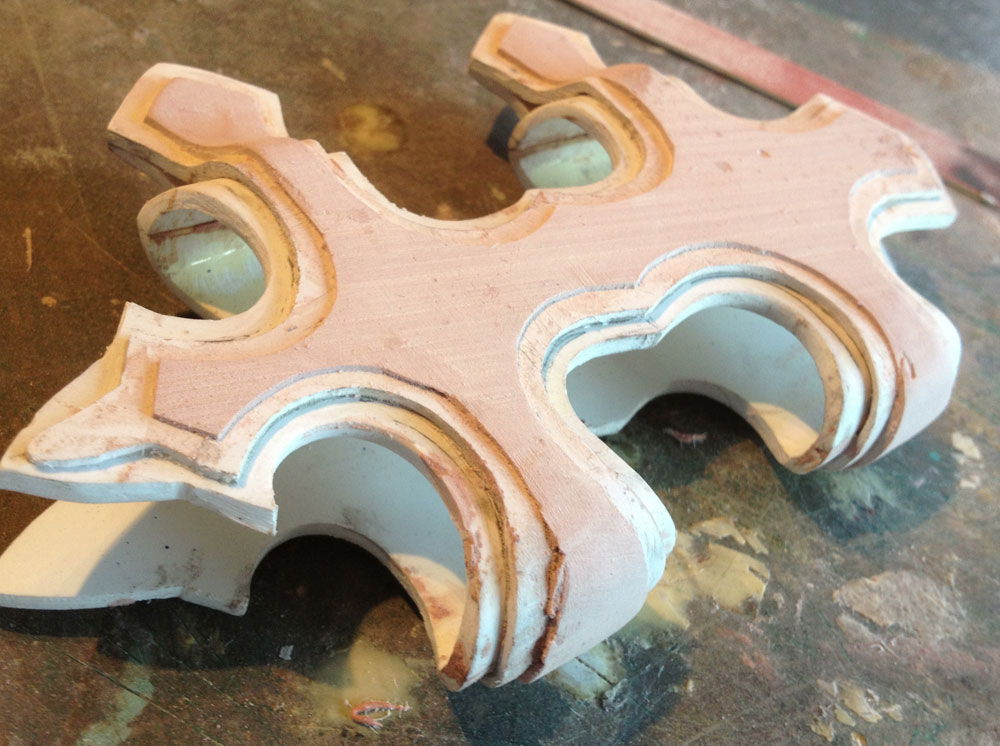
A third layer was being difficult so I applied a layer of Bondo and trimmed it to form the decorative terracing design. The inset stars were cut out of styrene.
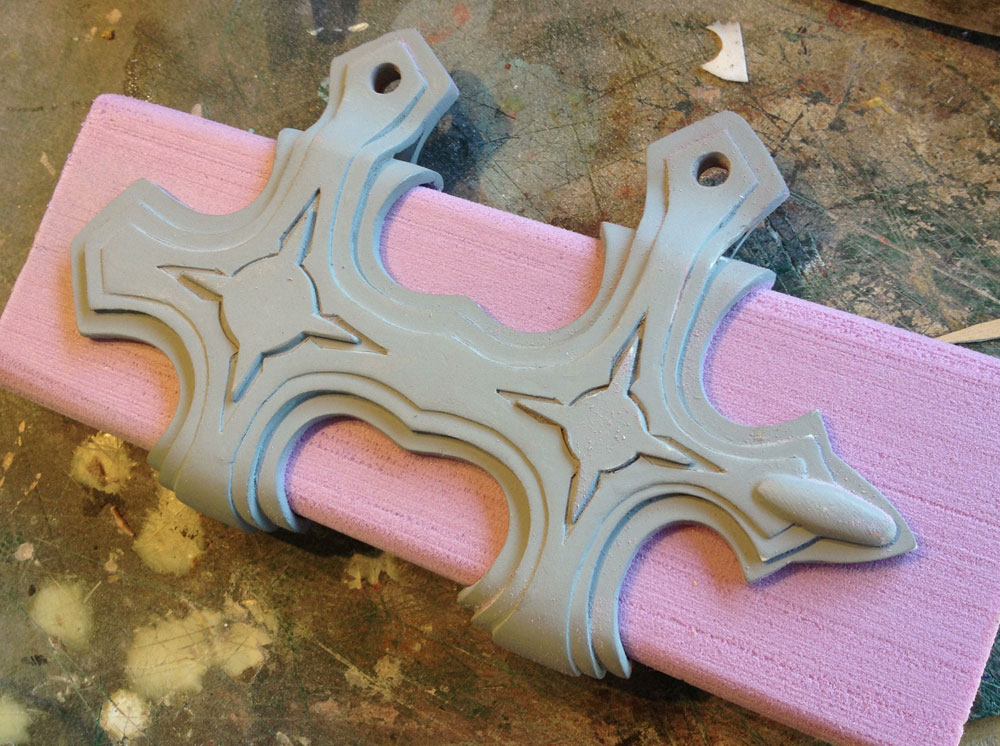
The final cuff ready for molding. I cut a piece of foam as a stand-in for the scabbard.
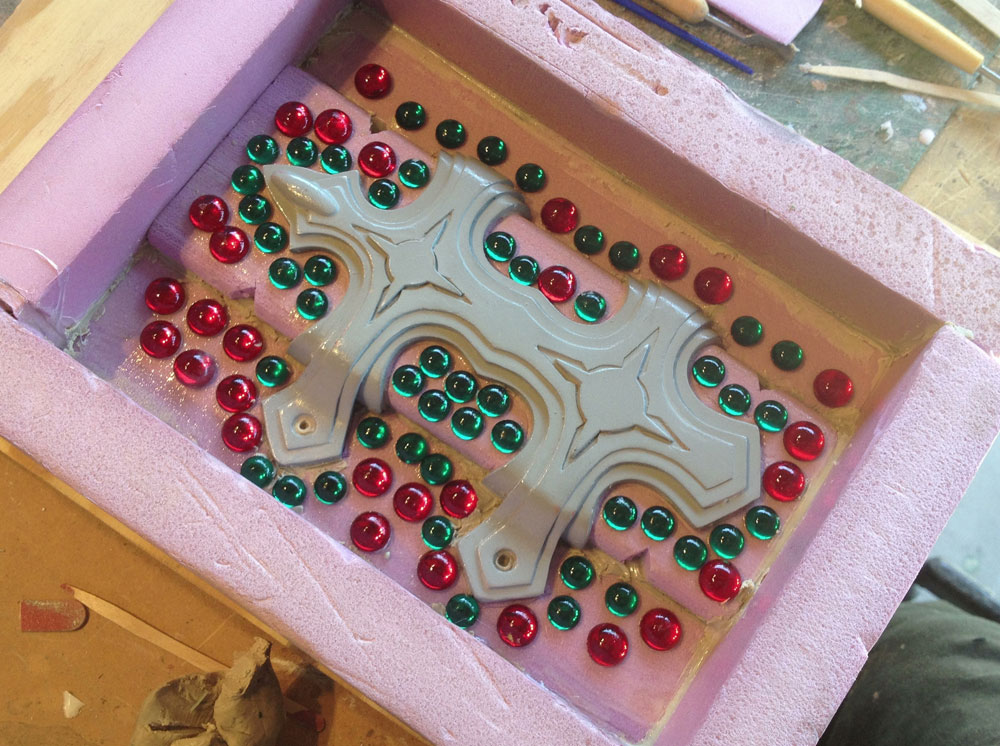
I poured silicone for each side. Acrylic cabochons were used for keys to align the mold parts.
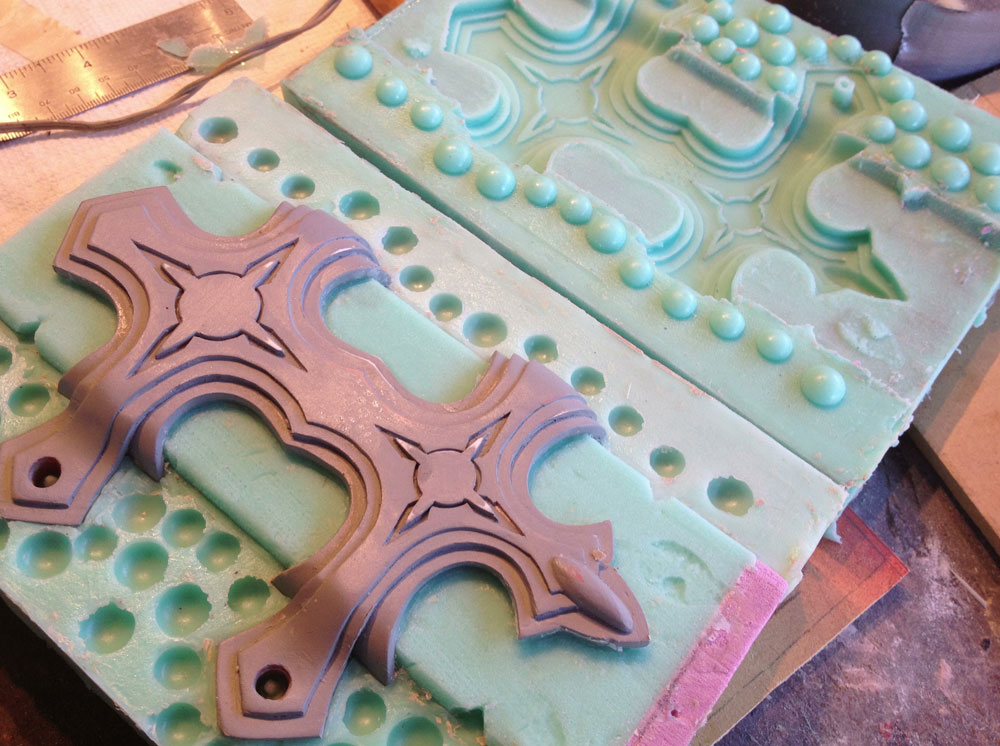
After each side cured, I disassembled the mold, removed the center foam piece and poured a silicone plug inside the cuff.
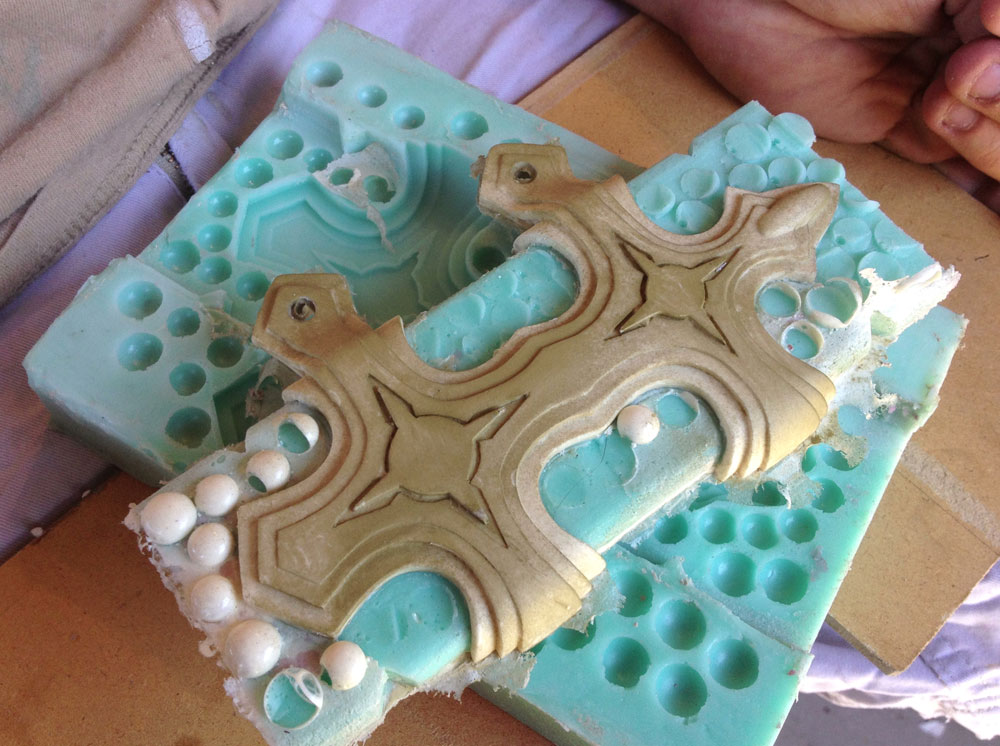
My first test pour in the reassembled mold.
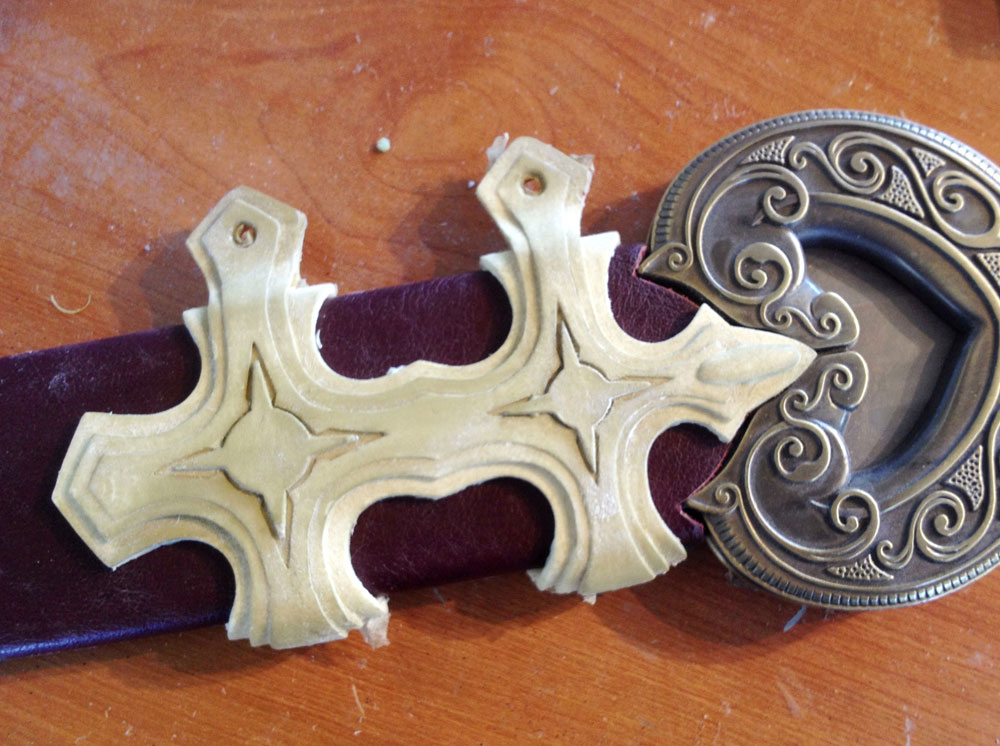
Thankfully, it fits!
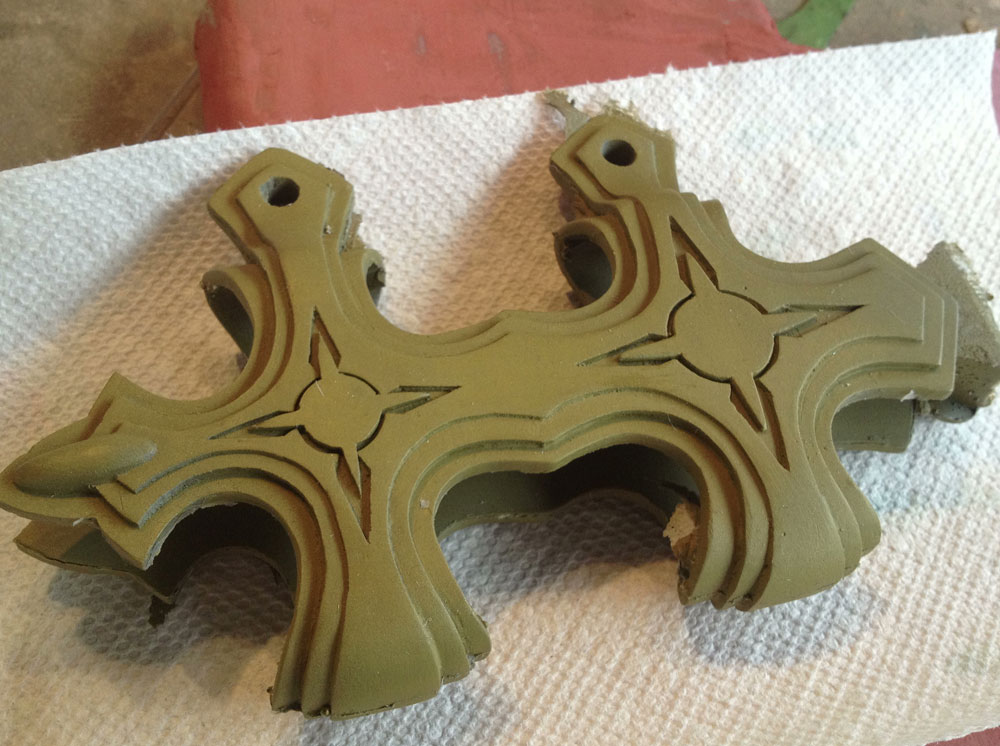
I bought some brass powder and added it to the resin (a process called “cold casting”) to cast both the cuff and tip.
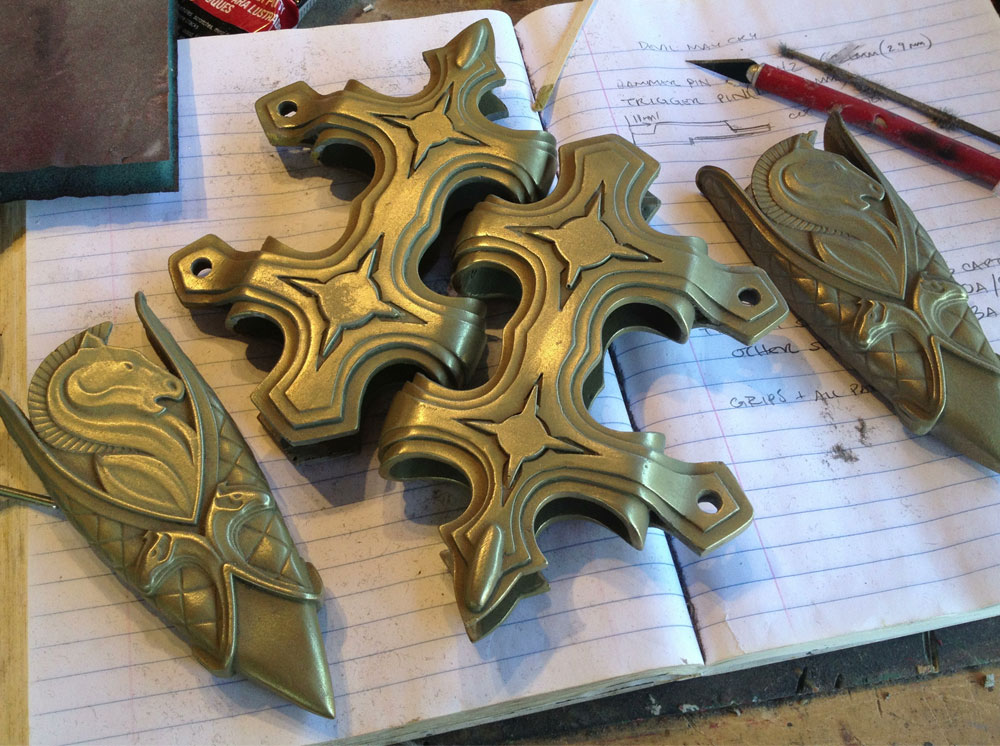
Some buffing with 000 steel wool, and the real metal shine comes out!
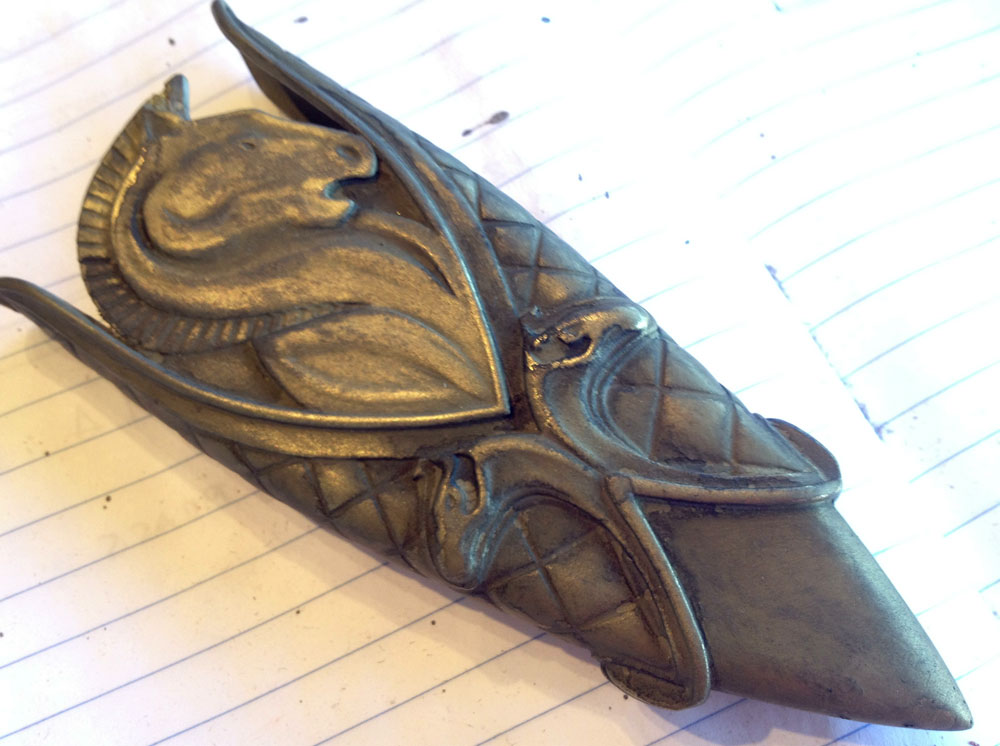
To bring out detail and add some wear-and-tear, I painted the pieces with a wash of black acrylic paint.
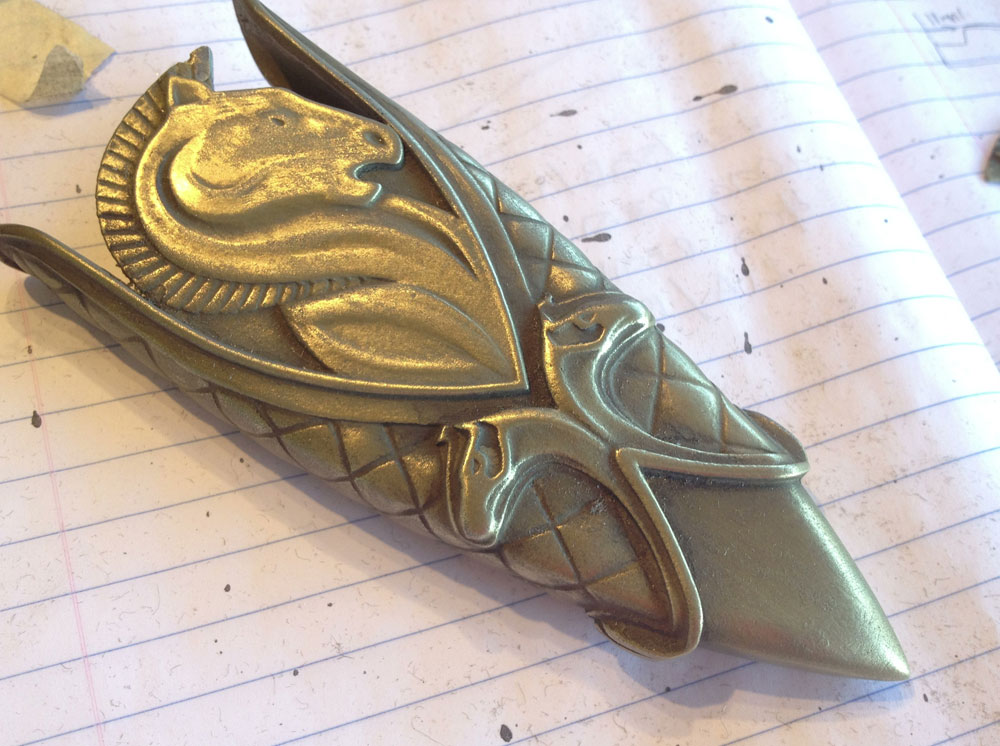
Some more buffing with steel wool, removes the surface paint but leaves it in the recessed bits, showing all the detail.
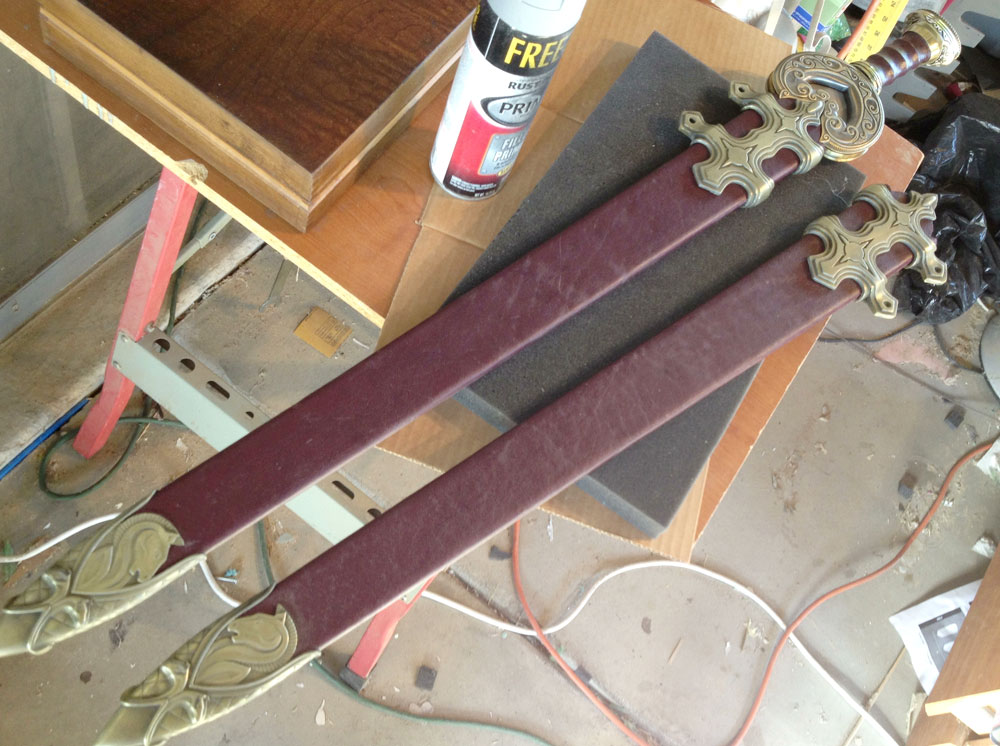
The pieces glued on the scabbards. On the reversed client’s version, I had to remember to put the leather seam on the opposite side so it wouldn’t be seen.
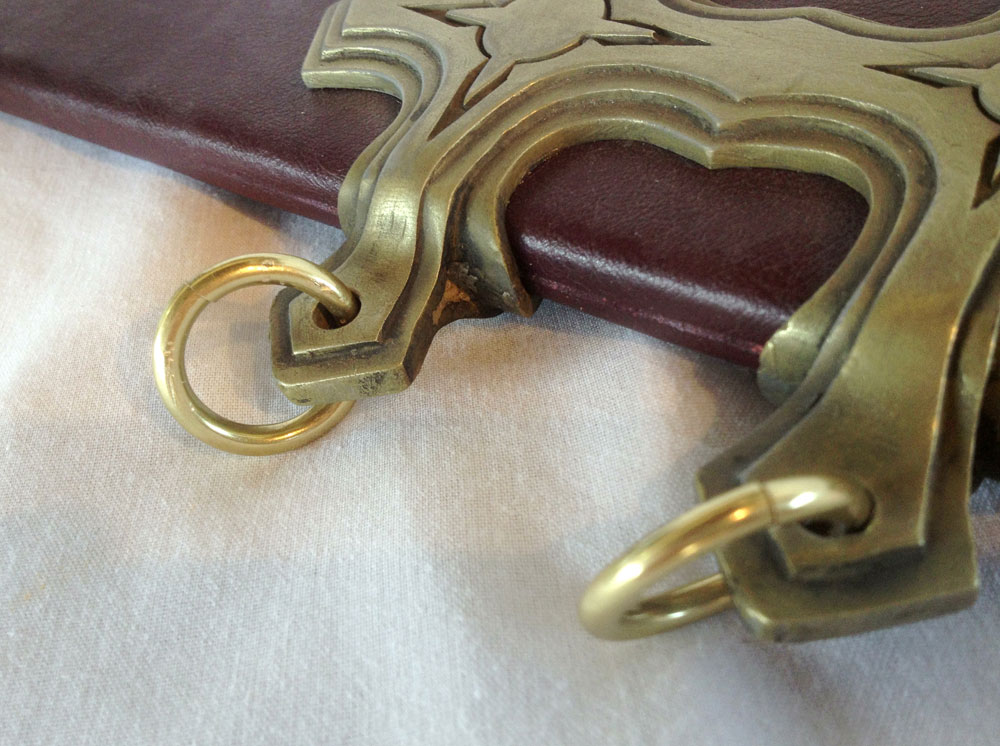
The last detail added were some brass rings for the belt straps (which I hope to make as well).
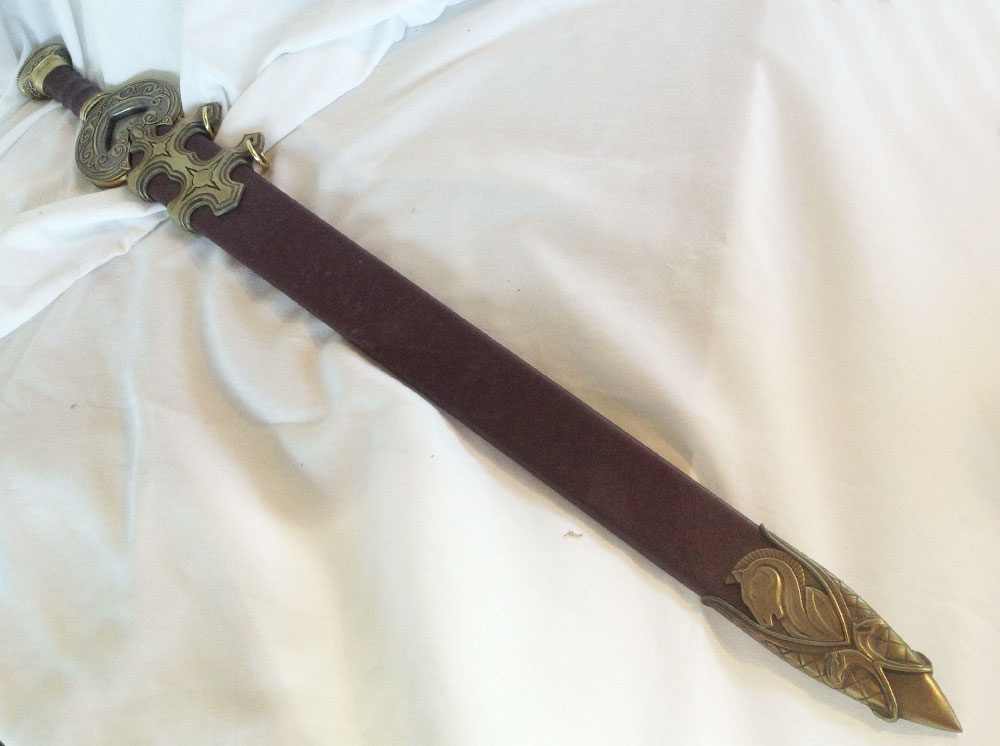
The completed scabbard.
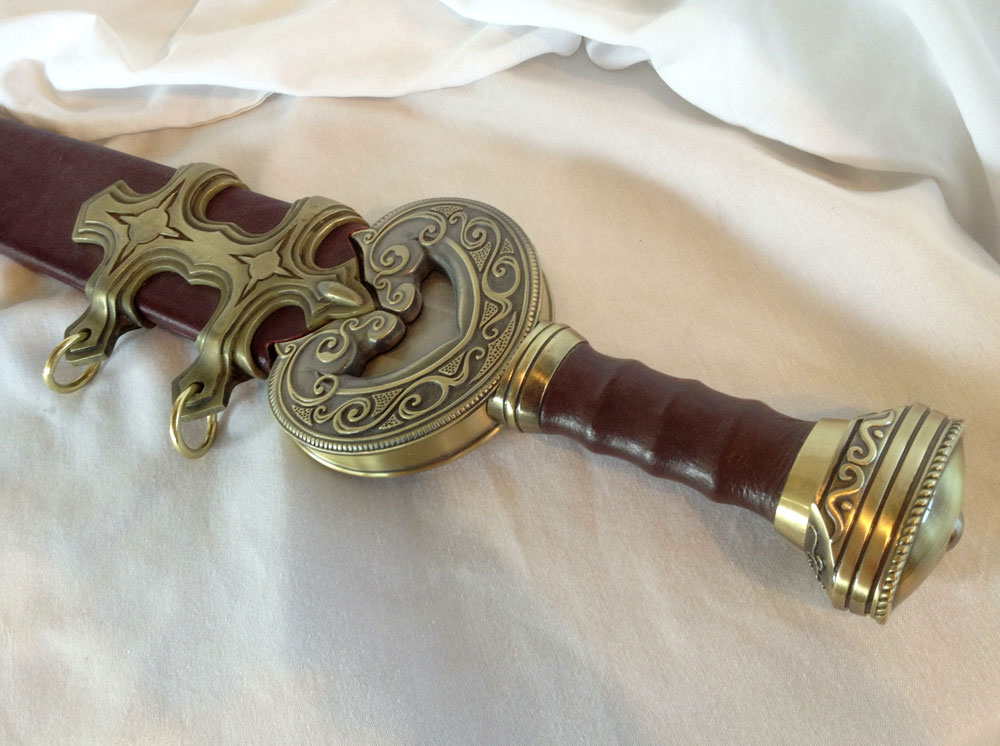
Detail.
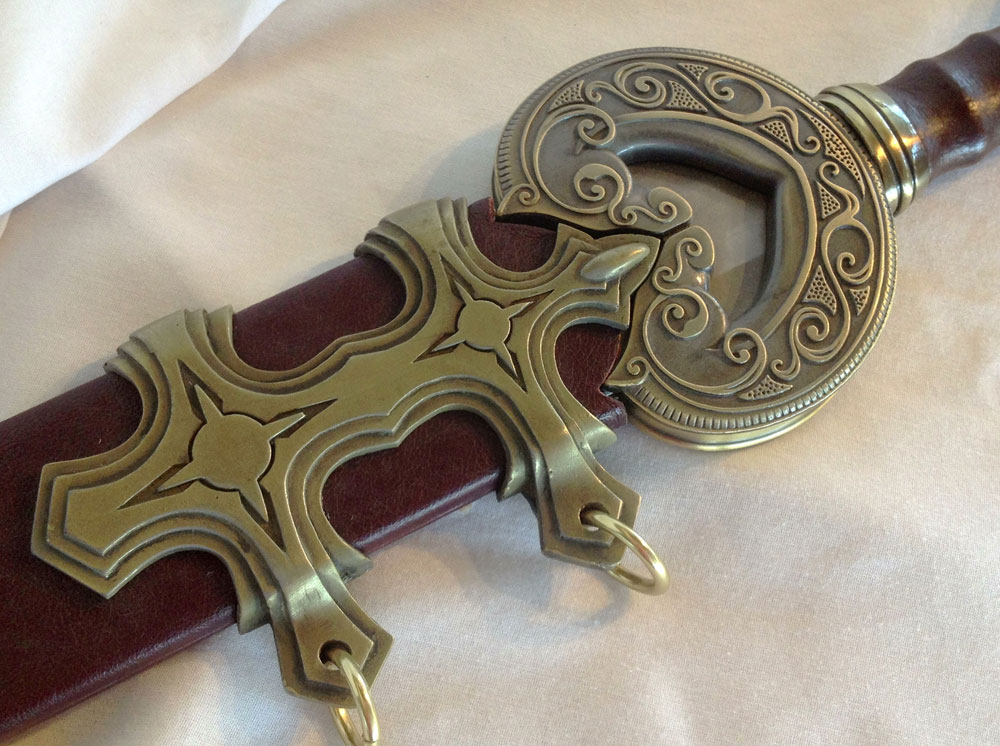
Detail.
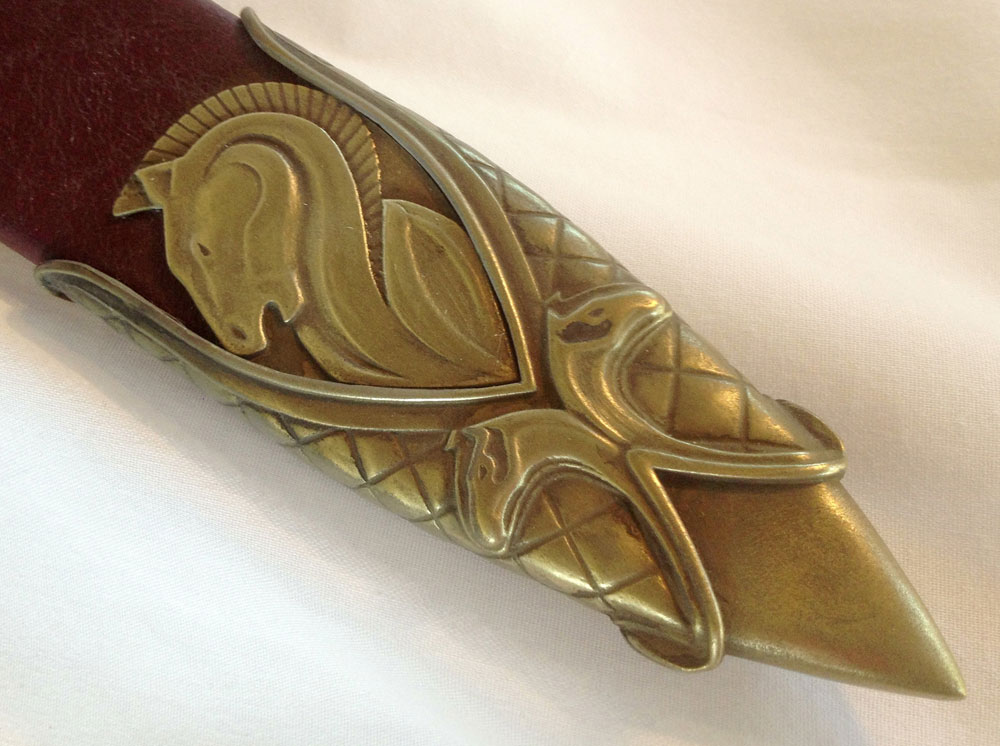
Detail.
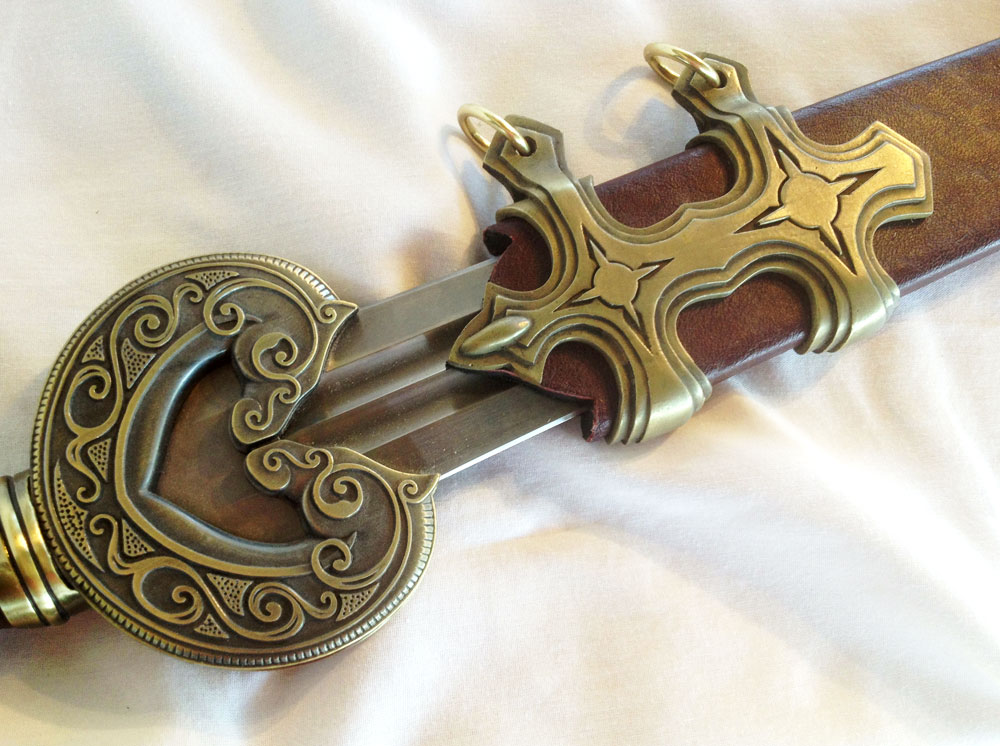
Detail.
