Helm of Sauron
SEPTEMBER 2007
Sauron is the Dark Lord in the "Lord of the Rings" and the creator the magical Rings of Power and the One Ring which controls them. In the Second Age, he was defeated when Isildur cut off the finger that was wearing the ring.
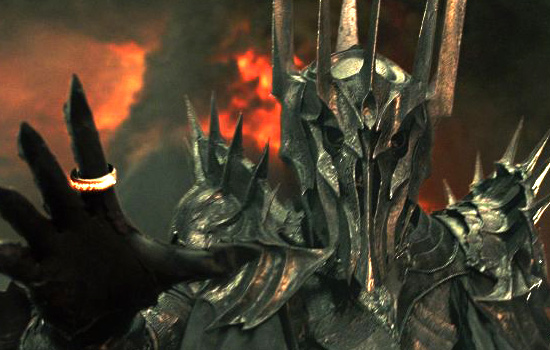
One of my favorite characters from the Lord of the Rings films was Sauron. My dream project is a full suit of his armor…which I will get to building…eventually.
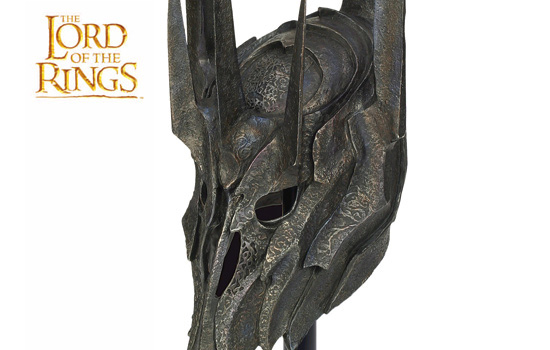
United cutlery came out with an official replica of his helmet, which I bought. It’s an amazing piece but it differs from the film prop in a few ways. First of all it seems to be about 15% too big…you look like a bobblehead wearing it. It is also extremely heavy so it’s not a piece you want to be wearing for any extended time. Using this as reference, I could make a properly sized version for myself.
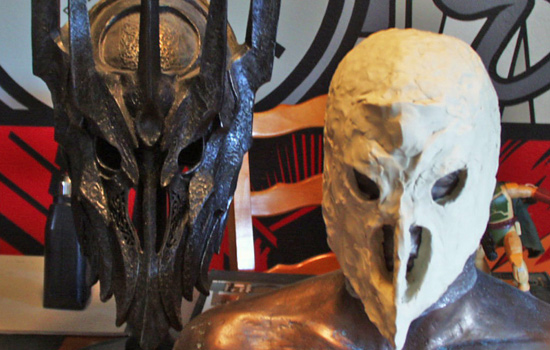
Working on the plaster casting of my head, I started applying clay to rough out the proportions.
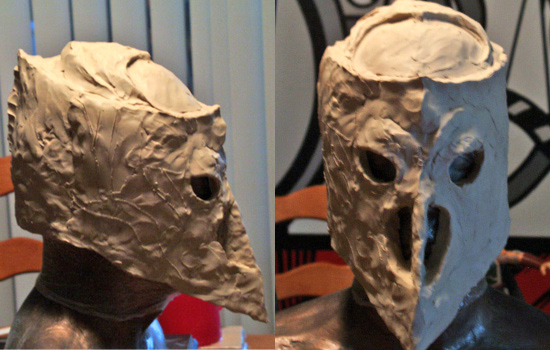
I lightly scribed the side details and started to rough in the the top of the helmet.
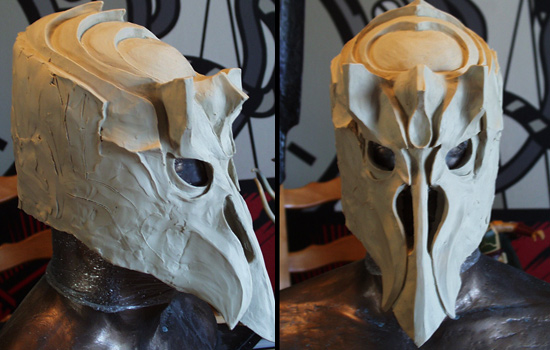
Working from the center, built the first layers around the face.
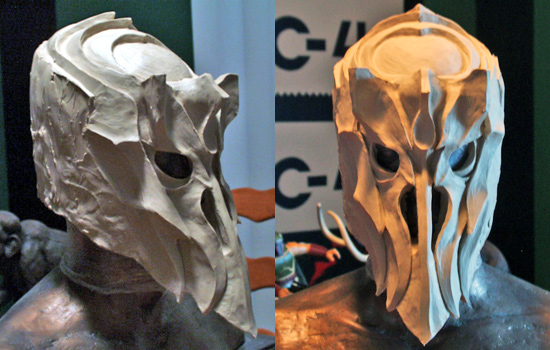
The second layer…
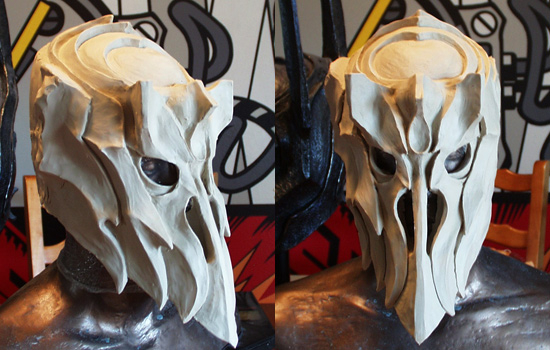
And a third…
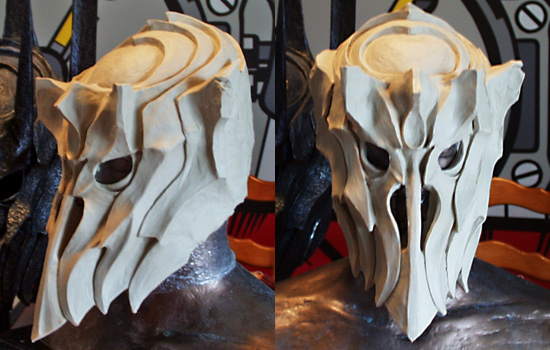
And a fourth…
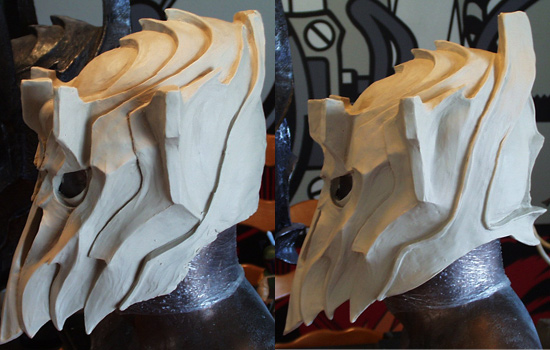
And finally the back piece that leads up to the back spike.
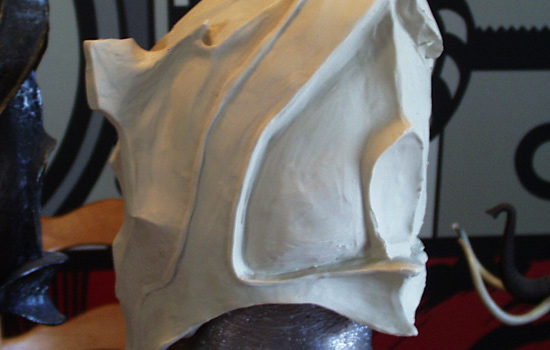
The back of the helmet.
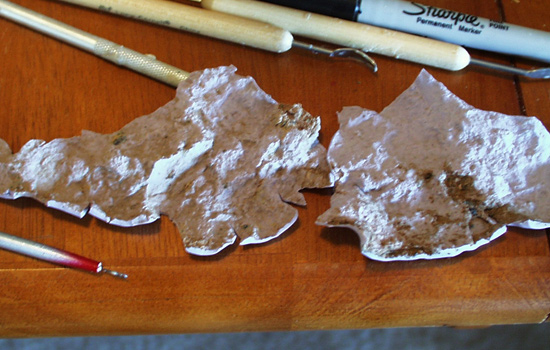
The replica helmet had a stone-like texture to it. To duplicate it, I applied some silicone to a big rock to make some stamps.
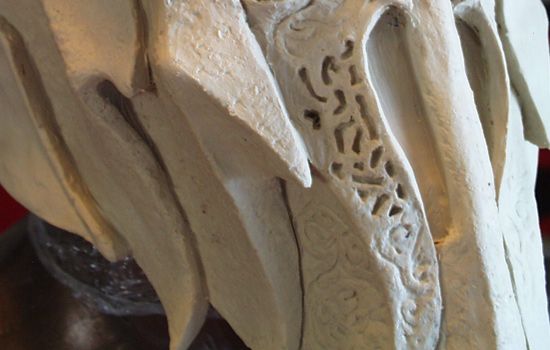
I stamped the texture to the helmet and scribed in some of the runes around the nose holes.
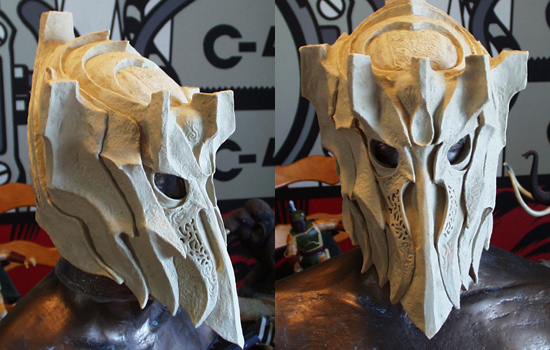
The final textured helmet.
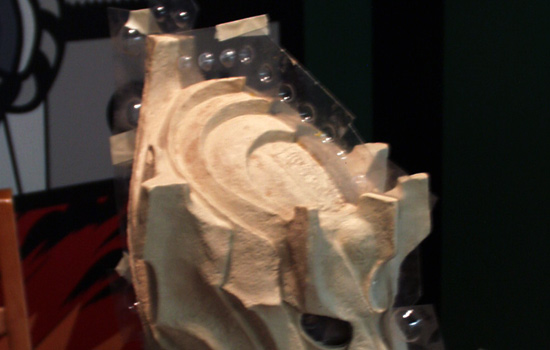
I used clear plastic mold dividers to separate the two halves for molding.
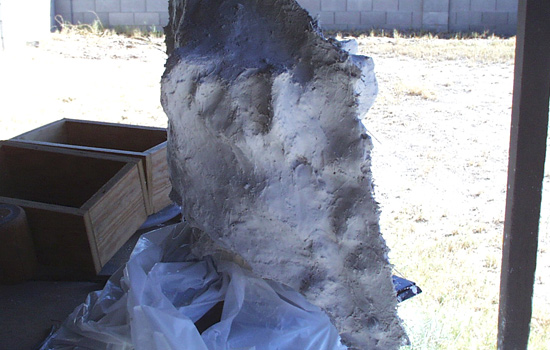
I was short on cash at the time I made this so I made a waste mold out of plaster.
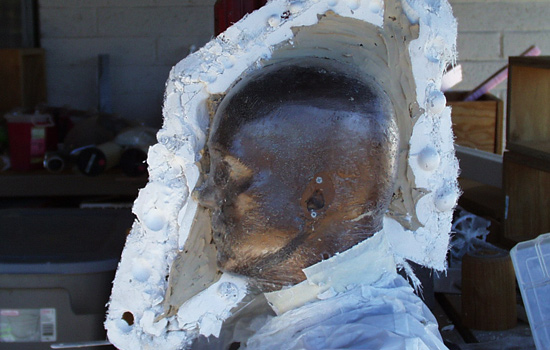
The left half of the mold removed. You can see how much clay was used to form the helmet.
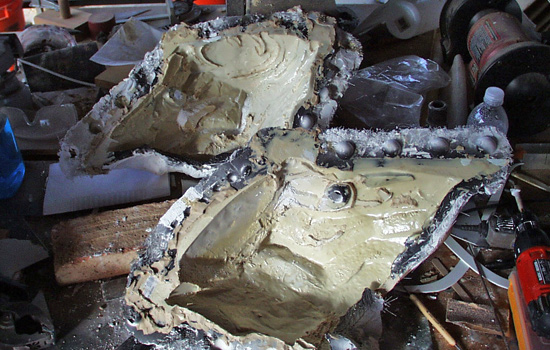
I slush cast resin into the halves. One the sides were built up enough, I put the sides together to slush cast the seam.
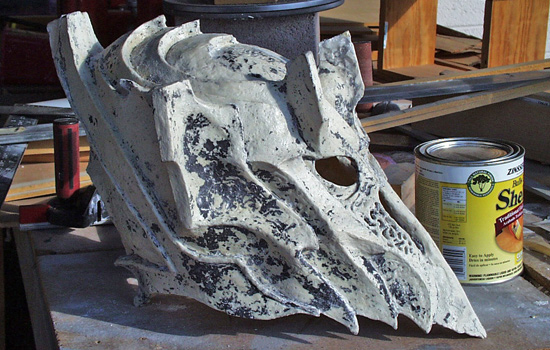
The demolded resin helmet. This method is risky as the mold is destroyed as well as your clay original. It’s cheap to do but you could wind up with nothing at any stage!
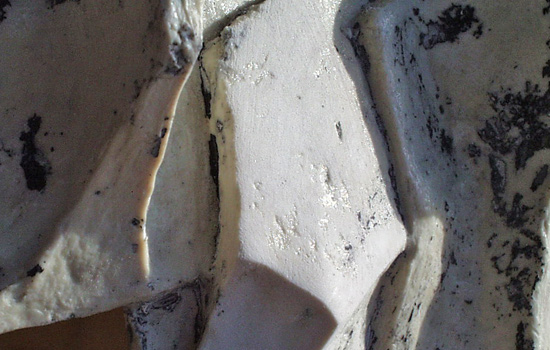
Looking at stills from the Fellowship of the Ring, I saw that the film armor had a smoother finish with crisp, clean edges. I sanded down the surfaces of the helmet leaving little bits of corrosion.
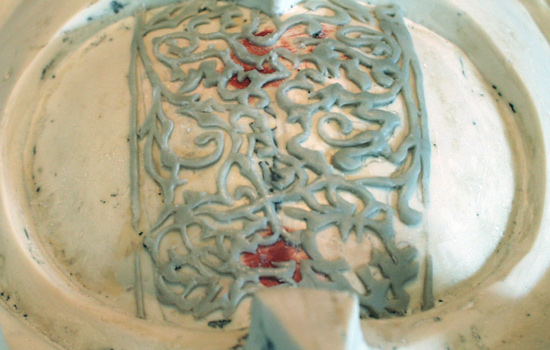
I sanded off the scrollwork on the top of the head as I couldn’t sculpt it clean enough. I remade the design in epoxy putty which would be later sanded for a flat surface.
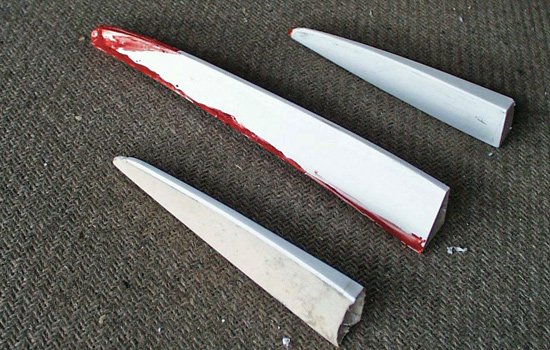
I made the spikes from styrene filled with resin
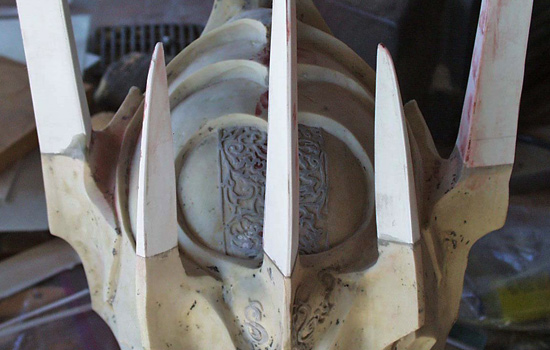
I attached the spikes with epoxy putty and dowels.
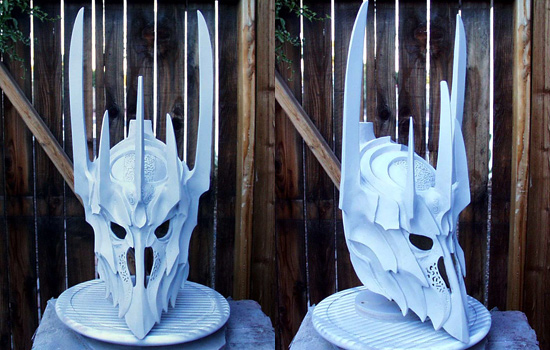
A primer coat to test the seams and detail.
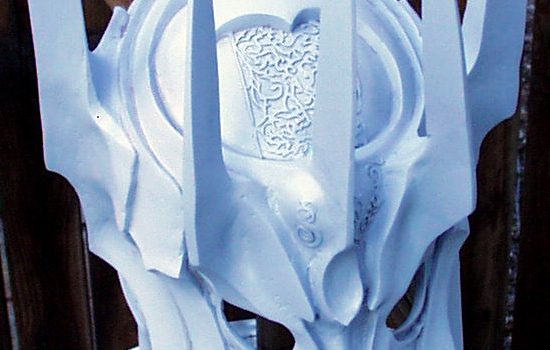
Detail shot of the top of the head.
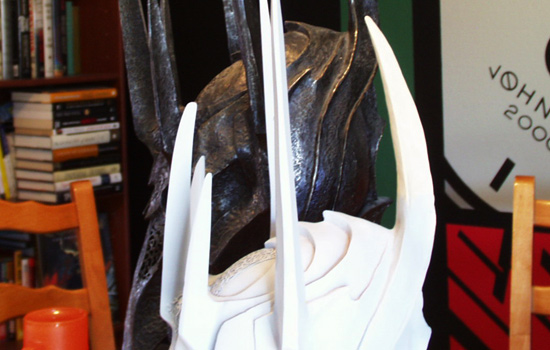
I sculpted the back spike in clay and made a quickie silicone mold for a resin copy.
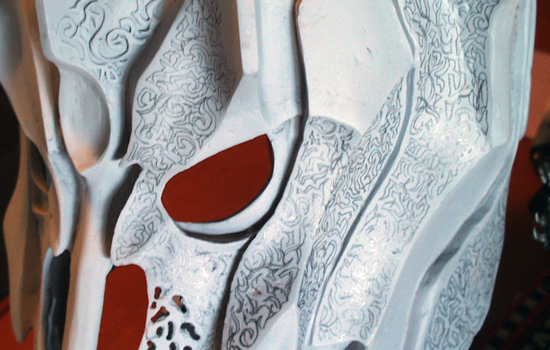
I penciled in the runes on all the panels of the helmet. I used photo reference for as much as I could and made up the rest
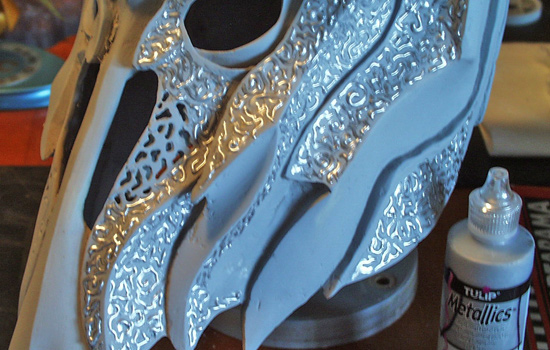
After some experimentation, I went back to the way I made ruins on my old Halloween costume: Puffy Paint.
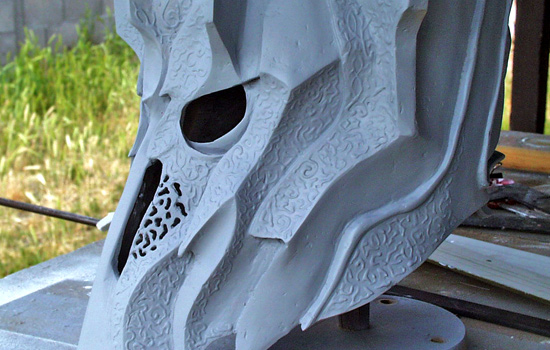
Primer over the puffy paint blends it all together.
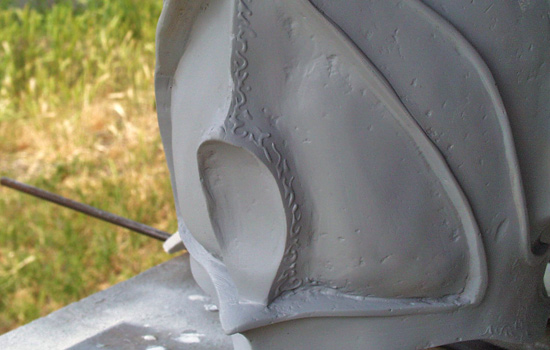
Runes on the back as well.
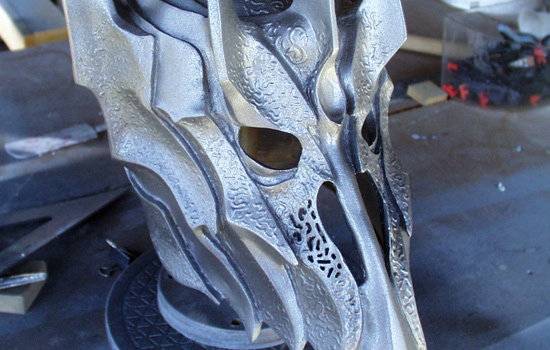
A base coat of metallic paint.
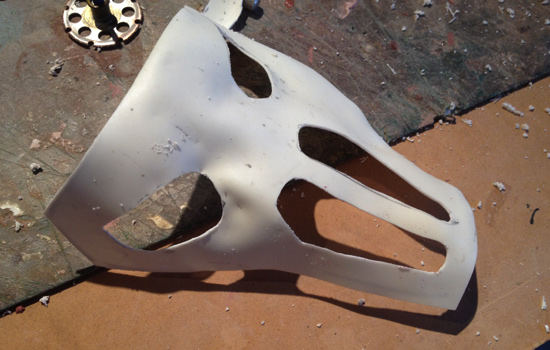
To cover my eyes while wearing the helmet, I heat formed some styrene and pressed it into the inside of the mask. I trimmed out the eye and nose holes.
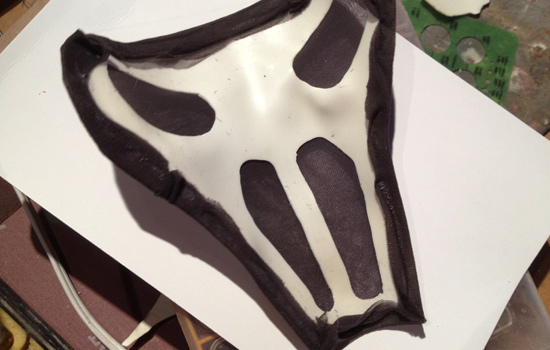
I stretched black nylons over the styrene and hot glued them to the back of the plate.
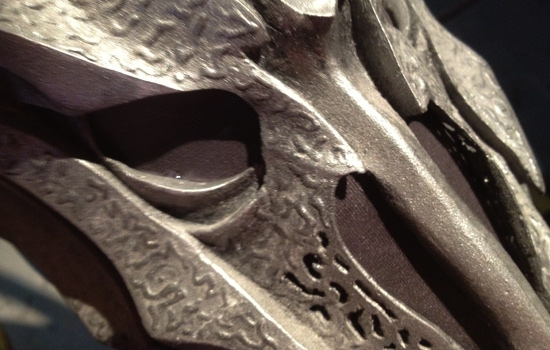
This part was glued into the helmet. I can see and breathe perfectly but no one can see in.
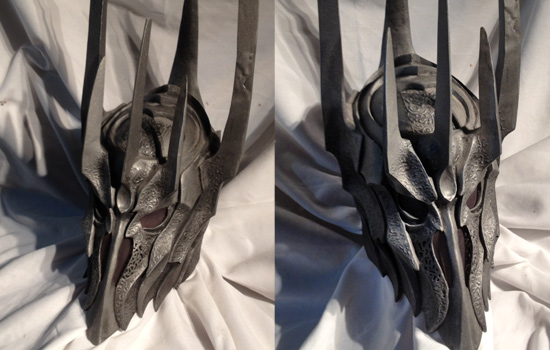
The metallic paint was given a black wash to prong out detail and knock down the shine.
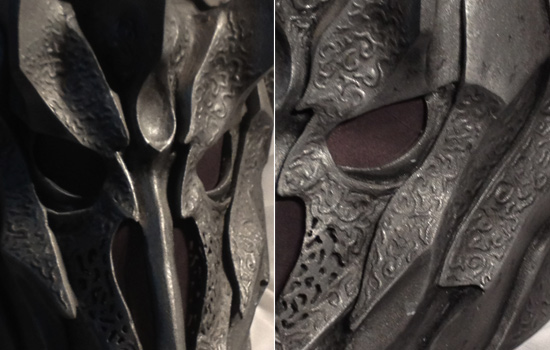
Detail shots of the face.
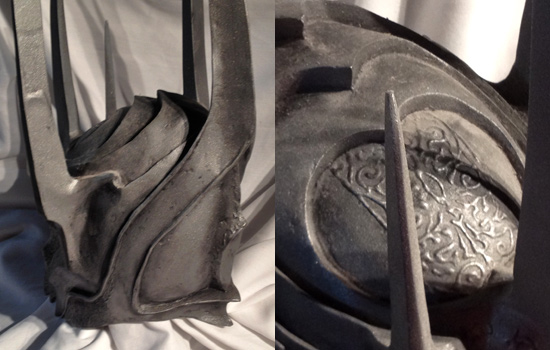
Back view and detail on the top scrollwork.
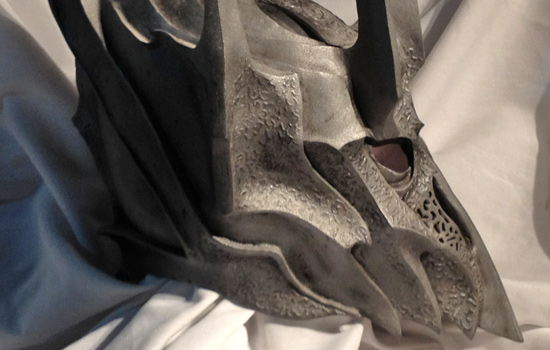
Side view.
