gears of war shotgun
june 2012
Gears of War is a video game series focusing on the conflict between humanity, the subterranean reptilian hominids known as the Locust Horde, and their mutated counterparts, the Lambent and the Swarm.
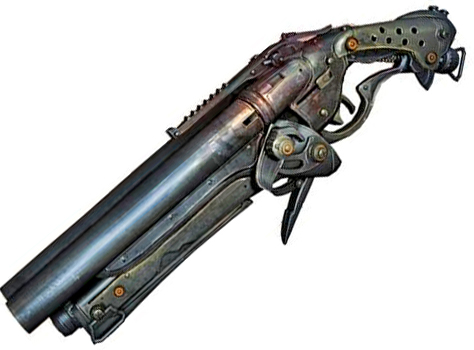
I was commissioned to build the sawed-off shotgun from the game Gears of War. The challenge of this build would be to make it open to accept shells.
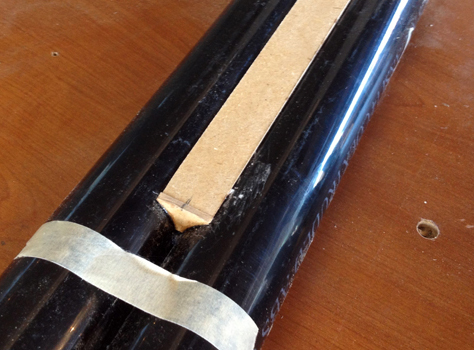
I started by gluing two ABS pipes together and adding a piece of MDF to create a flat surface on the bottom.
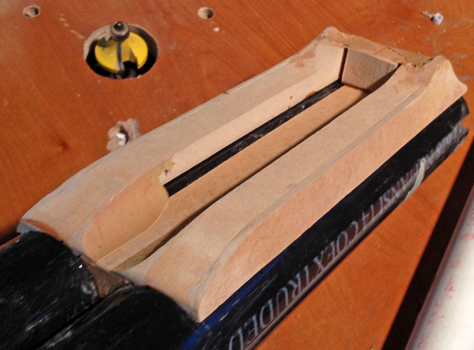
I further built up the barrel support with MDF, using Bondo to make a tight fit.
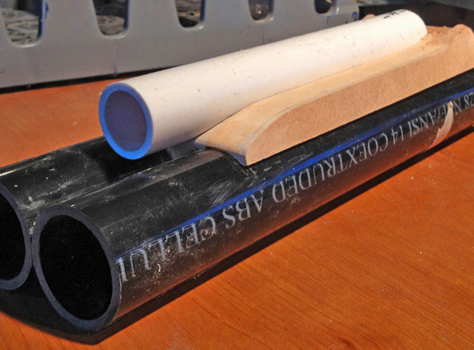
A PVC pipe was used for the magazine tube (although this shotgun is a breach loader and doesn’t feed ammo from a magazine…for lack of another name, I’ll call it a magazine).
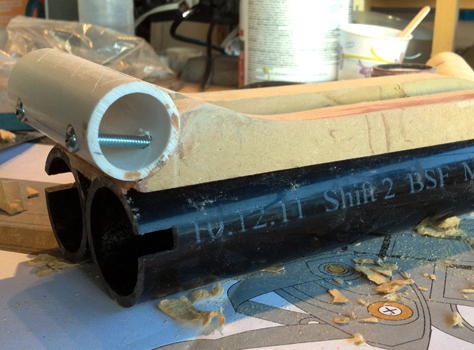
To make the hinge for the front assembly, I epoxied and bolted a PVC pipe. This part will be taking a lot of stress so I wanted to make it as strong as possible.
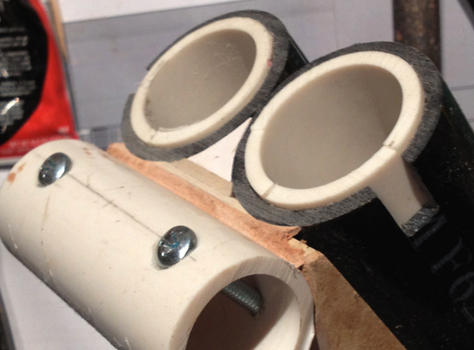
I notched the breach and inserted PVC pipes for an inner barrel. Bondo and styrene finishes the surface.
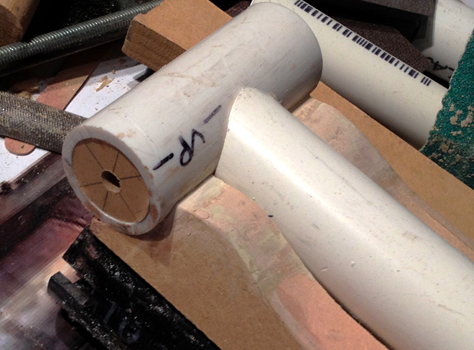
I inserted MDF plugs in the side of the hinge with holes to accept a long bolt.
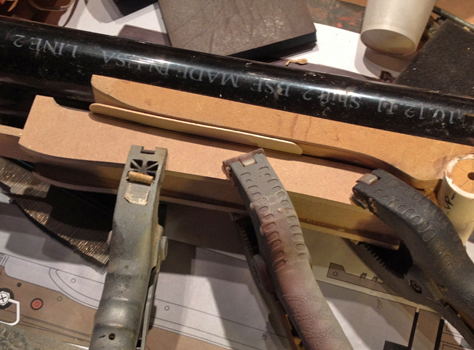
The fore grip was initially framed out with 1/4″ MDF so that it fit snugly against the magazine tube.
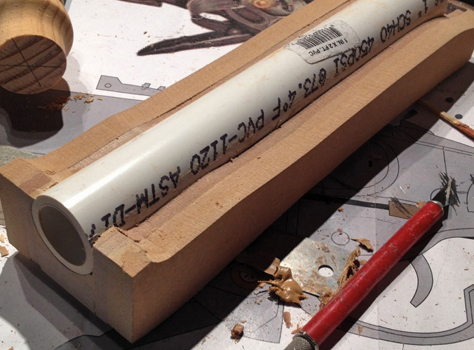
More MDF was added to flesh out the fore grip.
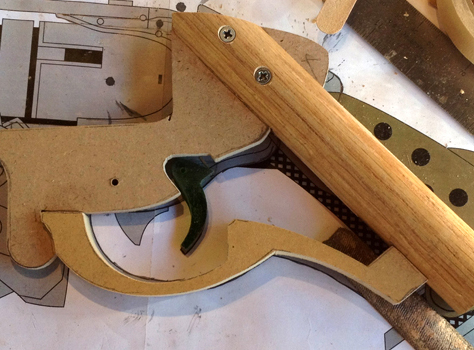
To frame up the pistol grip, I used 1/4″ MDF bolted to a walnut dowel. I cut the trigger from 1/4″ acrylic and the trigger guard was cut from 1/2″ MDF.
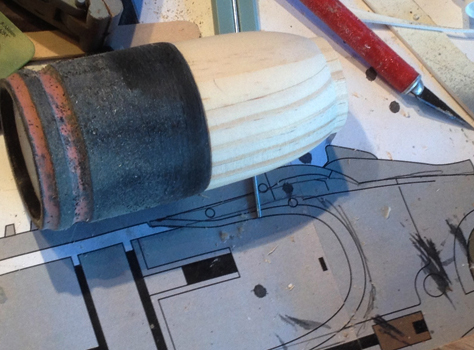
The shotgun grip features cylindrical chambers at the breach that would house the firing pins (on a real gun.) Since you only see one side of the cylinder, I could make one master that has an identical left and right side, and then make resin copies for use on the replica. I routed grooves into an ABS tube and lathed a cone for the end.
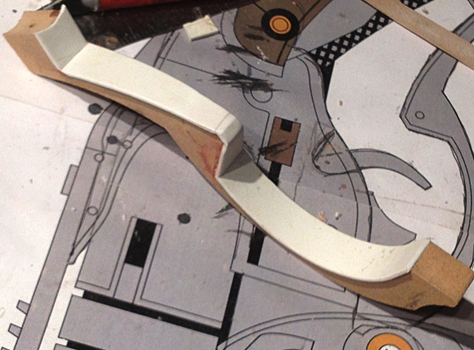
After the trigger guard was sanded into shape, I added a styrene lip to the inside.
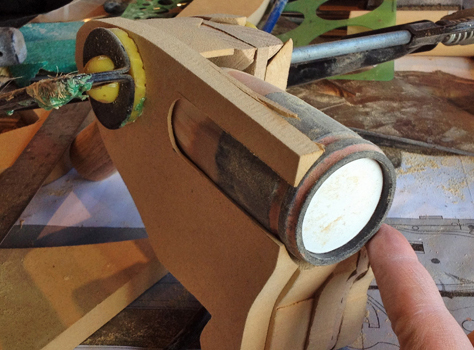
I started fleshing out the pistol grip with MDF, carving out a recess for the chamber cylinders.
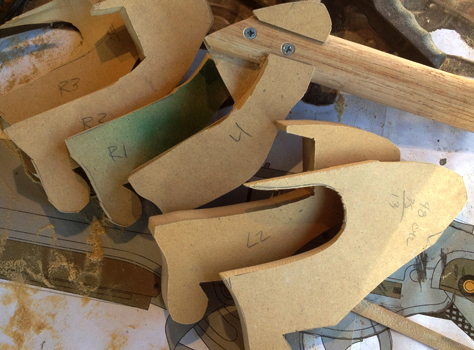
Here are all the layers for the pistol grip!
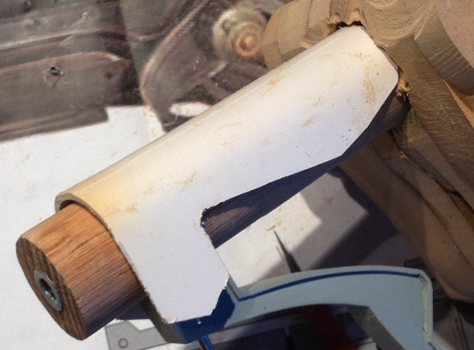
I heat formed thick styrene around the grip dowel.
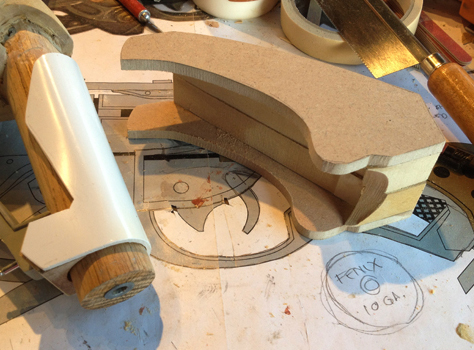
I glued more MDF together to make the outer grip.
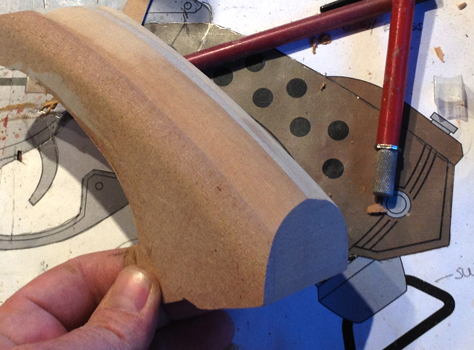
Once it was fitting properly, I shaped it on the belt sander.
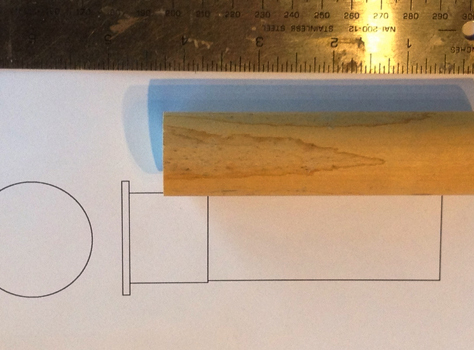
The shotgun shells would be built around a wooden dowel.
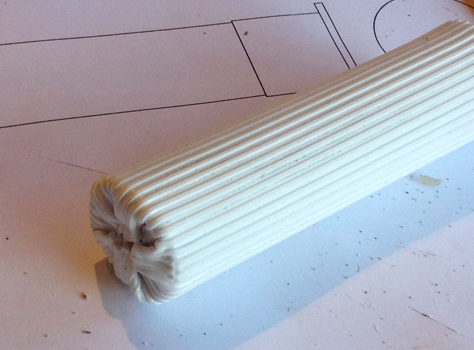
The dowel was clad in ribbed styrene and the end was heated and folded over. I wasn’t that thrilled with the fold so I would have to recreate the end.
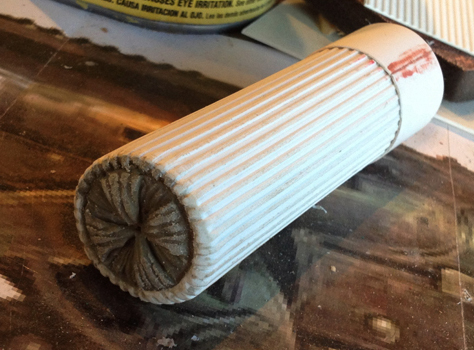
I used epoxy putty to re-sculpt the shell end.
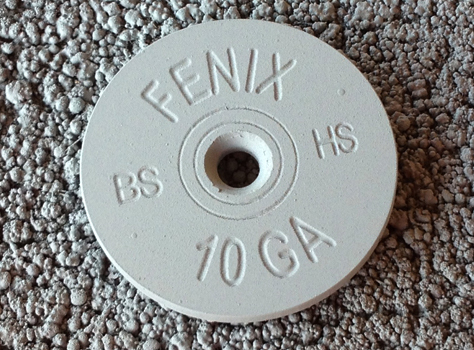
To make the end of the shotgun shells, I had an acrylic disc laser engraved. I based the engraving graphics on a Remington shotgun shell. After consulting with the client (who knew the material much better than I do), we decided to make the shells hold 10 gauge shot. The “HS” on the Remington stands for “Home Security” which seemed to work for this as well. The “BS” stands for “Blind Squirrel” since the Remington puts the line brand there.
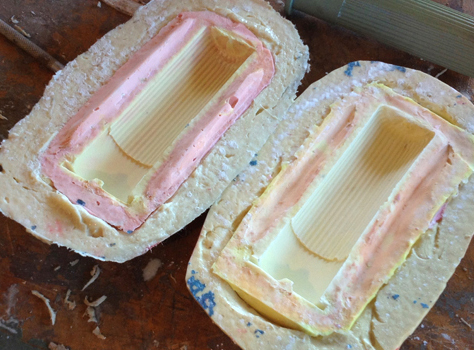
I molded the shell master so I could make resin copies.
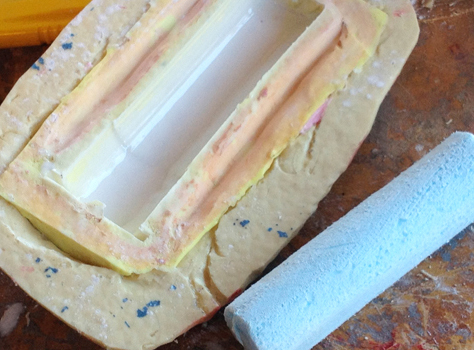
I slush cast some Smooth-On 65D in each side and inserted an insulation foam core to reduce weight and reduce the amount of resin.
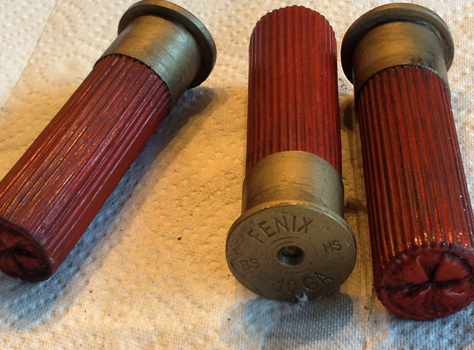
Once the shells were painted, I gave them a wash of black to bring out detail and give them that end-of-the-world feel.
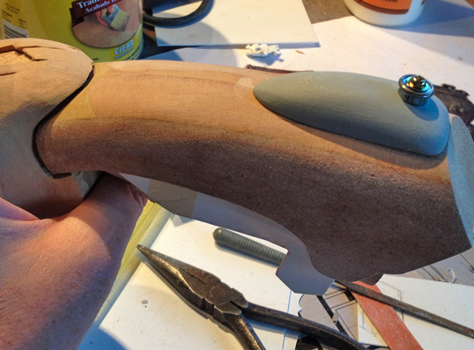
I carved some MDF to make the grip detail and added some metal hardware that looks similar to the reference.
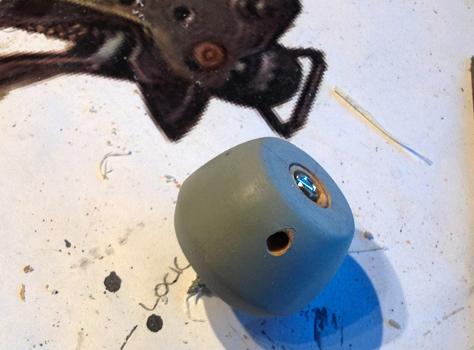
The pommel was lathed from walnut and would be secured with a screw.
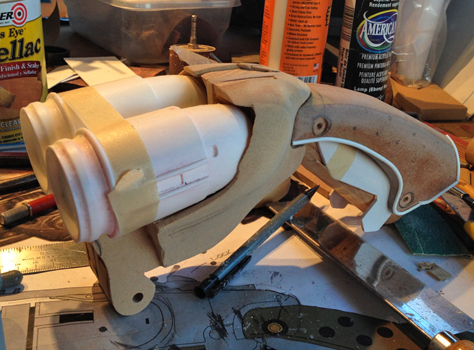
The chamber cylinders were finally glued into place.
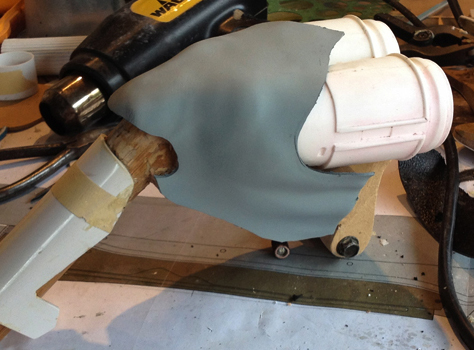
I heat formed thick styrene around the MDF of the pistol grip to make the cover.
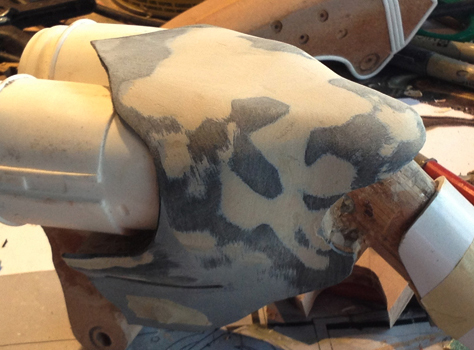
Since heat forming is done with a heat gun and my hand, there are plenty of imperfections to Bondo out.
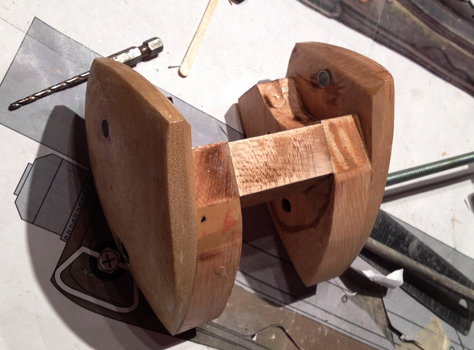
The hinge was made from cherry, epoxied and screwed for maximum strength.
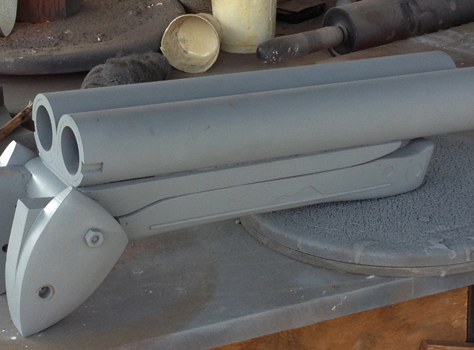
The hinge was glued and bolted to the barrel assembly, puttied smooth and coated in primer.
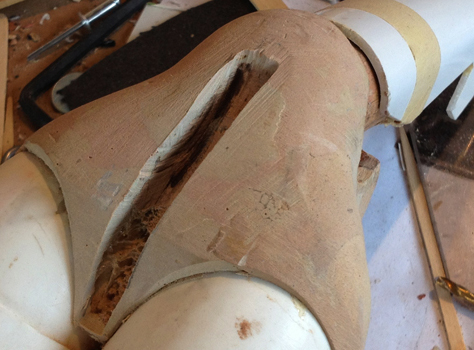
Since I hadn’t yet figured out how to keep the breach closed, I had to cut into the MDF of pistol grip.
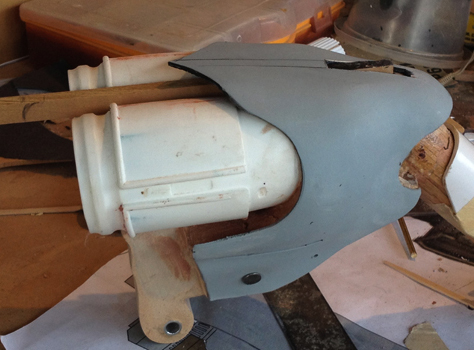
I used a piece of poplar attached to a spring to act as a latch.
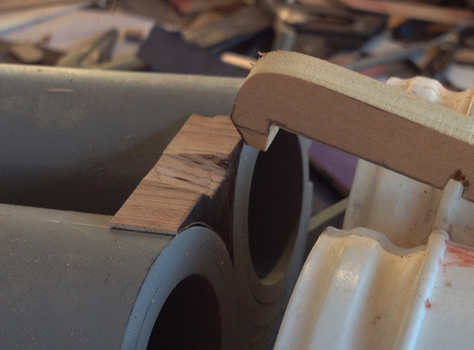
The latch would hook onto a hardwood block that was glued to the barrels.
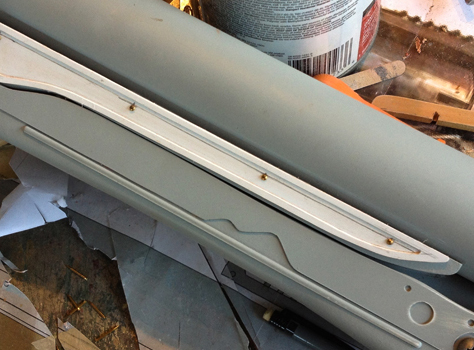
Styrene and hardware details were added to the fore grip.
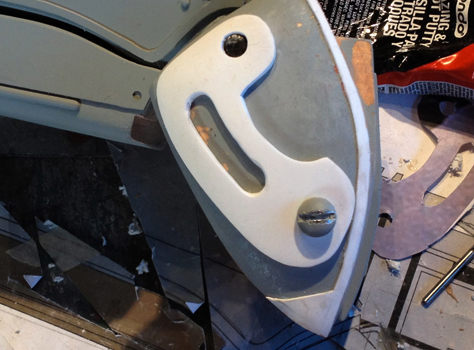
Styrene of various thicknesses were heat formed and added to the hinge plates.
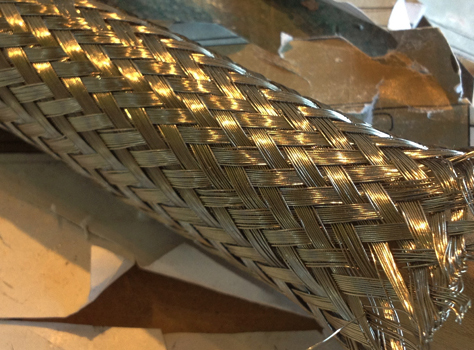
I bought some steel mesh heat shielding to wrap around the grip.
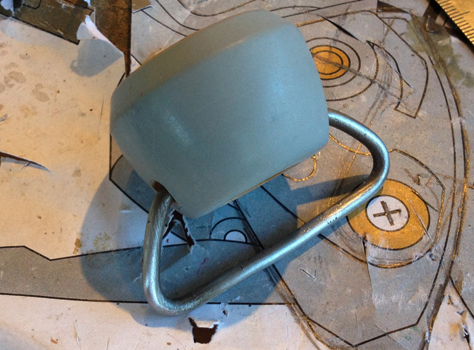
I bent some steel wire to make the pommel D-ring.
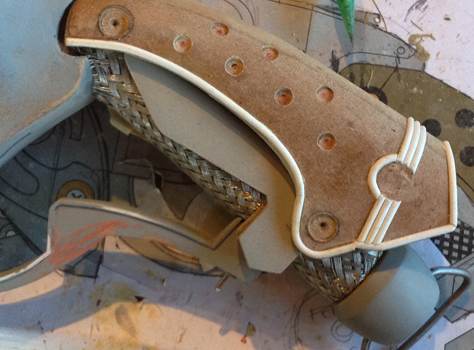
I drilled holes and added half round styrene piping to the outer grip.
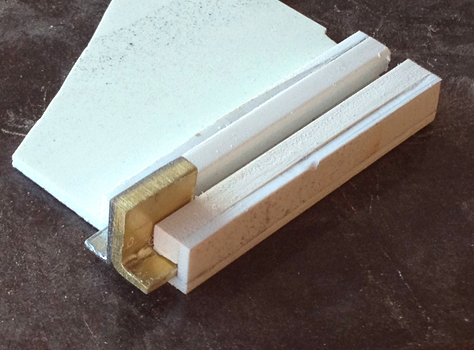
To make a sliding switch (for what we assumed was a safety), I glued two “L”-shaped pieces of metal together and made a styrene rail for it to slide along.
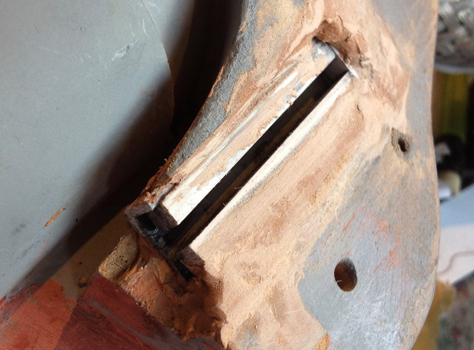
I cut a channel for the slide assembly into the MDF and then glued it in place.
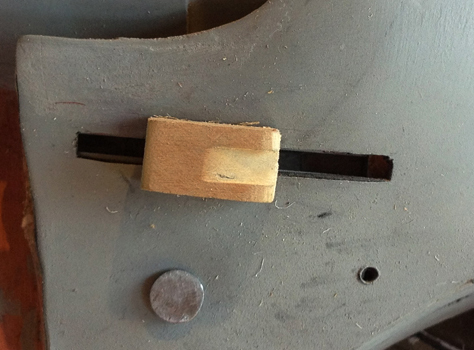
I cut a piece of poplar for the sliding button.
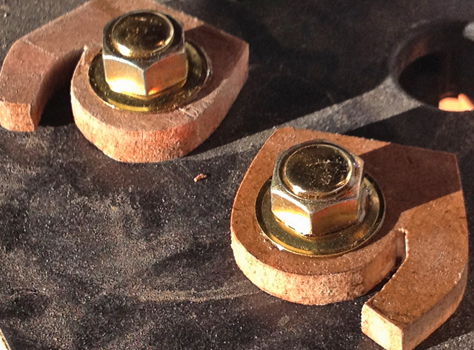
I cobbled together the hinge nuts with MDF and various bits of hardware.
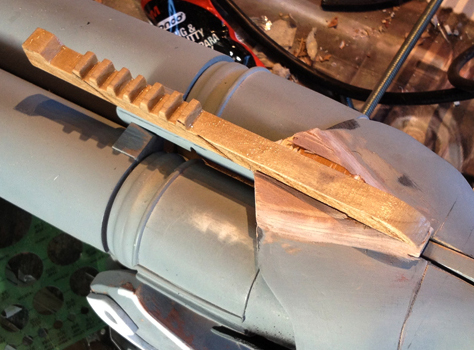
The top rail was made from wood and the joints were smoothed with Bondo.
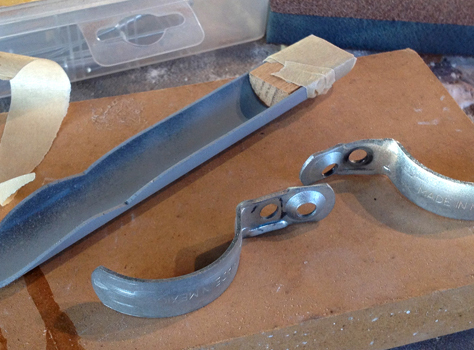
The bottom of the gun features a presumably movable lever which I cut from a piece of irrigation tubing. To attach it to the gun, I cut a piece of wood to strengthen the connection and hold a pair of metal brackets.
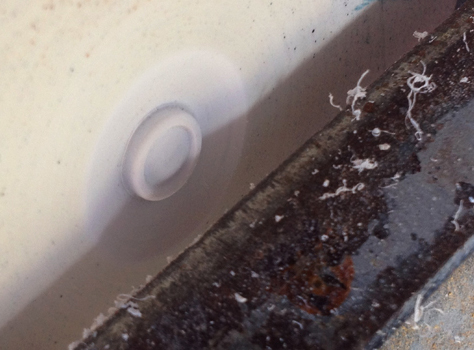
I chucked a piece of thick styrene to the lathe and carved a custom rivet that would be duplicated in resin.
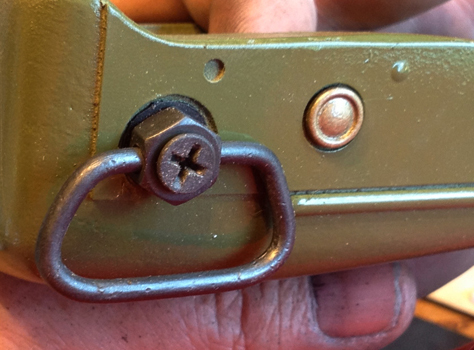
Here is a painted resin rivet glued onto the fore grip.
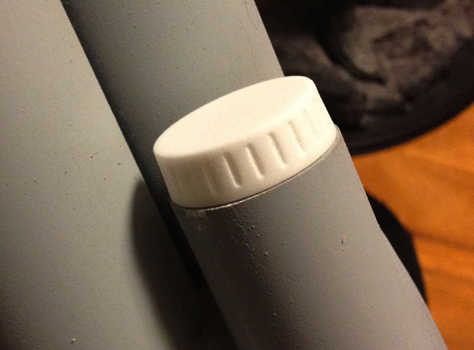
The tip of the magazine tube has a row of vents that would be extremely difficult to accurately cut by hand. Instead I modeled the piece in 3D and had it printed in plastic by Shapeways.
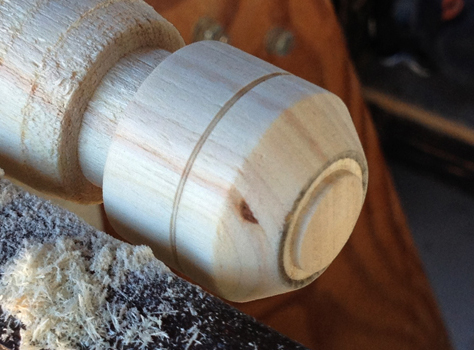
To finish the magazine cap, I lathed the tip form a piece of wooden dowel.
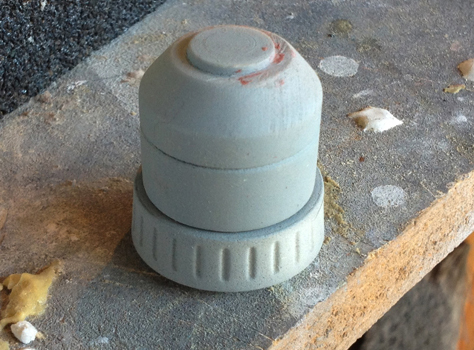
The assembled magazine tip.
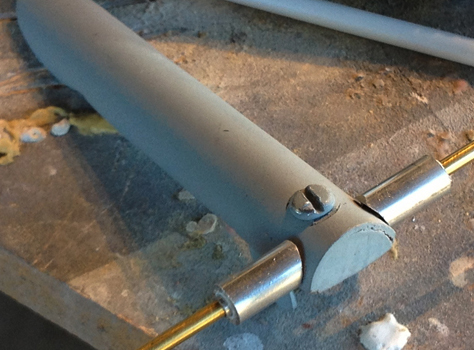
The lever would swivel on a brass rod between the two lower tips of the hinge. I used styrene plastic spacers inside the aluminum tubes so the pieces wouldn’t rattle.
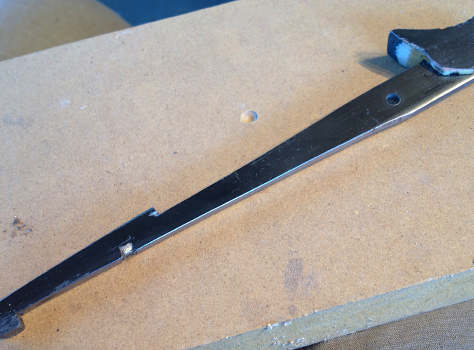
Although it was pretty strong, I was concerned that the wooden latch wouldn’t hold up to repeated use. Using it as a template, I cut a new latch from a 1/8″ piece of steel bar stock and glued on the thumb tab.
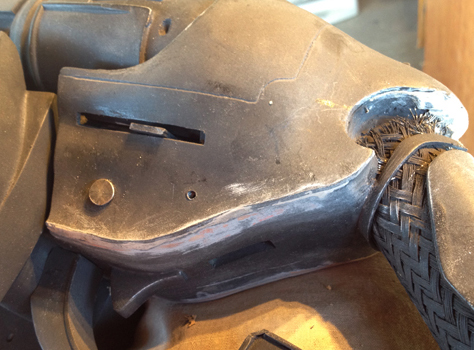
Now that everything was working, I could glue on the pistol grip cover. A generous slathering of Bondo along the seams hides any gaps.
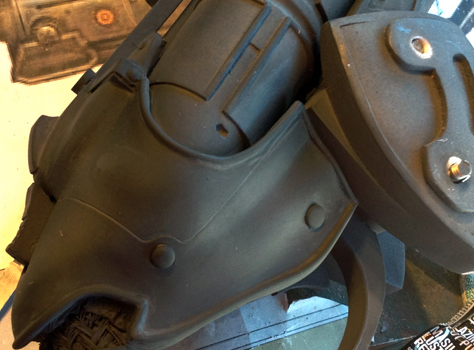
I added some half-round styrene edge piping and rivets (made from tacks) before painting the grip with primer.
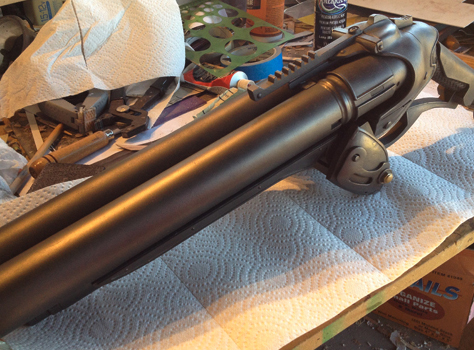
The base coat for the gun was Testors buffable Metalizer Gun Metal. Since I used a dark grey auto primer, it didn’t take much paint to cover it. The paint can be buffed with a paper towel to get a realistic gun metal sheen!
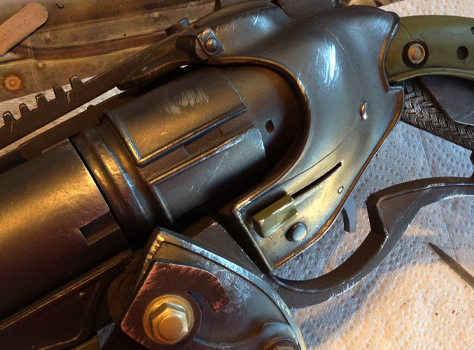
To weather the gun, I dry brushed silver acrylic on any edge that might get scuffed. I also gave all surfaces a wash of black to simulate grime and grease.
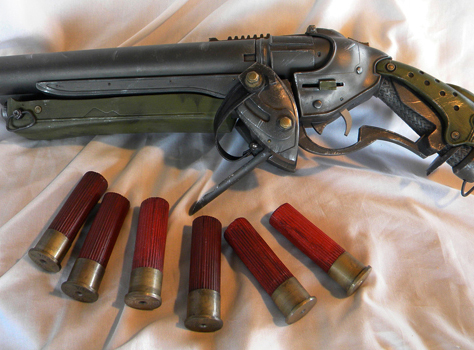
The final gun and shells!
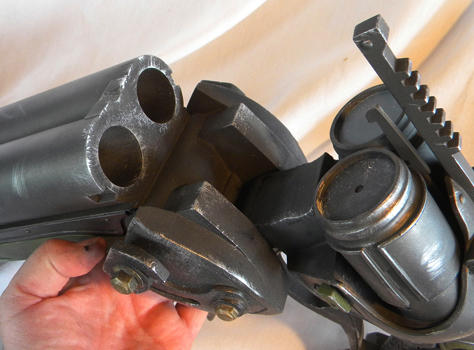
The breach opens to load.
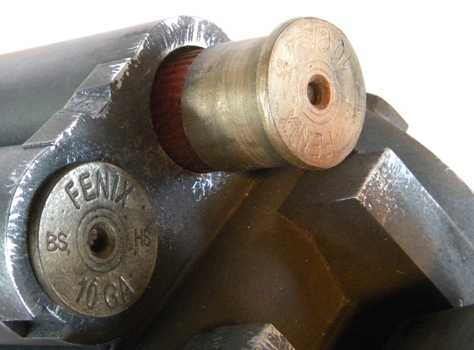
Ammo loaded.
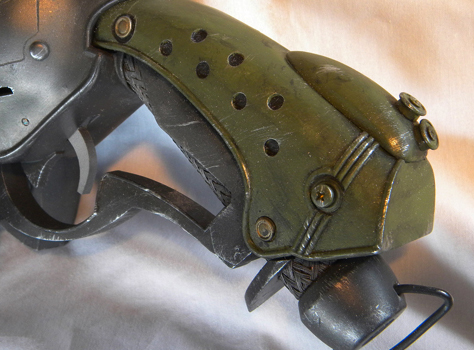
Detail of the grip.
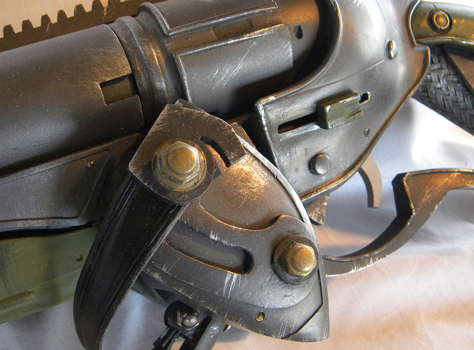
Detail of the hinge section. A last minute addition was a laser engraved black leather strap made by my friend Fev. What it’s for is anyone’s guess.
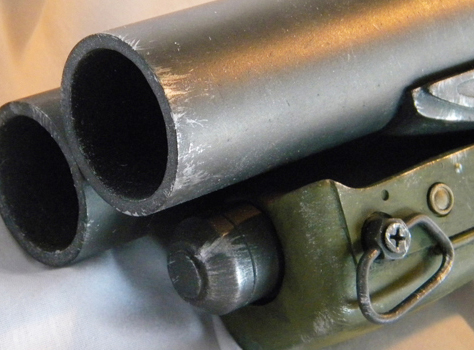
The muzzle of the shotgun.
This project was a huge engineering challenge for me. I could plan out the appearance but how the parts would fit together was figured out on the fly. I’m just relieved everything works!
