fallout laser pistol
august 2011
Fallout is an open world role-playing video game in the aftermath of a global nuclear war. The protagonist of Fallout is an inhabitant of a Vault, long-term shelters, who is tasked to find the Water Chip to save other dwellers from water shortage.
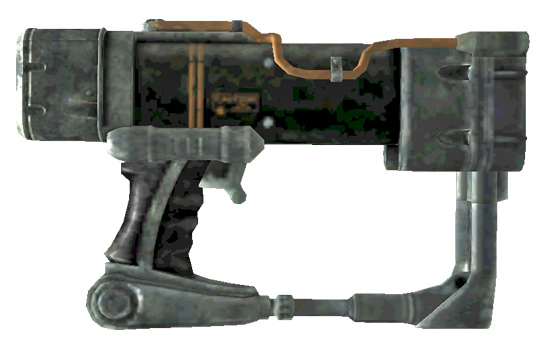
I was commissioned to build the Laser Pistol from the video game “Fallout”. The client requested a light in the muzzle and sound when the trigger is pulled as well as a working battery compartment and two batteries that could fit inside.
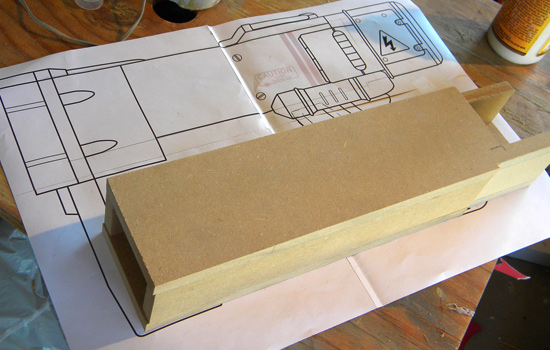
With plans generously furnished by my friend Volpin, I started by making the body of the gun from 1/2” MDF. The edges would be rounded on the router table.
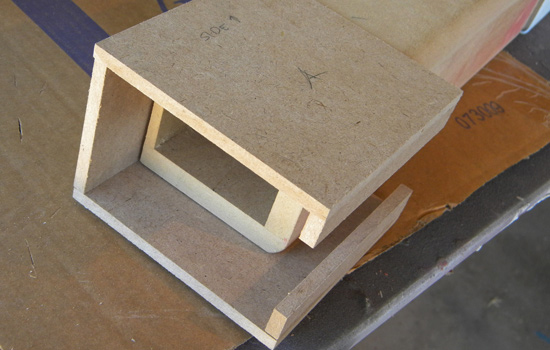
I made the muzzle cowl from 1/4” MDF, leaving it unattached from the body so it would be easier to work on.
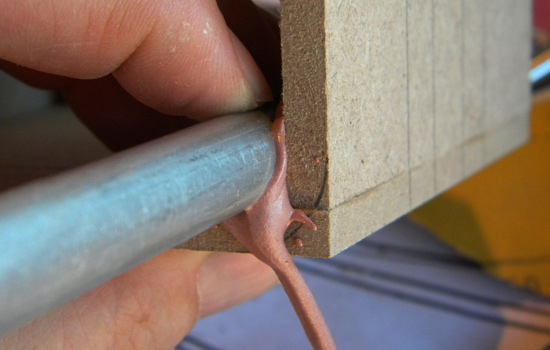
I rounded the inside corners of the cowl by plopping some Bondo inside and rounding the corner to the proper radius with an aluminum tube.
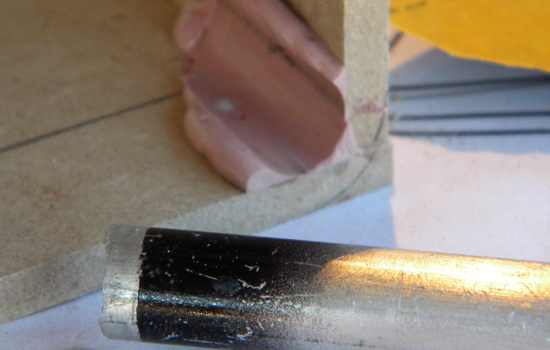
Once the Bondo set, I removed the tube and trimmed away the excess.
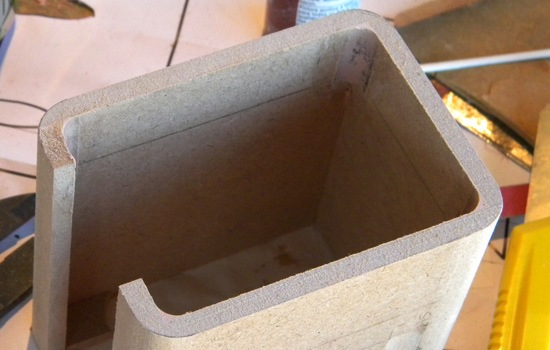
I then shaped the outer radius on the belt sander.
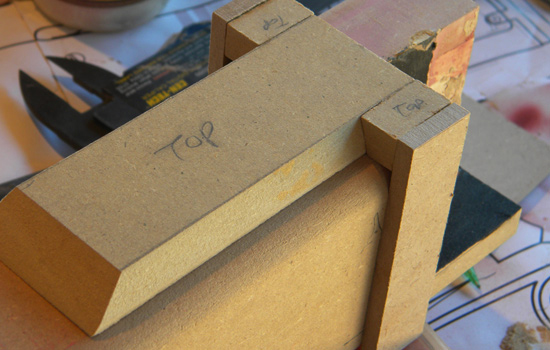
I glued blocks of MDF to the body to form the raised areas on top and surrounding the butt plate.
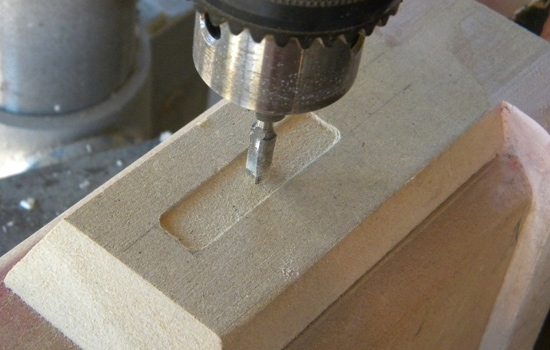
I chucked a router bit into drill press and carved out a decorative panel in the top.
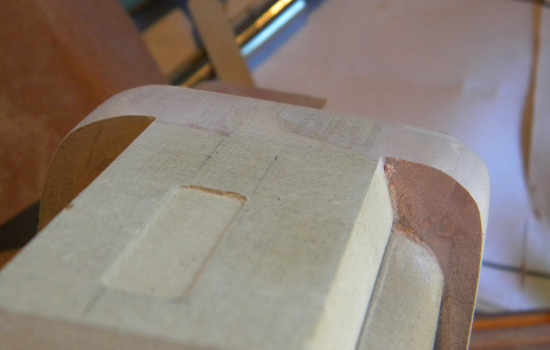
More rounding of corners on the belt sander.
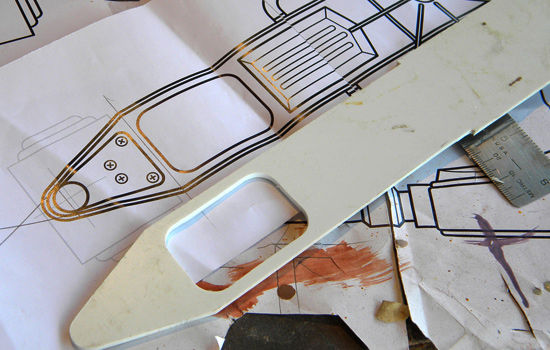
I cut the front plate of the muzzle assembly from 1/8” styrene.
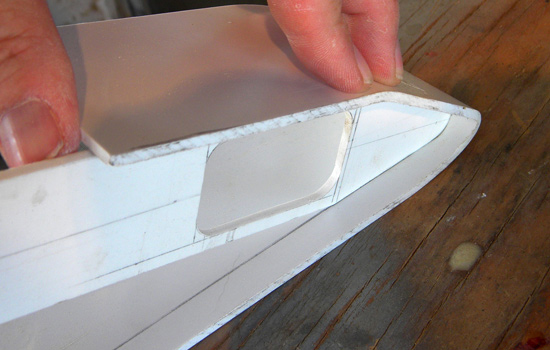
I heated more styrene and formed it around the front plate. Once it was the proper shape, I glued it in place.
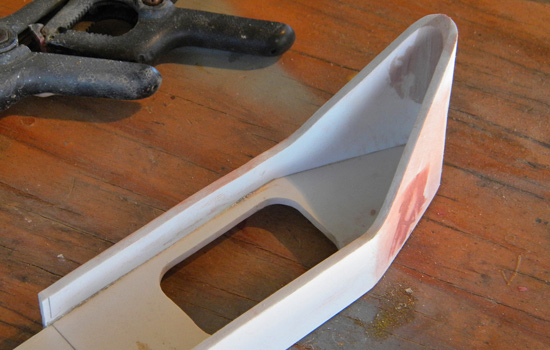
I cut the back of the sides to the proper profile.
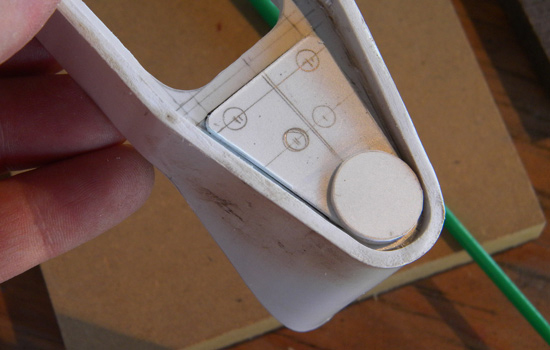
I cut plates of styrene to form the detail on the base of the front plate.
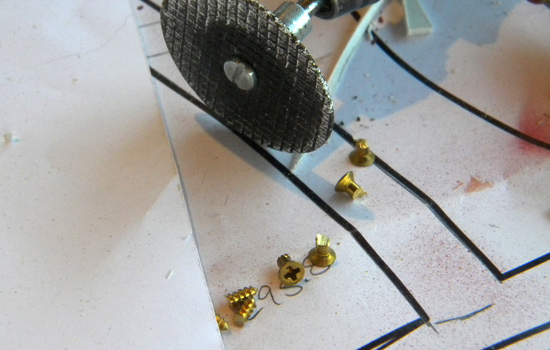
Since the front plate is thin, I cut wood screws down with the Dremel…
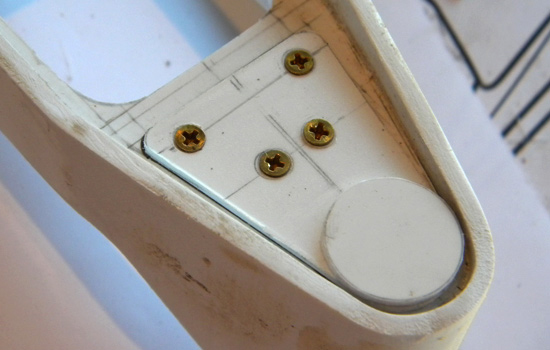
…and glued them into countersunk holes on each side.
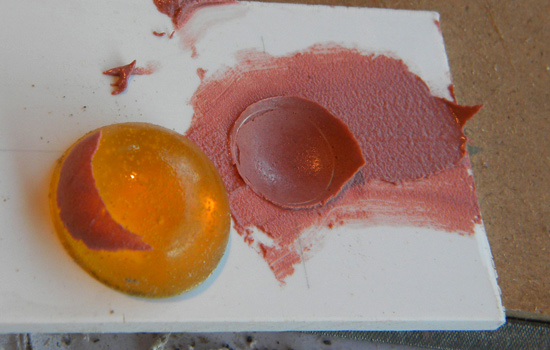
To make the dish-like recess for the muzzle (where the laser beam comes out), I cut a hole in the front plate, globbed in some Bondo and pressed it into a dish with a spare acrylic gem.
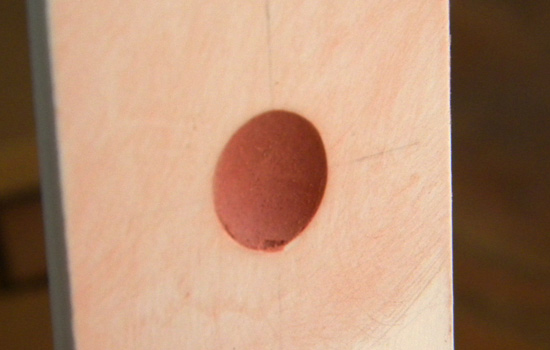
The resulting dish. A 1/8” hole was later drilled into it.
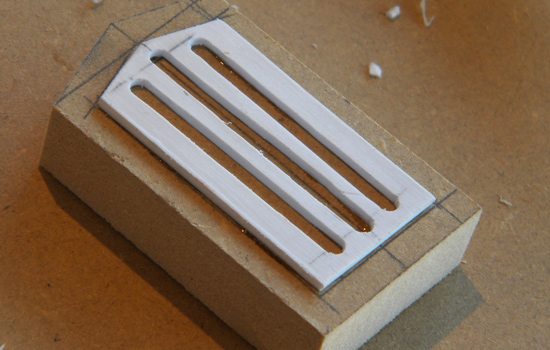
A detail block for the front plate was cut from MDF with a grill cut from styrene.
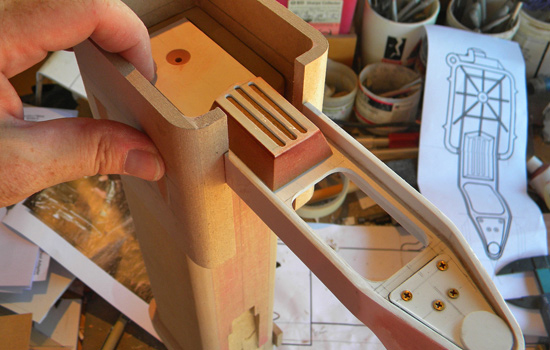
A quick test fit of all the pieces so far.
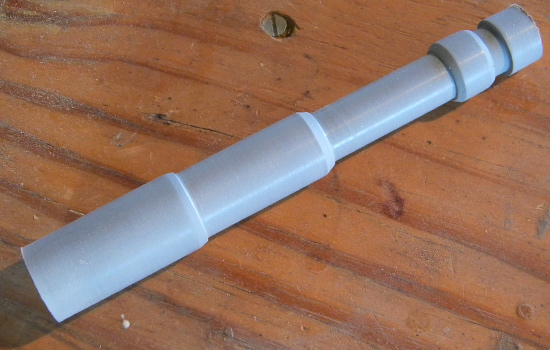
I lathed the piston that stretches from the front plate to the grip out of basswood.
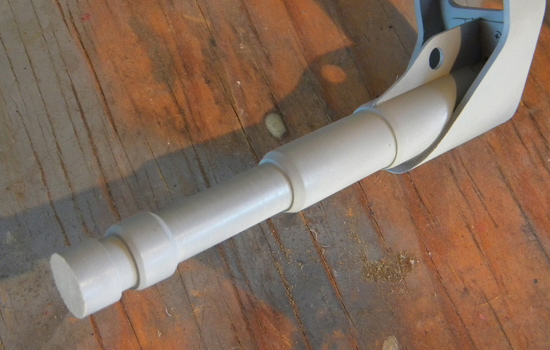
The piston was glued into the recess at the back of the front late. A detail plate cut from styrene was glued on top of it.
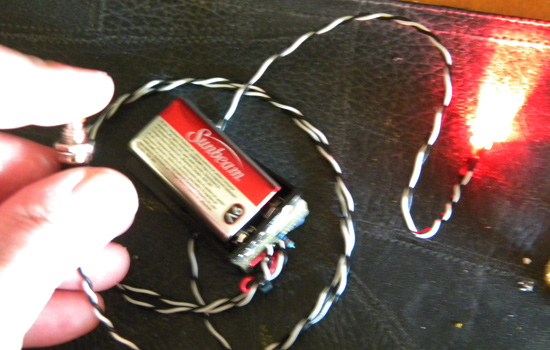
I ordered a light kit from VooDoo FX that was pre-wired per my specs. All I needed to do was install it.
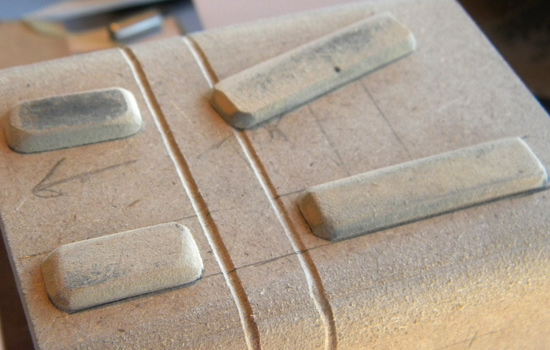
MDF details on top of the cowl. The seam lines were scribed on my Dremel router table.
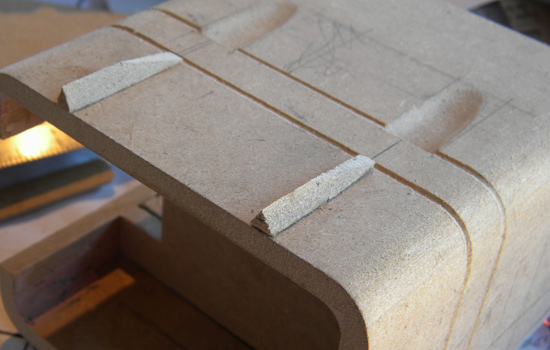
More MDF details for the sides of the cowl. The pockets were made with the Dremel sanding drum and a steady hand.
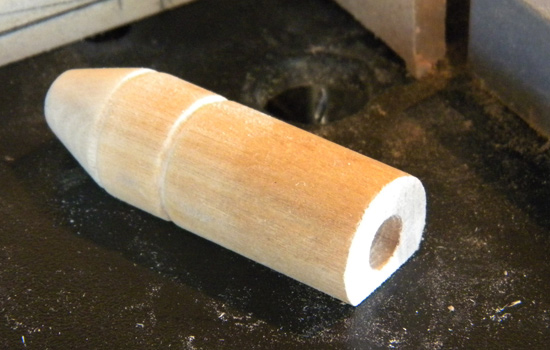
I lathed the (what I believe is a) range finder from a poplar dowel and flattened one side for attaching to the cowl.
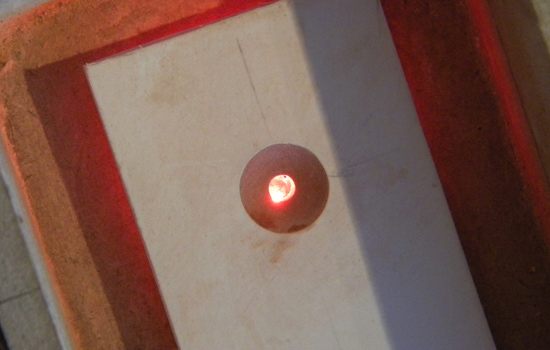
I left some space behind the front plate so there would be some ambient light coming through in addition to the primary light out the muzzle.
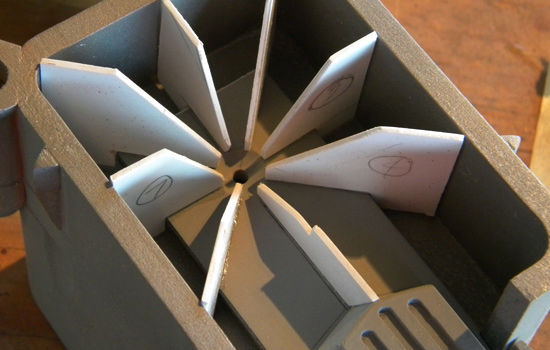
I cut fins from styrene and glued them into the cowl.
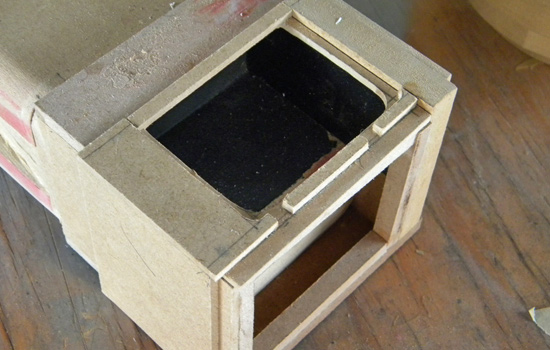
I framed the layers of the butt cap with 1/4” and 1/8” MDF, cutting a hole for the battery compartment.
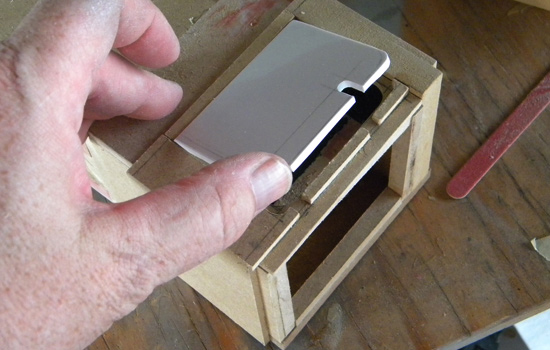
I cut the battery compartment door from 1/8” styrene.
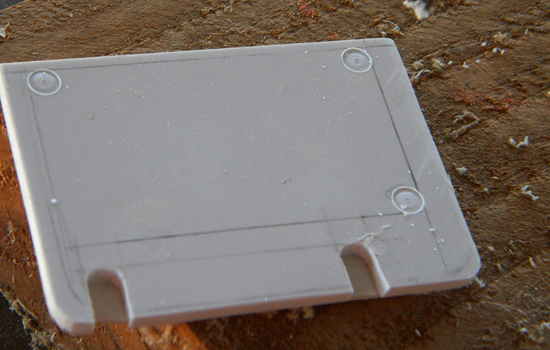
Decorative “rivet” holes were cut into the door with a router bit chucked into the drill press.
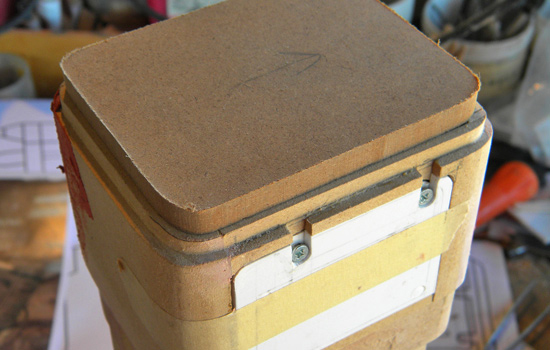
A removable cover (to allow access to batteries) was cut from 1/4” MDF.
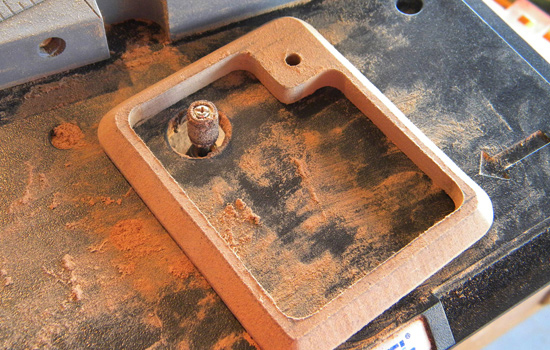
I cut the outer frame of the cover from 1/2” MDF.
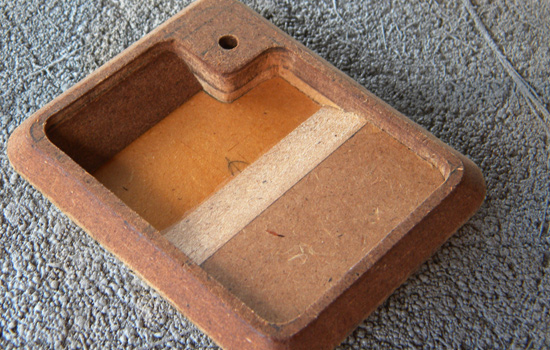
The cover assembled with an interior block of MDF to build another level.
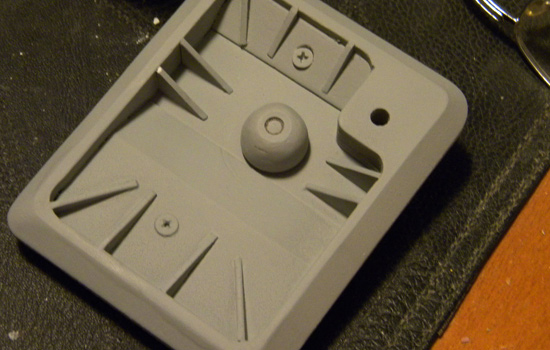
Styrene details, screws and a clicking knob were added to the cover.
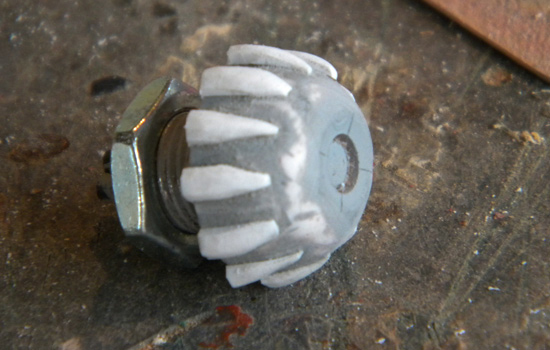
I added styrene strips to the side of the control knob to make grips.
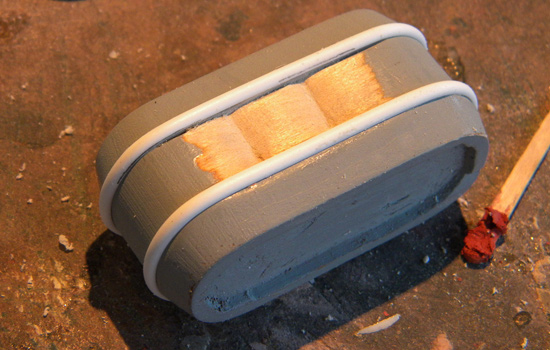
I made a master for the battery with a block of basswood and styrene half round piping.
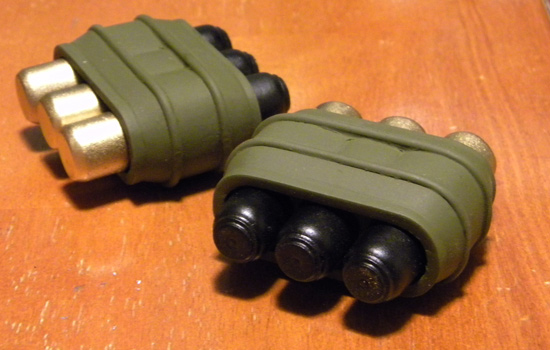
I molded the battery body and cast two duplicates in plastic resin. The battery terminal rods were made from wood dowels, and cast in resin.
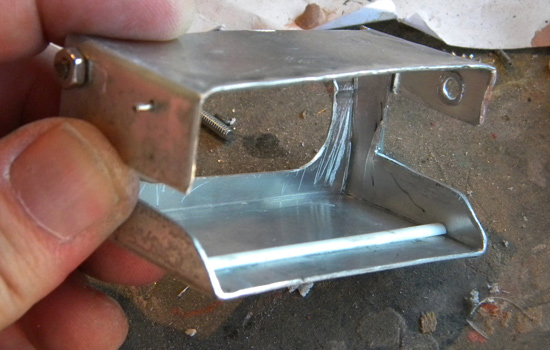
I made a battery holder from an old hard drive case. I glued in a strip of half round to keep the battery from sliding out once seated.
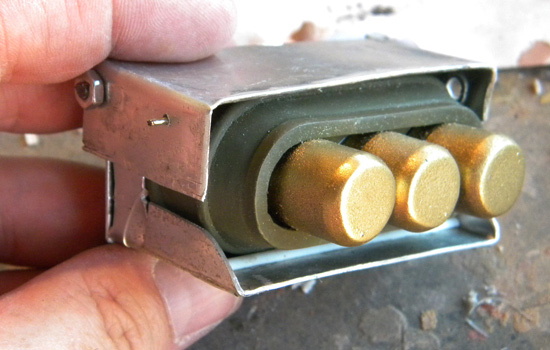
The battery seated in the holder.
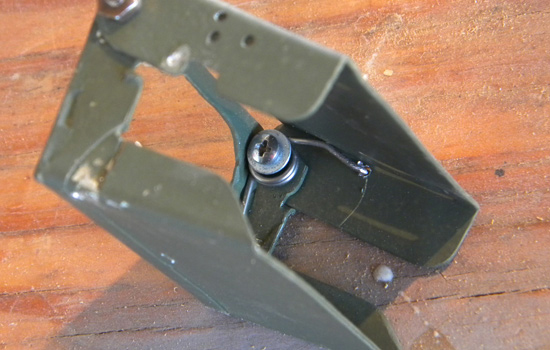
The holder was hinged at the top and equipped with a spring to grip the battery.
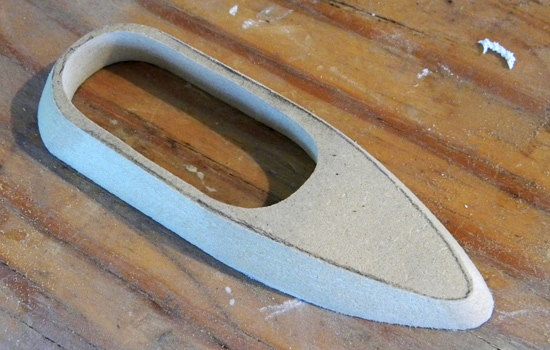
I shaped the base of the pistol grip from a piece of 1/2″ MDF.
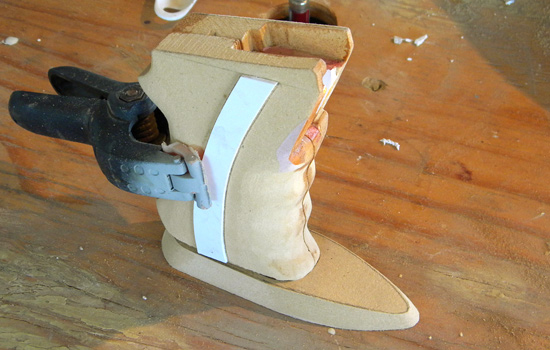
Test fit of the grip in the base.
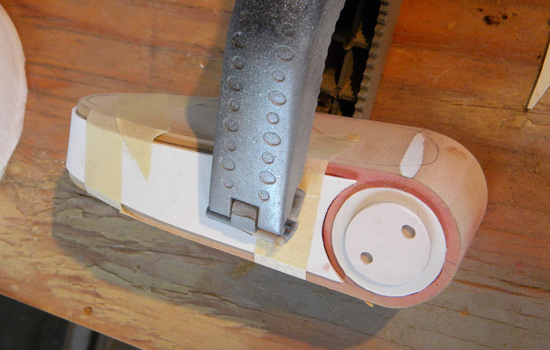
The last piece of the pistol grip was made from laminated 3/4″ MDF with styrene panels.
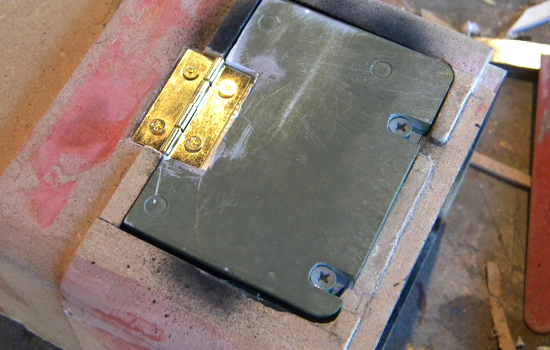
I attached the battery door with a small brass hinge. I cut a recess in the door and end cap to hide the hinge.
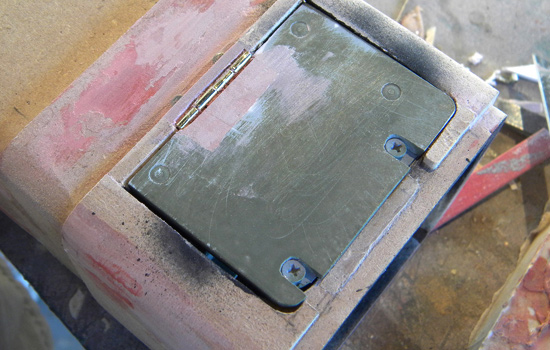
I used Bondo to cover the hinge.
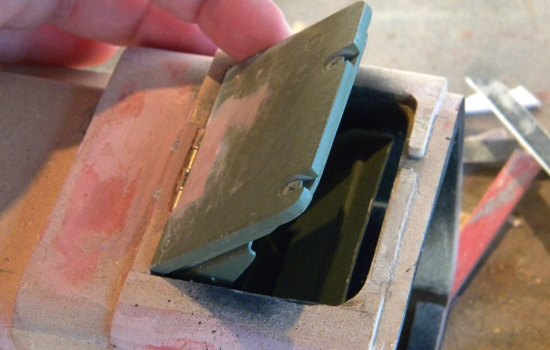
A test of the hinged door. It still works!
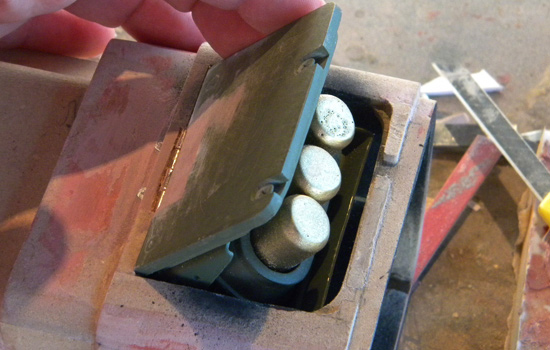
And the battery still fits.
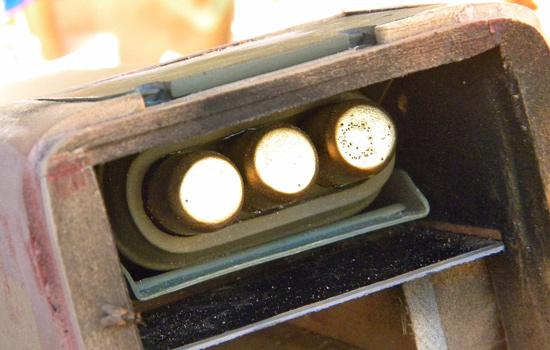
View of the seated battery when the door is closed.
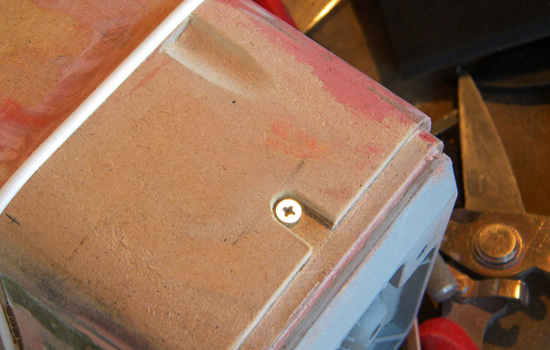
A few last details: Half round styrene piping around the end cap and a few real screws.
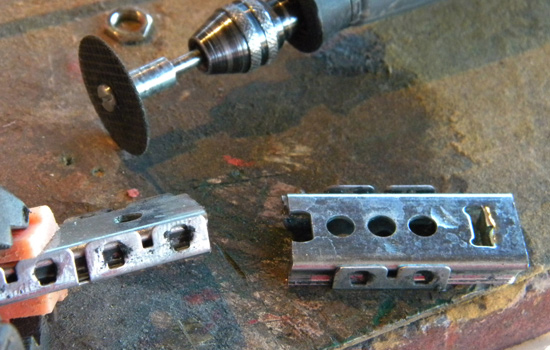
Since the trigger moves laterally instead of rotating, I cut a piece of drawer slide.
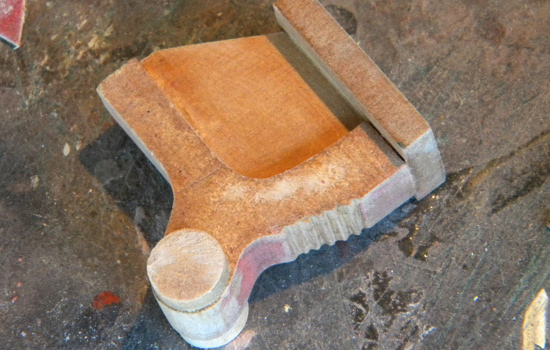
The trigger was made from pieces of MDF.
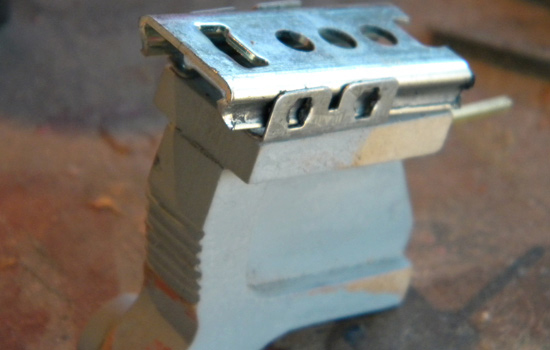
The drawer slide mounts to the top of the trigger.
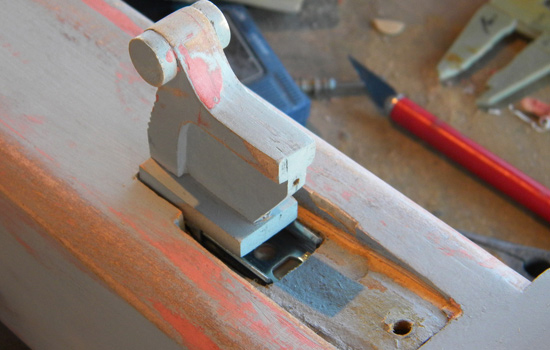
The trigger in place.
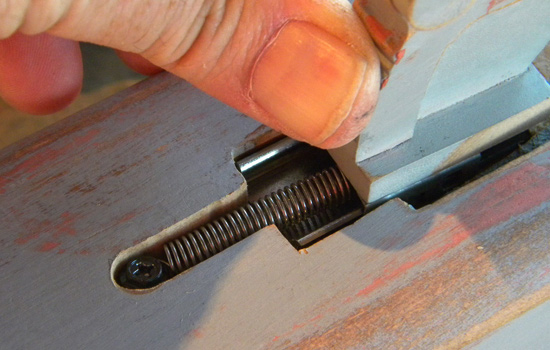
A small spring keeps the trigger in the forward position.
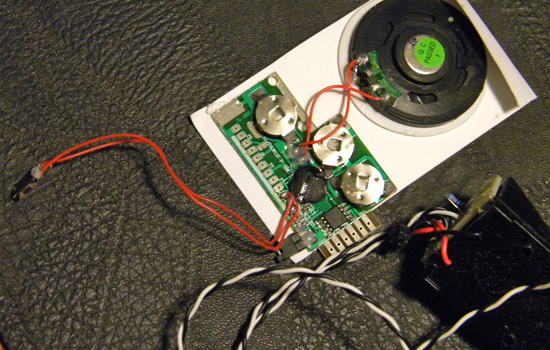
For the sound, the client found a recordable greeting card. He was able to hook it up to his computer via mini-usb and load the actual laser gun sound from the game.
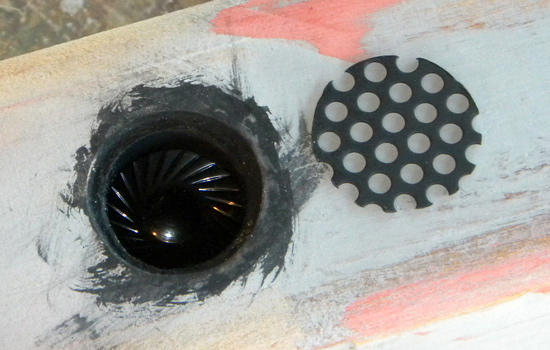
The speaker mounts under the gun behind the cowl. I cut a piece of metal grill from an old car stereo.
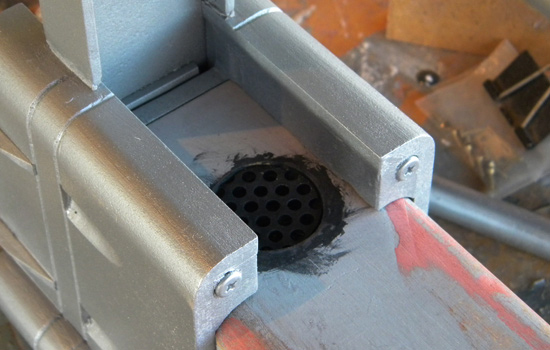
The speaker and grill.
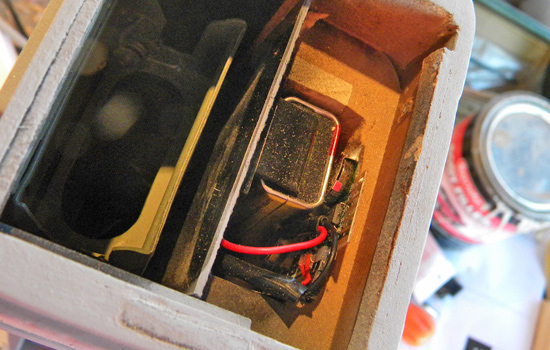
Real batteries fit below the fake one.
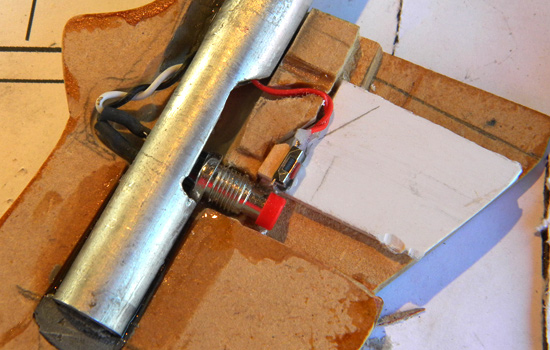
I used an aluminum tube to mount the pistol grip and ran the switch wiring down the center.
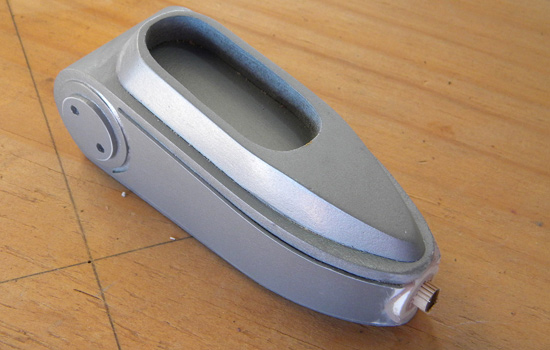
The completed base of the pistol grip.
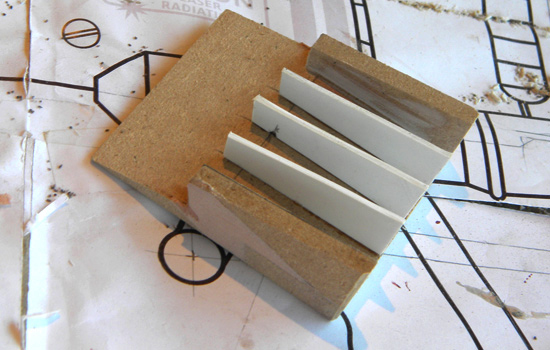
The side vent was made from 1/4″ MDF with styrene inner vents.
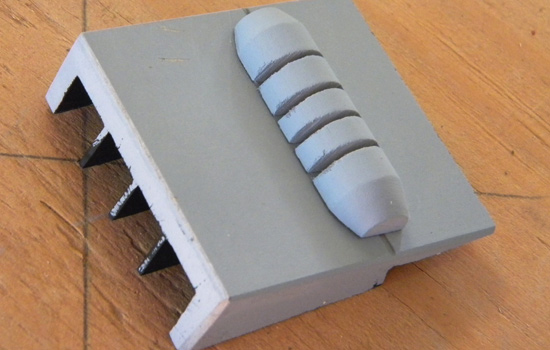
The top vent tube was made from a piece of dowel.
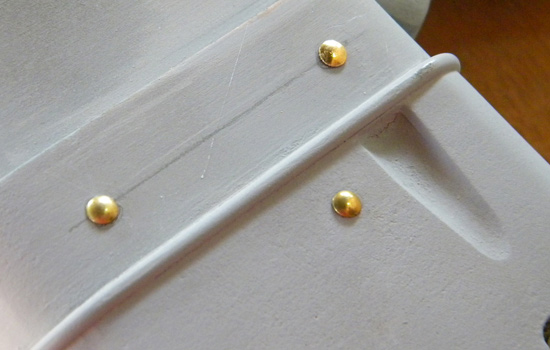
Some nails standing in for rivets.
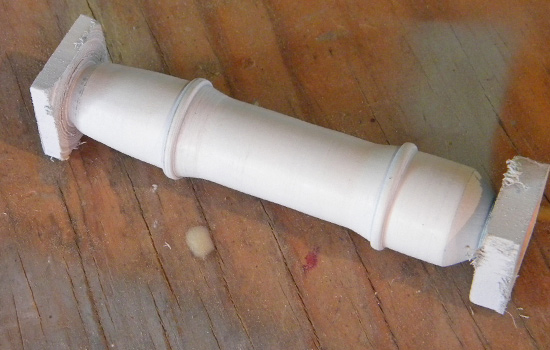
The side tube was lathed from a piece of basswood.
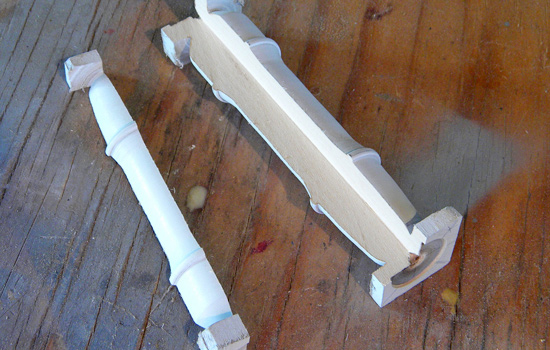
I cut out a 90º piece so it would mount flat against the corner of the body.
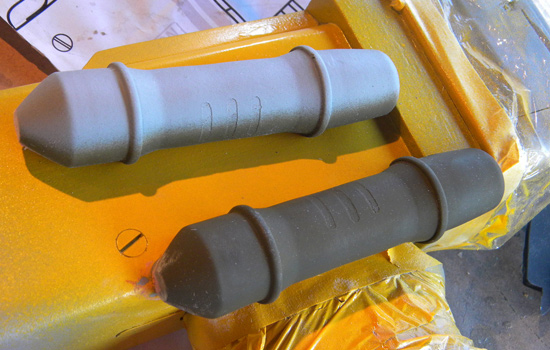
I used masking tape and heavy coats of primer to create inset panels in each side tube.
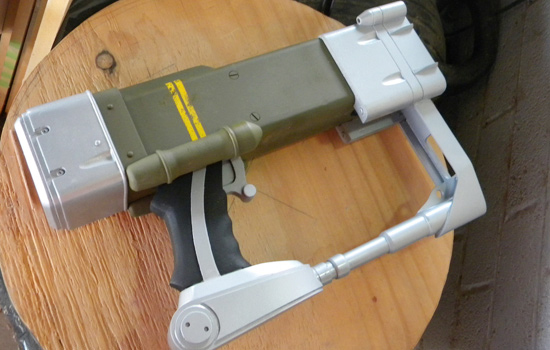
A base coat of paint on the gun.
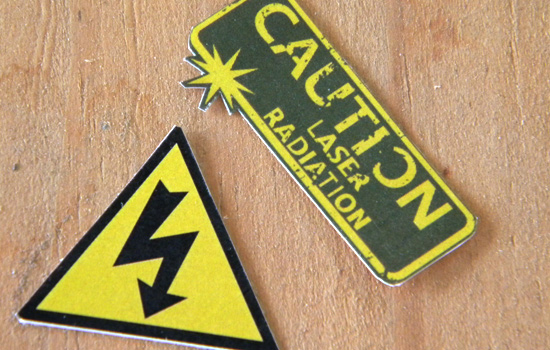
The graphics proved too small for cut vinyl masks so I used laser printed labels.
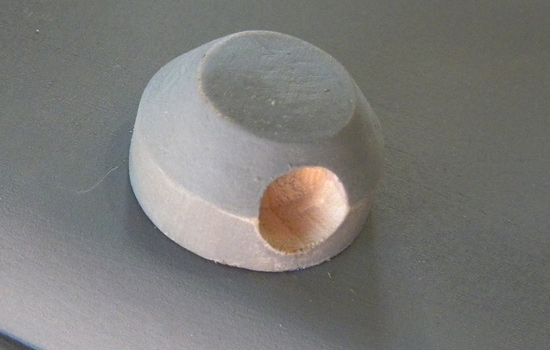
For the cable cap, I glued two disks together and filled the step with Bondo.
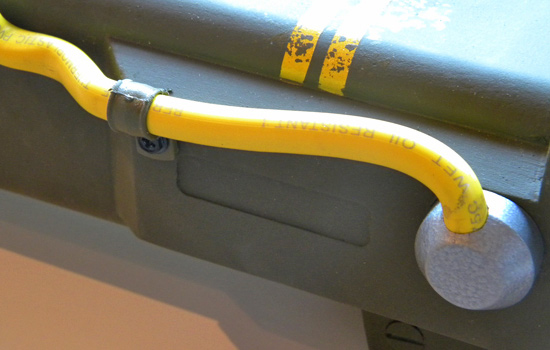
I bought a marine battery cable and attached it to the top of the gun.
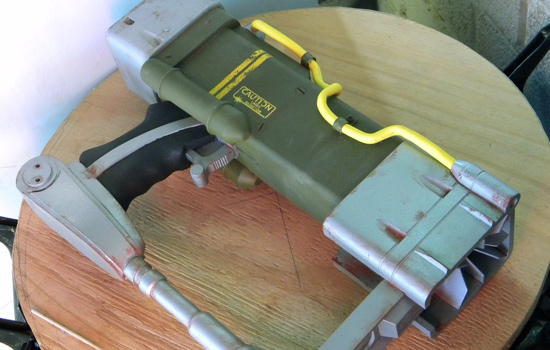
Some strategically-placed “rust” painted over the base coat.
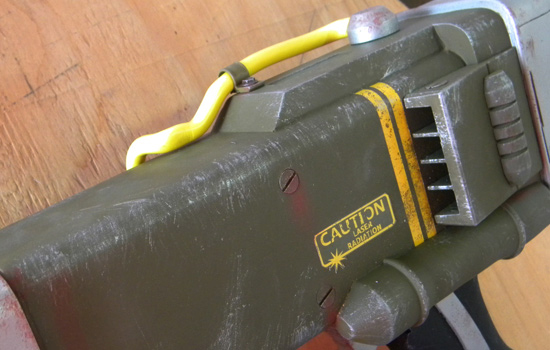
A layer of dry brushed silver to simulate heavy wear.
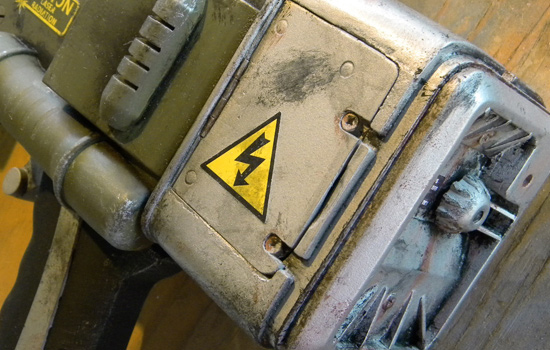
A final layer of grime and “grease”.
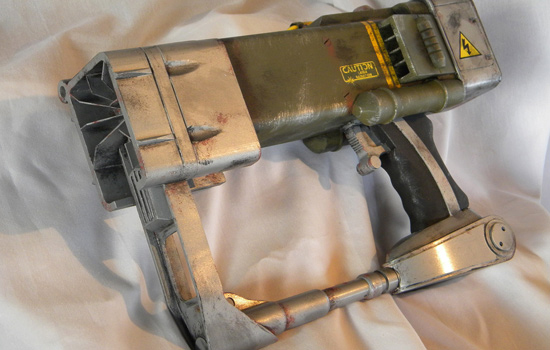
The final pistol.
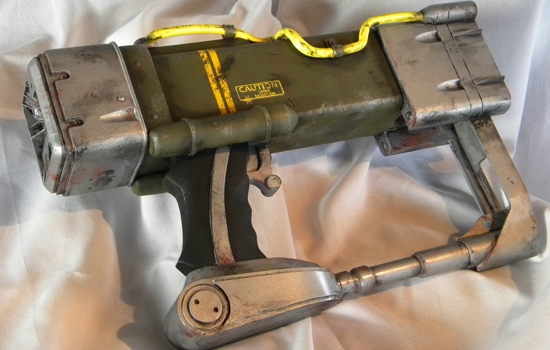
Back view.
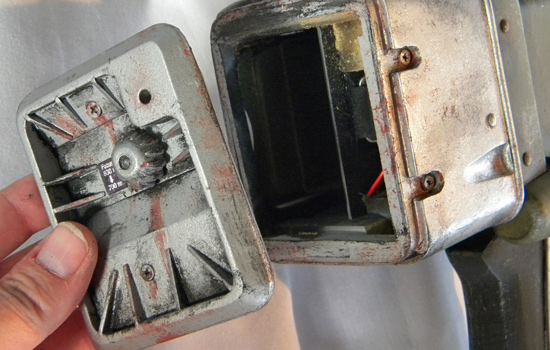
The rear cap is held in place by magnets so the batteries can be replaced.
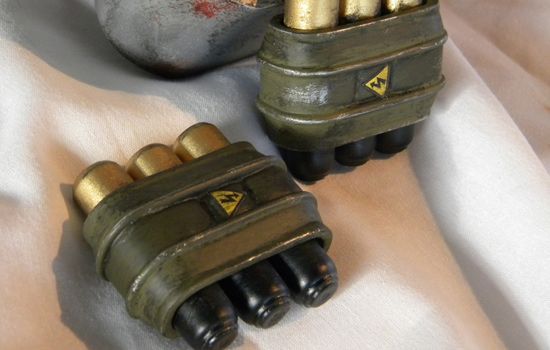
Weathered batteries.
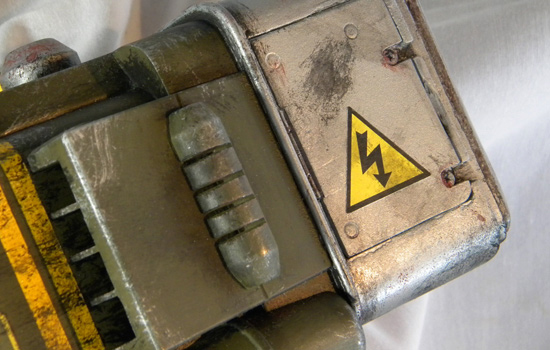
Detail of the end cap.
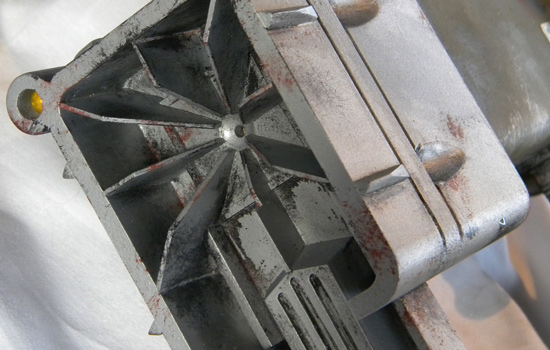
Detail of the muzzle.
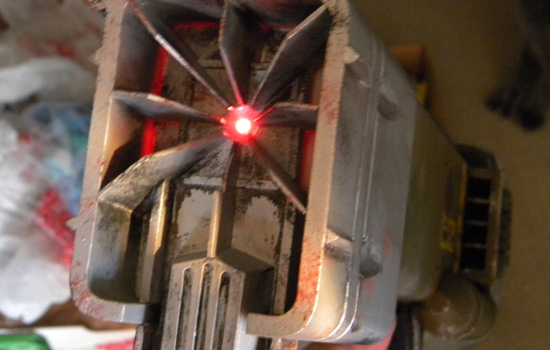
The light activated!
