Dante's ebony and ivory pistols
august 2008
Dante is a mercenary, private investigator and demon hunting vigilante in the Devil May Cry video game series.
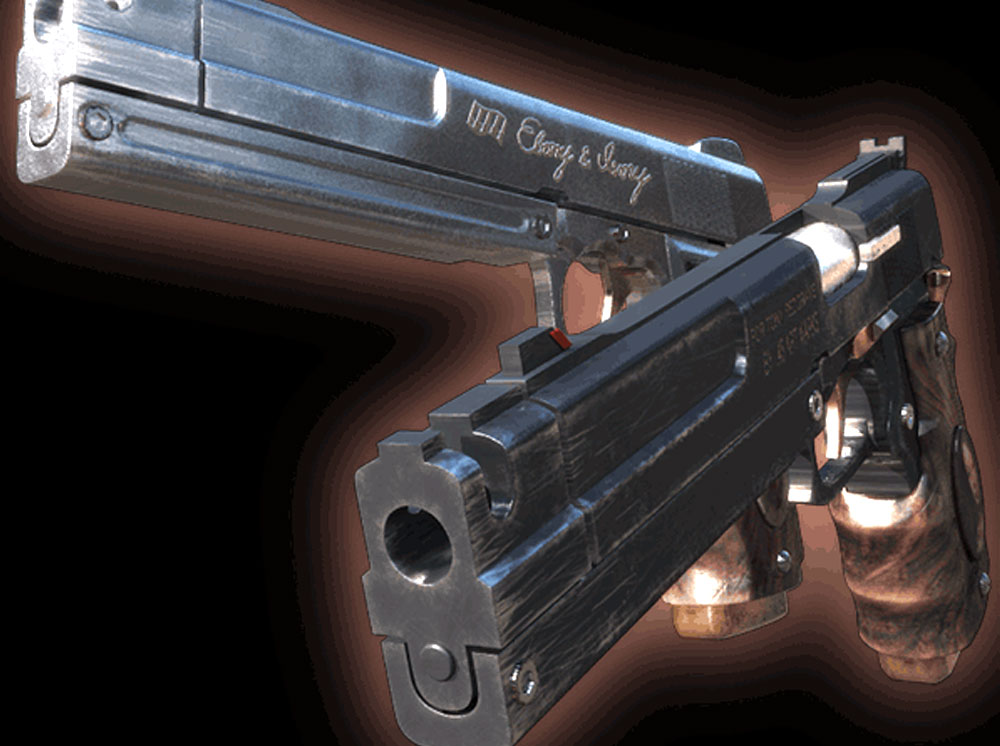
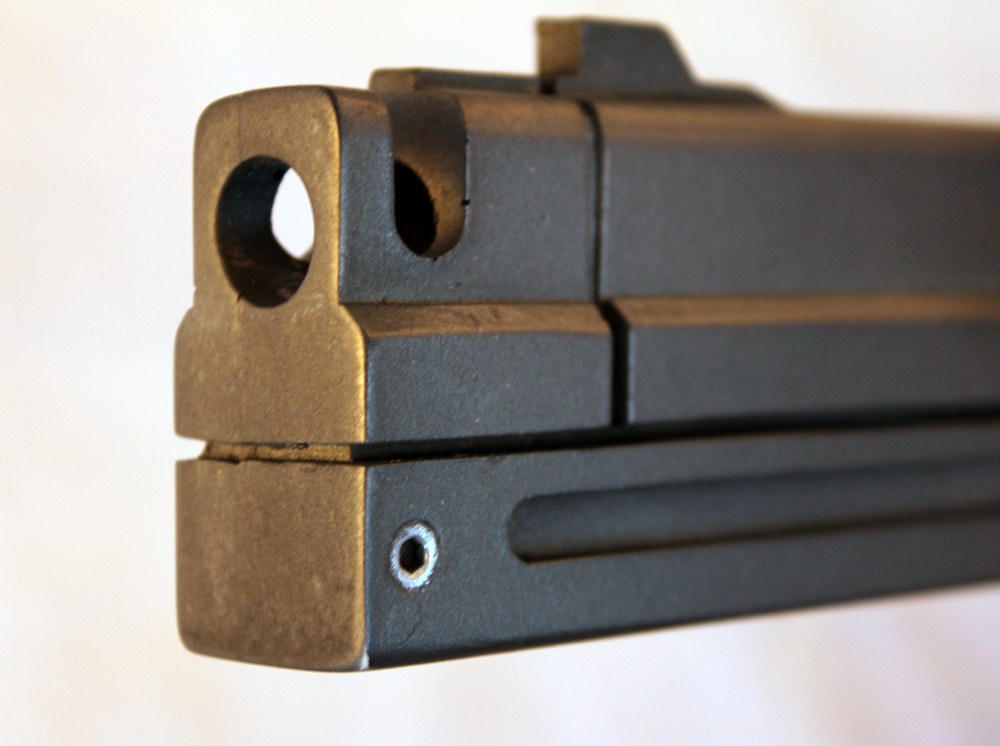
Over the years, one of my more popular projects on the blog has been the Devil May Cry pistols, Ebony and Ivory. I was commissioned to build them again but the client dropped out. I decided to proceed since there seemed to be a demand for these.
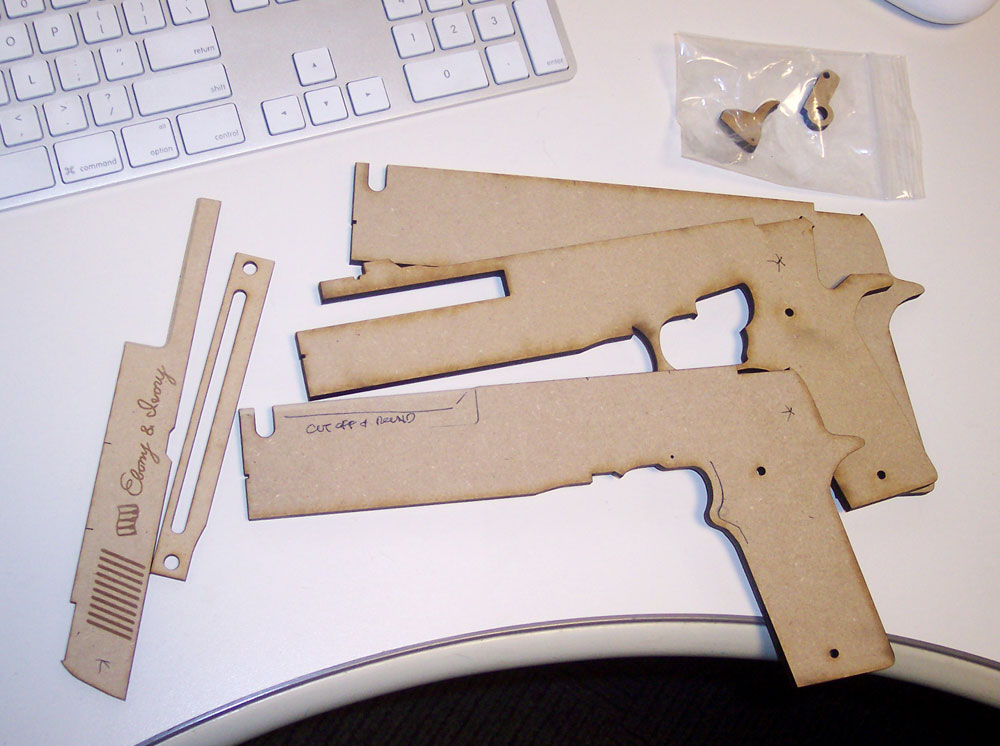
I planned out the guns so they could be built using layers of laser-cut MDF. This would allow for maximum accuracy as well as the engraving on the barrels.
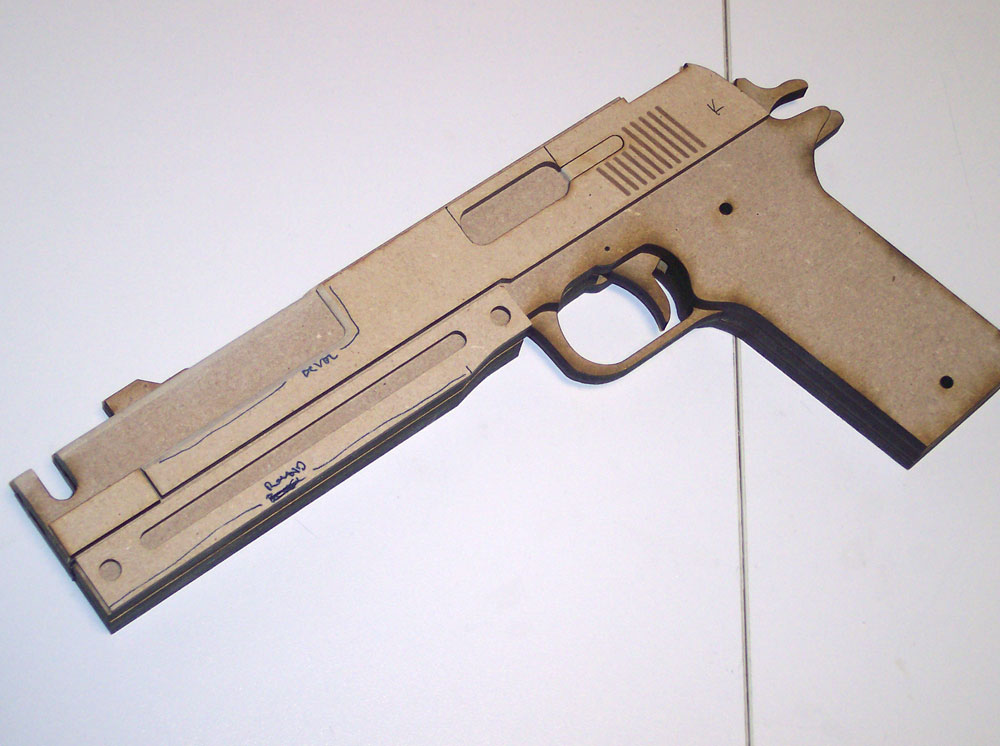
A quick test fit of the parts shows how everything stacks.
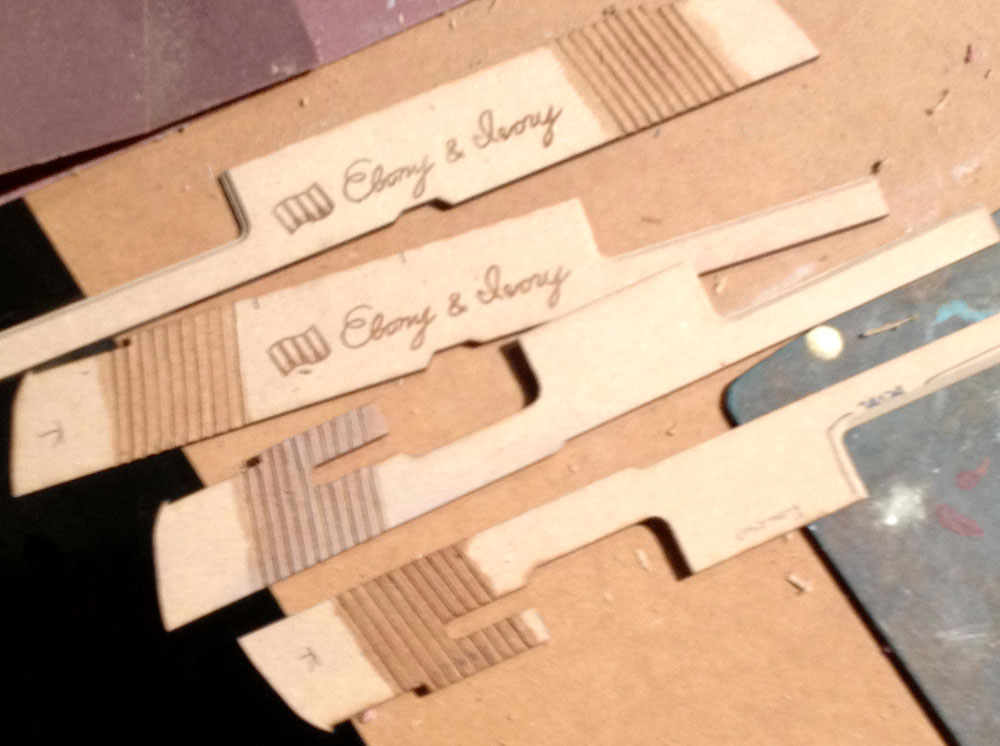
I didn’t get the slide grips cut deep enough so I had to go back with a file to build depth. Afterward, I sealed and strengthened the area with shellac.
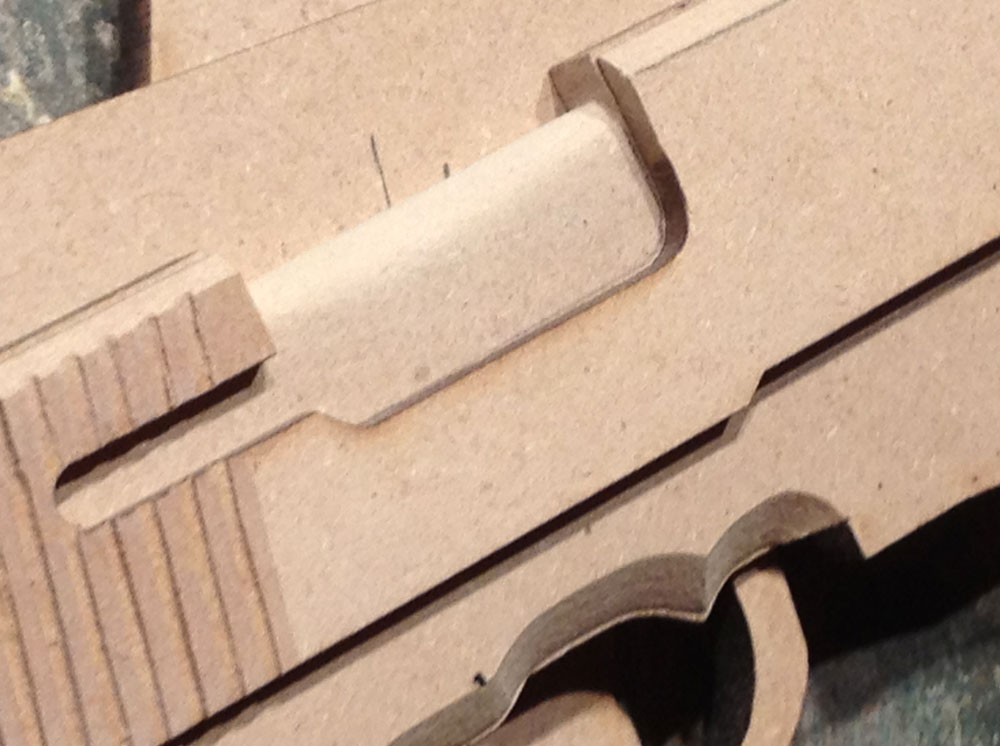
Since the laser only cuts perpendicularly to the wood, I had to bevel and round certain bits with sandpaper, files and the Dremel.
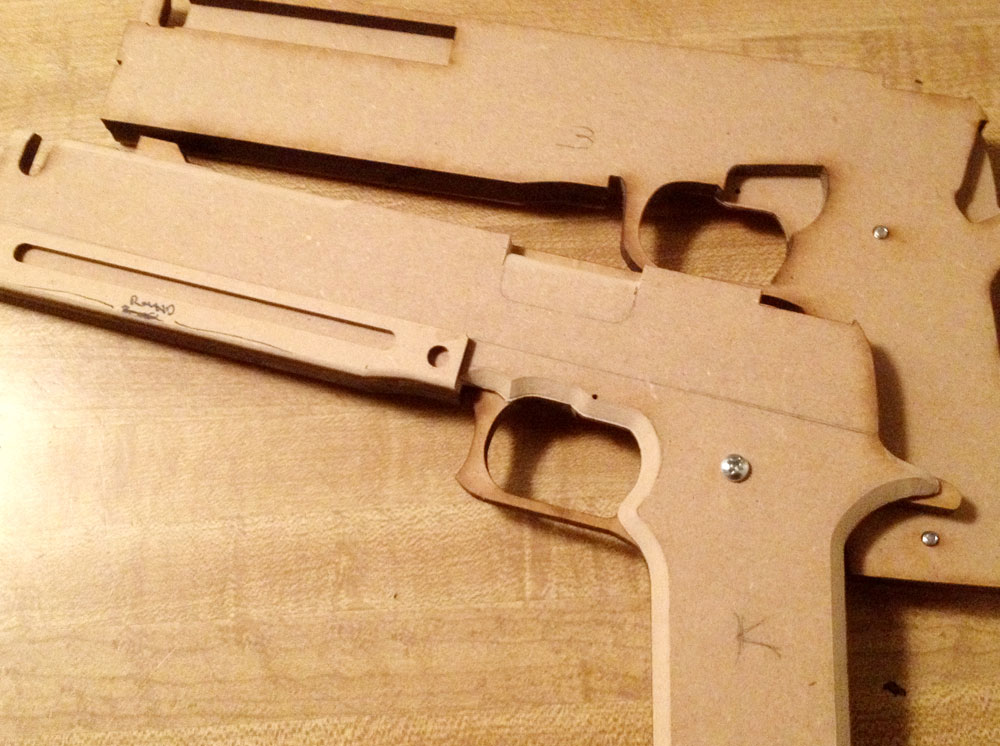
I also inserted pegs and drilled holes in the opposite side so that the two halves would lock together like a real model.
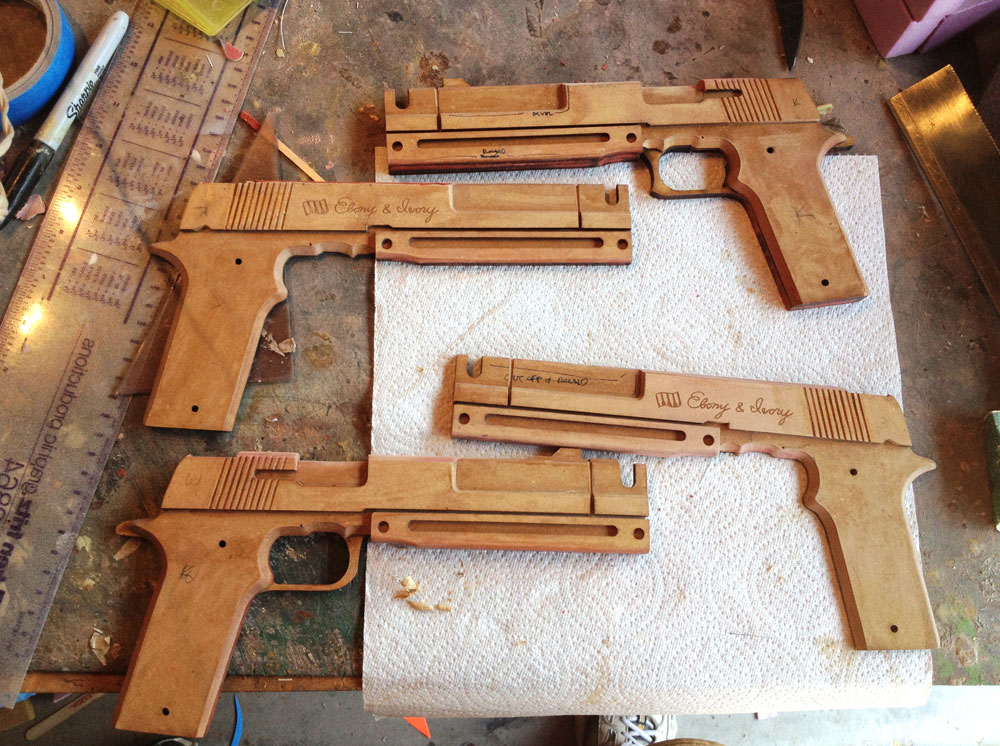
With the body halves assembled and modified, I could seal them with shellac.
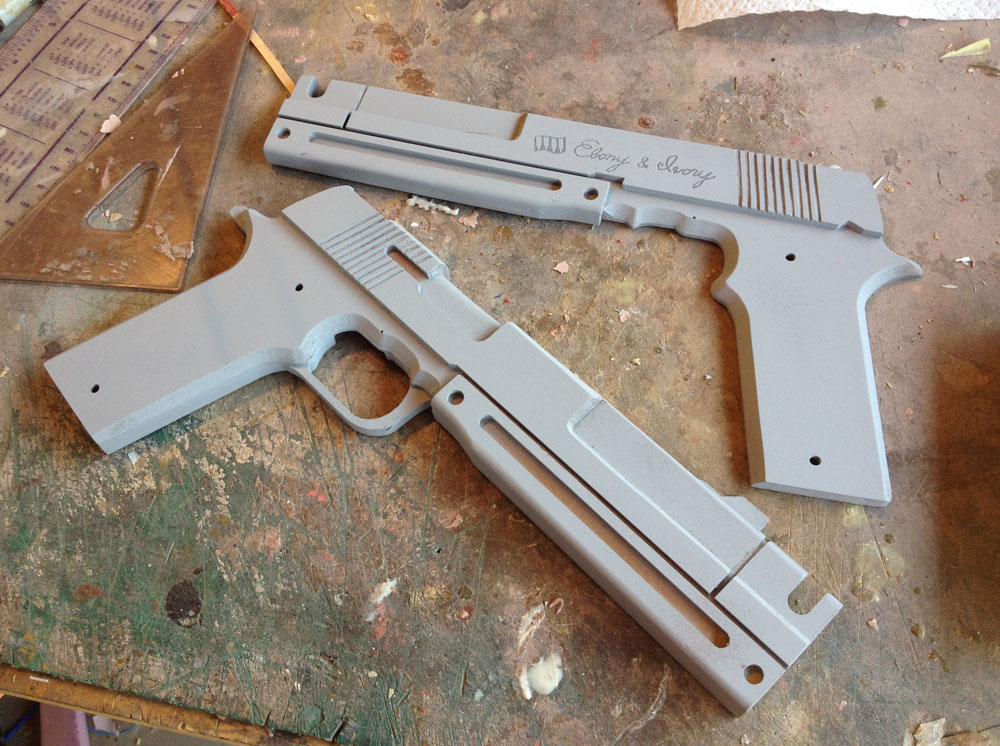
A coat of primer begins the long cleanup process.
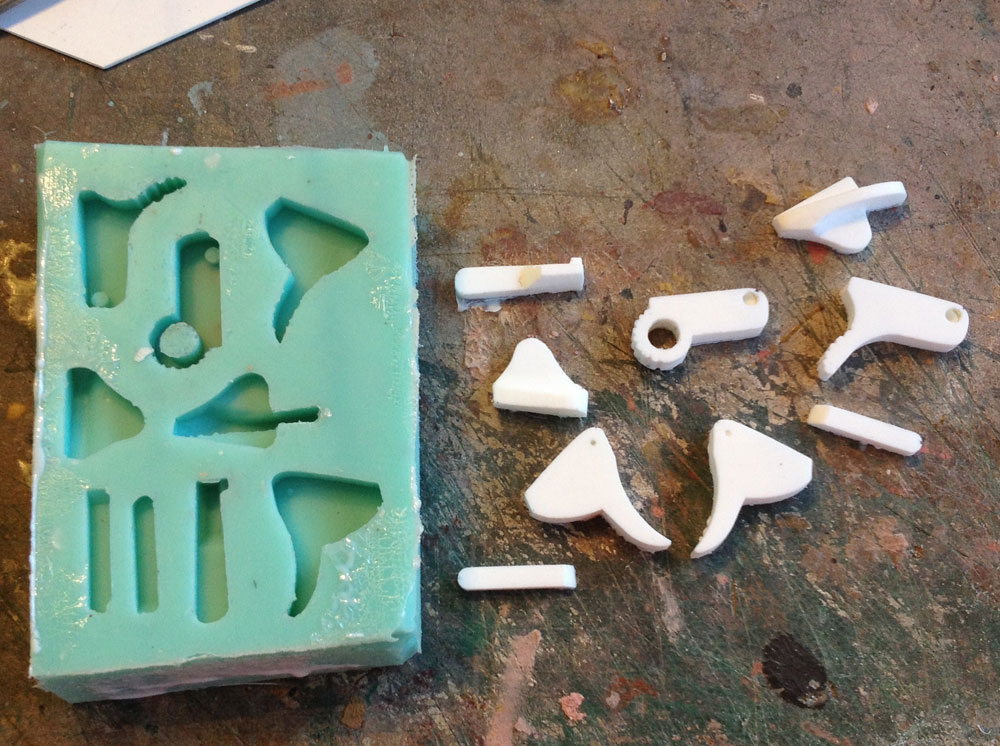
A simple dump mold gives me plastic copies of all my parts.
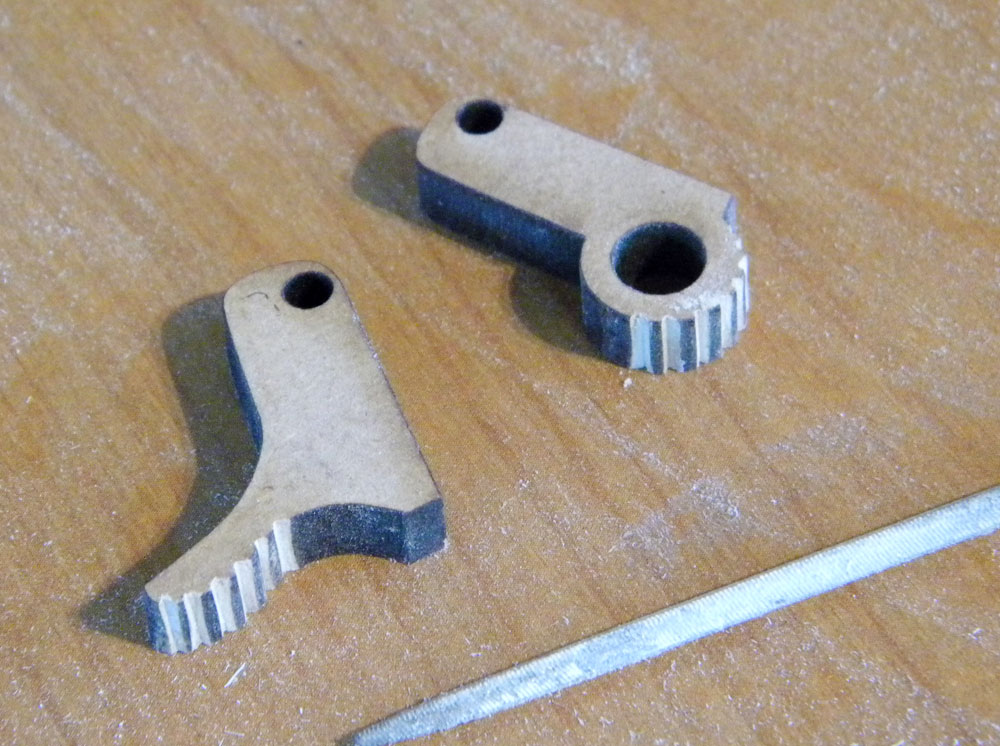
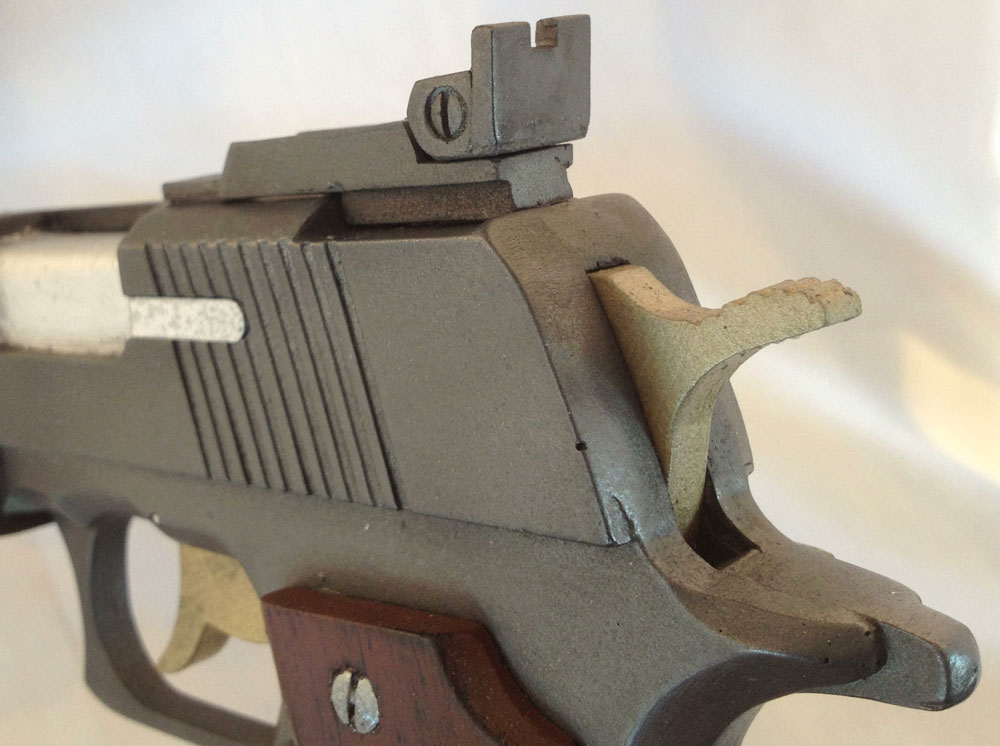
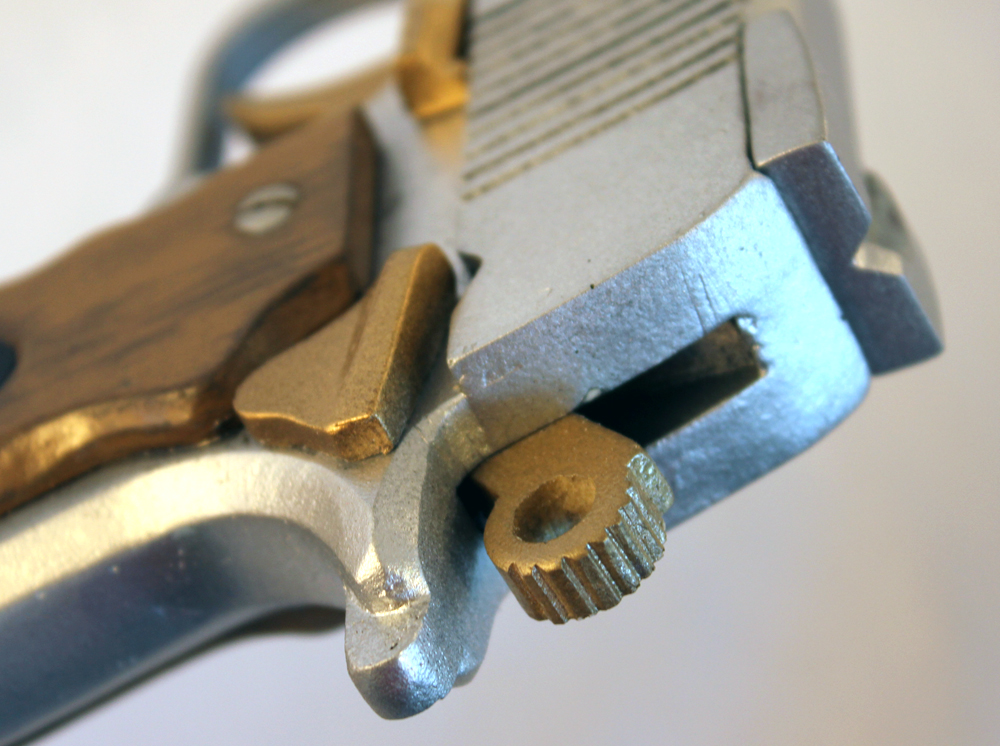
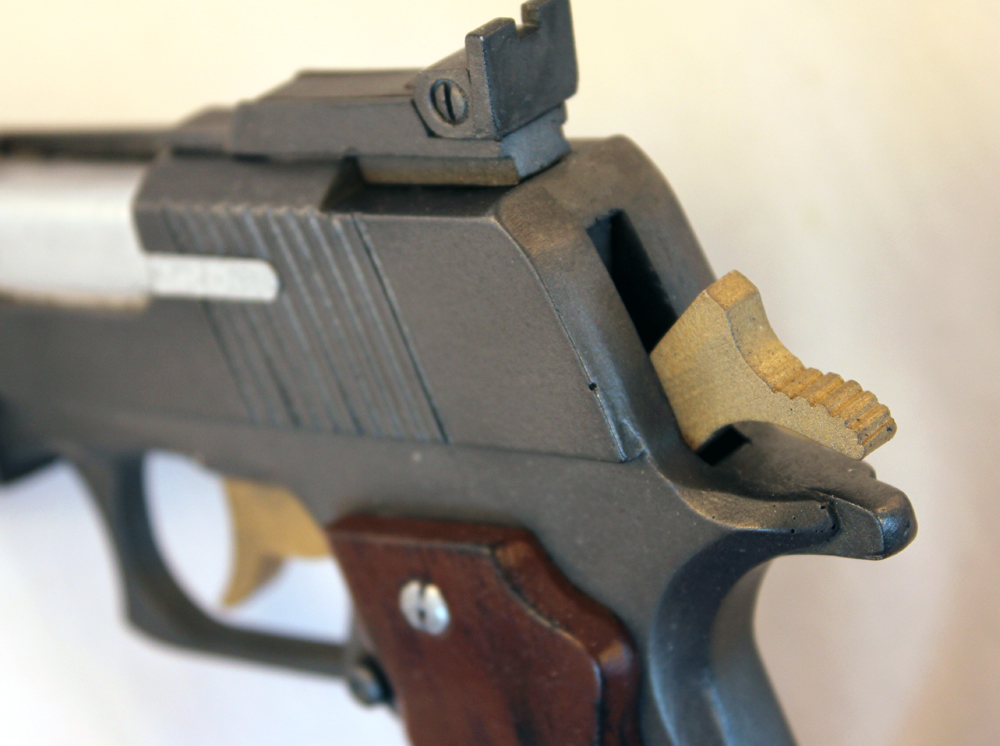
I forgot to add the serrated edges on the hammers when I had them laser cut so I had to manually add them with a file.

Ebony’s rear sight is a two-part adjustable piece that I just scratch build from wood and bits of plastic.
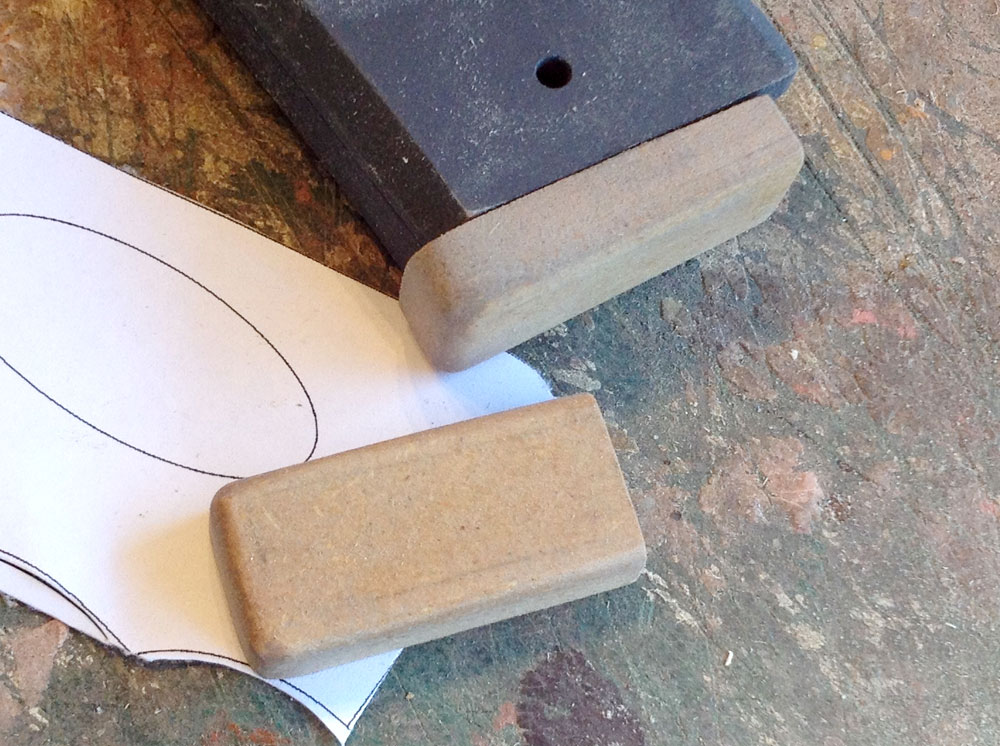
The “slam pads” on the base of the magazines were made from 1/2″ MDF.
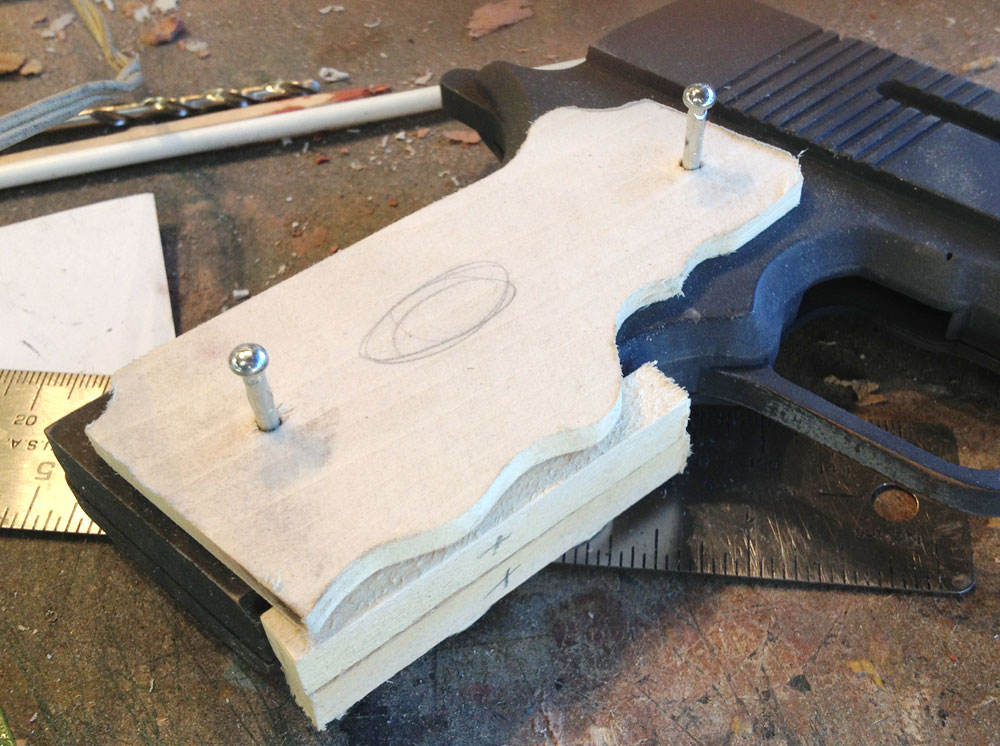
The grips were made with wood as two flat panels and thicker wood to connect them in front. The pins keep everything in place while I work.
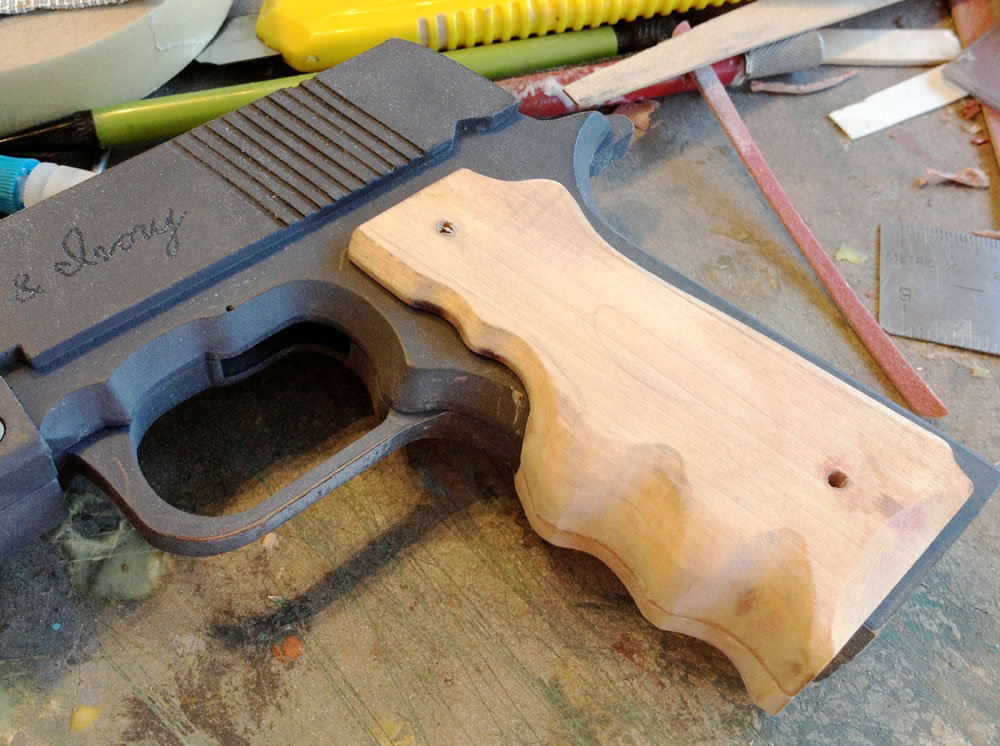
Some work with the Dremel sander and the front of the grip takes shape.
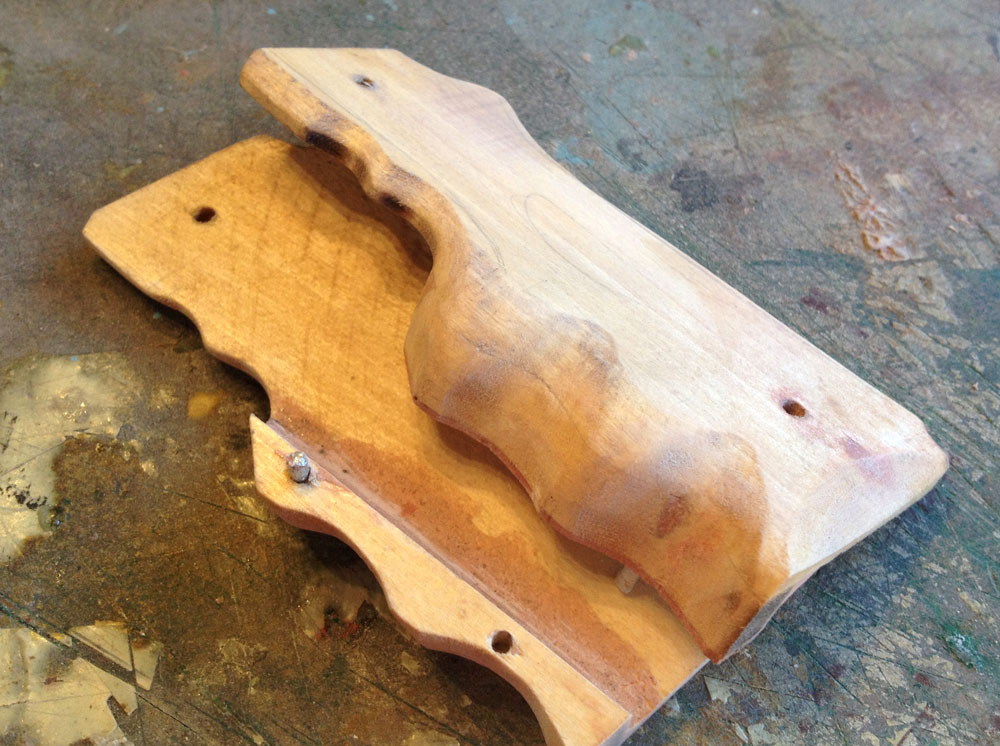
If this were a real gun, the grips would come in two halves and would be screwed to the grip. I built mine the same way and added pegs and holes so the halves could be easily lined up for glueing.
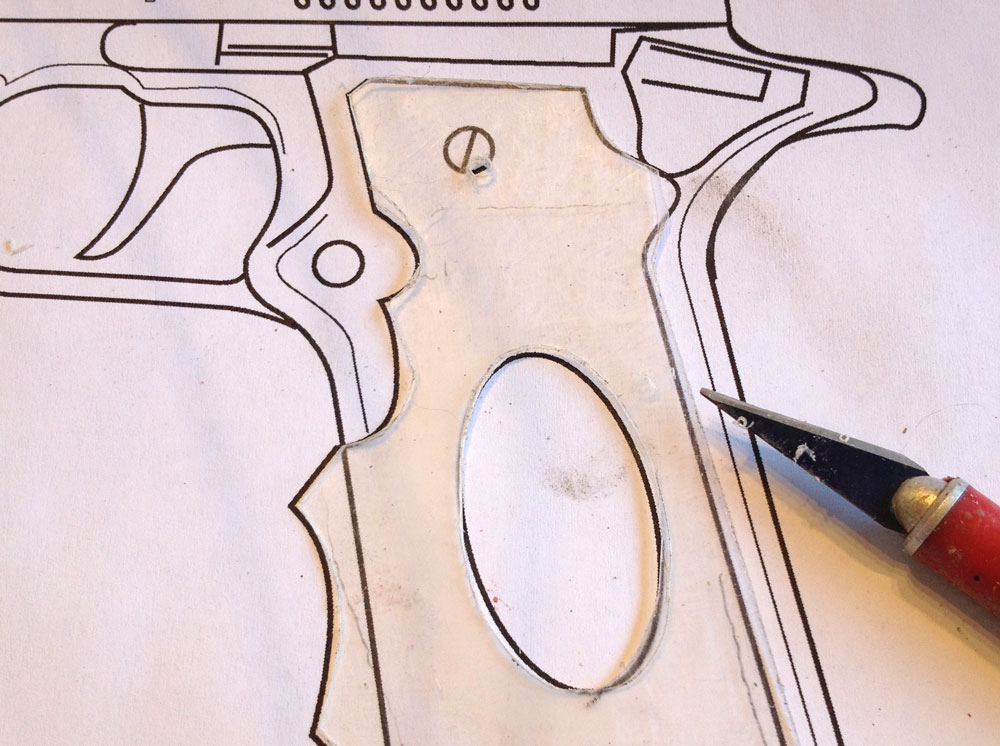
To make the inset for the cameo, I traced my plans with a sheet of clear acetate and cut out the oval to make a template.
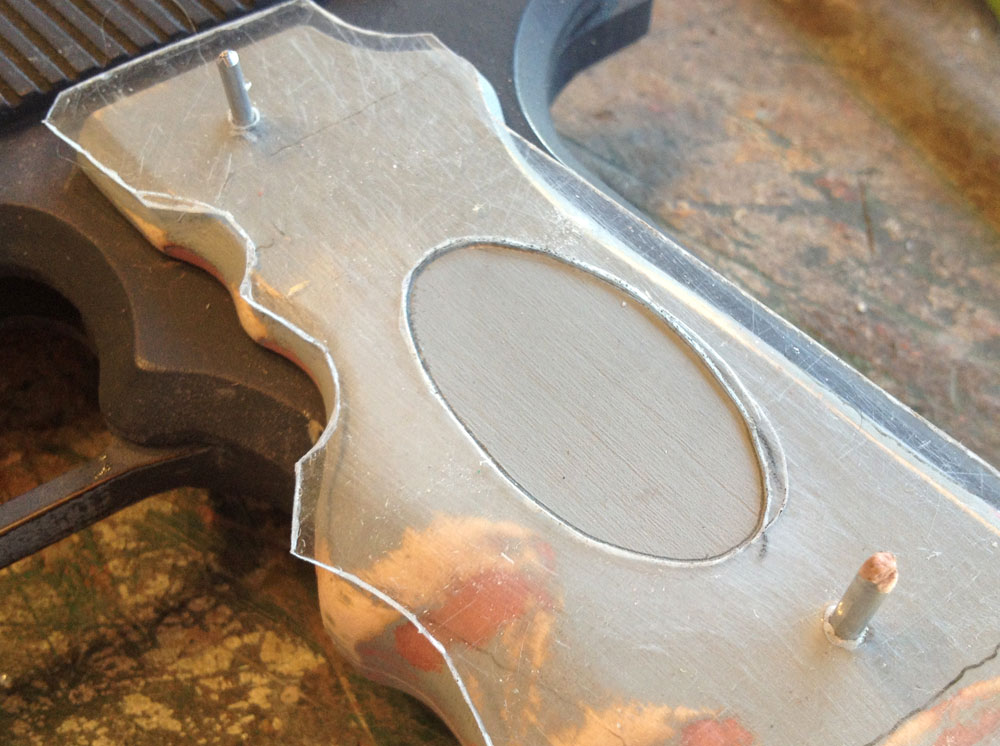
I pegged the template in place and traced the oval.
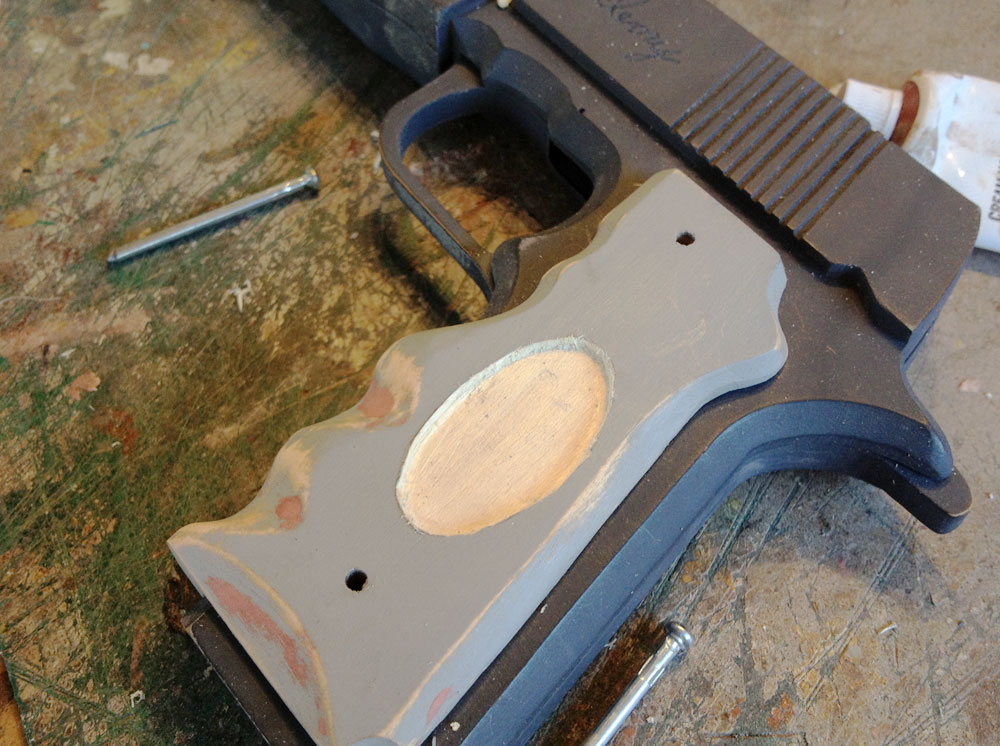
I carved out the inserts with a Dremel rather bit.
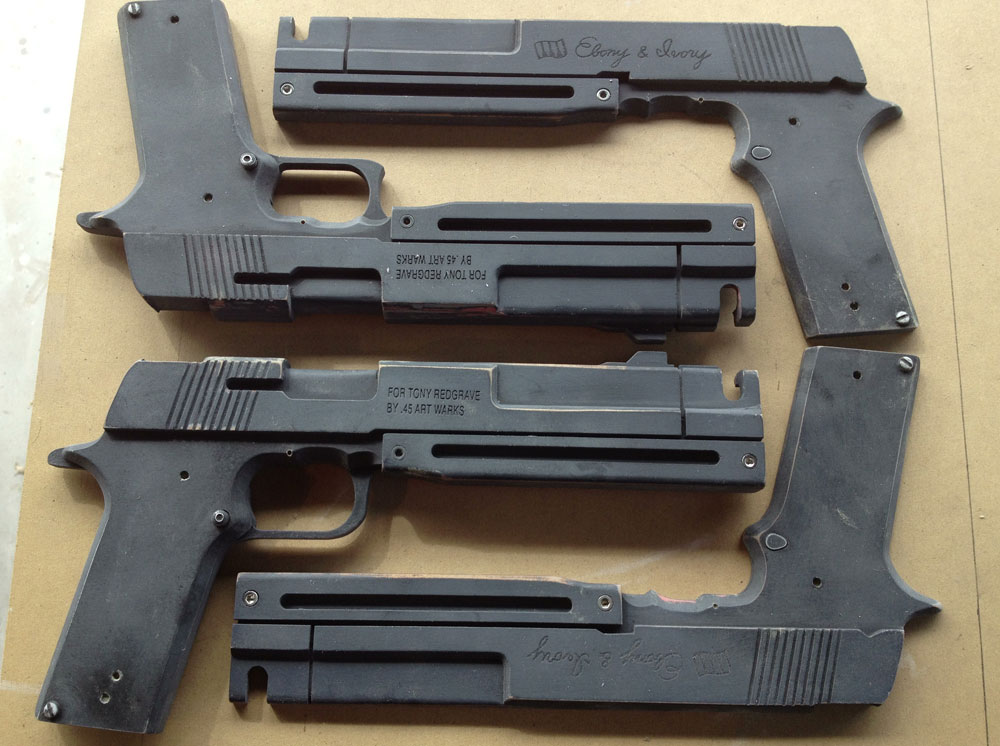
The finished masters ready for molding.
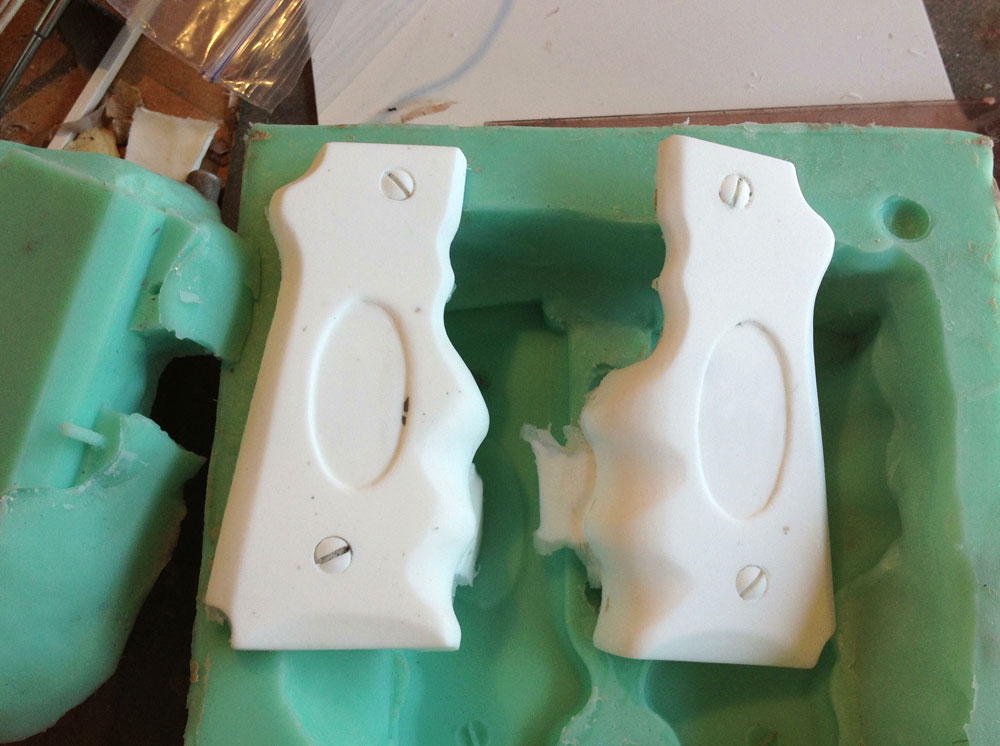
After adding screws to the grips, I made a mold. Here you can see the resulting casts.
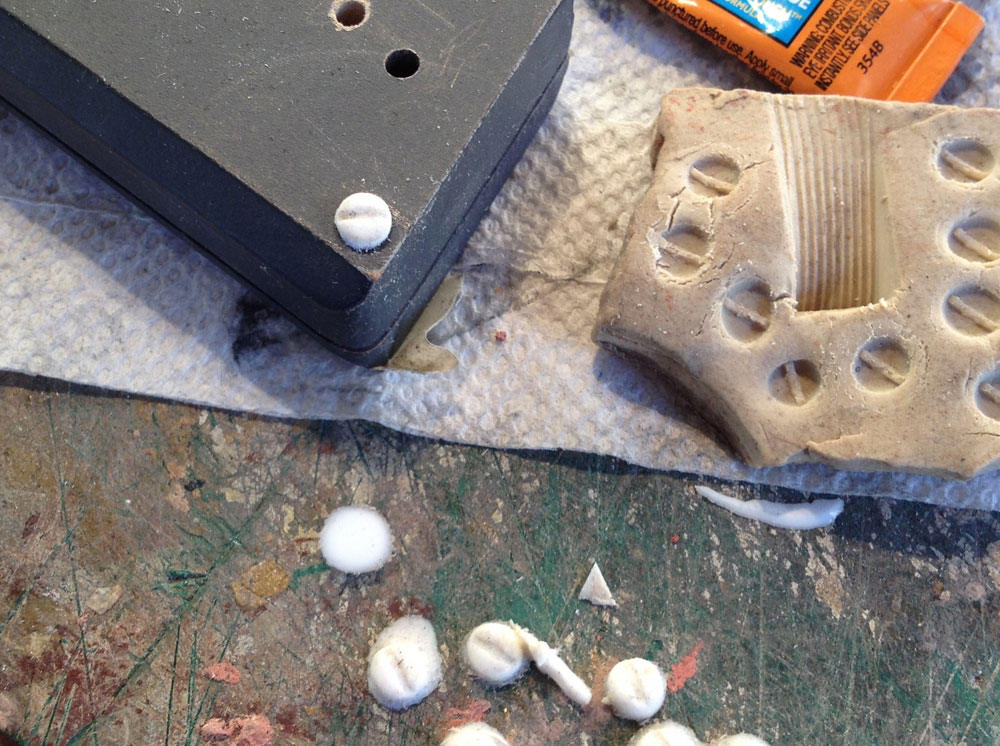
I needed round headed screws for the base of the grip and OF COURSE there was only one in my hardware bins. I guess I was too lazy to go to the hardware store to buy three more so I made a quick mold of the one in clay and dumped resin into it to make plastic copies.
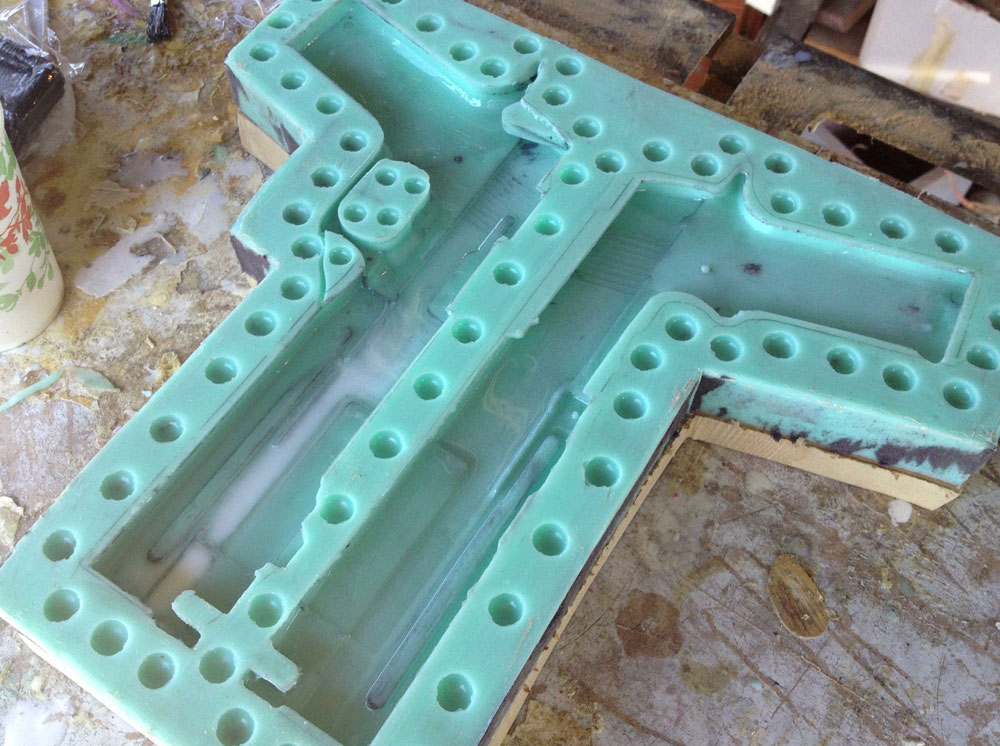
The resulting mold. I pour a small amount of resin in the open mold to capture the outer detail before sealing it up and filling it up.
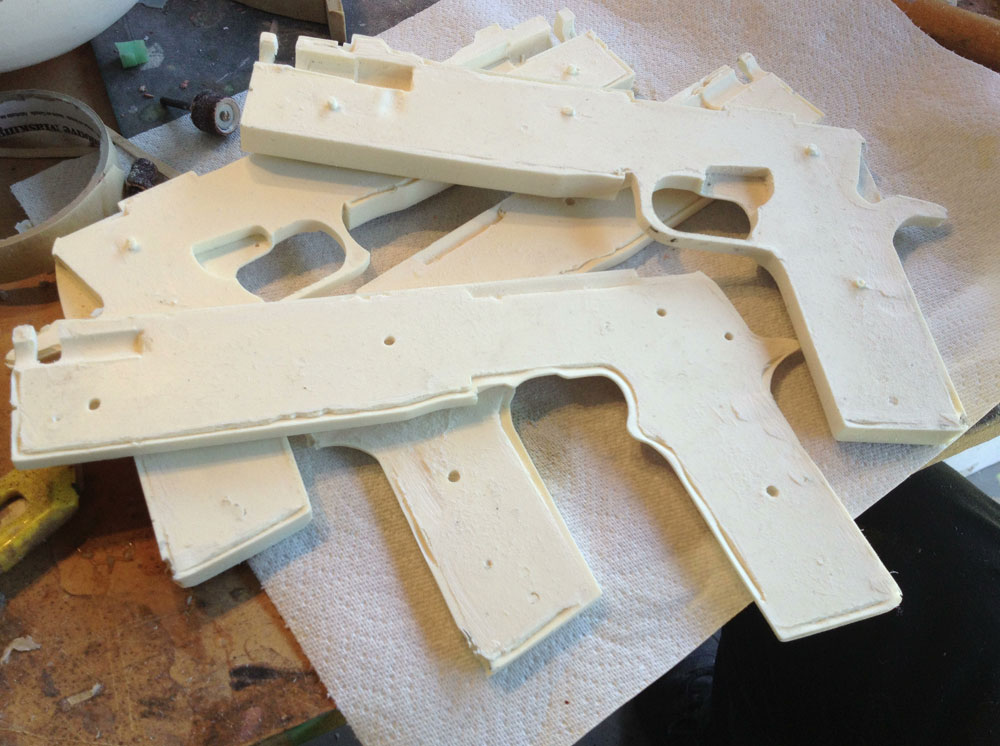
The cast copies!
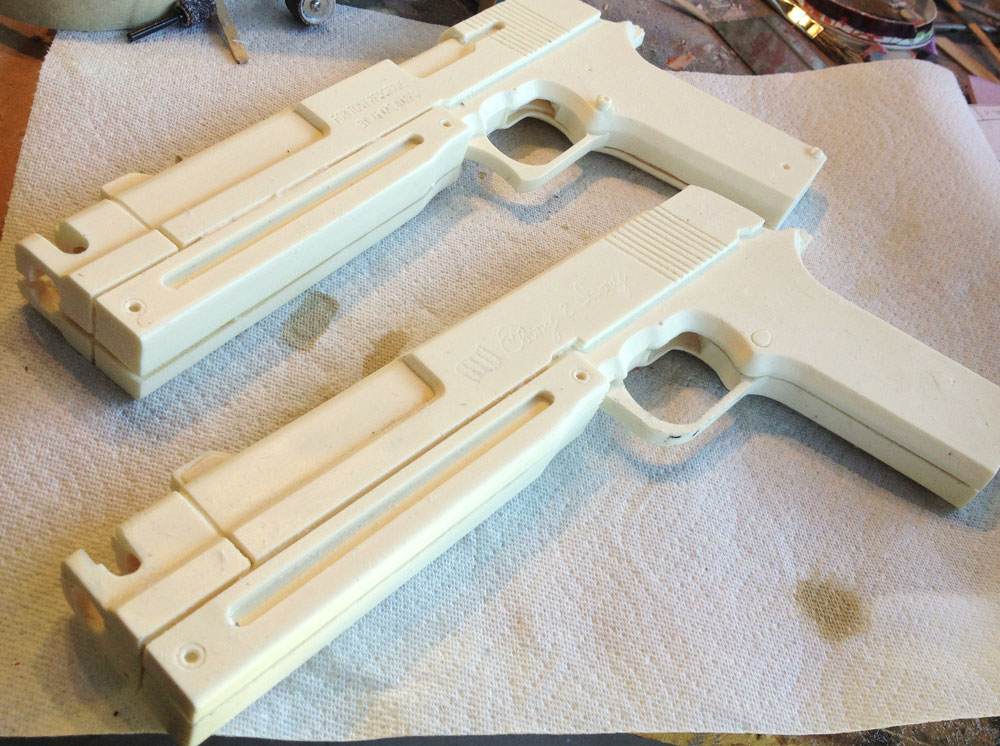
Test fit of the halves.

All the cast parts.
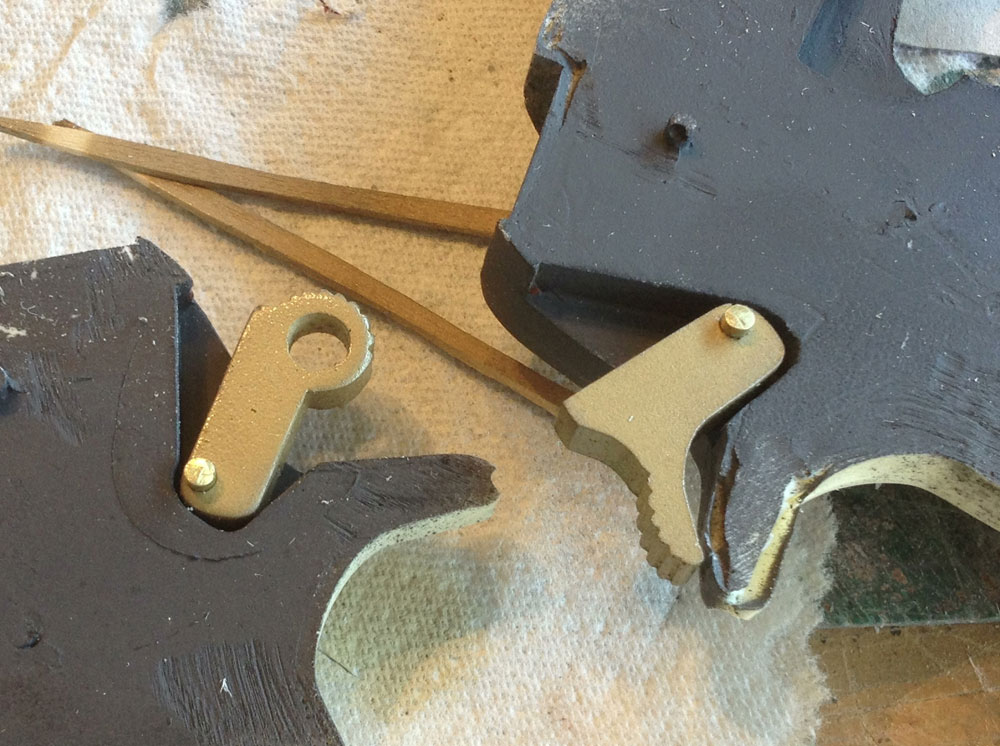
Brass pins allow the hammer and trigger to pivot. The hammer will have to be placed before the gun body is sealed up but the trigger can be inserted after the whole thing is done as the retaining pin passes through the body of the gun.
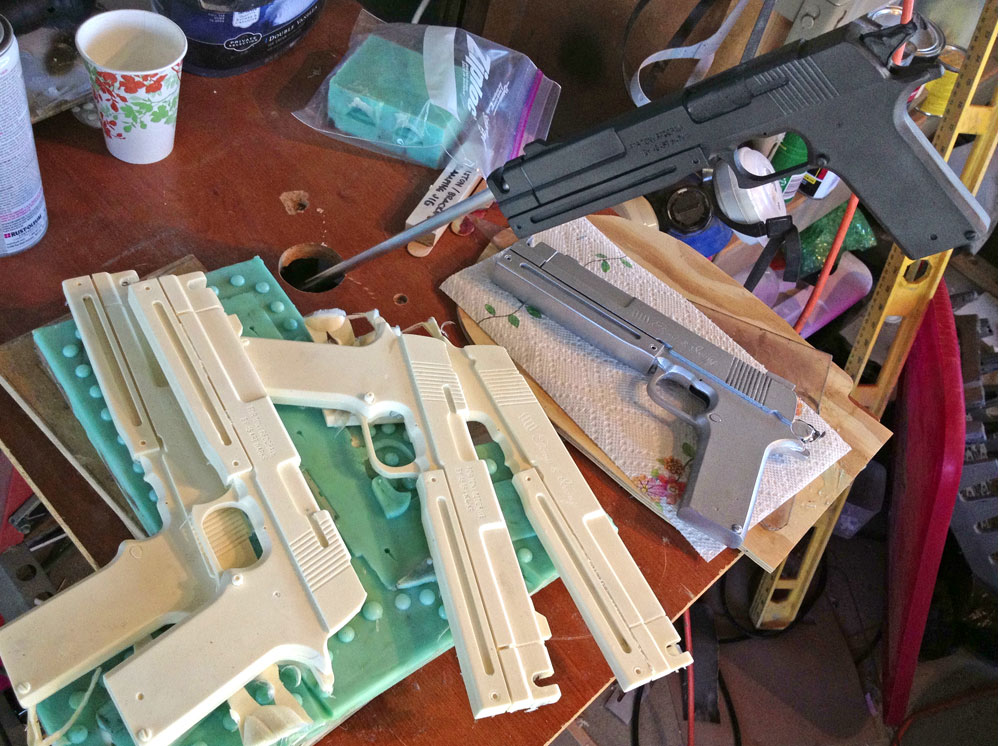
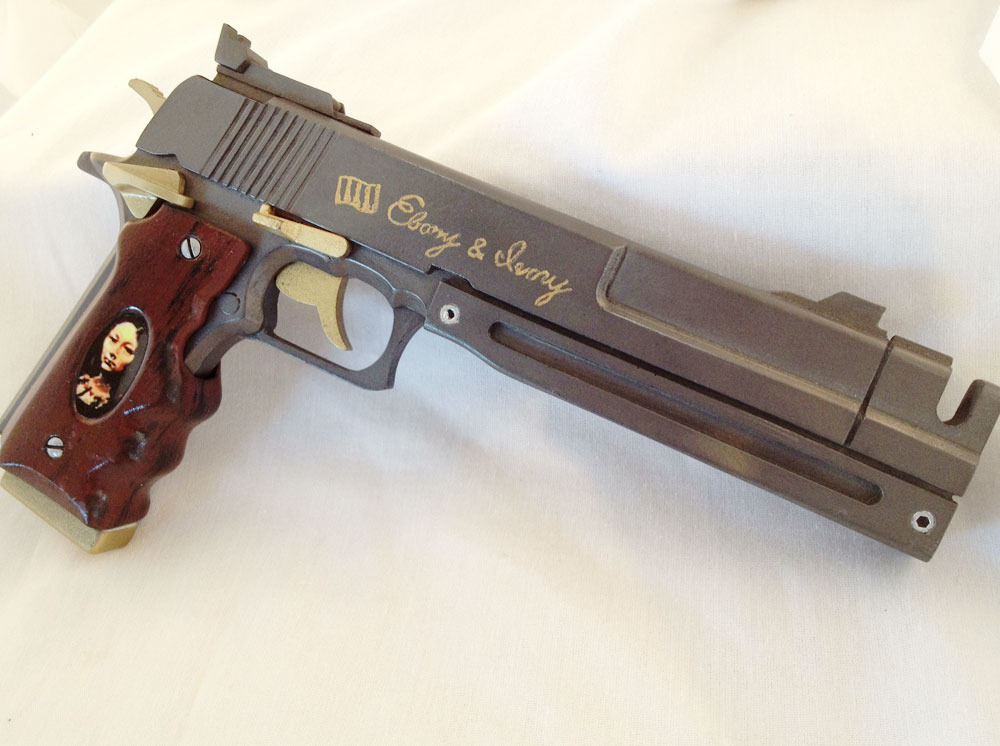
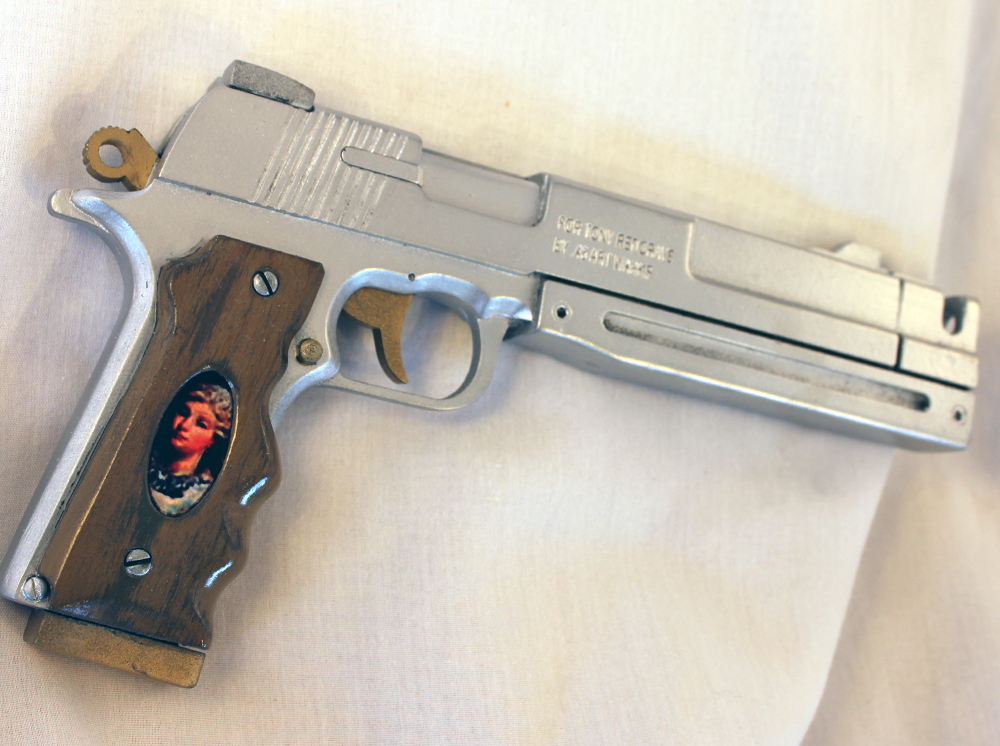
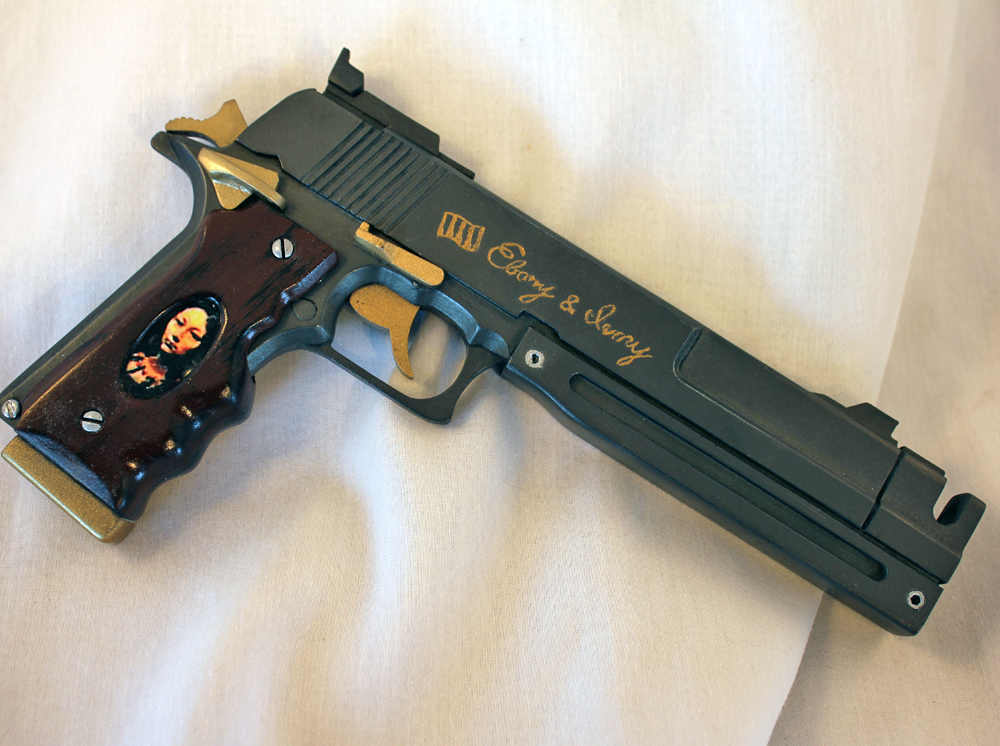
Ebony is painted with the Testors’ Metallizer Gun Metal and Ivory is painted a silver. In the foreground, two more castings have just come out of the molds.
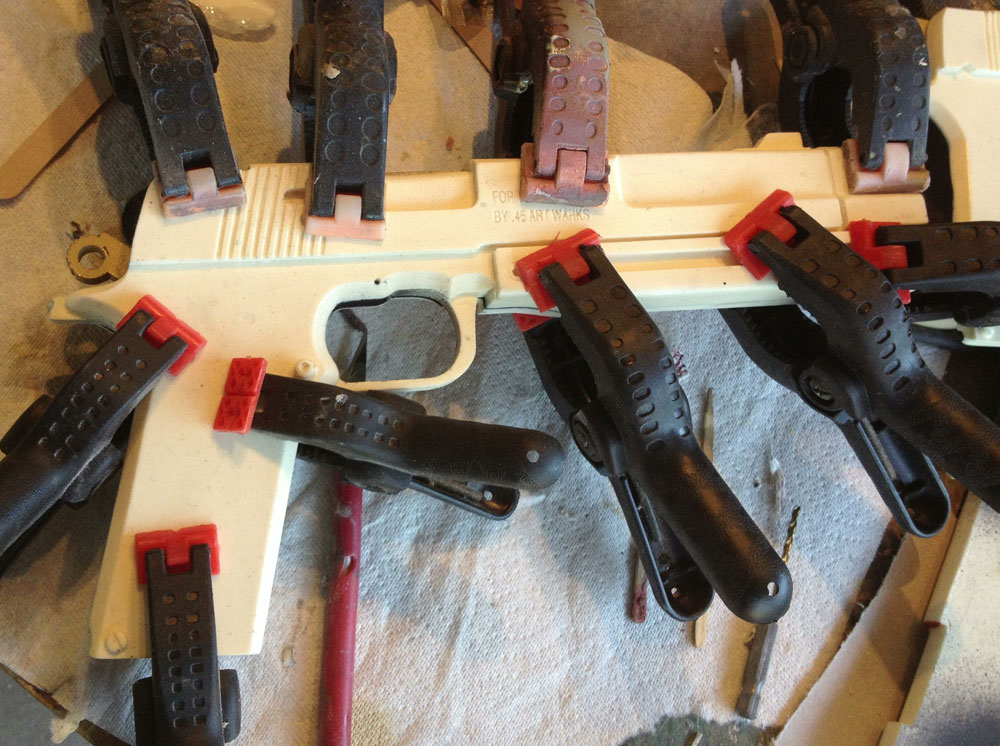
I applied some two-part epoxy and clamped the gun bodies to dry.
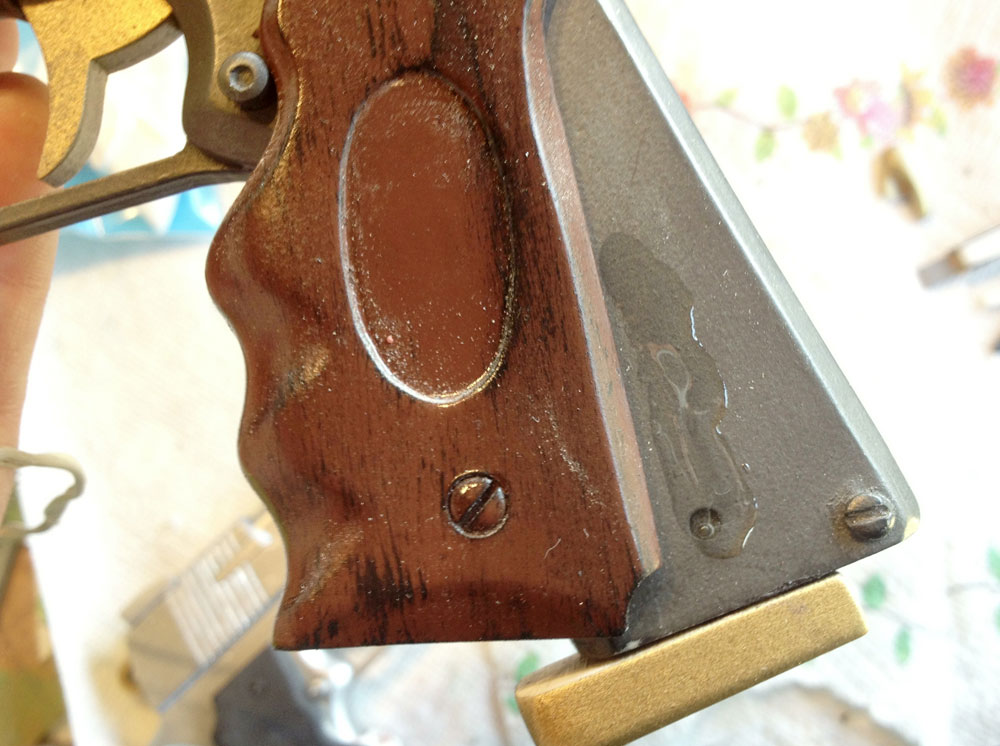
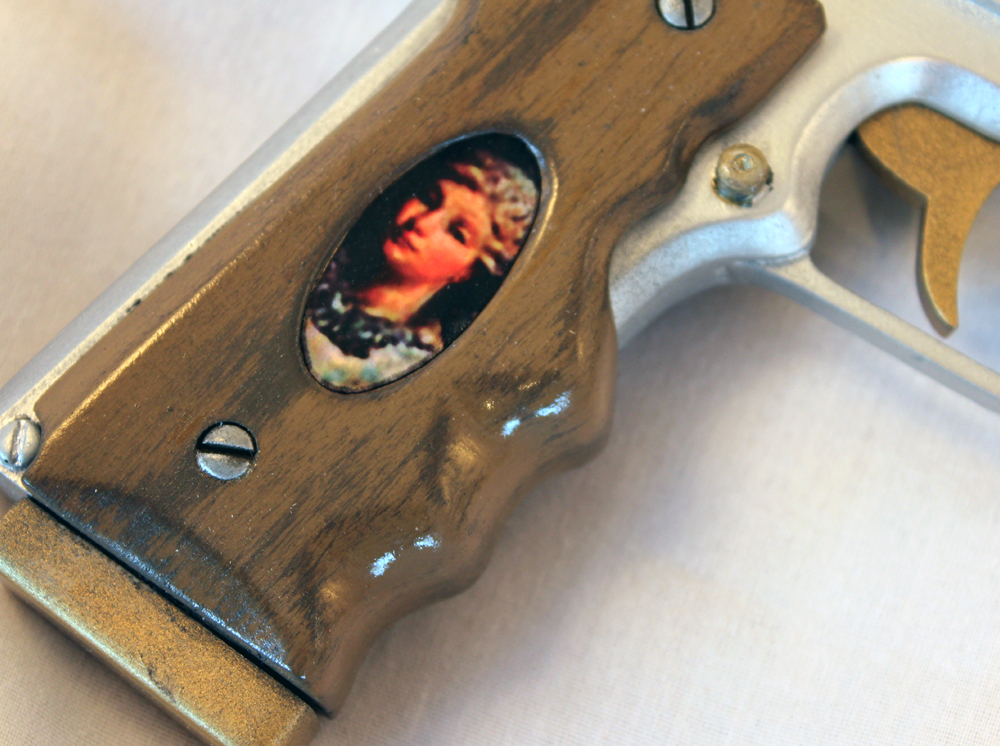
The grips were painted with a base coat brown and then dry brushed wood grain was added. Once dry, I glued them to the pistols.
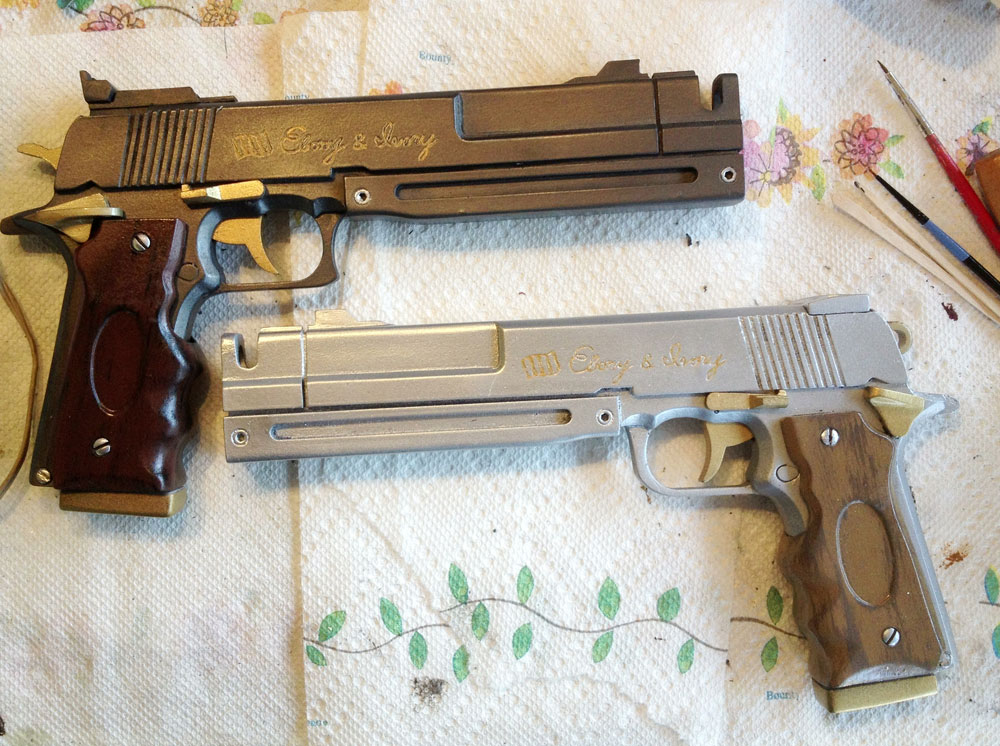
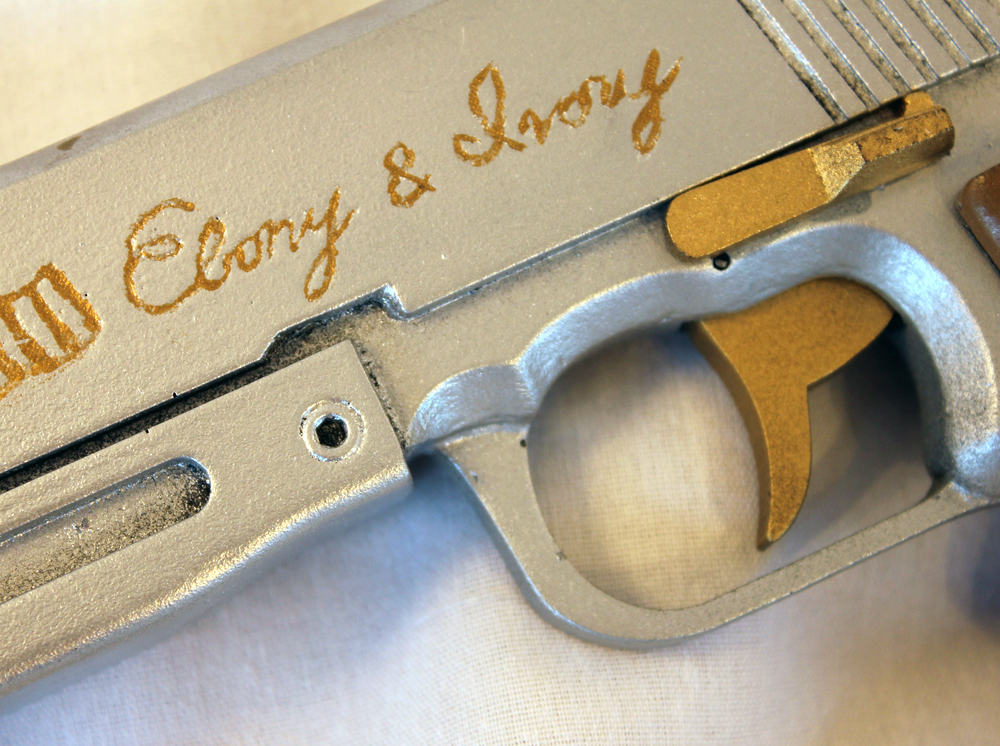
Small parts painted and glued on, screws on the grips painted silver and the engraving on the barrels painted gold.
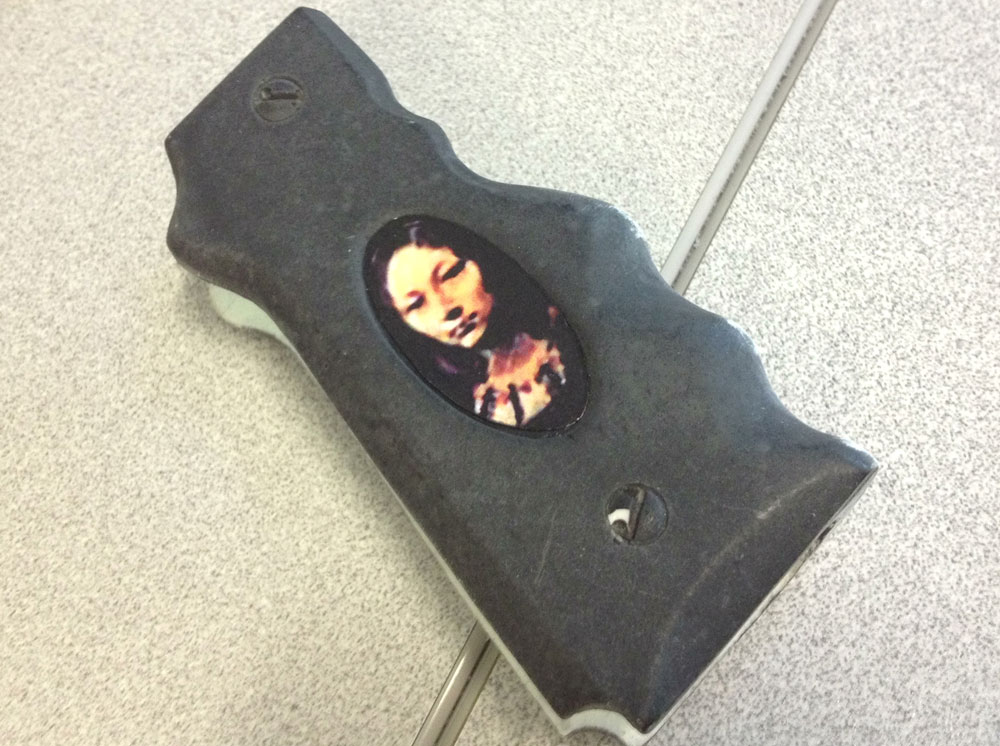
The final step is to apply the cameos. I laser printed each portrait on label stock, trimmed them out and inserted them into the grip. The label was sealed with a spray acrylic enamel clear coat.
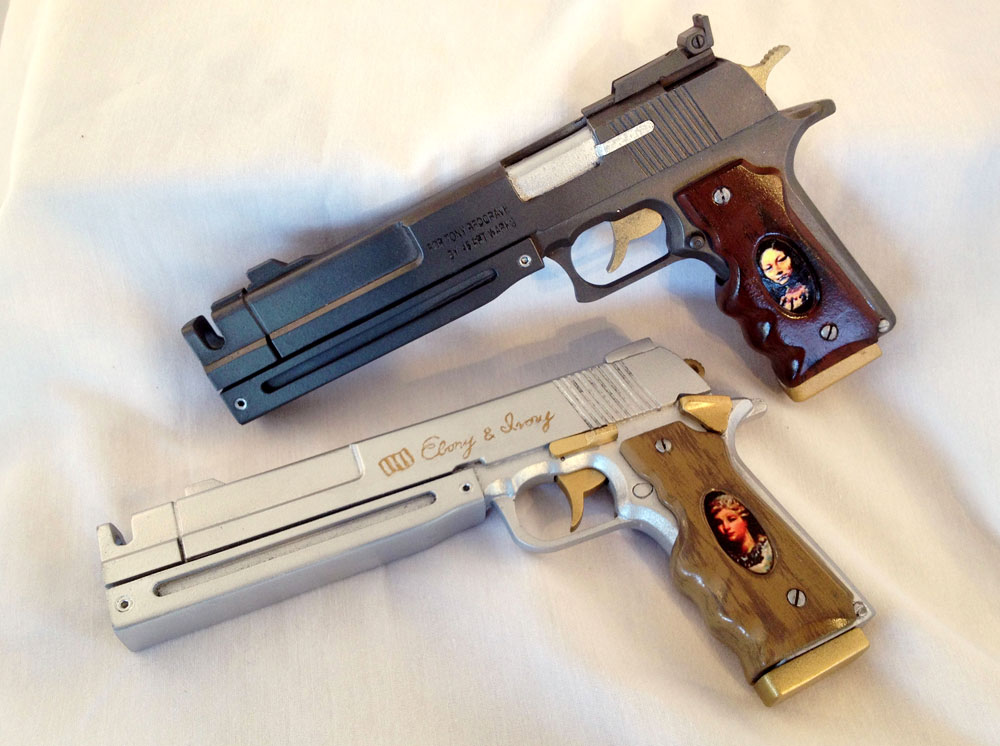
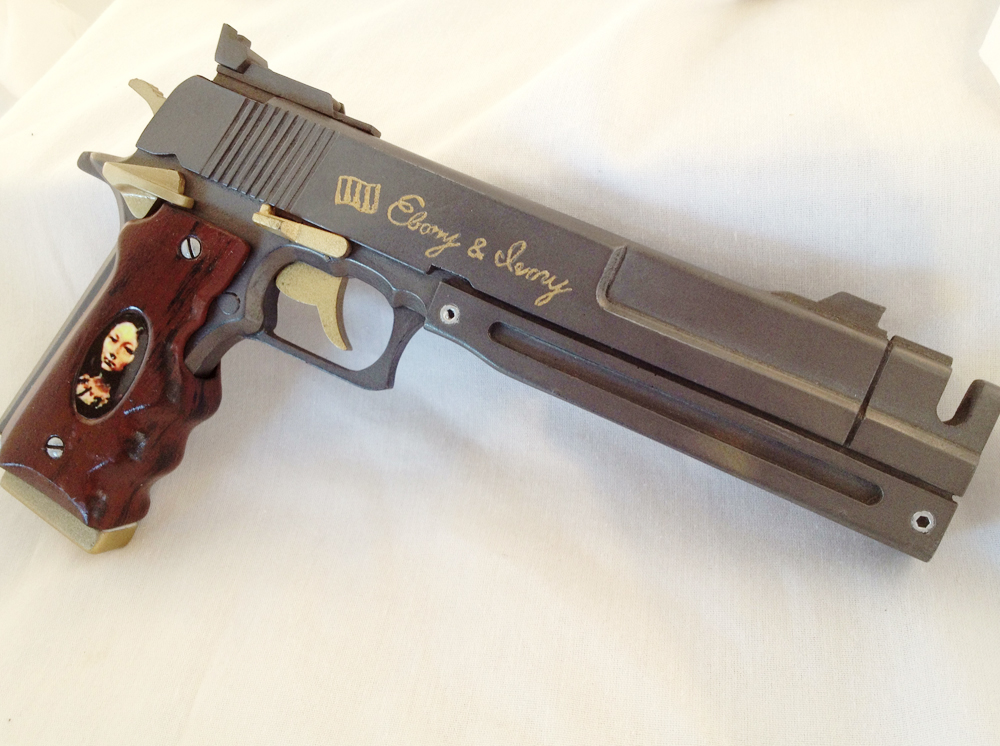
The final guns!
