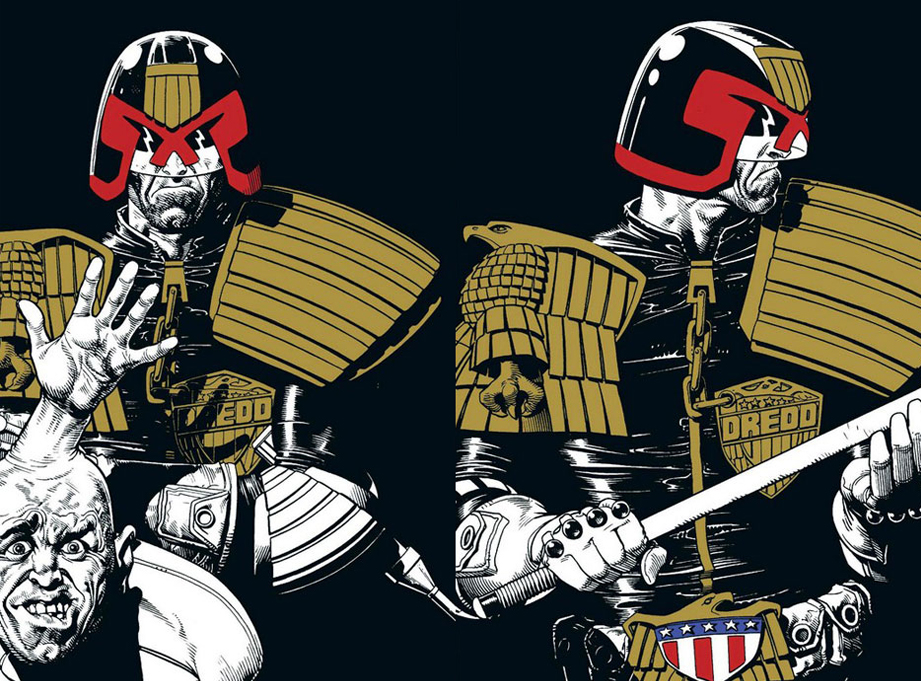
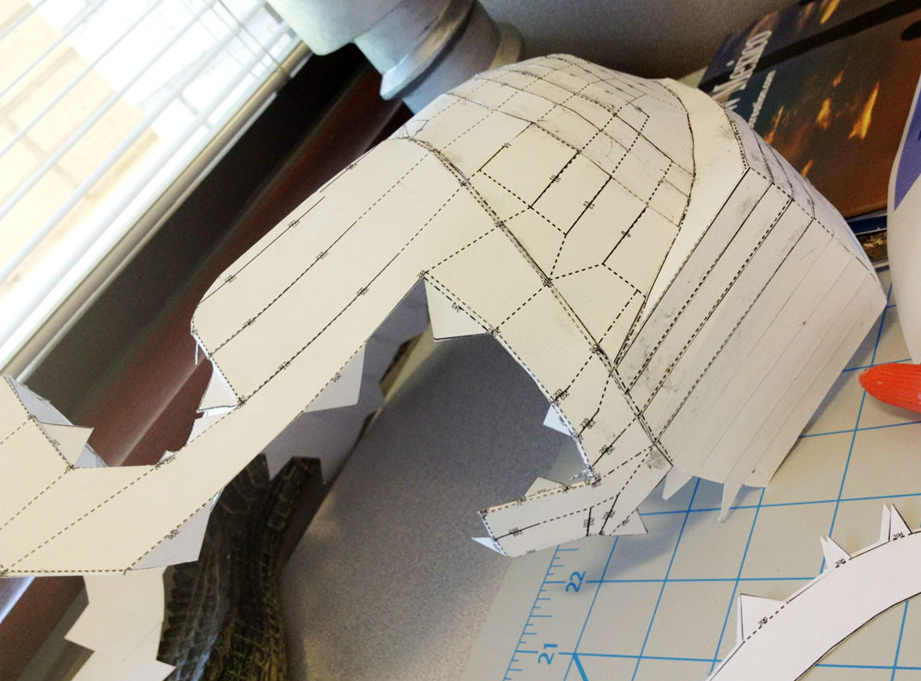
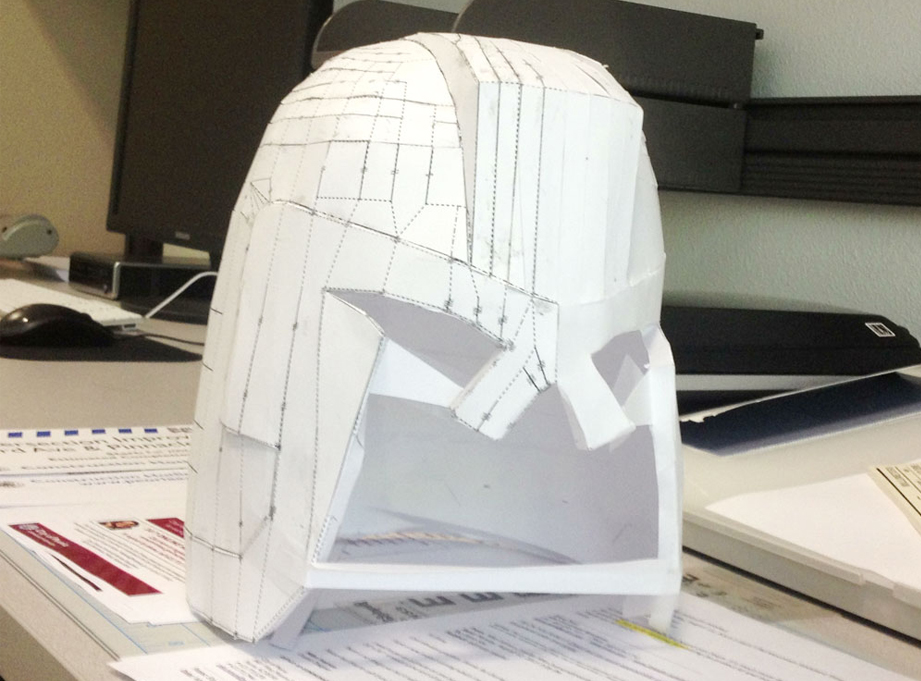
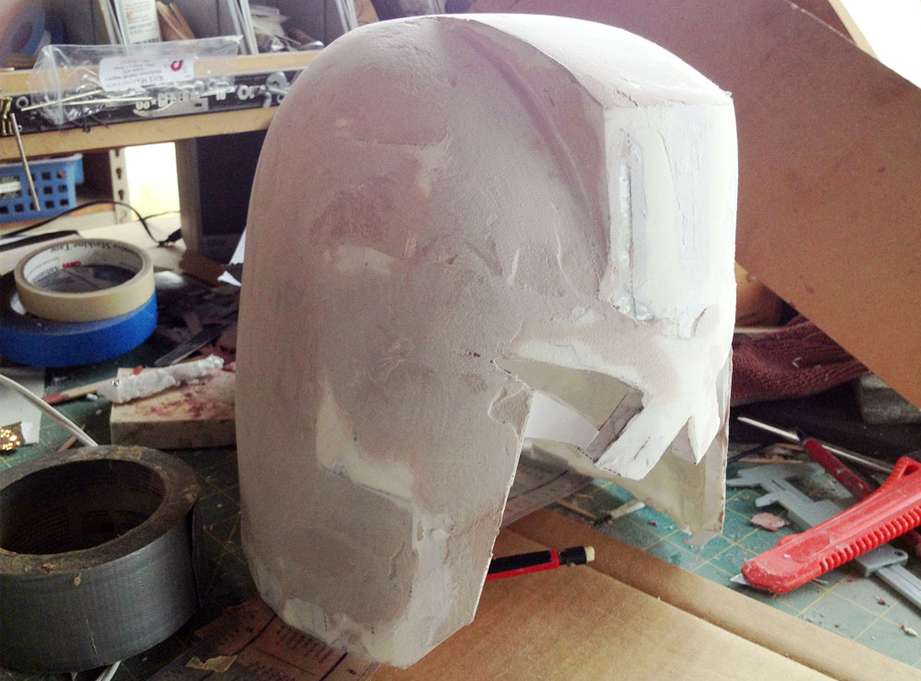
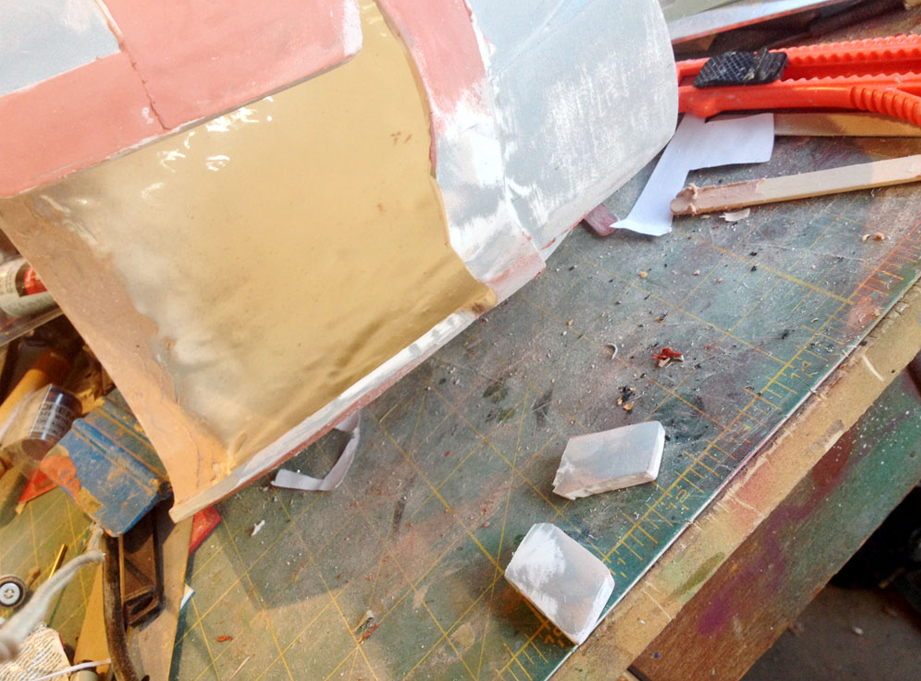
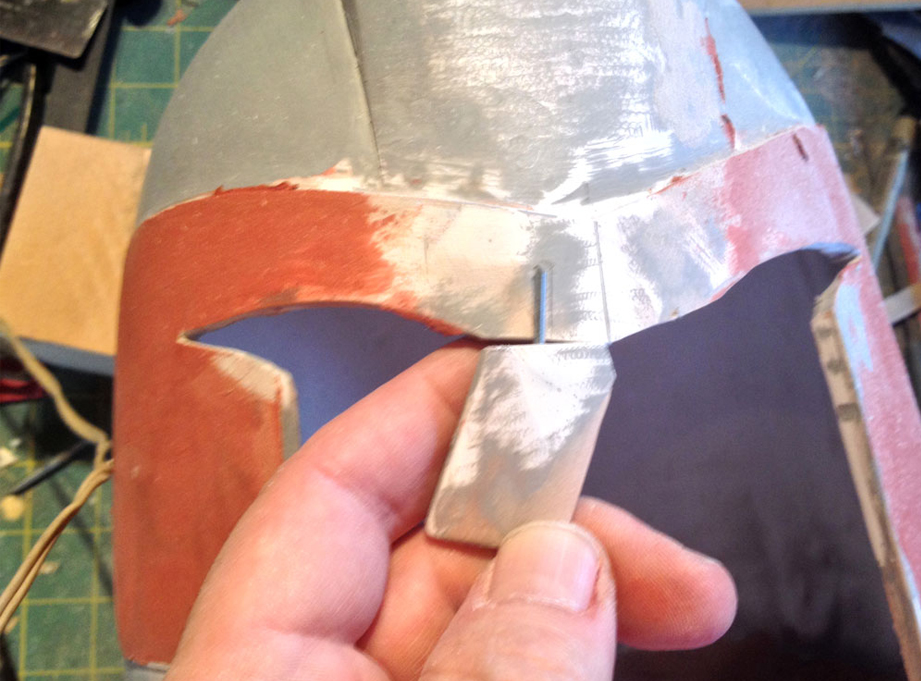
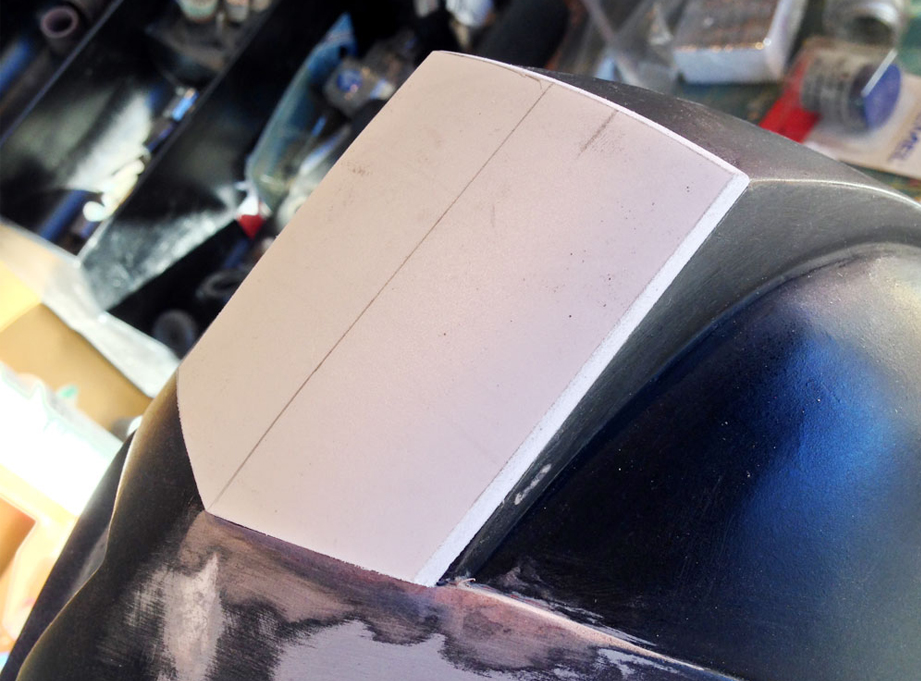
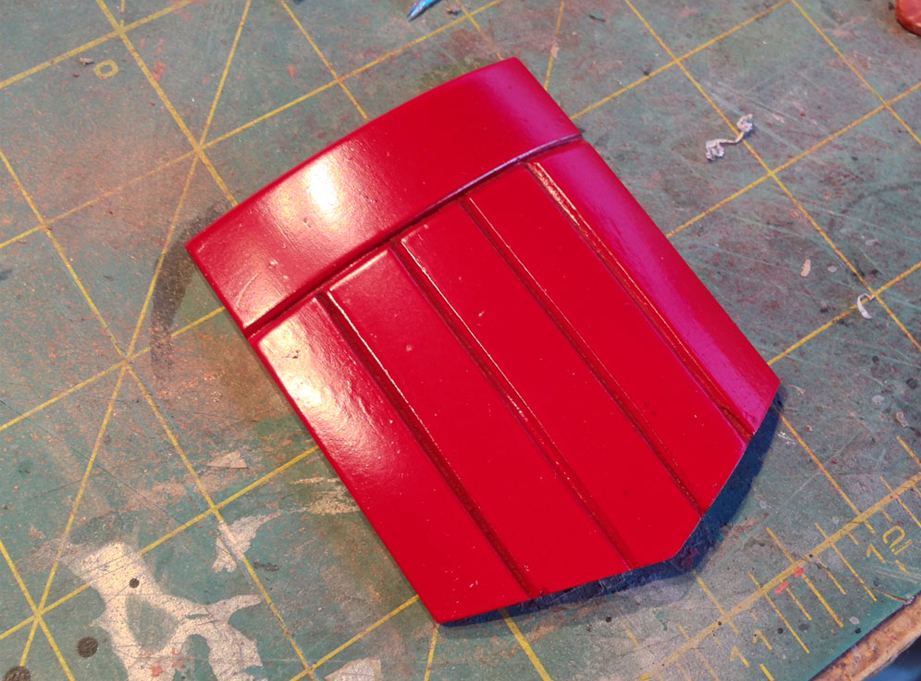
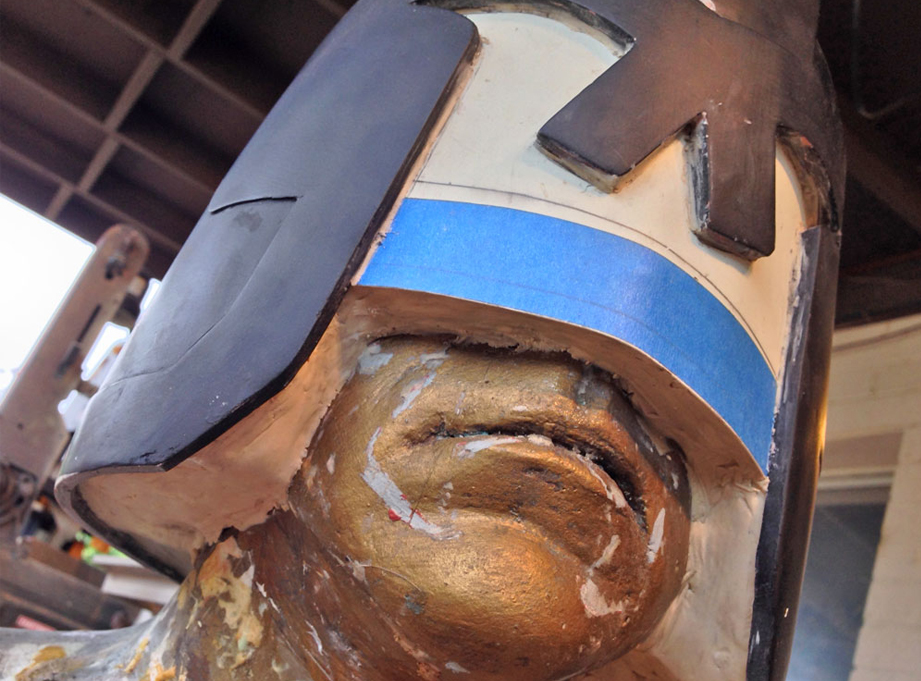
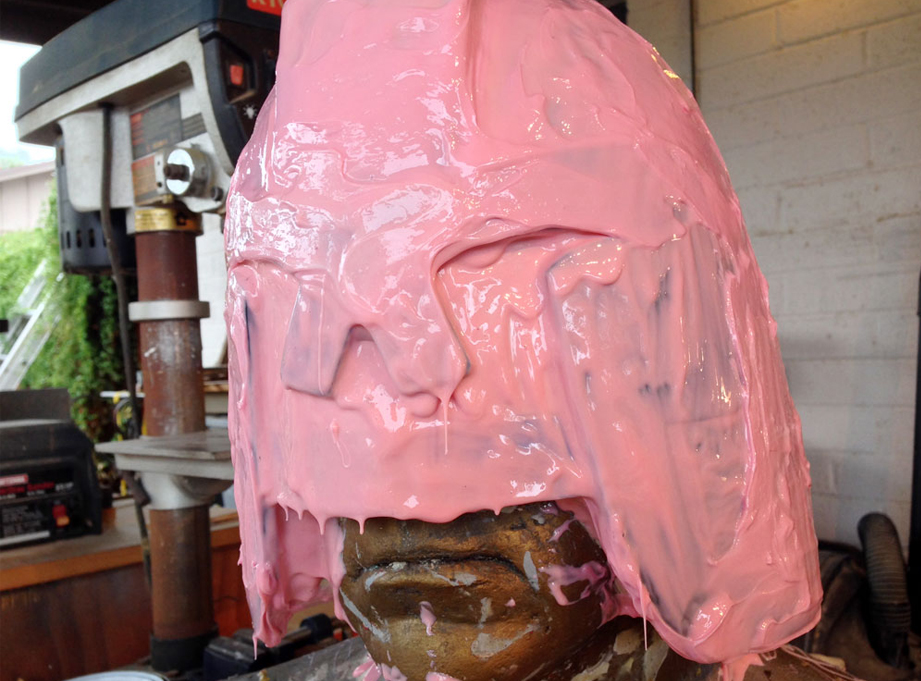
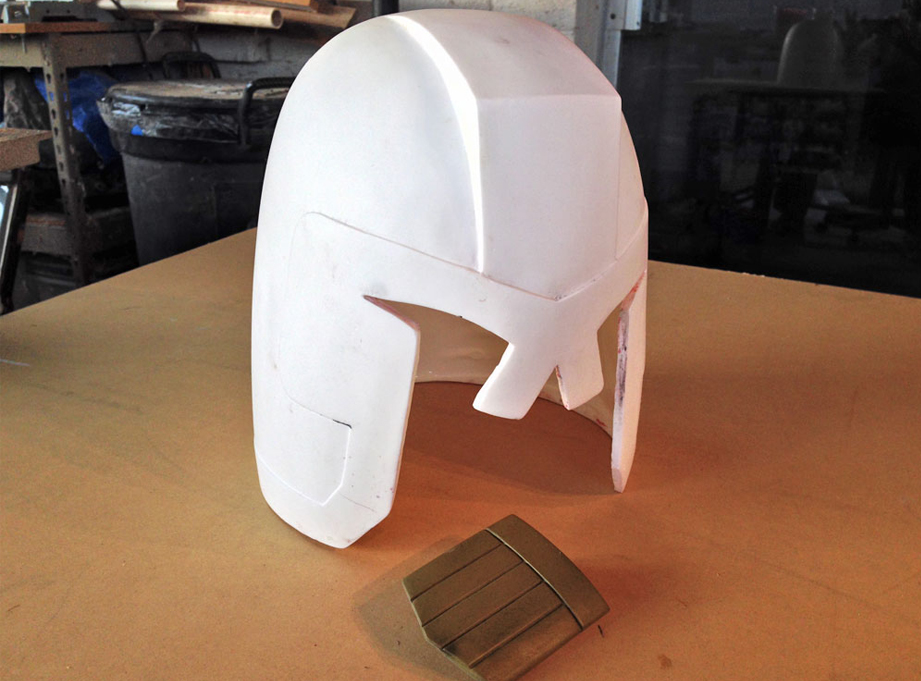
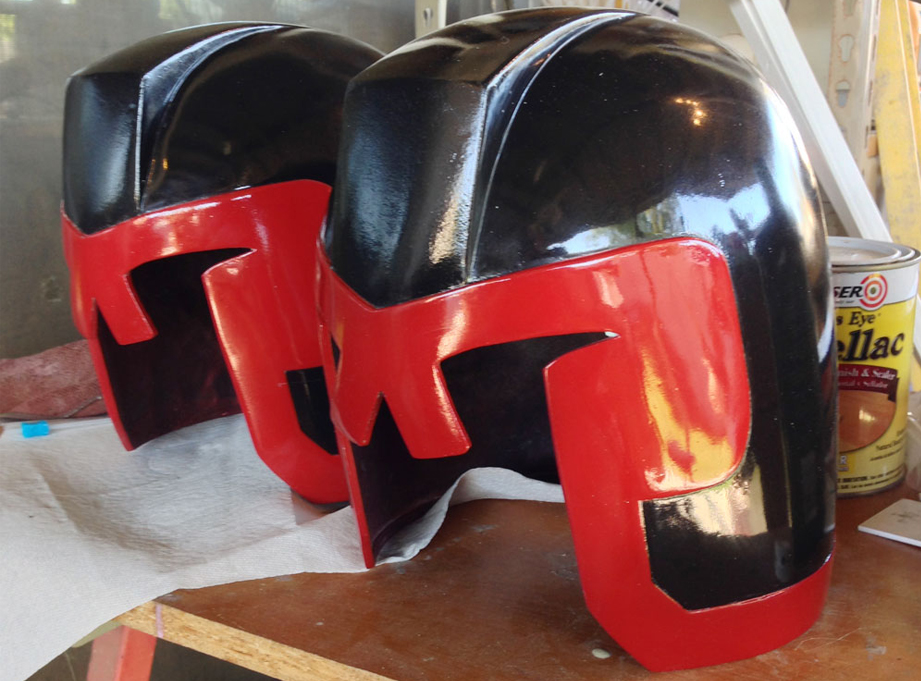
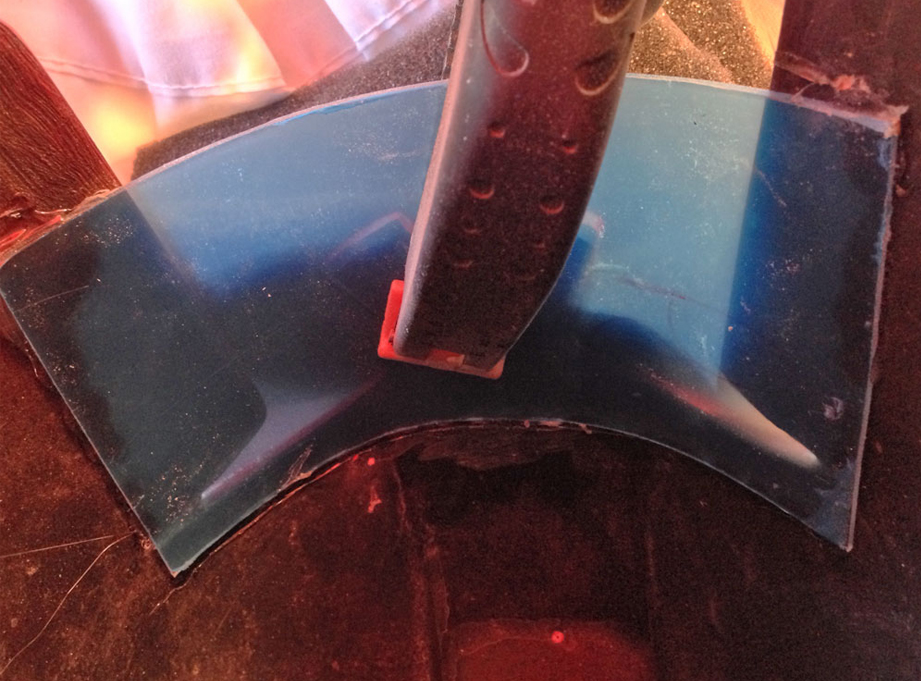
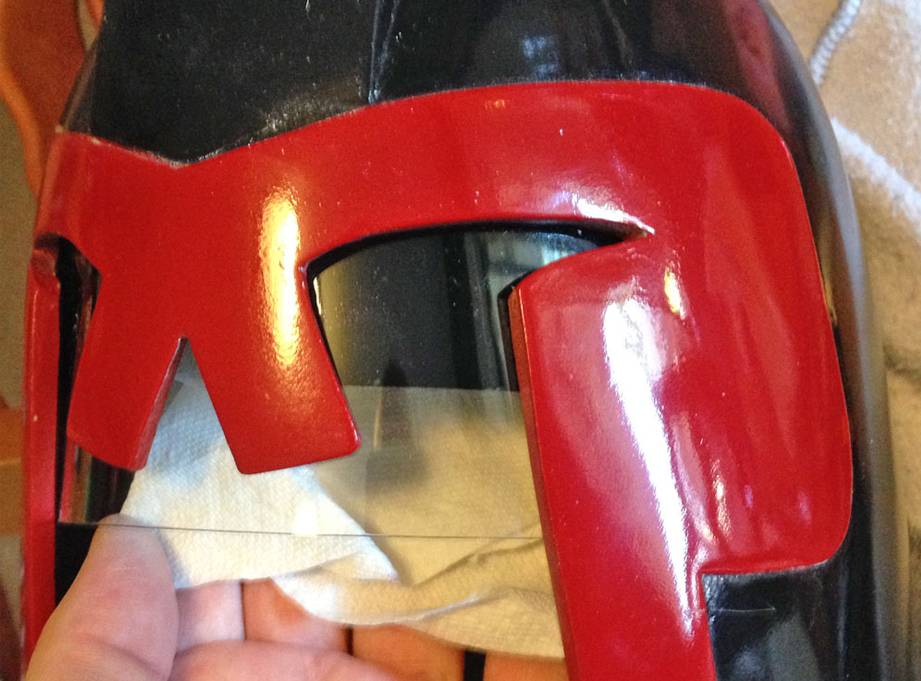
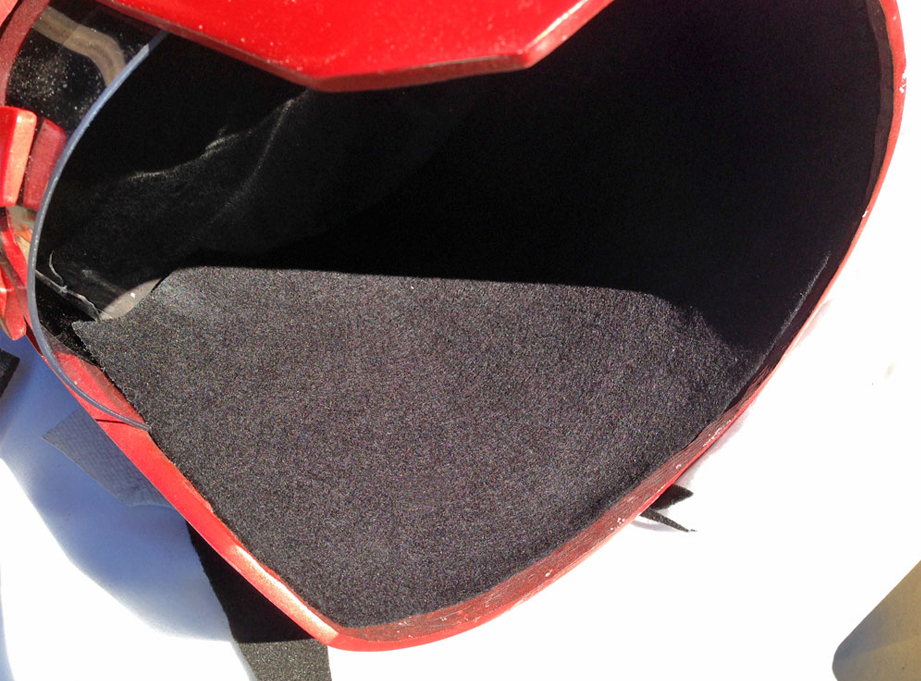
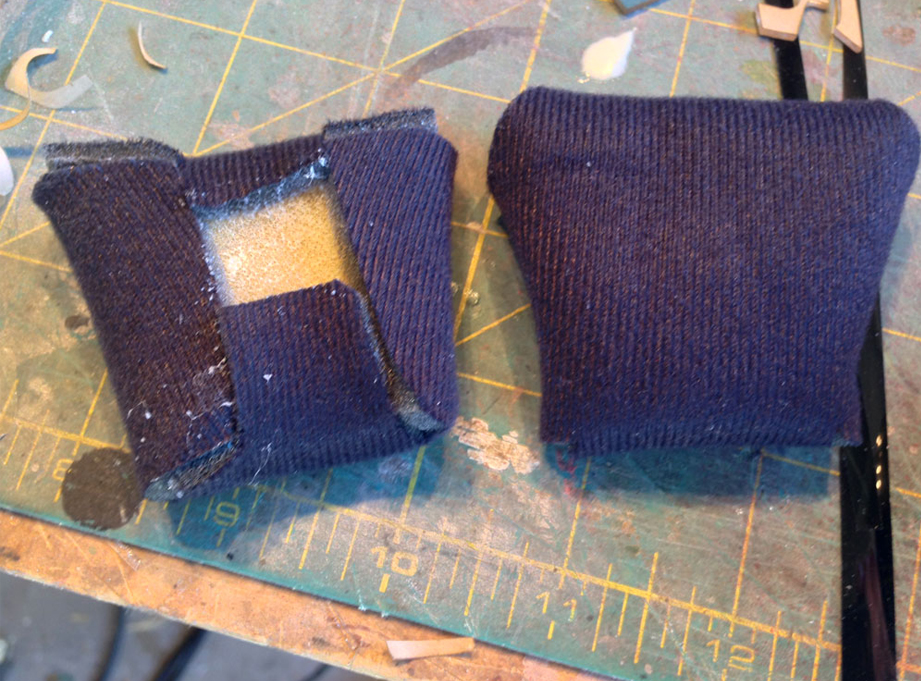
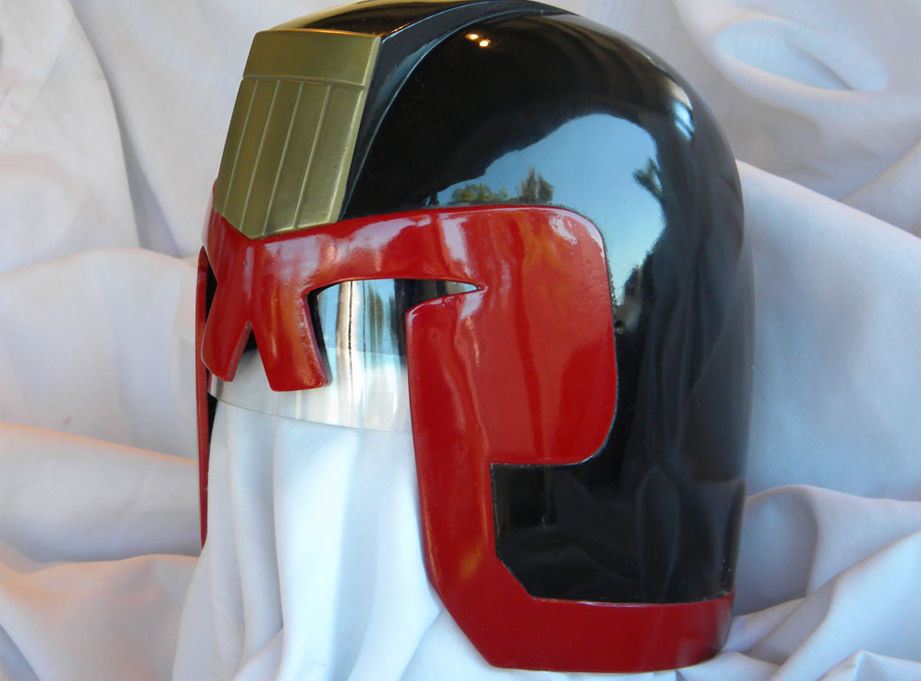
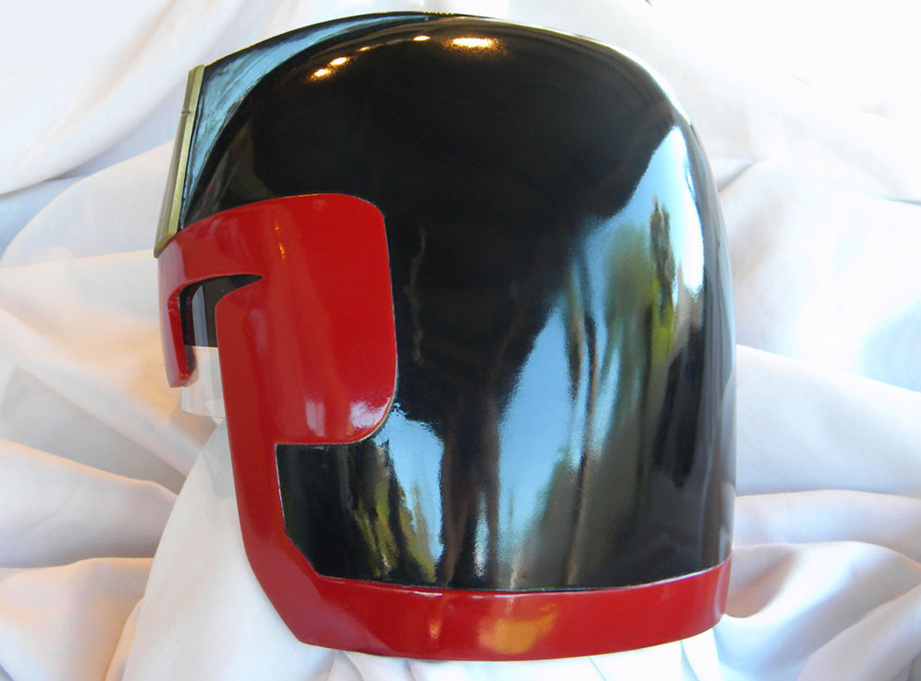
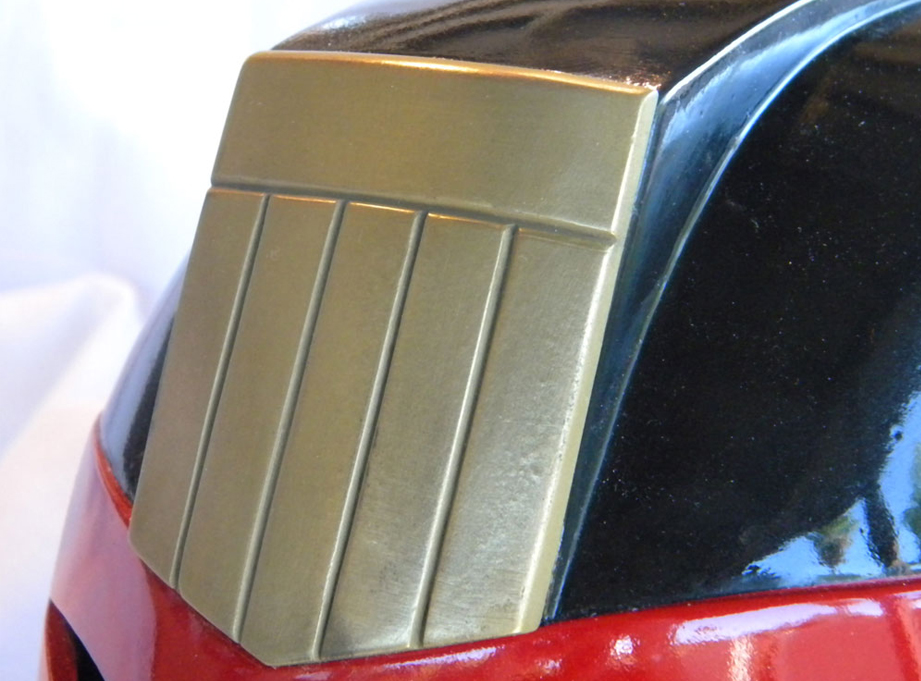
Judge Dredd's helmet
march 2014
Judge Dredd is a character in British comic books published by Rebellion Developments, as well as in a number of movie and video game adaptations. Dredd is a law enforcement and judicial officer in the dystopian future city of Mega-City One, which covers most of the east coast of in North America. He is a "street judge", empowered to summarily arrest, convict, sentence, and execute criminals.
After building a kit of the Dredd 2012 Judge’s helmet, I started thinking back to that original helmet. I modeled the lid in 3D, and ran it through Pepakura to make a paper model.
I tried to be clever by printing out one side, placing an extra sheet under the print and cutting both sides out at the same time.
The result turned a little hinky since the left side didn’t have any guides. I would pay for being lazy!
I proceeded to slush Smooth-Cast 300 resin into the paper model, eventually building up a thick wall.
After sanding off the folds of the paper, I added Bondo to smooth out the contours. Because of my lousy paper model build, I had to do a lot of corrections to the geometry of the helmet.
Another dumb decision was to build a raised border into the model. This detail would be easier to add later with Bondo, especially since I wanted to keep it very shallow.
The nose pieces turned out asymmetrical so I cut them off and realigned them in the proper angle and position.
Steel pins kept them in place while the glue set.
I heat formed a piece of Sintra to become the center shield.
I cut some channels into the Sintra and smoothed out the finish with gloss paint.
The final helmet with black primer. It’s kind of an interesting look…
I put it on my plaster head and inserted a piece of poster board for a stand-in visor.
I used MoldMax Stroke to build up a thick silicone mold. This was eventually covered with a Plasti-Paste II mother mold.
The shield was molded separately so I could cold cast it.
I rotocast the helmet with SmoothCast 300. The shield was cold cast with 300 and brass powder.
I had some leftover .06 PETG plastic from my Toy Story Robot build, so I heated it up in the toaster oven and draped it over a plastic bucket to form the visor.
I painted the helmet with a flat black spray paint and then masked it to paint the red border. Once that dried, I wet sanded the finish and then gave it an enamel clear coat.
The visor was positioned and then held in place with a clamp. I then ran a bead of hot glue along the inside of the visor.
I picked up some limo window tint from the auto parts store and ran a strip across the inside top of the visor.
The comic version of the helmet is much smaller than the new movie version so there wasn’t much room for padding. I opted to line the inside with black felt.
So the helmet is held in place when worn, I made some pads from 1/4” upholstery foam and black headline material. These were placed above the visor at both temples.
The final helmet worn by me. My 16-year-old self can now rest easy.
We gots our helmet, buddy!
Front view.
3/4 view.
Side view.
Detail of the polished shield.