COMBAT CARL
FEBRUARY 2020
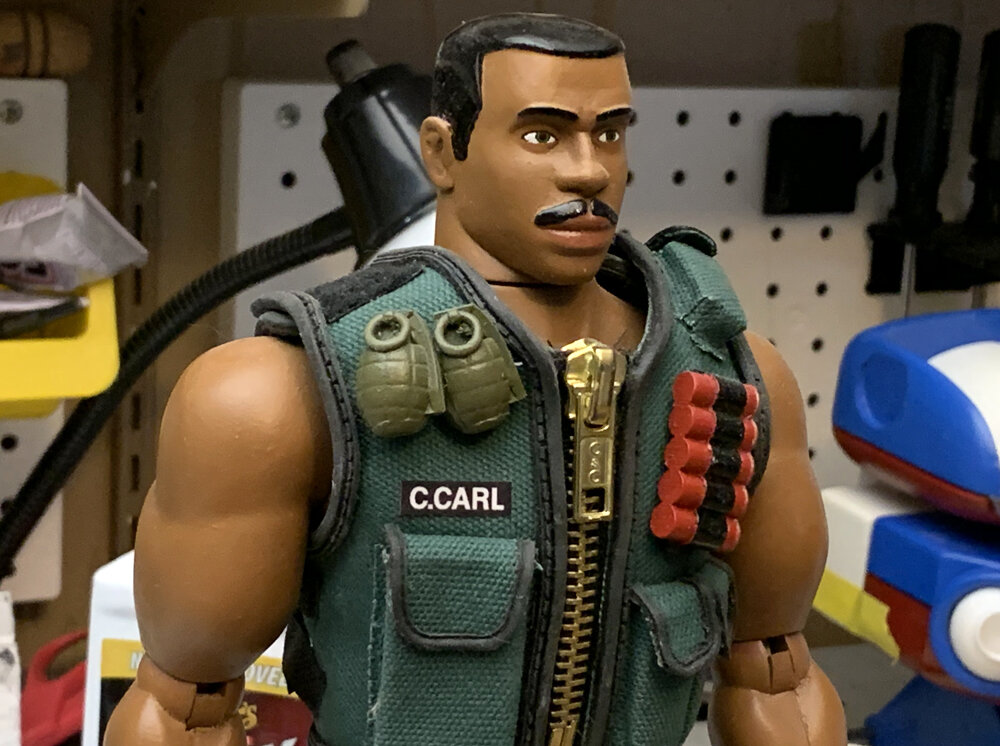
A G.I. Joe-esque action figure from the Toy Story Halloween Special “Toy Story of Terror” voiced by Carl Weathers (looks like him, too!).
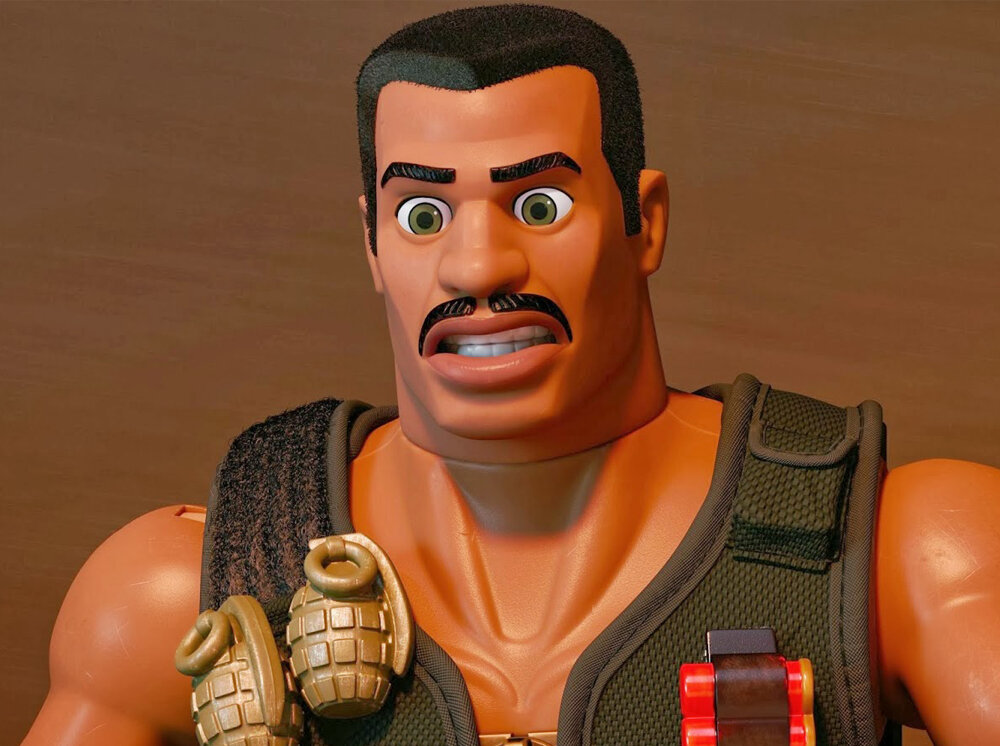
As a collector of action figures, I knew I had to make Carl. I could make the plastic parts but the uniform would be a different issue. More on that later.
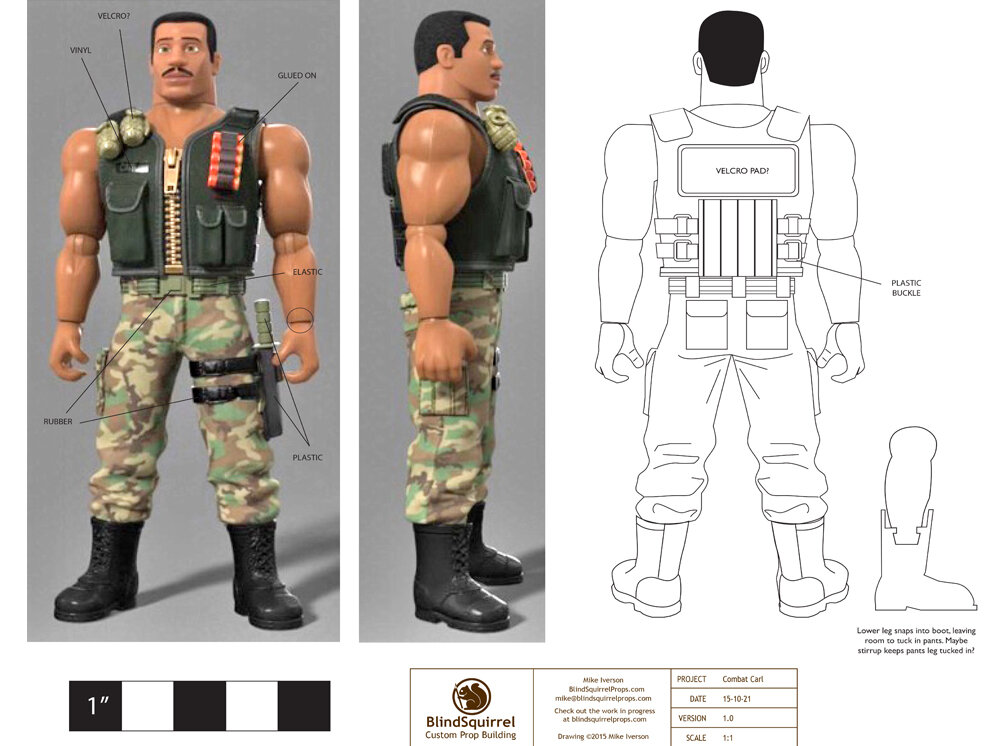
The special features of the Bluray had nice detailed images of Carl so I could draw up plans for the build.
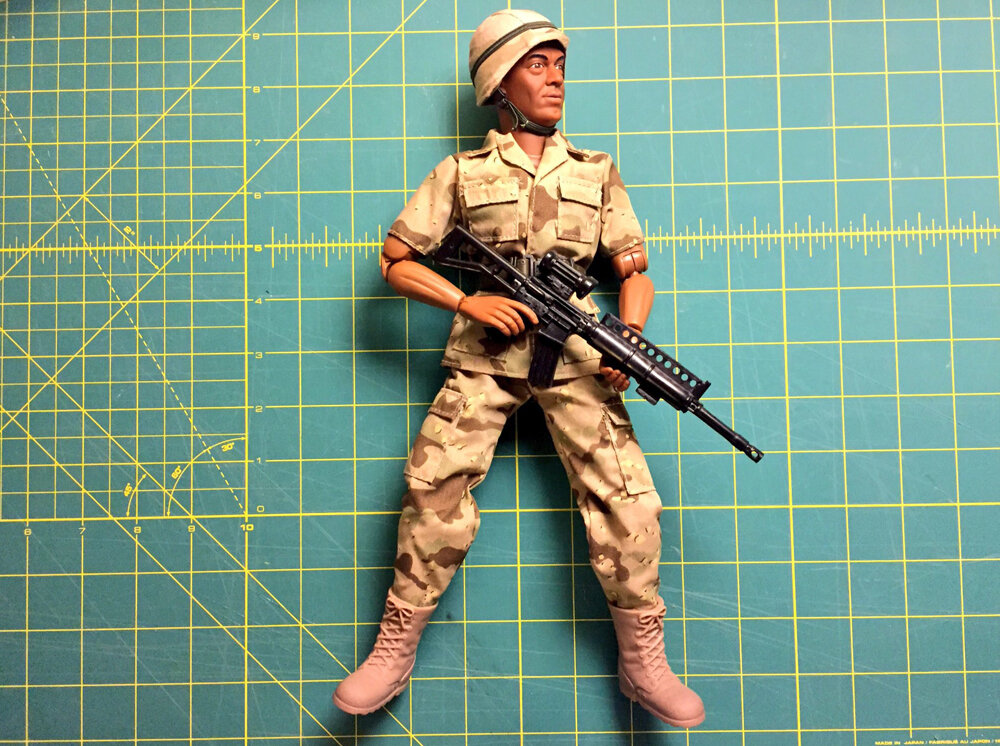
I bought a 12” soldier to see how they made the joints.
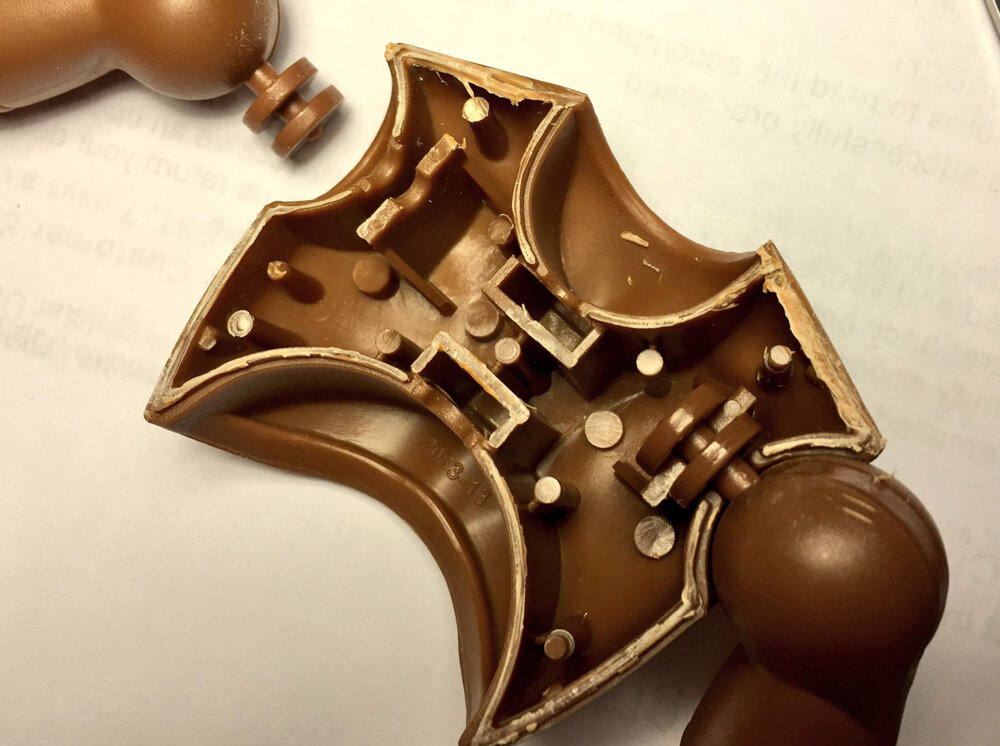
The sample toy utilized a joint pin that allows the limb to rotate and pivot.
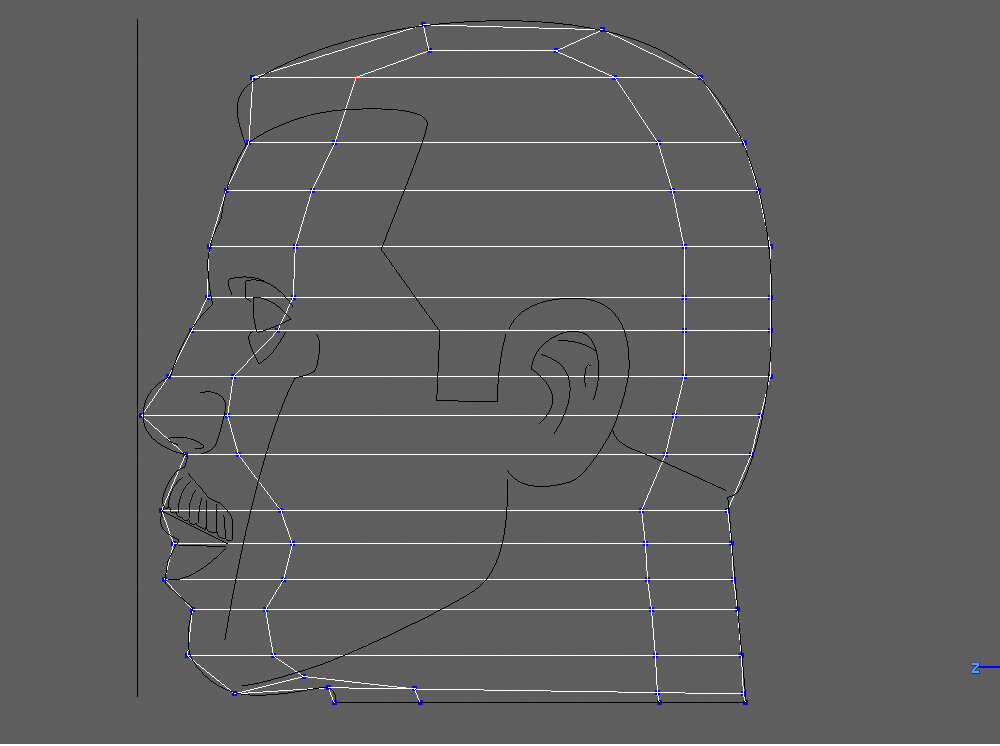
Now that I had a plan of attack, I pulled my plans into Strata 3D to use as a template for sculpting.
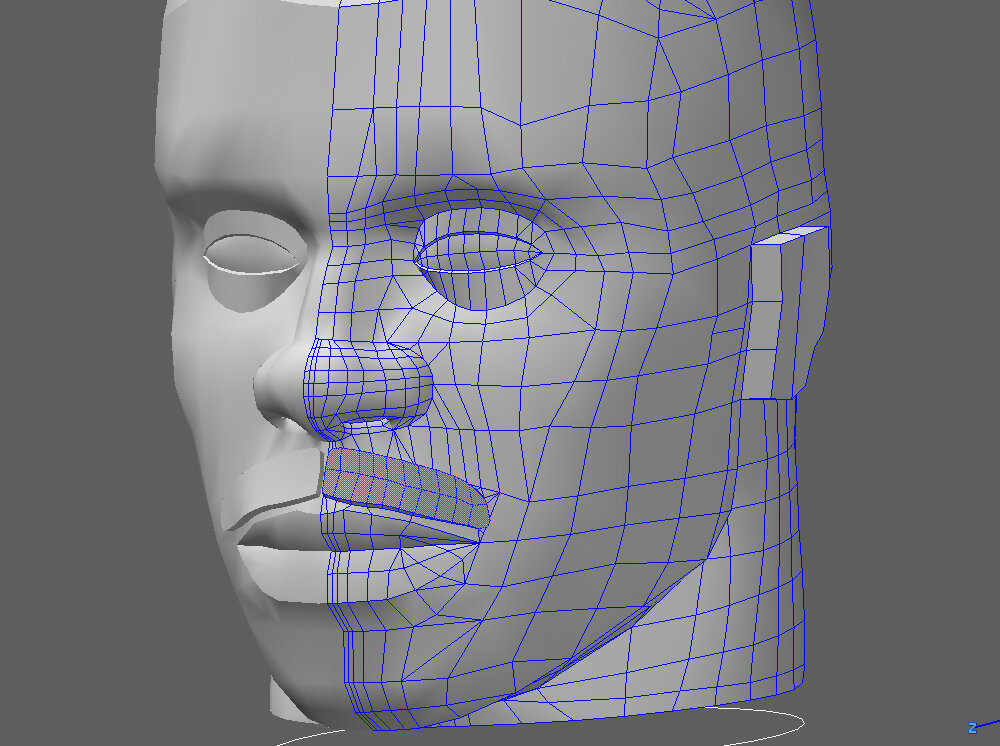
I sculpted one side of Carl’s head and “mirrored” the geometry.
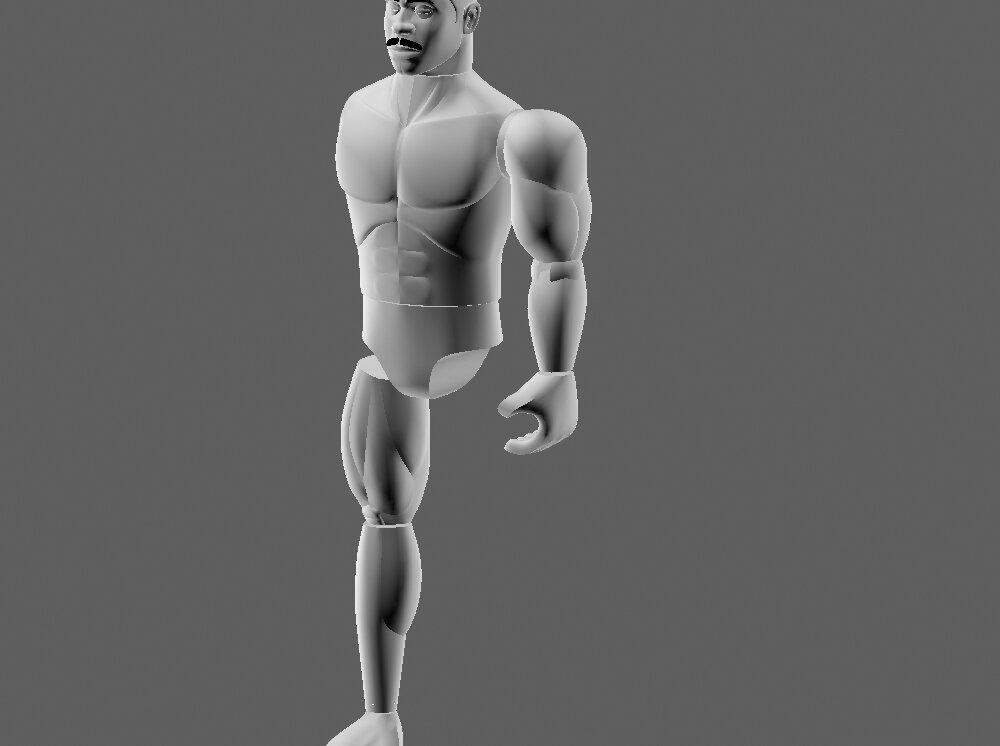
All the main body parts sculpted. Once finalized, I flipped the geometry for the other side.
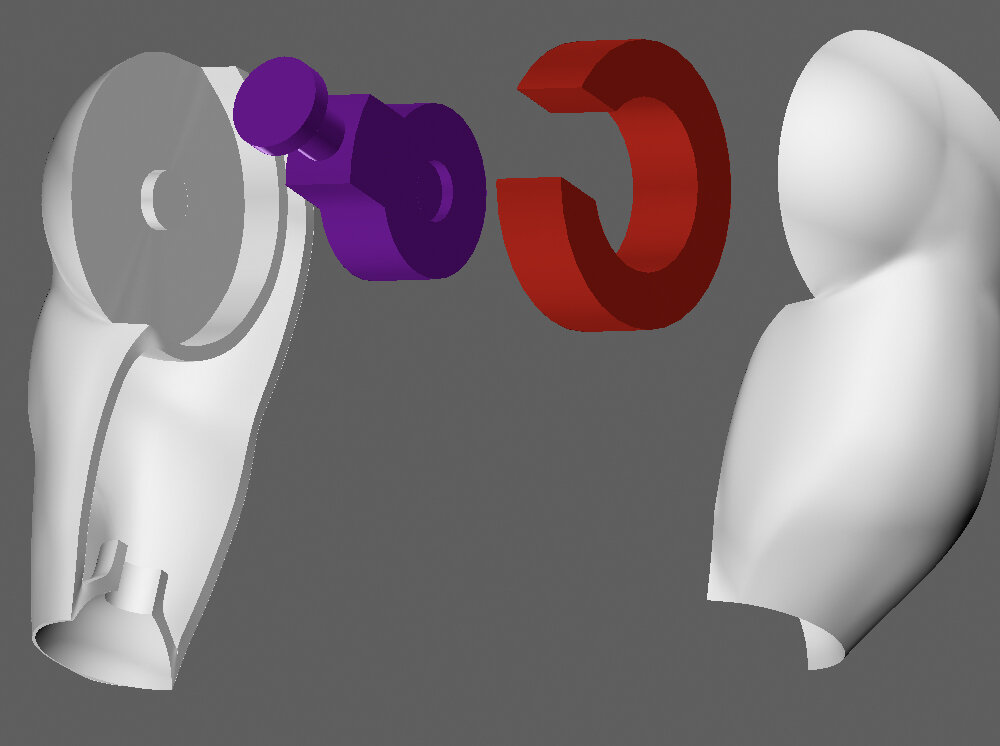
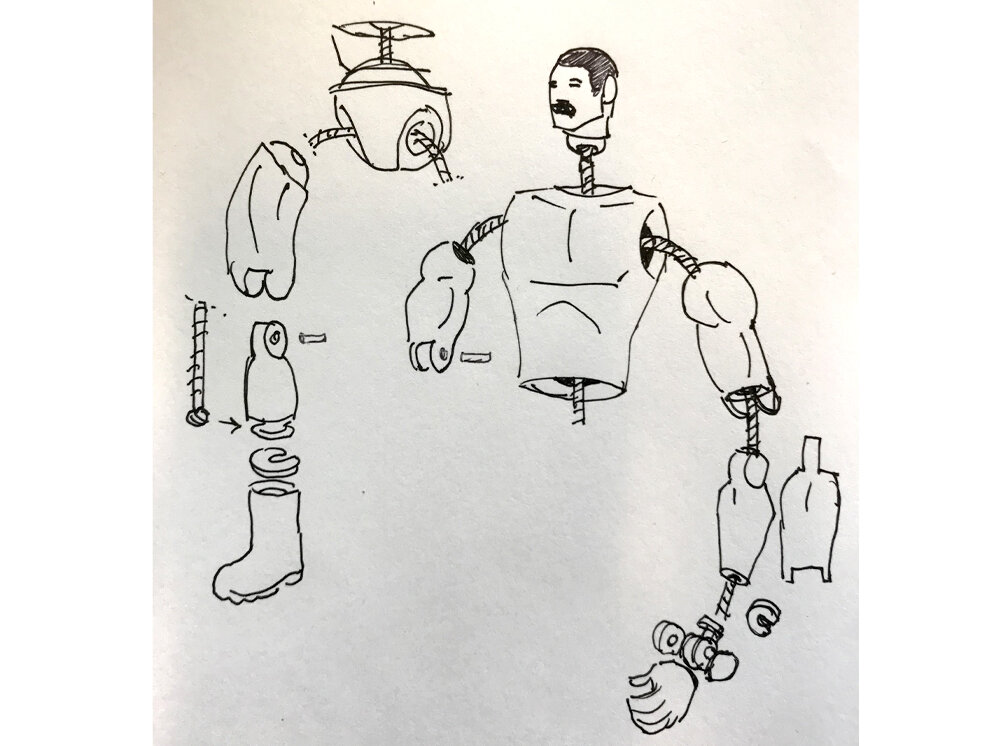
The joints (as learned from the sample toy) are discs for the joint to bend and post that allows the limb to pivot. I planned to print the pins at Shapeways for added strength, so I added a collar that would be cast in the same color as the rest of Carl’s skin.
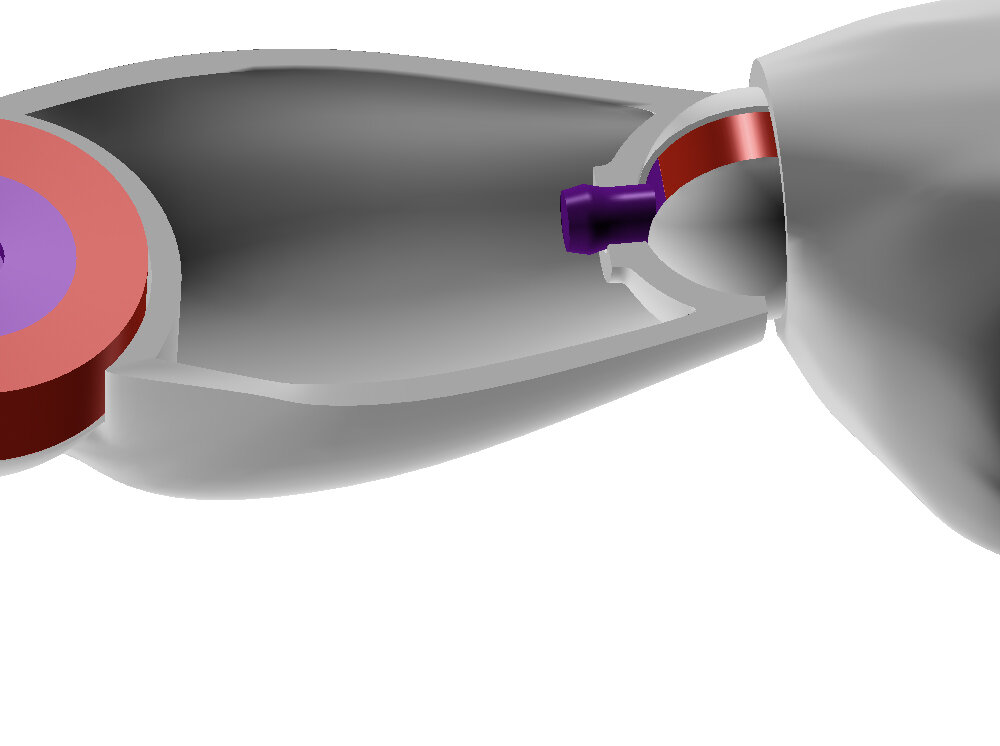
The wrist also needed semi-spheres to help cover the joint hardware.
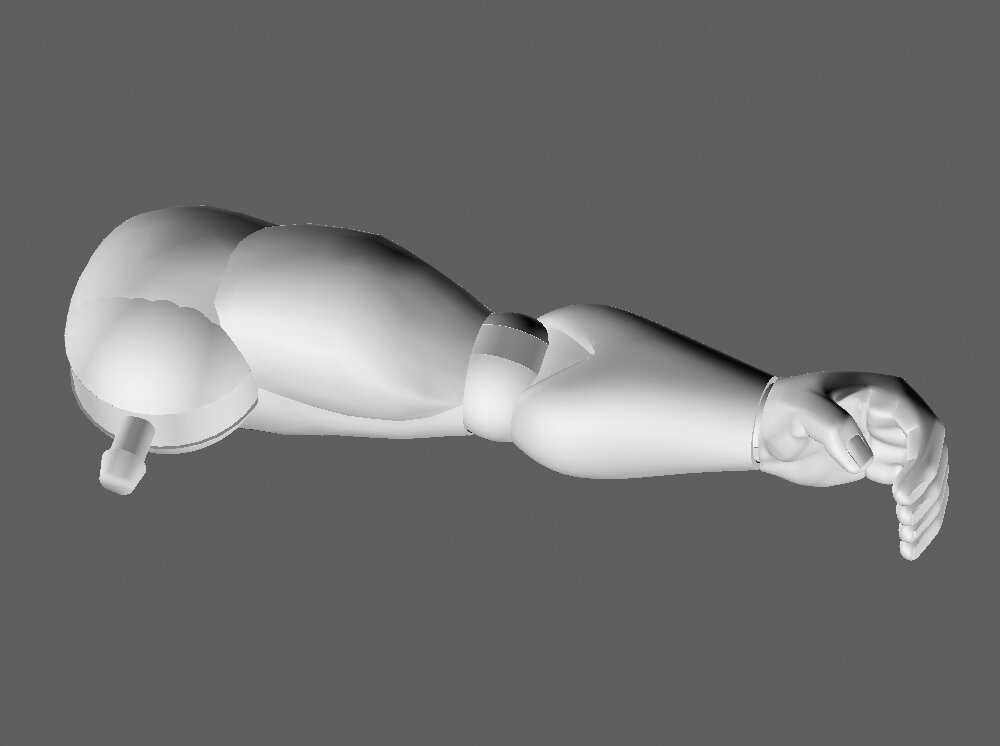
Arm with joint hardware inserted.
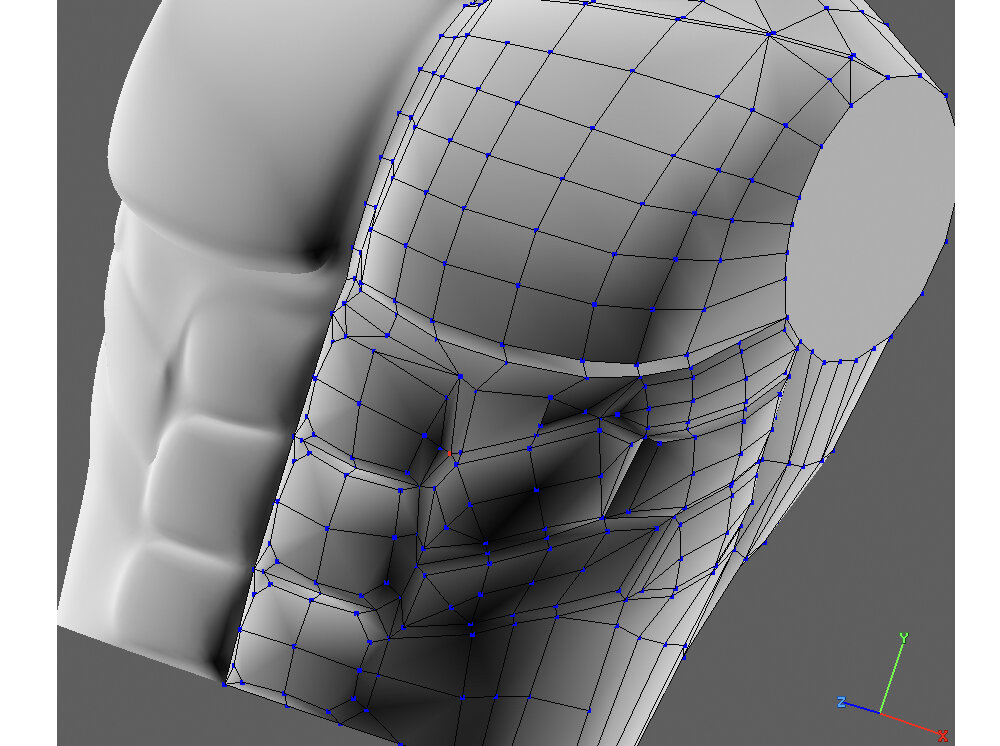
I experimented with giving Carl more realistic torso muscles, but since Carl is an 80’s toy, I went with the stylized G.I. Joe musculature.
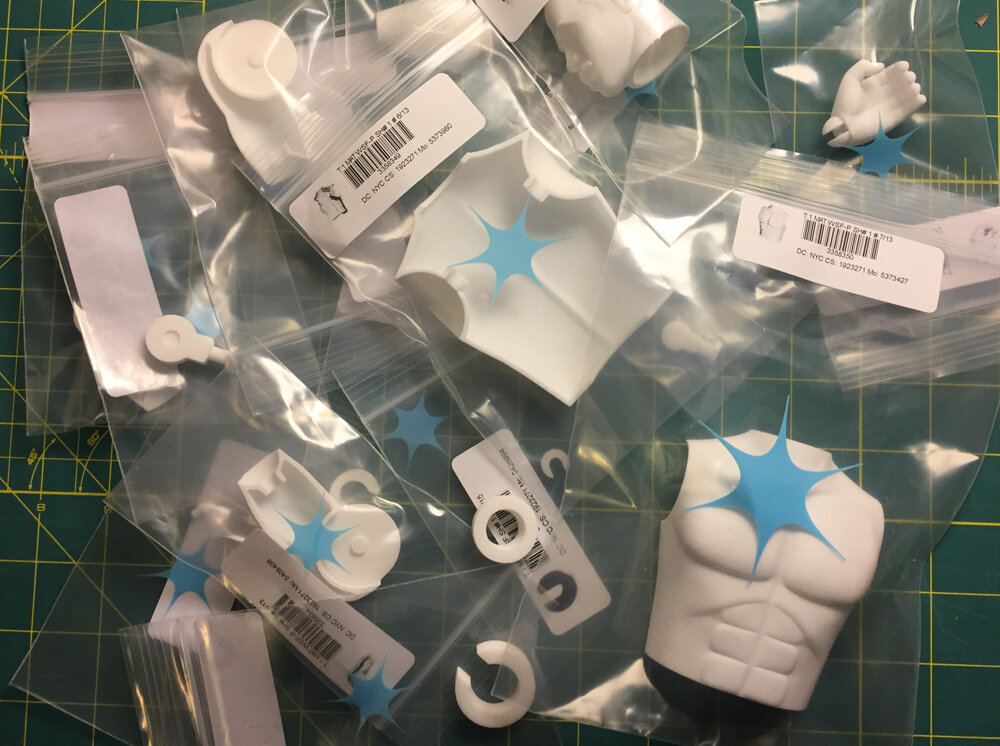
Masters for each part back from Shapeways.
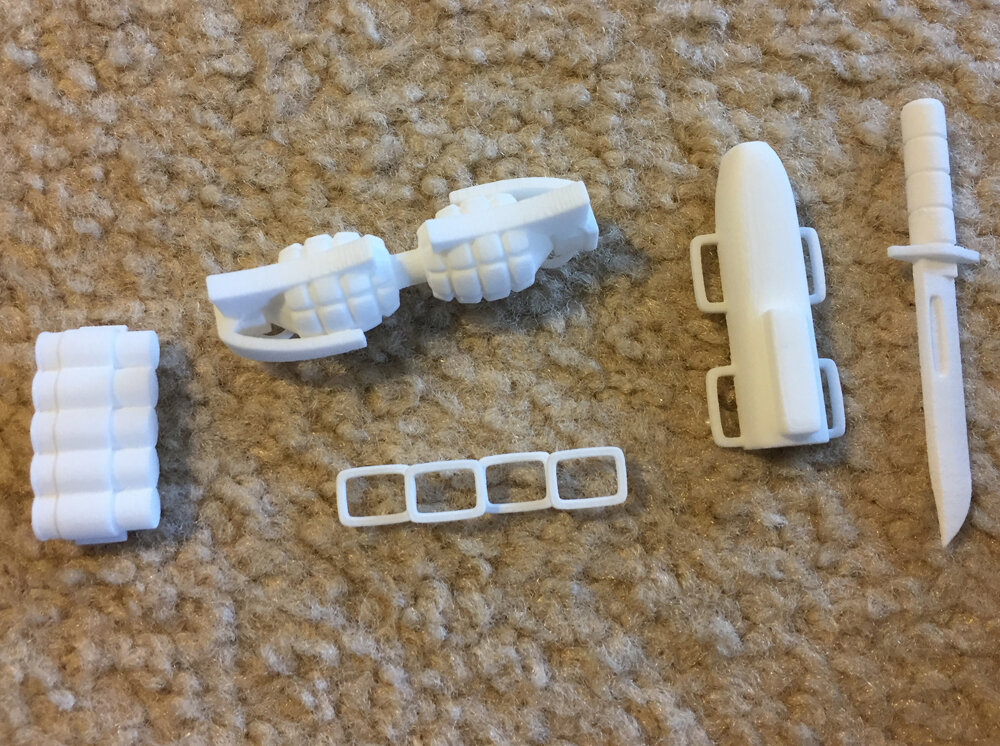
Masters for all Carl’s equipment.
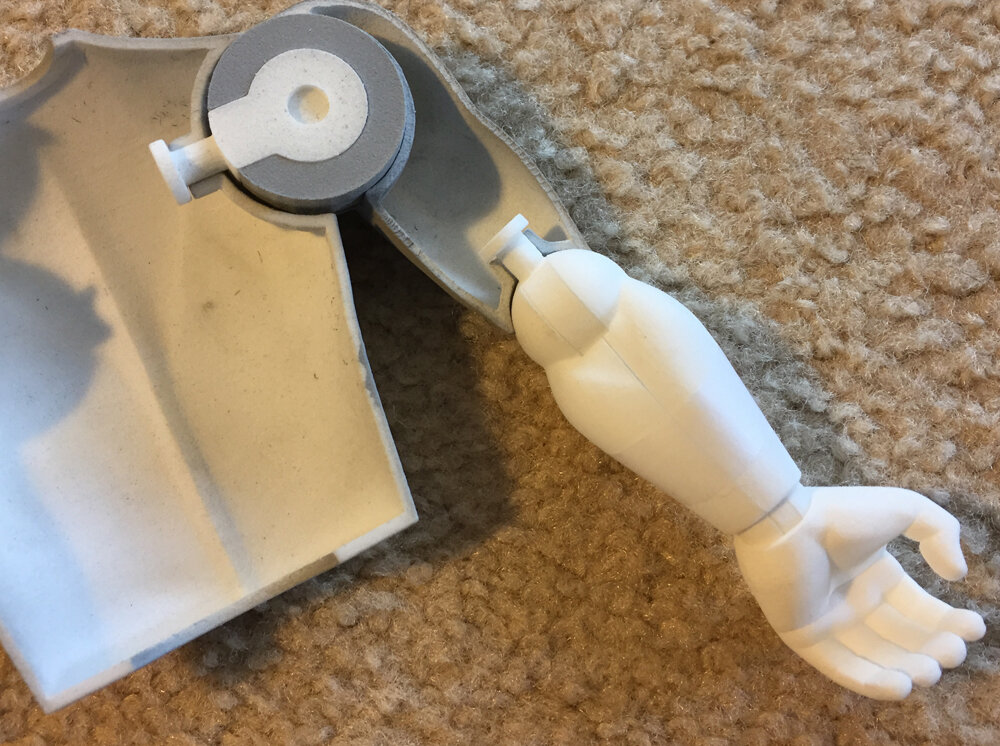
Test assembly of one arm.
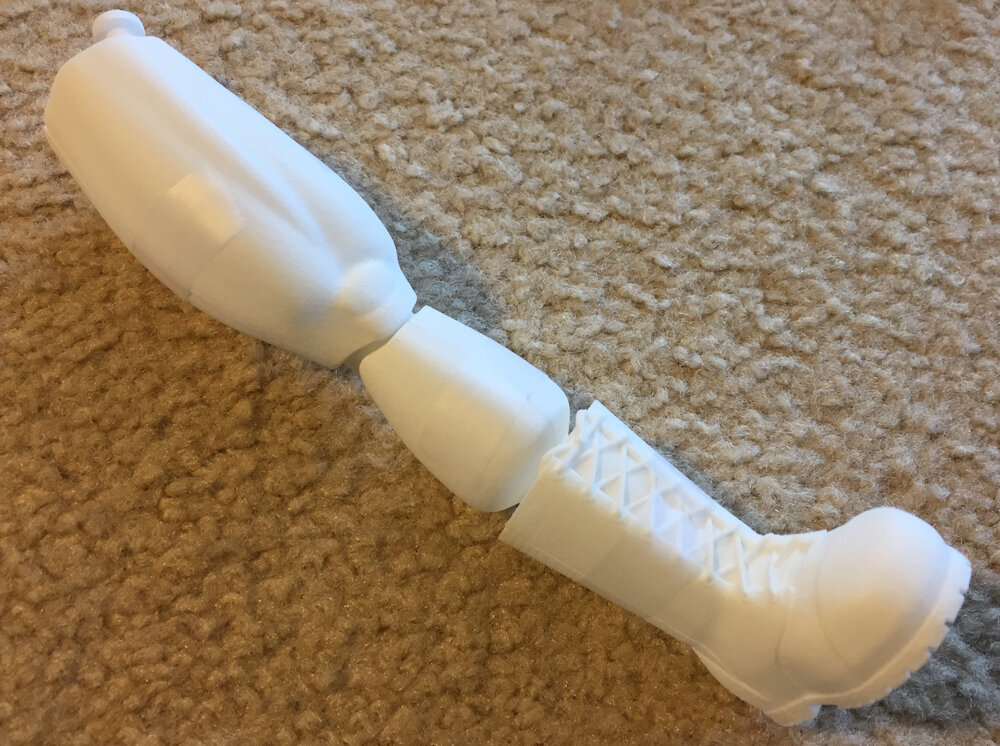
Test assembly for one leg. There is a space above the boot for the pants leg to “tuck in”.
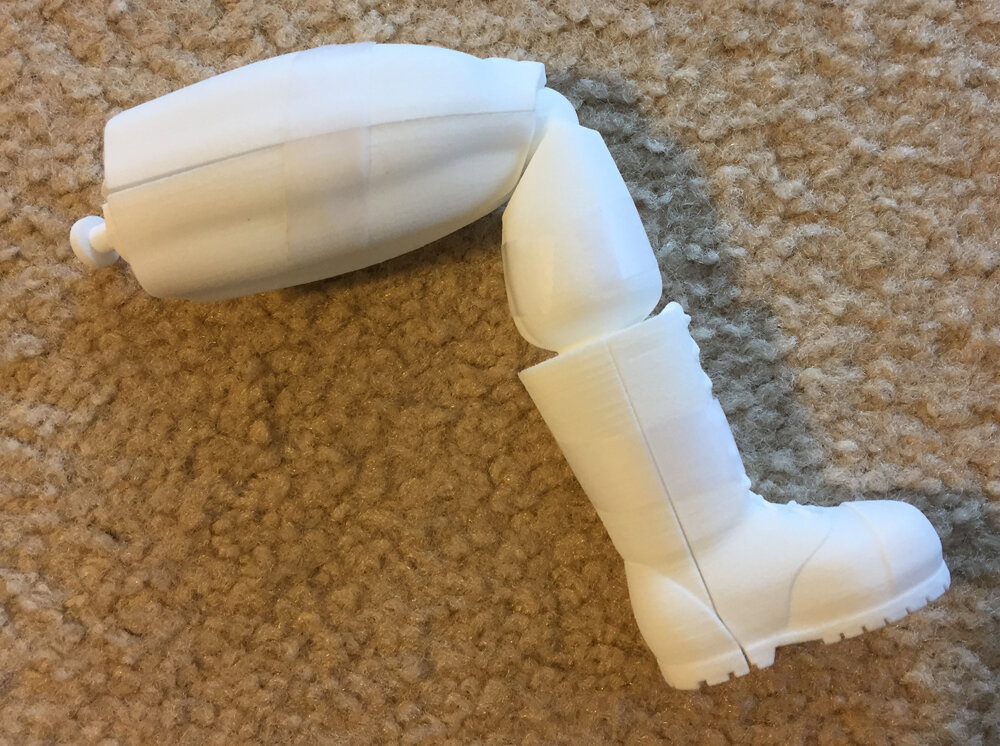
Showing the range of motion. The boot will also rotate on the shin.
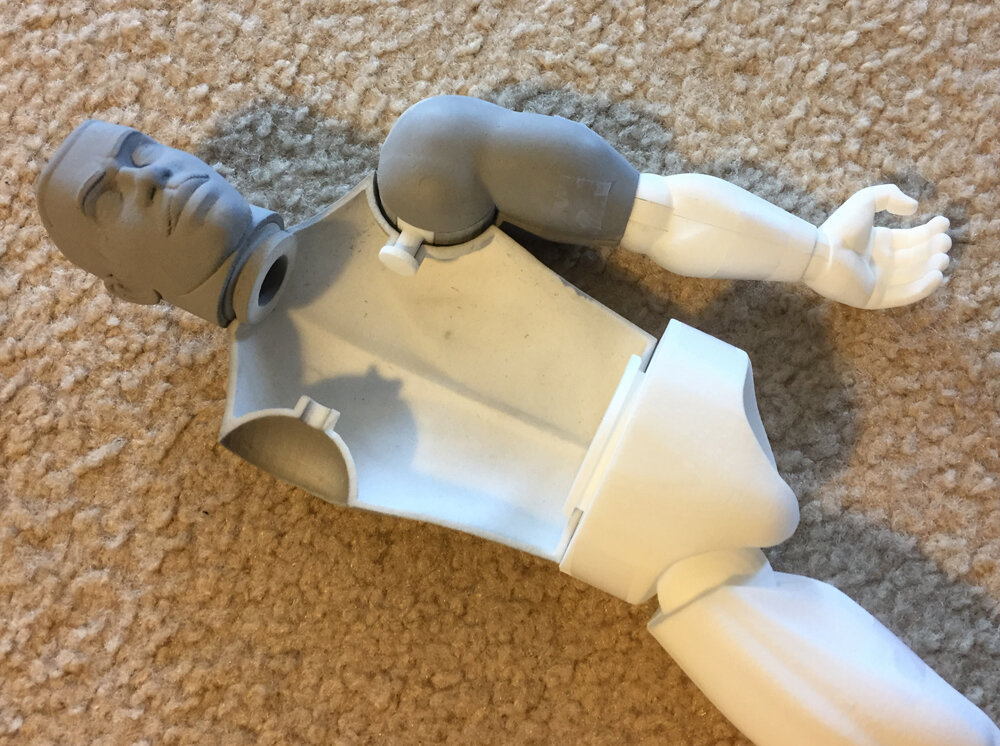
Test fit of the head, torso and pelvis.
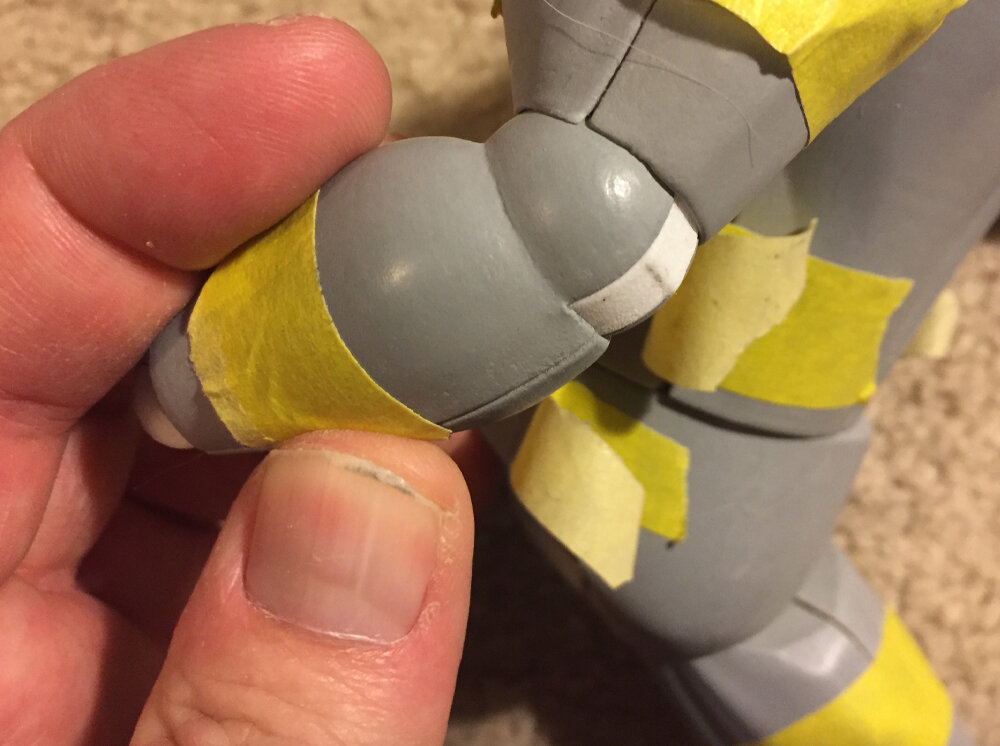
The elbow joint has a small protuberance that prevents the arm from hyperextending.
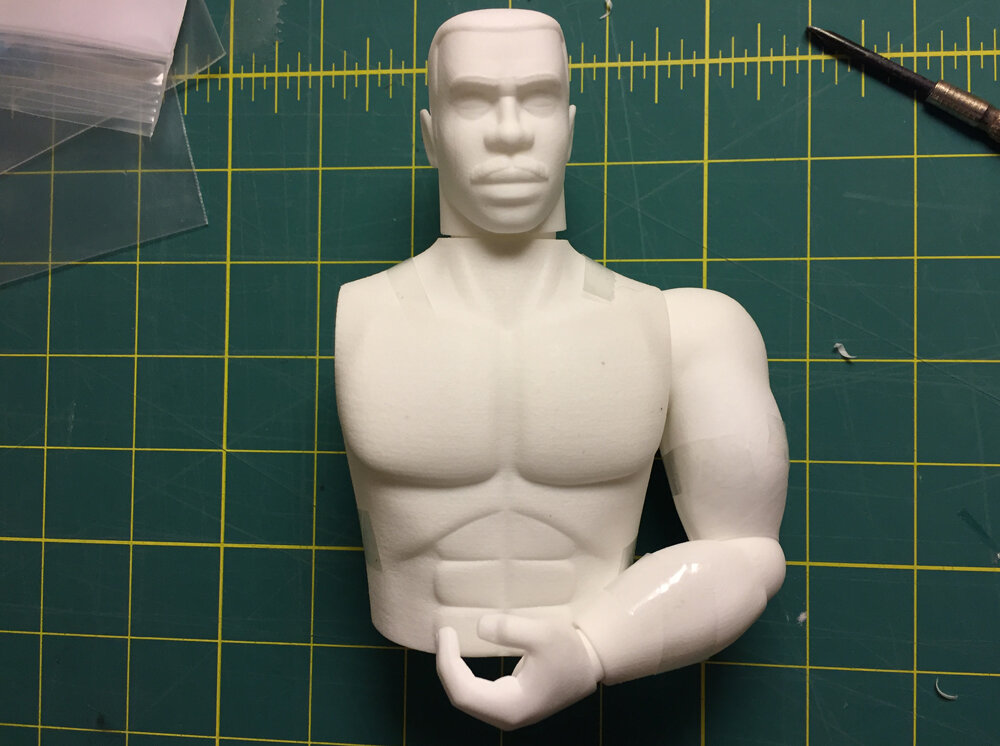
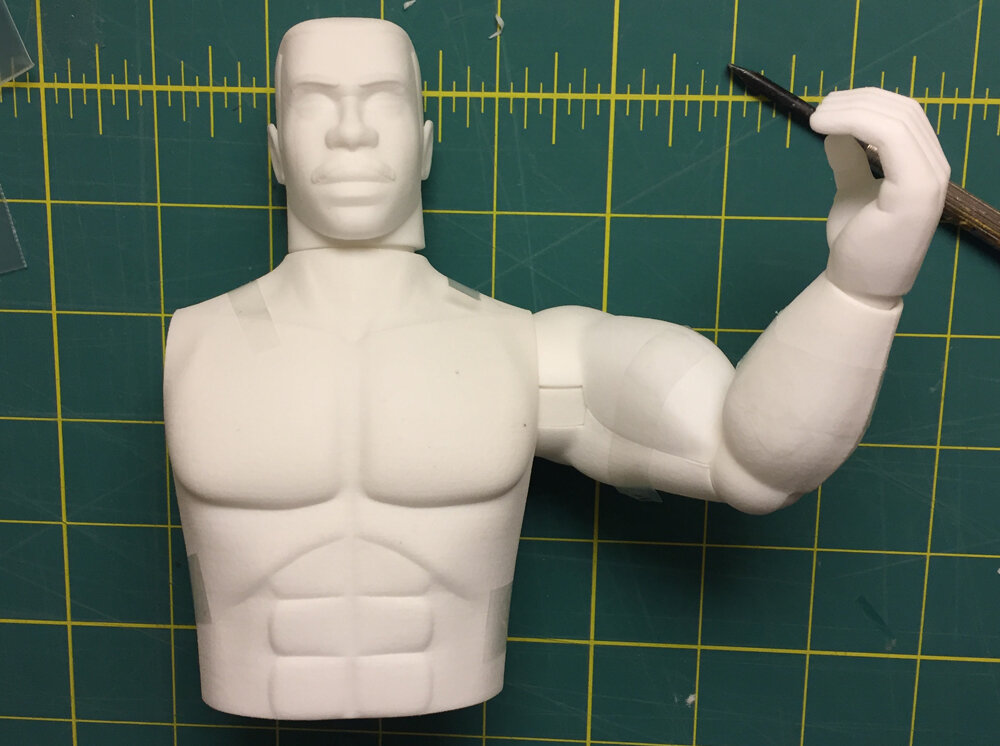
Range of motion test for the arm.
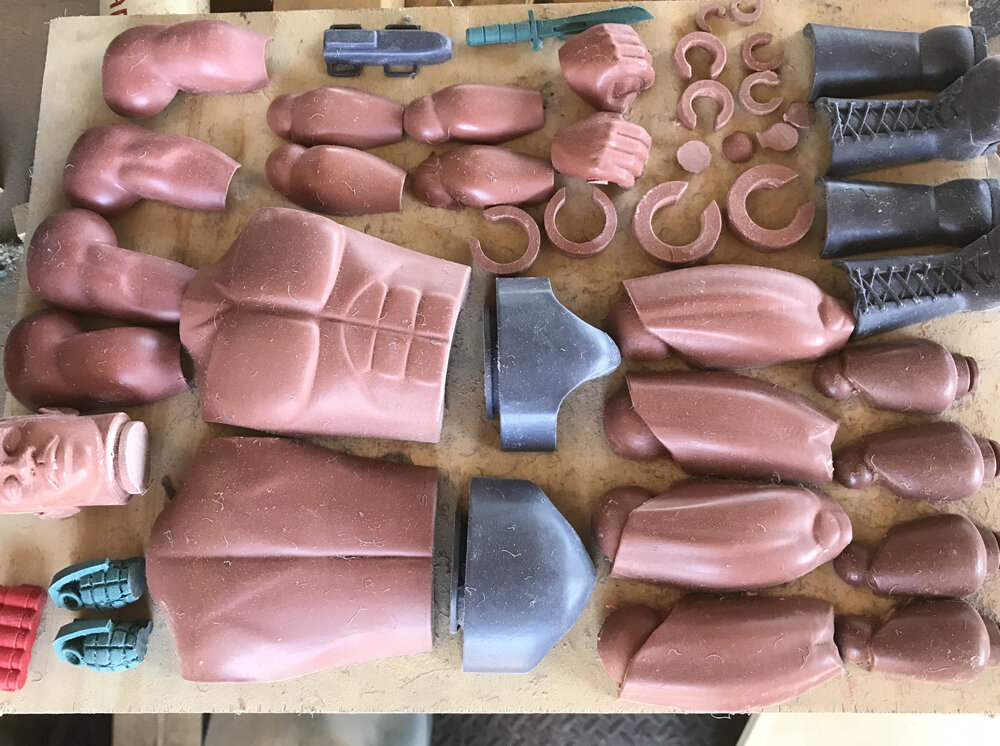
After molding the masters, I cast up a bunch of Carl parts. I had 5 initial Carl clients.
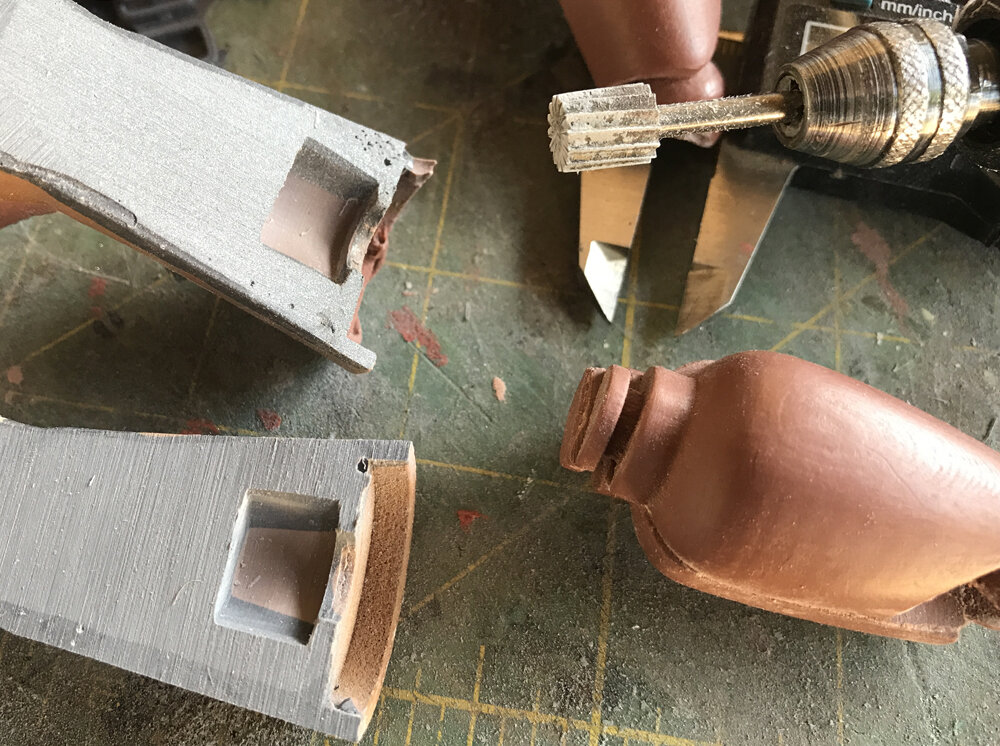
I used a Dremel bit to carve out a space for the shin joint.
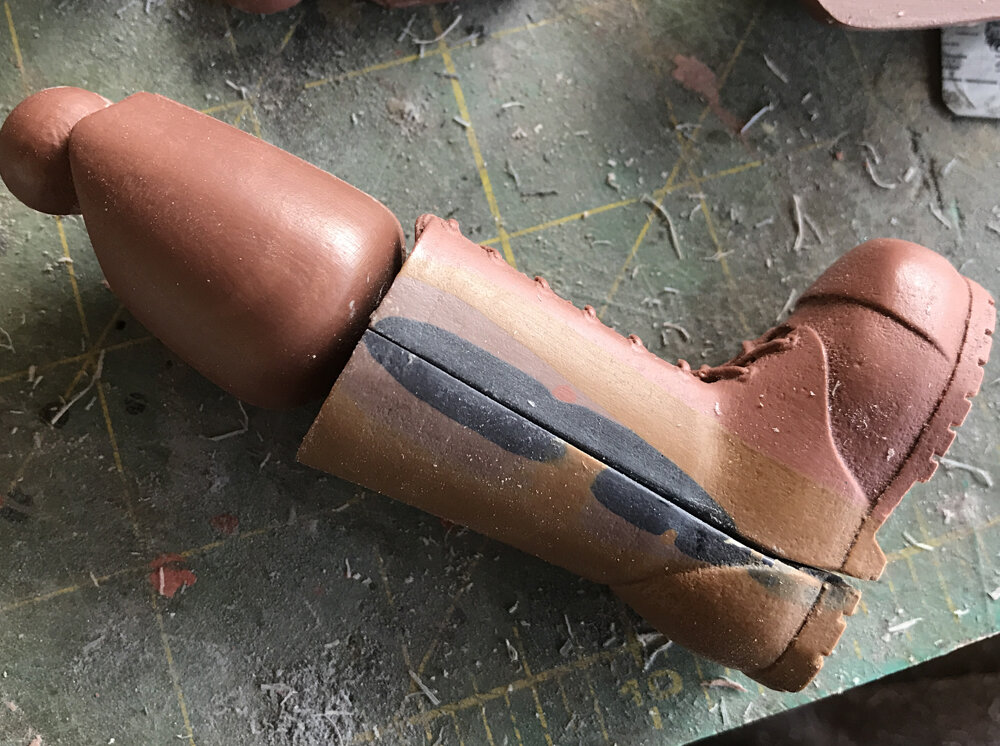
Test fit of the boot. I curved in the base of the shin so that the pants would look tucked in.
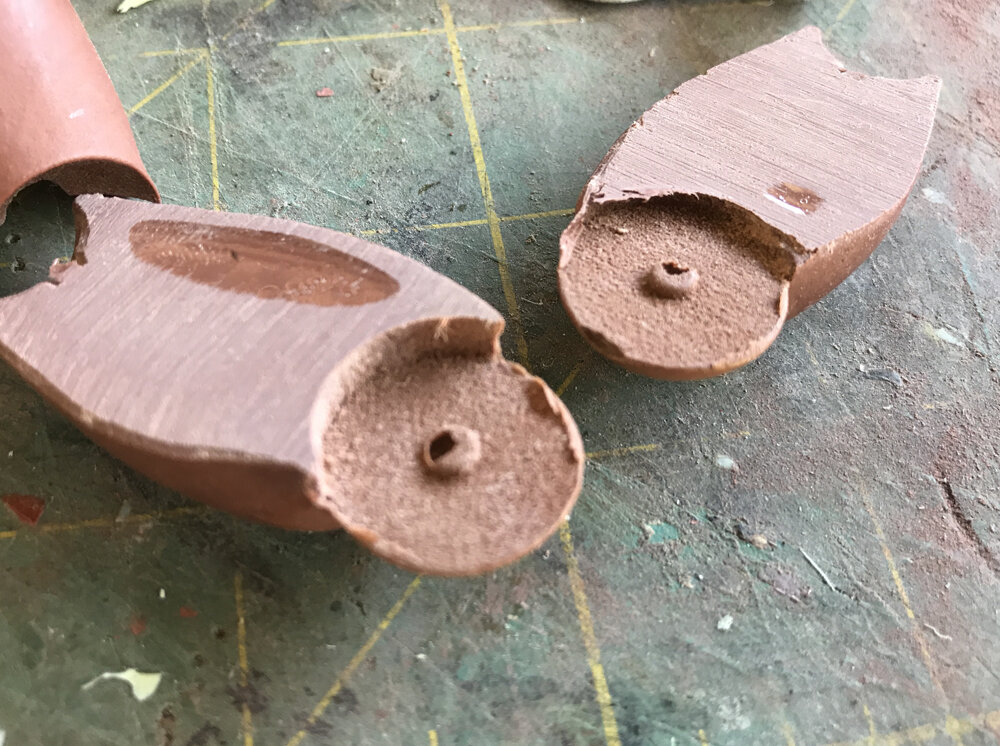
A big flaw with my plans was that it was extremely difficult to get the joint tabs to cast properly.
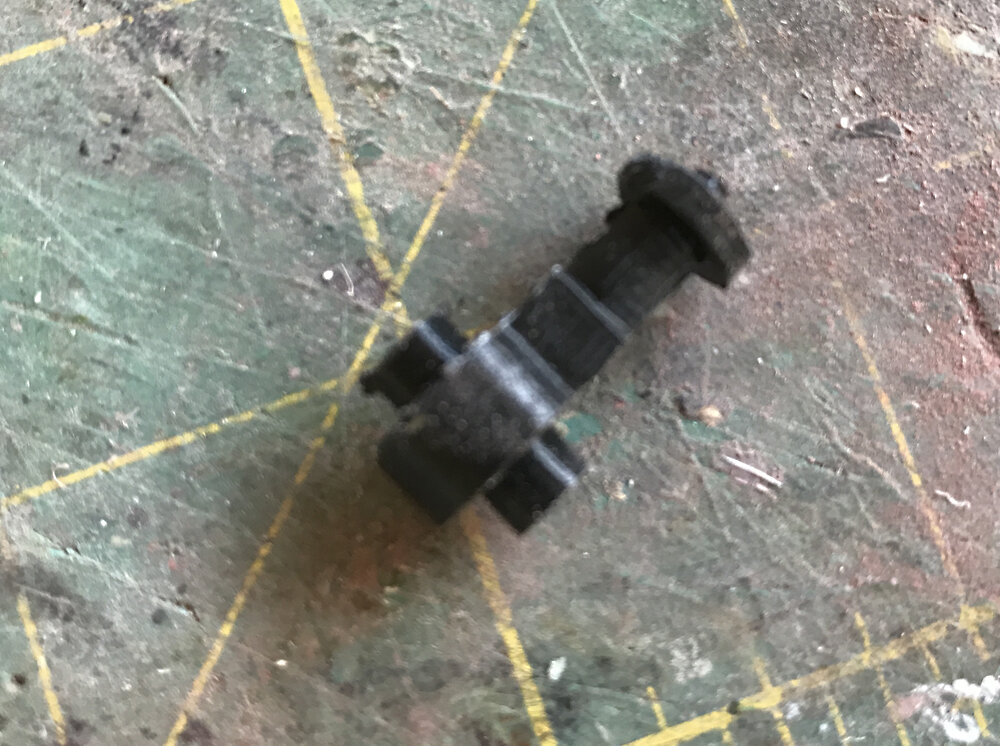
This led me to change the joint pin that Shapeways would print to include the tabs. I would drill out a hole in each side of the cast part.
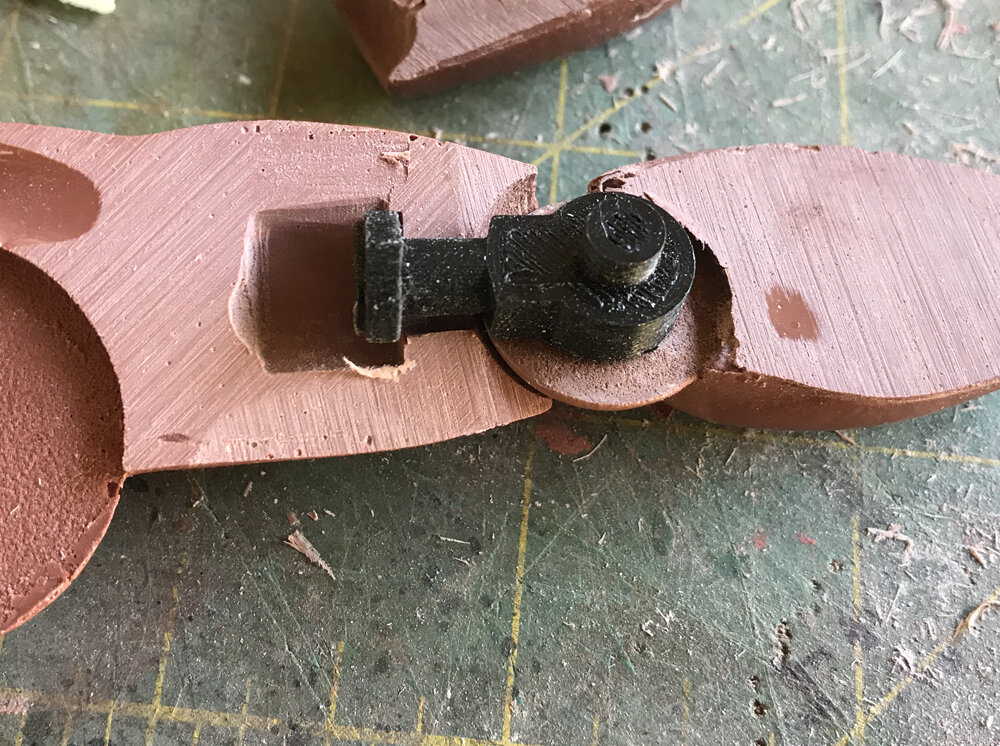
New pin in place.
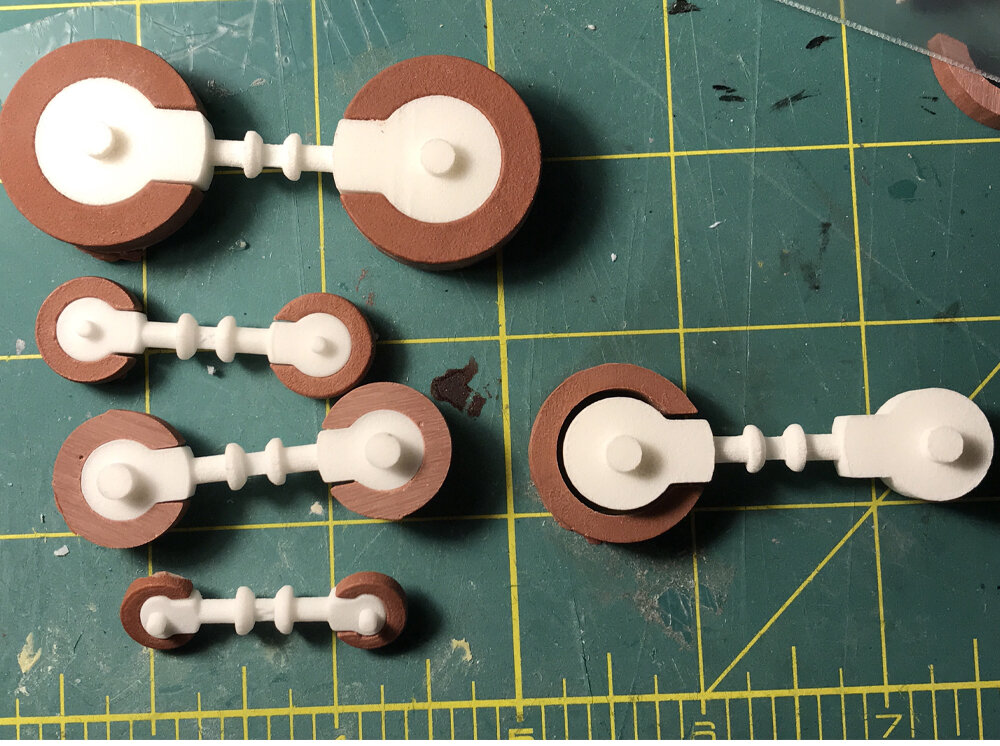
New pins with resin collars.
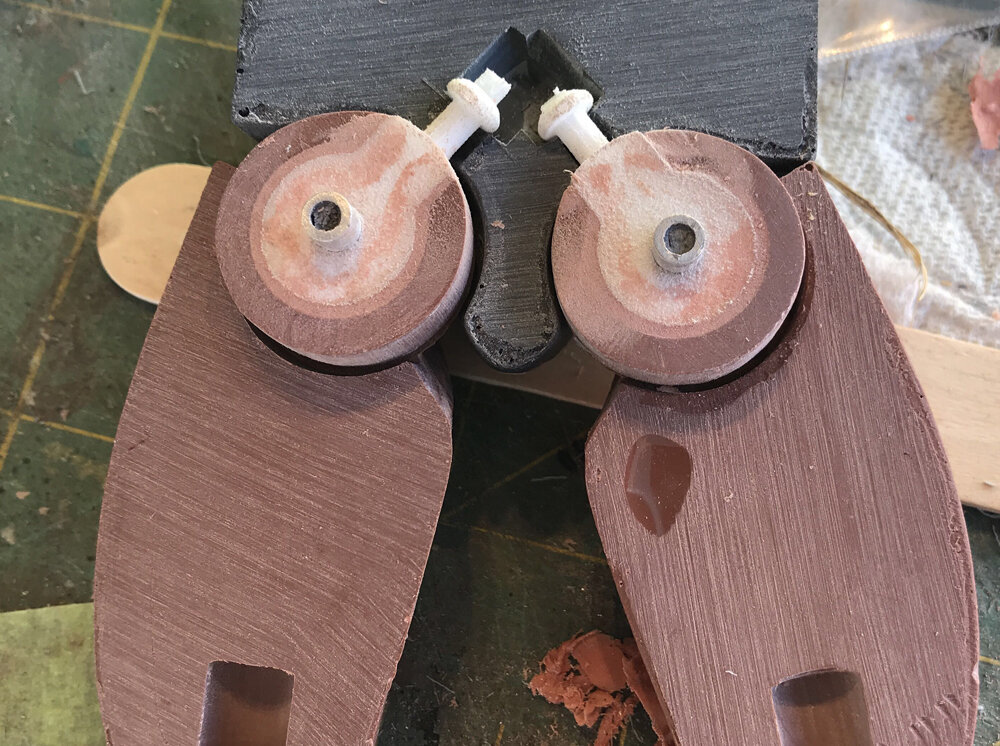
Hip pins in place.
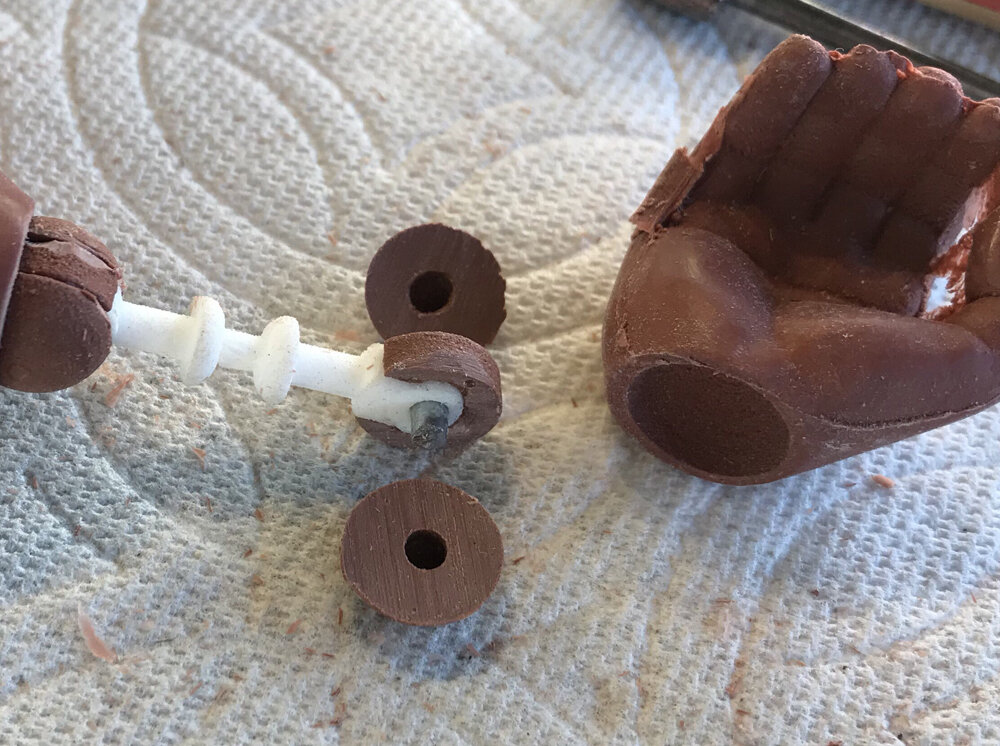
Wrist joint pin with corresponding cover domes. Not sure why I replaced the pin with a metal one…
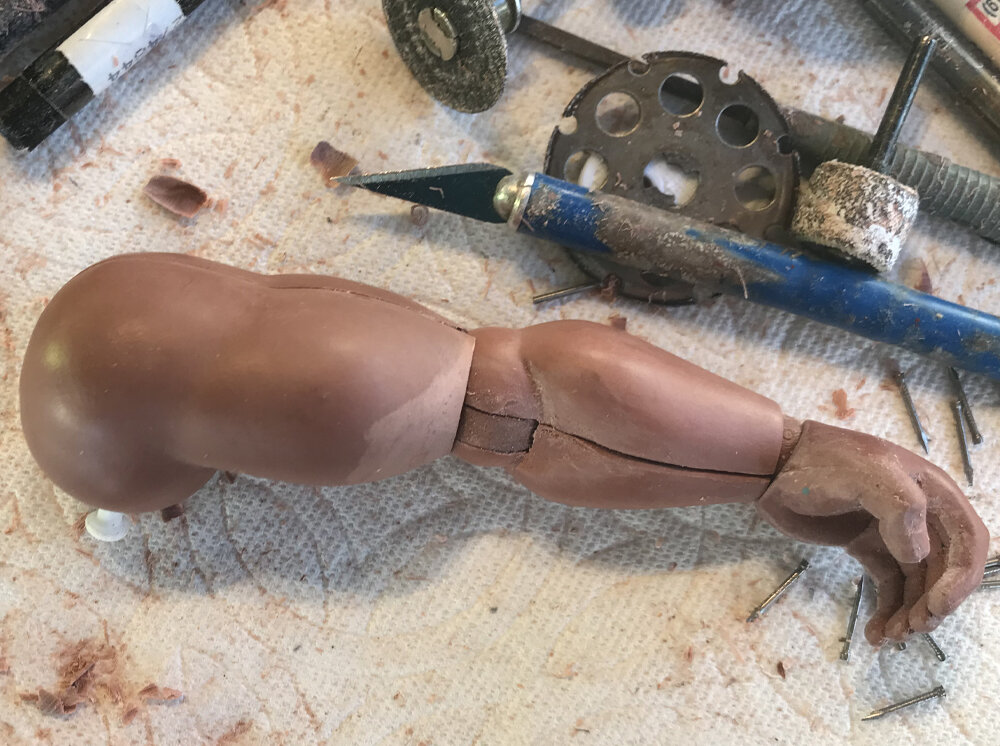
Assembled arm.
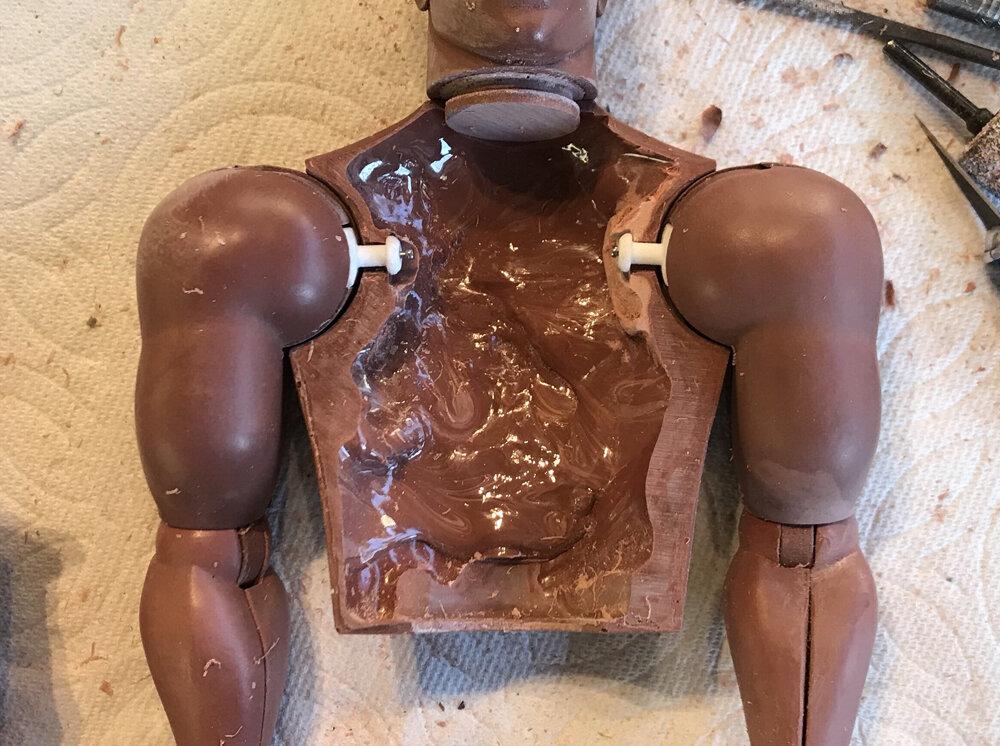
Both arms in place.
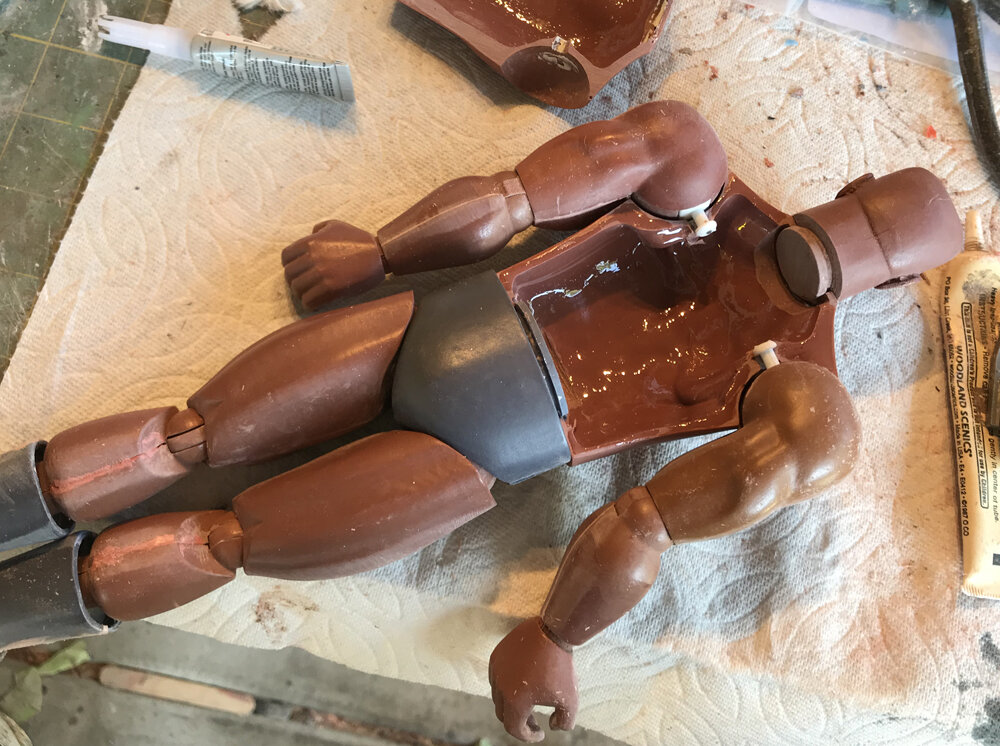
All parts in place so the last step is to seal the chest.
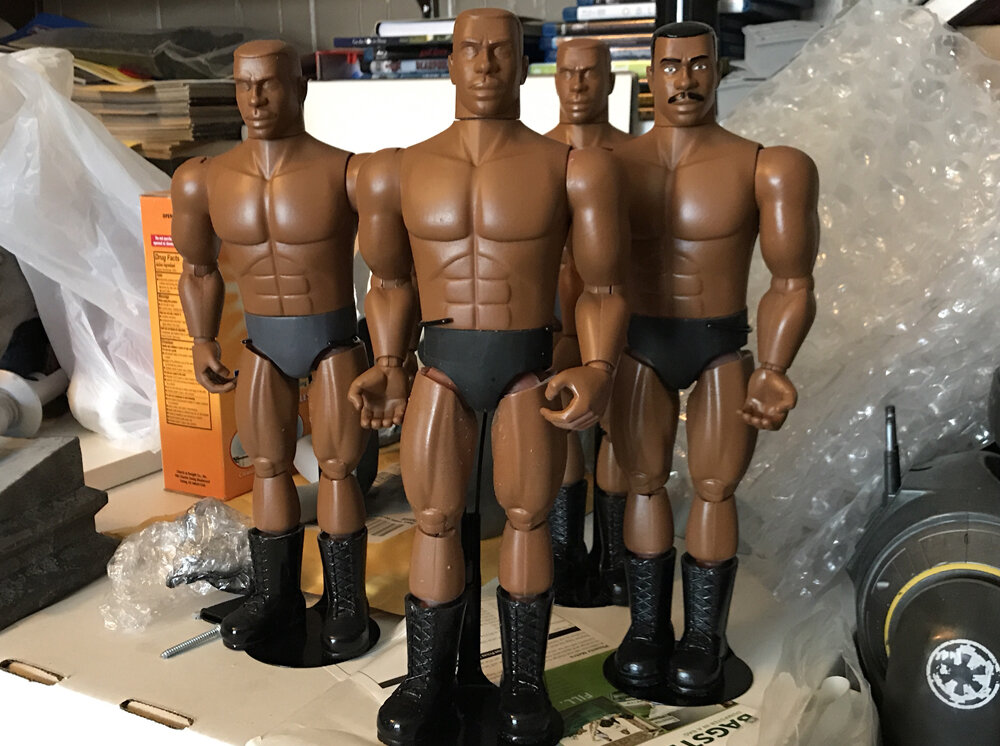
Combat Carl, Karl, Carlos, Carton and C-Dawg.
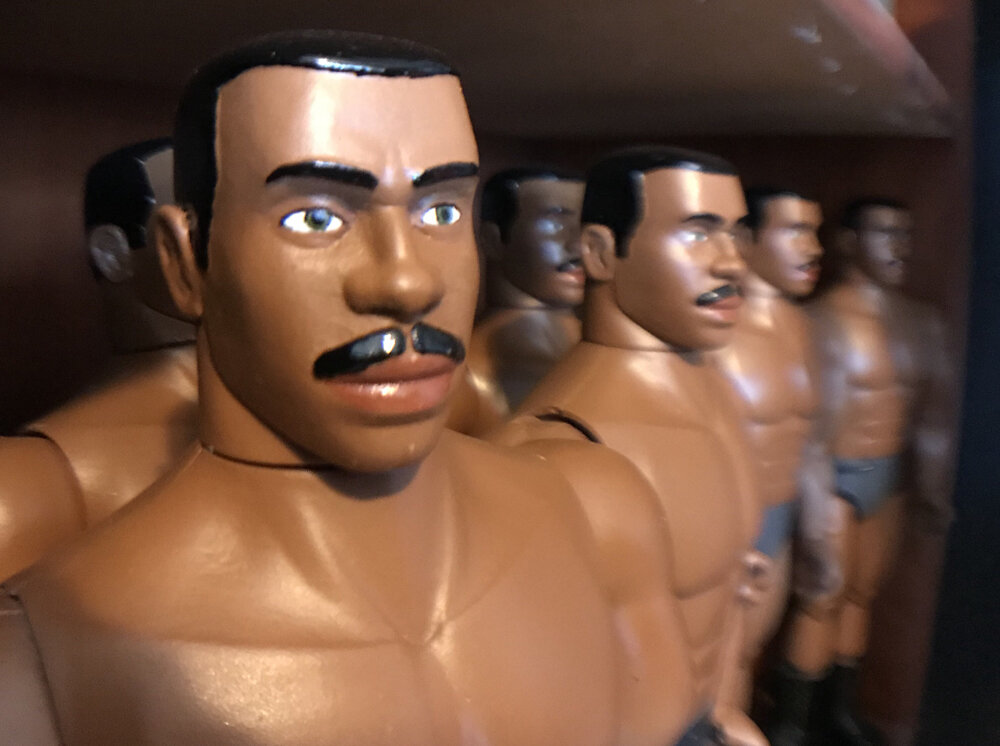
Detail shot of a painted head.
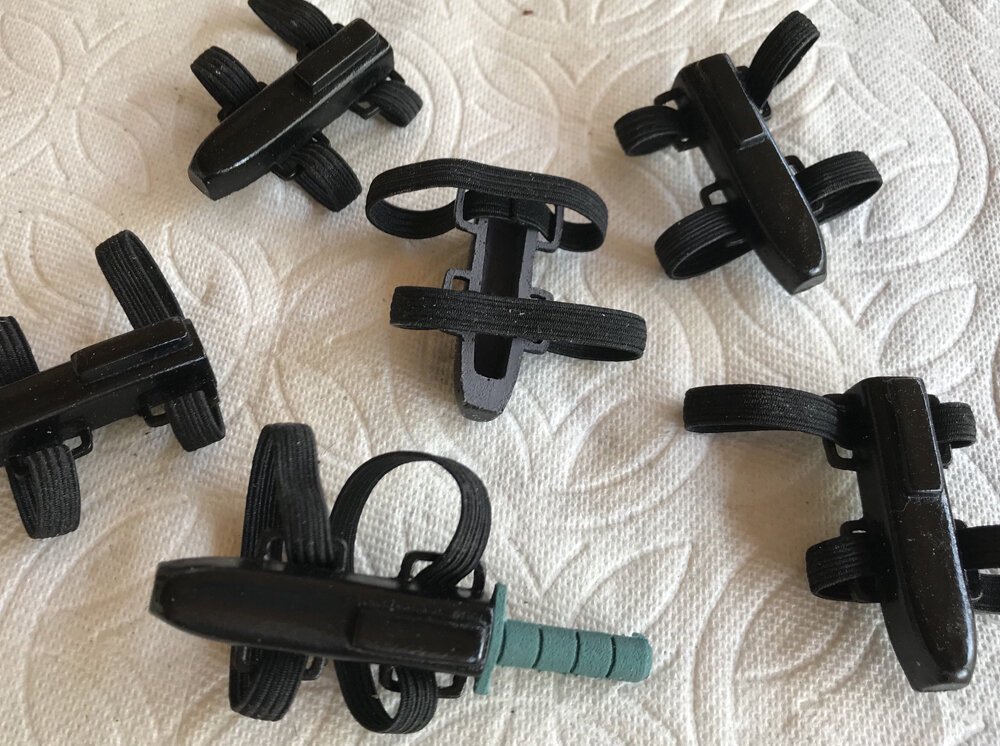
I added elastic straps to all the knife sheaths.
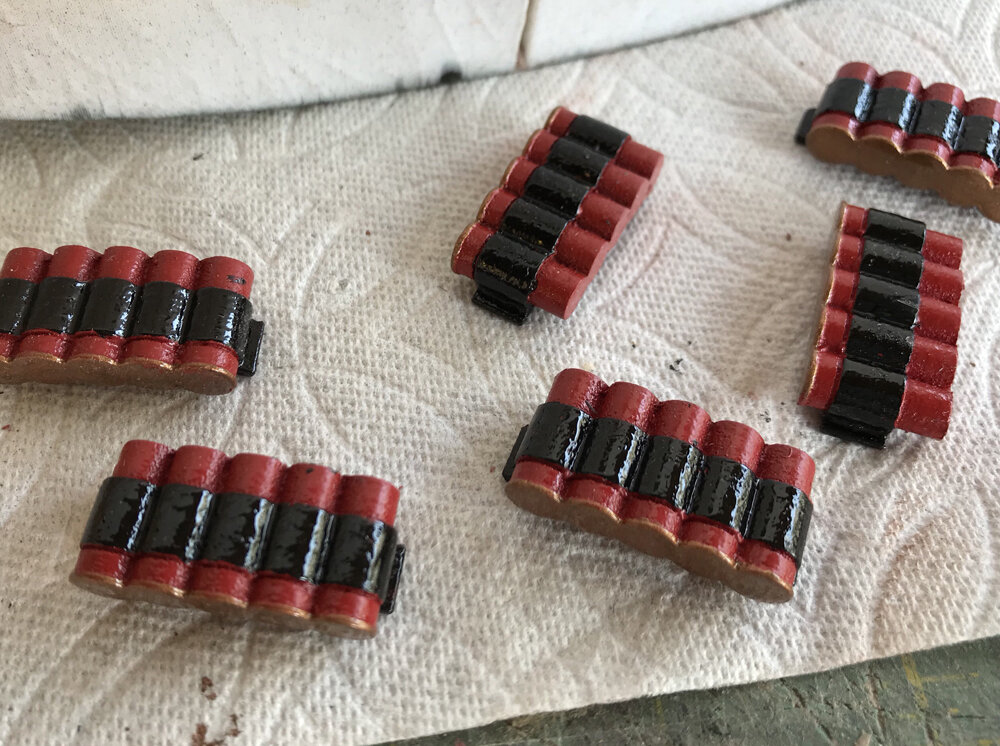
Painted shotgun shells.
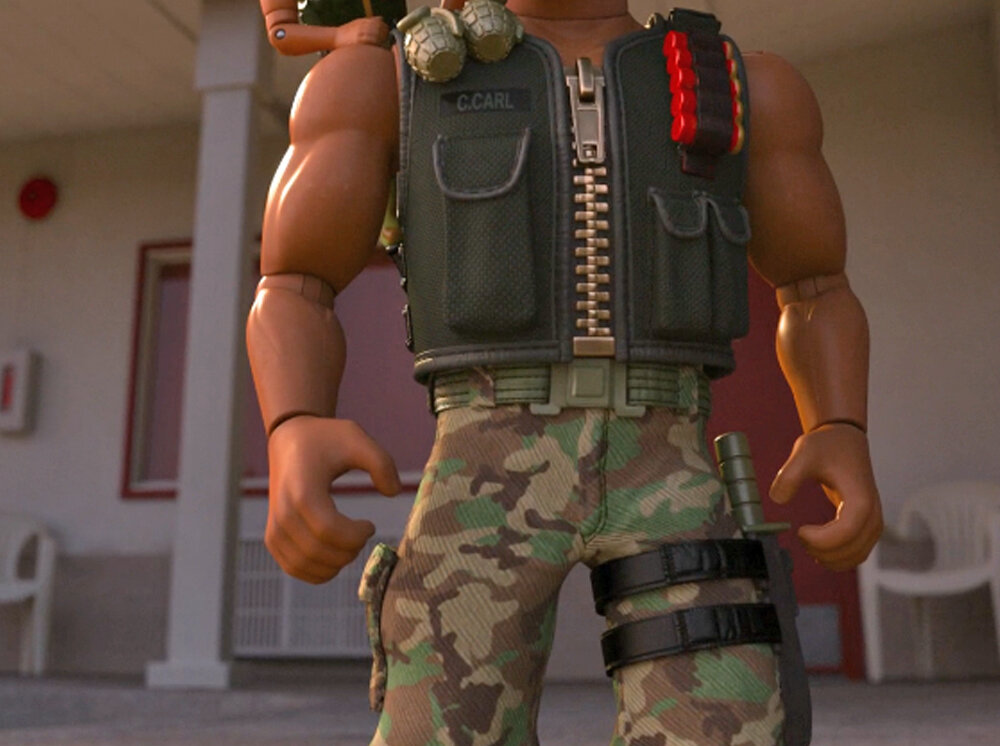
While I was working on the plastic bits, I hired a tailor to make his uniform. I cannot sew. At least nothing this complicated.
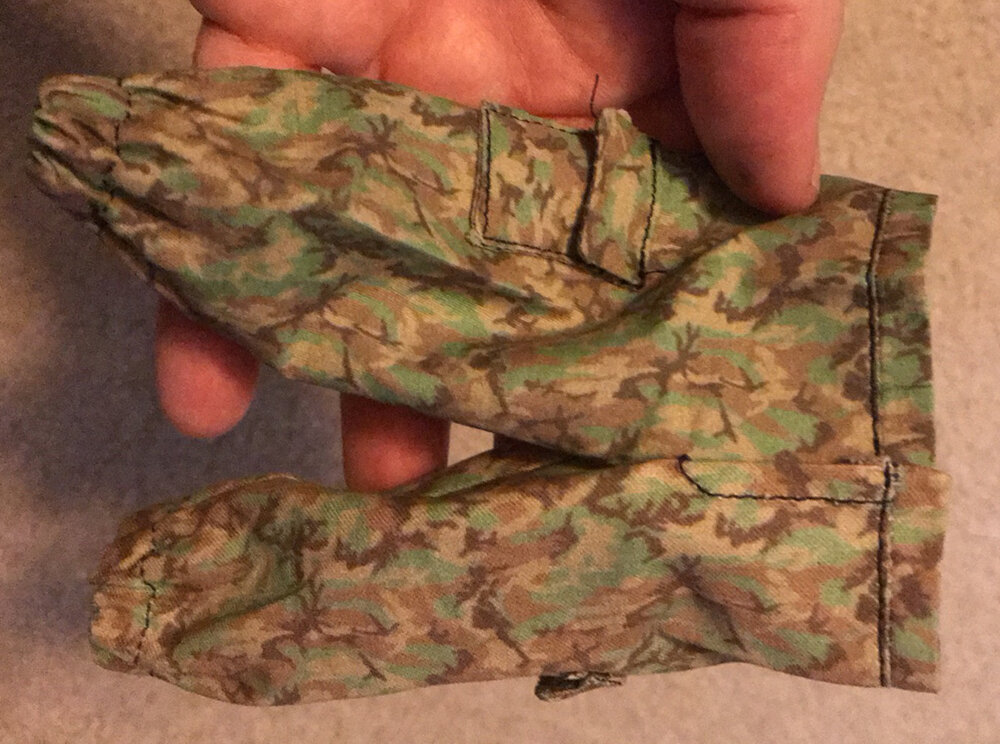
Prototype Camo pants finally arrived!. I was able to locate the EXACT pattern that Carl uses and had fabric printed.
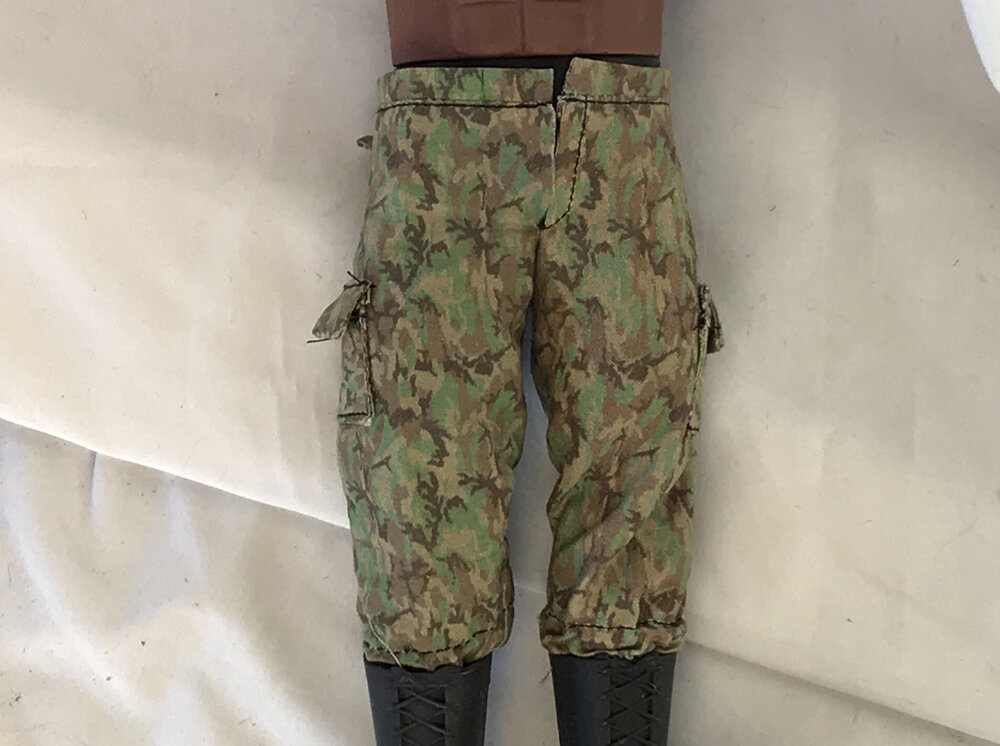
Test fit of the pants. They look sharp!
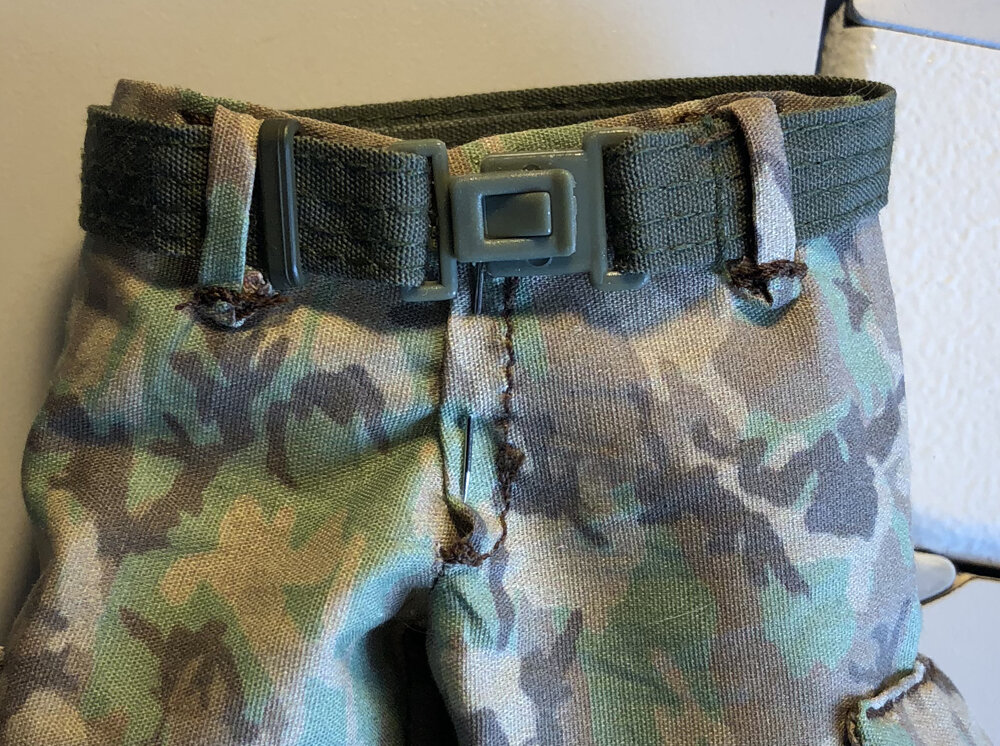
Initially, I was going to use a gunbelt from existing 12” military figures. That plan fell apart when I found that supplies were hard to source.
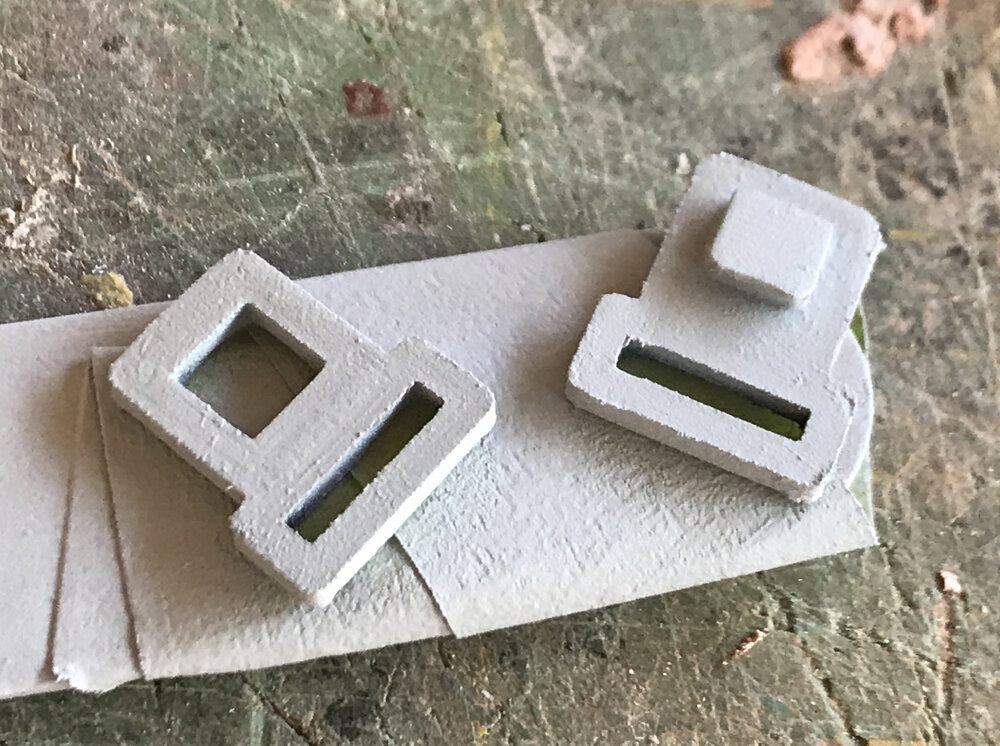
I made a functional belt buckle and used olive drab ribbon for the best. Stitch lines were drawn on with a fine ink pen.
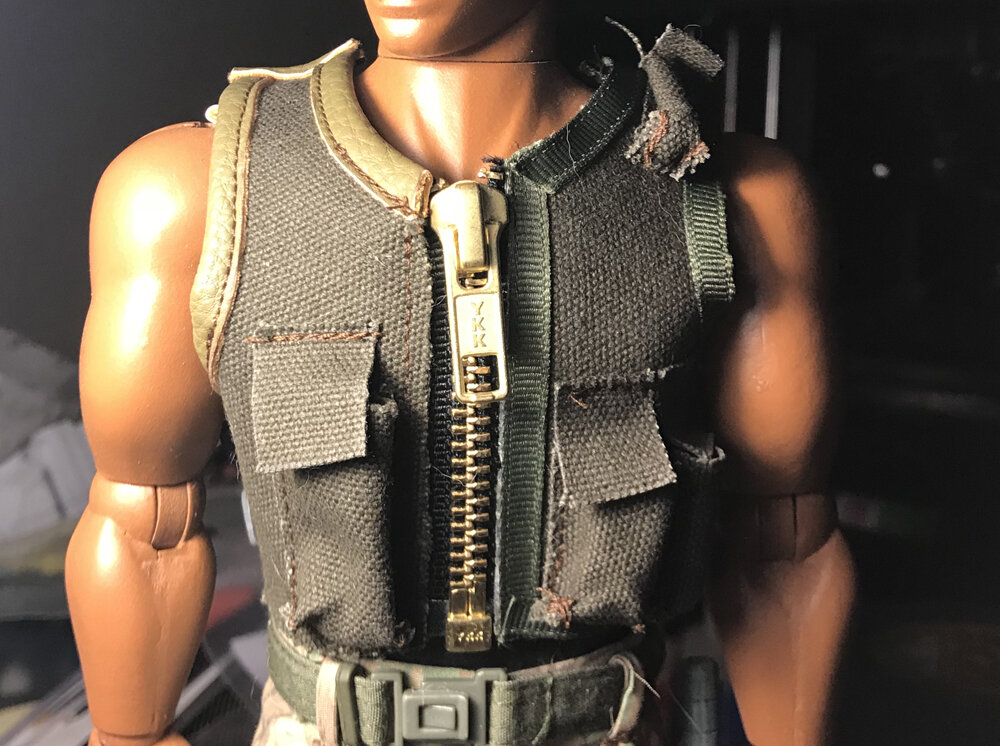
Prototype vest came next. I liked the duck cloth for its weight and texture but the trim was a problem. It looks like vinyl in the renders but vinyl (on the left) proved too thick and wouldn’t take the sharp corners. Another thought was ribbon (right) but it wouldn’t wrap.
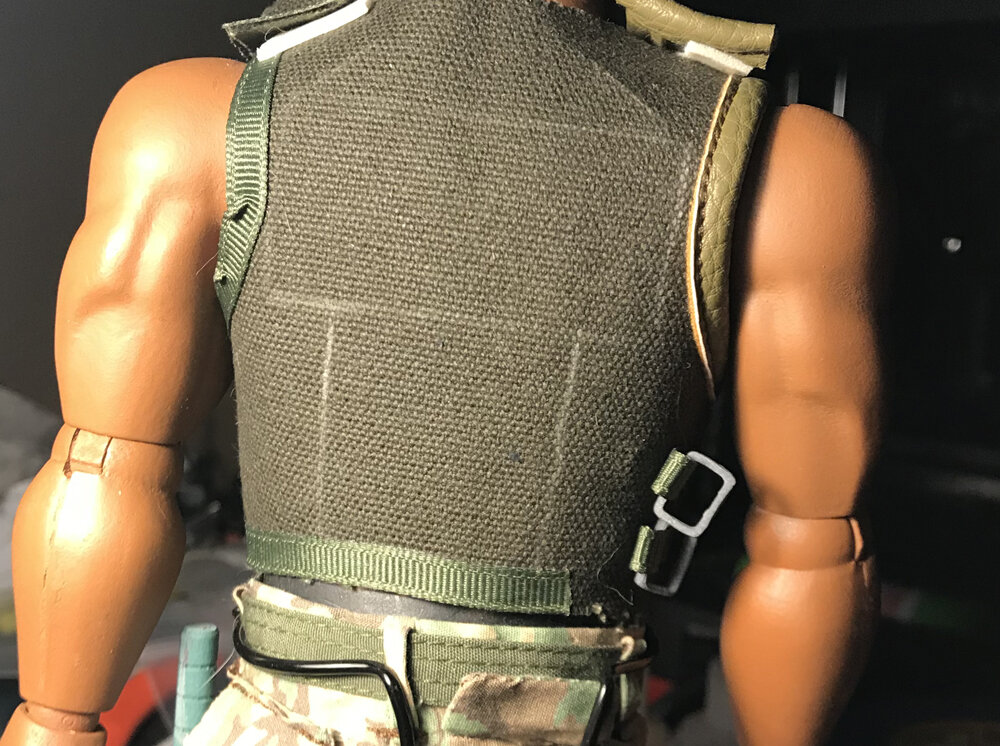
Back of the vest with marks for back pad and velcro strip.
After 3D printing a figure that used elastic straps, I found that it had terrific range of motion. Maybe that was something I could bring to Carl.
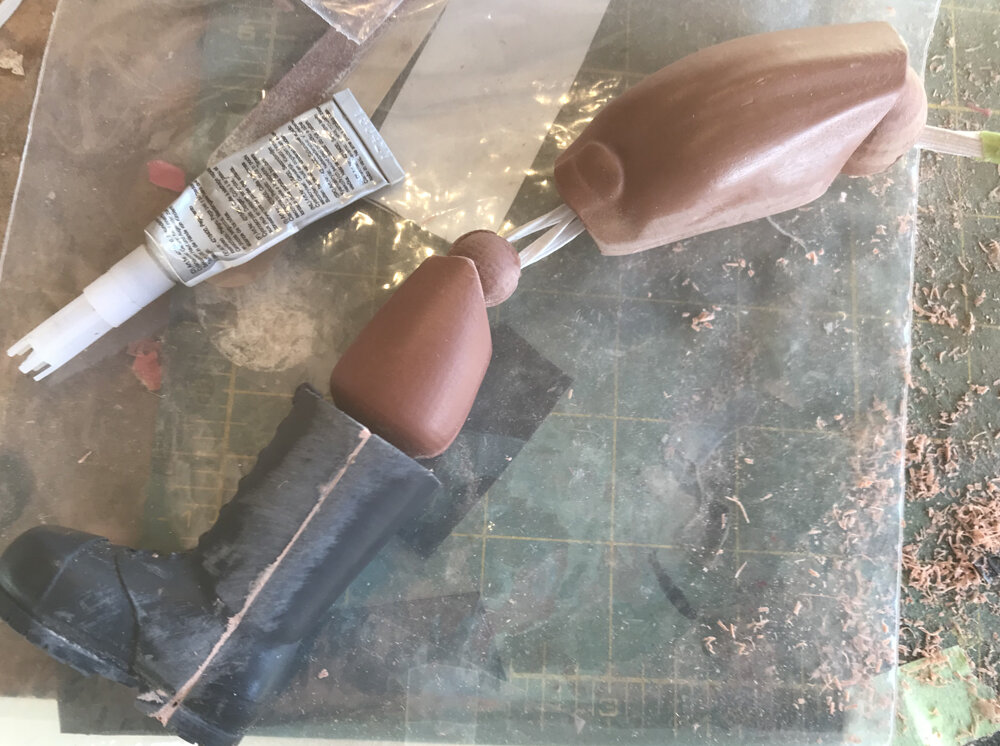
As a test, I drilled out and strung a Carl with elastic.
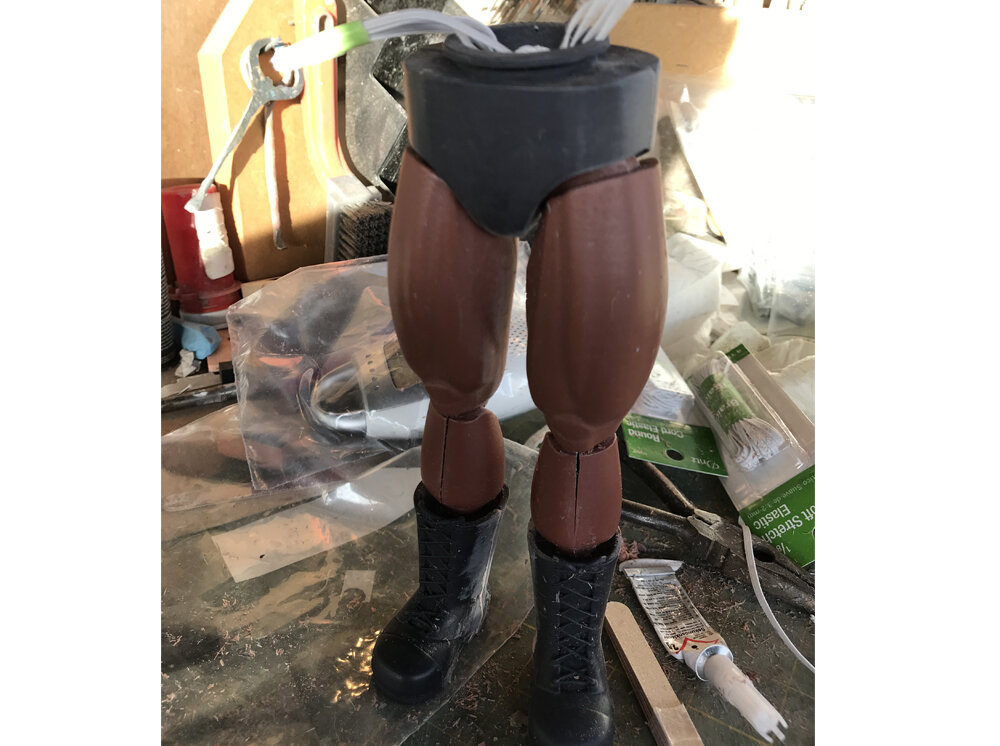
With tight elastic, the figure can still stand.
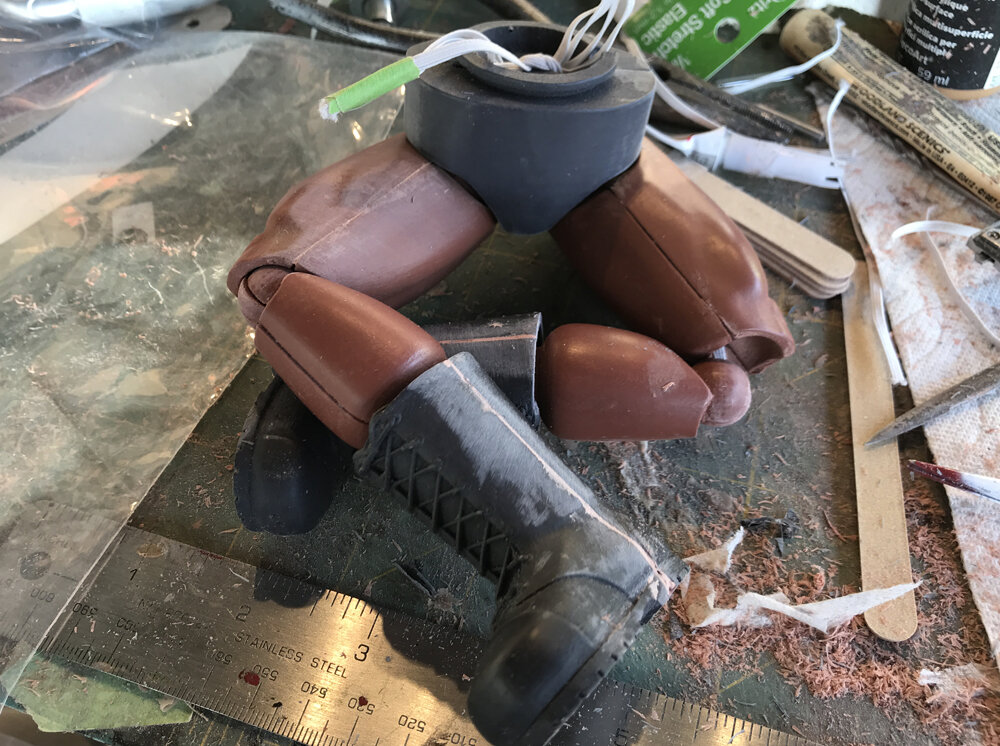
Range of motion is much better even though the joints pop out of place.
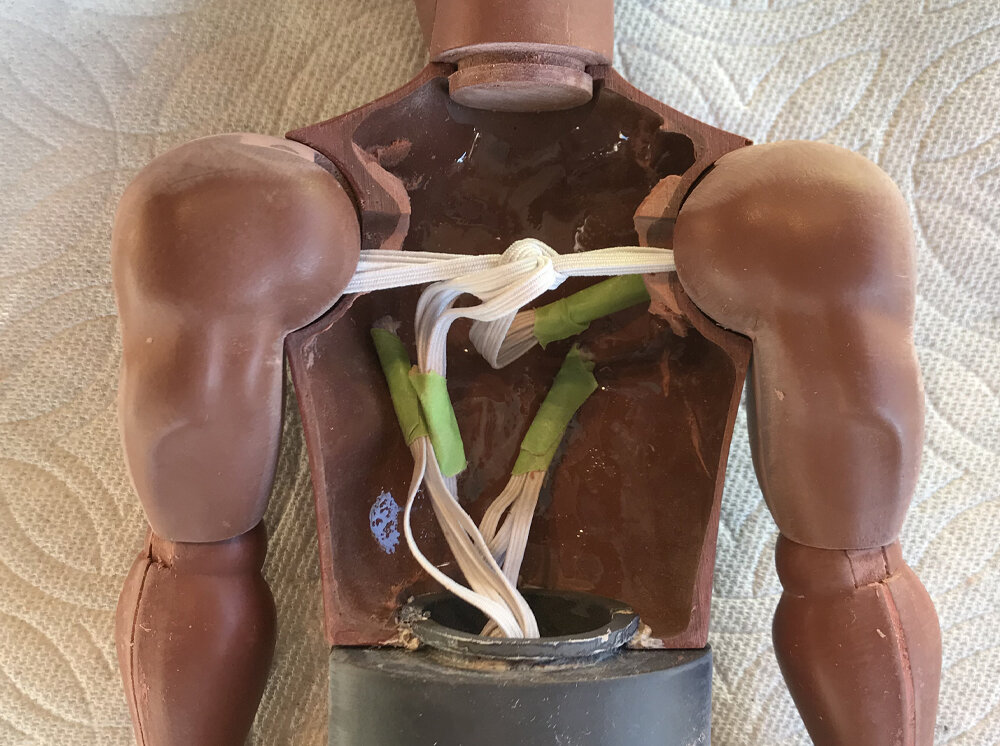
Arms would tie in the middle.
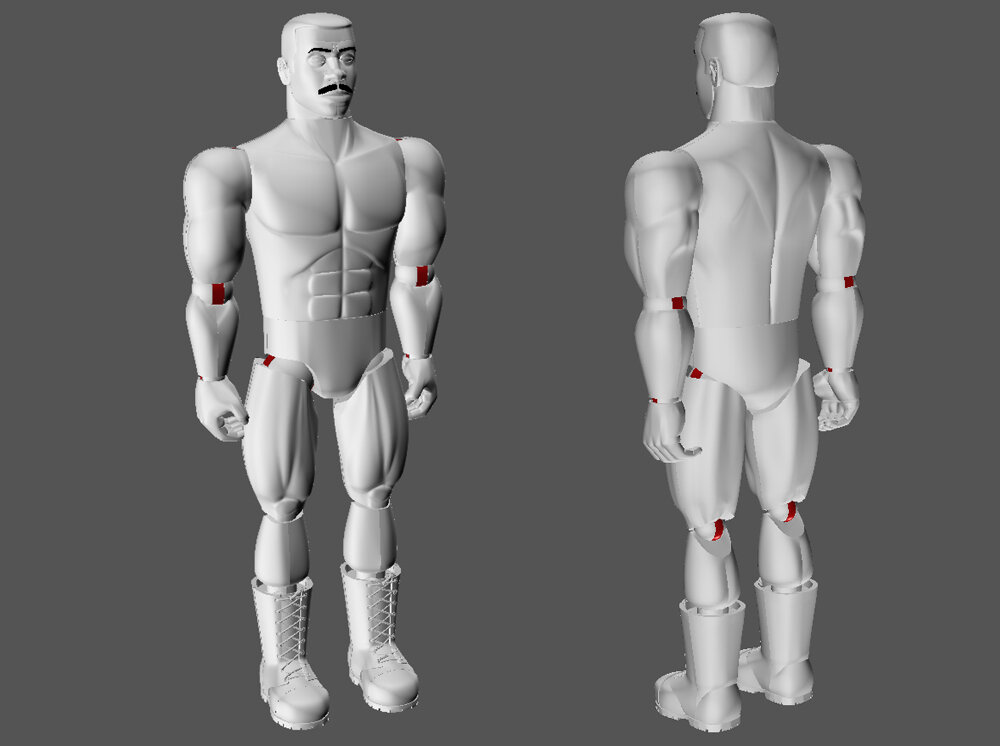
I eventually decided to compromise and remodel the joints to use elastic at the shoulders and hips since those were the areas with least mobility. Knees, elbows and wrists would have modified joint hardware to make it easier to build.
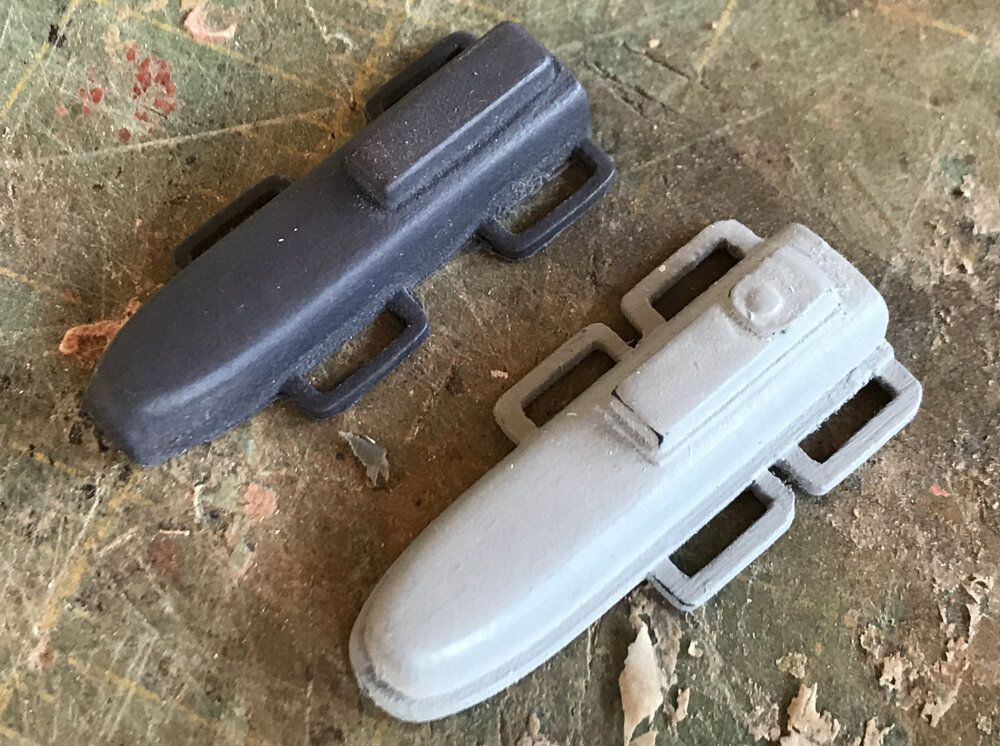
I also found better reference of the sheath and remodeled it.
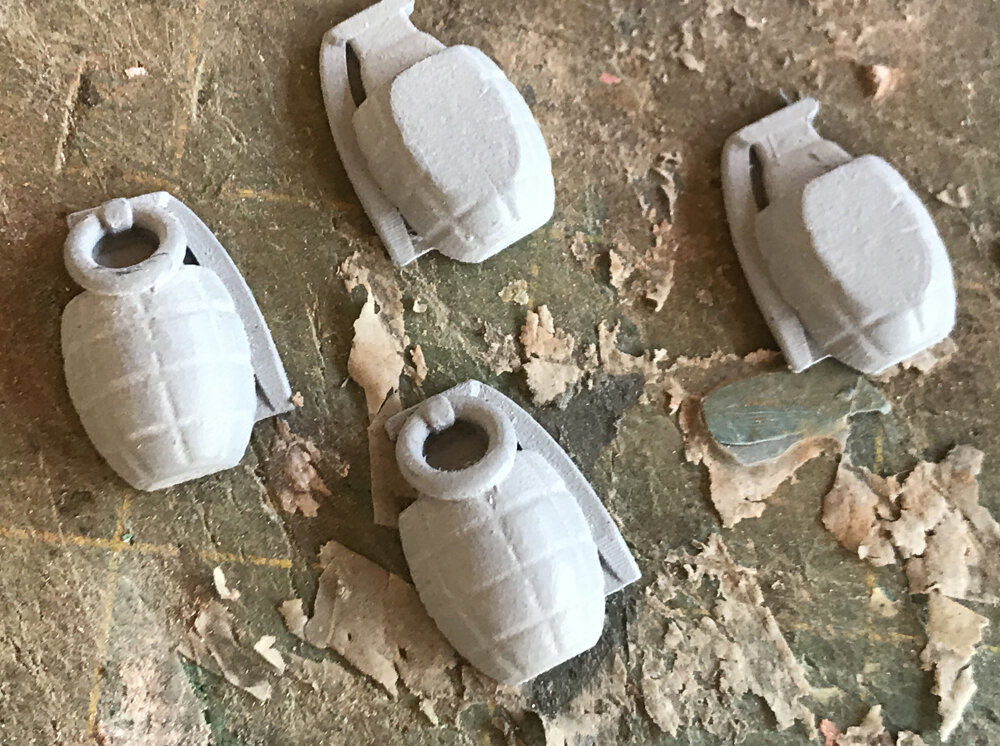
I also made the grenades more accurate and added a flat side for easier glueing to the vest.
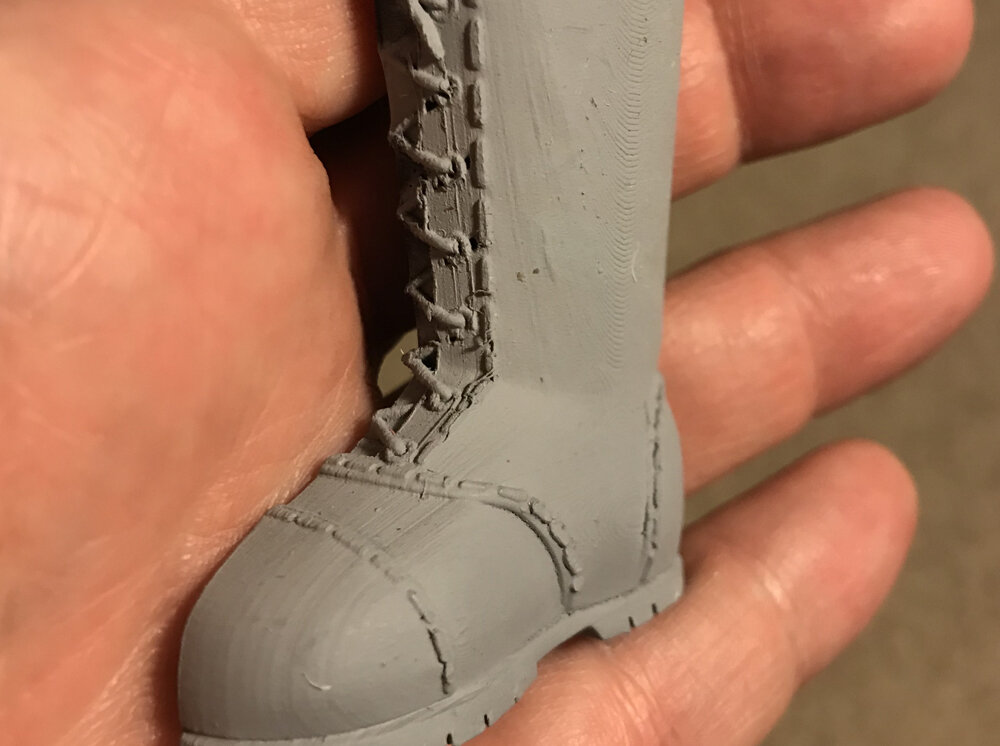
New reference also showed a seam through the center of the boots and stitching on the panels. So I remade them too.
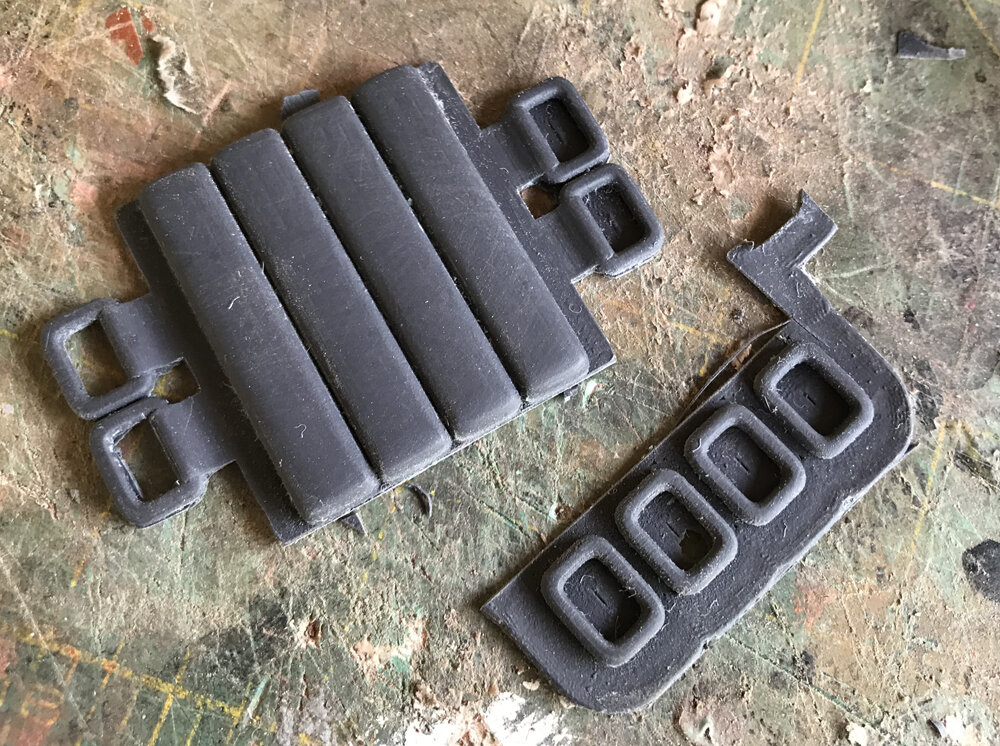
Instead of individual buckles, I made them part of the back pad. Ribbons sewed to the vest would loop through them and glued.
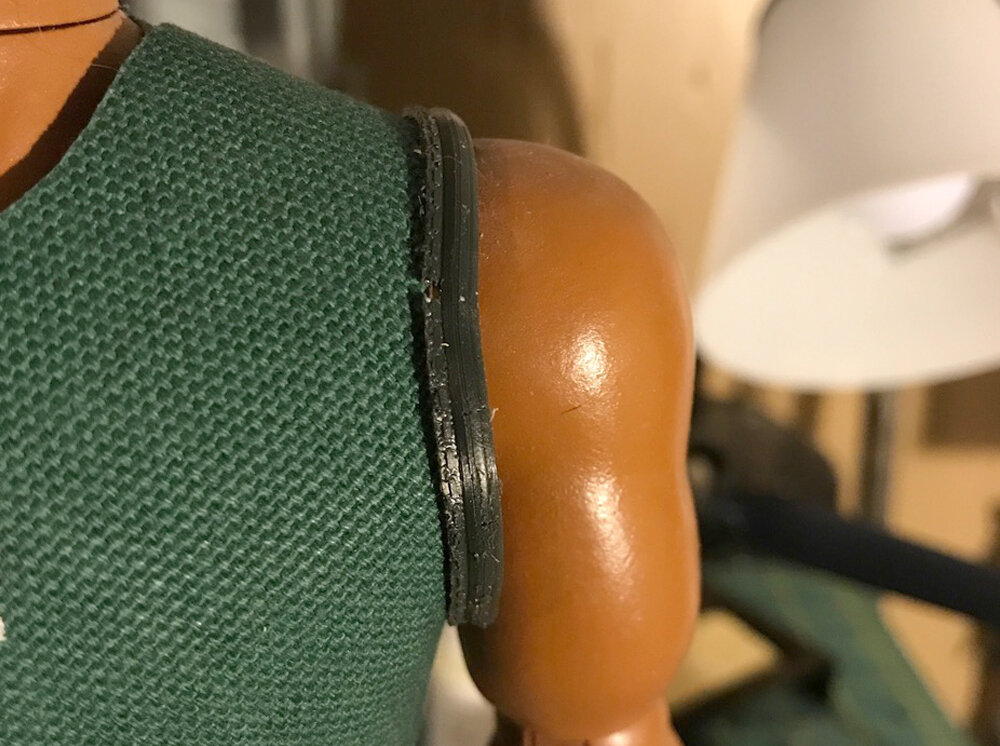
I solved the vest trim issue by sculpting the trim and stitching, printing and molding it in Smooth-On Kytoflex 30 Urethane rubber. This was glued to the edge of the vest.
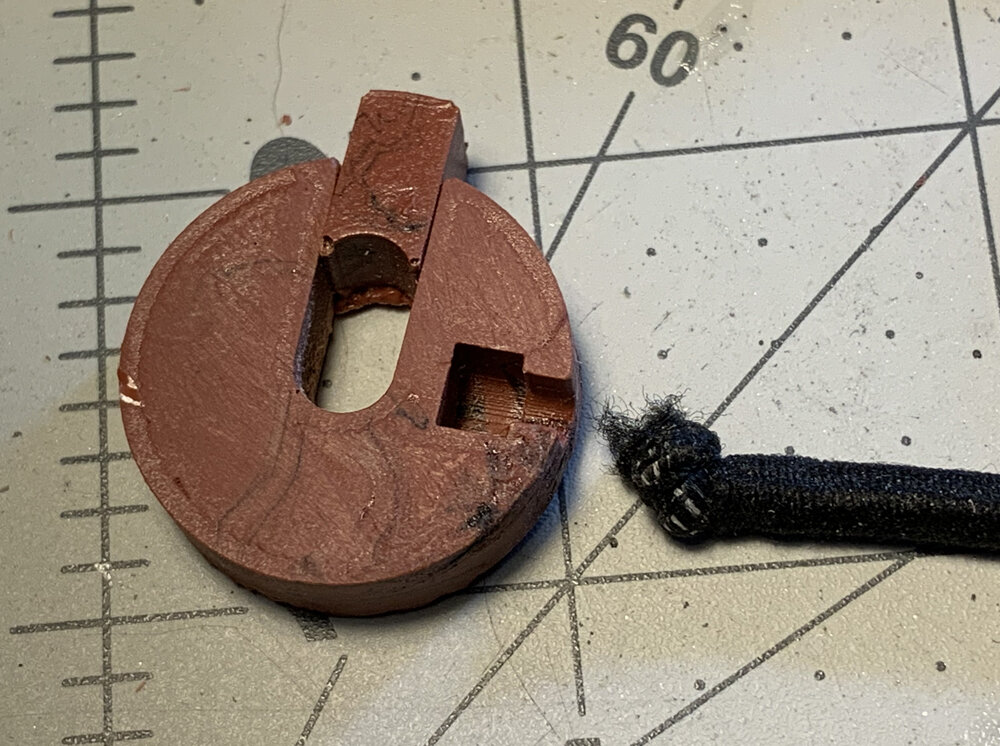
For the hip and shoulder joints, a knotted end of elastic was interred in a slot. Once the arms (and hips) were in place, the other end of the elastic was tied tightly in the chest.
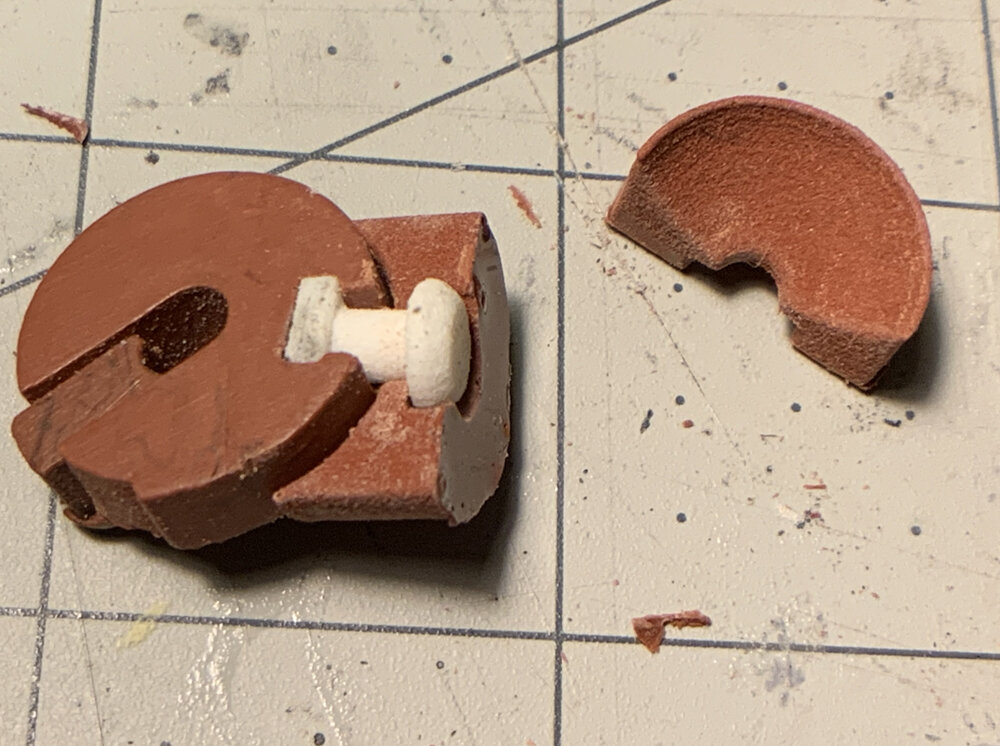
Elbow pin and disk. The collar pieces on the right slide into a recess at the bottom of the bicep.
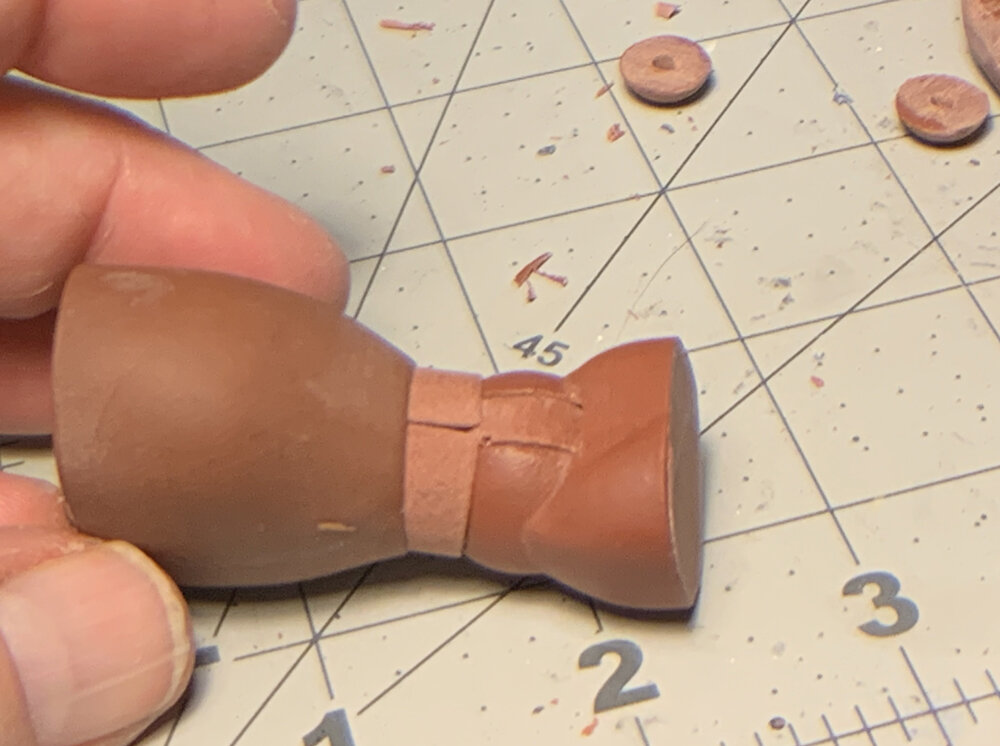
Completed elbow joint slid halfway into the upper arm.
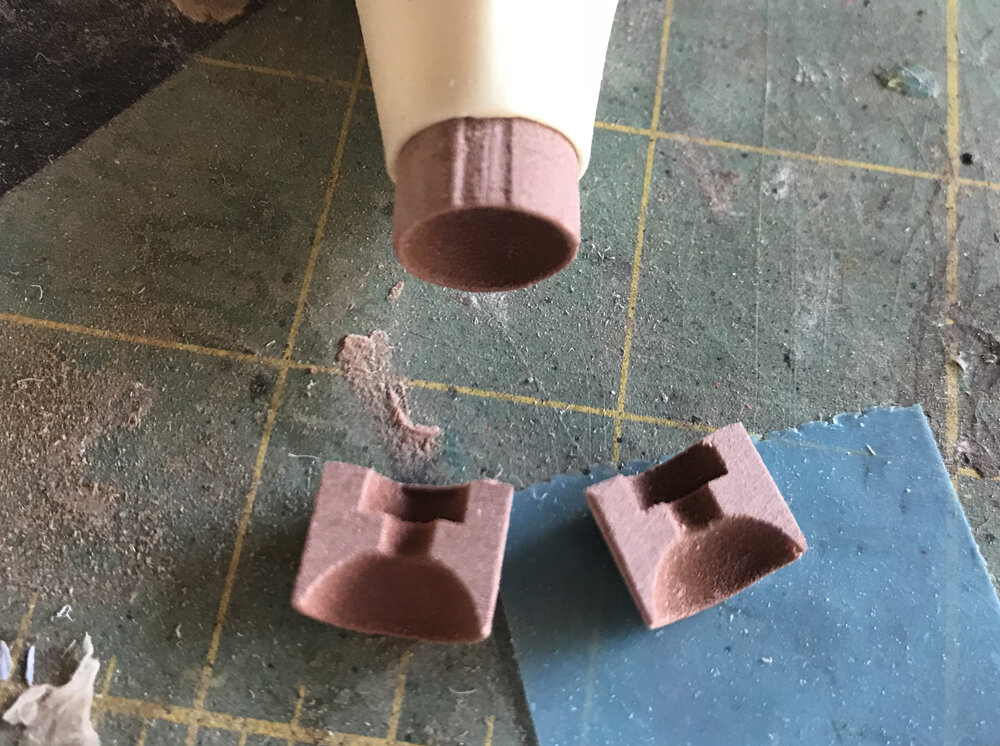
With kits in mind, I remodeled many of the joints. The wrist is now an insert that accepts the wrist pin.
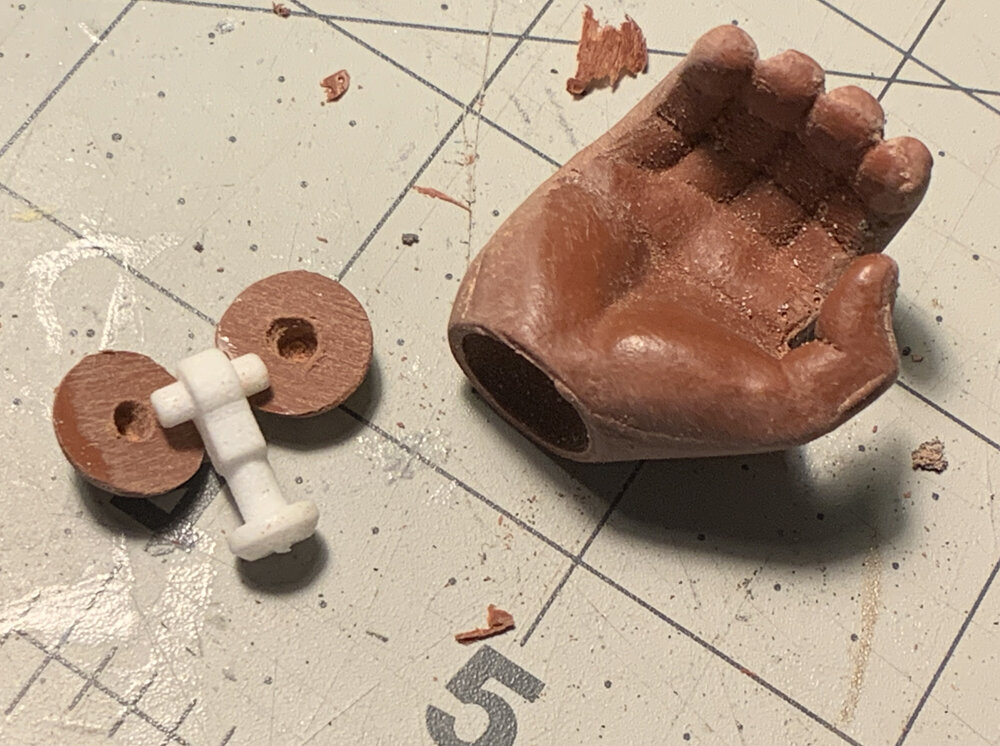
The wrist pin is contained by two hemispheres, which is then glued into the cavity of the hand.
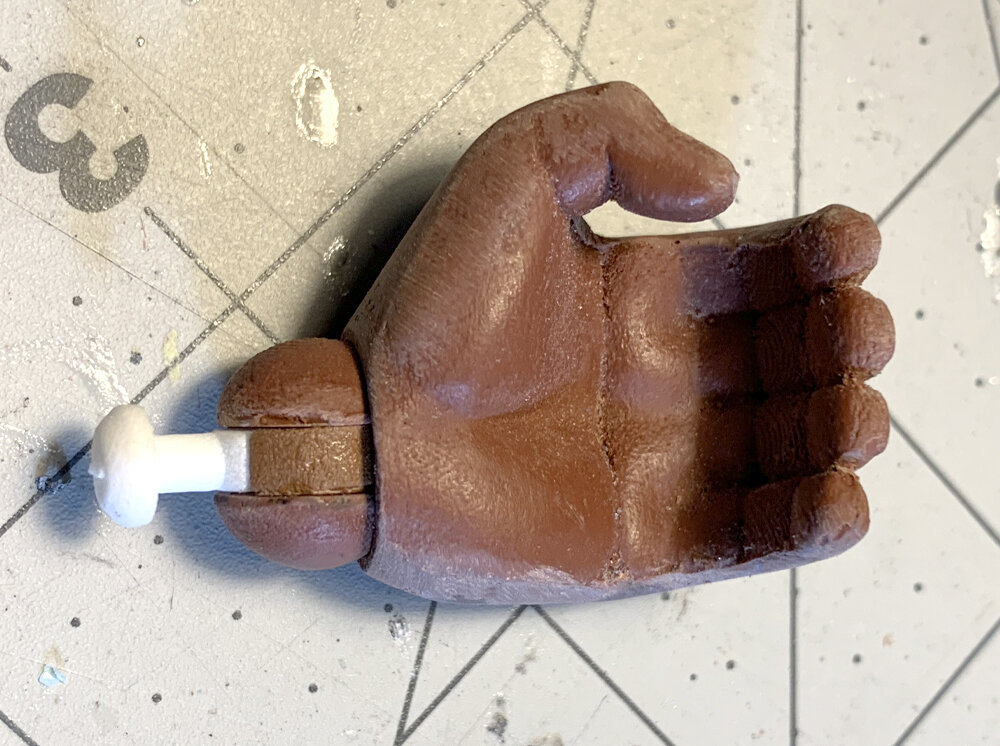
Completed wrist joint.
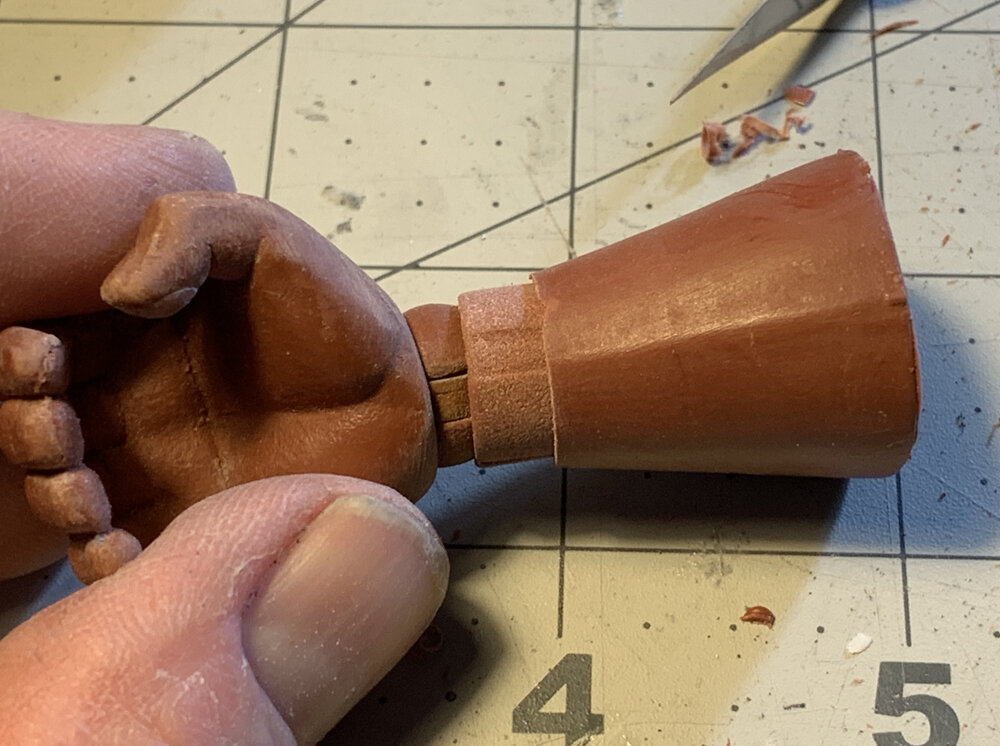
Wrist pin is contained in a two-part collar and slides into the forearm.
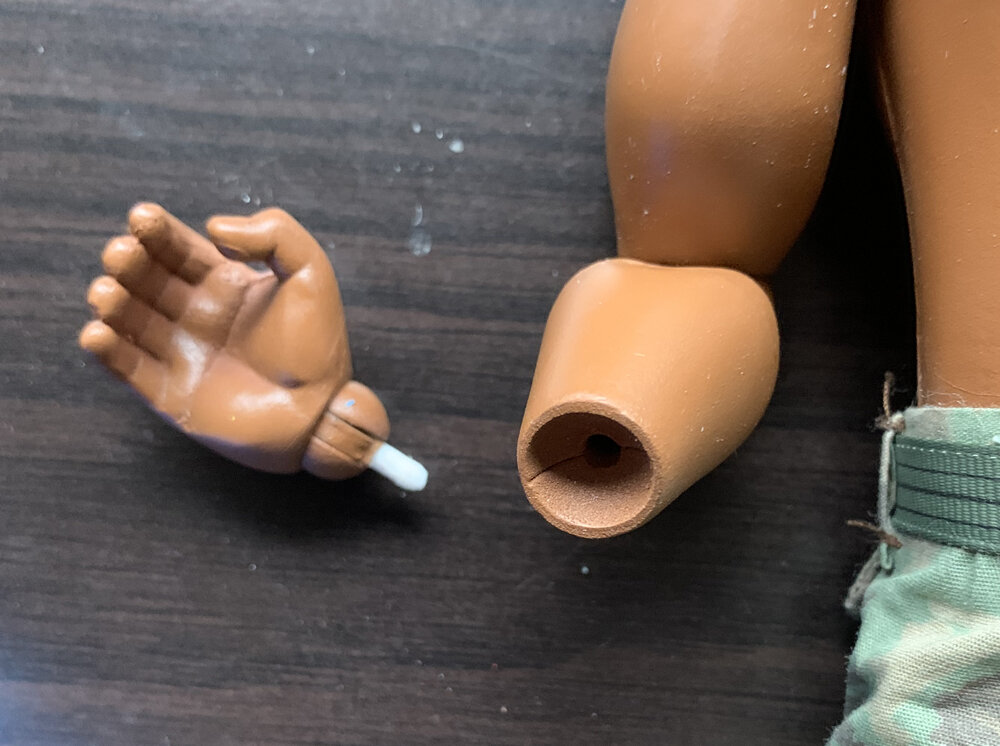
The client requested a removable hand like in Toy Story of Terror so I carved off most of the the pin head so it would slide into the forearm.
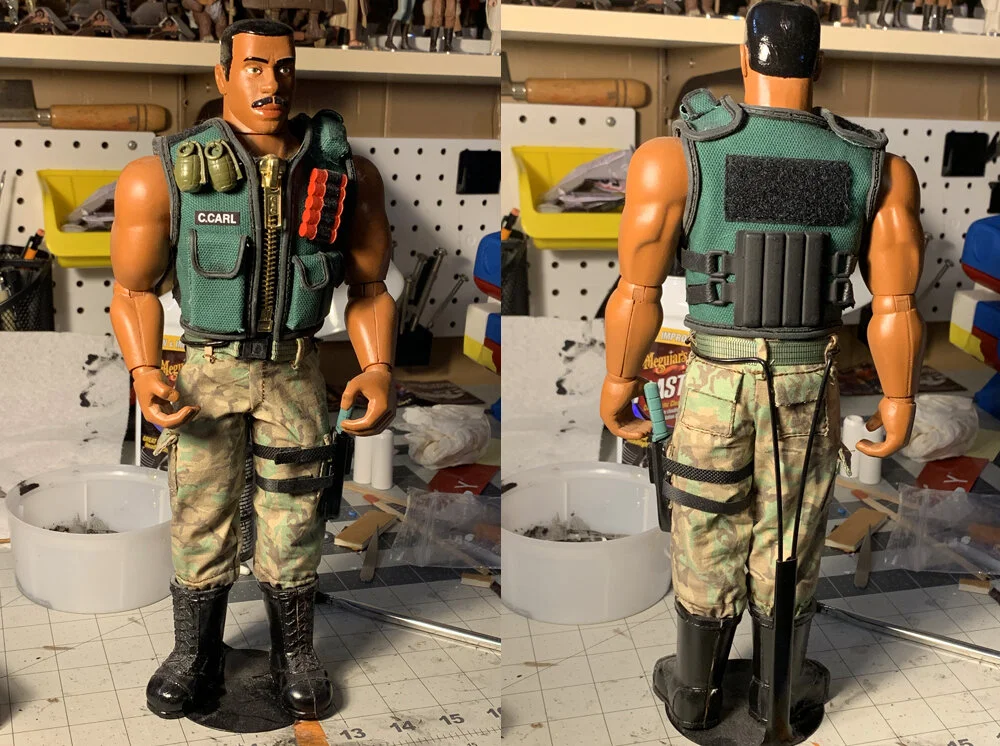
Finish Carl
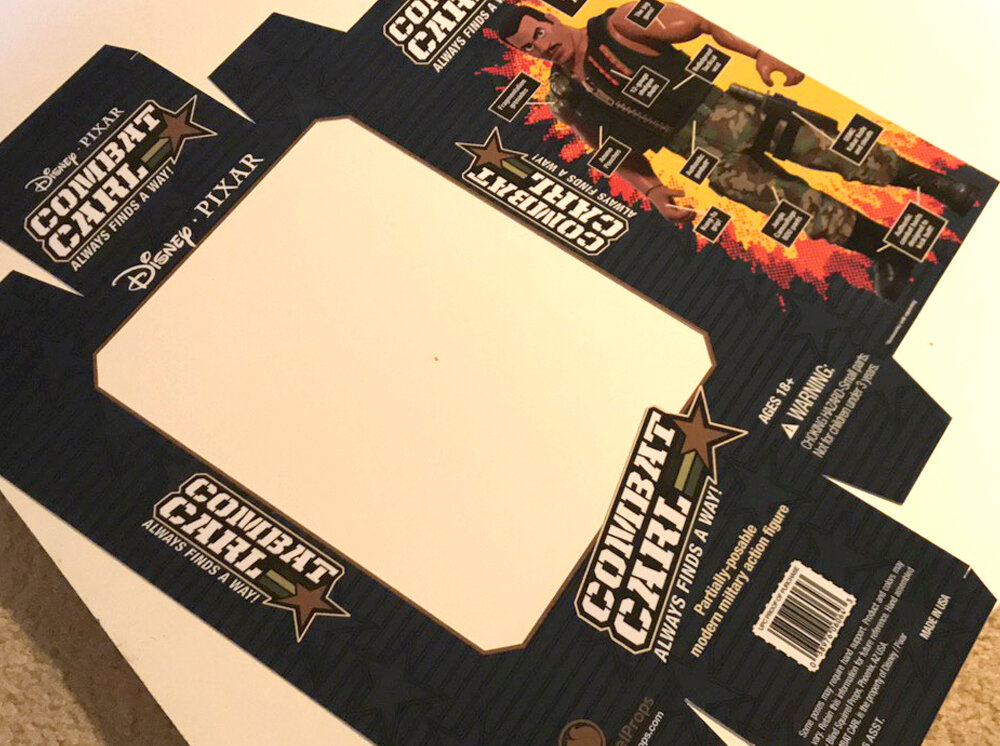
While the clothing was being worked on, I had some downtime so I decided to use my day job skills and design a package as a surprise to my VERY patient clients. I printed the design on vinyl and applied it to Bristol board.
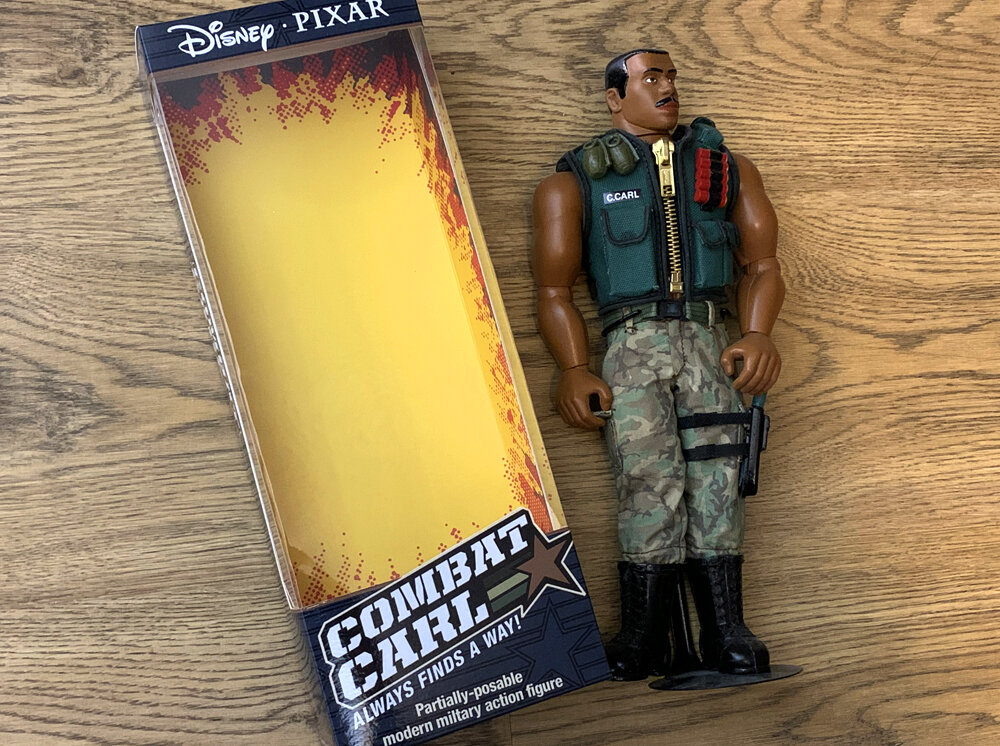
I used double-sided tape to add clear plastic to the window and added an insert to clean up the inside of the box.
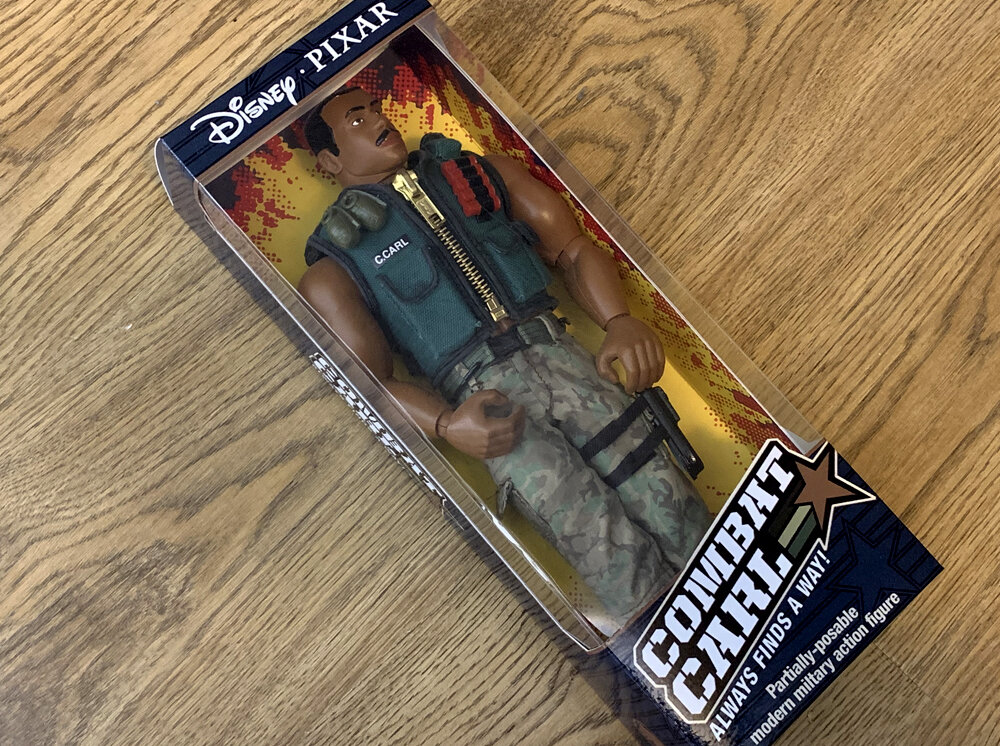
Carl in his box/coffin.
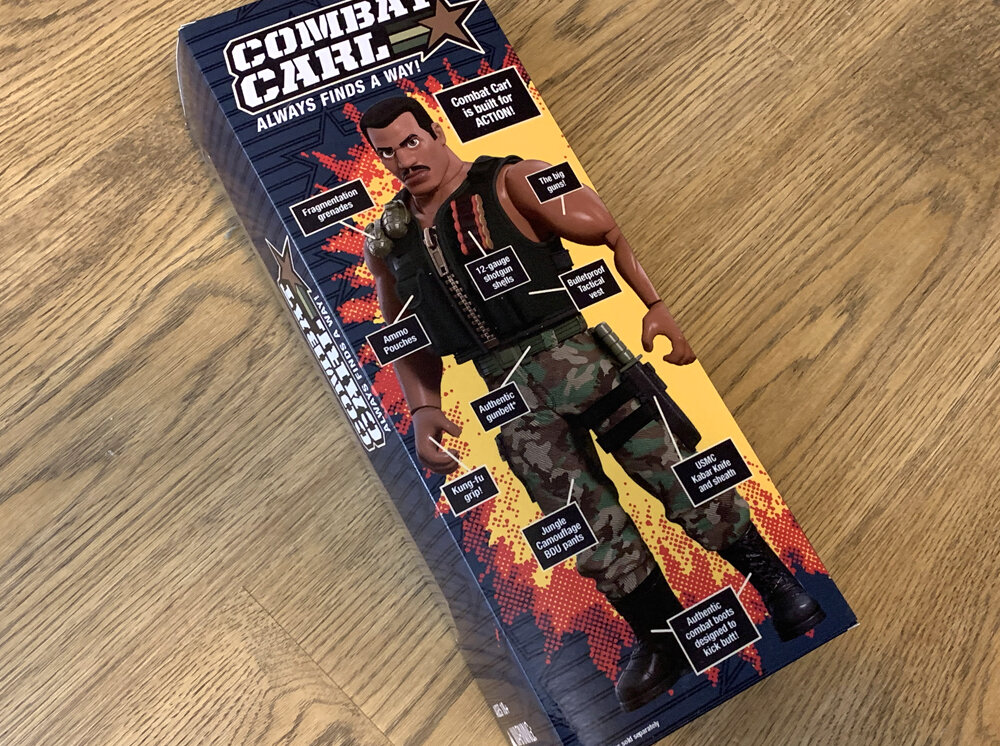
Back of the box.
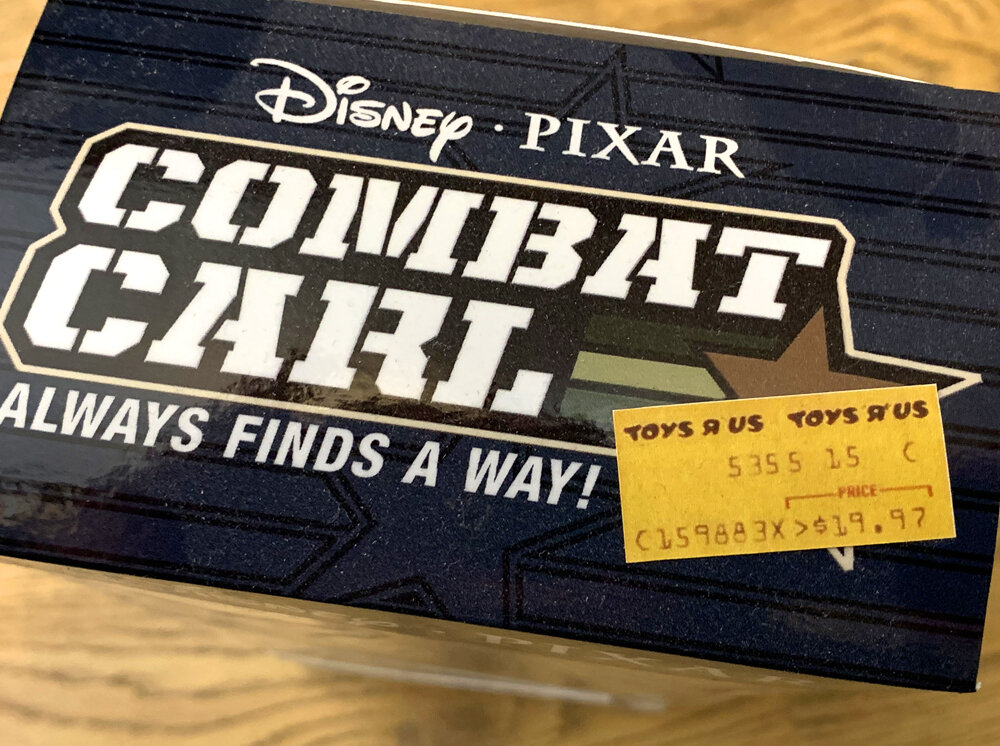
I mocked up a vintage Toys R Us price tag as well.
