Brit-cit judge helmet
april 2013
The Brit-Cit is a city in the Judge Dredd universe covering the south of England. It also has helmeted Judges like Mega-City 1.
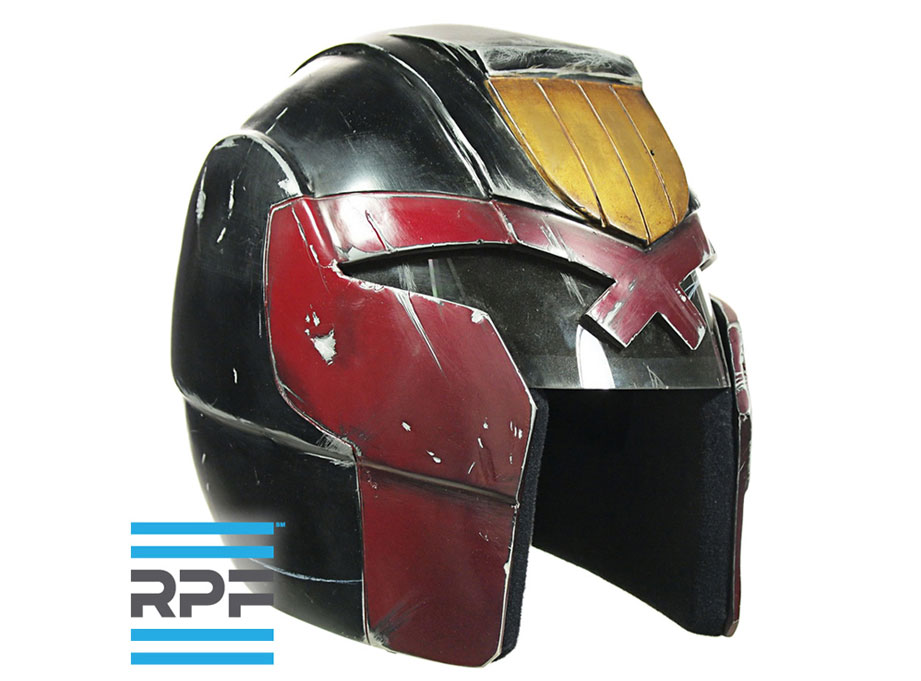
In February, the Replica Prop Forum launched a contest where prop builders were challenged to make a helmet from the Judge Dredd Universe. The winner would receive a prototype Judge helmet from the production of Dredd 3D.
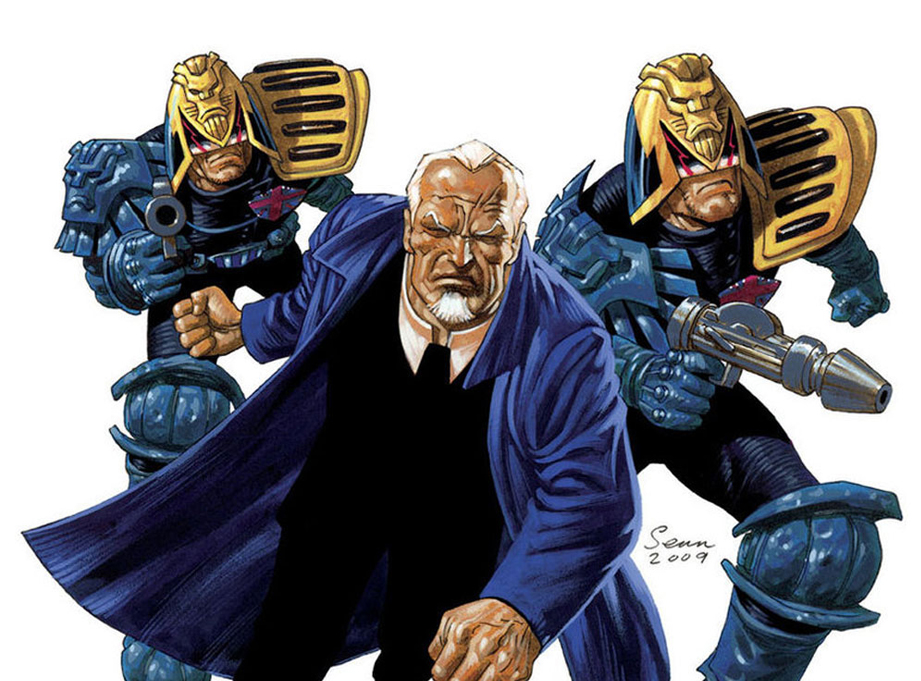
My concept for the contest was to adapt the comic book design of the Brit-Cit Judge’s helmet, so it works in the gritty, realistic world that ‘Dredd 3D’ established. I approached the design and build as if it was pre-production work for a much hoped-for sequel.
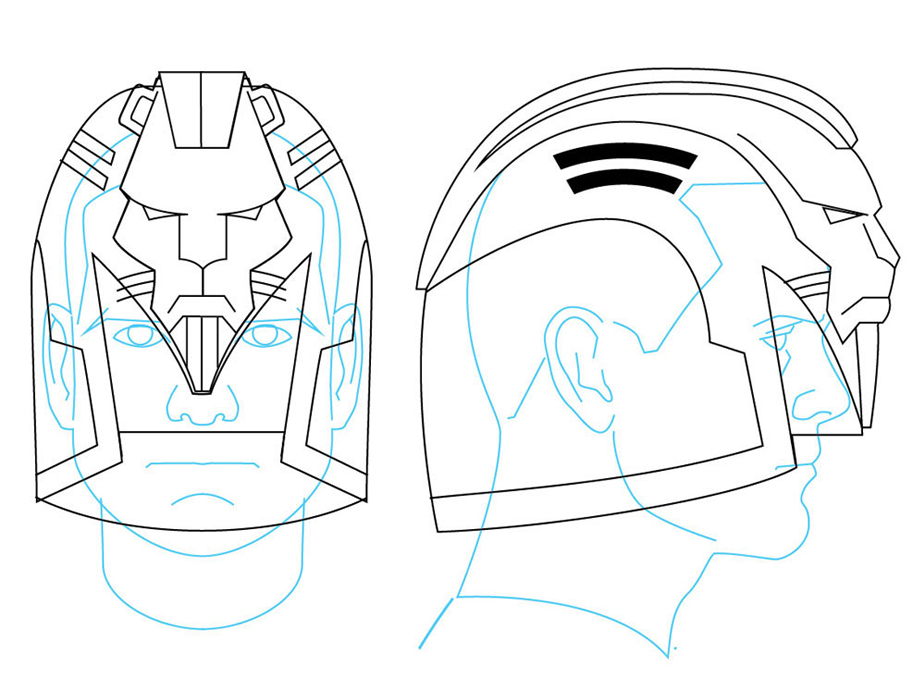
For this design, I tried to retain as much of the comic’s style as I could. The original has the taller dome (which I’m sure is a nod to an English Bobby’s helmet) which I incorporated into the Dredd movie style helmet. Obviously, I needed to include the giant lion’s head as well.
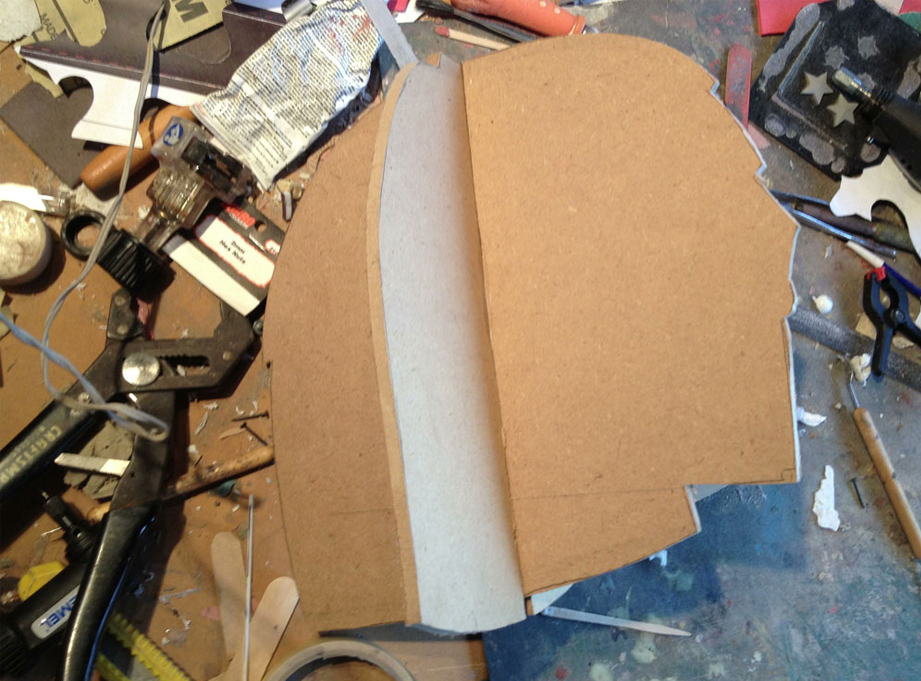
I started by cutting profiles of the helmet from 1/4″ MDF to act as guides while I sculpt. I cut slots in each and slid them together.
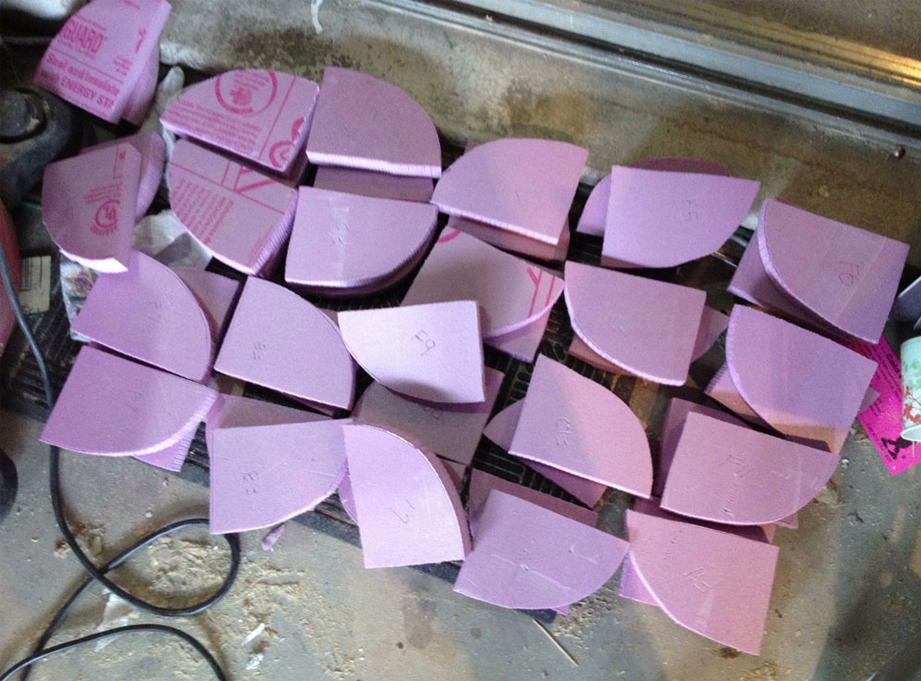
I cut layers of 1″ insulation foam to glue into the profiles with casting resin.
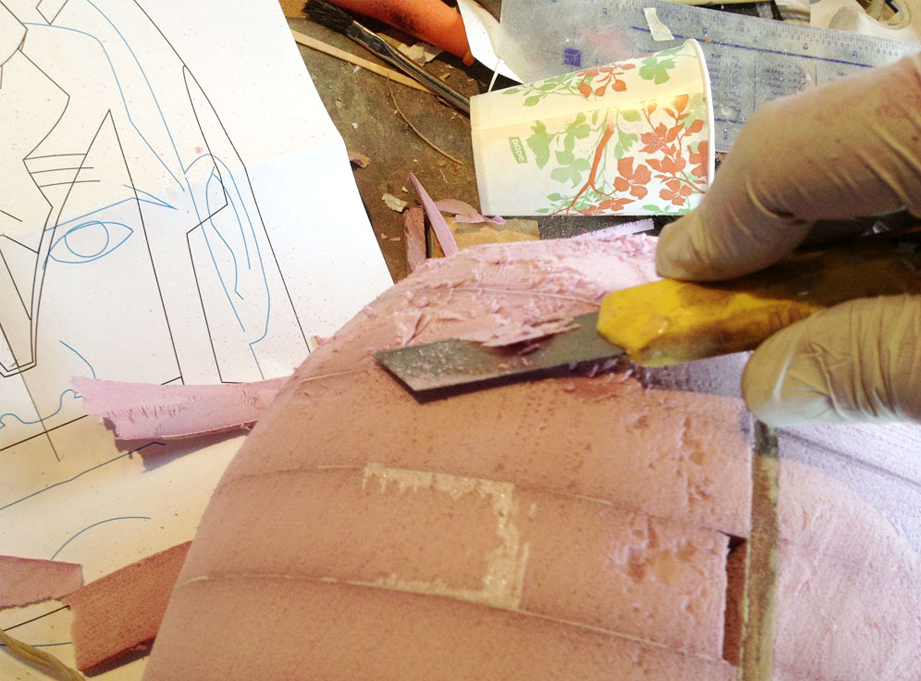
Once the resin set, I could start carving away the excess foam. I used a belt sander to remove the big pieces and a blade for more detailed work.
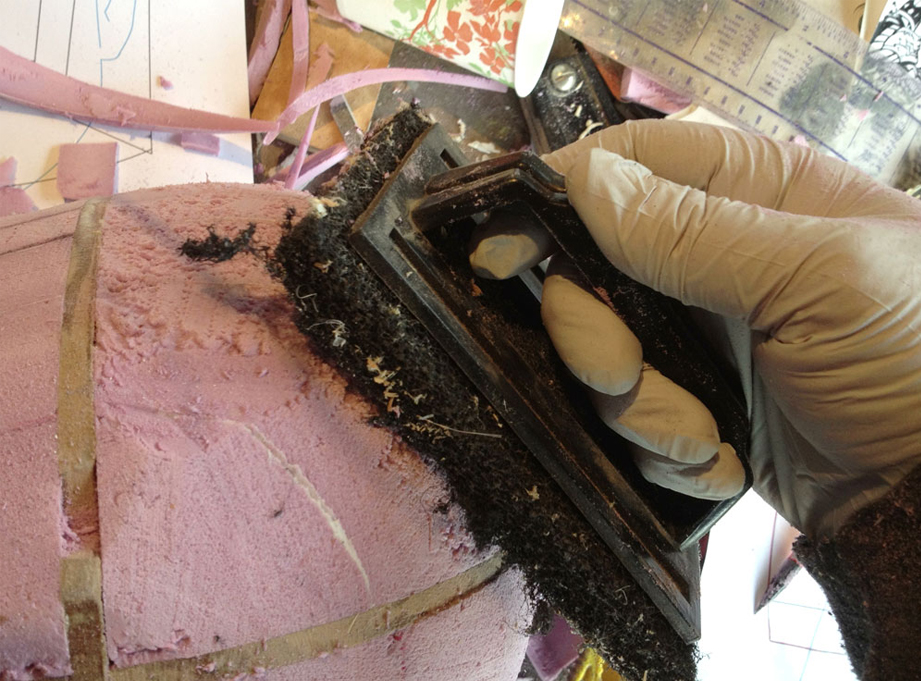
Once I got the basic form carved, I used a grill scrubber to knock off the edges and further smooth the shape.
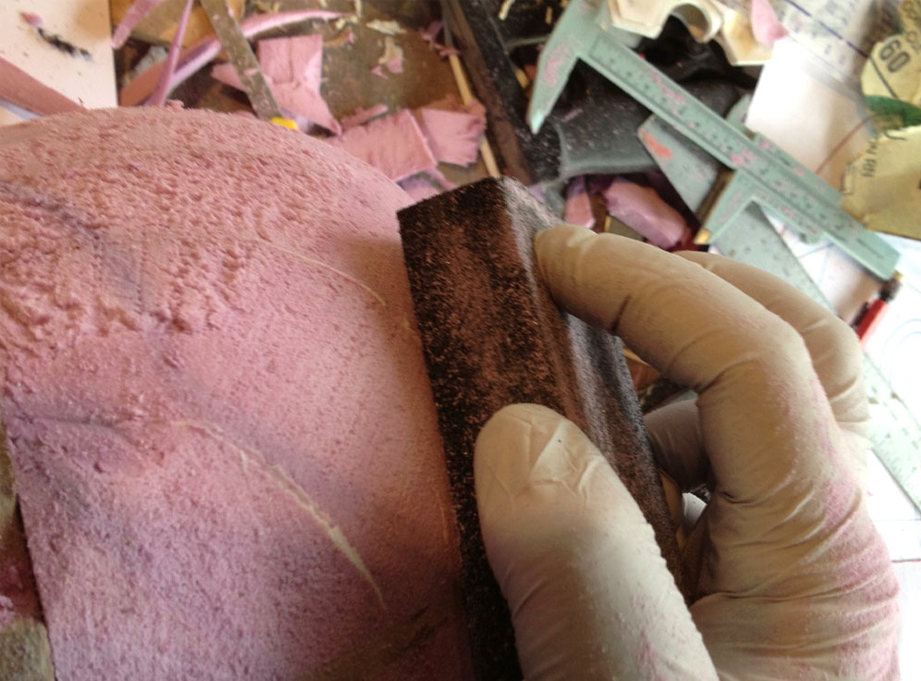
Finally a rough sanding sponge further smoothed the surface.
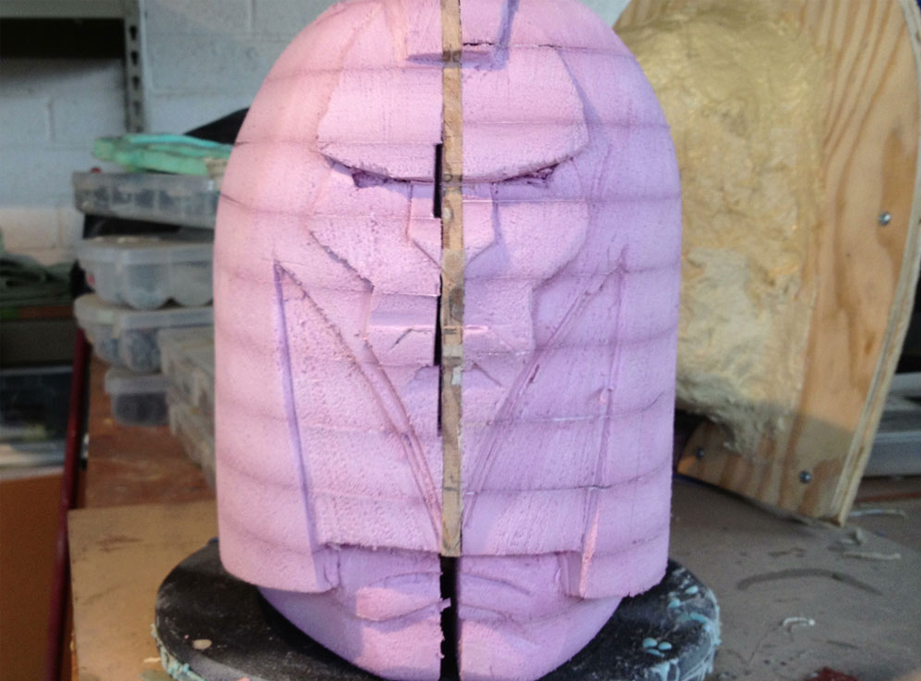
Once the foam was finished, I could see what needed to be fixed. I had some symmetry issues in the dome where I was too aggressive with the sander but it was more or less in good shape.
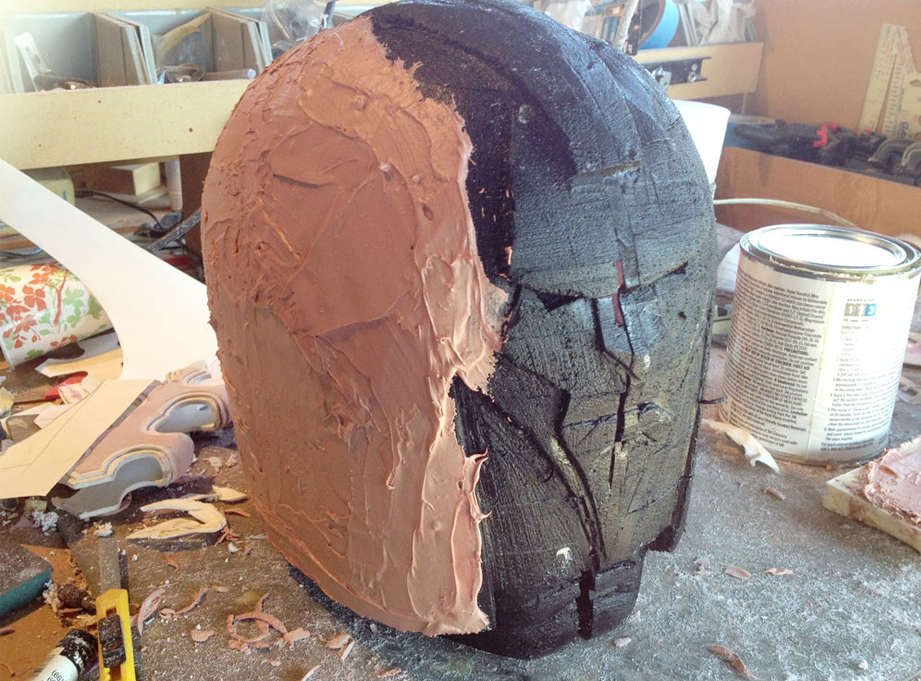
Next I sealed the foam with acrylic paint and then added a light coat of Bondo over the entire surface.
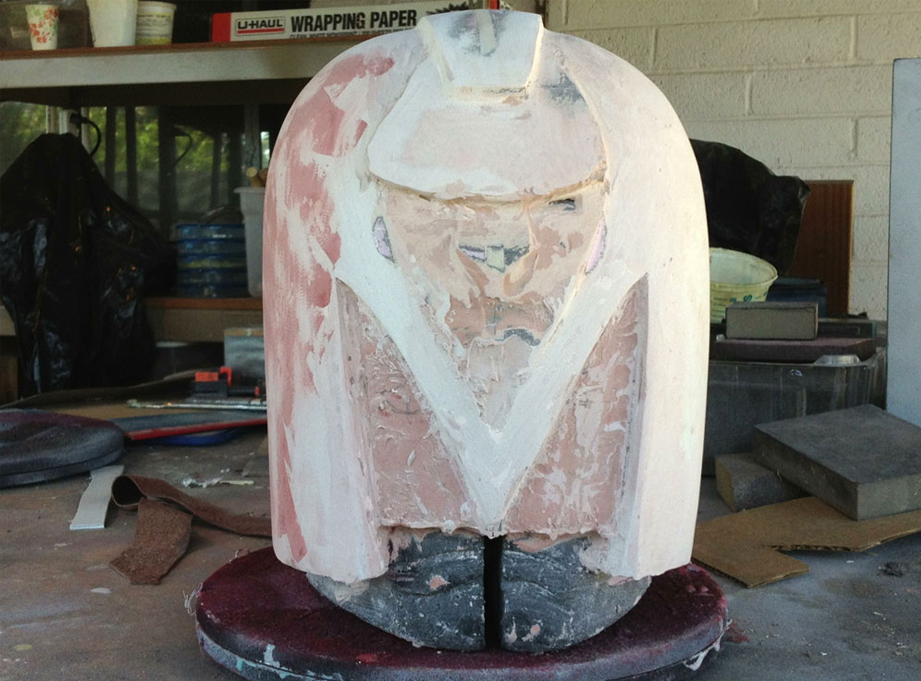
As tempting as it was to work on the big lion face, to get the helmet symmetrical I needed to start with the dome. Both the right front and left back were not round enough so I had to add Bondo until they matched their opposite side.
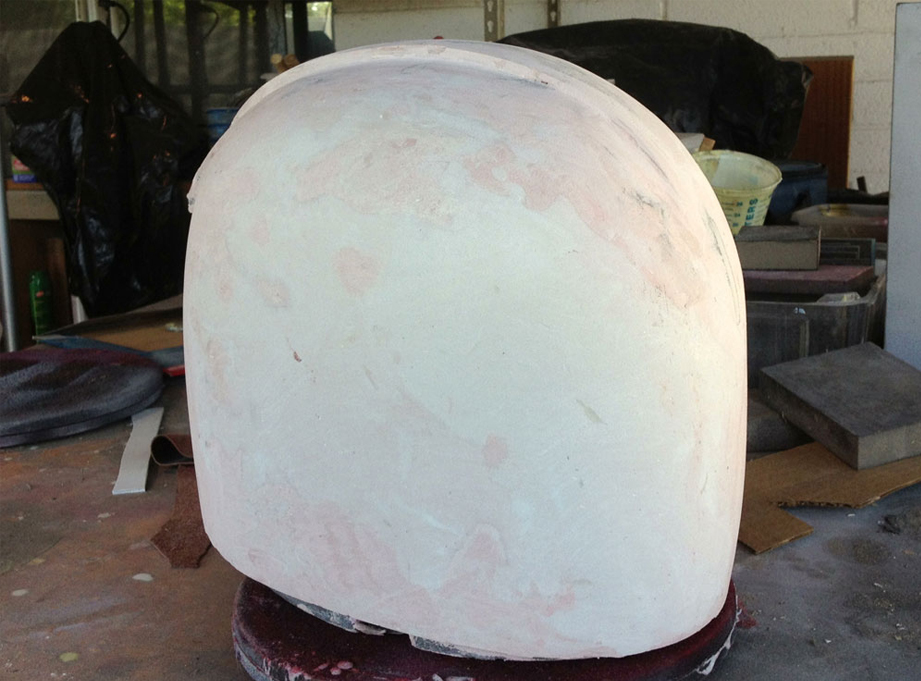
After many hours of putty and sanding work, I got the helmet feeling round and smooth.
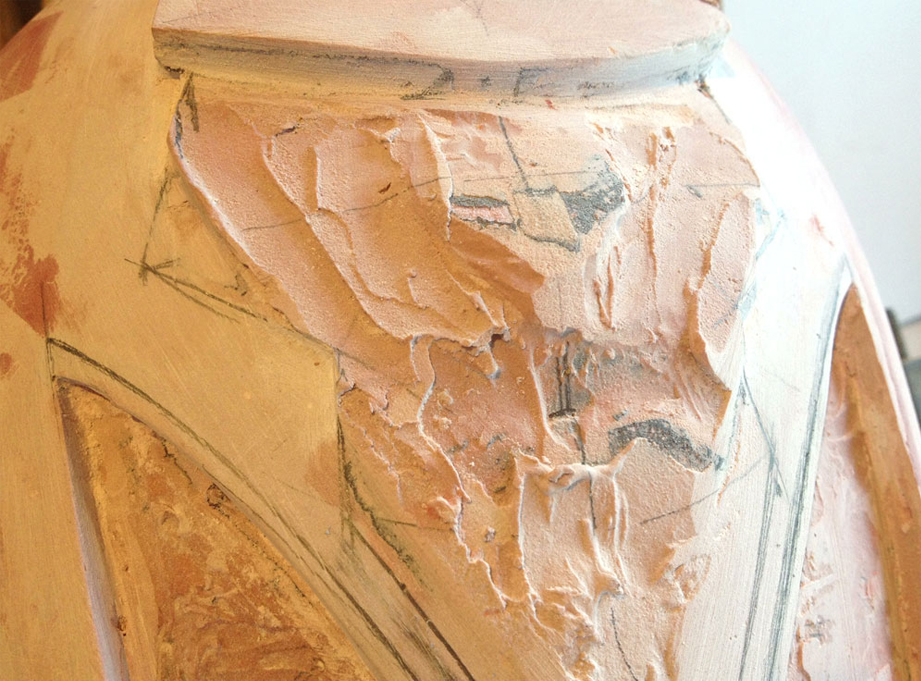
Using the plans, I re-measured points on the lion’s face and made pencil guides for additional Bondo.
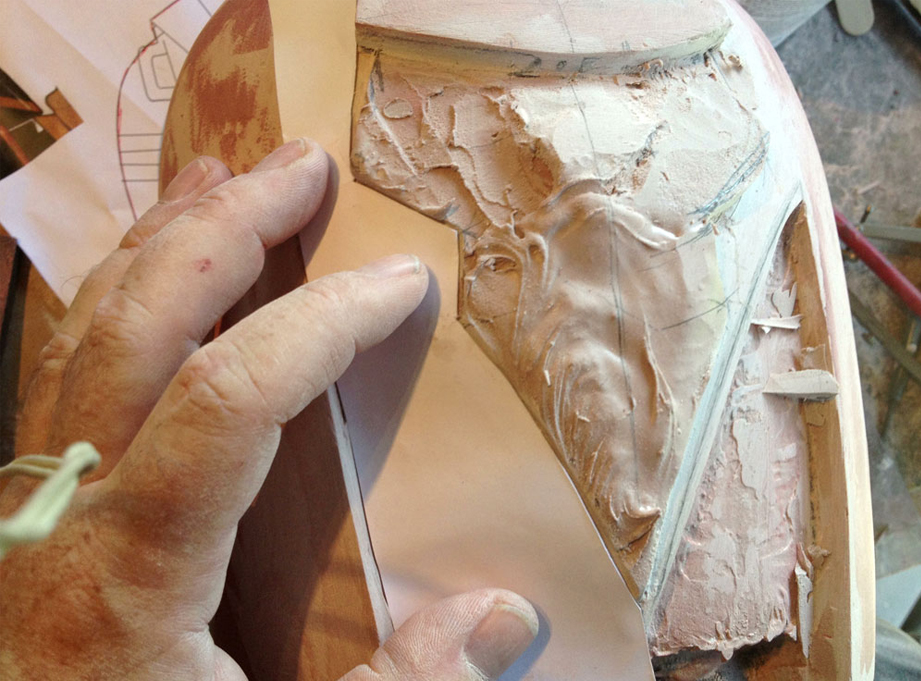
Once I had one side looking good, I made paper templates to use a guide for the other side.
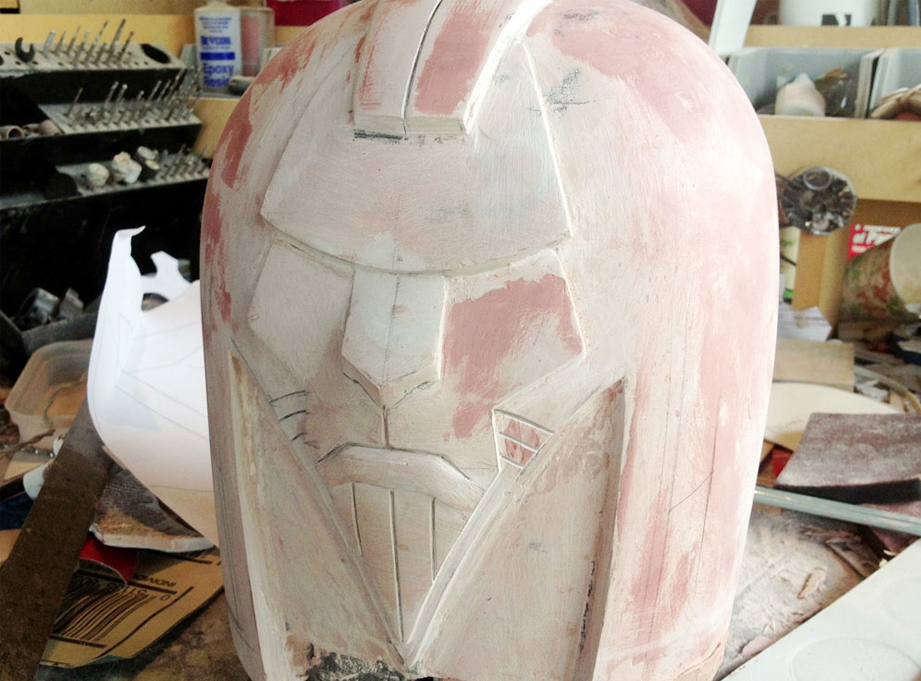
The whiskers, center crest line, and muzzle lines were scribed using a fine file.
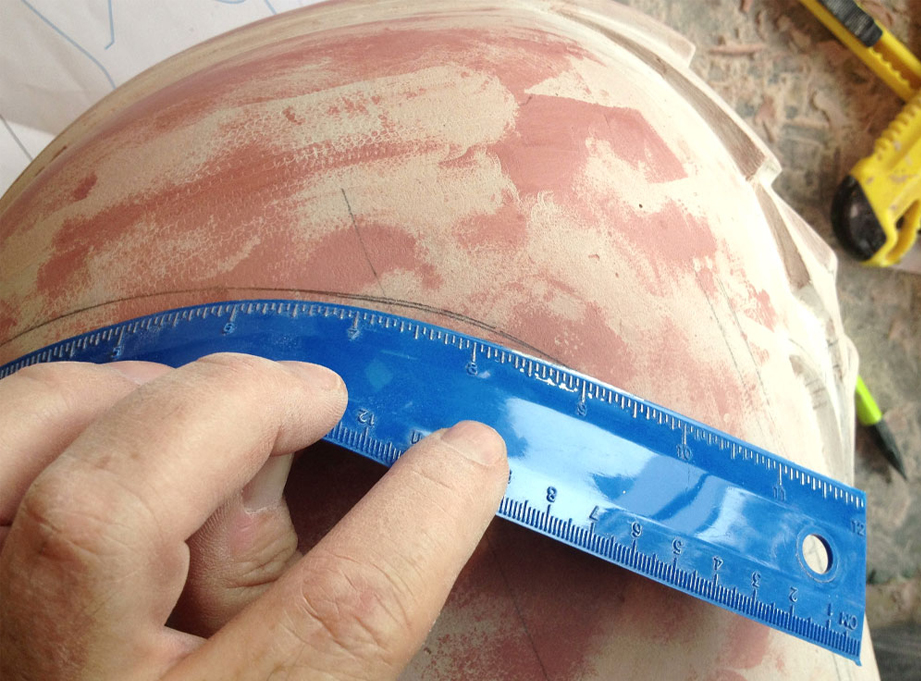
For an object with compound curves like this one, a rubber, flexible ruler is perfect for drawing guide lines. I found this one at the local dollar store! For a dollar!!

The last detail to build was the raised level across the top of the helmet.
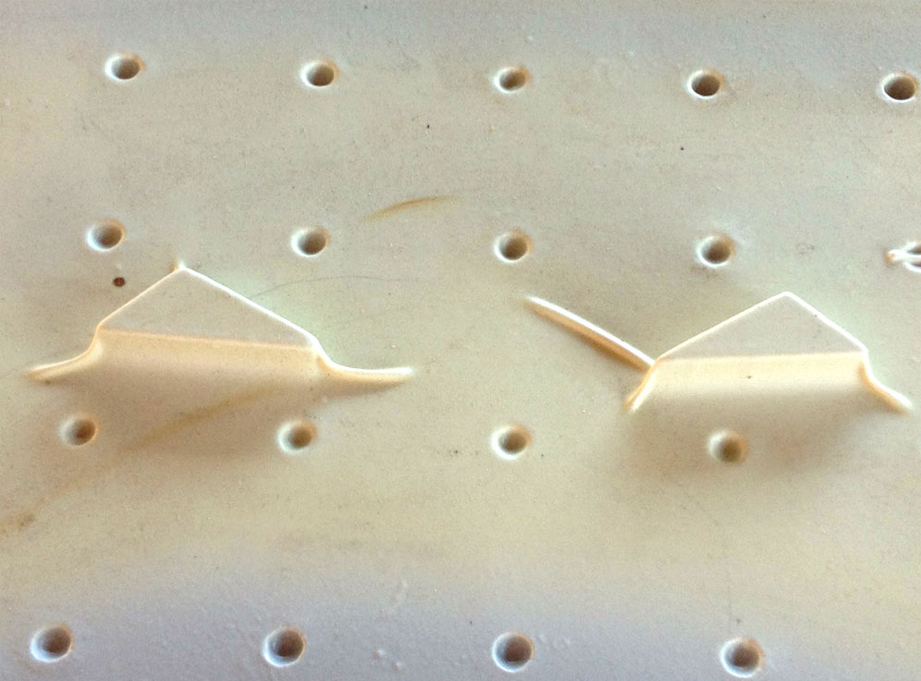
Recessing the eyes of the lion would be difficult to sand and clean up. To get around this issue, I cut MDF to the size of the eye cavity and vacuum formed the shape with thin styrene.
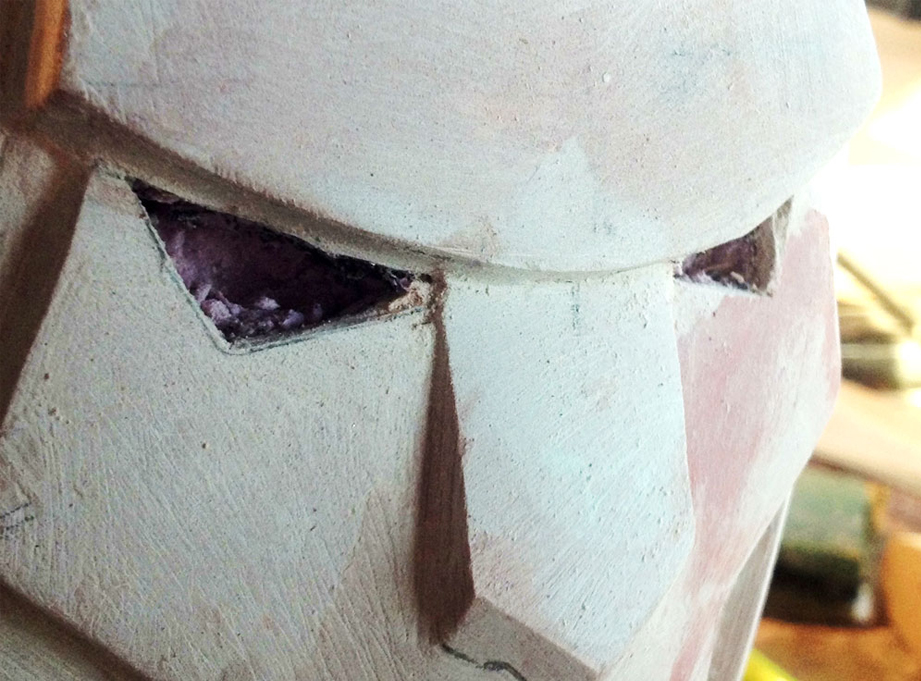
I cut holes slightly larger than the plugs in the lion’s face.

The vacuum-formed plugs slipped into the holes and were epoxied into place. Any excess could be easily trimmed off after the glue set.

To make the stripes on the top of the helmet, I cut some electrical tape to the size.
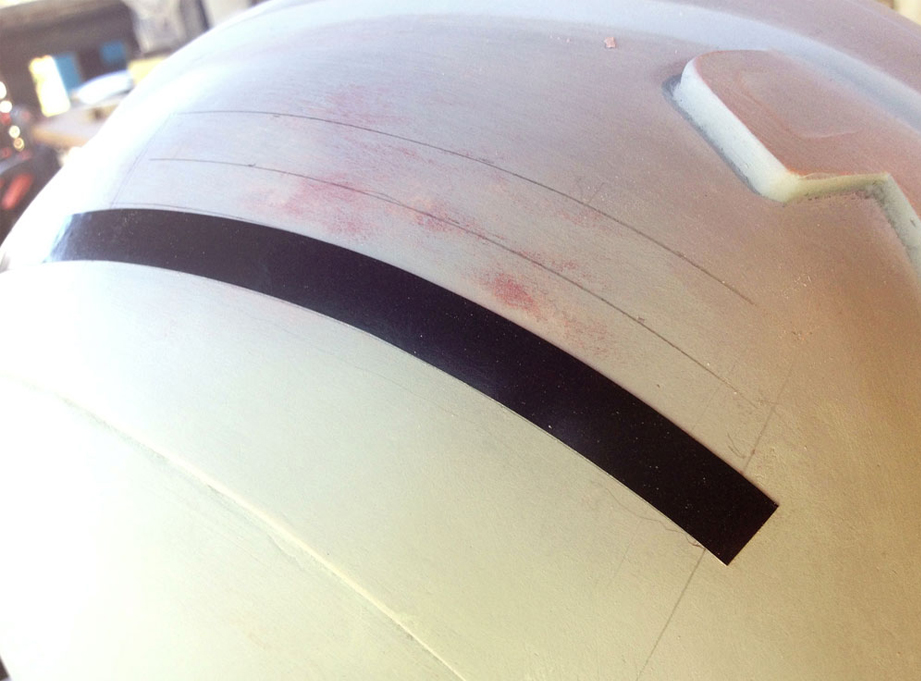
The tape stretches over the complex curve and creates a slightly raised strip.
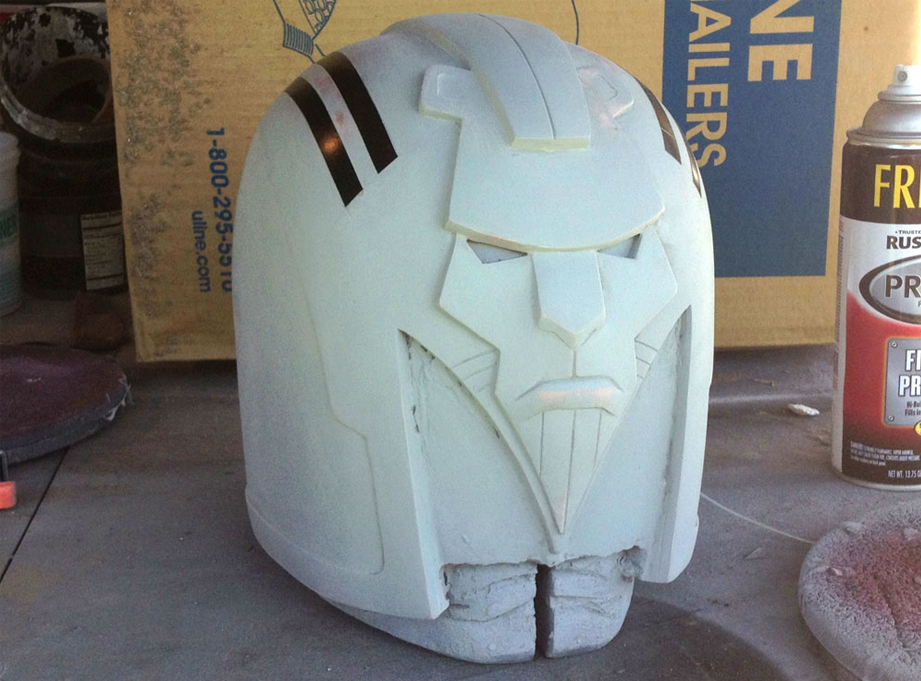
The construction is complete and the helmet is ready to mold!
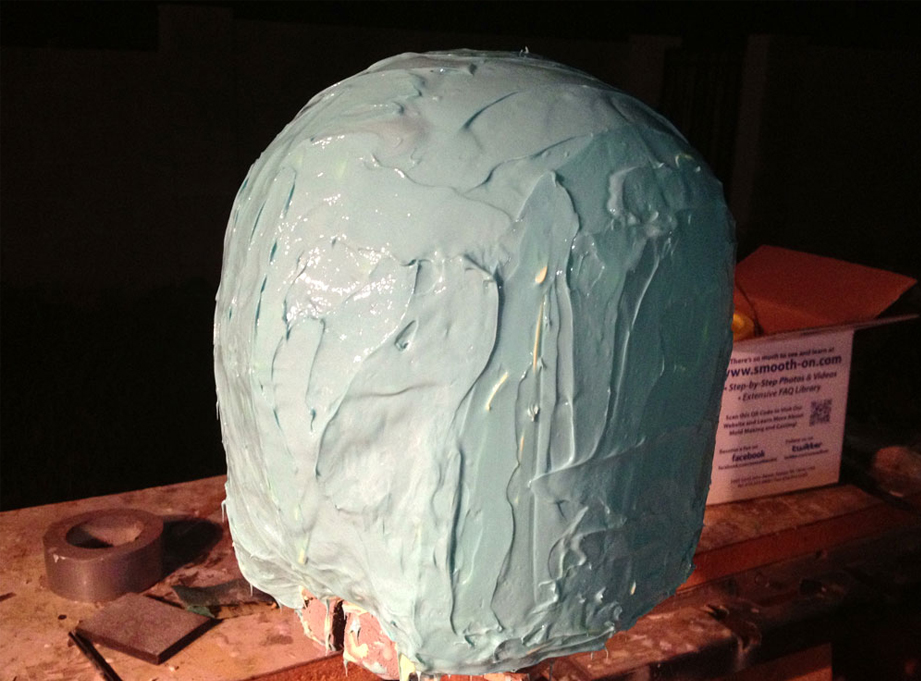
I brushed on several layers of MoldMax Stroke to a thickness of about 1/2″.
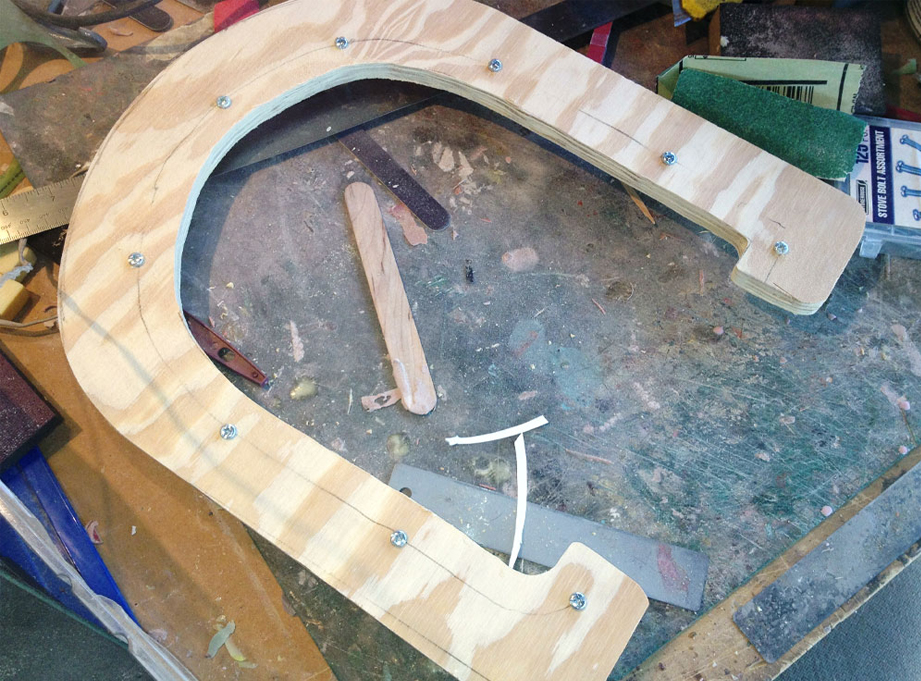
I cut two pieces of 1/4″ plywood to make a parting line for the mother mold. This was placed over the center of the helmet and Plasti-Paste II was applied on each side to support the mold rubber.
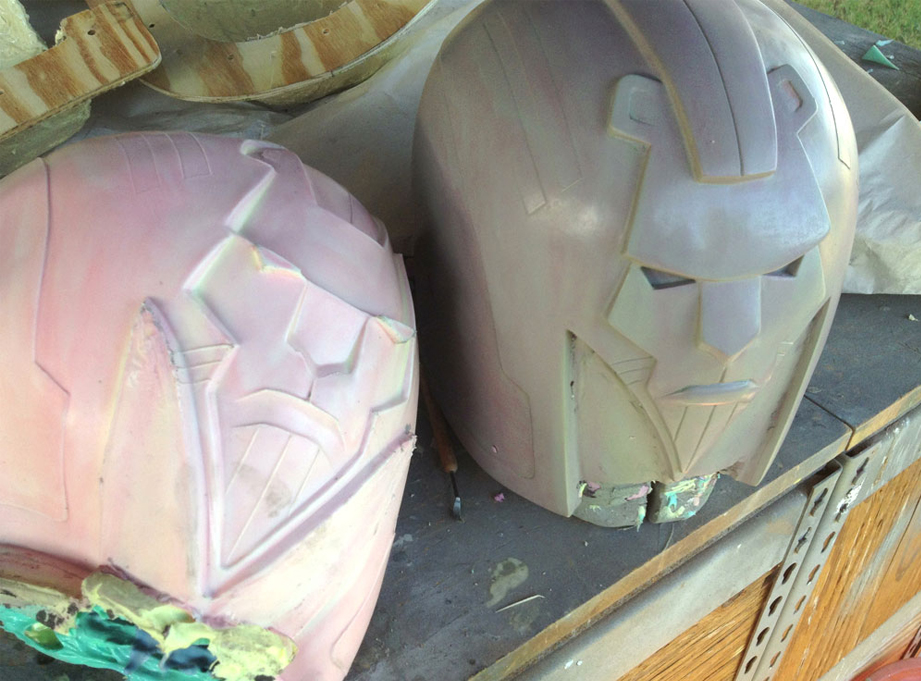
The mold could be peeled off the master like a sock so no seam line!
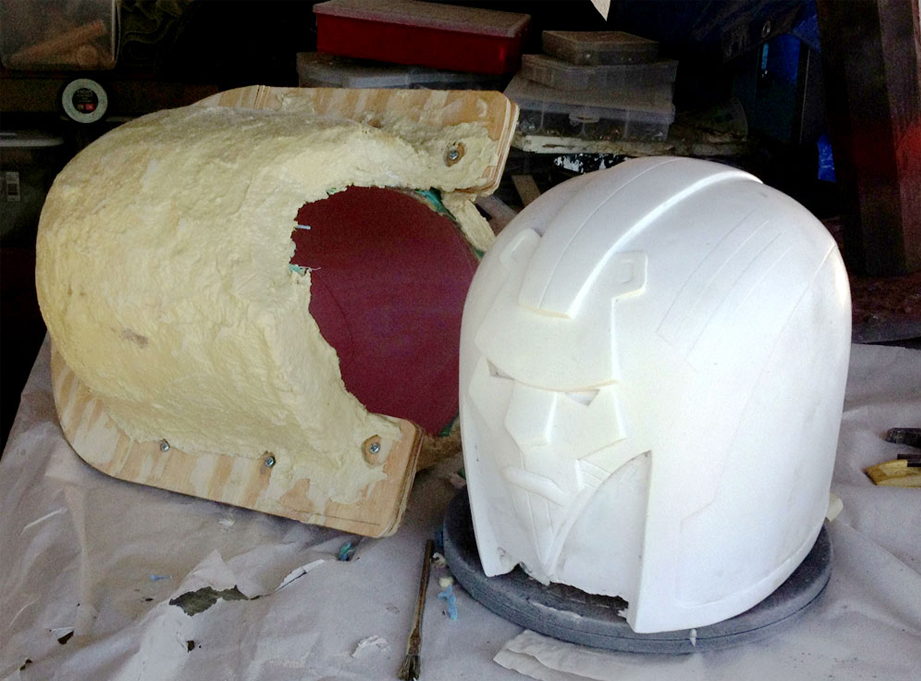
With the mold re-assembled, I could roto cast a copy in SmoothCast 300.
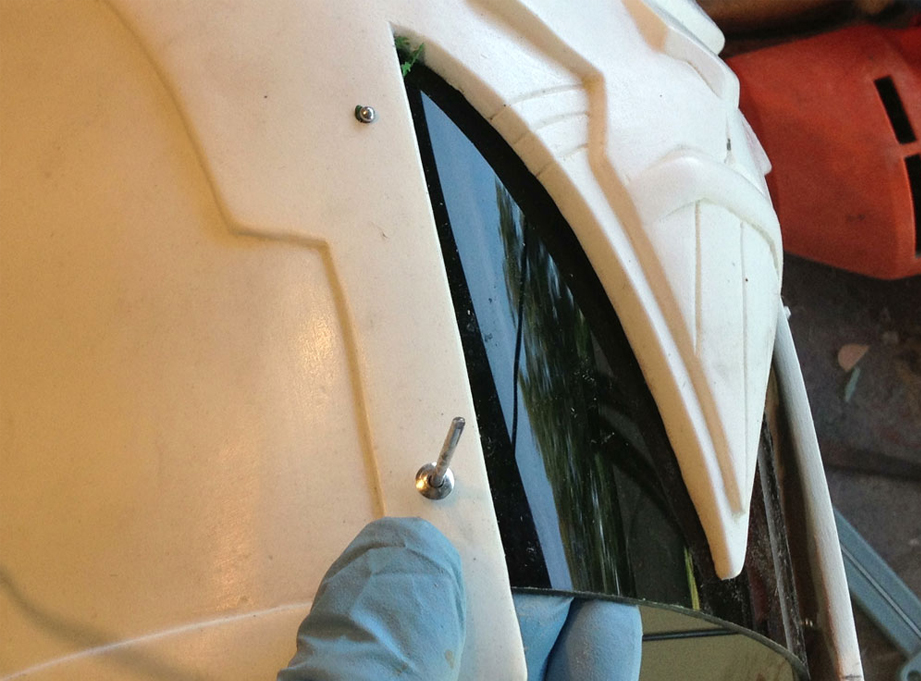
I bought a welding face shield to use for the visor. I cut a small piece and, after clamping it in place, I drilled mounting holes through the helmet and visor so it could be attached with pop rivets.
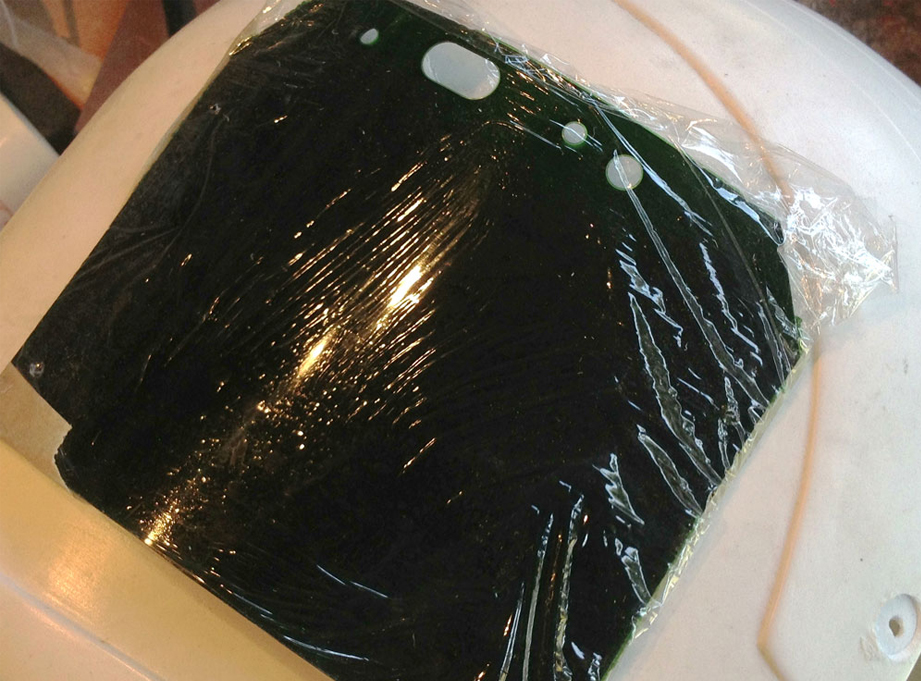
Since I’ll be attaching it before painting, I covered the visor with plastic wrap.
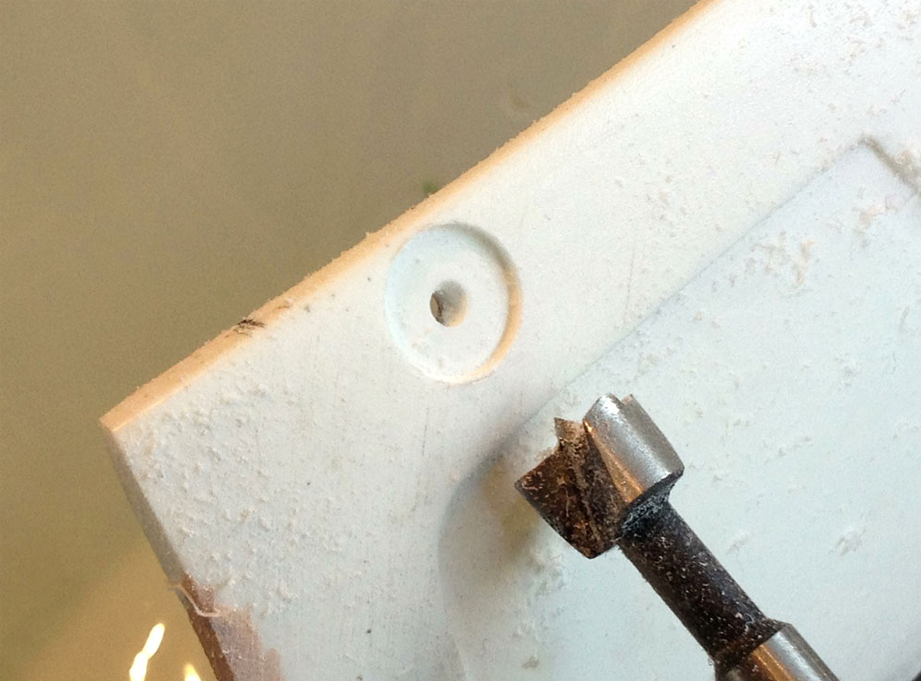
I used a forstner bit to countersink the mounting holes.
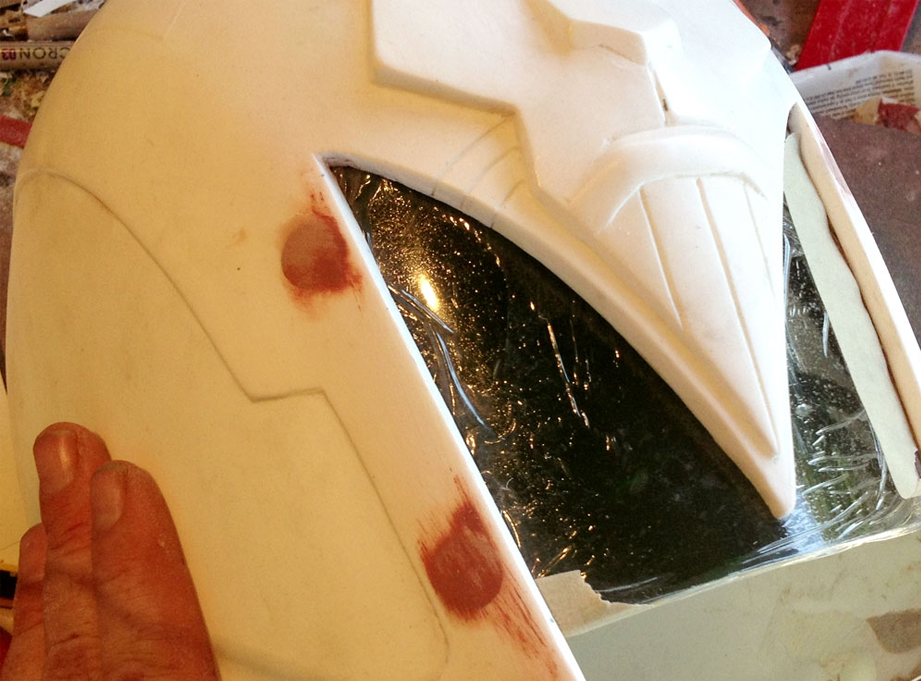
After the visor was attached, I puttied over the rivets.
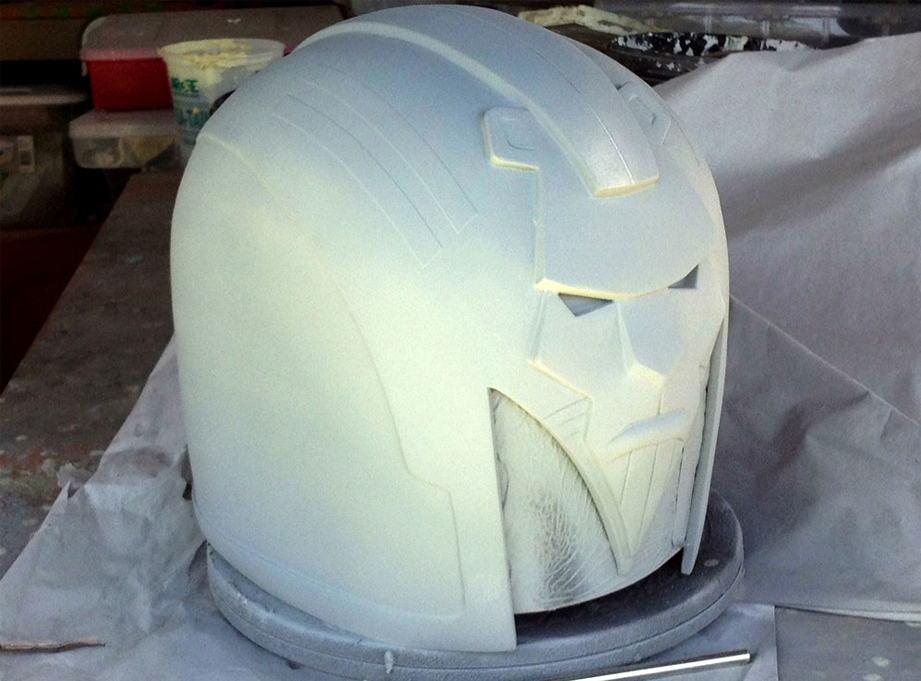
The entire helmet was sprayed with primer to double-check the putty work.
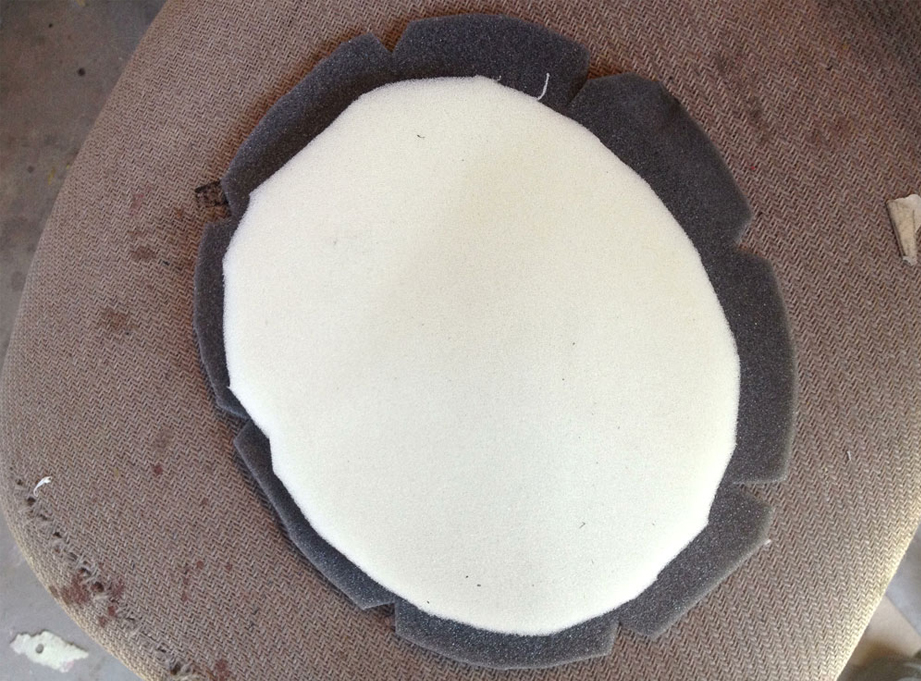
Since the helmet sits so high on the head, I needed to pad it so that it fits properly. I cut 1/2″ foam and covered it with foam backed headliner material (the cloth on the ceiling of your car). This pad fits at the top of the helmet with two extra discs of foam under it.
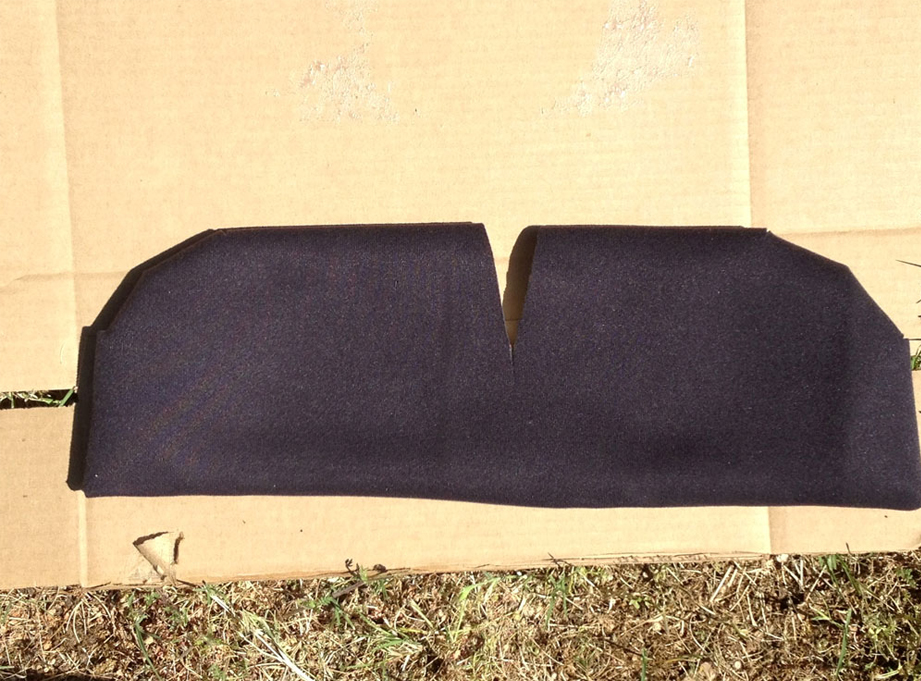
This piece of padding was constructed the same way and wraps around the back and sides of the helmet. I also wrapped an additional pad that sits in back of the helmet.
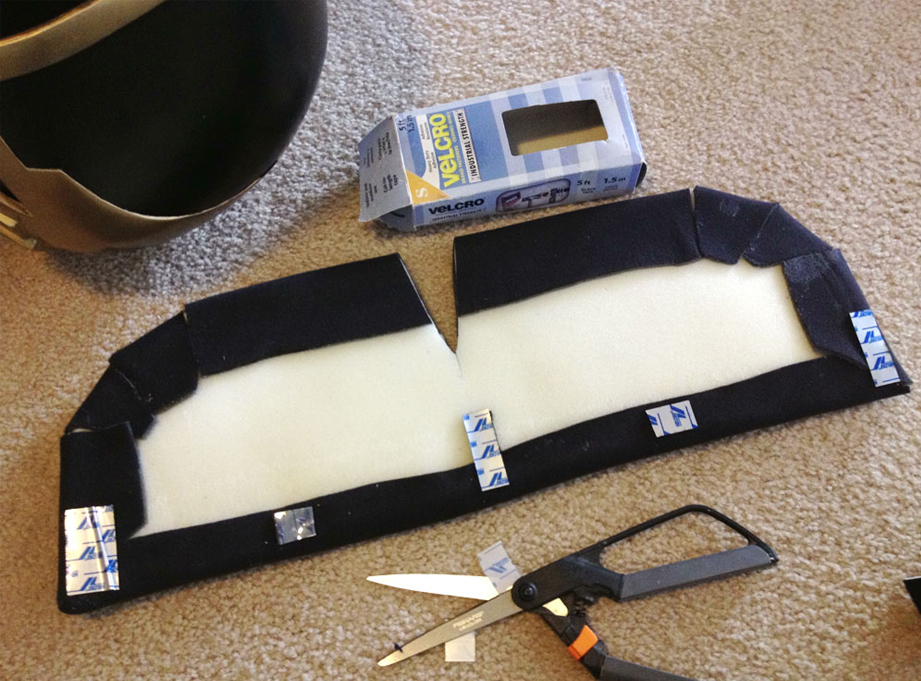
The padding was attached to the helmet with industrial strength velcro.
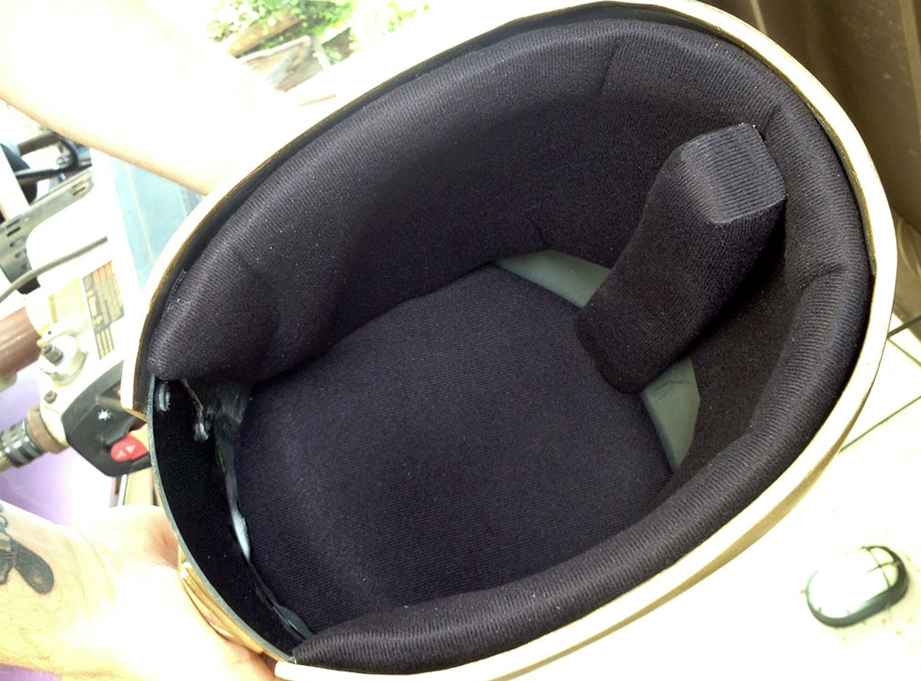
Here you can kind of see the padding in place.
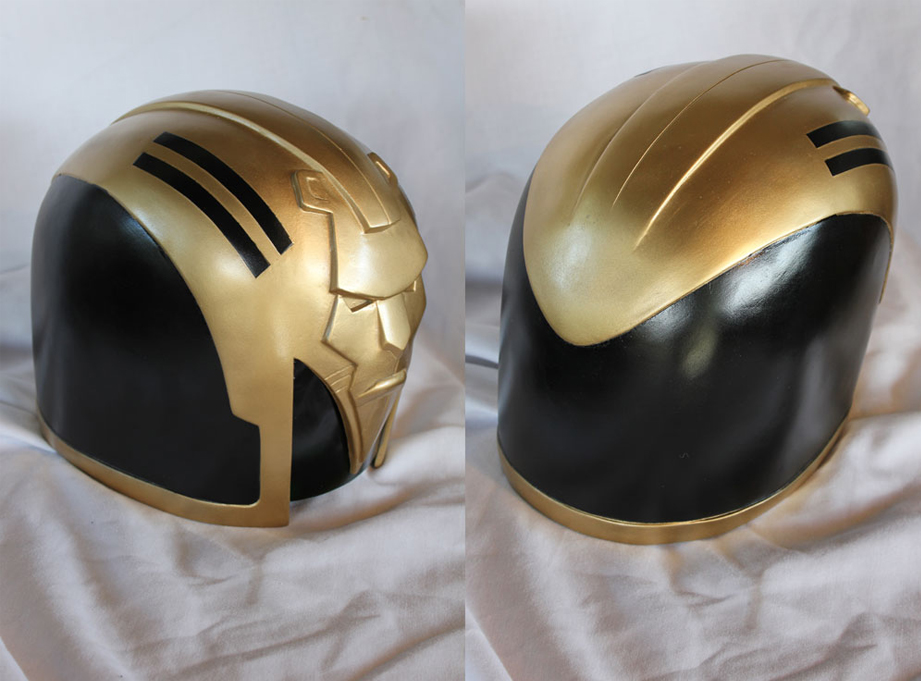
The paint scheme of the helmet was pretty simple, just black and gold.
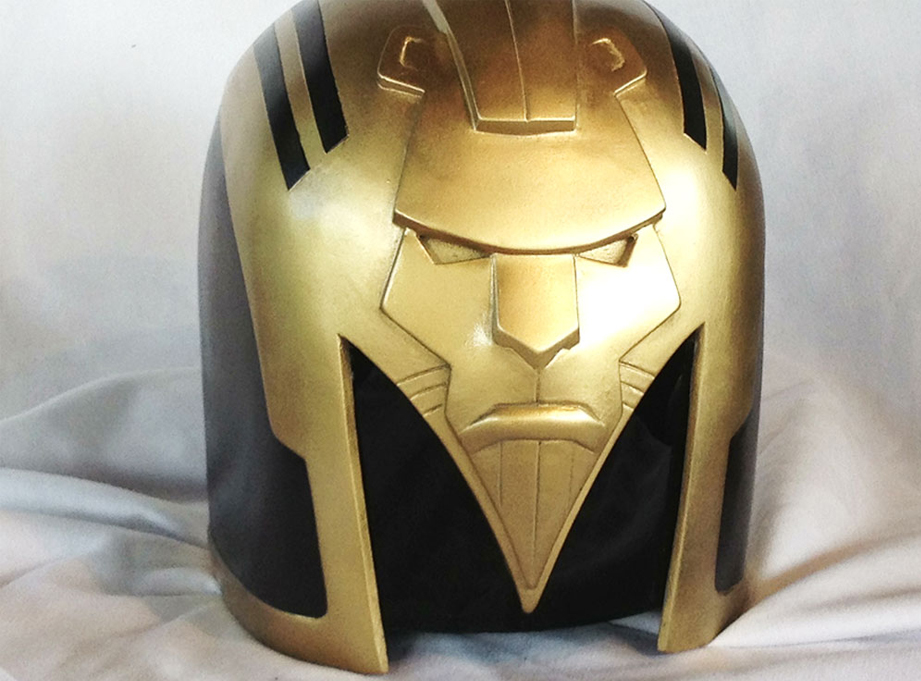
After the paint had a week to cure, I clear coated it with Future Acrylic to protect the finish.
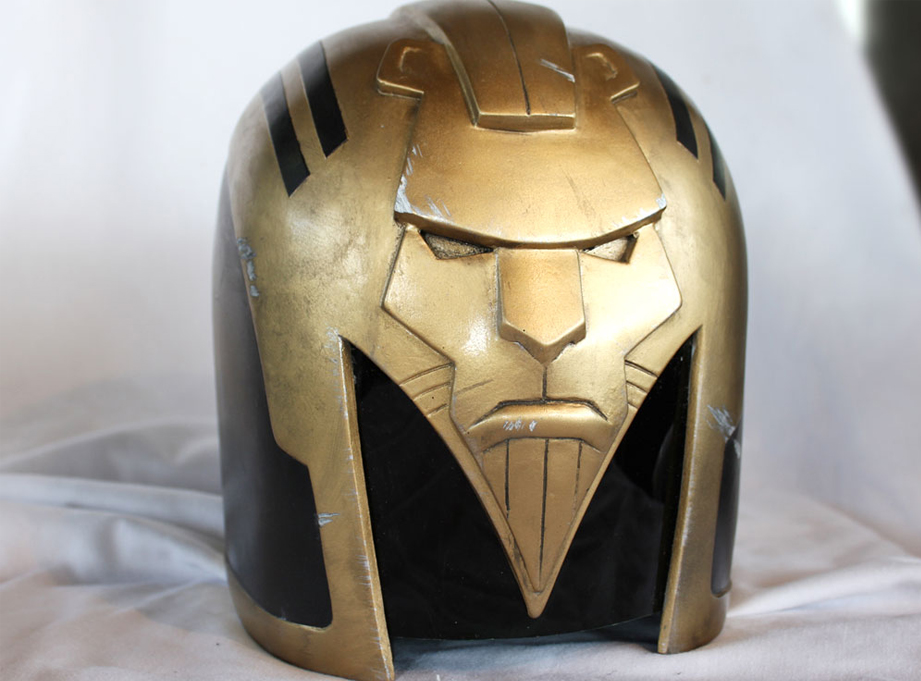
Next, it was time to beat up the helmet with files, rasps and saws to match the battle damage on Dredd movie Judge helmets. Adding silver nicks and scratches and a level of Mega-City grime was enjoyable though. The gold looks better too!
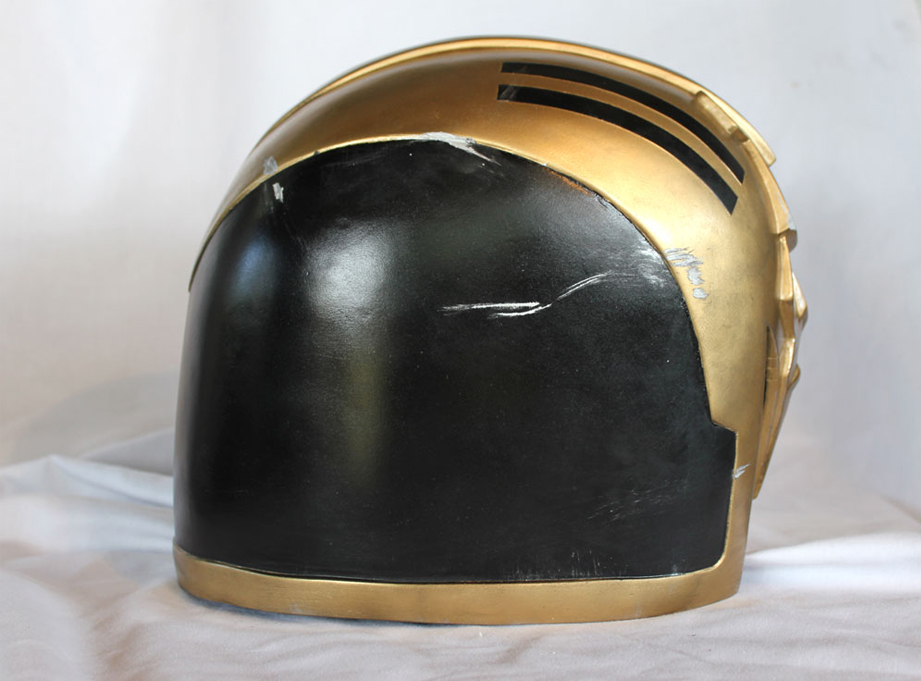
Side view.
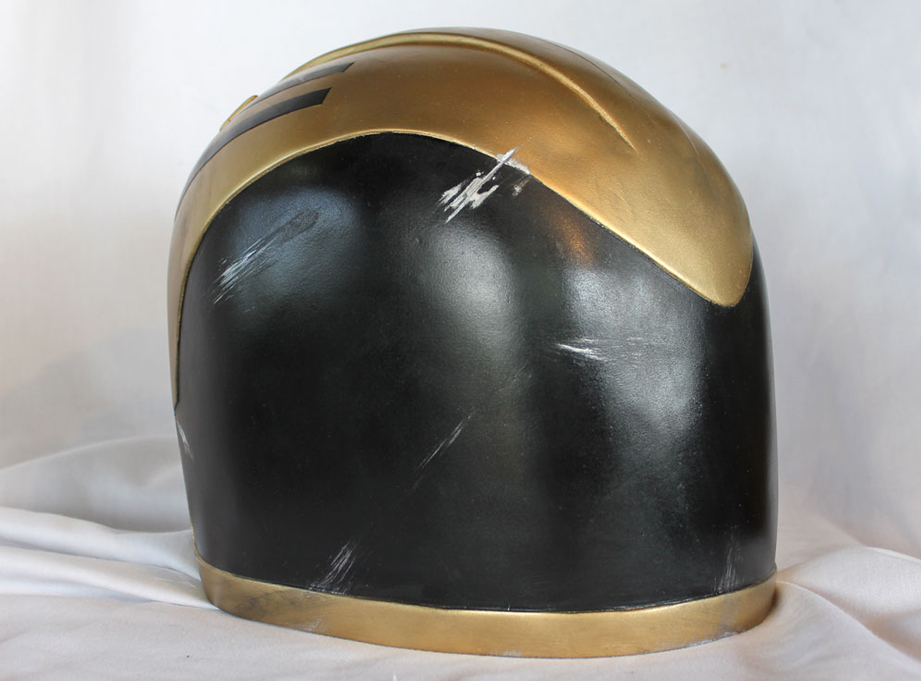
Back.
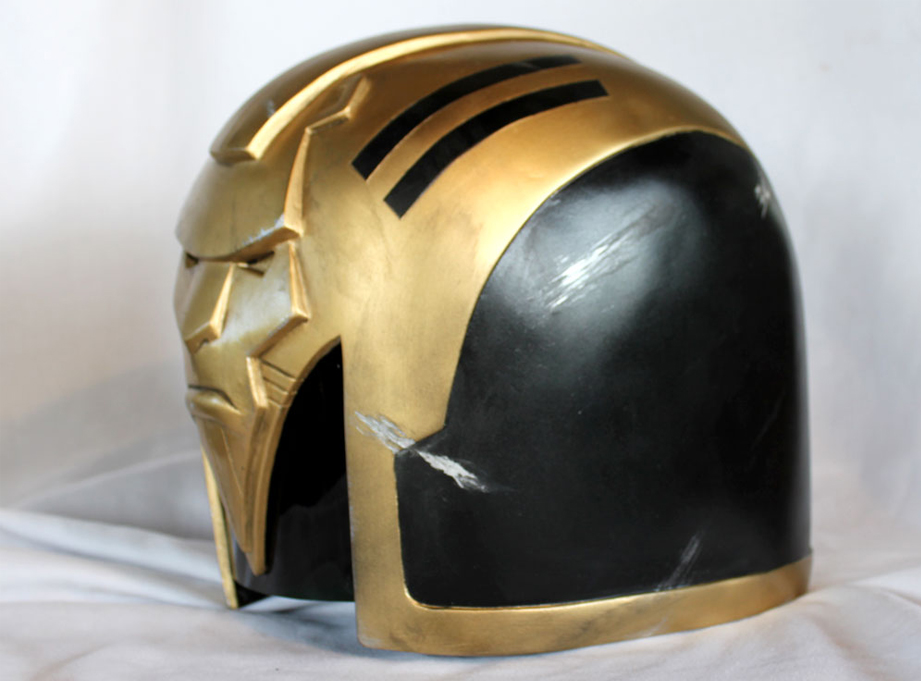
Left side.
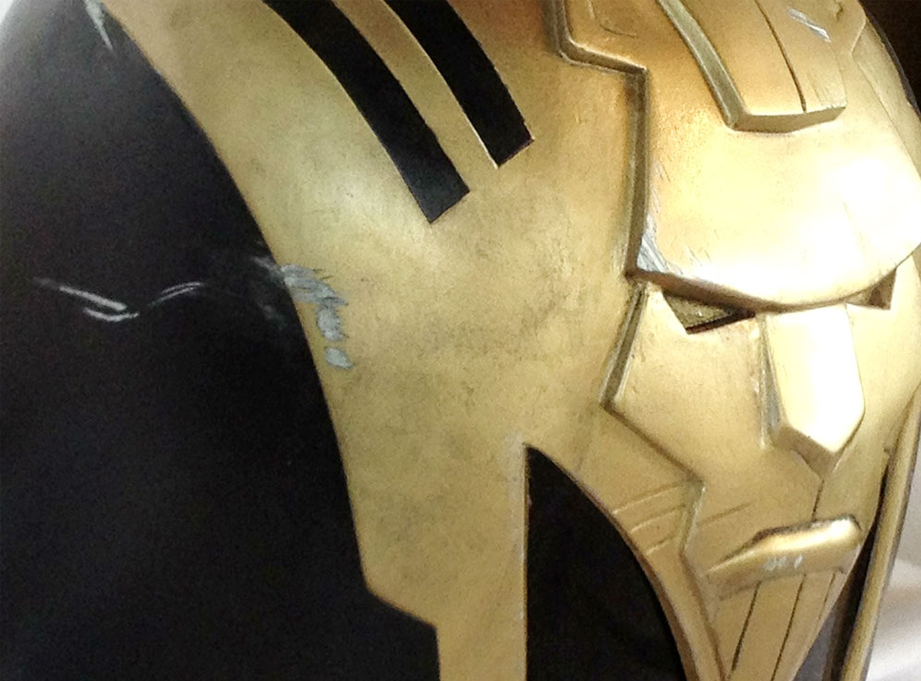
Detail.

My good friend Judge Rotzler was kind enough to pose for pictures while dispensing justice to Brit-Cit perps.
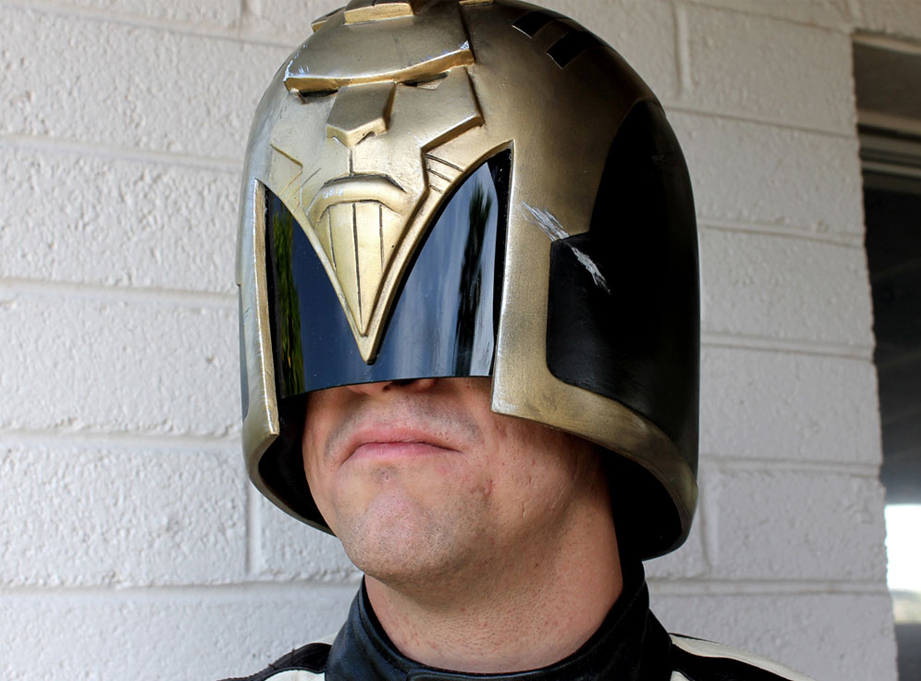
This helmet is actually quite comfortable to wear and the range of vision is much better than you would expect.
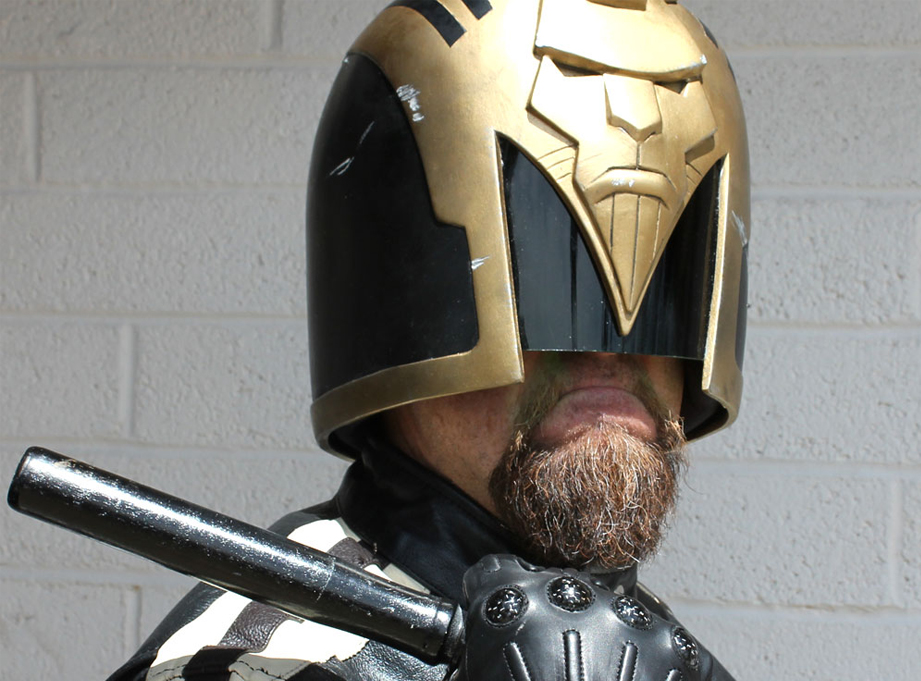
While we were at it, I had to try the helmet on myself even though my beard is not Justice Ministry regulation. It was worth the 8 hours in the isocubes!
