Boromir's Shield
august 2007
Boromir is a character in J. R. R. Tolkien's Lord of the Rings. As a member of the Fellowship of the Ring, his desperation to save his country ultimately drove him to betray his companions and attempt to seize the Ring, but he was redeemed by his brave last stand.

United Cutlery planned an official replica of Boromir’s shield but went out of business before it could be made. I was really looking forward to getting one so I’ll make one myself.
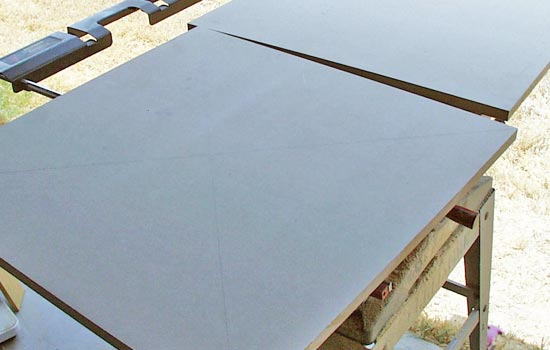
The shield was constructed out of two 3/4″ MDF pieces, cut to 27″ square.
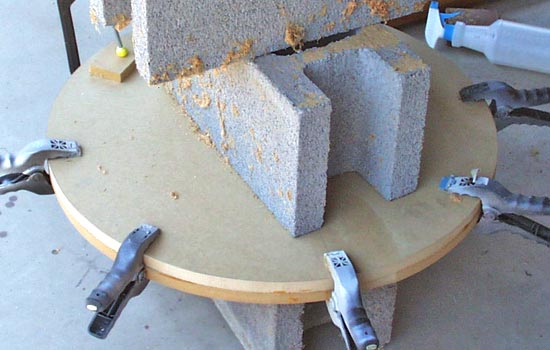
I cut the circles with a jigsaw and glued the two pieces together.
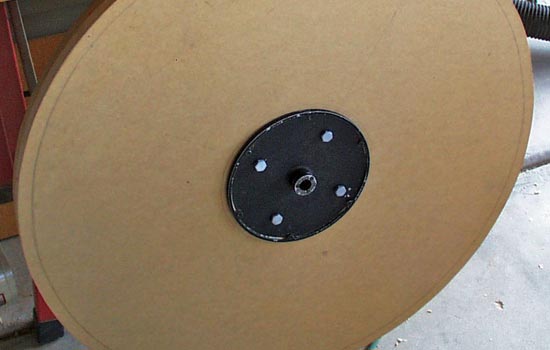
My cheap-o lathe only turns over the bed but it has a disk sander on the outside. I suspect that this was stupidly dangerous BUT I took the sanding disk off the machine, drilled holes in it and mounted the MDF to the plate.
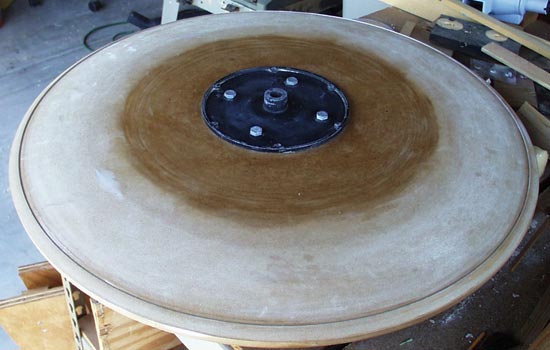
I started turning the outside of the shield first. The MDF weighed about 20 lbs. I spun it by hand to get it going to take stress off the motor but once it got going at top speed (of the lathe’s lowest setting) the weight made the ENTIRE LATHE wobble and shake! I used a foot switch to kick off the power and then lathed like crazy while it slowed down. I expected at any second the whole thing would come flying apart, sending heavy chunks of MDF and broken lathe in all directions!
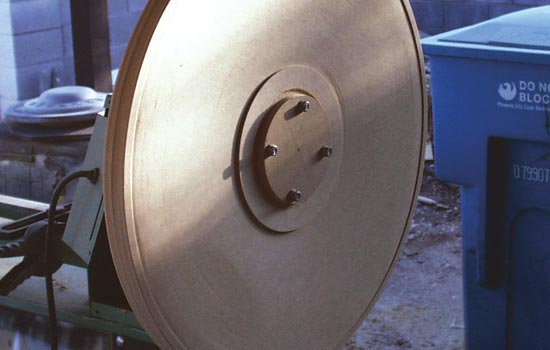
I was able to successfully turn the outside of the shield so I flipped the MDF on the lathe and started the inside. The shield had shed about 5 lbs so it was a bit easier to handle. I still worked the lathe the same way so I didn’t ruin the machine. By the time I was done the shield dropped to about 8 lbs.
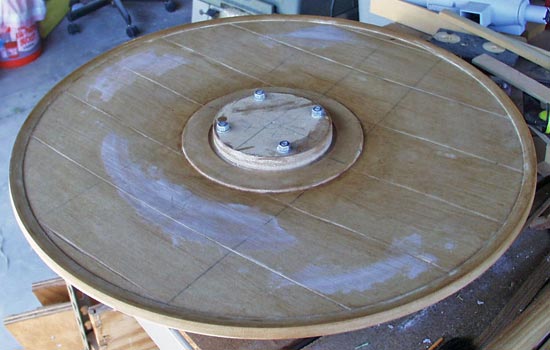
Here is the finished inside with the plate still attached. I brushed both sides with a generous coat of shellac to seal the MDF and then removed the plate and cut out the center hole.
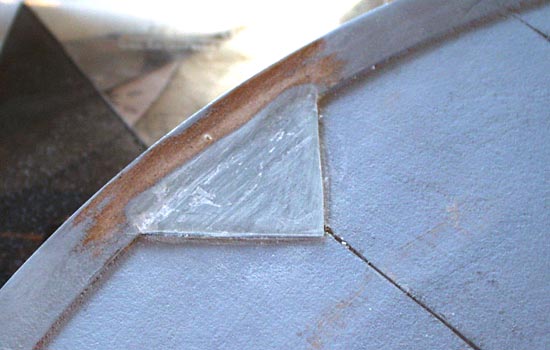
The rim has four triangular pieces on each side. I used Aves epoxy putty to form the ones on the inside.
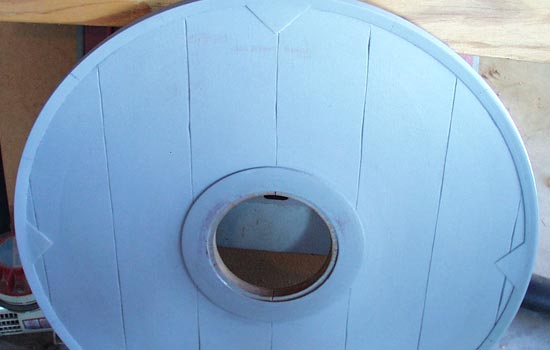
I used an Xacto knife to cut the planks into the inside of the shield.
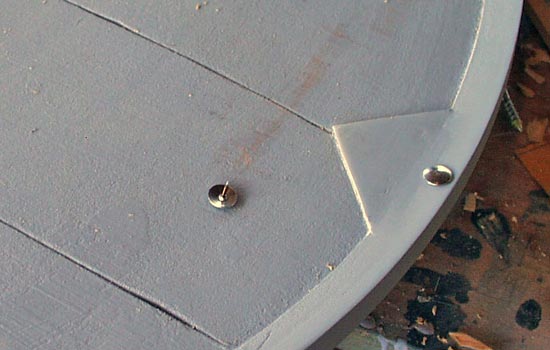
The rivets along the edge just happened to be the same size as ordinary thumb tacks!
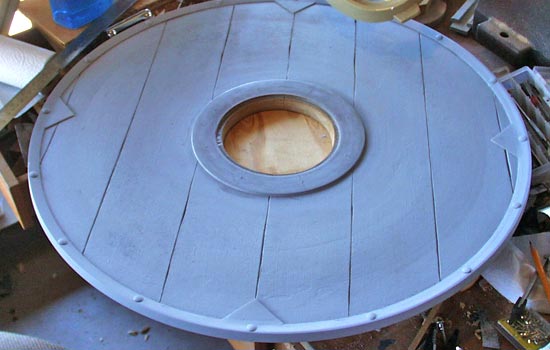
The edge rivets all in place.
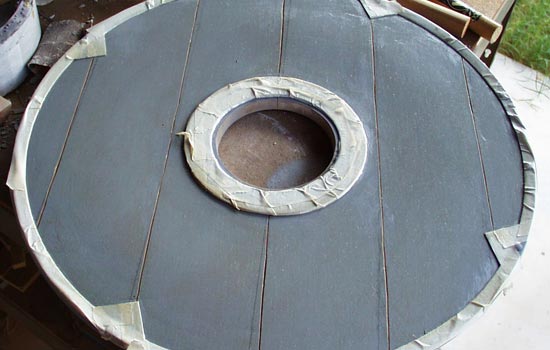
Unfortunately I found new reference that showed the planks at a different angle. I filled them with wood putty and then re-cut them.
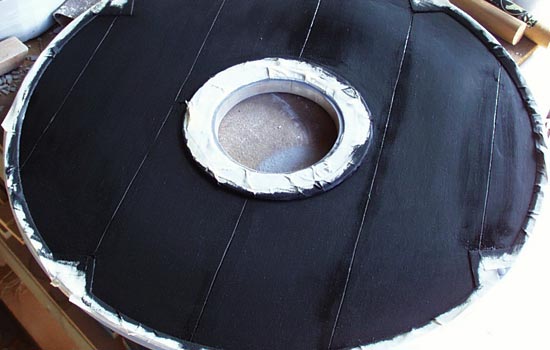
I painted a base coat of black to the wood areas.
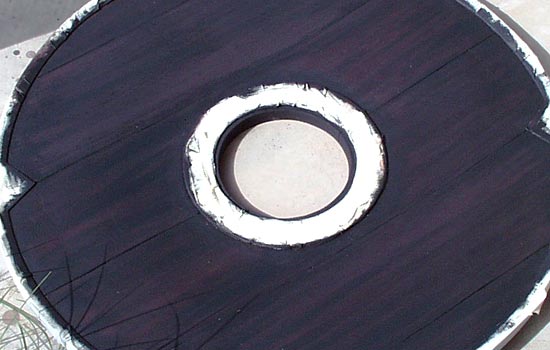
And then, using an old tube sock, brushed in the wood grain highlights.
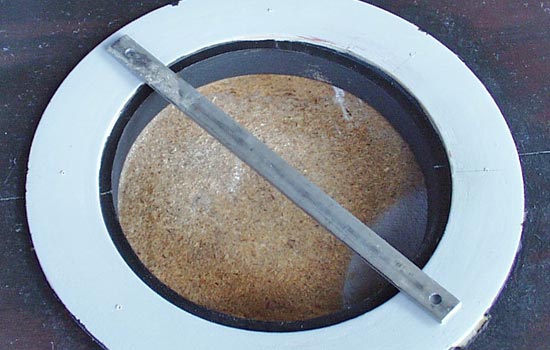
Since the center handle needed to be strong enough to support the weight of the shield, I used a piece of 1/8″ steel.
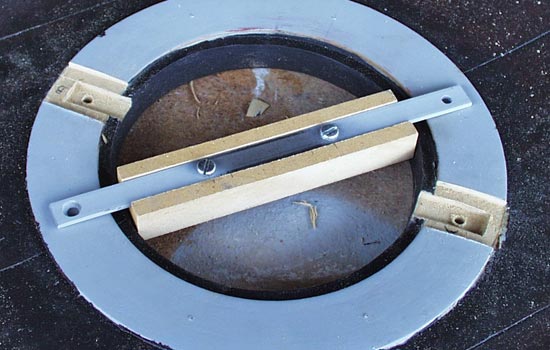
I cut out sections of the center ring and then cut grooves into the MDF to fit the steel. The ring sections that I cut out were saved to glue back in later.
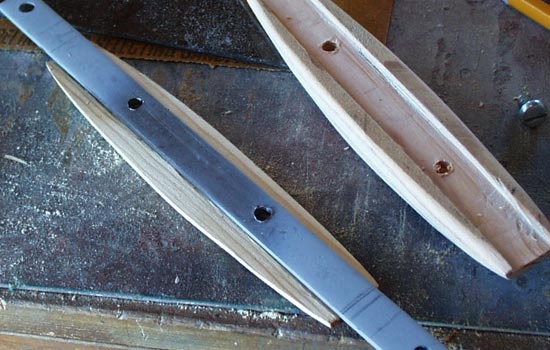
I used pine scraps to form the handle. I screwed one half to the steel.
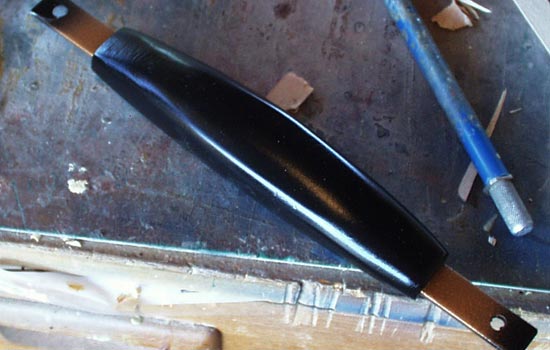
The finished handle was painted with a glossy black and the exposed steel was painted with brass (color) enamel paint.
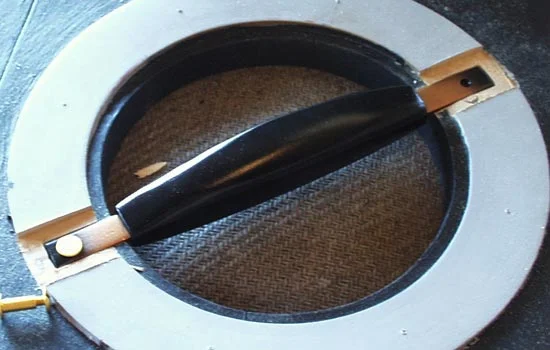
The handle was secured with brass screw posts that went through the entire shield.
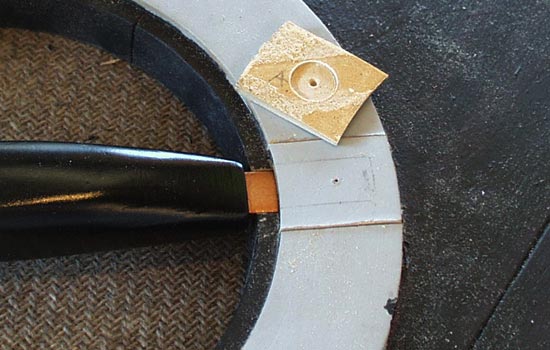
The ring sections were glued back into place and then puttied.
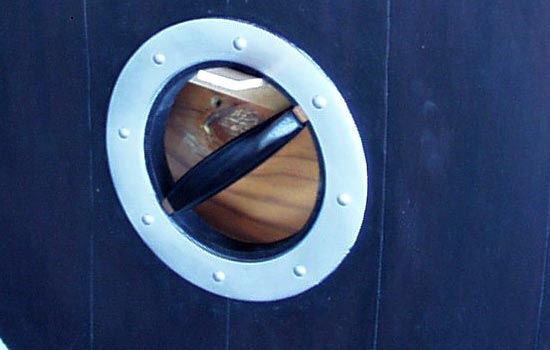
I added thumbtacks as rivets to the inner ring.
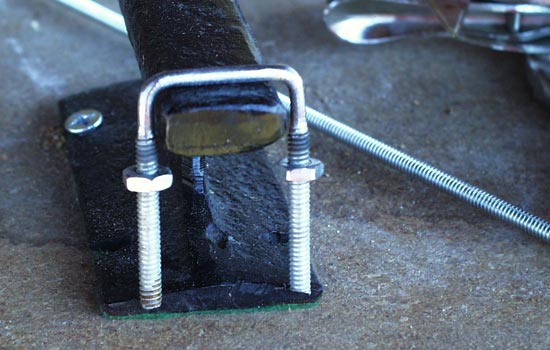
The outer sling hardware was made from a 3/16″ threaded rod. I removed the threads from the center with a bench grinder.
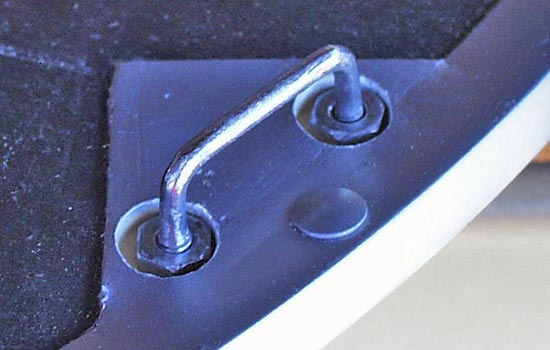
The threaded ends were inserted through the shield, cut flush and then bolted.
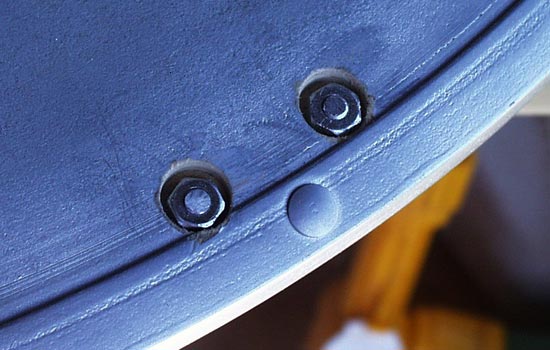
The threaded ends were inserted through the shield, cut flush and then bolted.
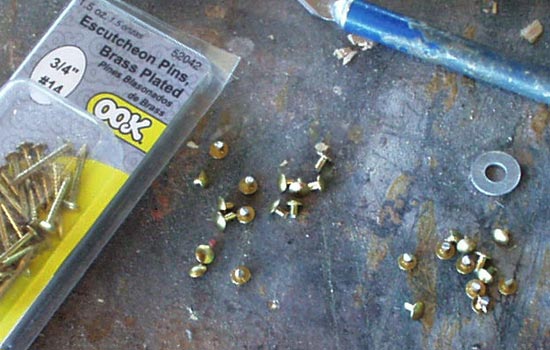
Each of the rim “triangles” have three brass rivets. I used brass plated nails and trimmed off the heads to use as the rivets. I drilled a shallow hole and then epoxied them in.
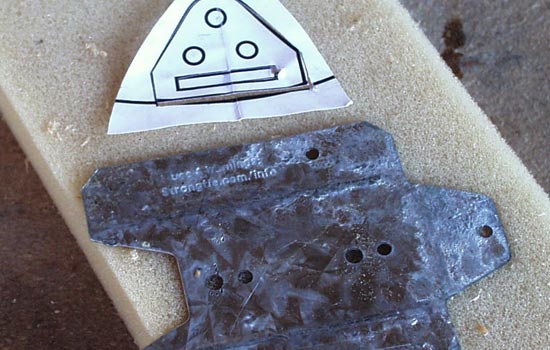
For the inner strap bracket, I bought a 35¢ galvanized steel joist hanger and pounded it flat.
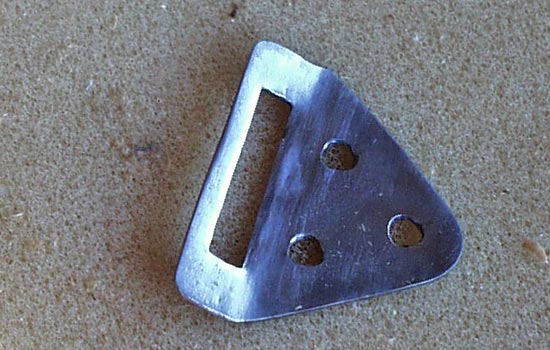
I trimmed out the shape and bent up the end.
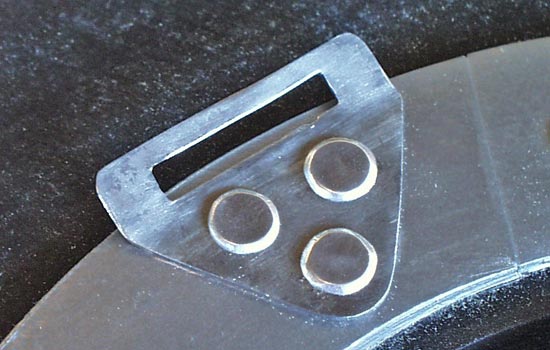
The bracket was attached with three screw posts, drilled through the body of the shield. The heads were a bit big so I ground 1/32″ off the diameter.
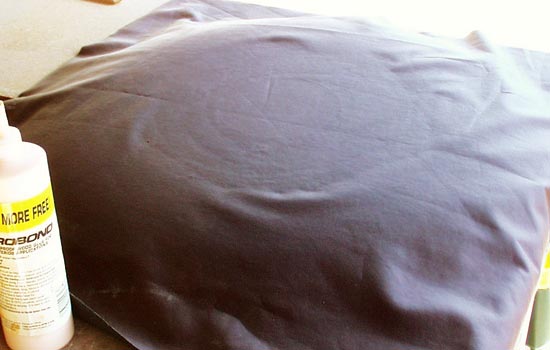
I was able to find some vinyl that exactly matched the leather used for the film shield. I cut off a square piece and then, starting at the center, glued the cover to the outside of the shield.
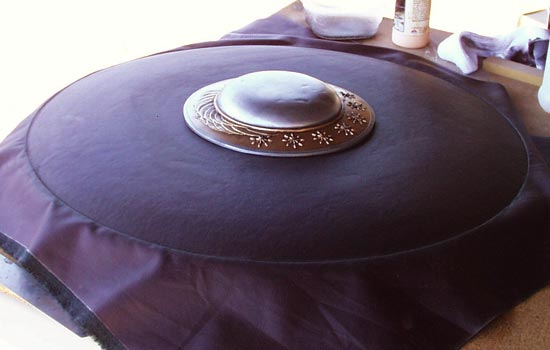
The cover completely glued down. The vinyl was stretchy enough not to crease or wrinkle. After the glue had time to set, I used an xacto knife and trimmed off the excess.
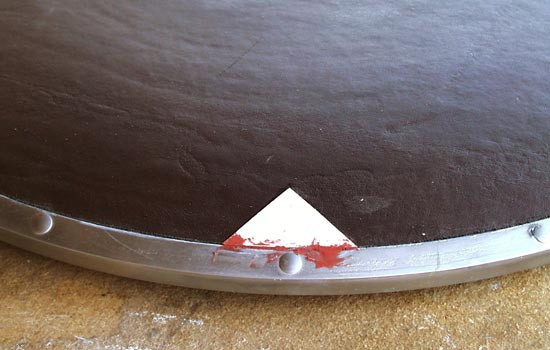
For the outside rim triangles, I contact-cemented styrene to the vinyl and then puttied the seam to make it blend into rim.
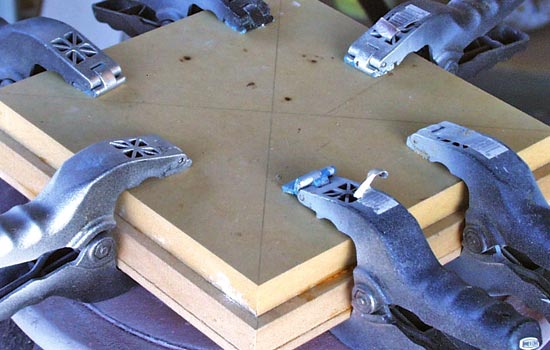
I glued together two 3/4″ pieces of MDF to make the boss (The metal center of the shield)
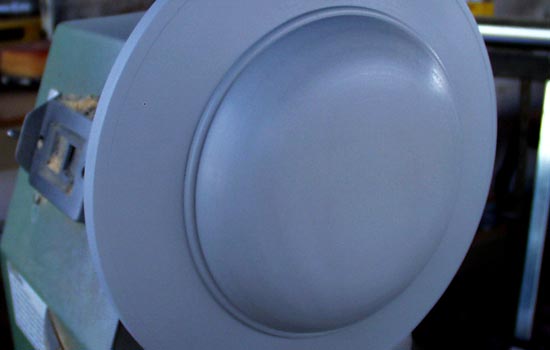
I attached it to the lathe and shaped the boss.
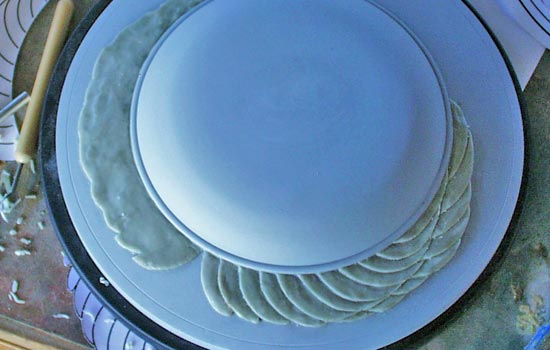
I used Aves epoxy putty to carve the wings.
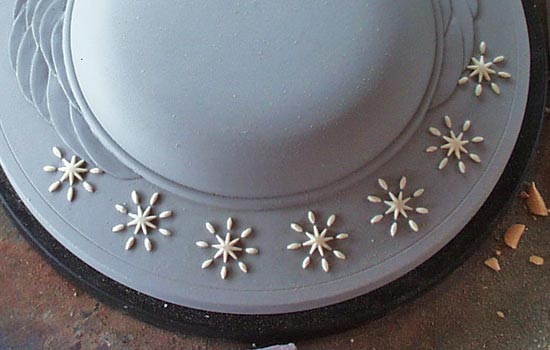
I carved one star using the same method and then molded it in silicone. I cast copies of it in resin and then glued the pieces to the MDF.
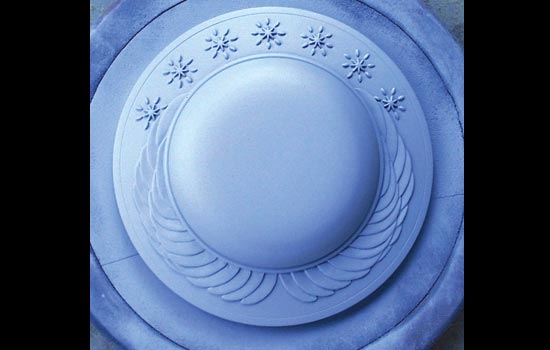
The final primered boss.
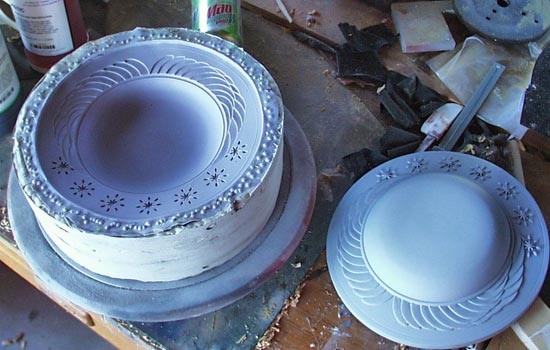
Since the boss needs to be hollow, my plan was to make a mold and then make a slush cast in resin.
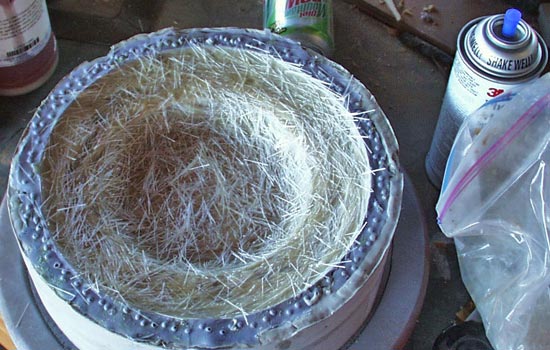
I slush cast a layer of resin into the mold and then a layer of resin with chopped fiberglass strands.
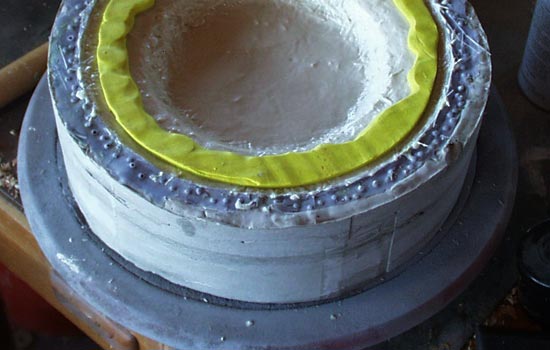
I needed to build an edge so the boss could be attached to the shield. I built up a barrier with clay and then poured resin into the edge.
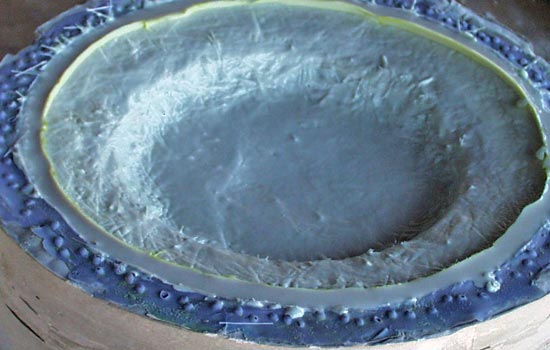
With the clay removed, you can see the edge lip.
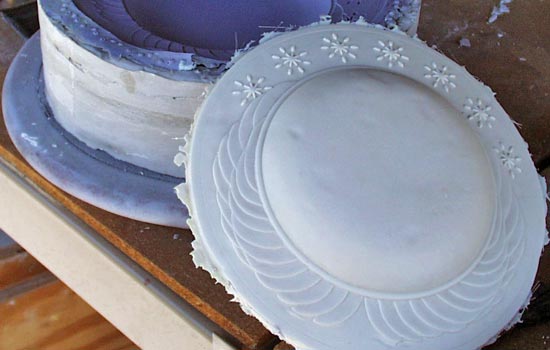
The resin boss demolded. I had some dents where the mold was too thin and pulled away from the mother mold. I filled some of them with filler putty but left a few because they looked like battle damage!
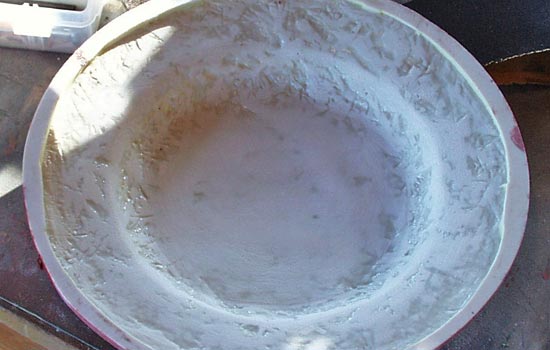
The boss trimmed and the inside sanded, ready for painting.
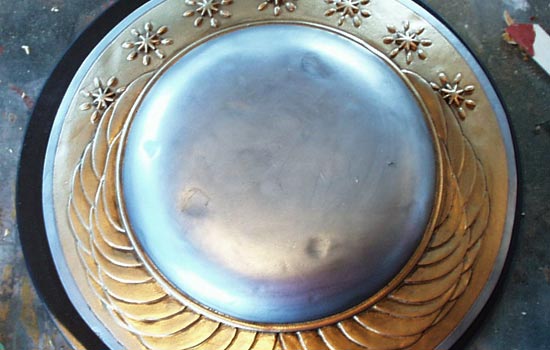
The final painted boss. I started with a coat of primer and then a coat of gloss black. The silver is Testors Metallizer Stainless Steel and the brass is enamel brass (which looked too copper) with a thin coat of gold. The whole thing is weathered with a solution of india ink and rubbing alcohol.
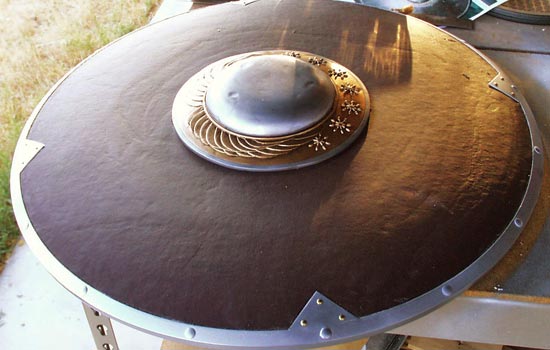
I re-painted the rim and added the brass rivets to each outside triangle. The boss was then epoxied to the center of the shield.
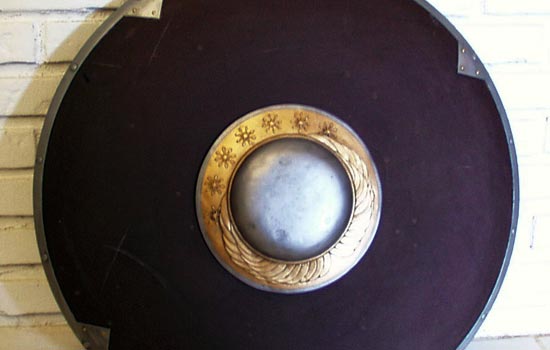
The final shield.
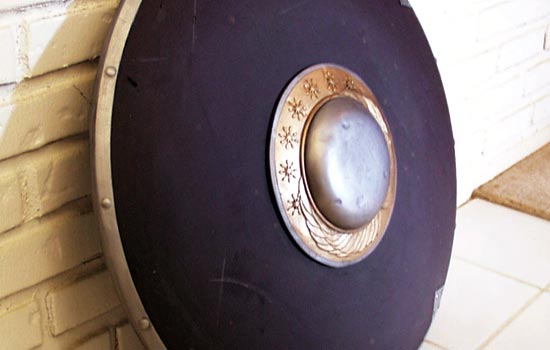
Side view to show dimension.
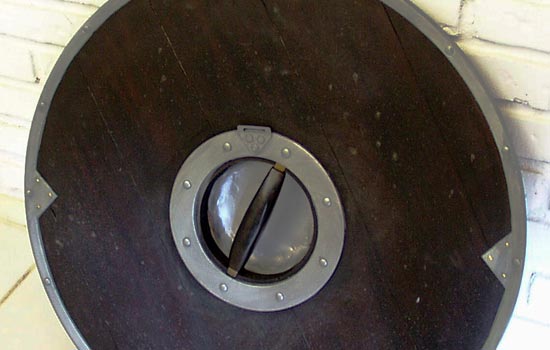
The shield from the back.
