balrog stand
July 2007
Balrogs are fictional creatures who appear in J. R. R. Tolkien's Middle-earth stories. The Fellowship of the Ring encounters one known as Durin's Bane in the Mines of Moria. Balrogs are described as tall and menacing beings that can shroud themselves in fire, darkness, and shadow.
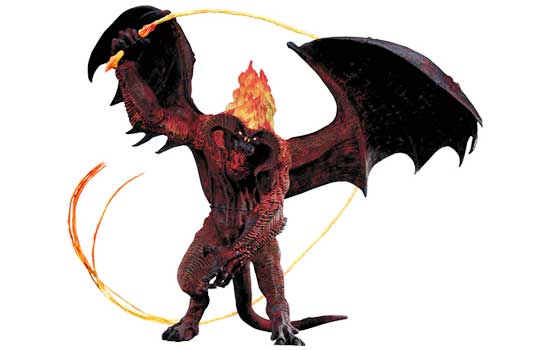
Last year NECA Toys came out with a fantastic Balrog (from Lord Of The Rings) that I couldn’t resist. He stands 24″ tall and has a wings span of 42″! Unfortunately he is so top heavy, within a few days his legs would bend and he would fall over. The Balrog spent the next 9 months face down on the living room floor until I could devise a solution.
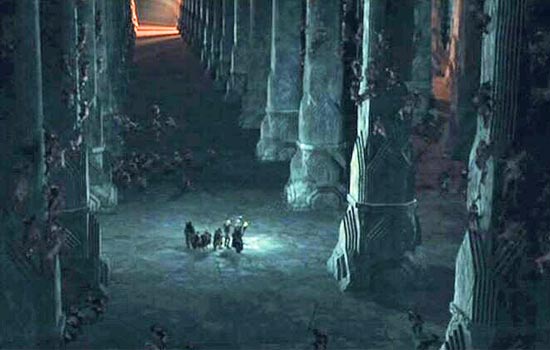
I decided to make a stand with a support to take all that weight off his legs. The cool dwarvish columns holding up the ceiling of the Mines of Moria seemed like a good solution.
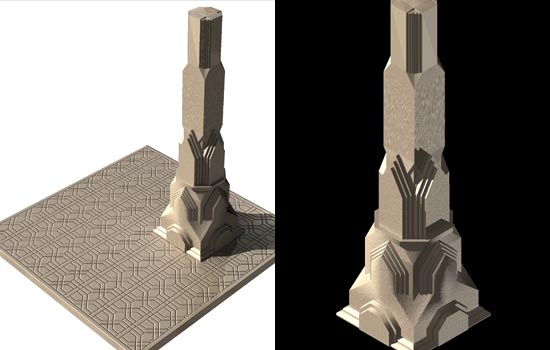
I did my 3D prototyping in Strata3D, basing the details on the info I could get from screen captures. The column is smaller than it should be in relation to the toy but it looks better at this size.
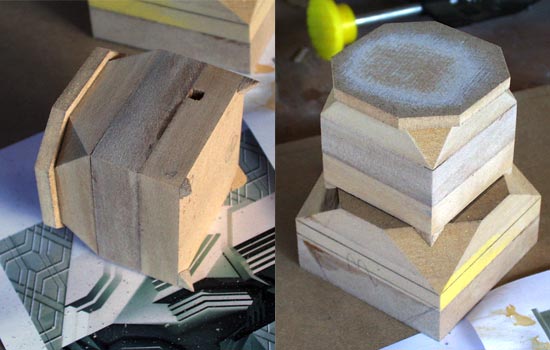
I laminated sections of MDF together to make the sections of the column.
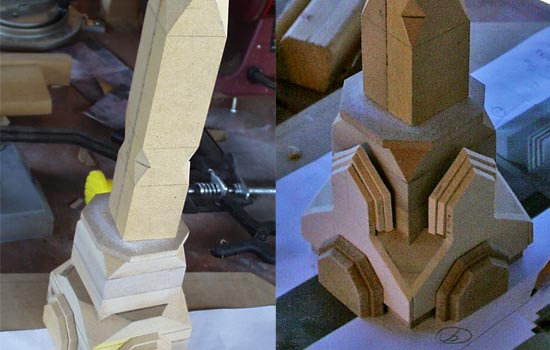
I cut off the upper corners using the table saw. I used various thickness of basswood to make the panels on the base. The thick, darker panels on the bottom are 1/4″ MDF.
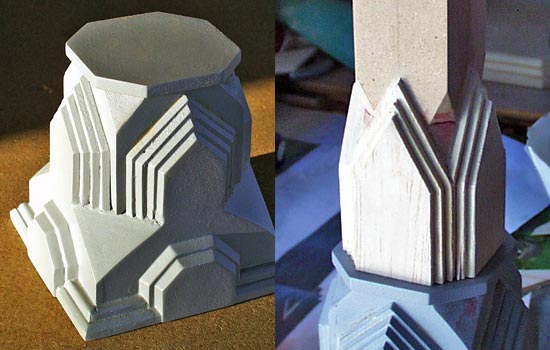
The final primered base. I used the same materials and technique to flesh out the next sections.
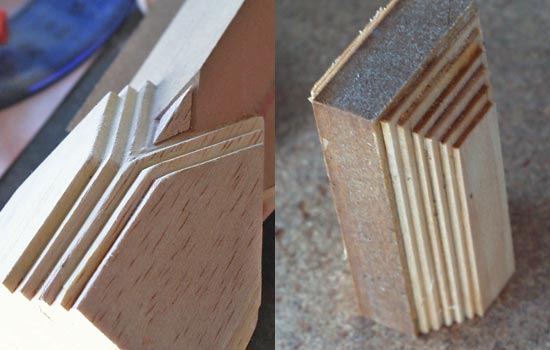
The top of the column would actually ascend to the ceiling but I wanted mine to stop at Balrog waist level.
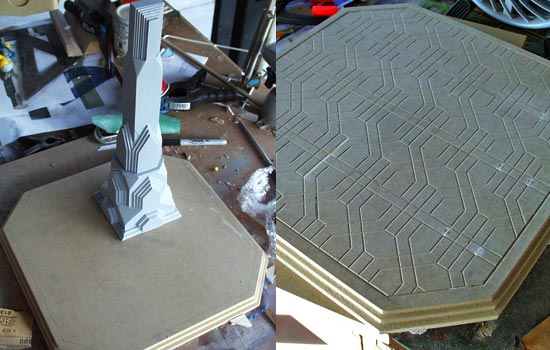
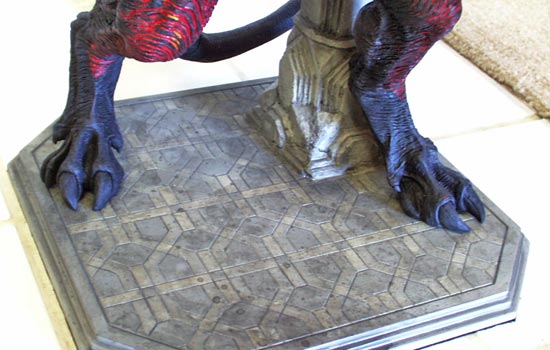
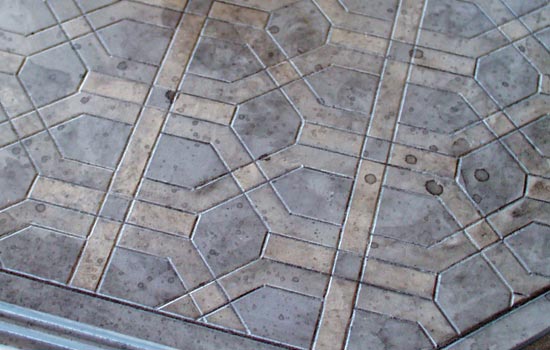
The base was cut from 3/4″ MDF with steps carved with a router. The tile design was transferred to the board by placing the laser print face down, brushing lacquer thinner on the paper and then rubbing the back of the paper. The thinner softens the toner allowing it to transfer to the board. I used a carving bit in the Dremel to carve the tile seams.
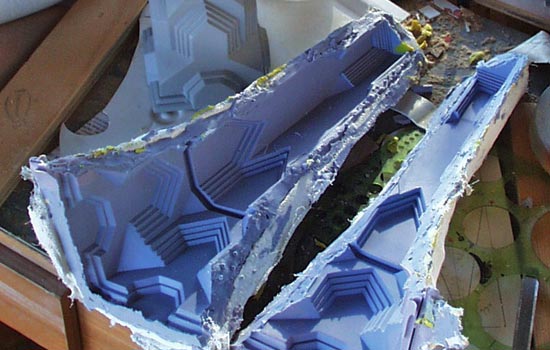
I then made a Silicone mold (with plaster bandage mother mold) of my wood column.
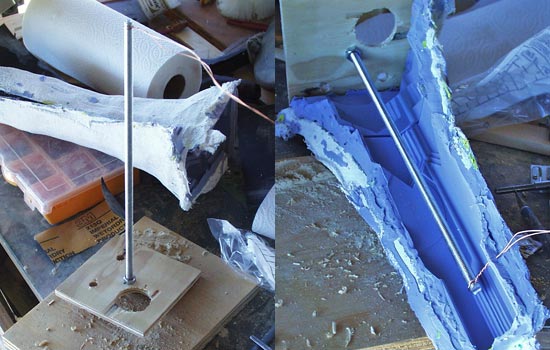
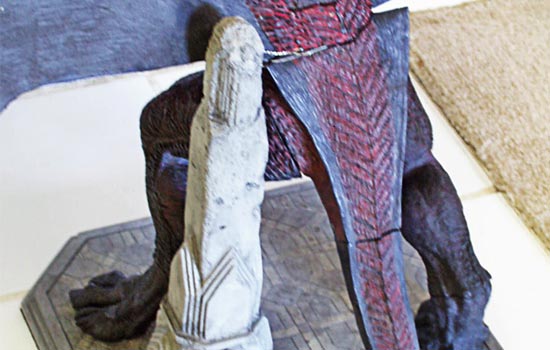
I cut a threaded steel rod to fit inside the length of the column and attached a length of wire at the top. The wire will eventually tie around the Balrog’s waist seam and hold all the weight. A piece of plywood holds the rod in the center allowing the wire to hang outside the mold.
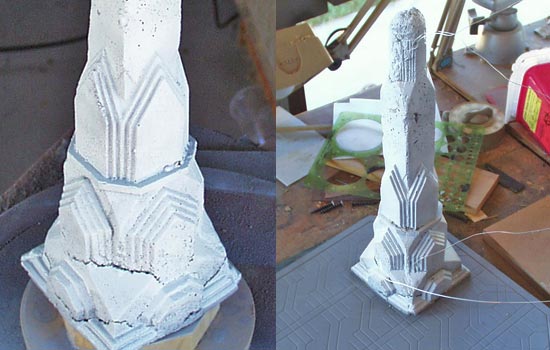
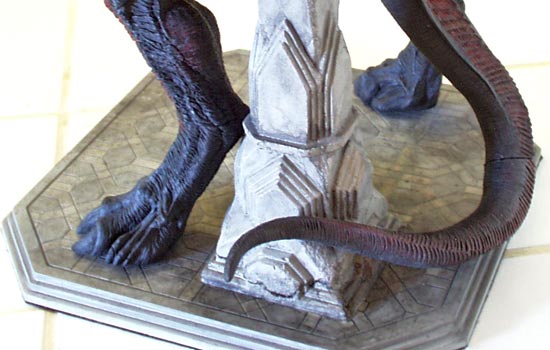
I mixed up some concrete and poured it into the mold. The first result had some nice detail as well as some nice crumbly, damaged-looking areas. I got some cool cracks at the base and interesting pits. While the concrete was still drying, I roughed up the top to look like the top had broken off. The upper part looks deformed but it must be the angle that I shot this…it looks better in person.
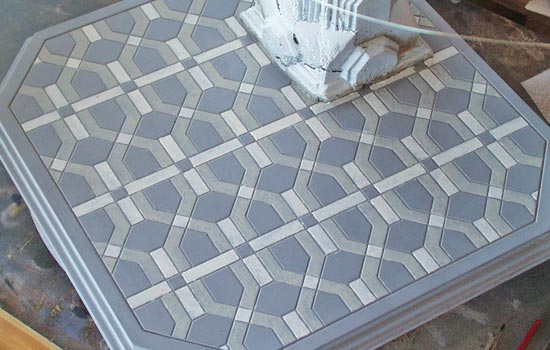
I secured the column to the base by putting exposed threaded rod through a hole in the base and attaching a nut. I then took Aves epoxy putty and covered the seam at the bottom and filled any cracks that I didn’t like. I then brushed on some acrylic paint to bring out the pattern.
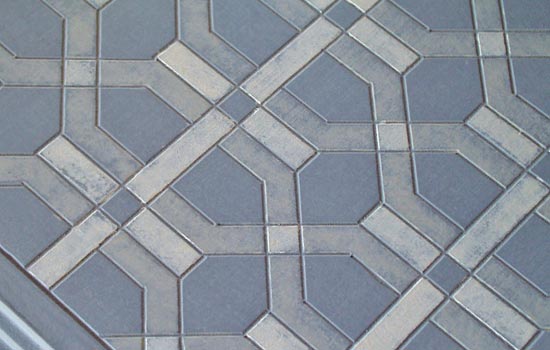
I gave it a light sanding afterward to age the paint.
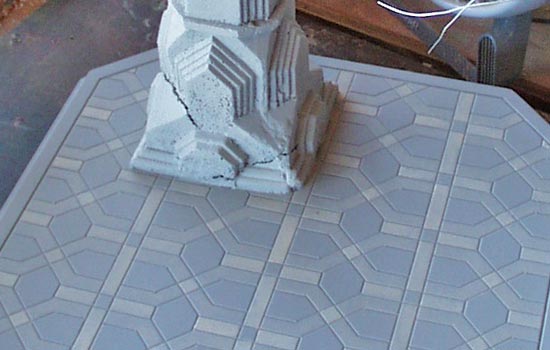
Everything got a grey overcoat to pull it all together and knock back the color.
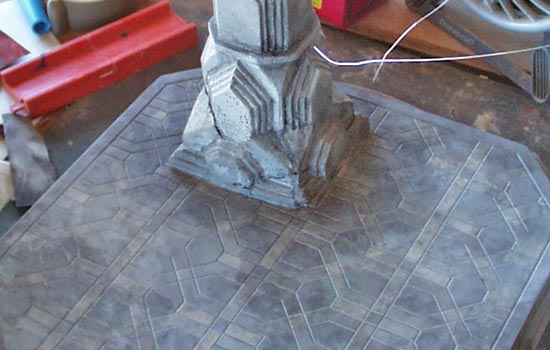
I applied an india ink wash to bring out details and weather the piece.
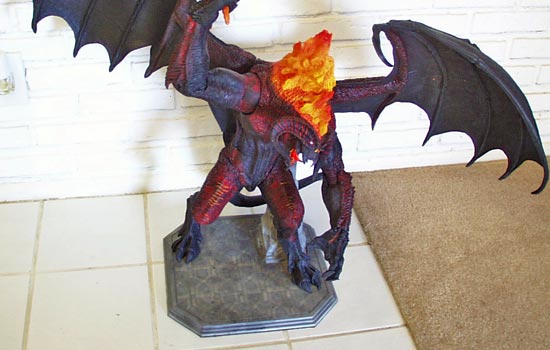
The Balrog now has a new home and SO FAR the hasn’t fallen over.
