final fantasy XIV Bagh Nakhs
April 2011
Final Fantasy XIV is a video game, set in the fantasy realm of Eorzea, players take control of a customized avatar as they explore the land and are caught up in both an invasion by the hostile Garlean Empire and the threat of the Primals, the deities of the land's Beastmen tribes.
Bagh Nakh, Wagh Nakh or tiger claws is a claw-like Indian weapon designed to fit over the knuckles or concealed under and against the palm.
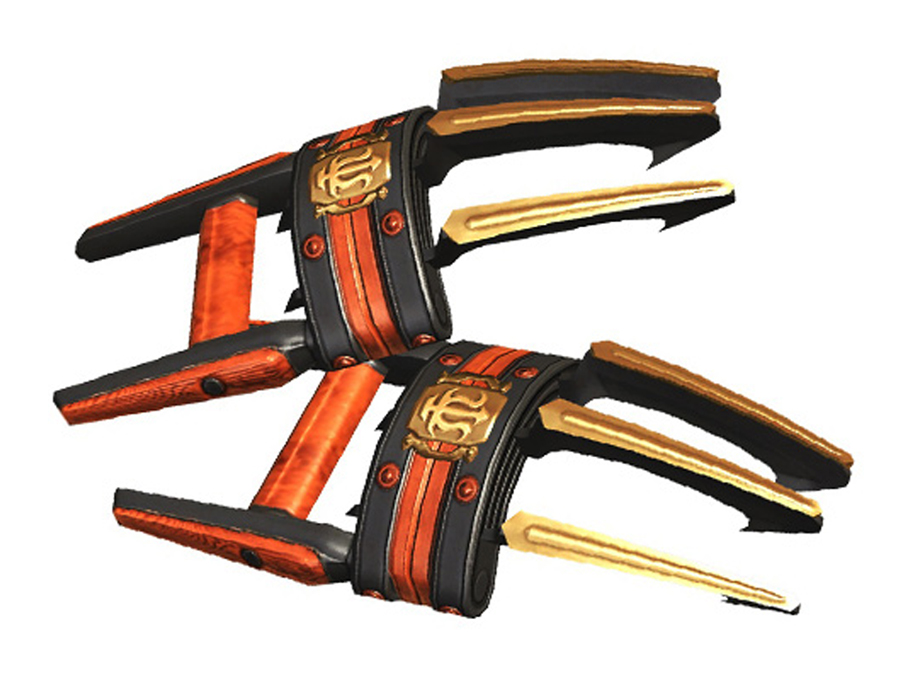
I was commissioned to make a pair of bagh nakhs from the video game Final Fantasy XIV.
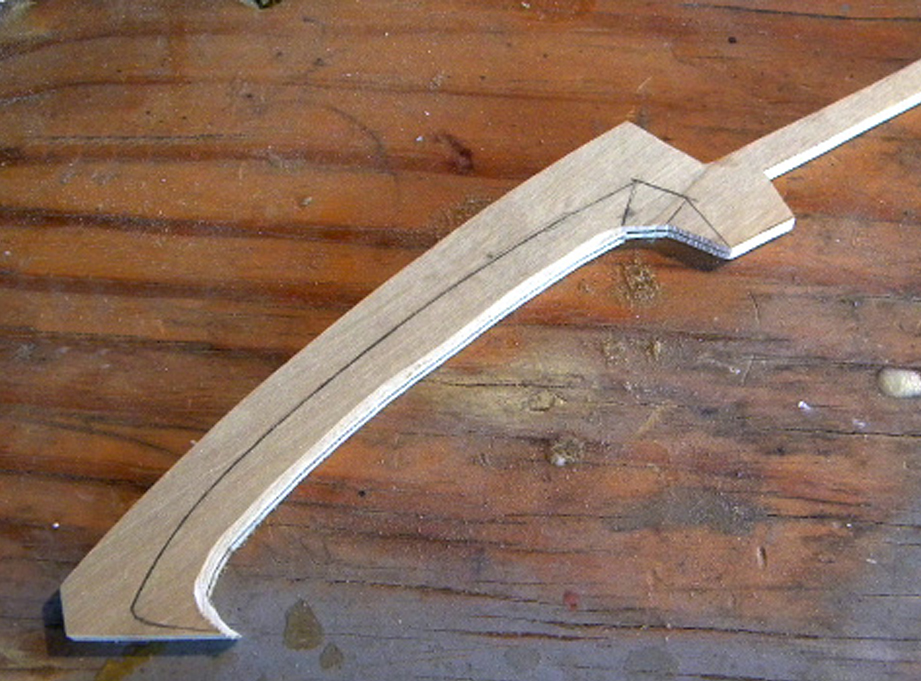
I started with the claws, cutting a master from 1/4″ poplar.
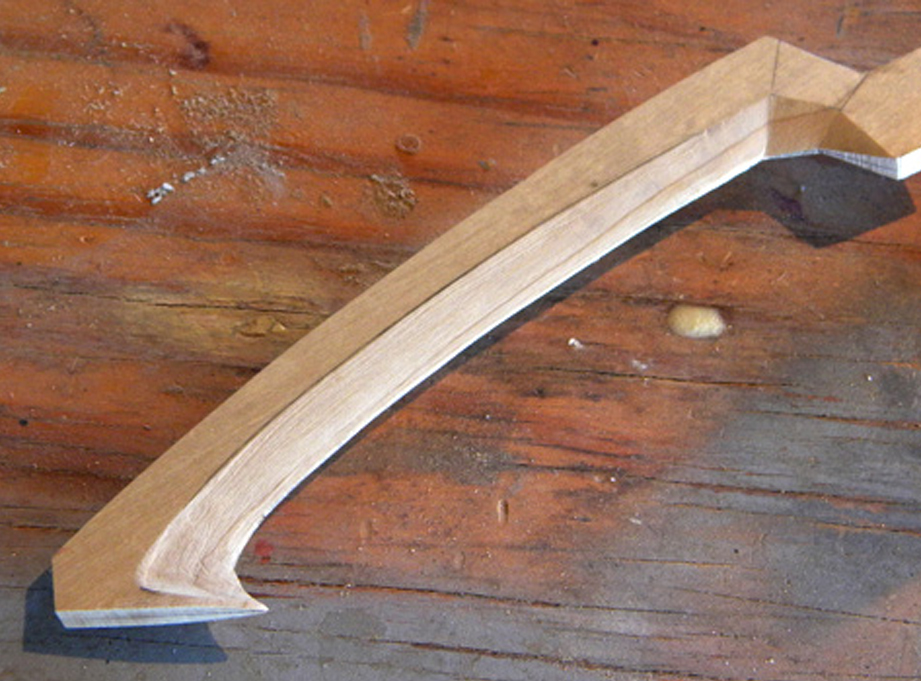
I beveled the blade with the Dremel Sander.
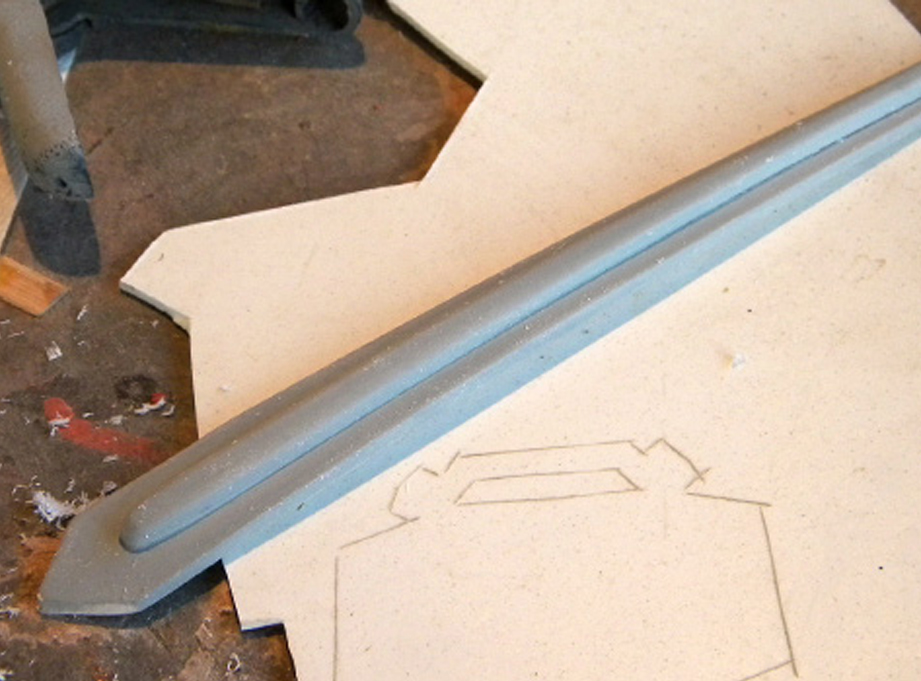
The top trim of the blade was made from strips of styrene.
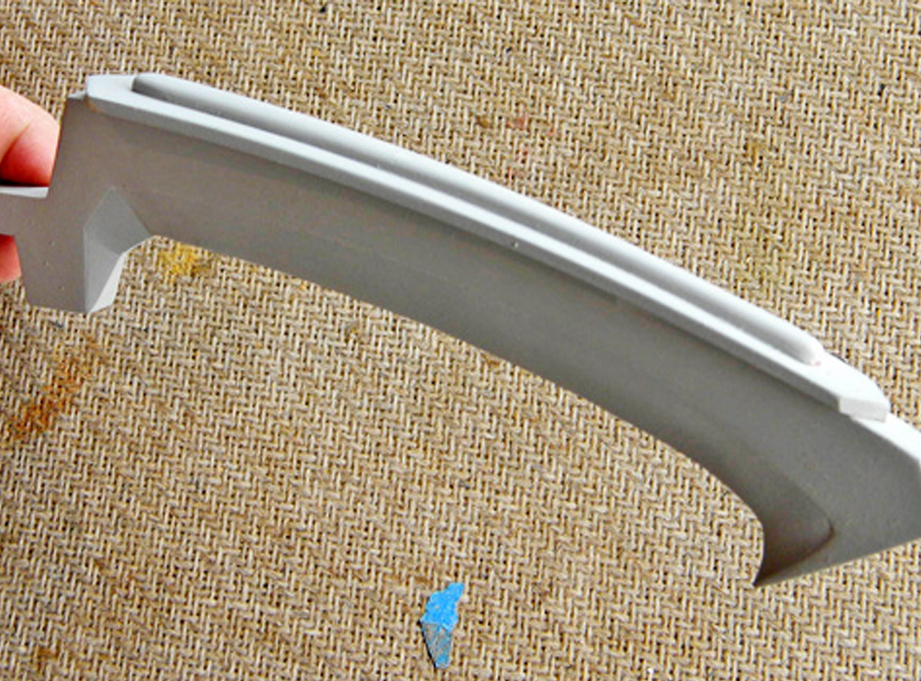
The completed blade master.
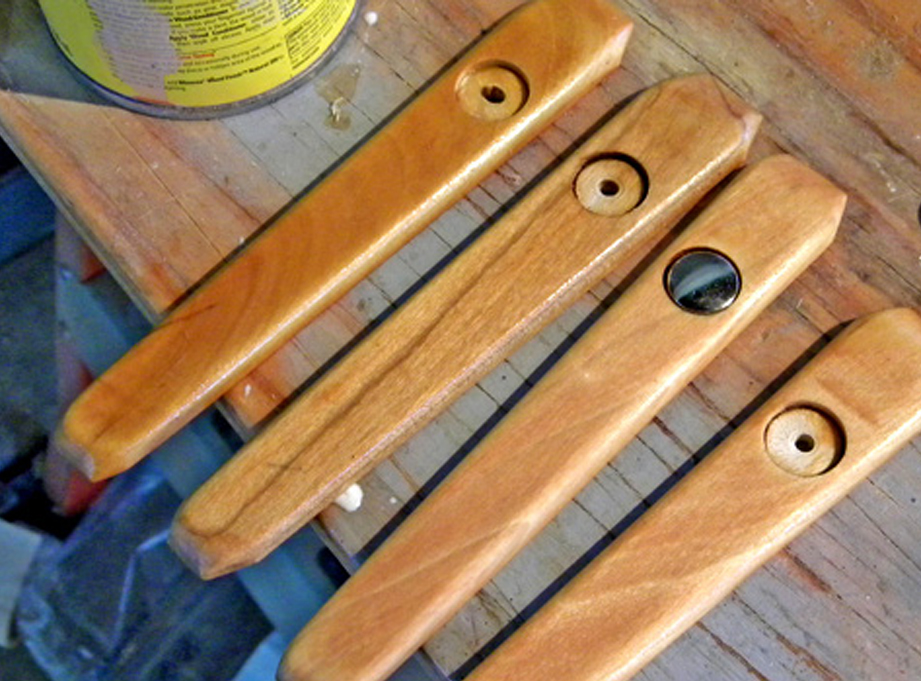
I cut grip panels from poplar, rounded the edges on the belt sander and drilled holes for the rivets. I found large snap covers that were right size for the rivets.
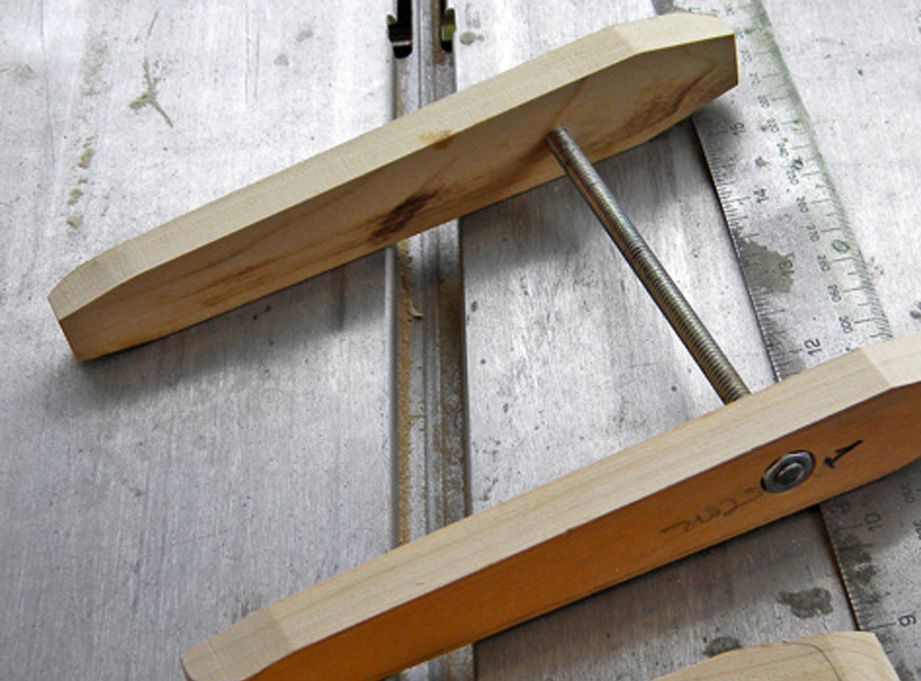
I used a threaded rod to connect the two poplar handles.
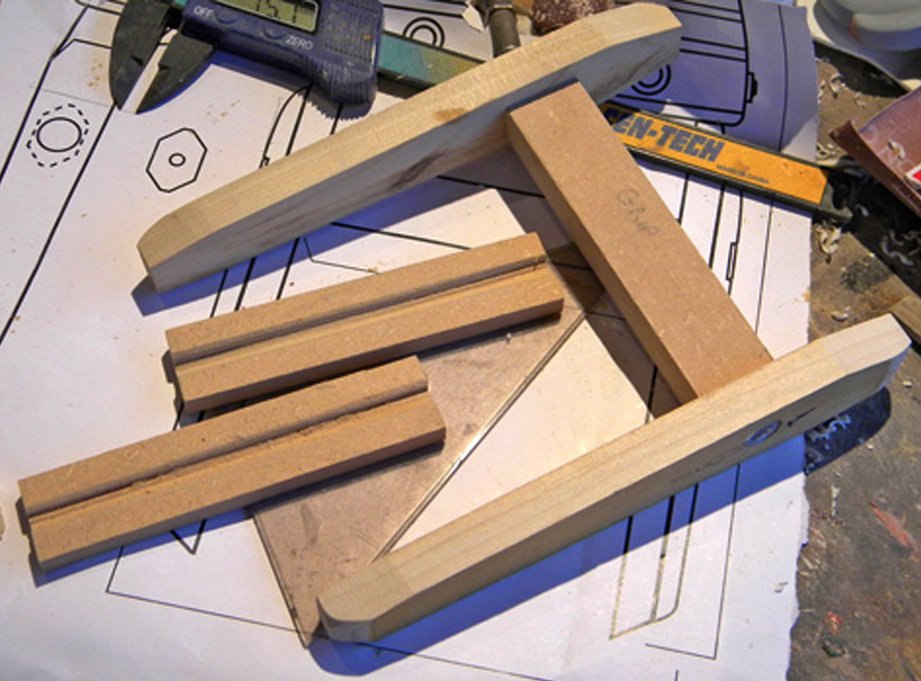
For the actual grips, I cut MDF with a channel for the threaded rod.
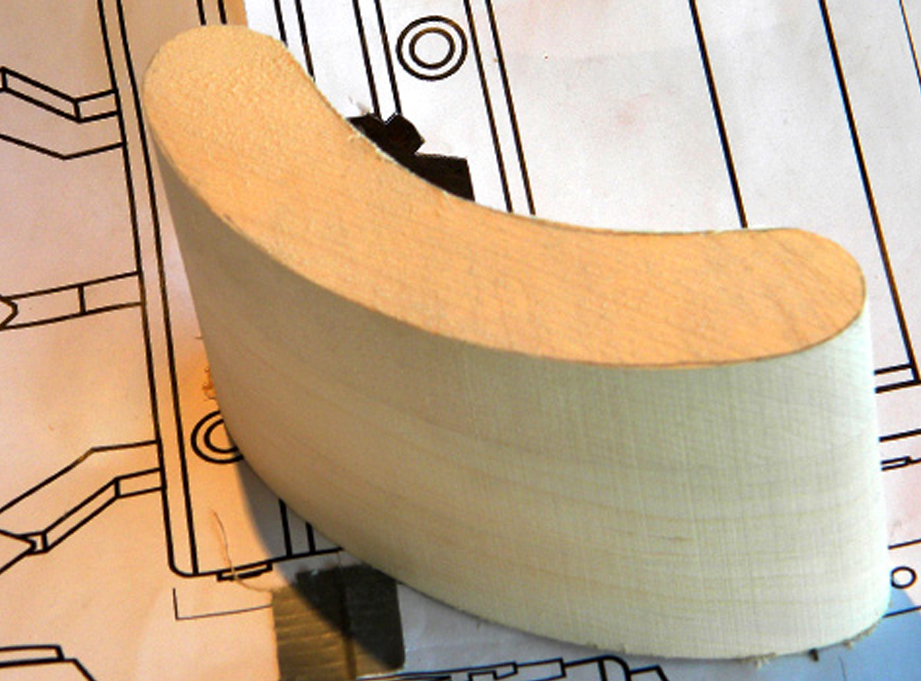
I cut a piece of basswood for the box that holds the blades.
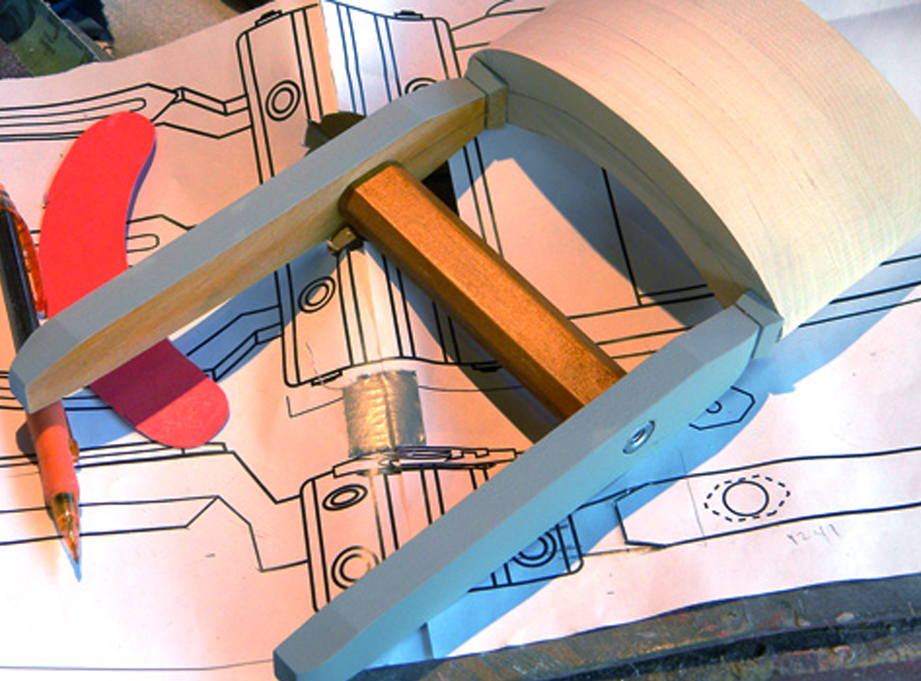
I drilled holes in the blade box so the handles could be connected by threaded rods.
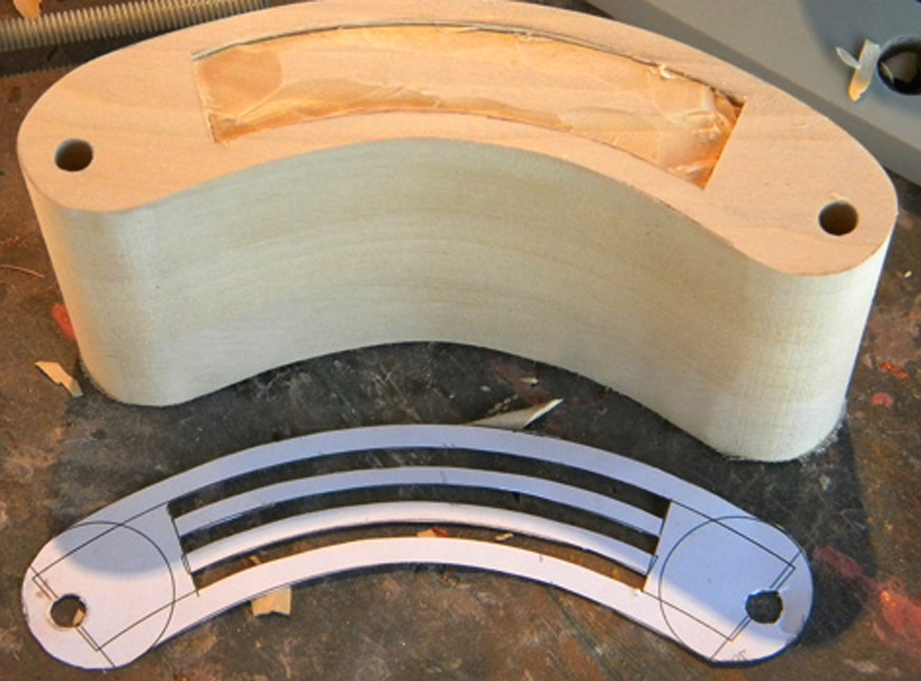
I cut a paper cutting guide from the plans to mark the opening for the blades and then used an exacto knife to start the hole.
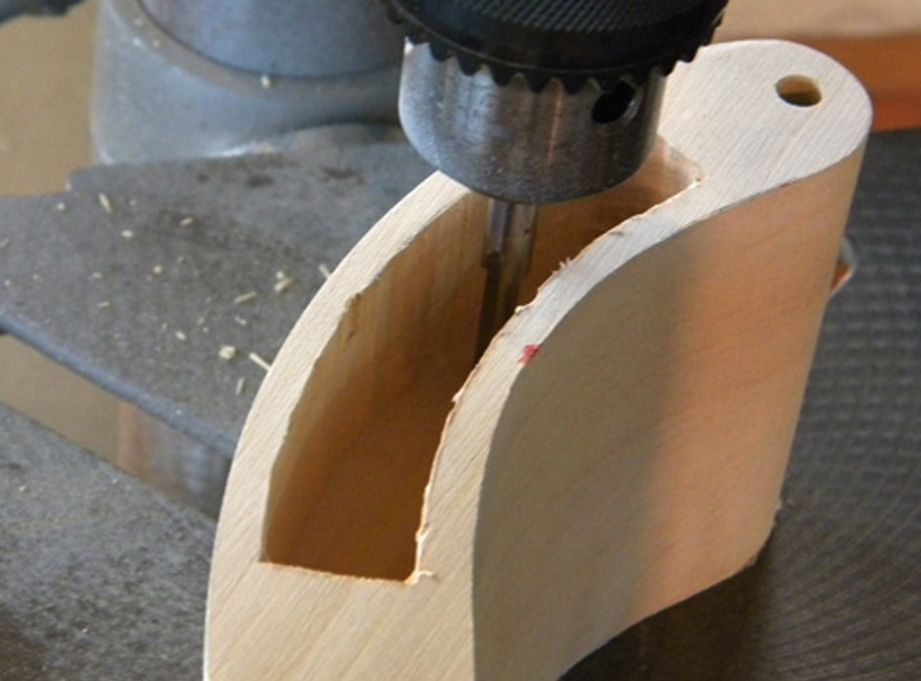
I put a router bit in the drill press and started cutting material out of the blade hole, removing 1/4″ of material with every pass.
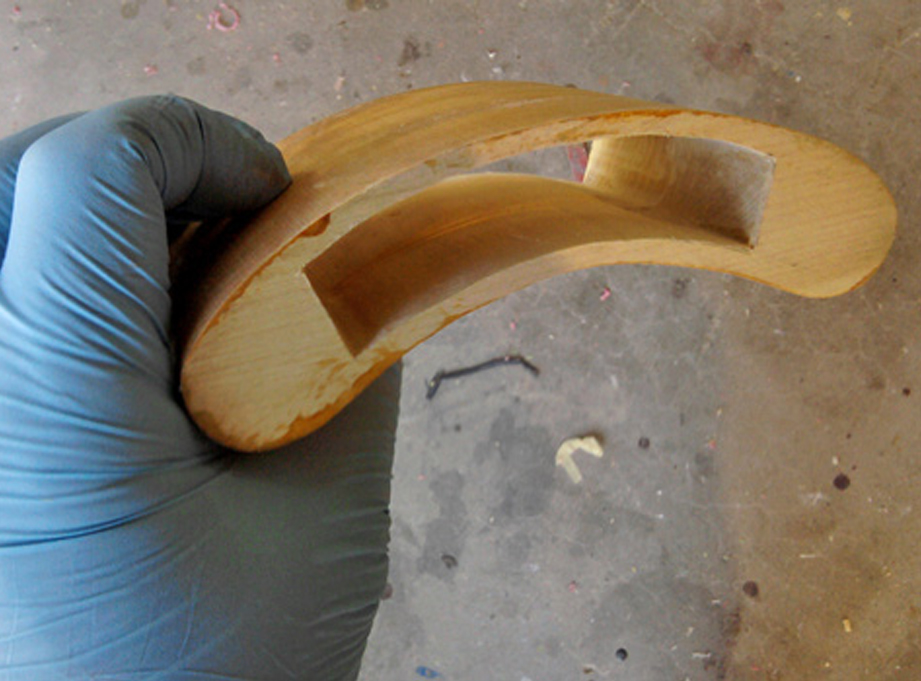
The bit only reached halfway, so I flipped it over and cut through from the other side.
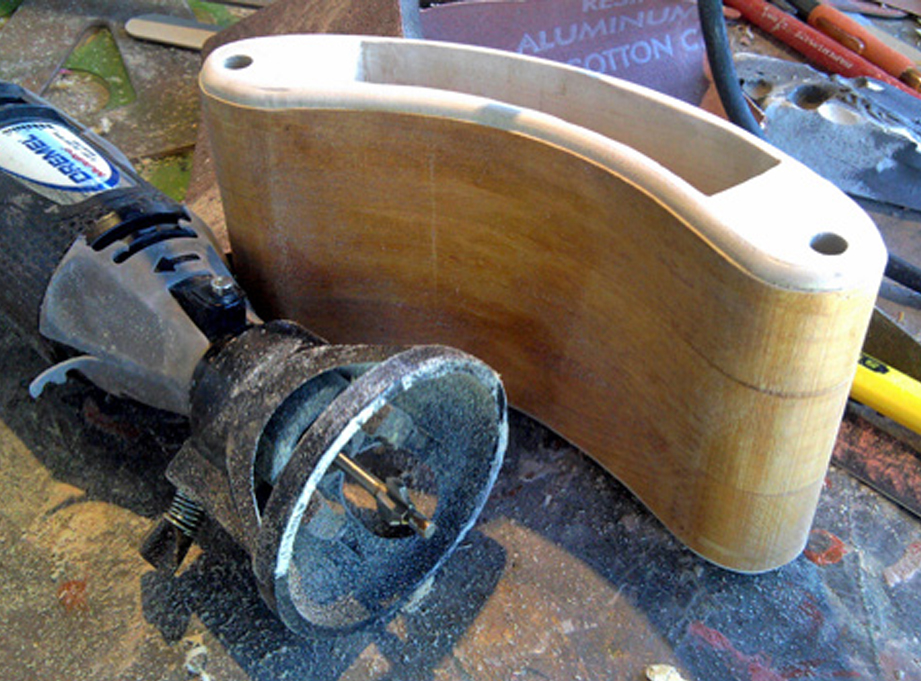
I rounded the edges of the box with a router bit in my Dremel.
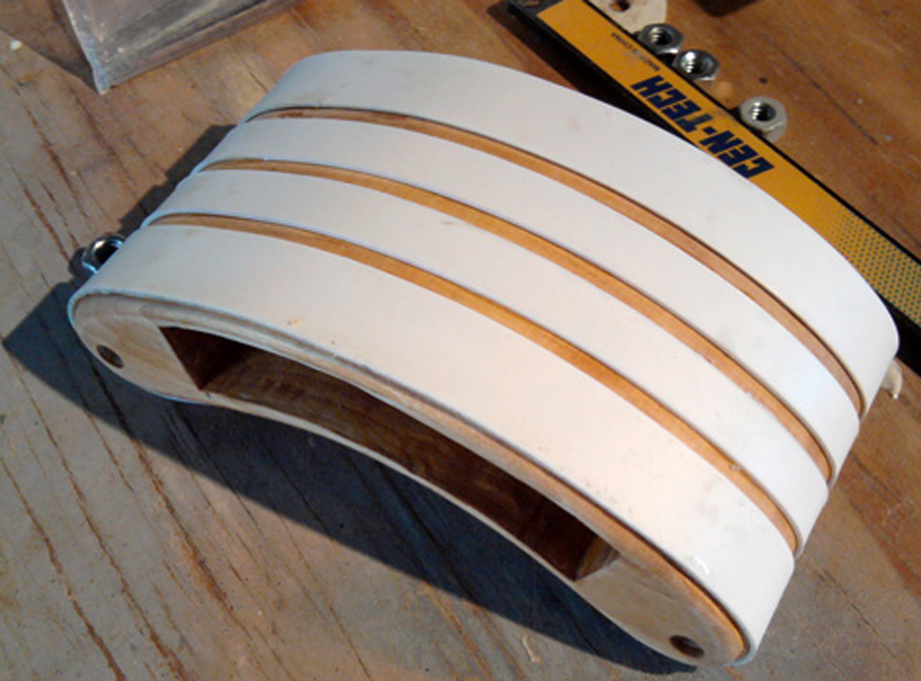
After sealing the basswood with shellac, I glued strips of styrene around the edges of the box.
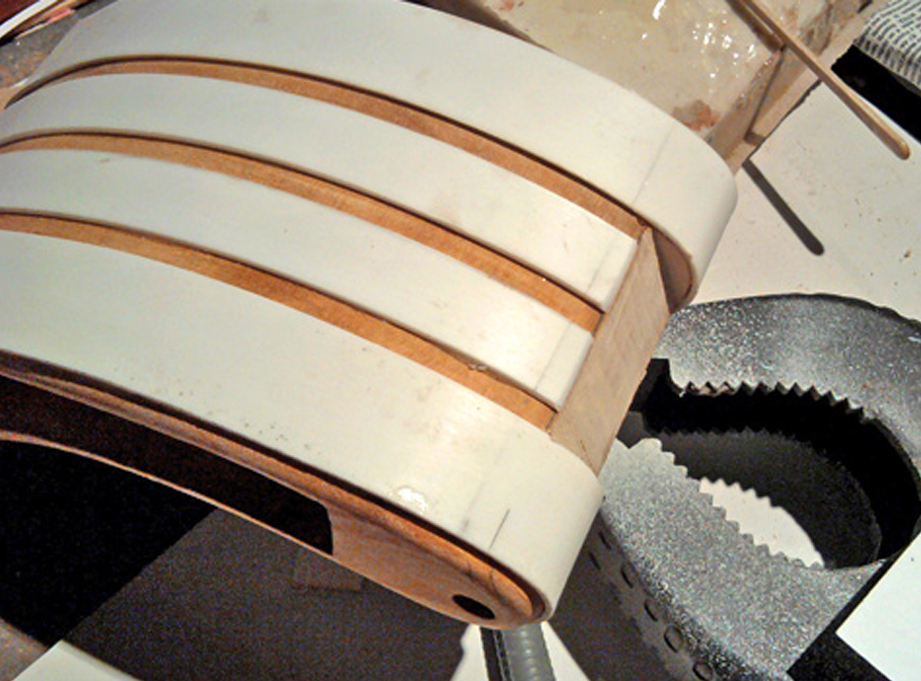
Just as soon as the glue set, I noticed a new detail in the reference photos…the ends of the box are actually cut short.
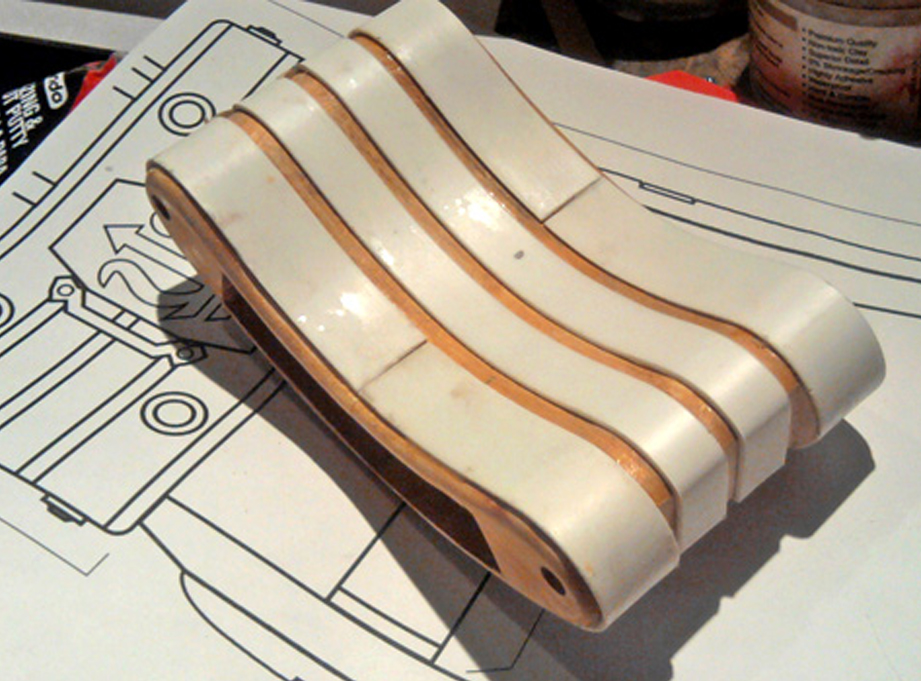
I re-cut the inner strips and glued them in place.
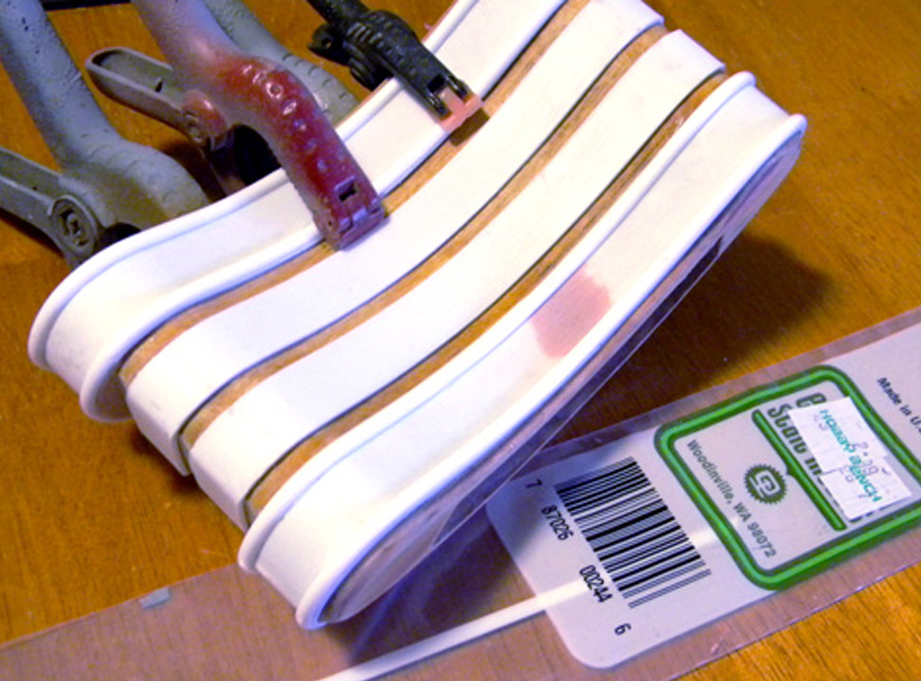
Next I glued half round styrene strips to the outer edging.
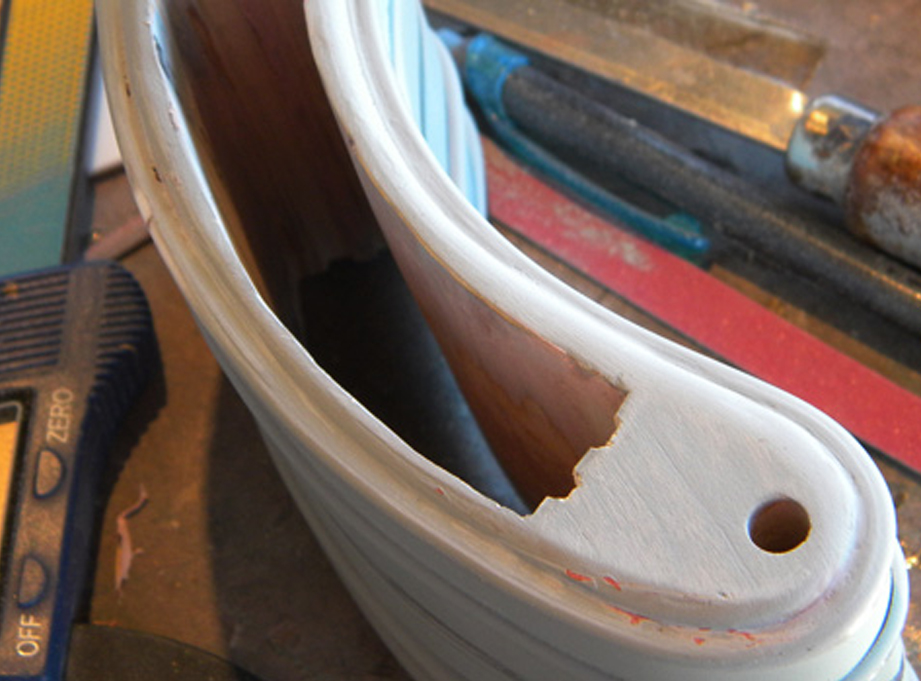
Then I carved channels inside the box for the panels that would hold the blades.
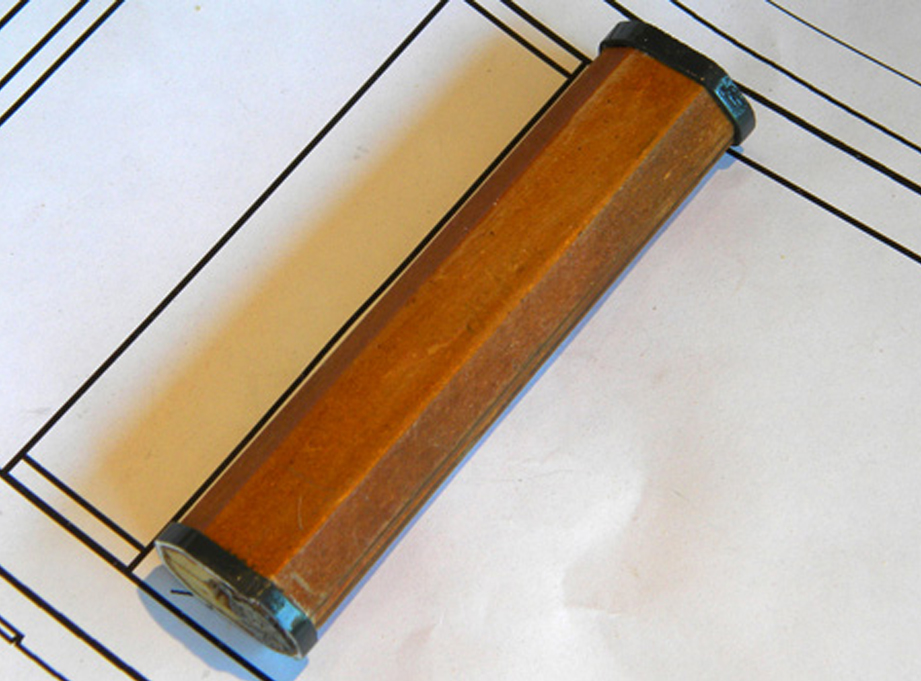
I forgot the small strips on the ends of the grips so I made those out of thin styrene.
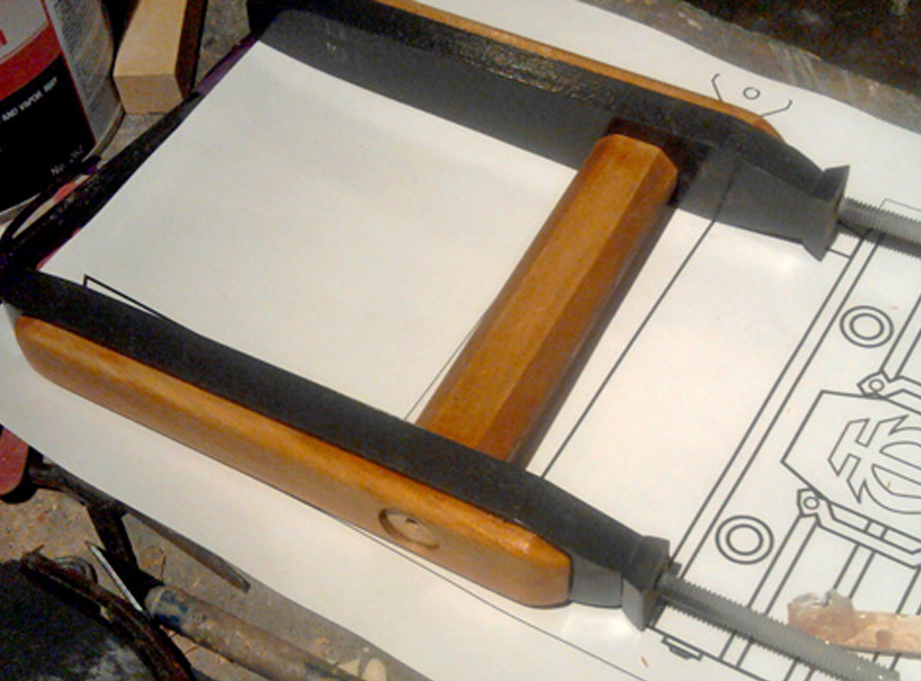
The assembled grip with threaded rods inserted.
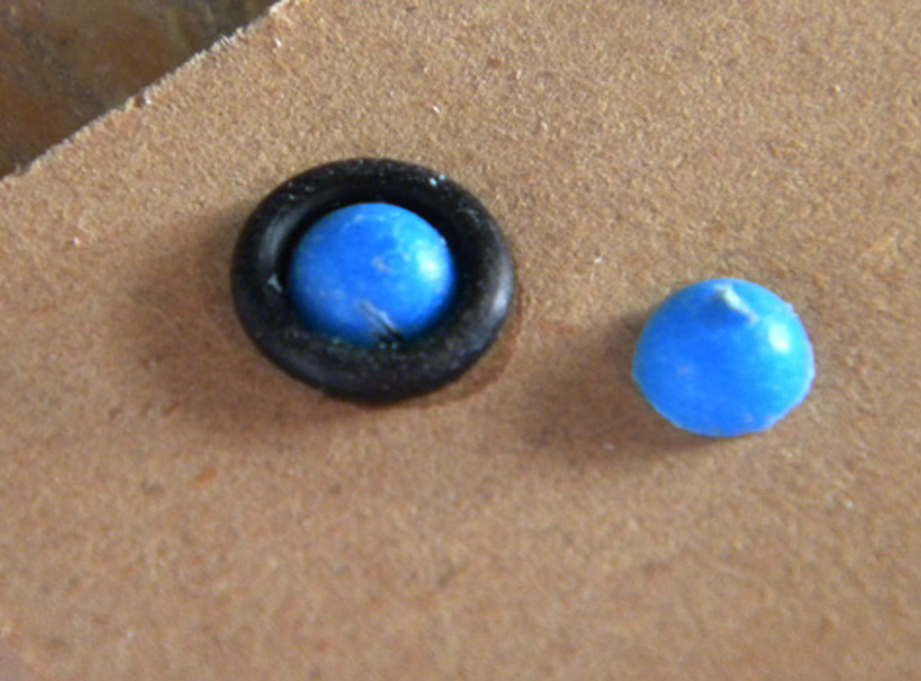
To make the decorative rivets for the box, I cut airsoft pellets in half and glued them inside rubber O-rings. I assembled four, molded them and cast resin copies for the box master.
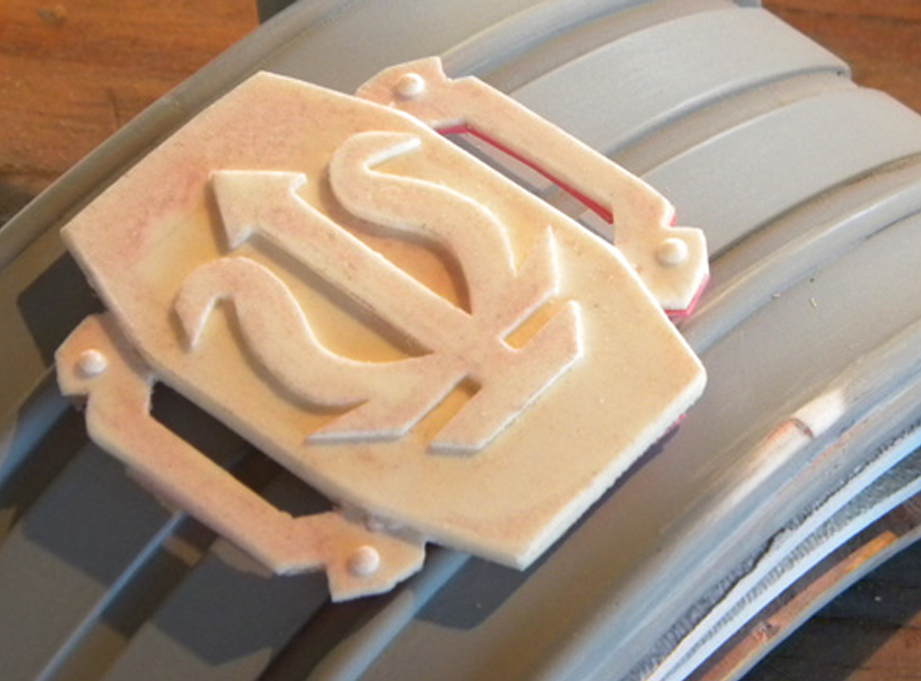
Here is a resin copy of the crest that goes on top of each blade box. I made the original with different thicknesses of styrene and added nail heads for the rivets.
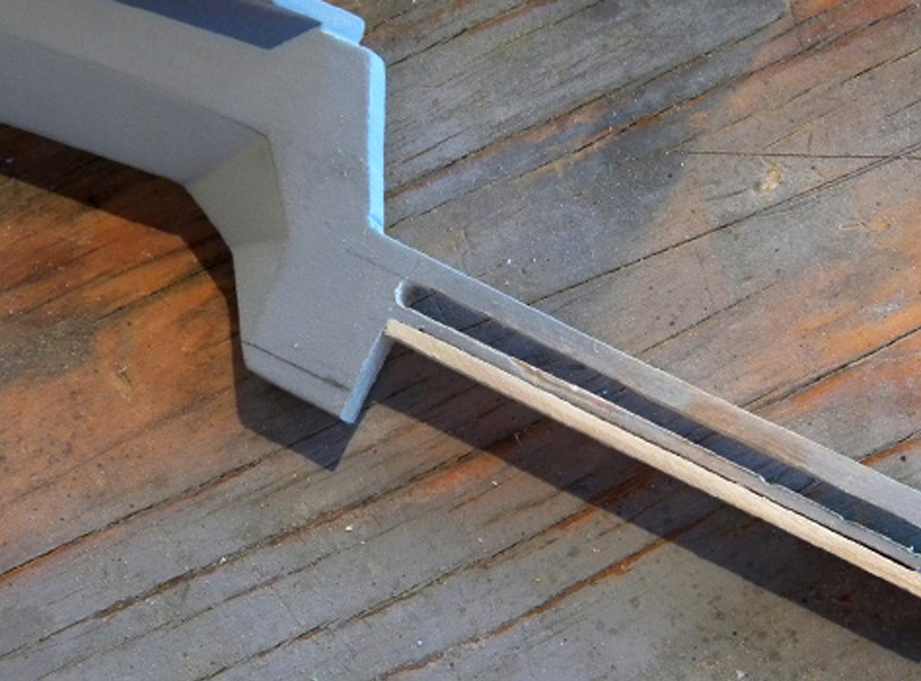
After a test fitting, I added some balsa to thicken the bottom of the blade master’s support.
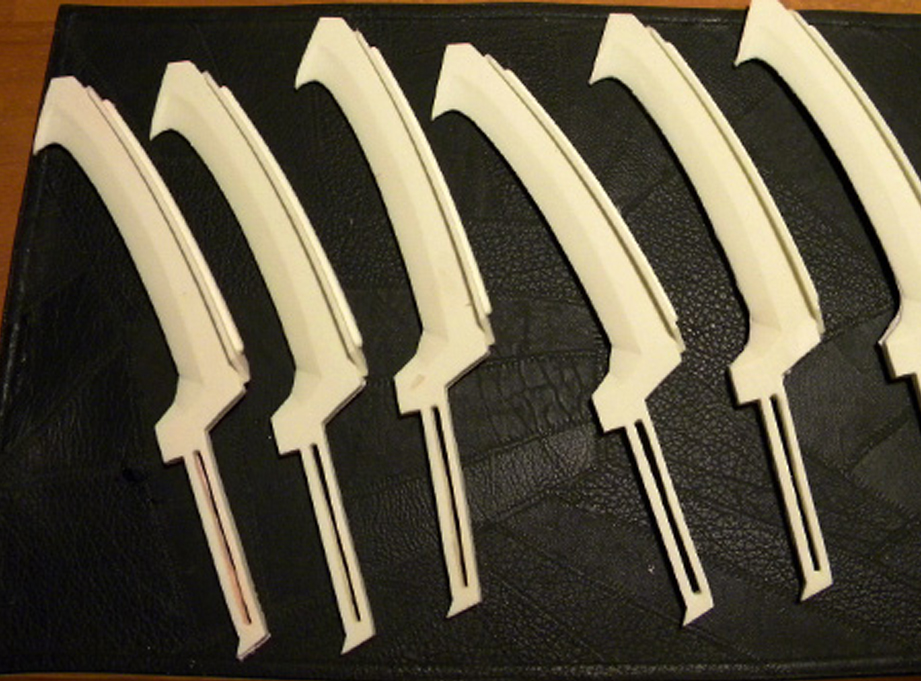
I cast resin copies of the blade master to be used in the final props.
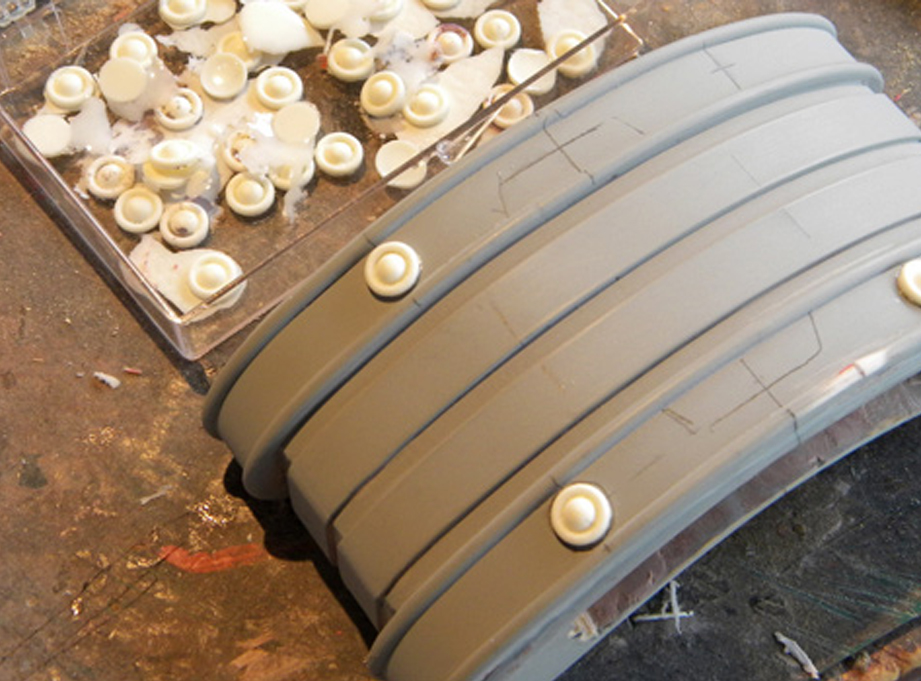
Here are some resin rivets to be glued on the master. I was pouring excess resin from other molds into the rivet mold so I wound up with far more than I needed. At least I could pick the best copies!
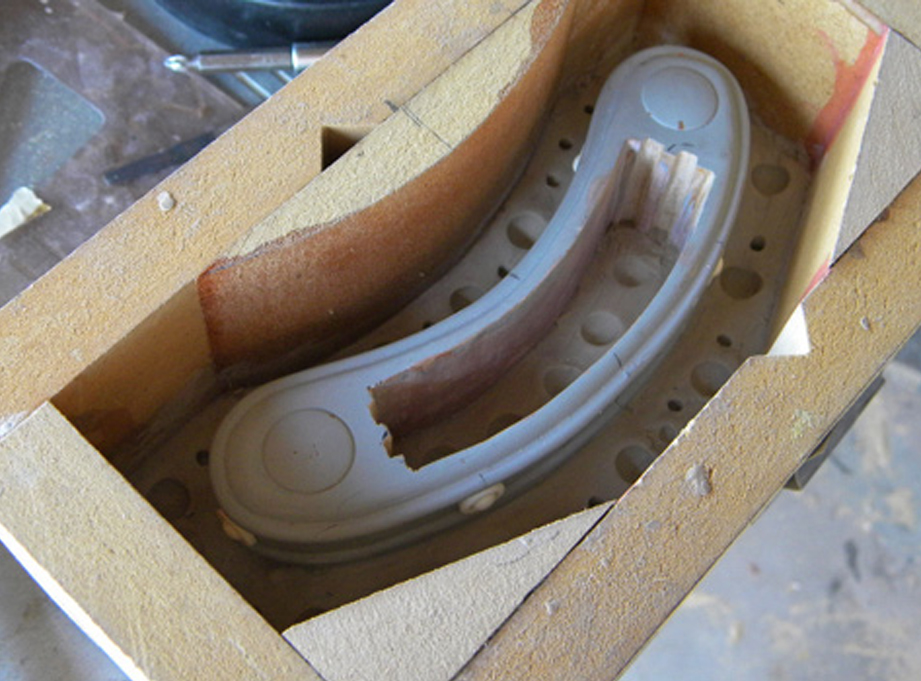
I constructed a MDF box to pour the mold for the blade box. First I filled the bottom with clay up to the center line of the blade box. Silicone was poured in this side first then, once it cured, the box is flipped over, clay removed and the other half of the mold is poured.
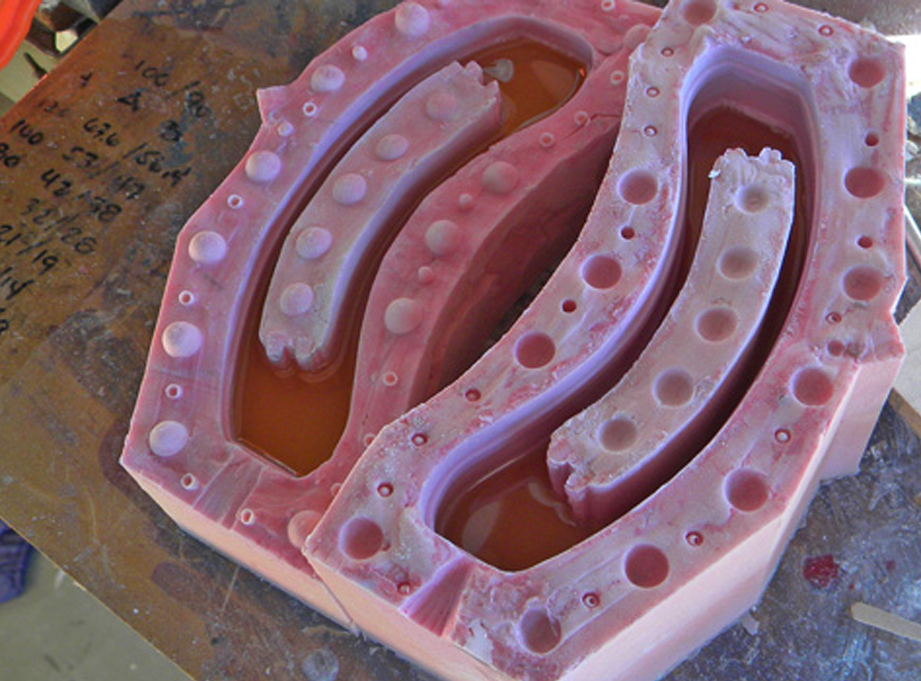
To make sure no air is trapped in the details, I poured resin in each side of the mold. Once that solidified, I joined the mold and poured the center.
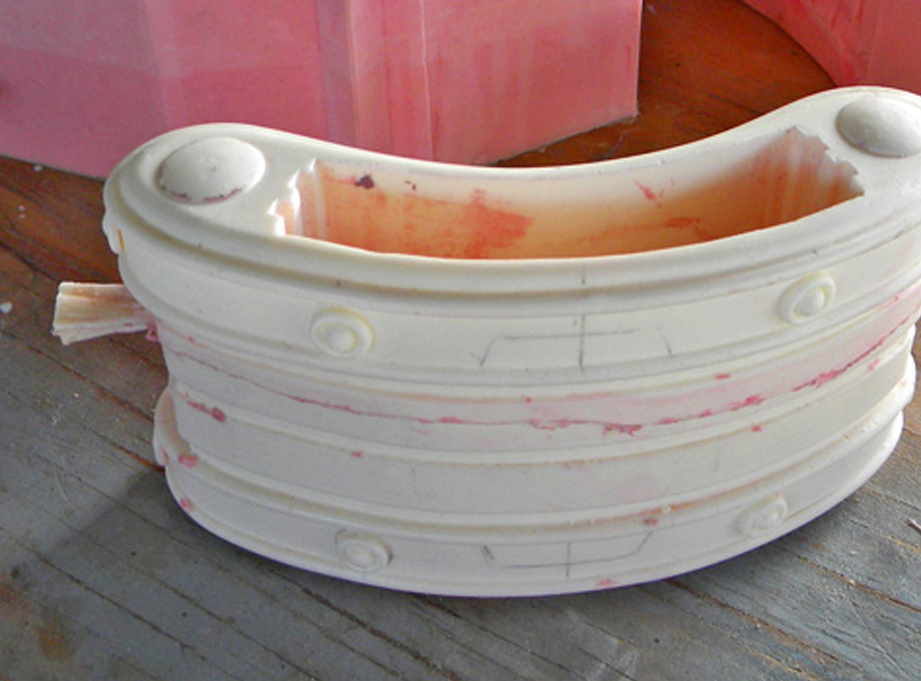
A nice resin copy of the master! I had to clean up the seam line and putty up a few holes but that’s nothing compared to having to build another blade box from scratch. I was surprised that some pencil lines on the master got transferred to the resin by the silicone mold!
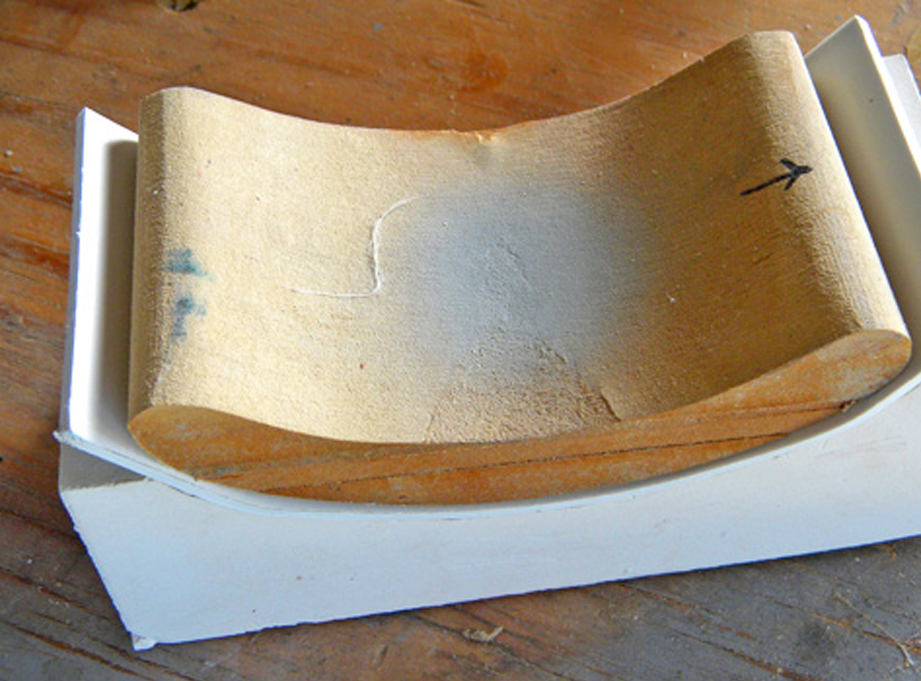
To make the panels that hold the blades, I made a press using a MDF block in the shape of the blade box and a plaster mold of the block itself. The theory was to heat thick plastic with a heat gun and squish it into shape.
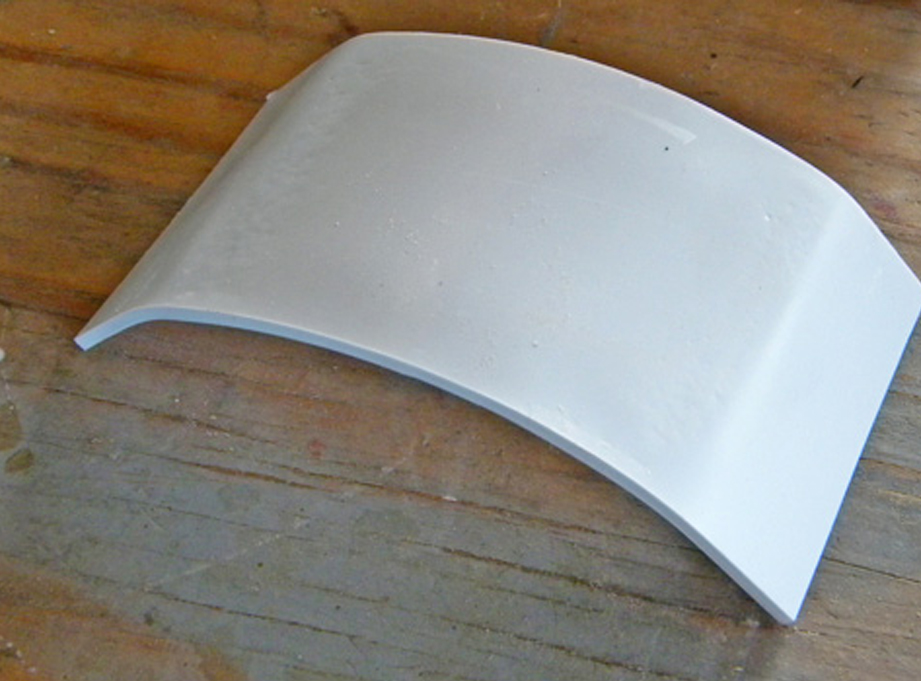
The results of the press: Four identical plates!
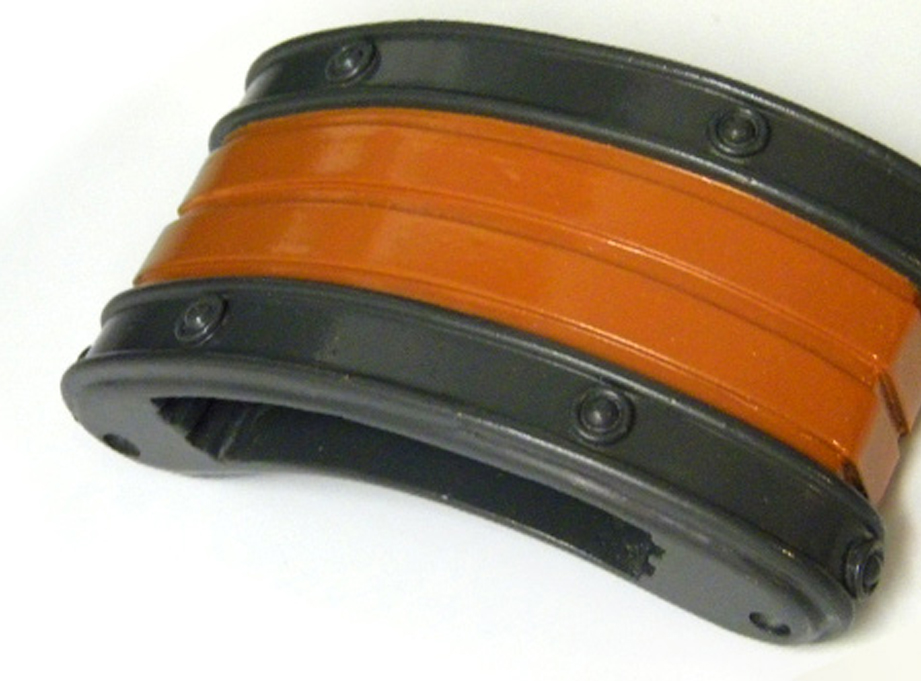
The base paint coat for the blade box.
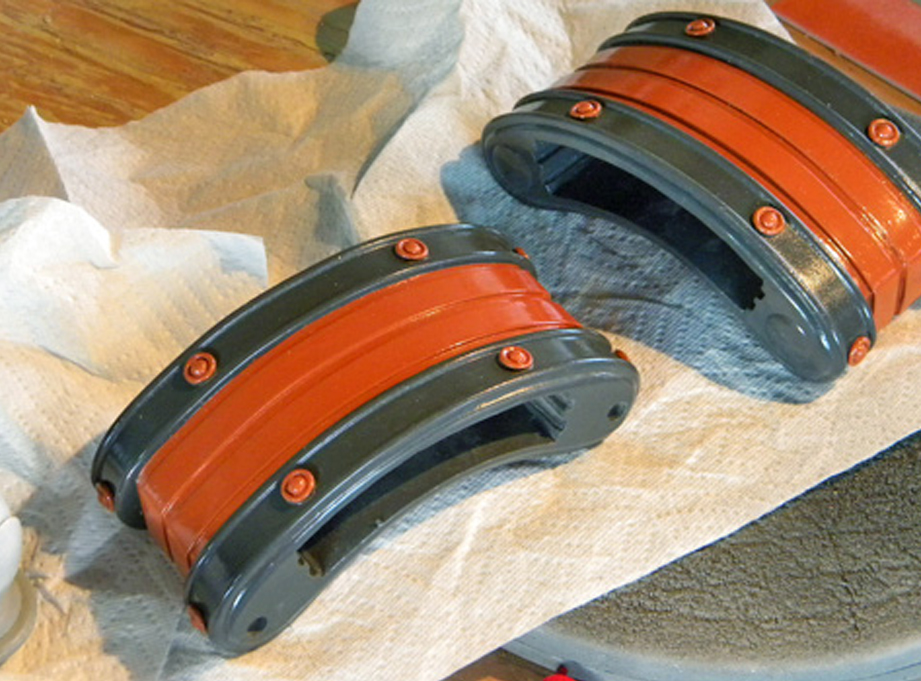
I hand painted the rivets on both boxes as masking would have been too difficult.
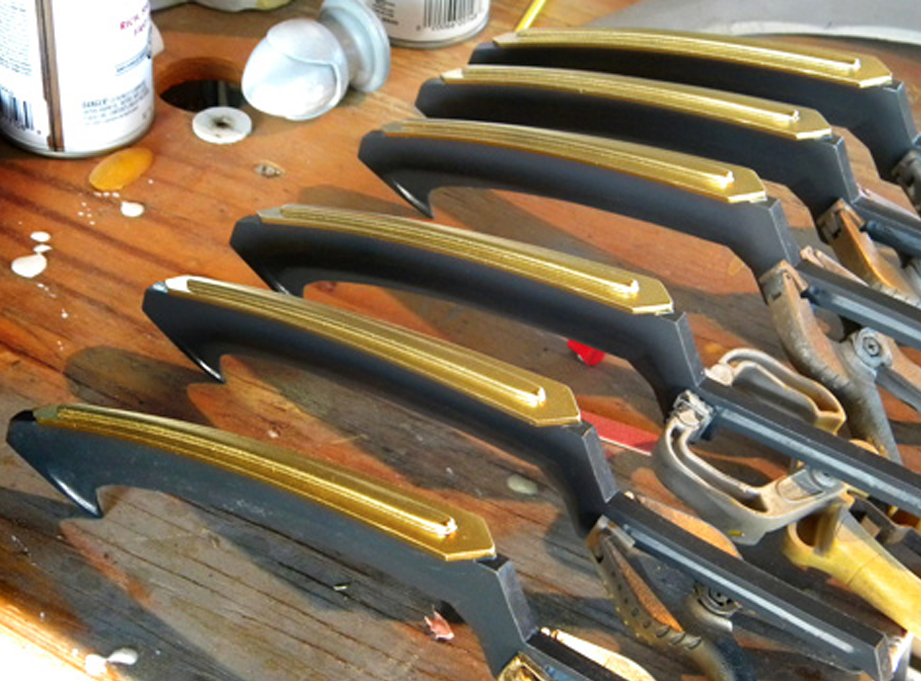
The blades were painted with the glossy grey and the the top strip was masked off and painted gold.
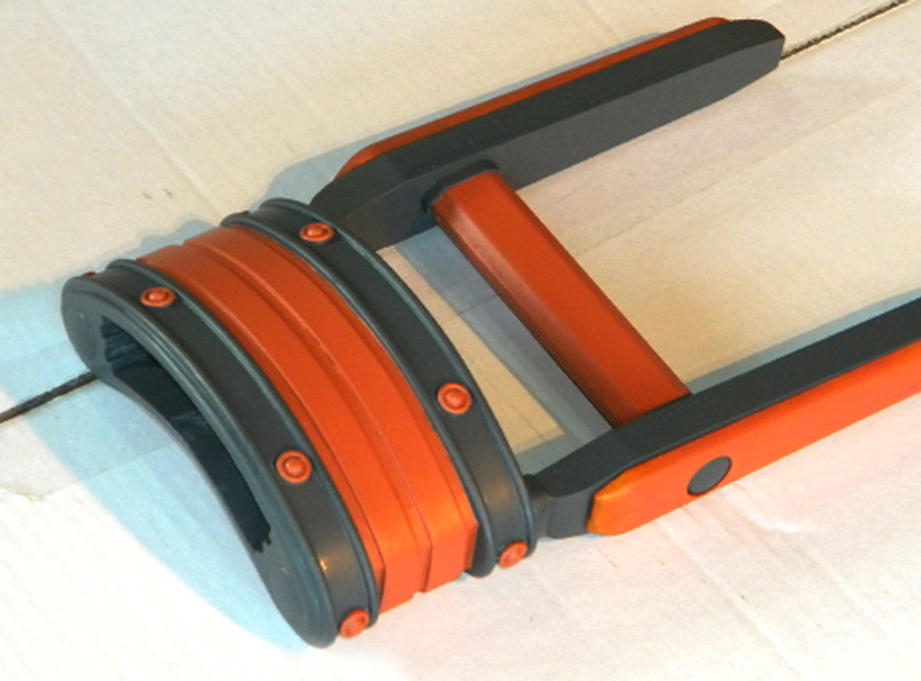
The handles were finally epoxied onto the blade boxes.
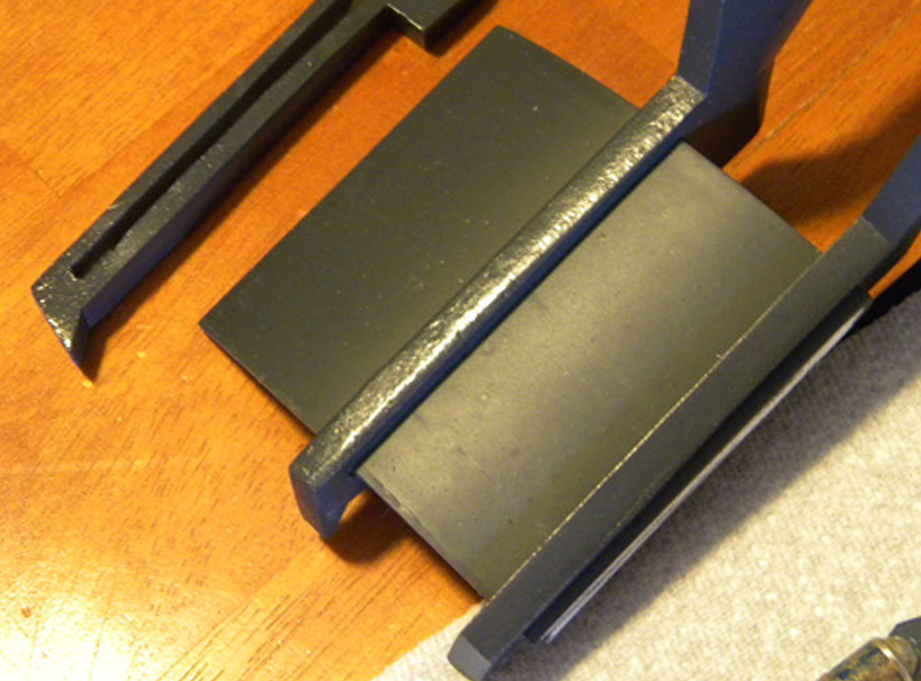
I slid the top plate through the slot in each blade.
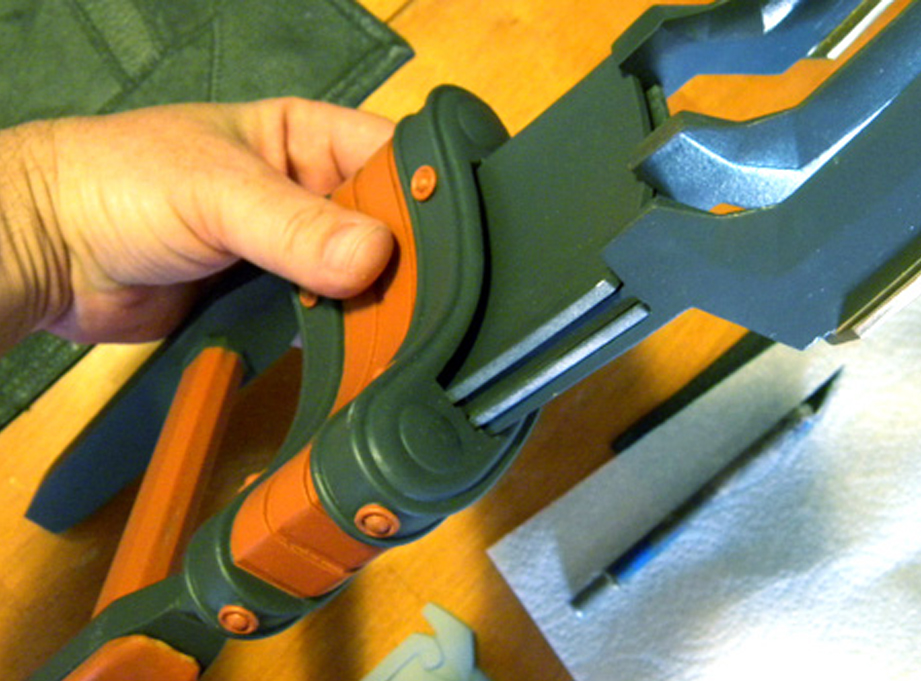
Holding the bottom plate in place, I slid the entire blade assembly into the blade box.
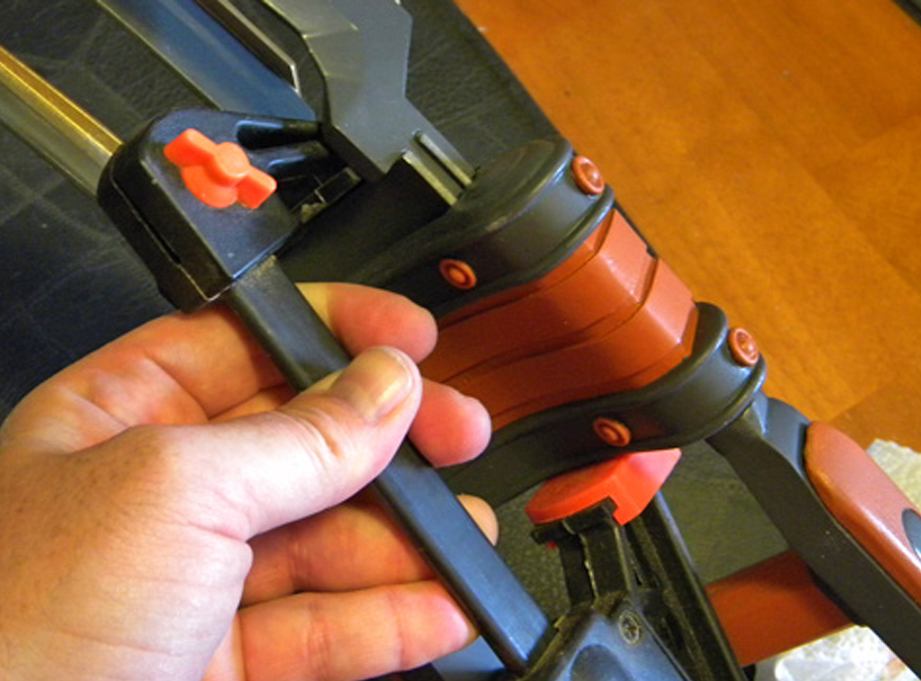
The last few inches were very tight so I had to use a ratcheting clamp to get the blade assembly seated.
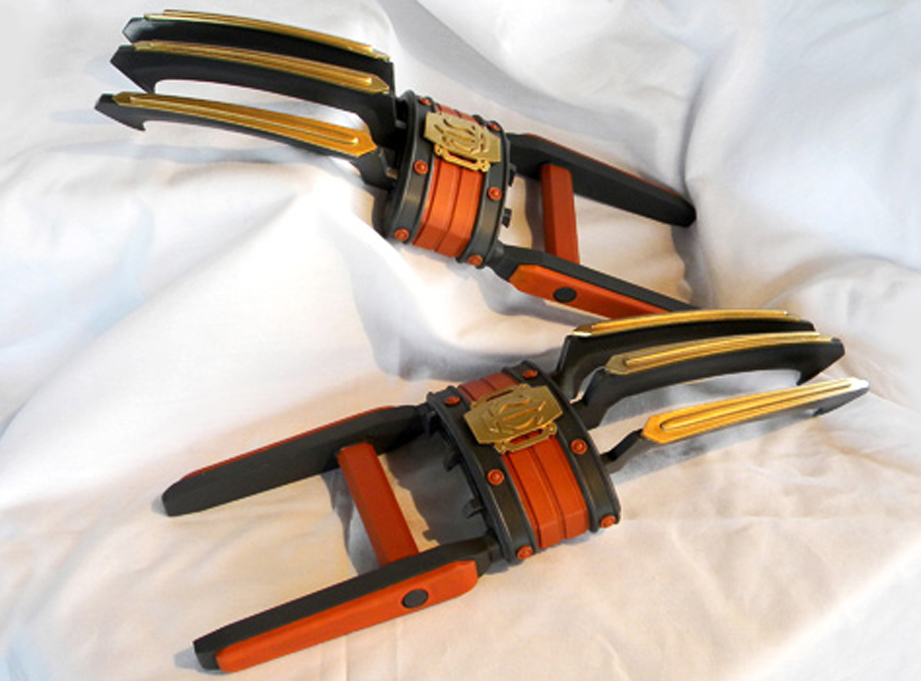
The final bagh nakhs!
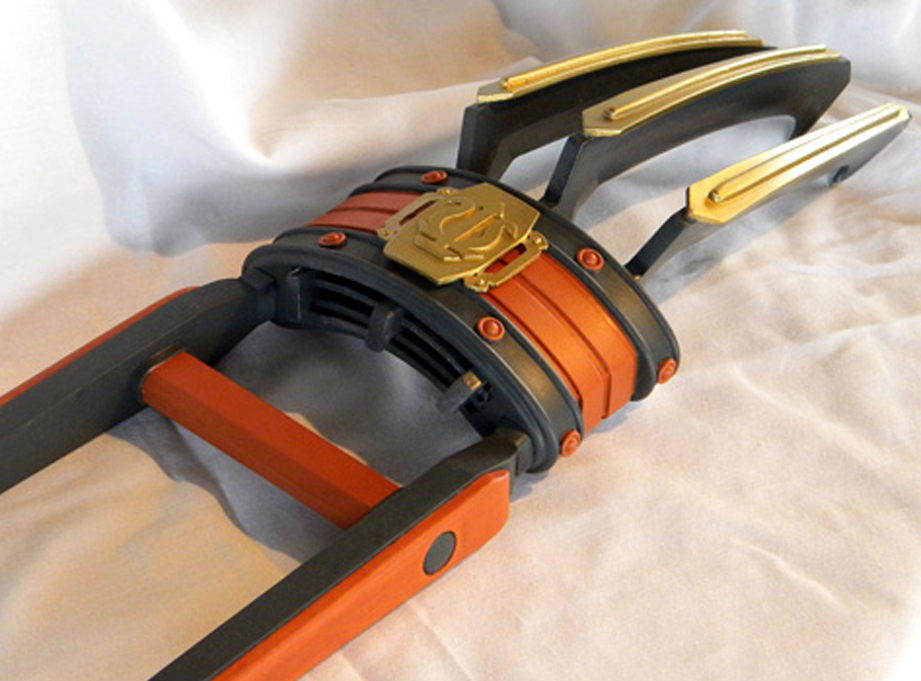
View from the back.
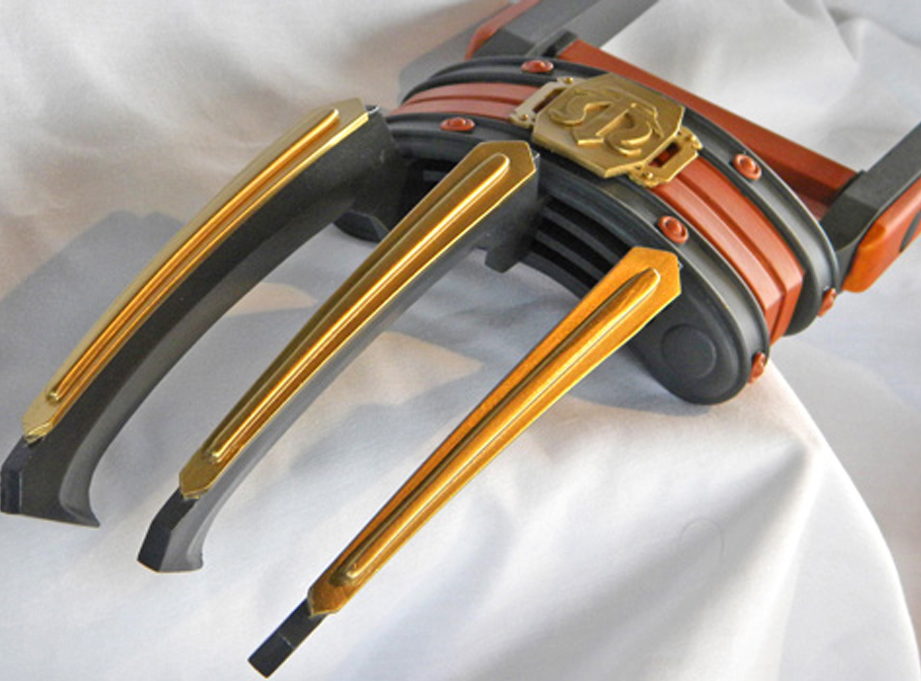
View of the business end.
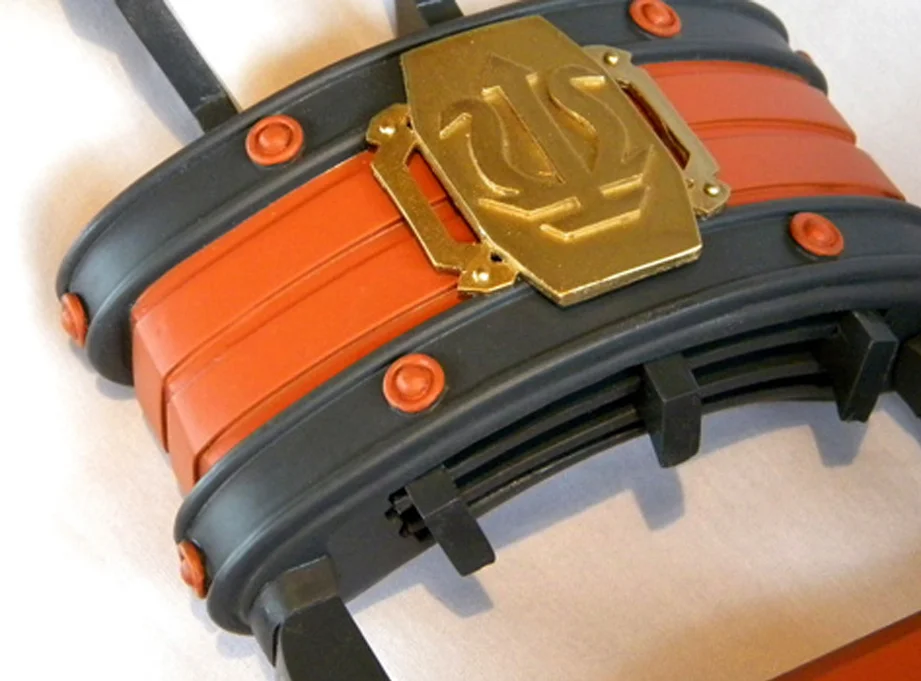
Detail of the blade box.
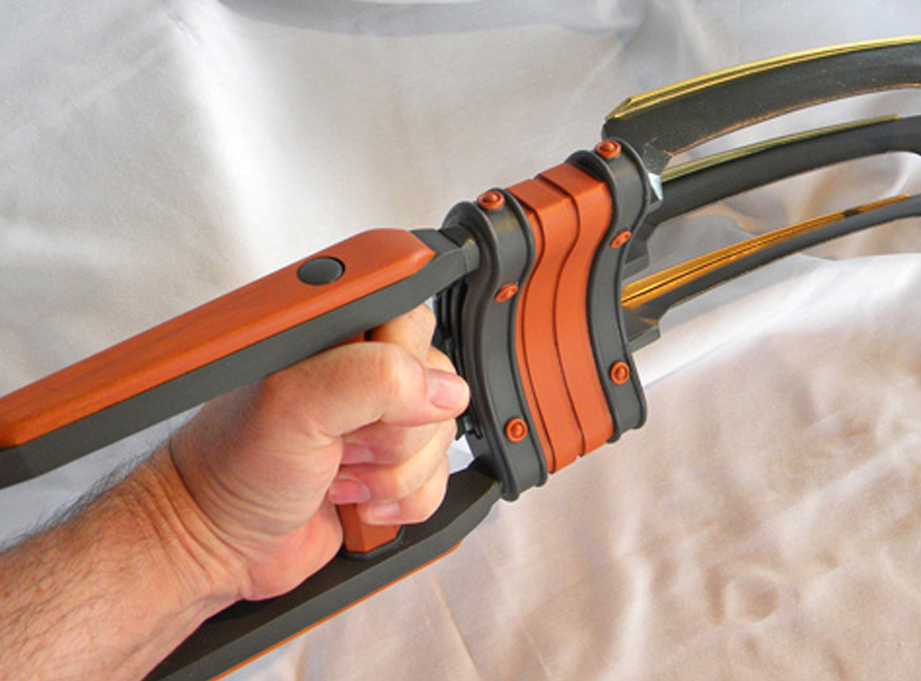
Don’t scratch your ear when holding the bagh nakh!
